This post may contain affiliate links, which means that I may receive a commission if you make a purchase using these links, with NO additional cost to you.
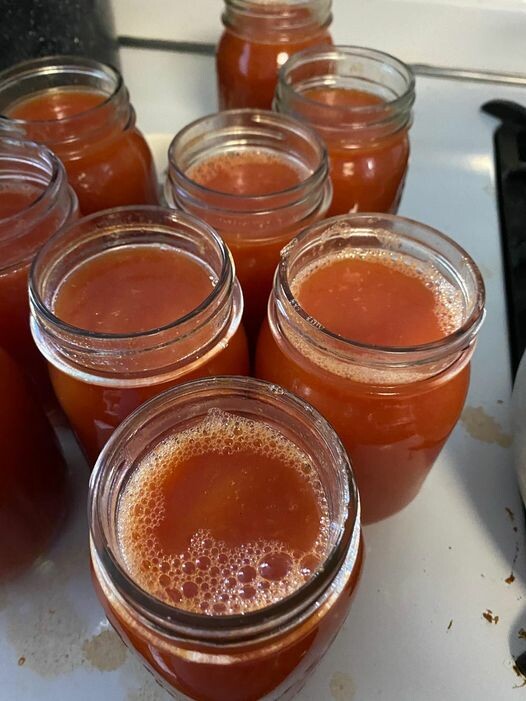
Growing your own food is a rewarding experience, and preserving it for winter use ensures you enjoy those fresh flavors year-round. One staple in many homes is tomato sauce—a versatile ingredient that can be used in various dishes like salsa, spaghetti sauce, and more. Below, we'll guide you through the simple steps to make and preserve your own homemade tomato sauce.
Why Preserve Tomatoes?
Preserving tomatoes allows you to enjoy the rich, natural taste of homegrown produce throughout the year. It also reduces your grocery bills and provides a sense of self-sufficiency and security. This blog will focus on canning homemade tomato sauce, a delicious way to make the most of your tomato harvest and keep a versatile staple on your pantry shelves all year long.
Benefits of Homemade Tomato Sauce
- Freshness: Enjoy the taste of summer all year long.
- Health: Control over ingredients means no unwanted preservatives or additives.
- Cost-Effective: Save money by using what you grow.
What You Will Need
- Canning jars
- Canning lids
- Canning rings
- Jar funnel
- Long spatula or knife
- Hot water bath canner
- Large stock pot or roaster
- Sieve or immersion blender
- Tomatoes
- Citric Acid or Lemon Juice
Step-by-Step directions to Preserving Tomatoes and Making Tomato Sauce
Step 1: Prepare the Tomatoes
- Harvest Fresh Tomatoes or if you have frozen tomatoes, pull them out of the freezer. This is actually my preferred way as you can drain some of the water off and skip the slicing step.
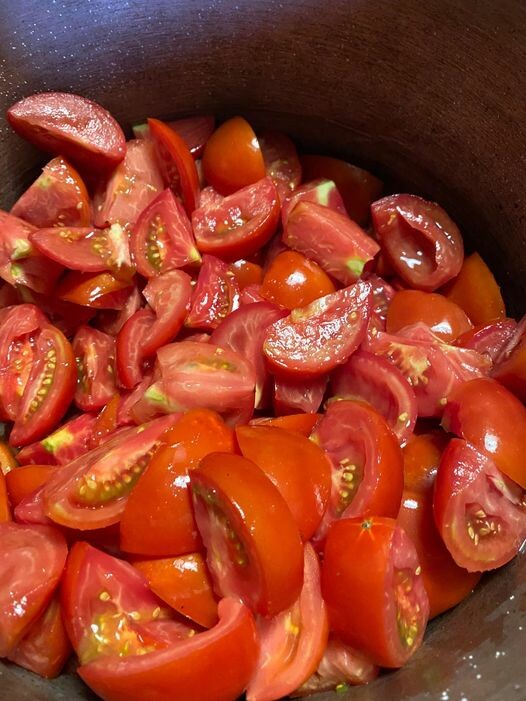
- Slice the Tomatoes into quarters. There's no need to blanch or core them; just toss them into the stock pot.
Step 2 (Optional): Steam the Tomatoes
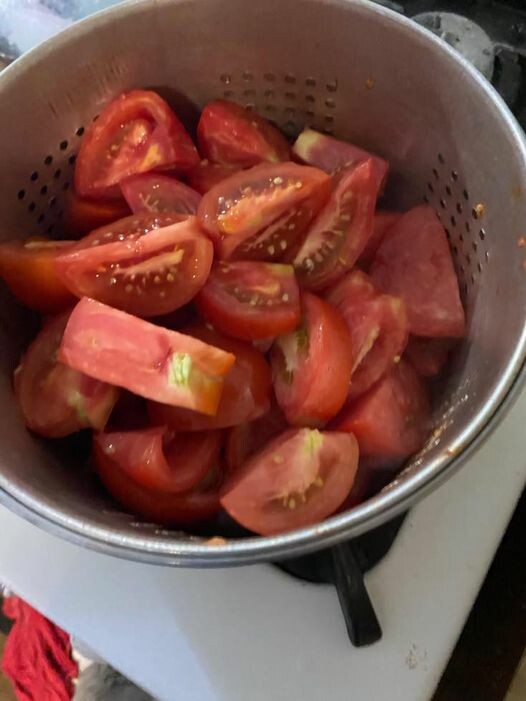
- If the tomatoes are firm, place them in a pot to steam until they soften. Using a strainer can make this easier.
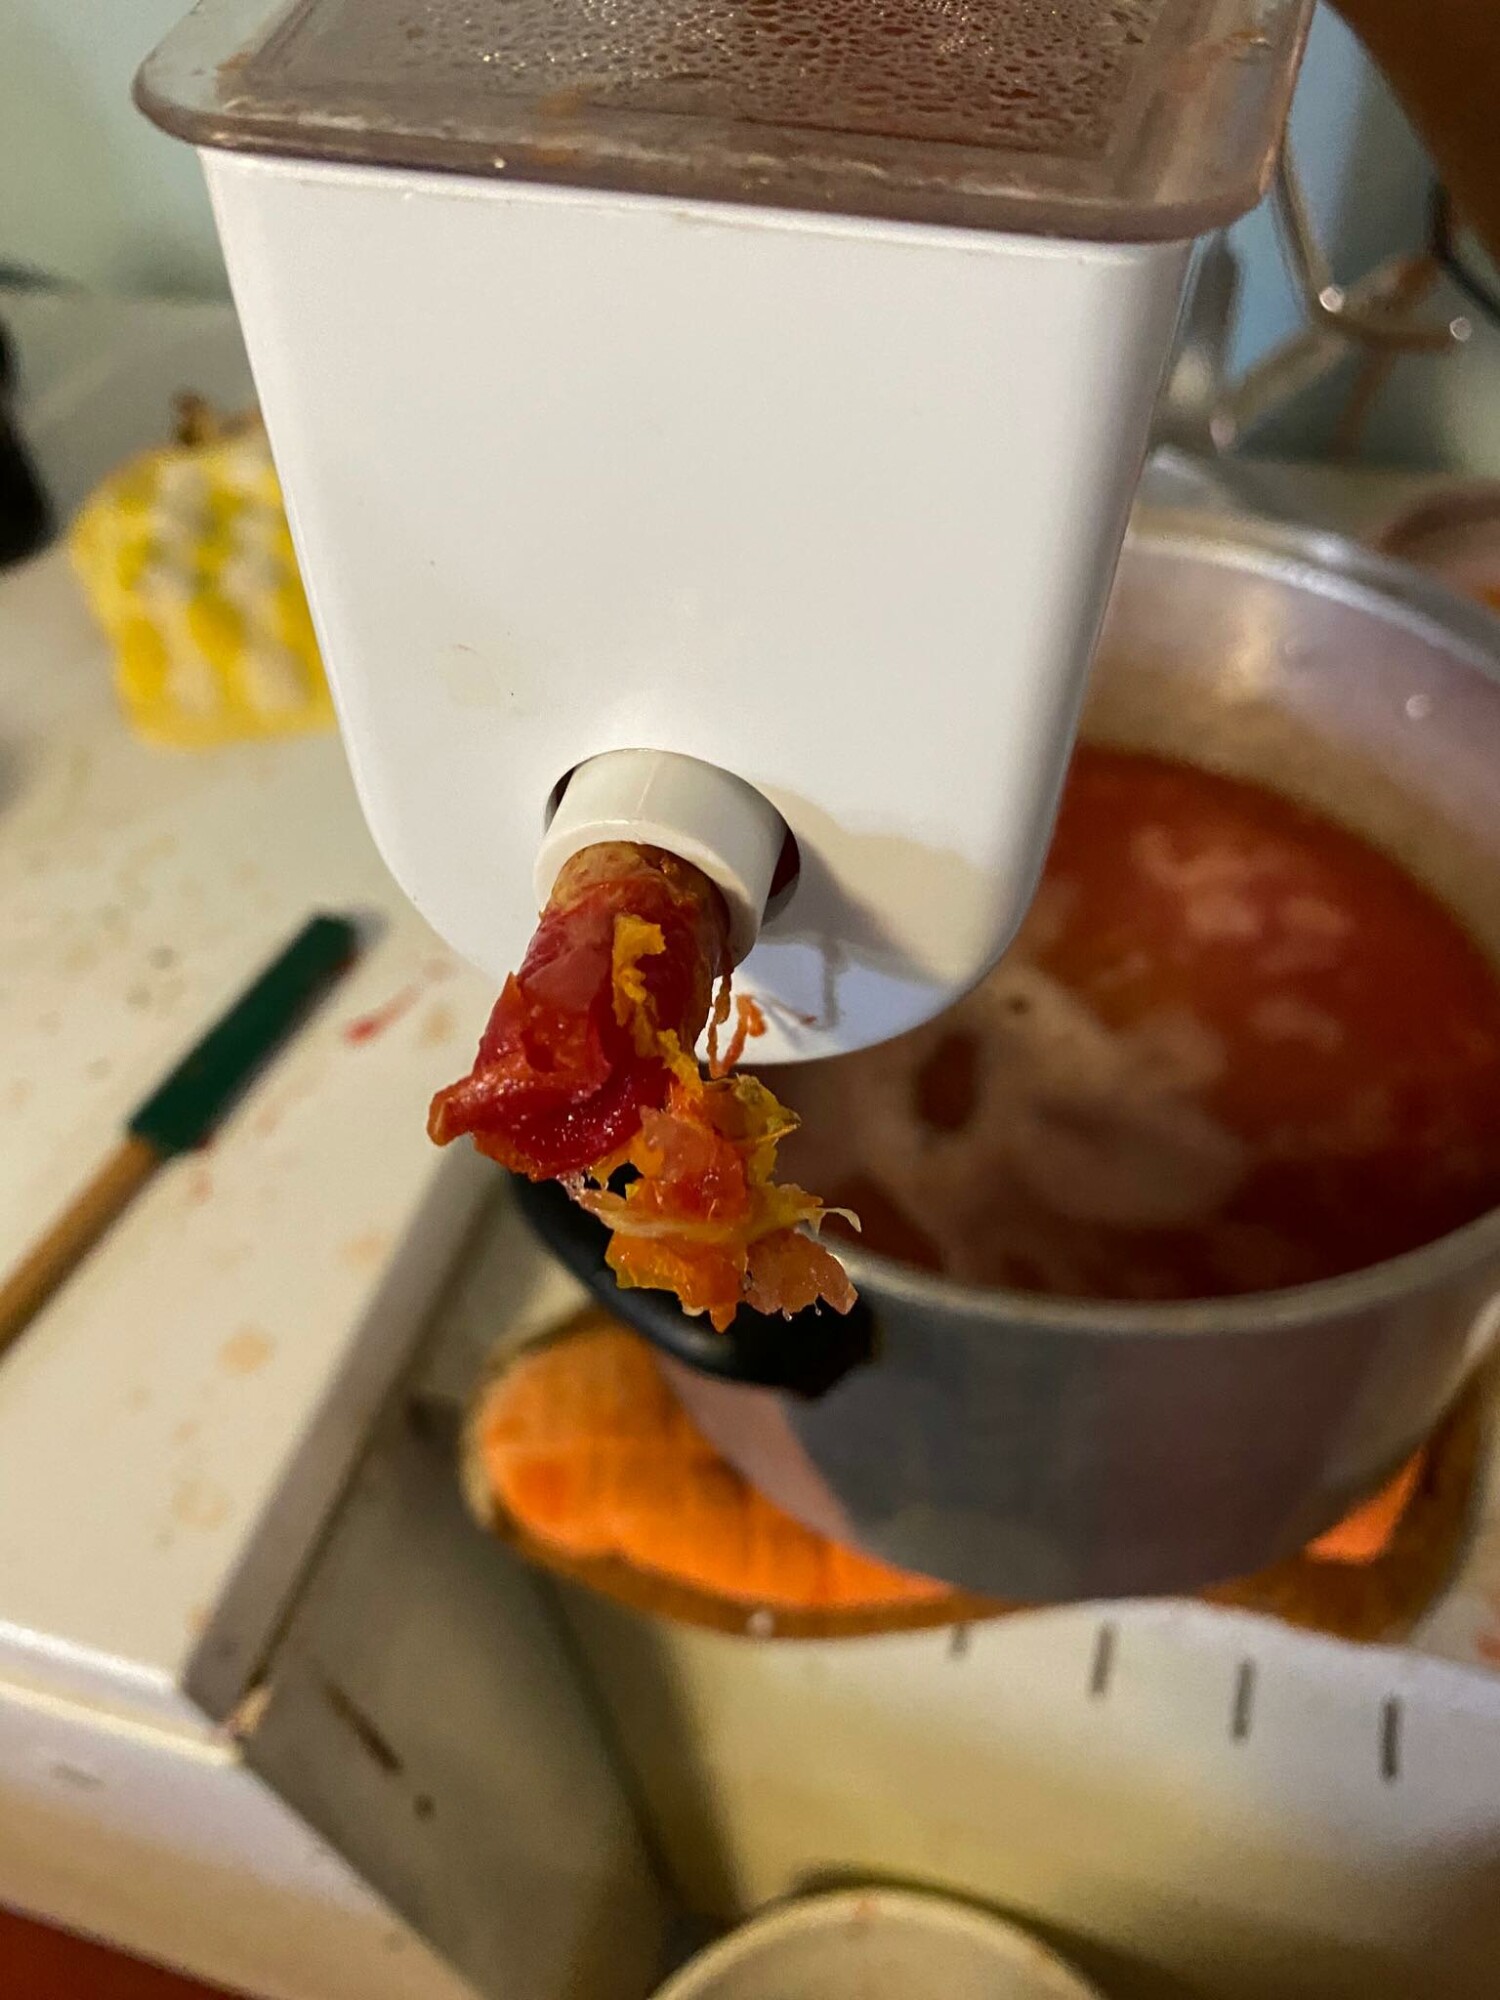
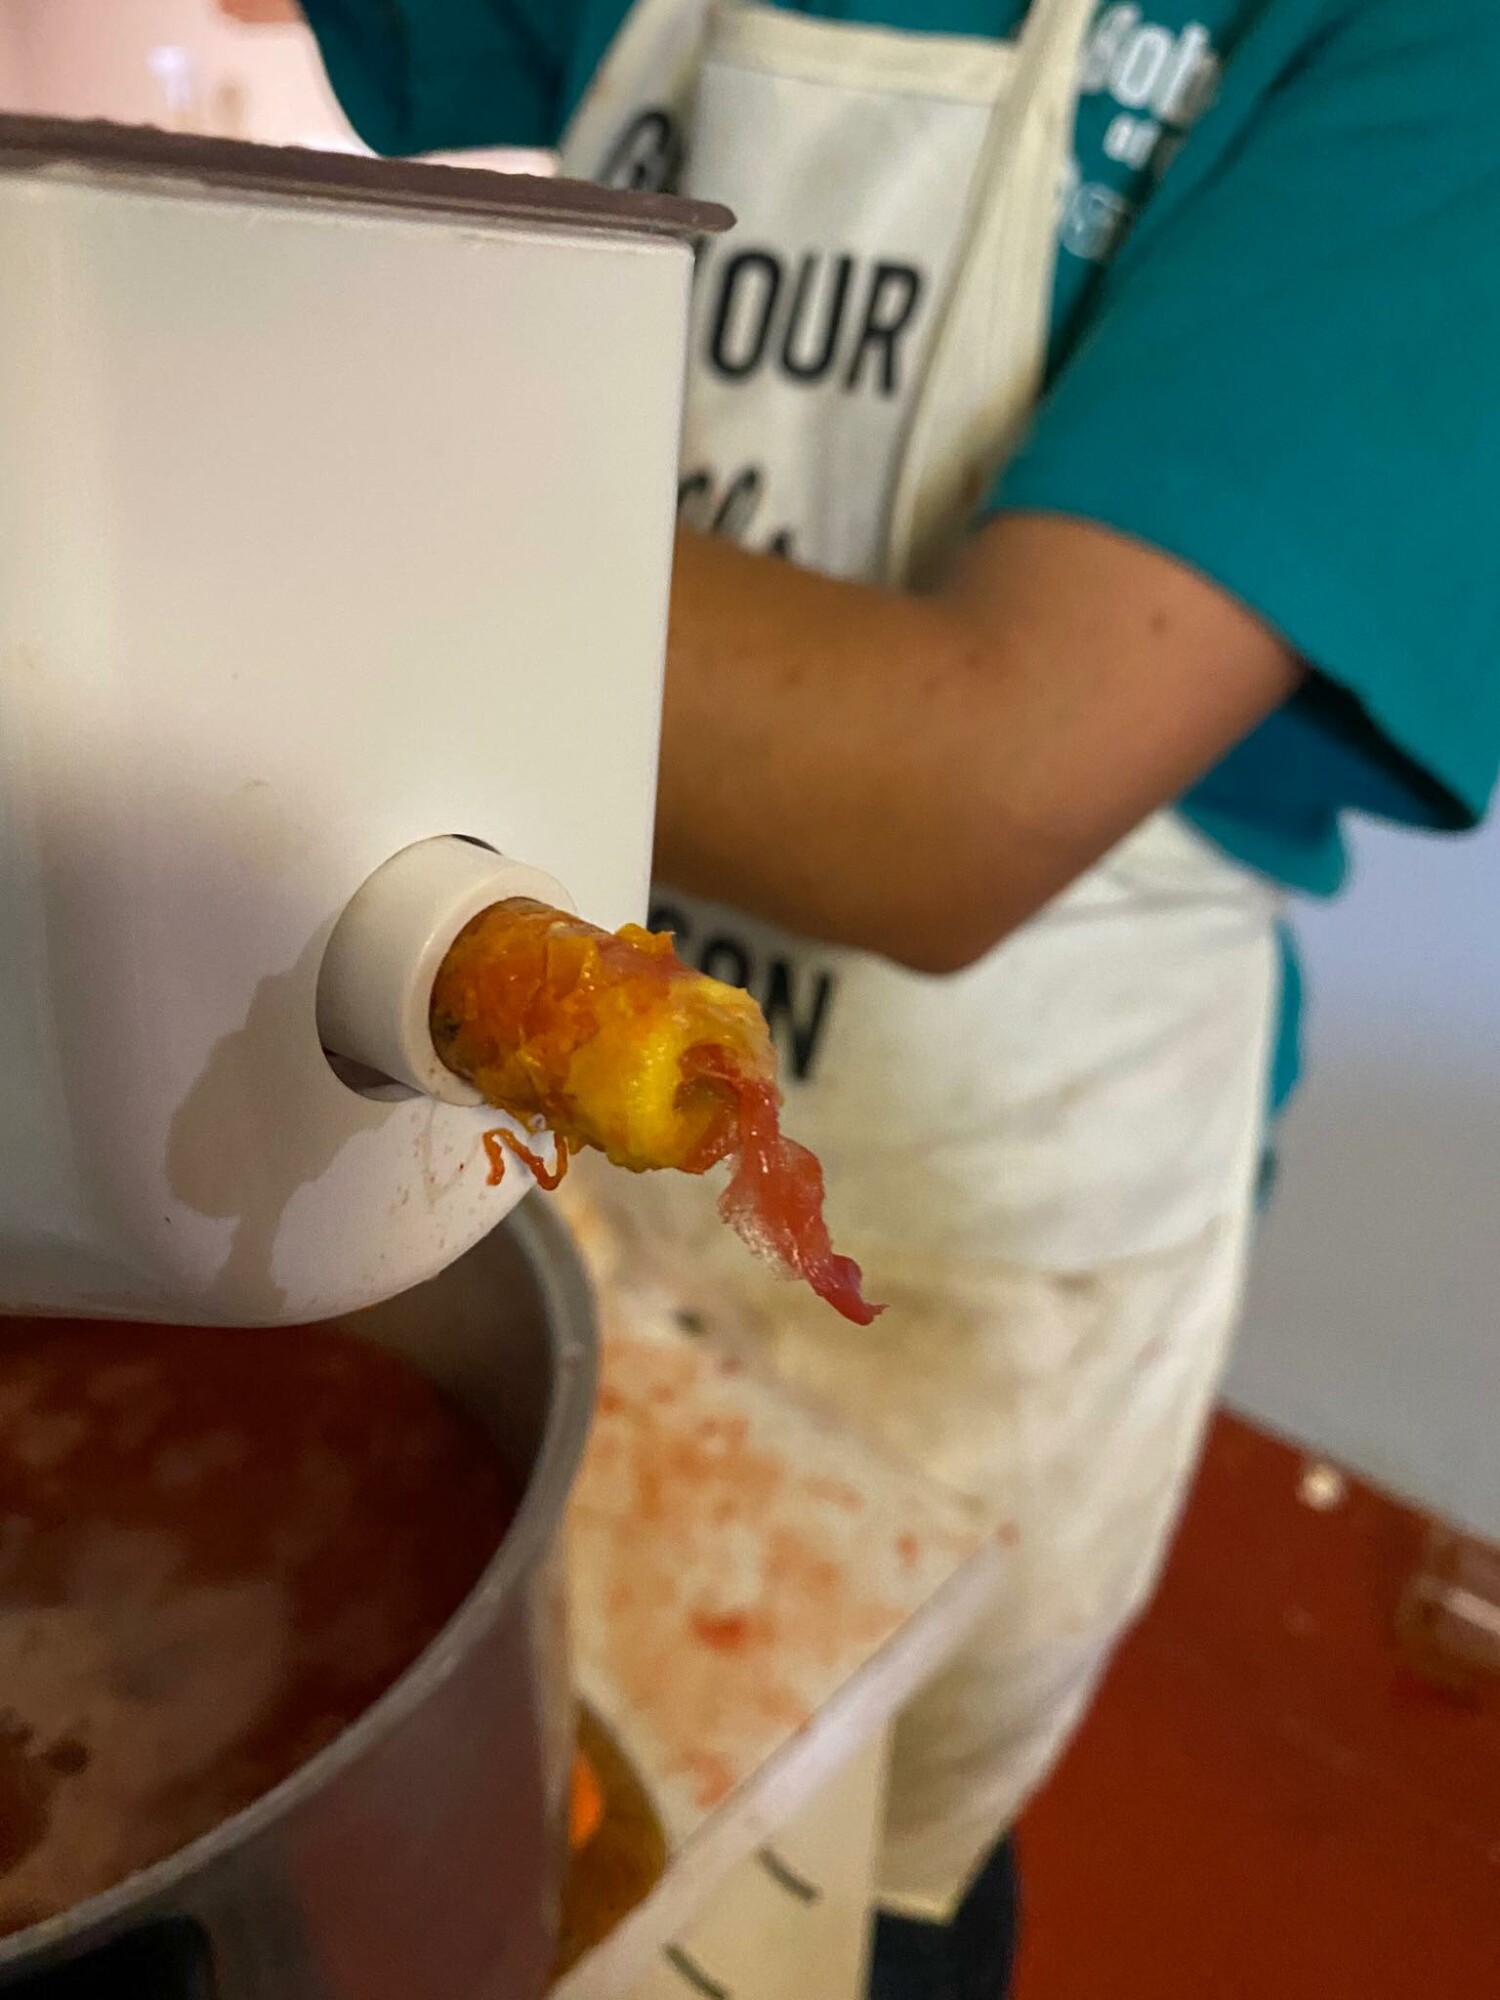
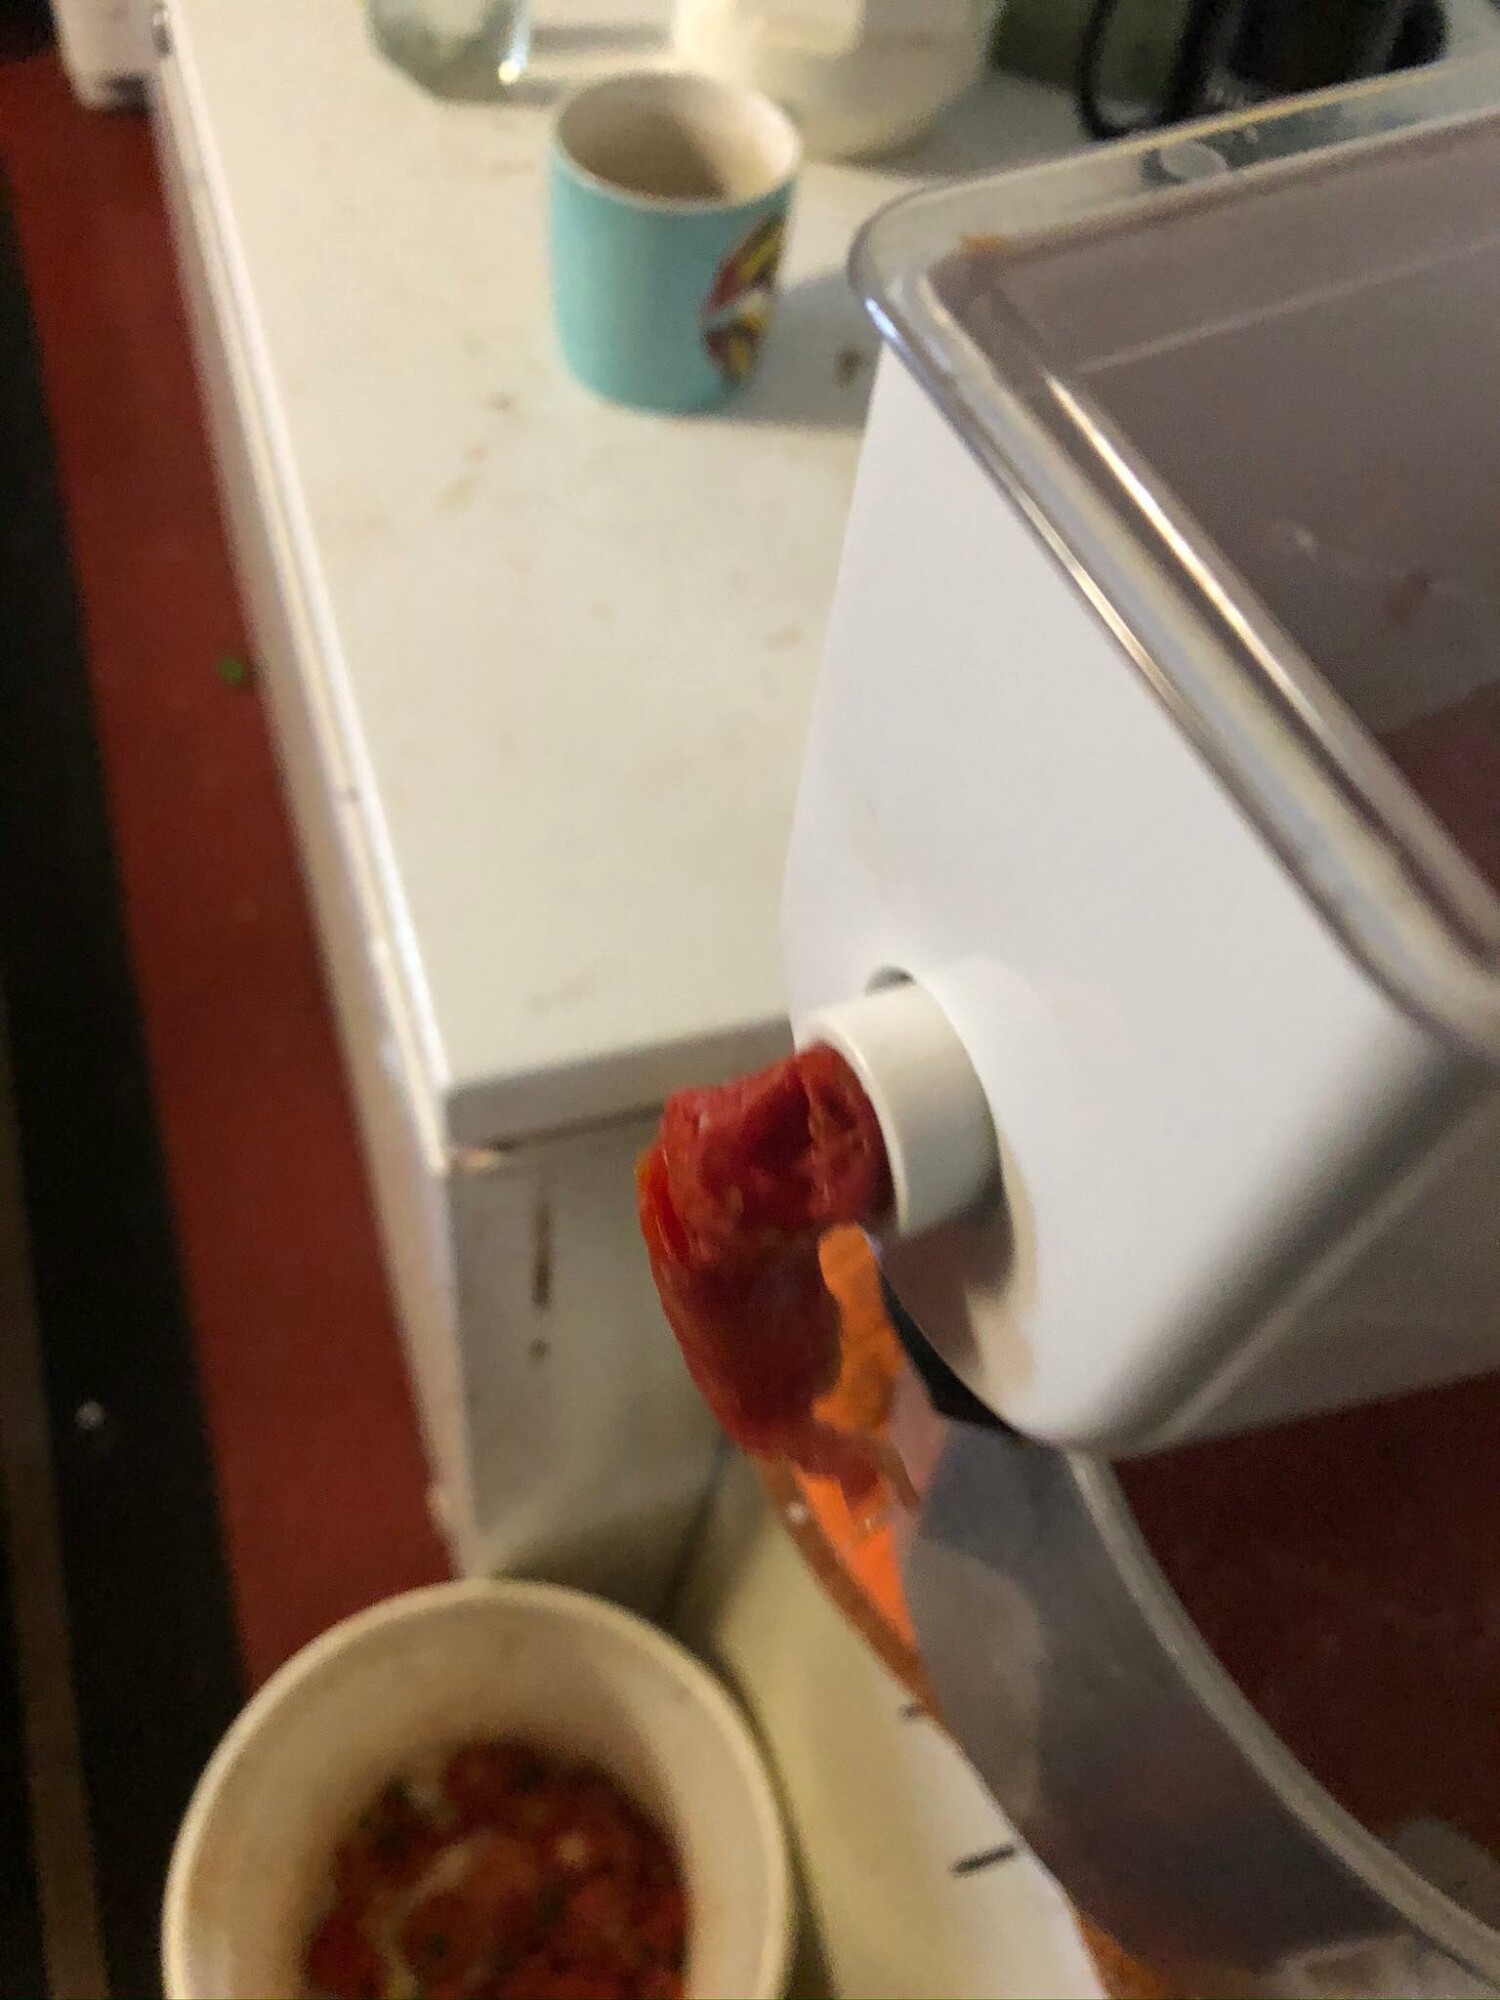
Step 3: Strain the Tomatoes
- Run the softened tomatoes through a sieve to separate the juice from the skins and seeds. This will give you a smooth tomato base. Alternatively if you don't care about the skins and seeds, you can use an immersion blender and blend the whole tomatoes. Note you will probably have a few rouge skins if you choose to do this.
- You can dry the sieved skins and seeds down to grind into powder and make tomato paste when needed.
- Pictures 1 & 2 are how the rejects should look. Picture three the tomatoes are a bit firm yet and I’m loosing quite a bit of pulp, not just skin and seed.
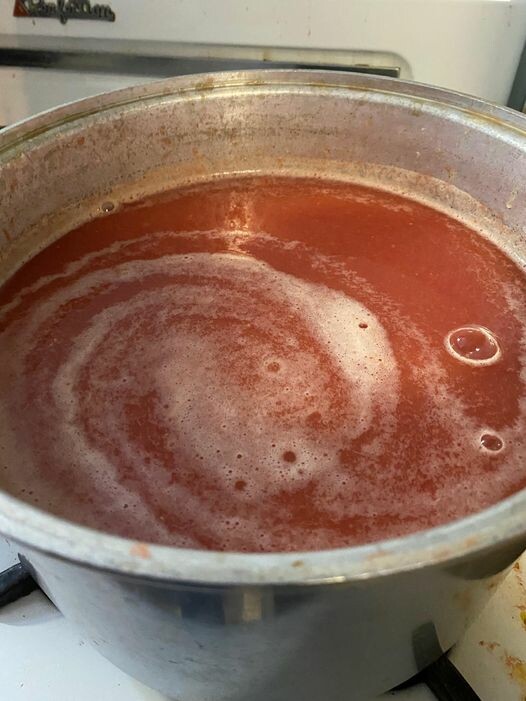
Step 4: Cook Down the Sauce
- Allow the tomato juice to cook down to your desired consistency. This could take a while depending on your preference. This is where a crock pot or roaster can come in handy. Using a roaster or crock pot you can walk away and do other things easier. You can also let them cook overnight and can them in the morning.
- Stir occasionally to avoid burning the bottom of the sauce if using a stock pot.
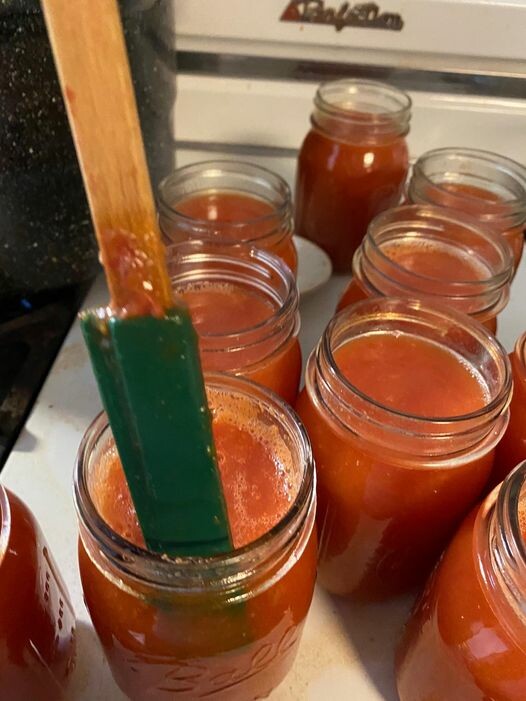
Step 5: Fill Sterile Jars
- Fill sterile canning jars with 1/4 teaspoon citric acid or lemon juice per pint of sauce and the hot tomato sauce, leaving about ½ inch of headspace.

Step 6: De-bubble the Jars
- Use a long spatula or knife to remove air bubbles by running it along the edge of the jar. Wipe the rim clean to ensure a proper seal.
Step 7: Prepare the Lids
- For one-time-use lids, rinse them in hot water before placing them on the jars and securing them with the rings. Do not over-tighten.
- For reusable lids, follow the manufacturer’s instructions. Tattler reusable canning lids, for example, recommend boiling the seals.
Step 8: Process in a Hot Water Bath
- Place jars in a hot water bath canner. Once the water is boiling, process the jars for 20 minutes.
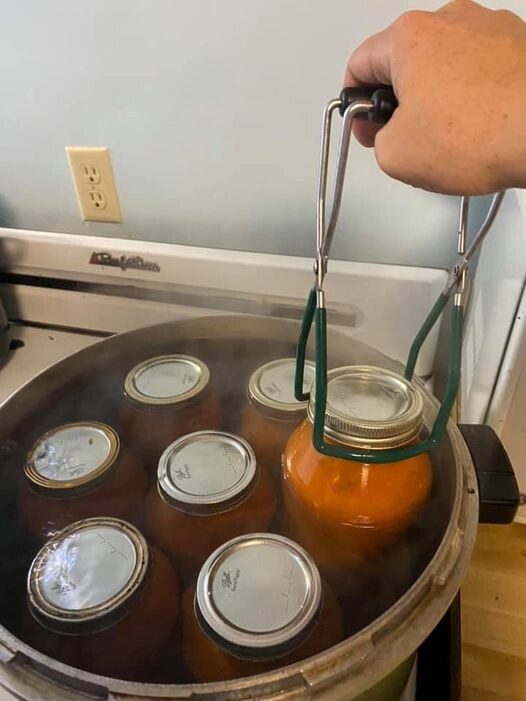
Step 9: Cool and Store
- Remove jars from the canner and allow them to cool overnight. Check the lids to ensure they are sealed.
- For one-time-use lids, the center should be concave and not pop up. For reusable lids, gently lift by the lid to test the seal.
Additional Tips for Successful Canning
- Use Garden, Ripe Tomatoes to ensure the best flavor.
- Sterilize Jars Properly to prevent contamination.
- Label and Date each jar for easy identification later. You will forget what is in that jar.
Why Use Reusable Canning Lids?
Reusable canning lids, like those from Tattler, offer several benefits:
- Eco-Friendly: Reduce waste by reusing lids.
- Cost-Effective: Save money in the long run.
- Reliable Seals: Trusted by home canners for their durability.
Preserving tomatoes and making your own tomato sauce can be a fulfilling and practical venture. By following these steps, you can enjoy fresh, homemade tomato sauce all year long. If you're new to canning or looking for more personalized advice, join the Thriving Through Life community on Facebook.
Start preserving today and savor the taste of homegrown tomatoes anytime you want.
Wanting a community to lean into? Join the FREE Thriving Through Farm Distress: Wife’s Support Network! In our community, we embrace the challenges of farm life and provide a supportive space for wives facing the complexities of managing a family farm. Whether you're navigating financial pressures, day-to-day operations, or seeking ways to create a thriving home, we're here for you. Explore gardening tips for cultivating your own oasis, share insights on animal care, and discover practical family budgeting strategies. Together, let's grow through challenges, flourish authentically, and sow the seeds for a resilient and thriving farm life. Join us on this journey of resilience and abundance!
As I've grown in my journey as an entrepreneur, mom, gardener, and livestock owner, I struggled to find a planner that met my needs and kept me organized. So, I MADE MY OWN. You can look at it on the link below and buy it on amazon below.
Don't want the whole calendar part? I got you! I pulled the gardening and animal care pages out and put them in a book all their own.
Starting to garden doesn't have to be hard! I gathered all the tips I've learned over my gardening learning curve and made them into a simple course to jump start your gardening your life.
Supporting Your Family Naturally from the Inside Out community!! This community is for Mommas, looking to Support Your Family from Nature for Wellness. Tips range from nutrition, herbals, detoxing, natural cleaning, and essential oils. Basically, all the things I’ve learned slowly over the past 5+ years of my journey. We have moved off Facebook, to better serve our community and be able to discuss openly options for providing for your family in the best way possible.
Join the FREE Community
Join the FREE Community
I've had 3 very different pregnancies. After the first traumatic birth, I learned better and how to care for my body naturally and prevent common pregnancy and birth problems before they arise. This quick course will get you the tools you need to have a naturally healthy pregnancy, labor, and delivery. My first pregnancy I had a normal western medicine all the things pregnancy. My second? I flipped to completely natural, no medicine. Bonus: Preventing Preeclampsia Without the Aspirin & Healing from Birth Trauma


0 Comments