- 6 parts sugar (coconut sugar works great if you're looking for a healthier option)
- 1 part cocoa powder
- A dash of cinnamon and nutmeg for added warmth and flavor
- Layer the ingredients in an airtight container, starting with sugar, followed by cocoa, and then the spices. Fill until the container is about ¾ full.
- Secure the lid and give it a good shake to mix everything together.
- ½ cup water (for a richer flavor skip the water and just use milk)
- ½ cup of your favorite milk alternative (I used almond milk)
- 1 teaspoon vanilla extract
- 1 tablespoon of the hot chocolate mix
- Heat the milk alternative and vanilla in a pan on the stove while bringing water to a boil. In hindsight, you can combine these steps to save time.
- Ensure the milk is hot but not boiling, stirring frequently to prevent scalding.
- Place 1 tablespoon of the mix into the pan and mix in.
- Fill the mugs with the hot milk mixture.
- Sip and enjoy!
Join the FREE Community

- 1 scoop of peanut butter
- 1 scoop of sugar (or use raw honey for a healthier option)
- A splash of pure vanilla extract
- A handful of allergen-free chocolate chips
- 1 cup peanut butter
- 1 cup sugar
- 1 teaspoon pure vanilla extract
- 1 large egg, beaten
- 1 cup allergen-free chocolate chips
- Preheat your oven to 350 degrees F.
- Mix all the ingredients together in a bowl.
- Spoon the mixture onto a cookie sheet and flatten each cookie slightly with a fork.
- Bake for 10 minutes, until the edges are golden.
- Gluten-Free and Dairy-Free - Perfect for those with dietary restrictions.
- Quick and Easy - Minimal ingredients, minimal fuss.
- Customizable - Alter the sweetness to your liking or try different add-ins like nuts, dried fruit, or even flax.
Join the FREE Community

- 2/4 cup discarded starter
- 2 T butter/coconut oil
- 1/2 t sea salt +1-2t herbs of choice.
Join the FREE Community
- 320g warm filtered water
- 10g psyllium husk
- 15g maple syrup (or honey)
- 150g active gf sourdough starter
- 310g 1:1 gf flour blend
- I use fresh milled flour (oats and brown rice). If doing so, you will need to add starch (like potato starch). The ratio is 1/3 starch, 2/3 grain. For this recipe, it would be 206g milled grain, 103g starch. I buy my grains and starches from Azure Standard.
- 9g sea salt
- Using a food scale, measure & combine the warm water, psyllium husk & maple syrup in a measuring cup or glass bowl and allow to gel.
- In a large mixing bowl, measure & combine your gluten free flour and sea salt.
- Add your psylium mixture to the flour then mix in your active starter
- Mix dough with a dough whisk, by hand, or in a stand mixer on low until dough comes together. If dough is still wet and sticky, add 1T flour at a time until dough comes together and is smooth.
- Remove dough from bowl and knead on a lightly floured work surface and form into a round or oval shape.
- Lightly flour or line your banneton or proofing bowl with a towel. Transfer your dough to the bowl with the smooth side down and any seams up
- NOTE: If you are using a sandwich loaf pan, place seams down and proof your dough in the pan.
- Cover with a tea towel and proof for 2 1/2 -3 hours at room temperature.
- If your house is cool, place it in the oven with light only on, or on a heating mat on the lowest setting, or a warm vent.
- You can also proof your loaf overnight in the refrigerator, which also helps develop a sourer flavor.
- Check your dough after 2 hours. If your dough has been proofing in the oven, remove it and carefully set aside do not disturb. Allow your dough to continue proofing 30-60 minutes more. Checking every 30 minutes. NOTE: the dough may not “double” while proofing but will.
- WHEN READY TO BAKE Place your dutch oven inside the oven and preheat to 425 degrees (this allows your dutch oven to get up to temperature.
- When your dough is proofed, turn dough out onto a folded section of parchment paper or dough sling from amazon (think of this as a sling that makes it easier to transfer to a hot dutch oven). Score your bread as desired, cutting in at least 1/4-1/2 inch - this allows steam to escape. Without scoring, your loaf will naturally crack.
- Remove hot Dutch oven from oven and carefully lower your dough into the dutch oven, careful not to drop which will deflate your bread and cause gumminess. Replace lid and place in oven.
- Bake for 45-50 minutes. After 45 minutes, remove the lid from the dutch oven Reduce temperature to 400 degrees and continue baking 35-50 minutes until golden brown on top. The exact time will vary depending on your oven and how golden you want your bread. When done, remove Dutch oven from oven and carefully remove loaf, using the sling.
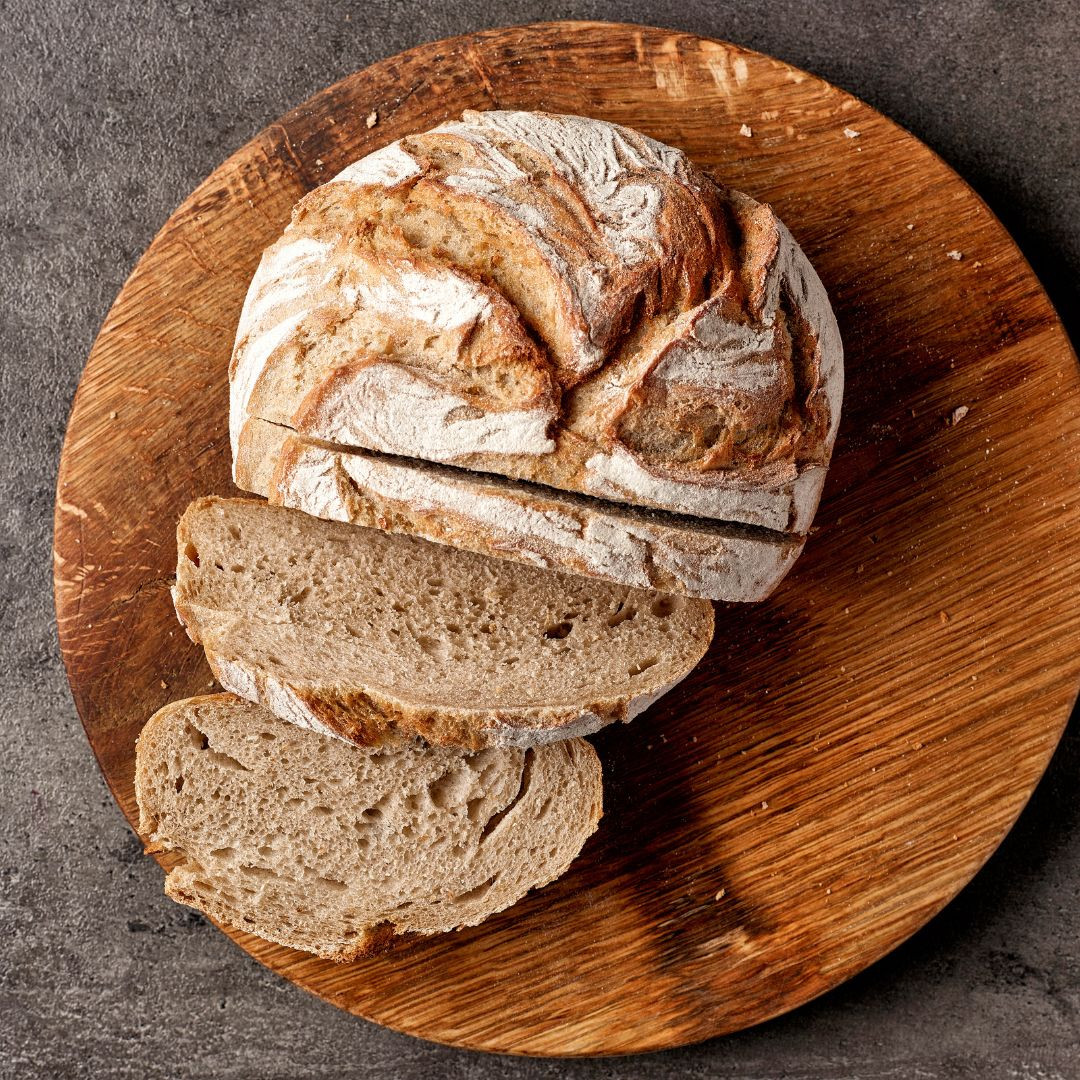
- Allow to cool completely before slicing- this is the hardest part, but worth it for the best texture. After slicing, store in a tea towel, linen bread bag or beeswax wrap on the counter for up to 2 days.
Join the FREE Community
- Dried Starter
- Brown Rice Flour*
- Gluten-free Oat Flour*
- Filtered Water
- Basic Kitchen Scale
- Spatula
- Mason Jar or glass container with loose lid
- Optional: Cheesecloth + rubber band (lid for jar)
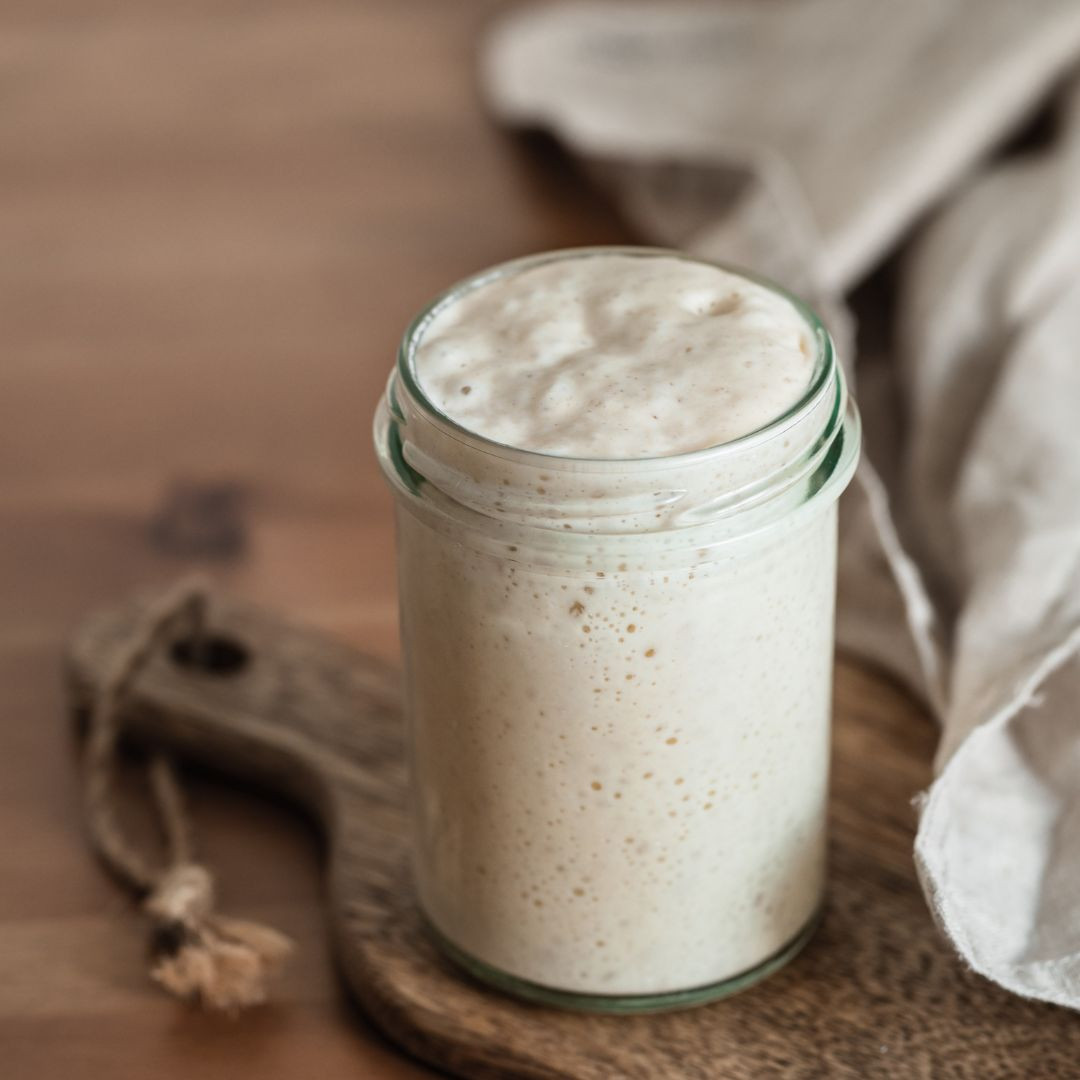
- If you want to use the starter right from your jar, do a big feeding of 75g gluten free flour of choice & 75g warm filtered water. This ensures you have at lease 150g of starter available with some left over. Allow to rise/double before making the recipe.
- Or build a levain/preferment: Building a Levain (also called a pre-ferment) helps determine how sour your bread will be, and also makes it easy to have the amount of starter needed for your recipe to add when needed.
-
- The amount needed will vary recipe to recipe, so see how many grams of active starter is needed.
- For the Classic GF Loaf recipe below, you’ll need 150g of active starter.
- In a second jar or bowl, add 50g of the fed & active sourdough starter, 50g GF flour, and 50g warm filtered water. Allow rise /double before using in recipe.
Join the FREE Community
Join the FREE Community
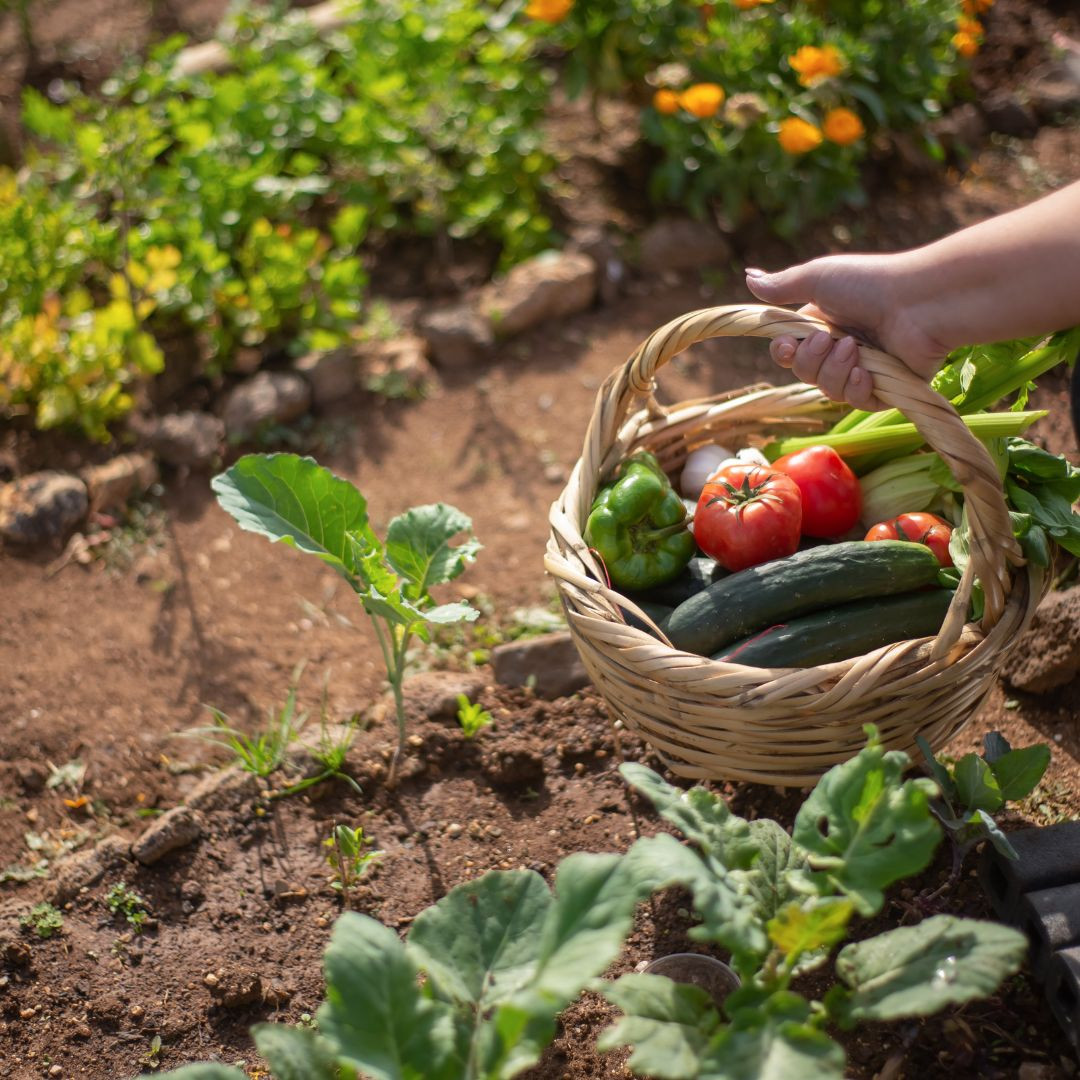
Wanting a community to lean into? Join the FREE Courageous + Purposeful Mommas group! This community is for the Mommas, mommas to be, in the midst of raising, and kids grown, looking for tips on building your family up and providing for them through natural methods. Tips include: gardening, bulk buying, caning,/preserving, livestock, homesteading, and home remedies. Your family is precious, and this group is to help you gain the knowledge and tools to keep your family well and not reliant on outside professionals. Remedies and tips are easy and simple for the busy momma, time is precious after all, including pregnancy, birth, young kids, and illness. Trust your Momma gut again! This community offers the resources + community you need to help get started on your journey and prepare for whatever future you envision.
Click here to get the stories straight to your email:
For more on wellness tips click here:
For more on homesteading on your budget click here:
For more simple DIY updates click here:

- Canning jars
- Canning lids
- Canning rings
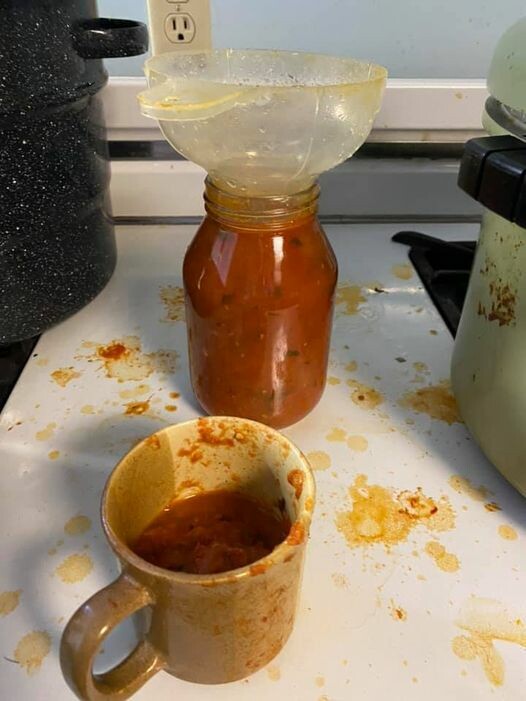
- Jar Funnel
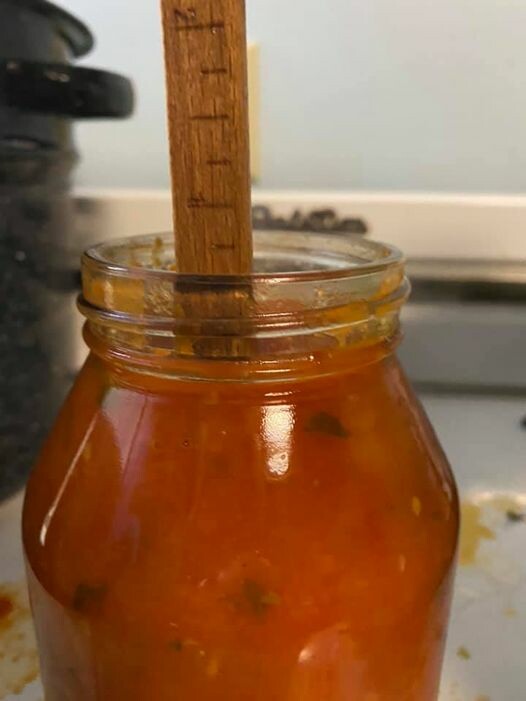
- Long spatula or knife
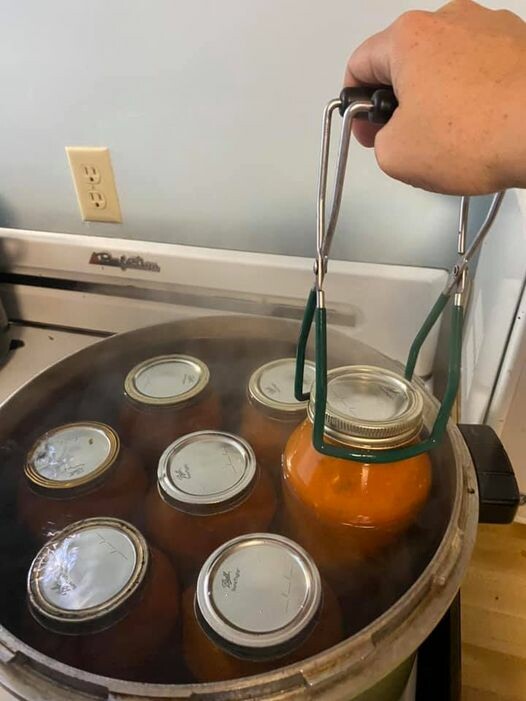
- Hot water bath
- Stock pot (I usually have at least 2)
- Colander
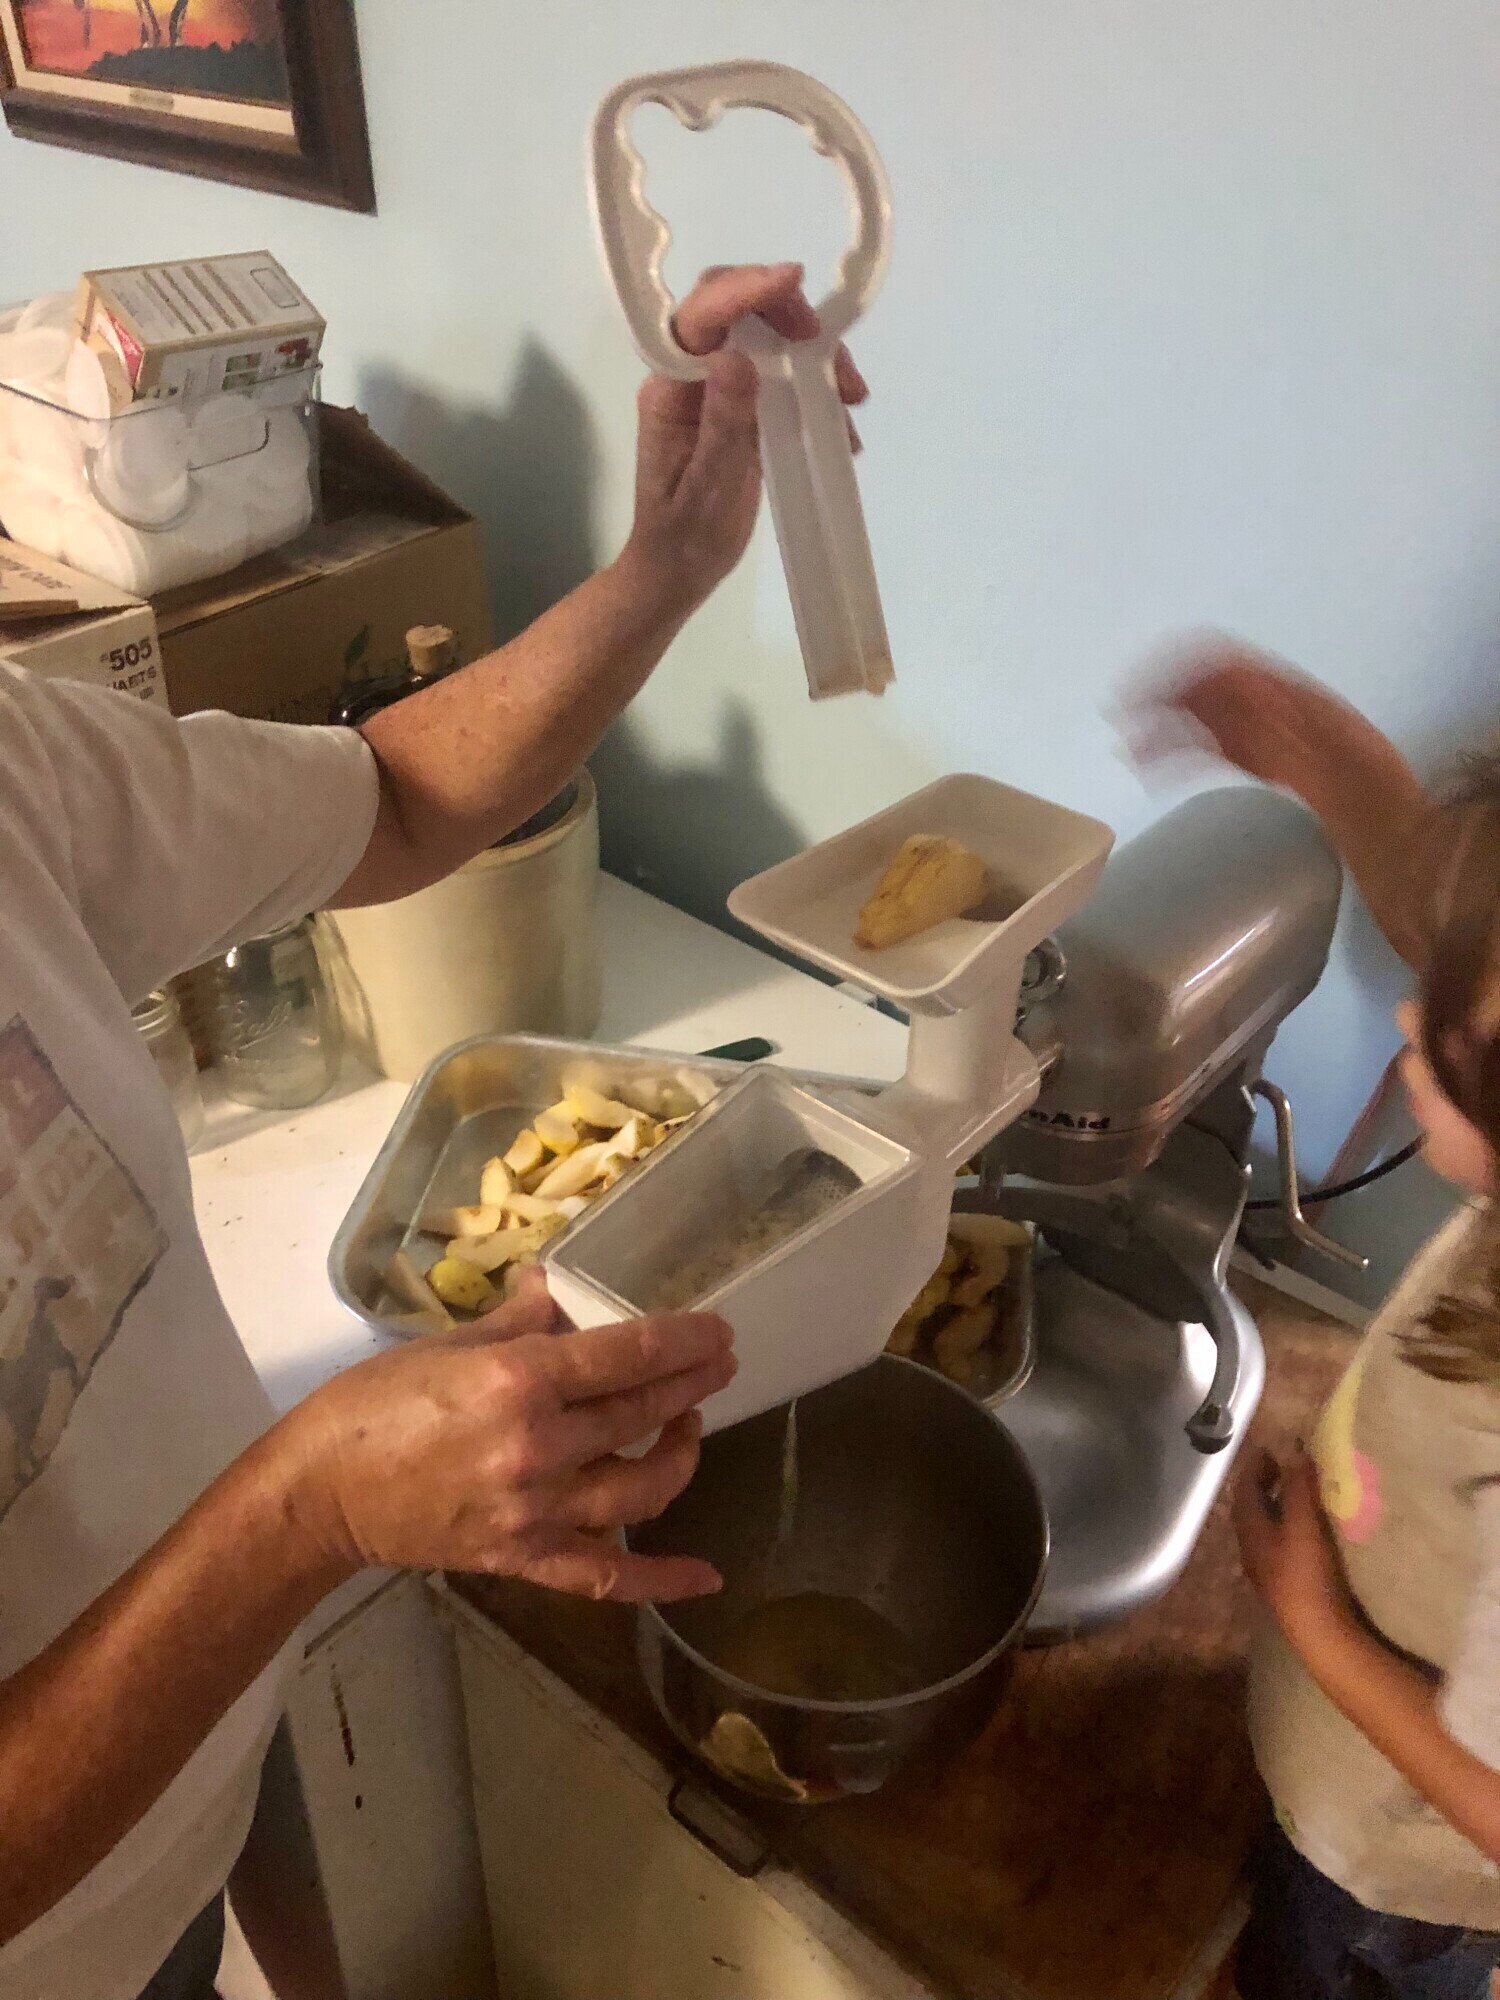
- Sieve/immersion blender/kitchen aid sieve attachment
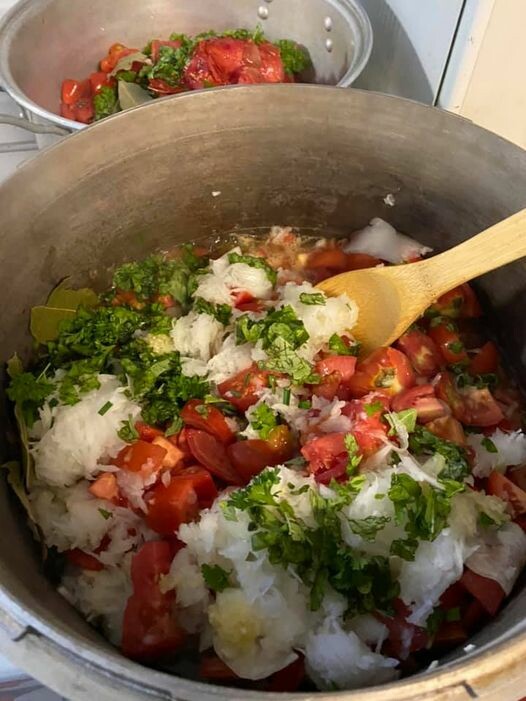
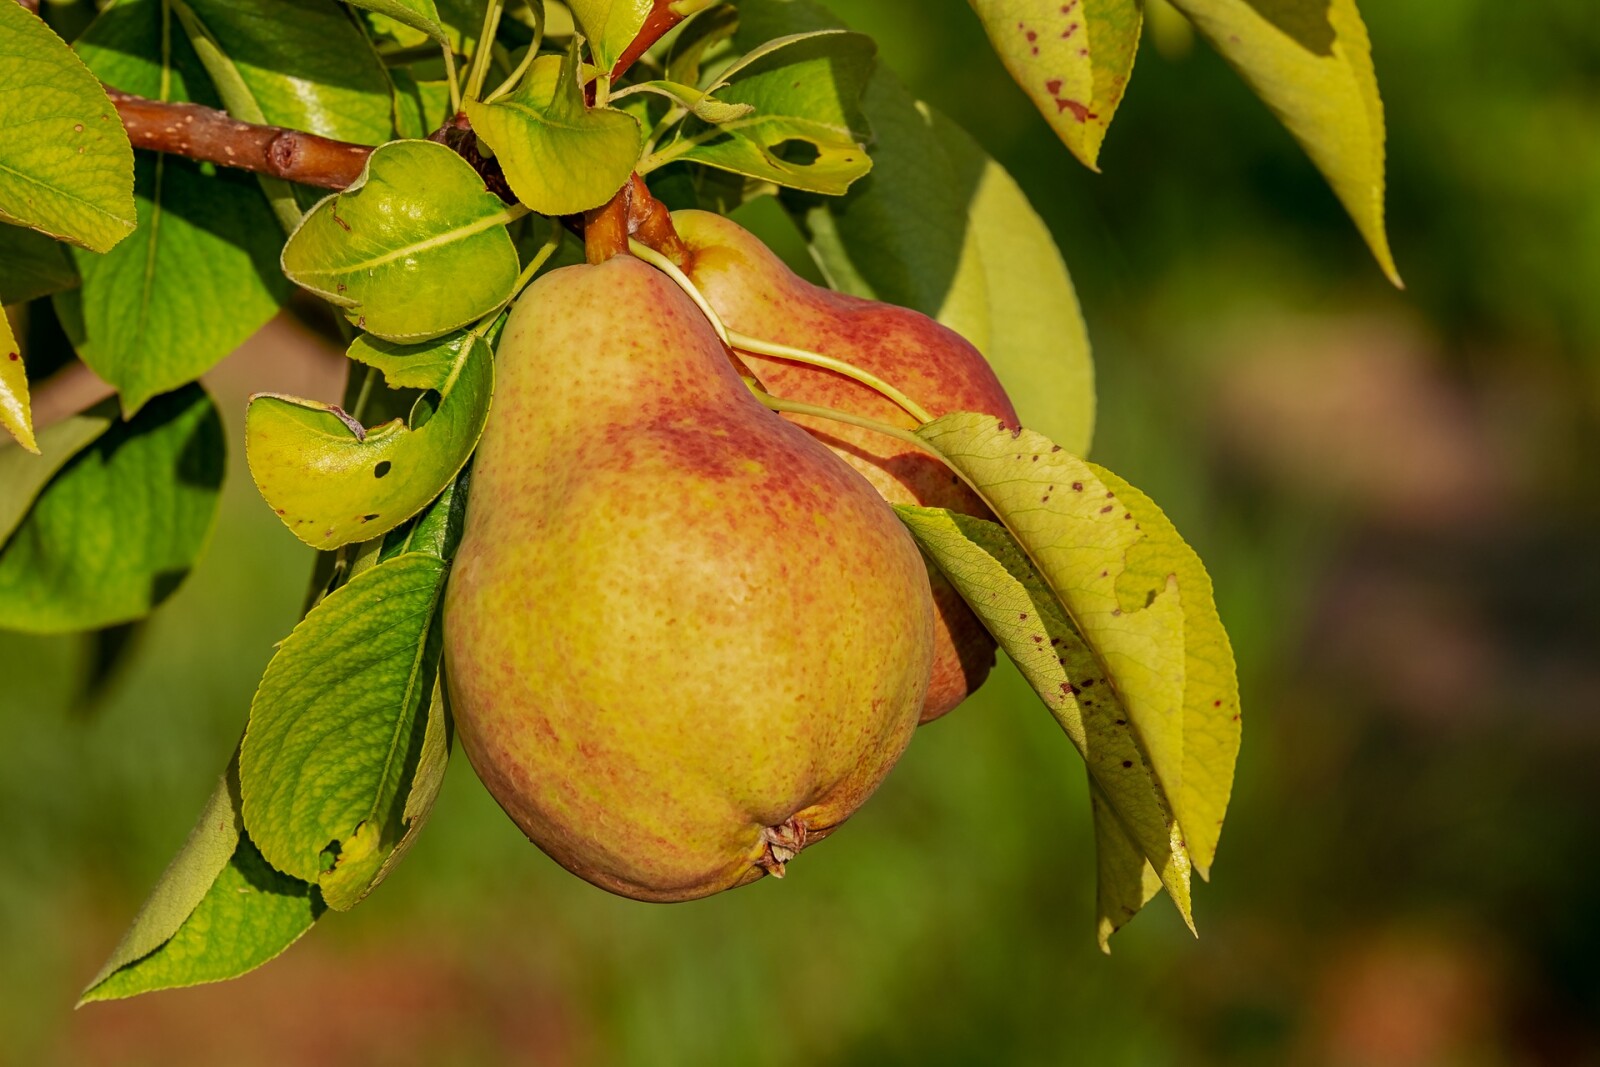
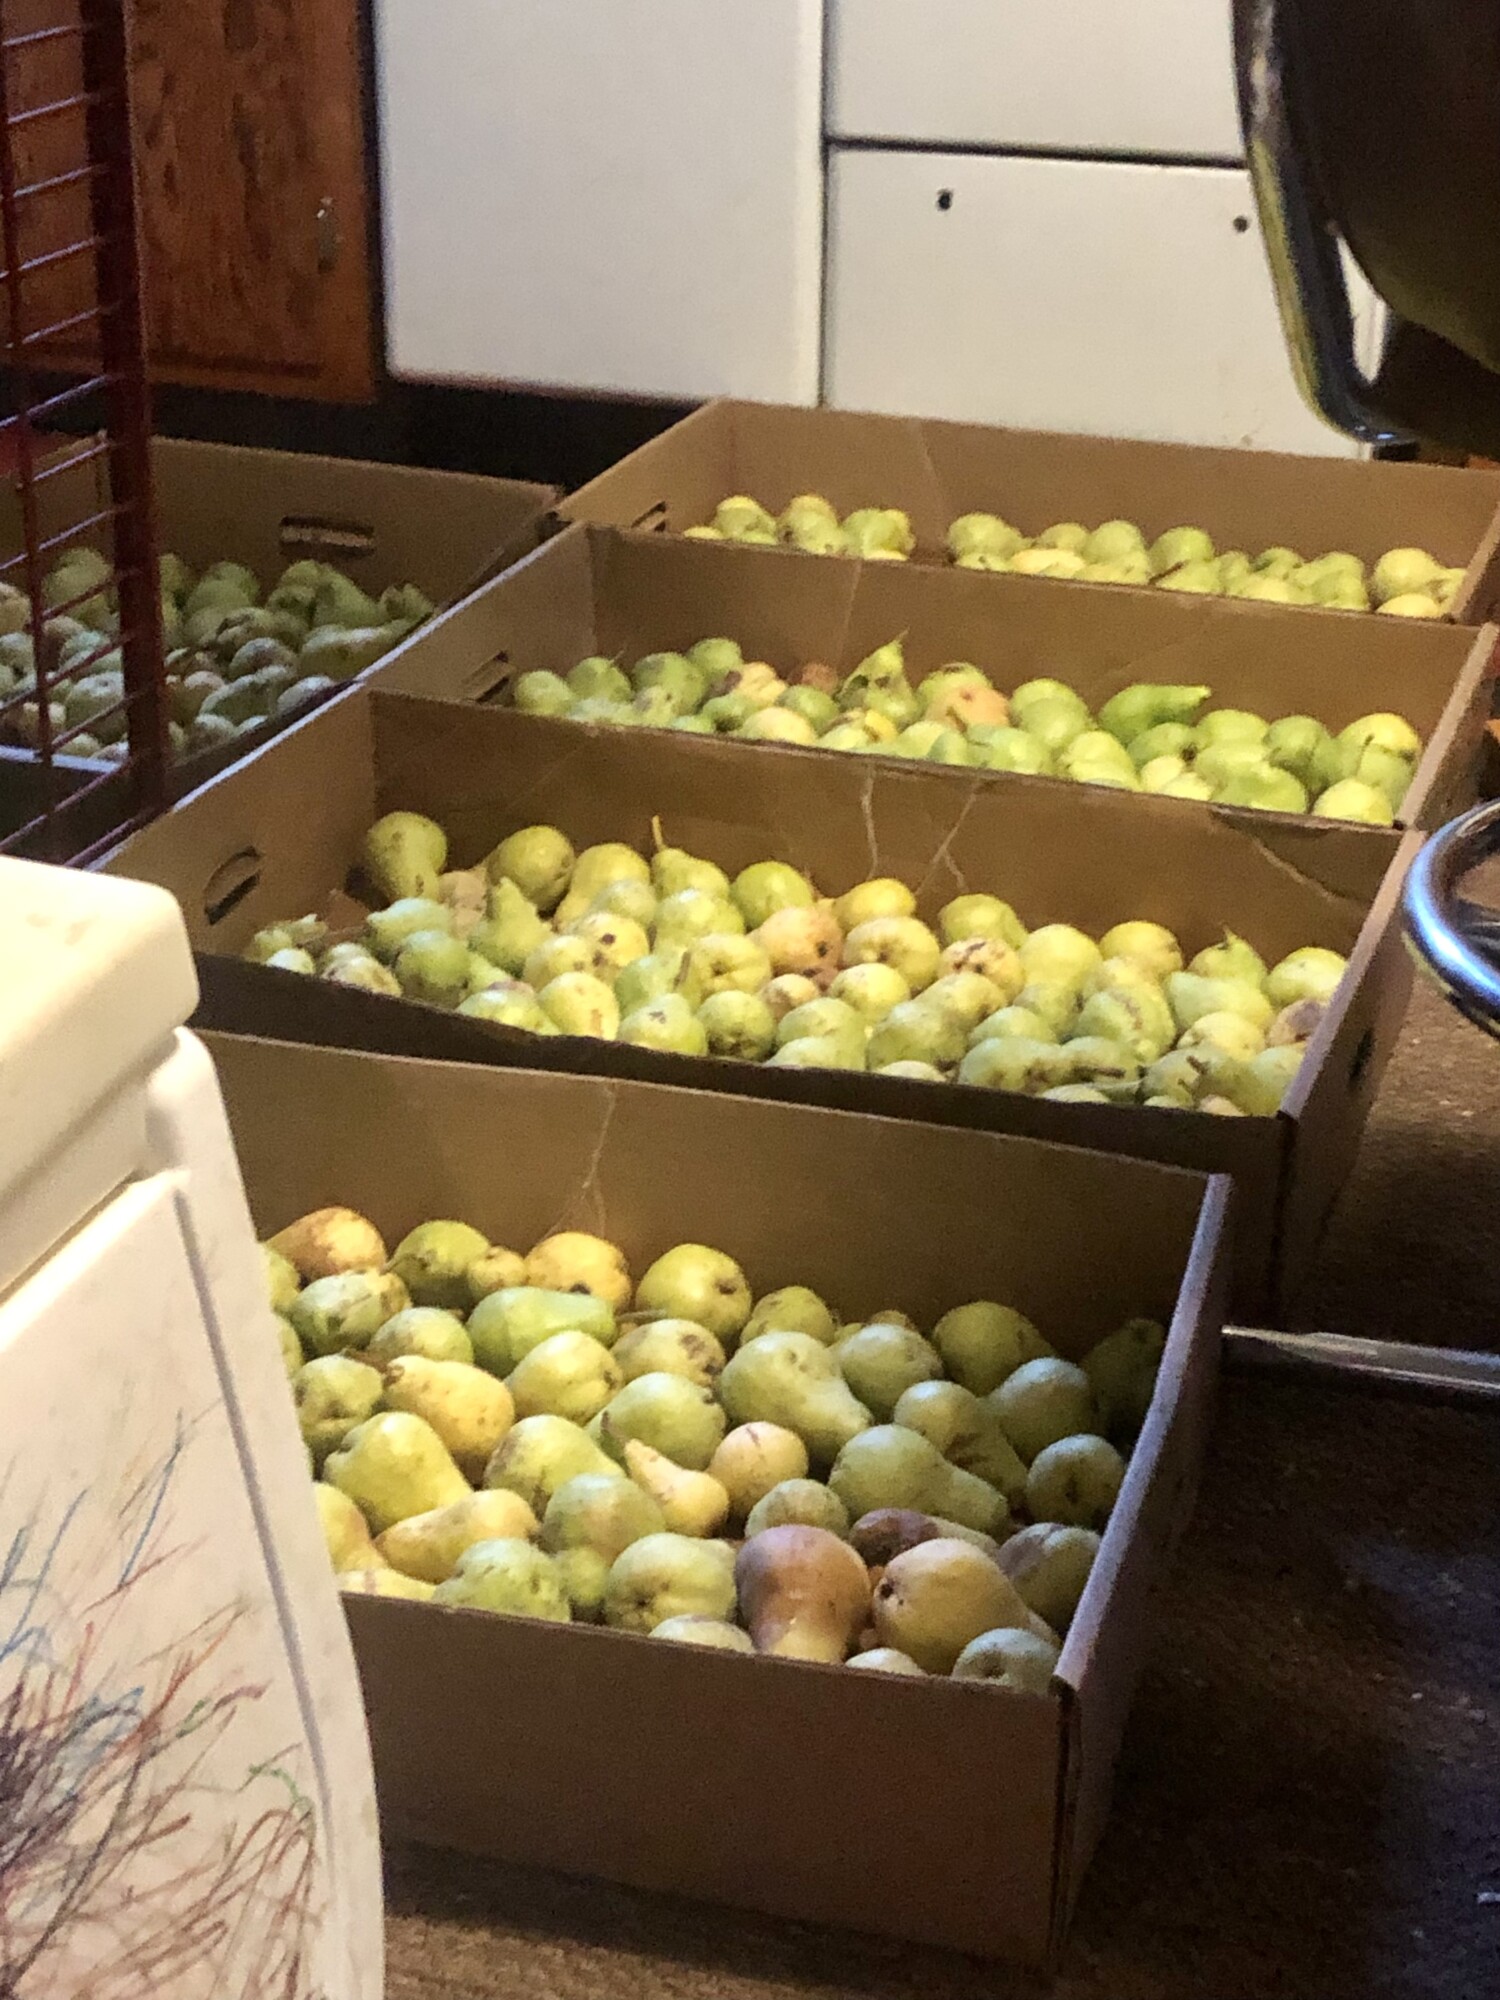
- Pears
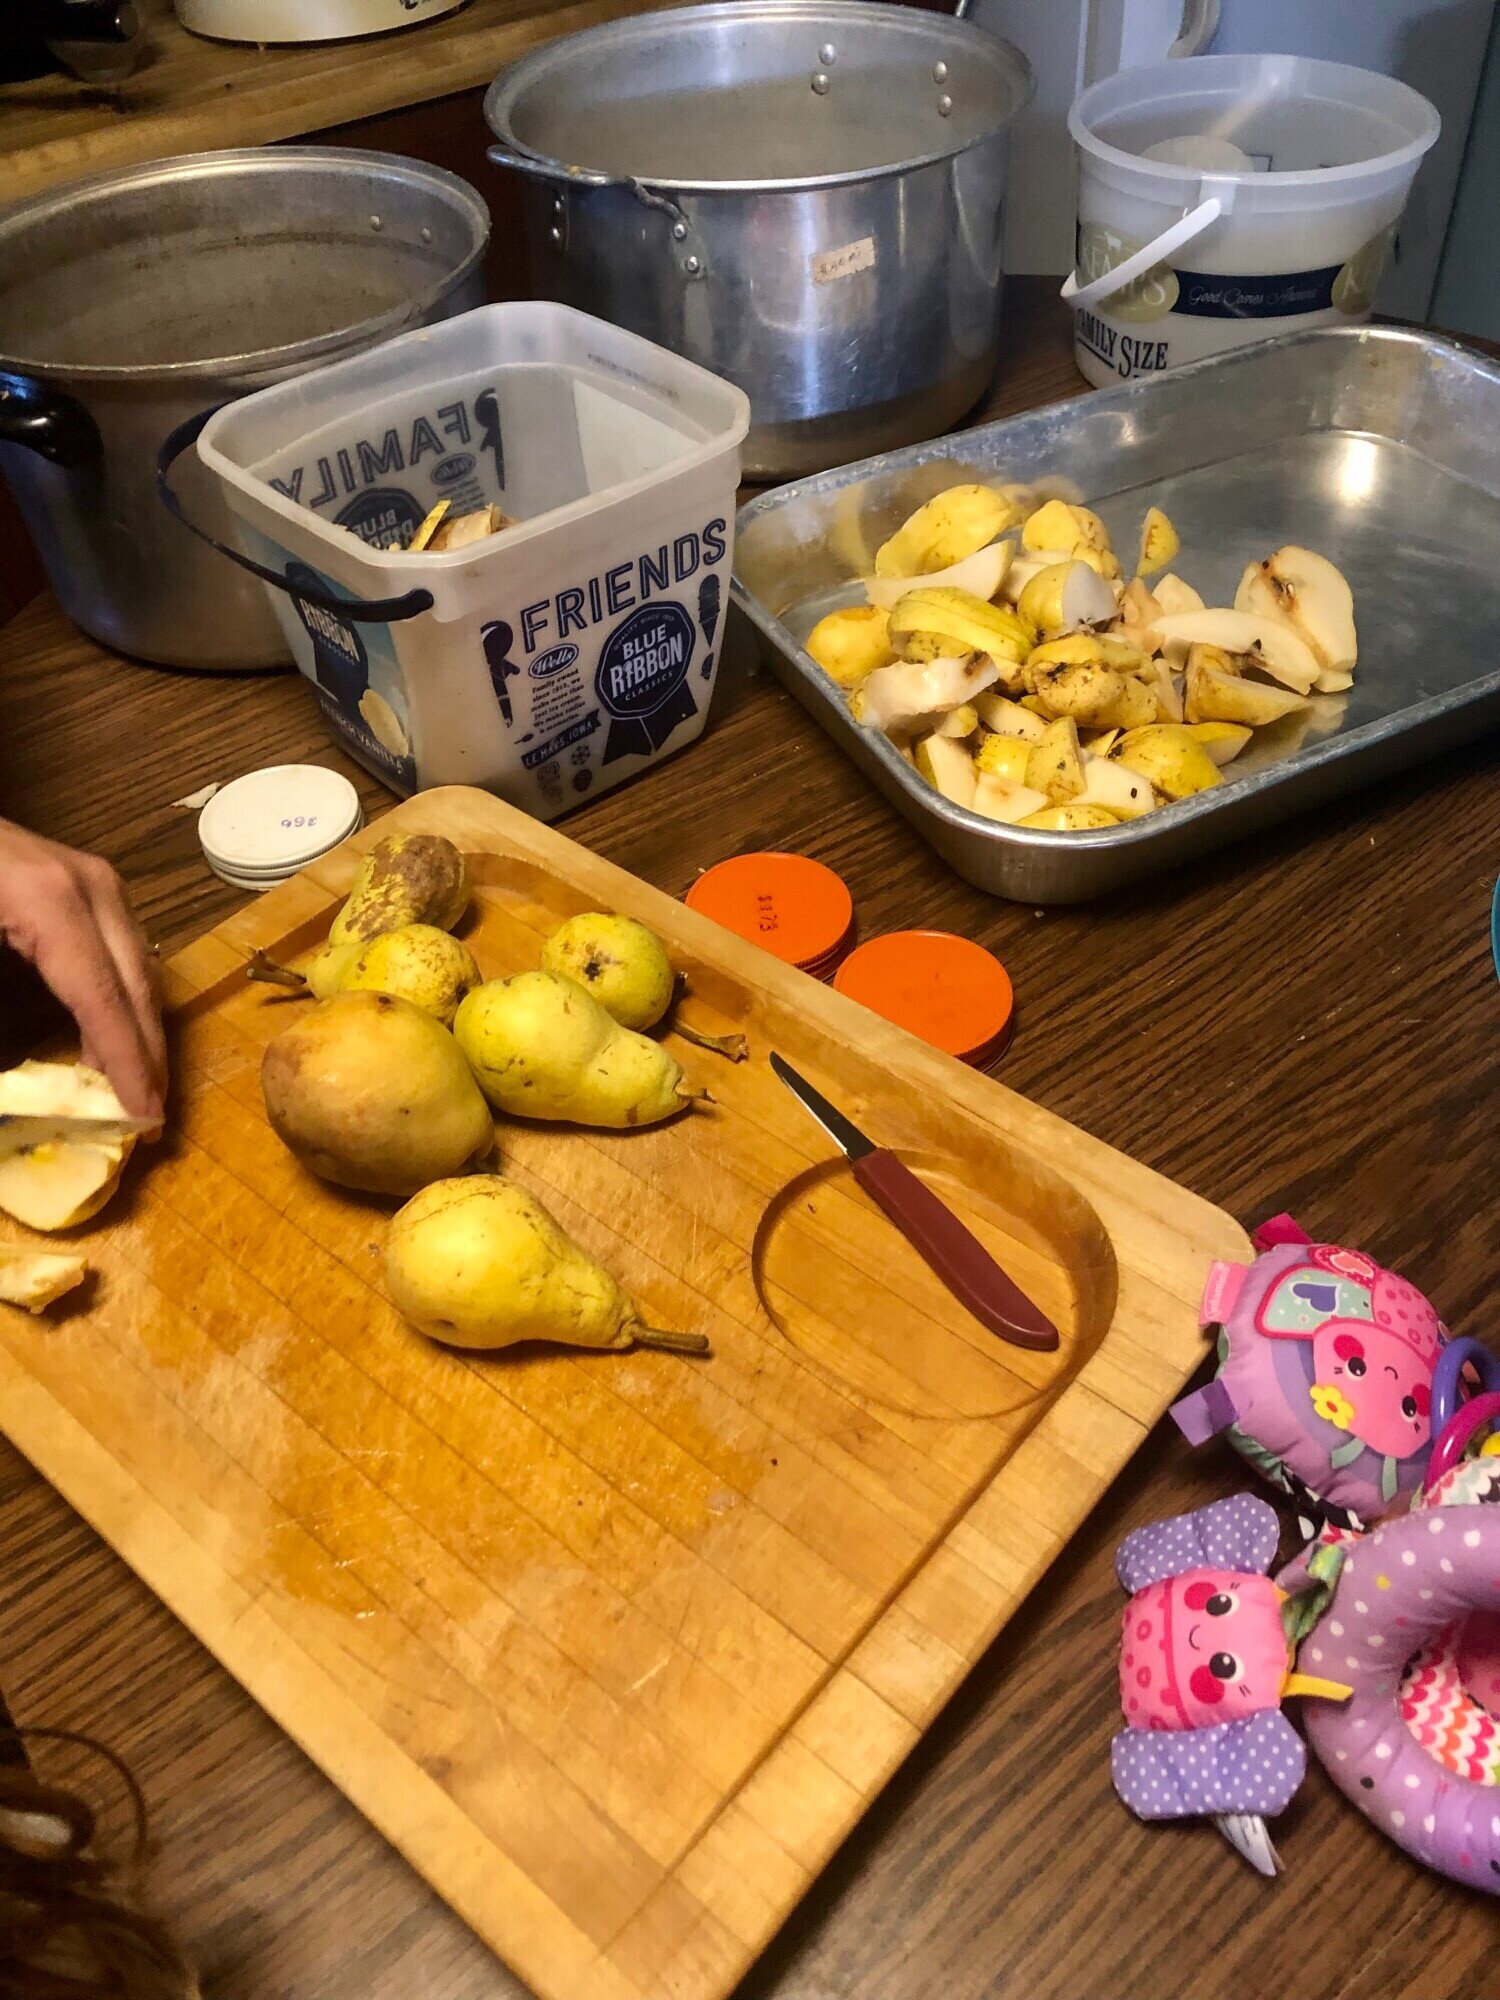
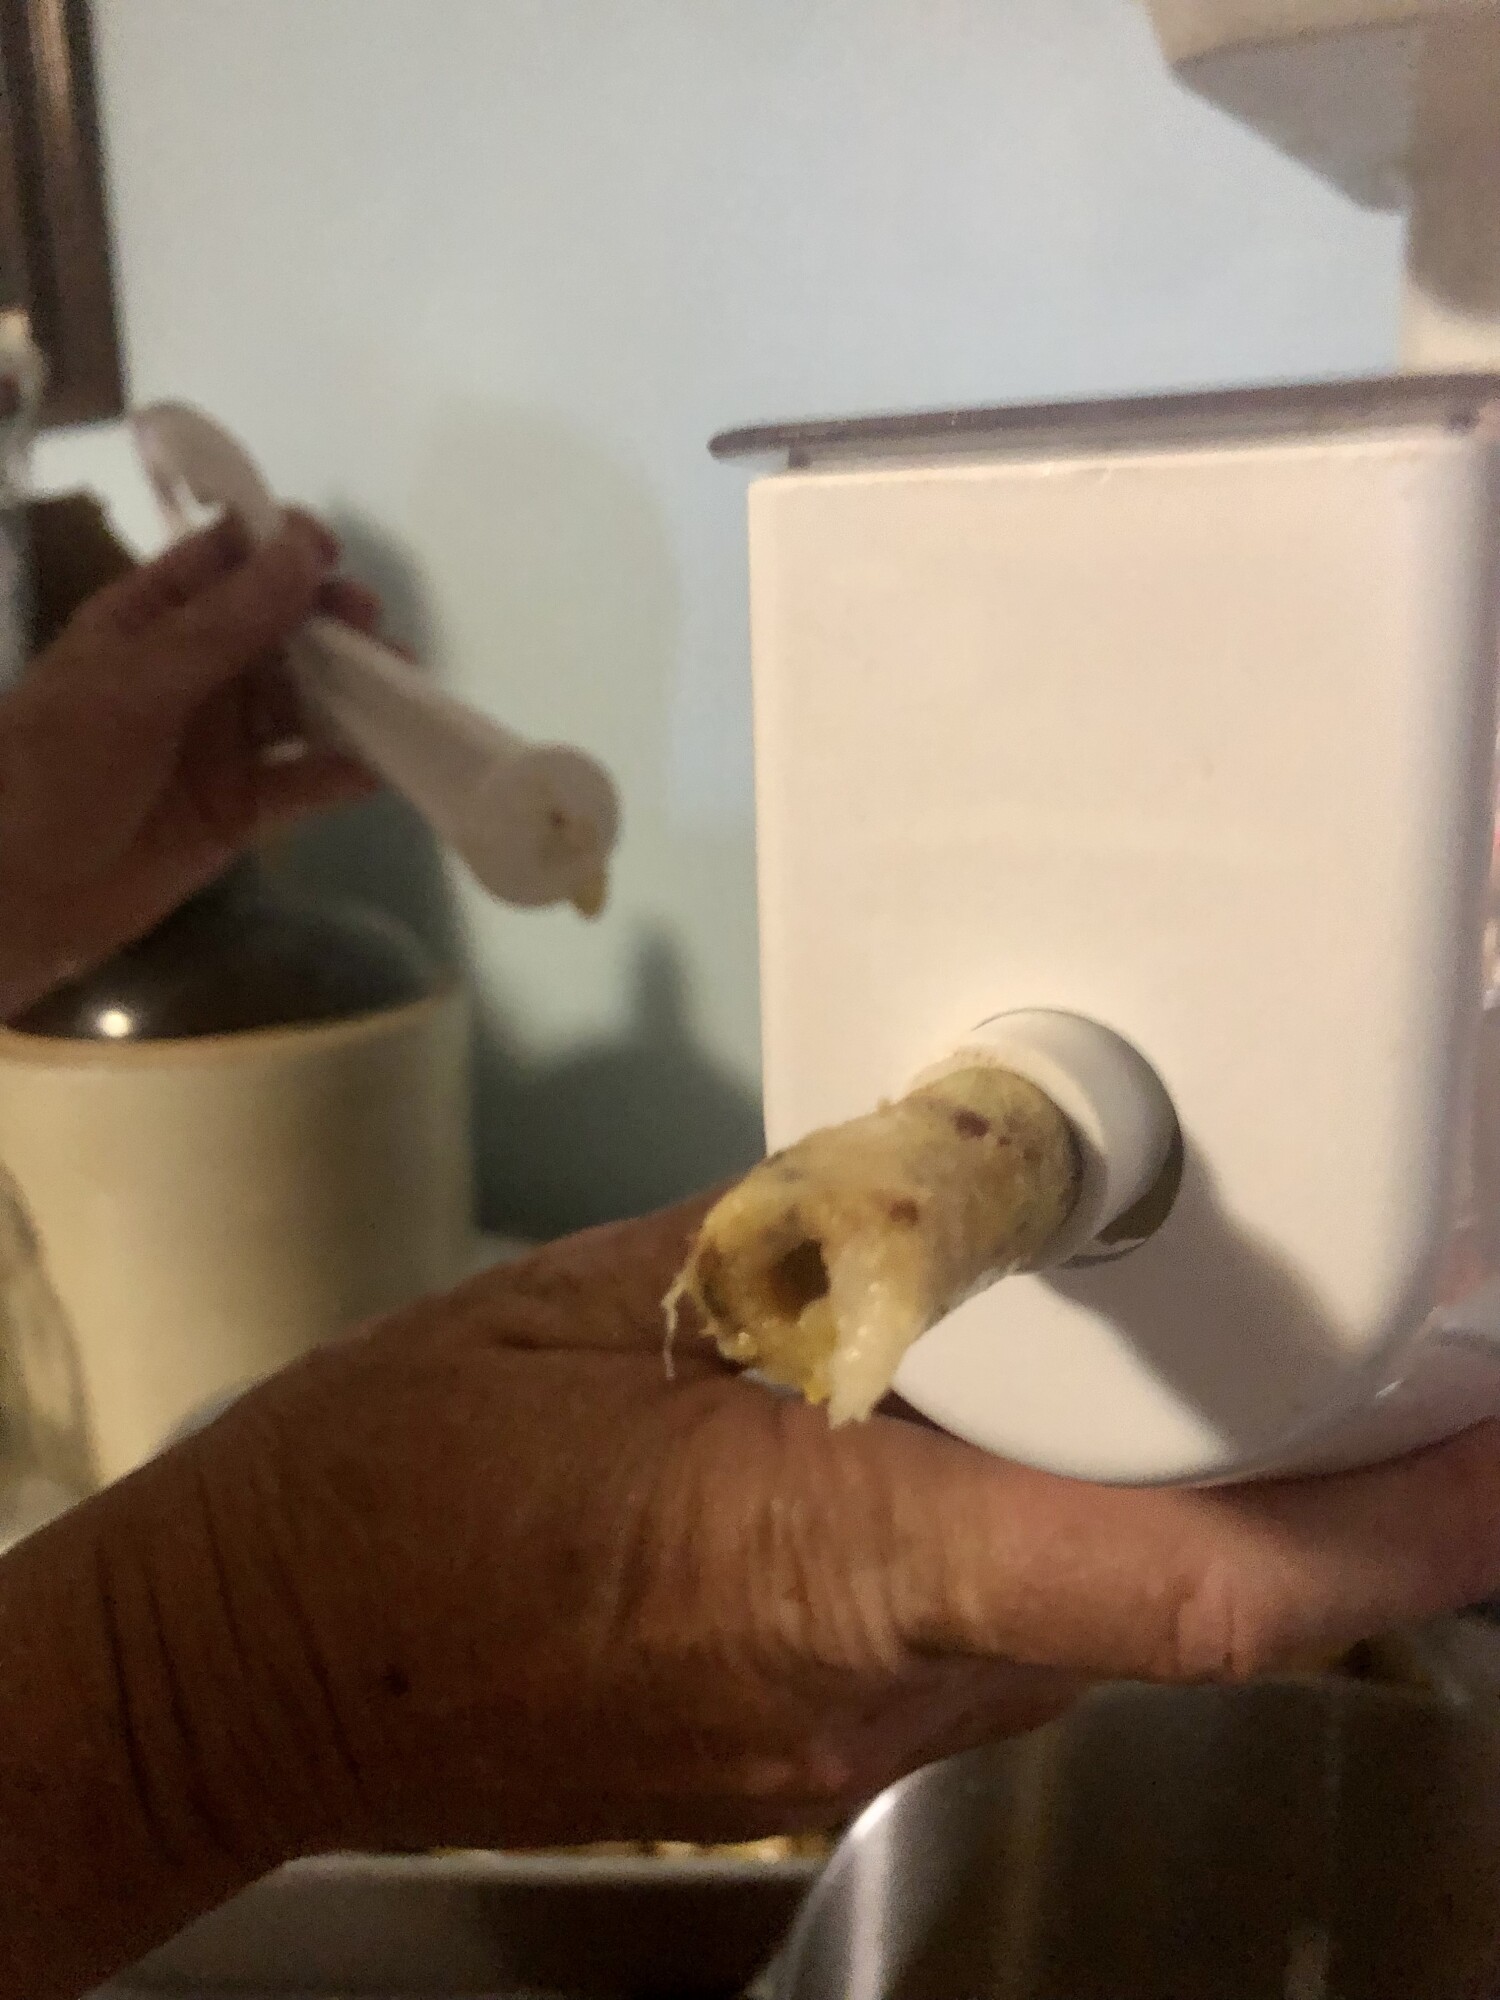
Any more white than this and you are loosing to much of the pear. Cook them a little longer to soften them. Peal and core should be the main thing you see coming out this end.
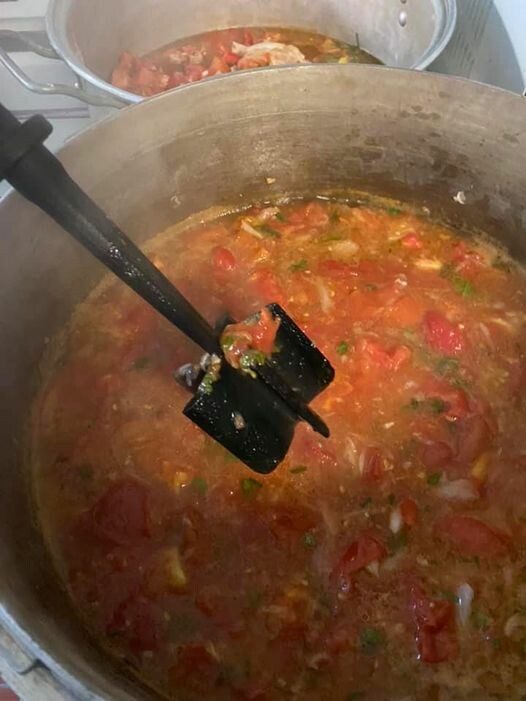
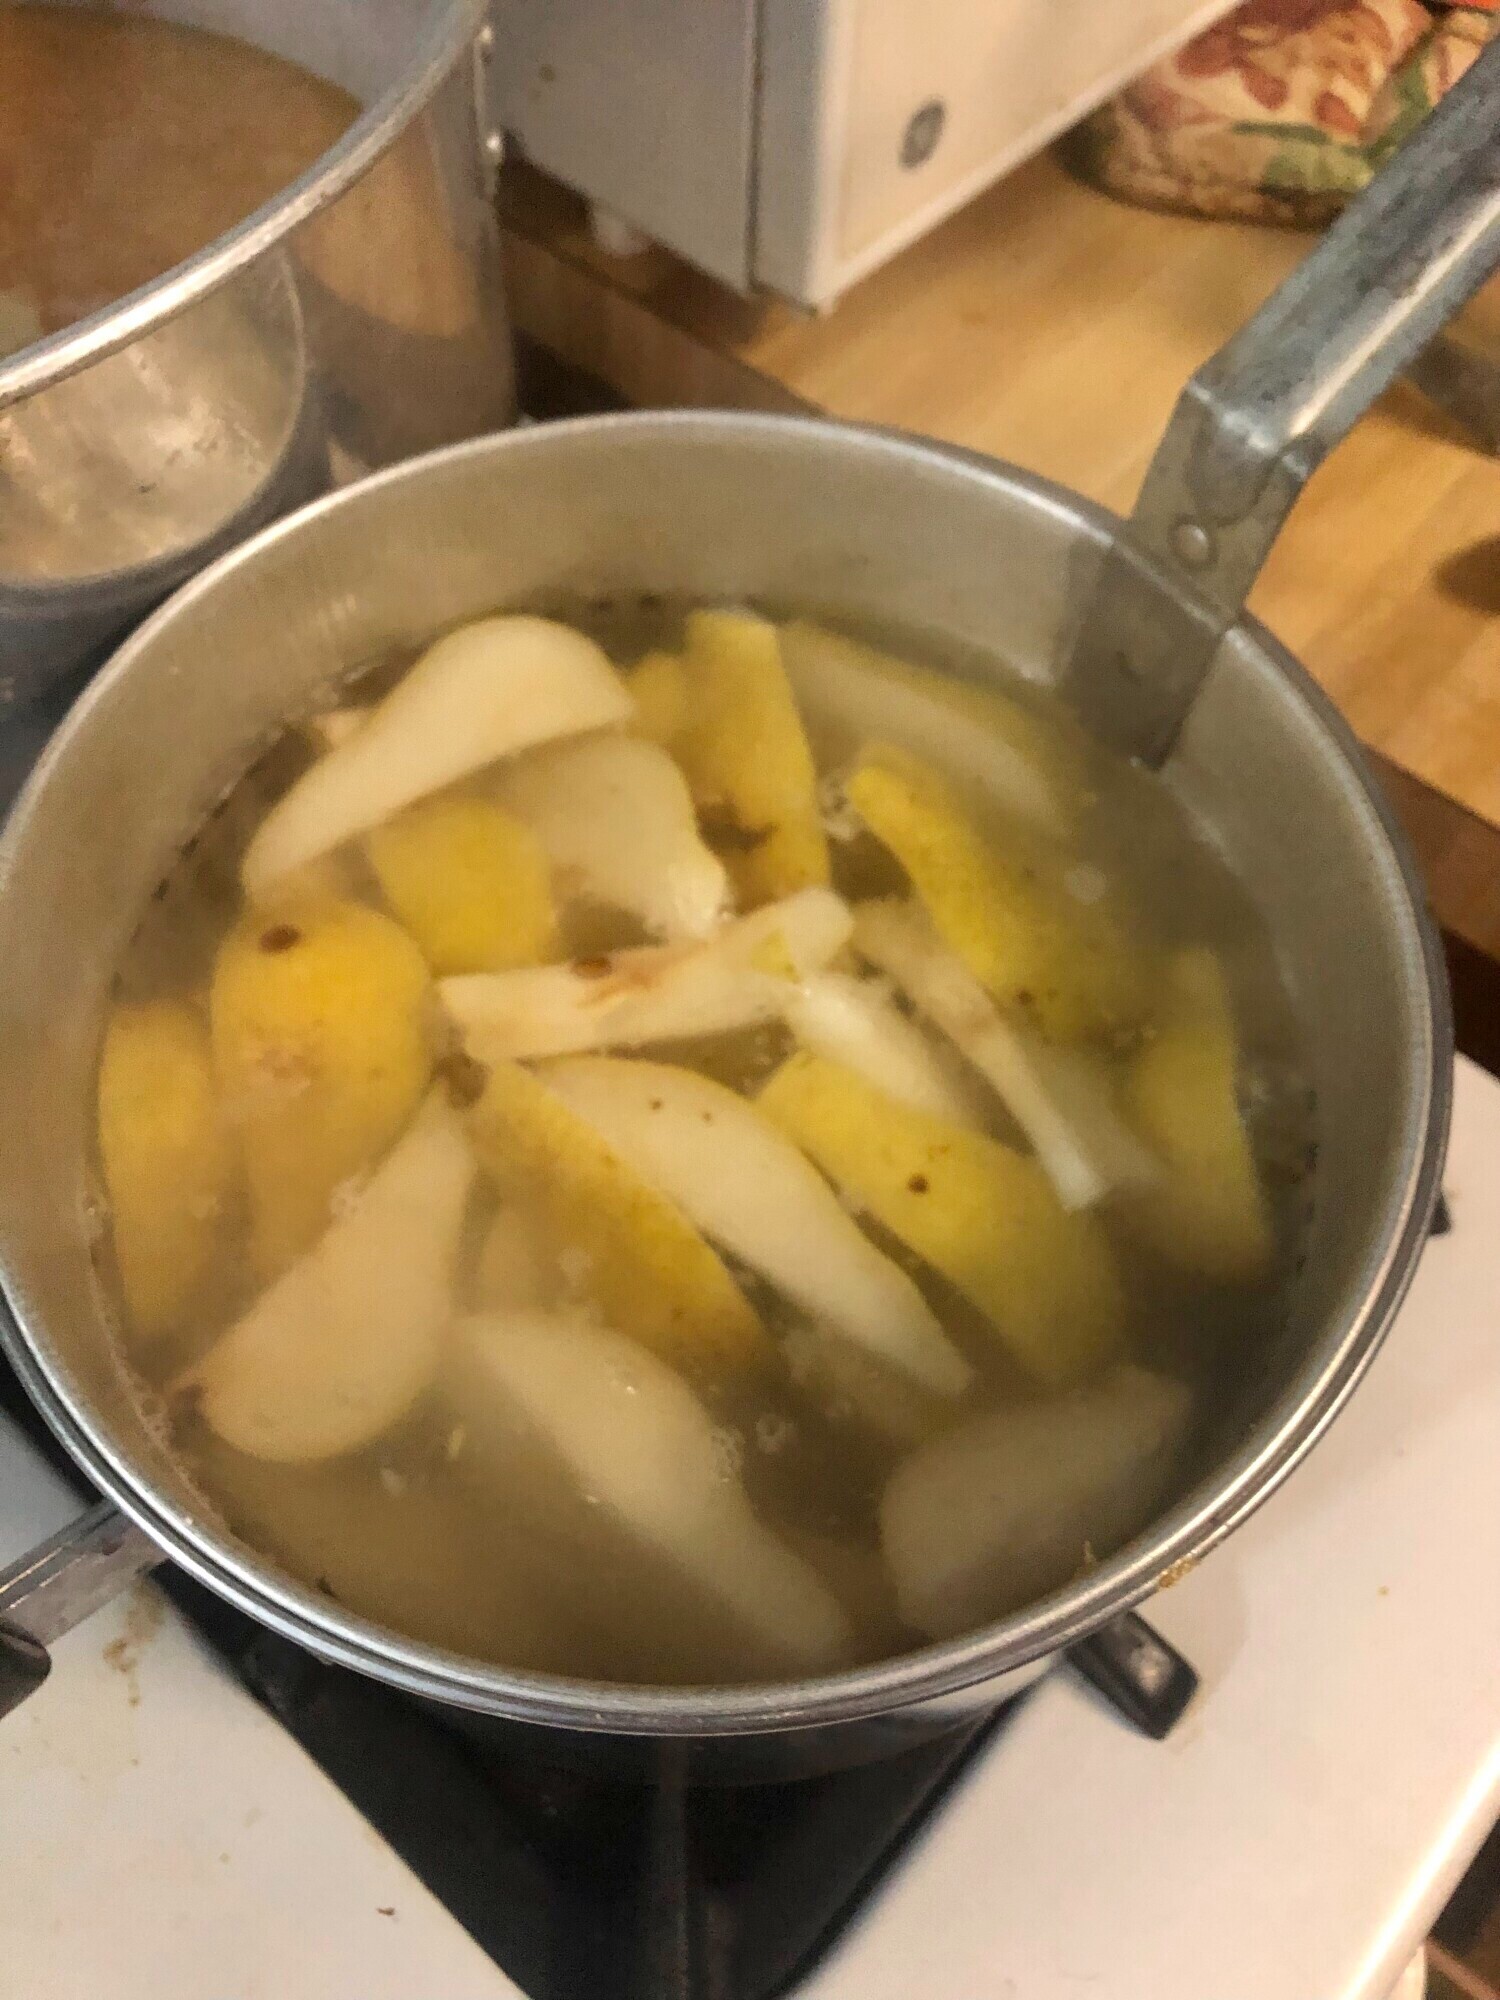
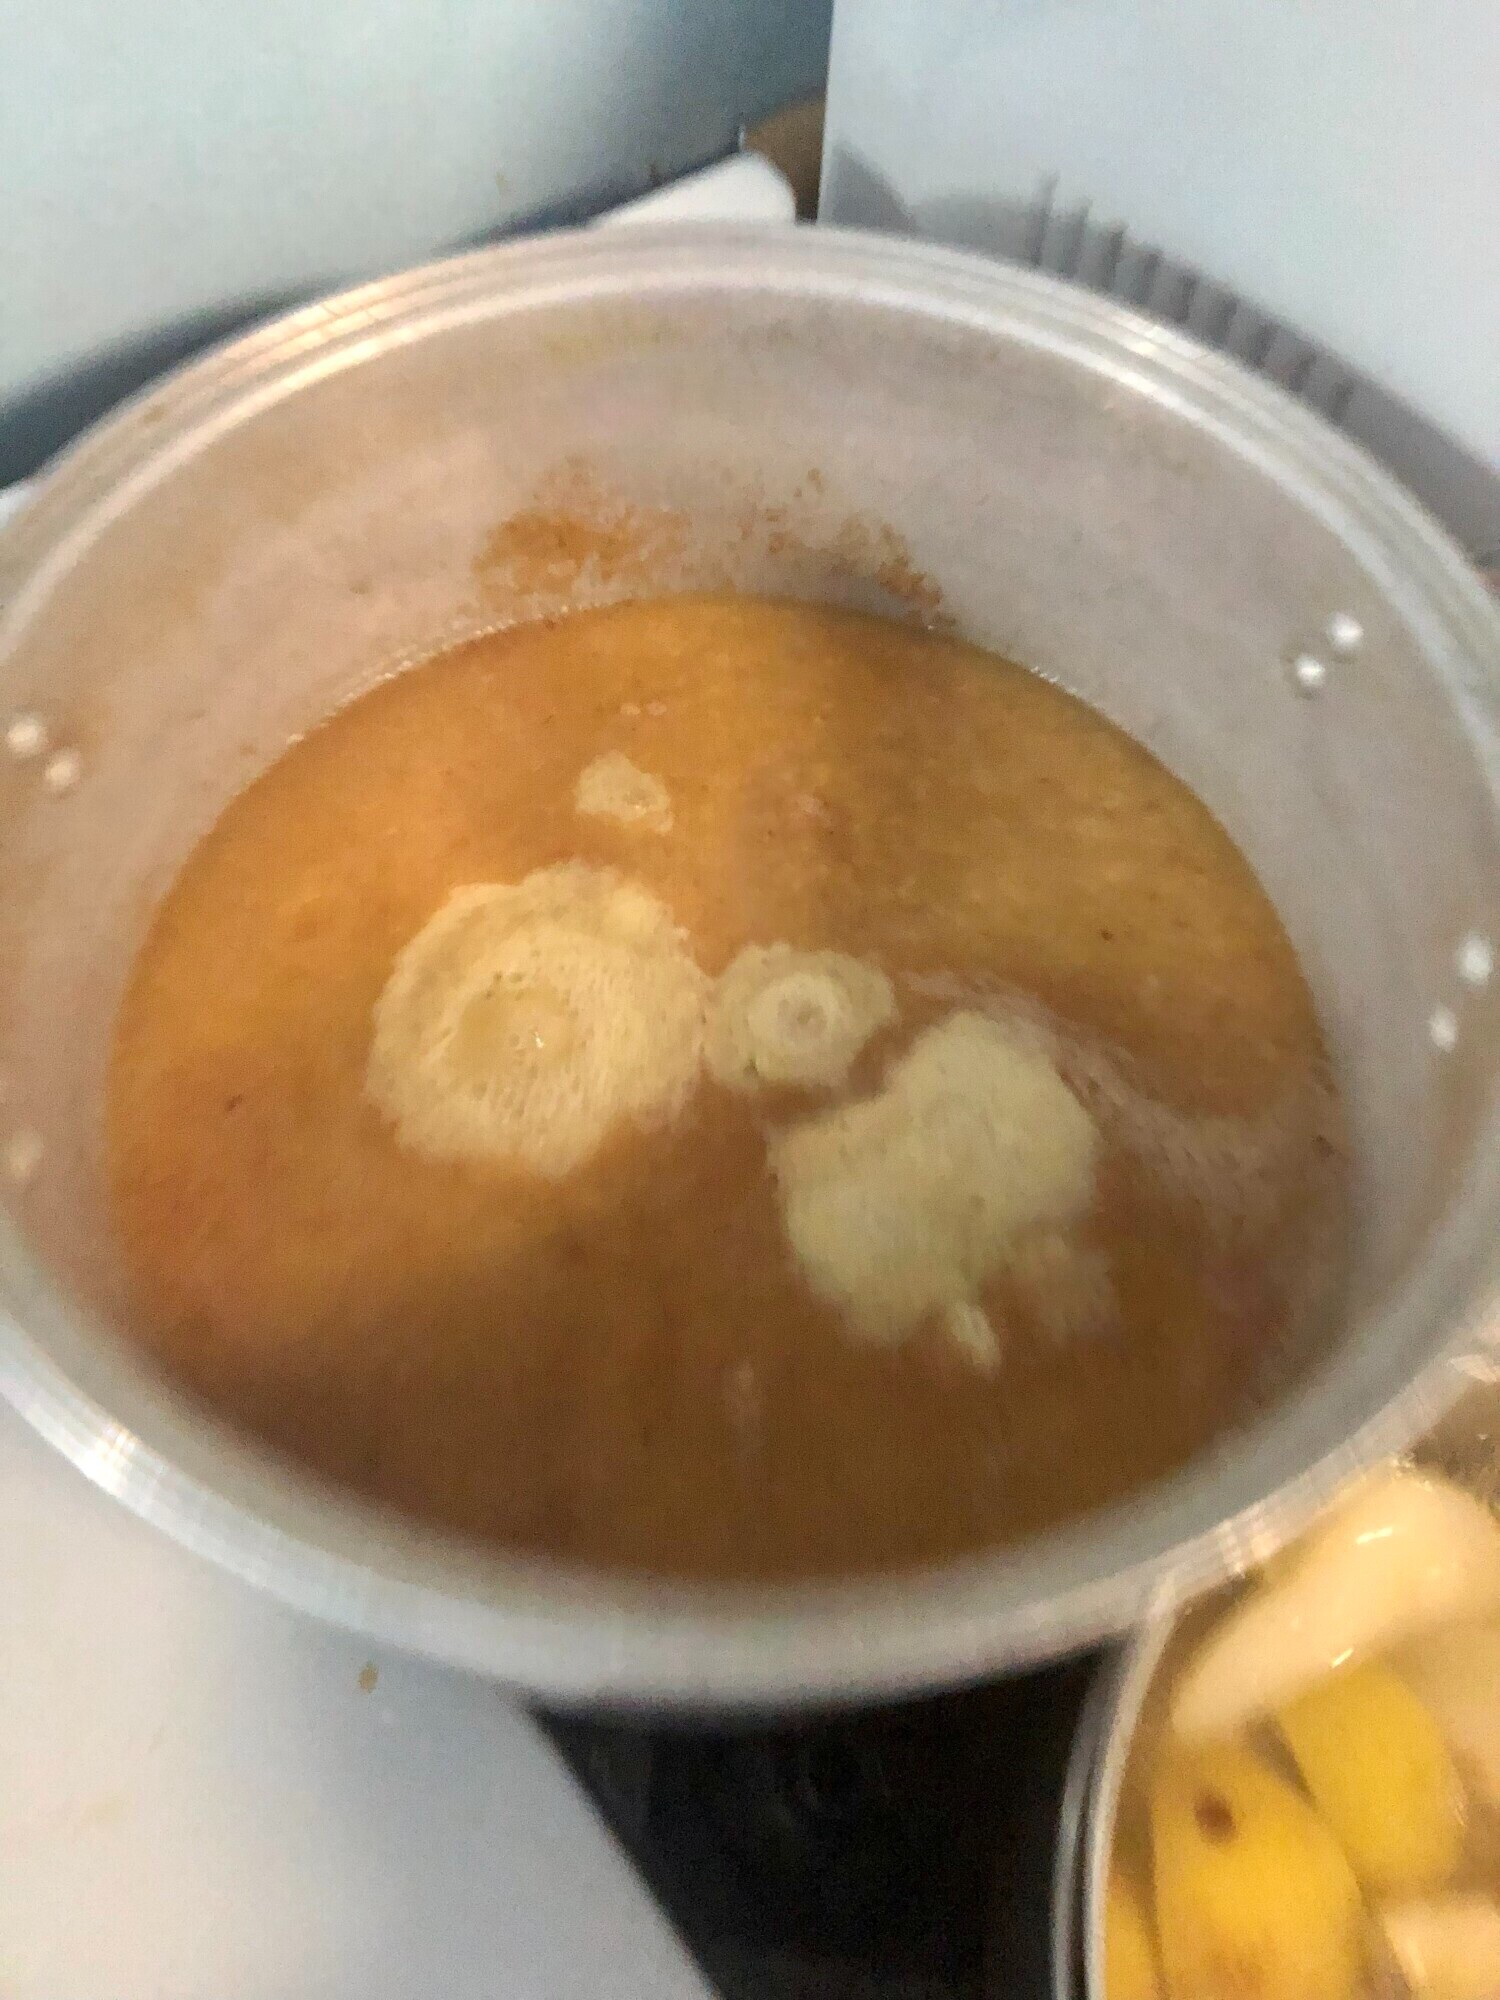
Step 5: Cook Down the Sauce.
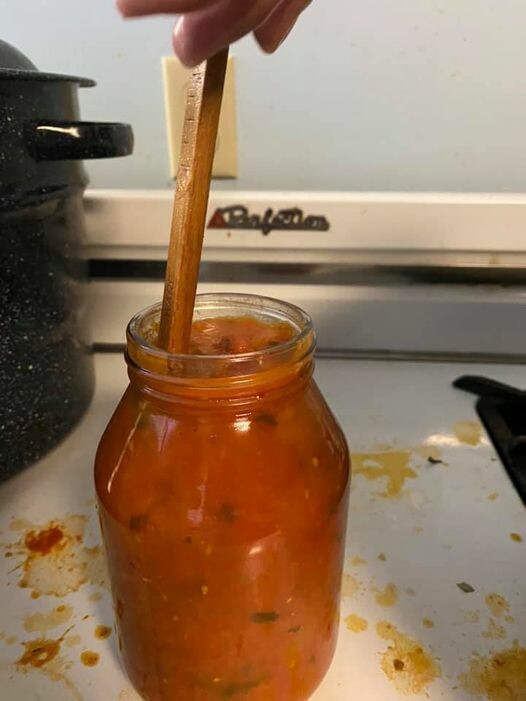
Step 7: De-bubble the Jars
If you have any questions or need more tips, feel free to reach out. And if you're looking for high-quality, reusable canning lids, check out Tattler Reusable Canning Lids for some great options.
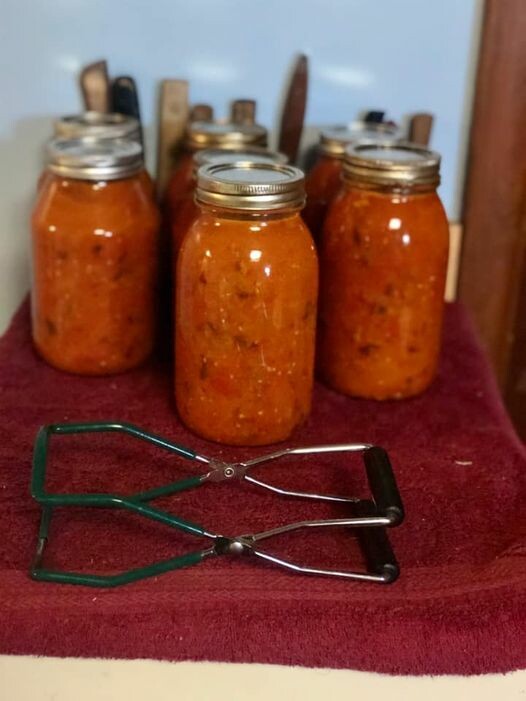
Happy canning, and enjoy your pear sauce!
Join the FREE Community