Wanting a community to lean into? Join the FREE Courageous + Purposeful Mommas group! This community is for the Mommas, mommas to be, in the midst of raising, and kids grown, looking for tips on building your family up and providing for them through natural methods. Tips include: gardening, bulk buying, caning,/preserving, livestock, homesteading, and home remedies. Your family is precious, and this group is to help you gain the knowledge and tools to keep your family well and not reliant on outside professionals. Remedies and tips are easy and simple for the busy momma, time is precious after all, including pregnancy, birth, young kids, and illness. Trust your Momma gut again! This community offers the resources + community you need to help get started on your journey and prepare for whatever future you envision.
Click here to get the stories straight to your email:
For more on wellness tips click here:
For more on homesteading on your budget click here:
For more simple DIY updates click here:
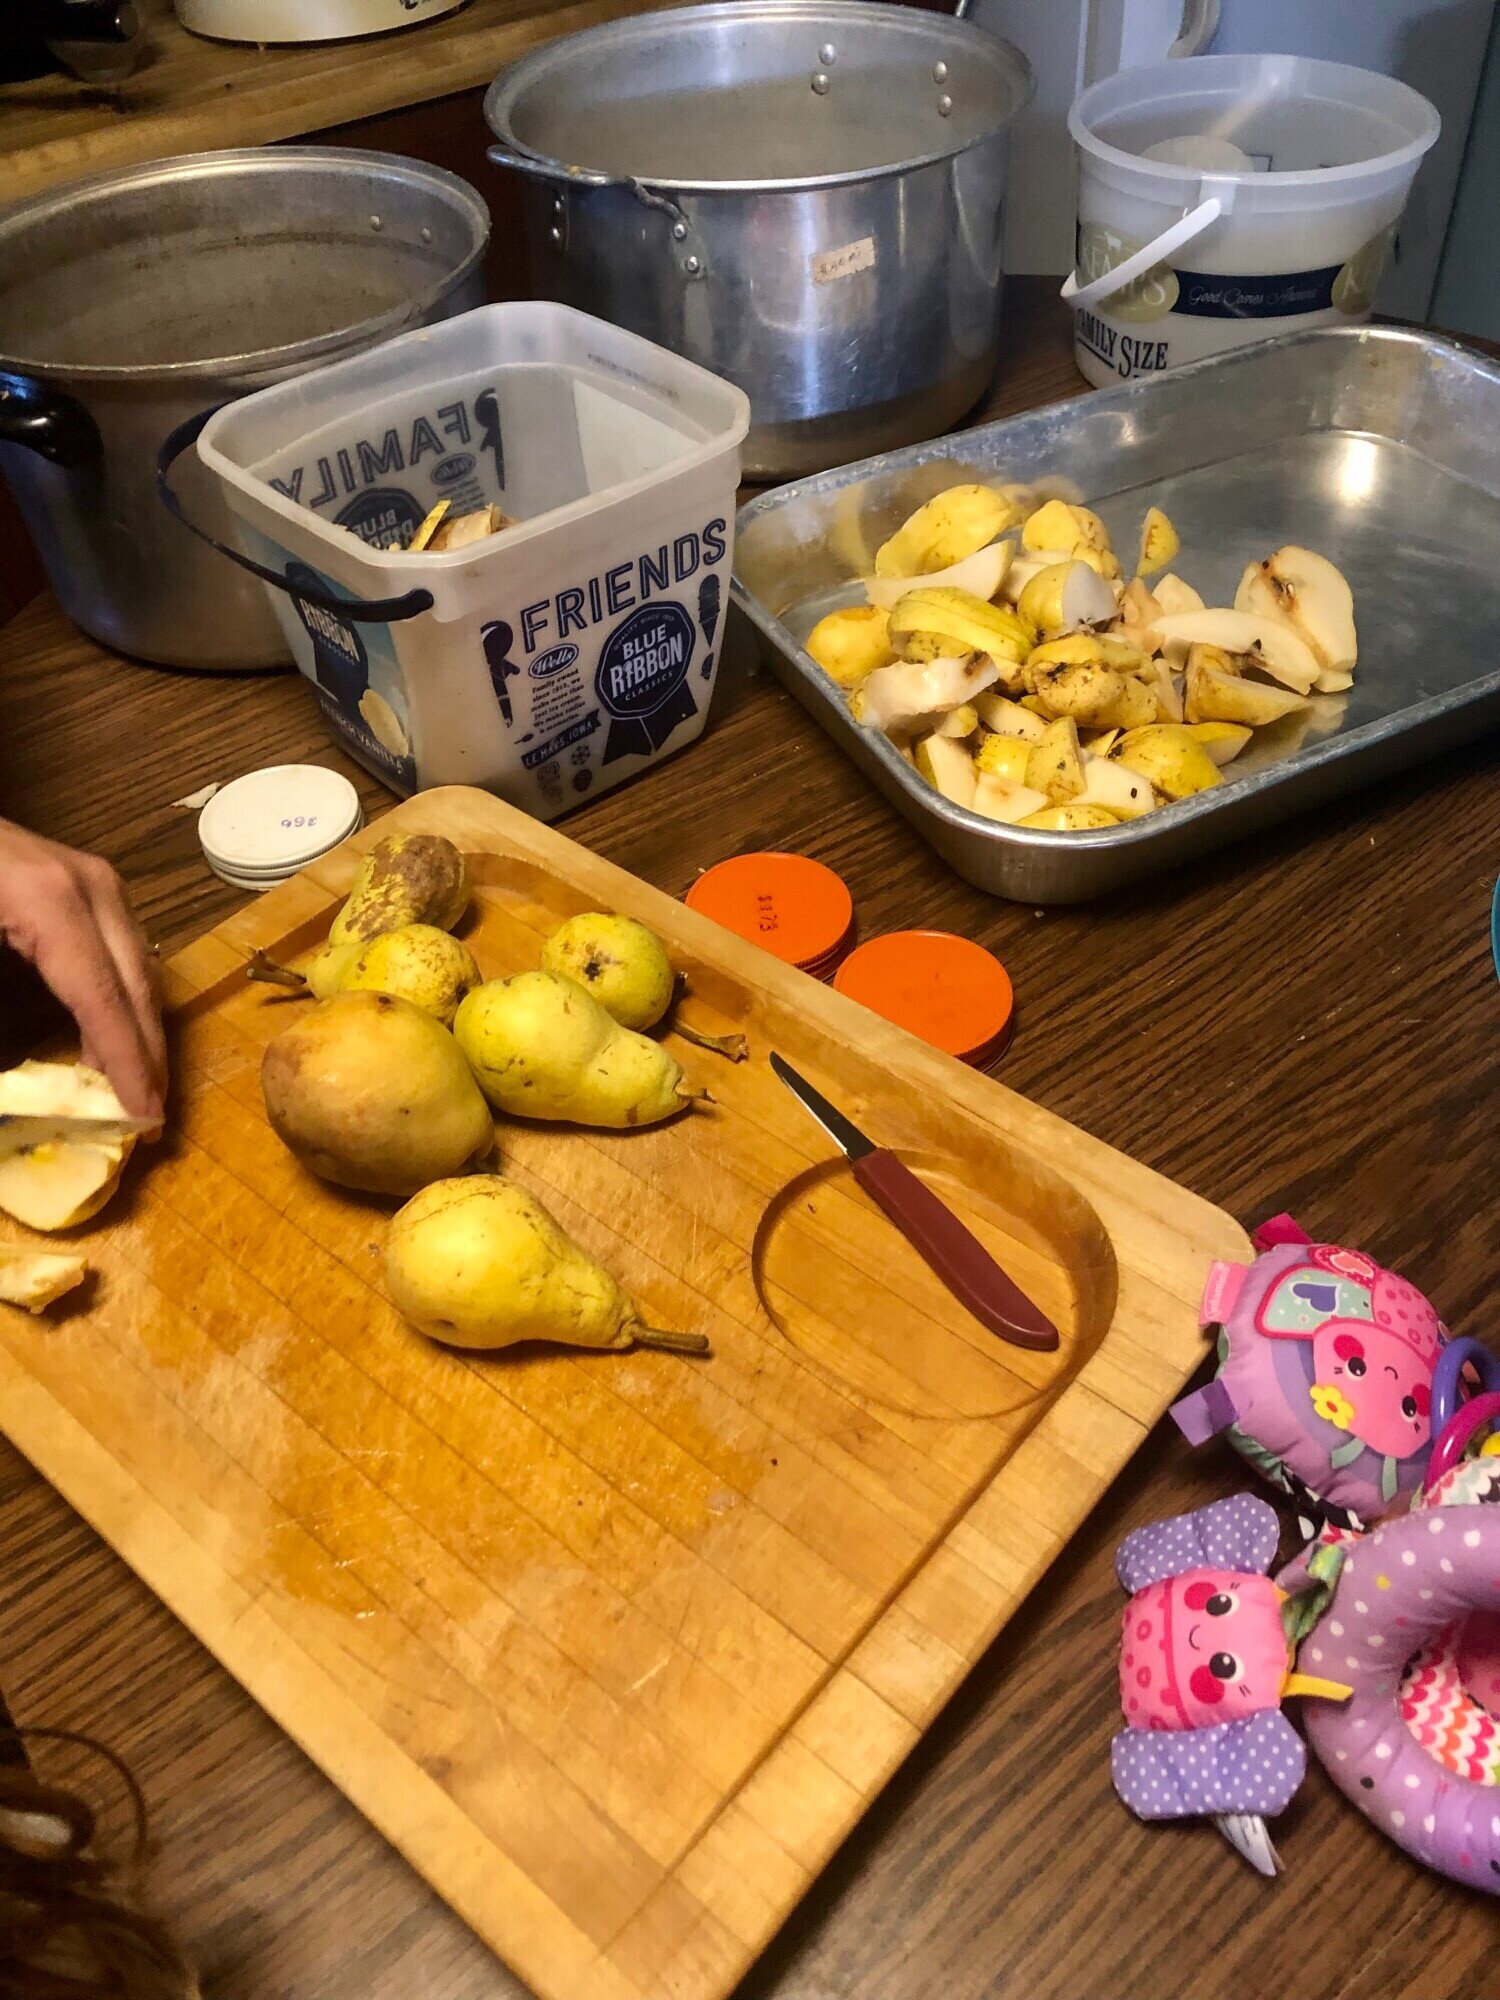
- Canning jars
- Canning lids
- Canning rings
- Jar Funnel
- Long spatula or knife
- Hot water bath
- Stock pot (I usually have at least 2)
- Colander
- Sieve/immersion blender/kitchen aid sieve attachment
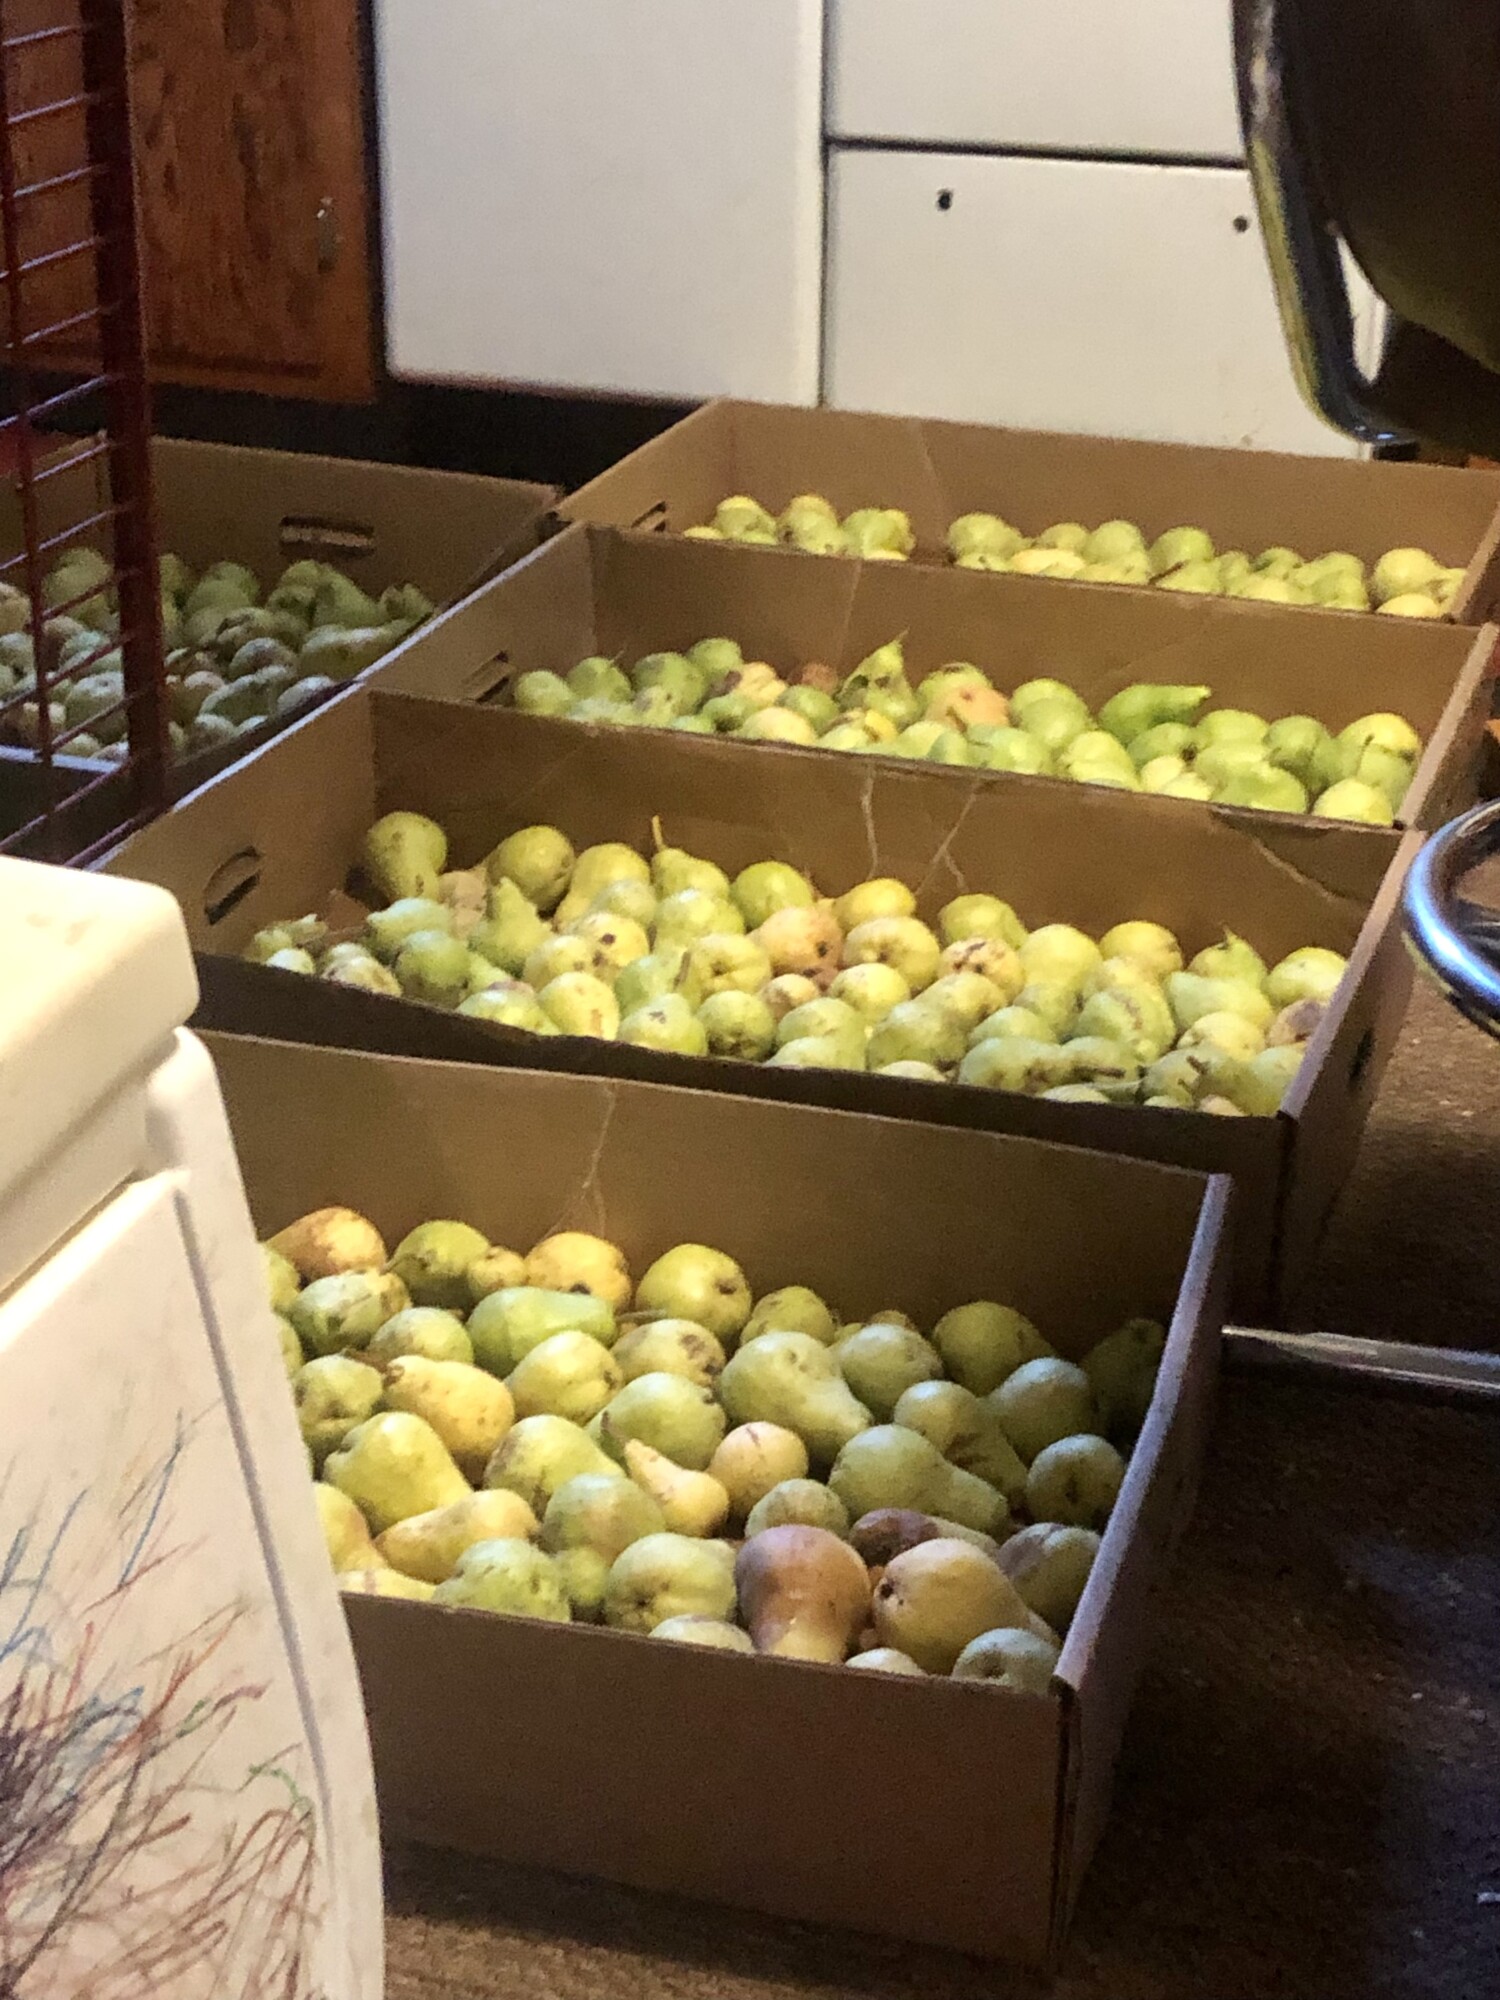
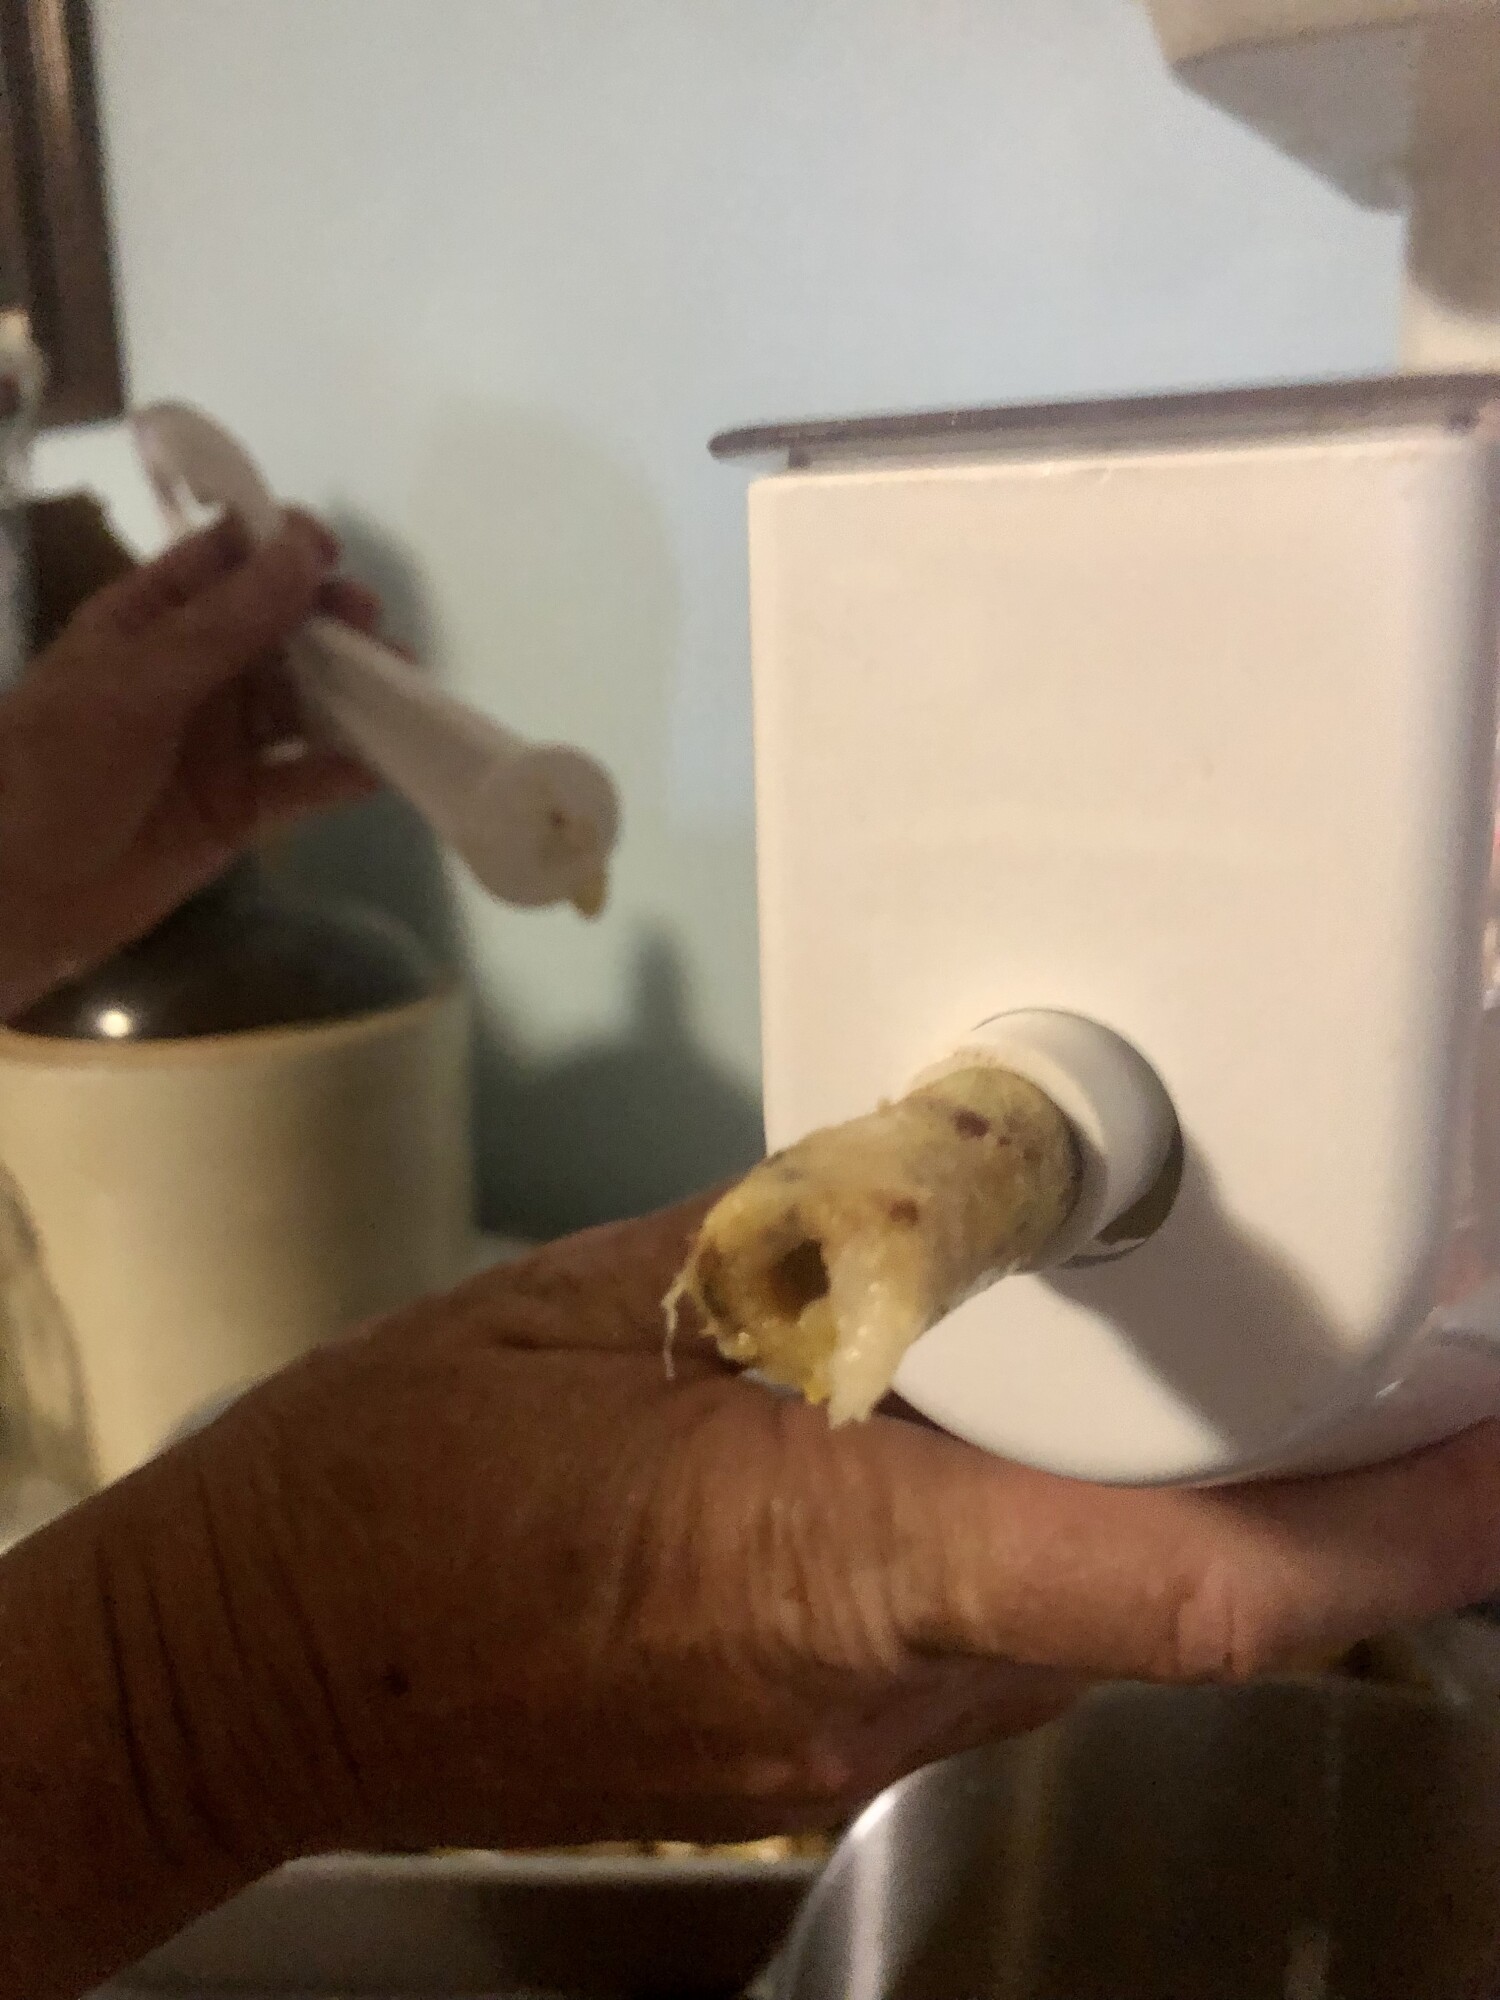
- Pears
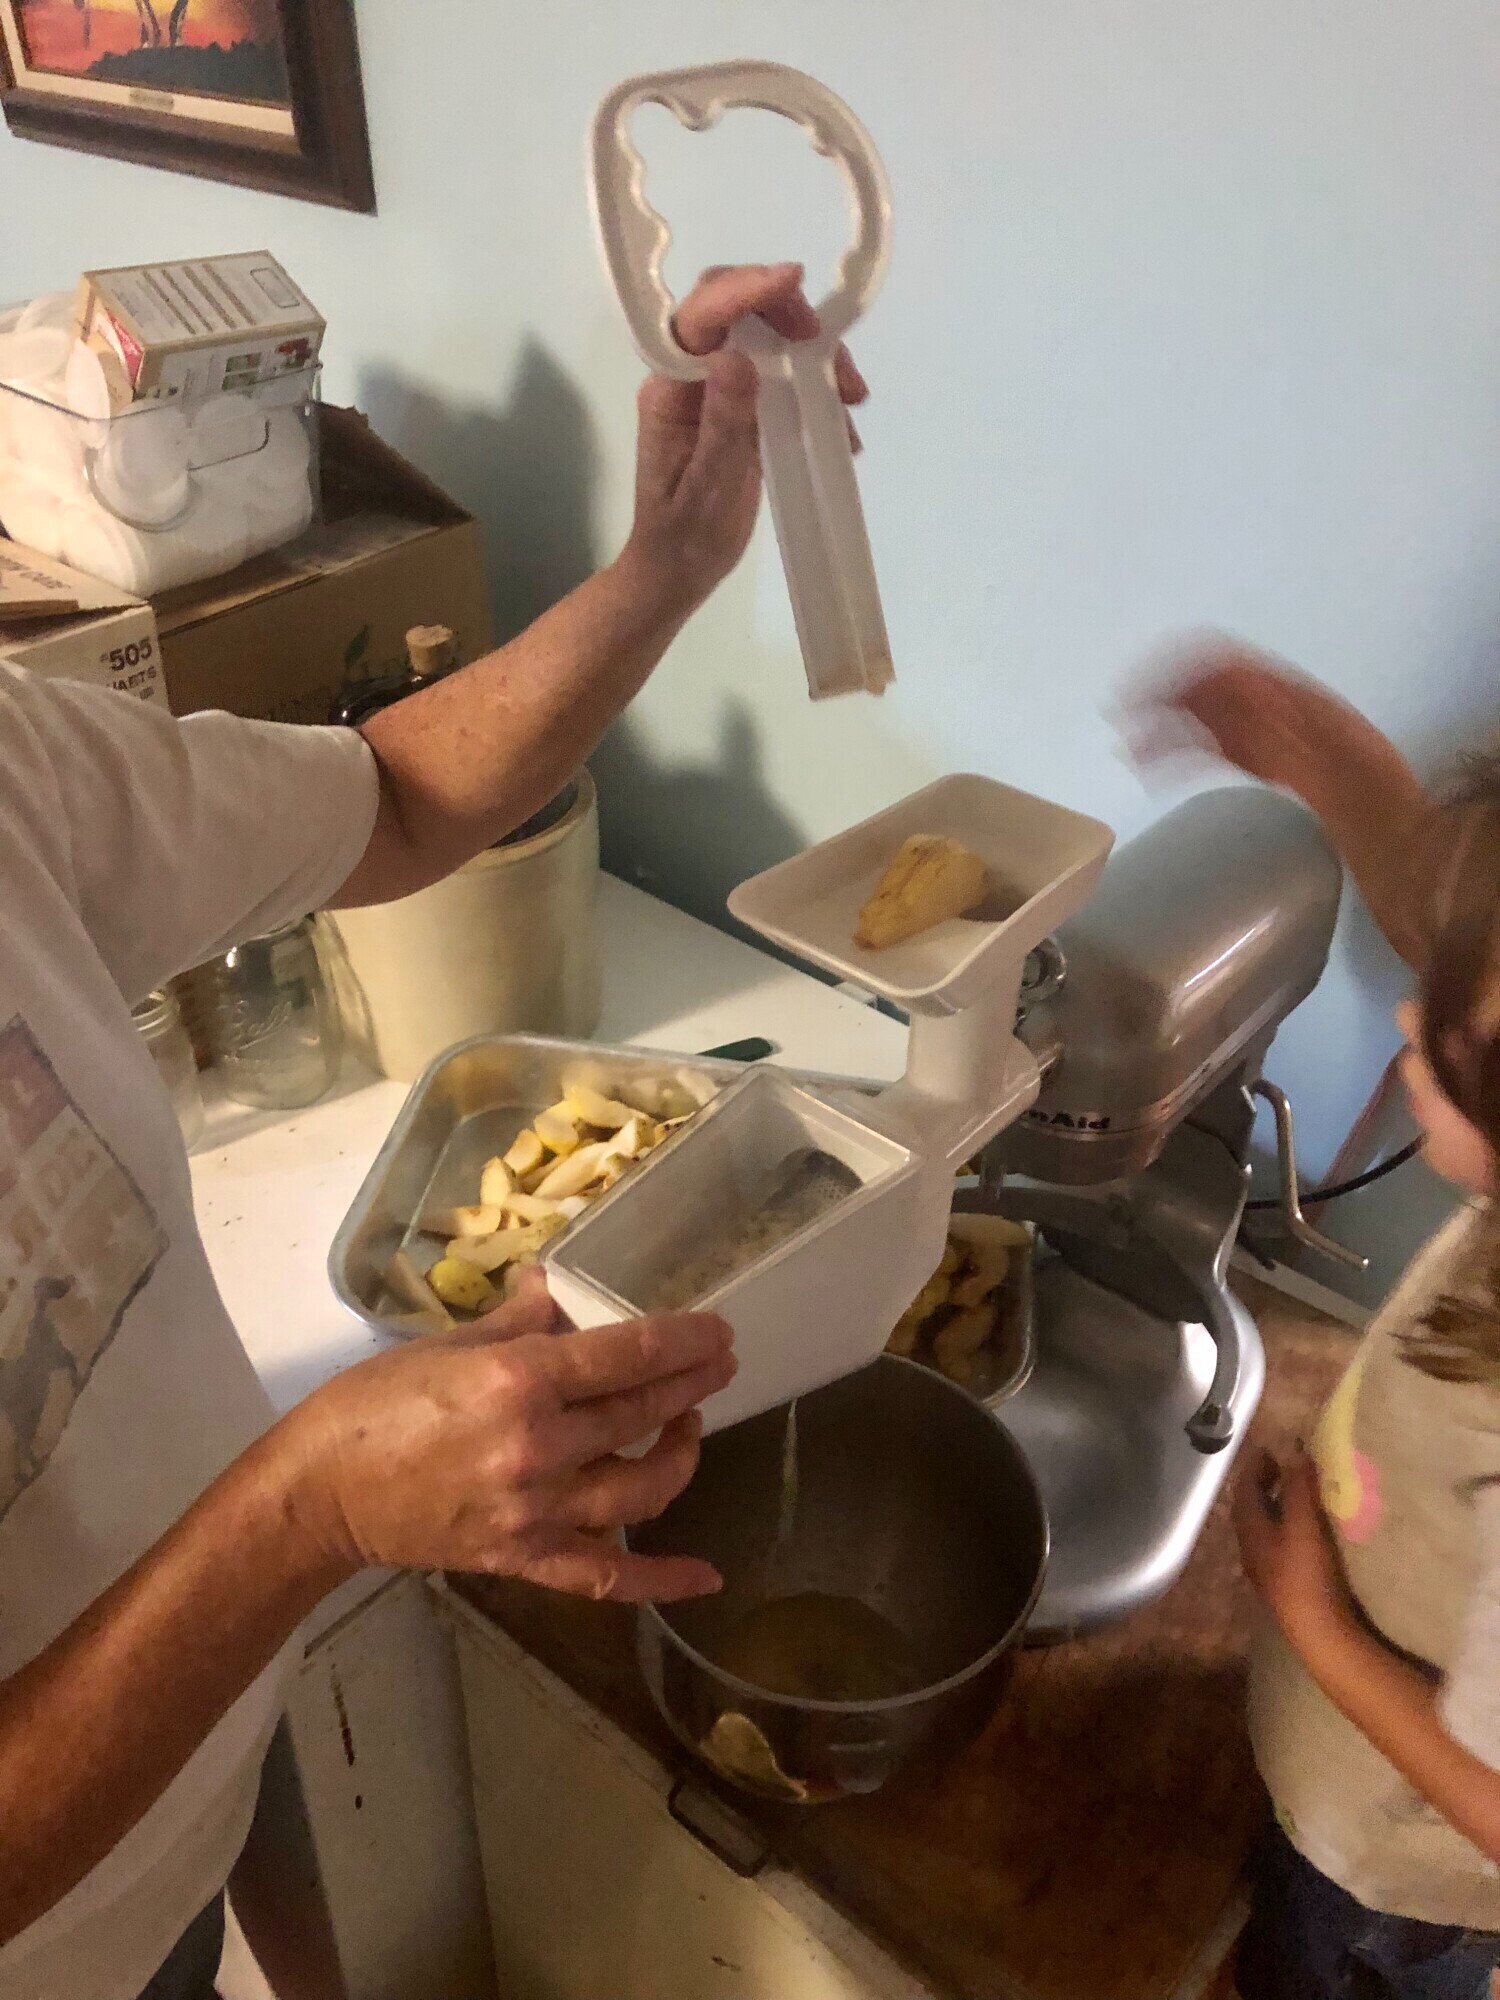
Any more white than this and you are loosing to much of the pear. Cook them a little longer to soften them. Peal and core should be the main thing you see coming out this end.
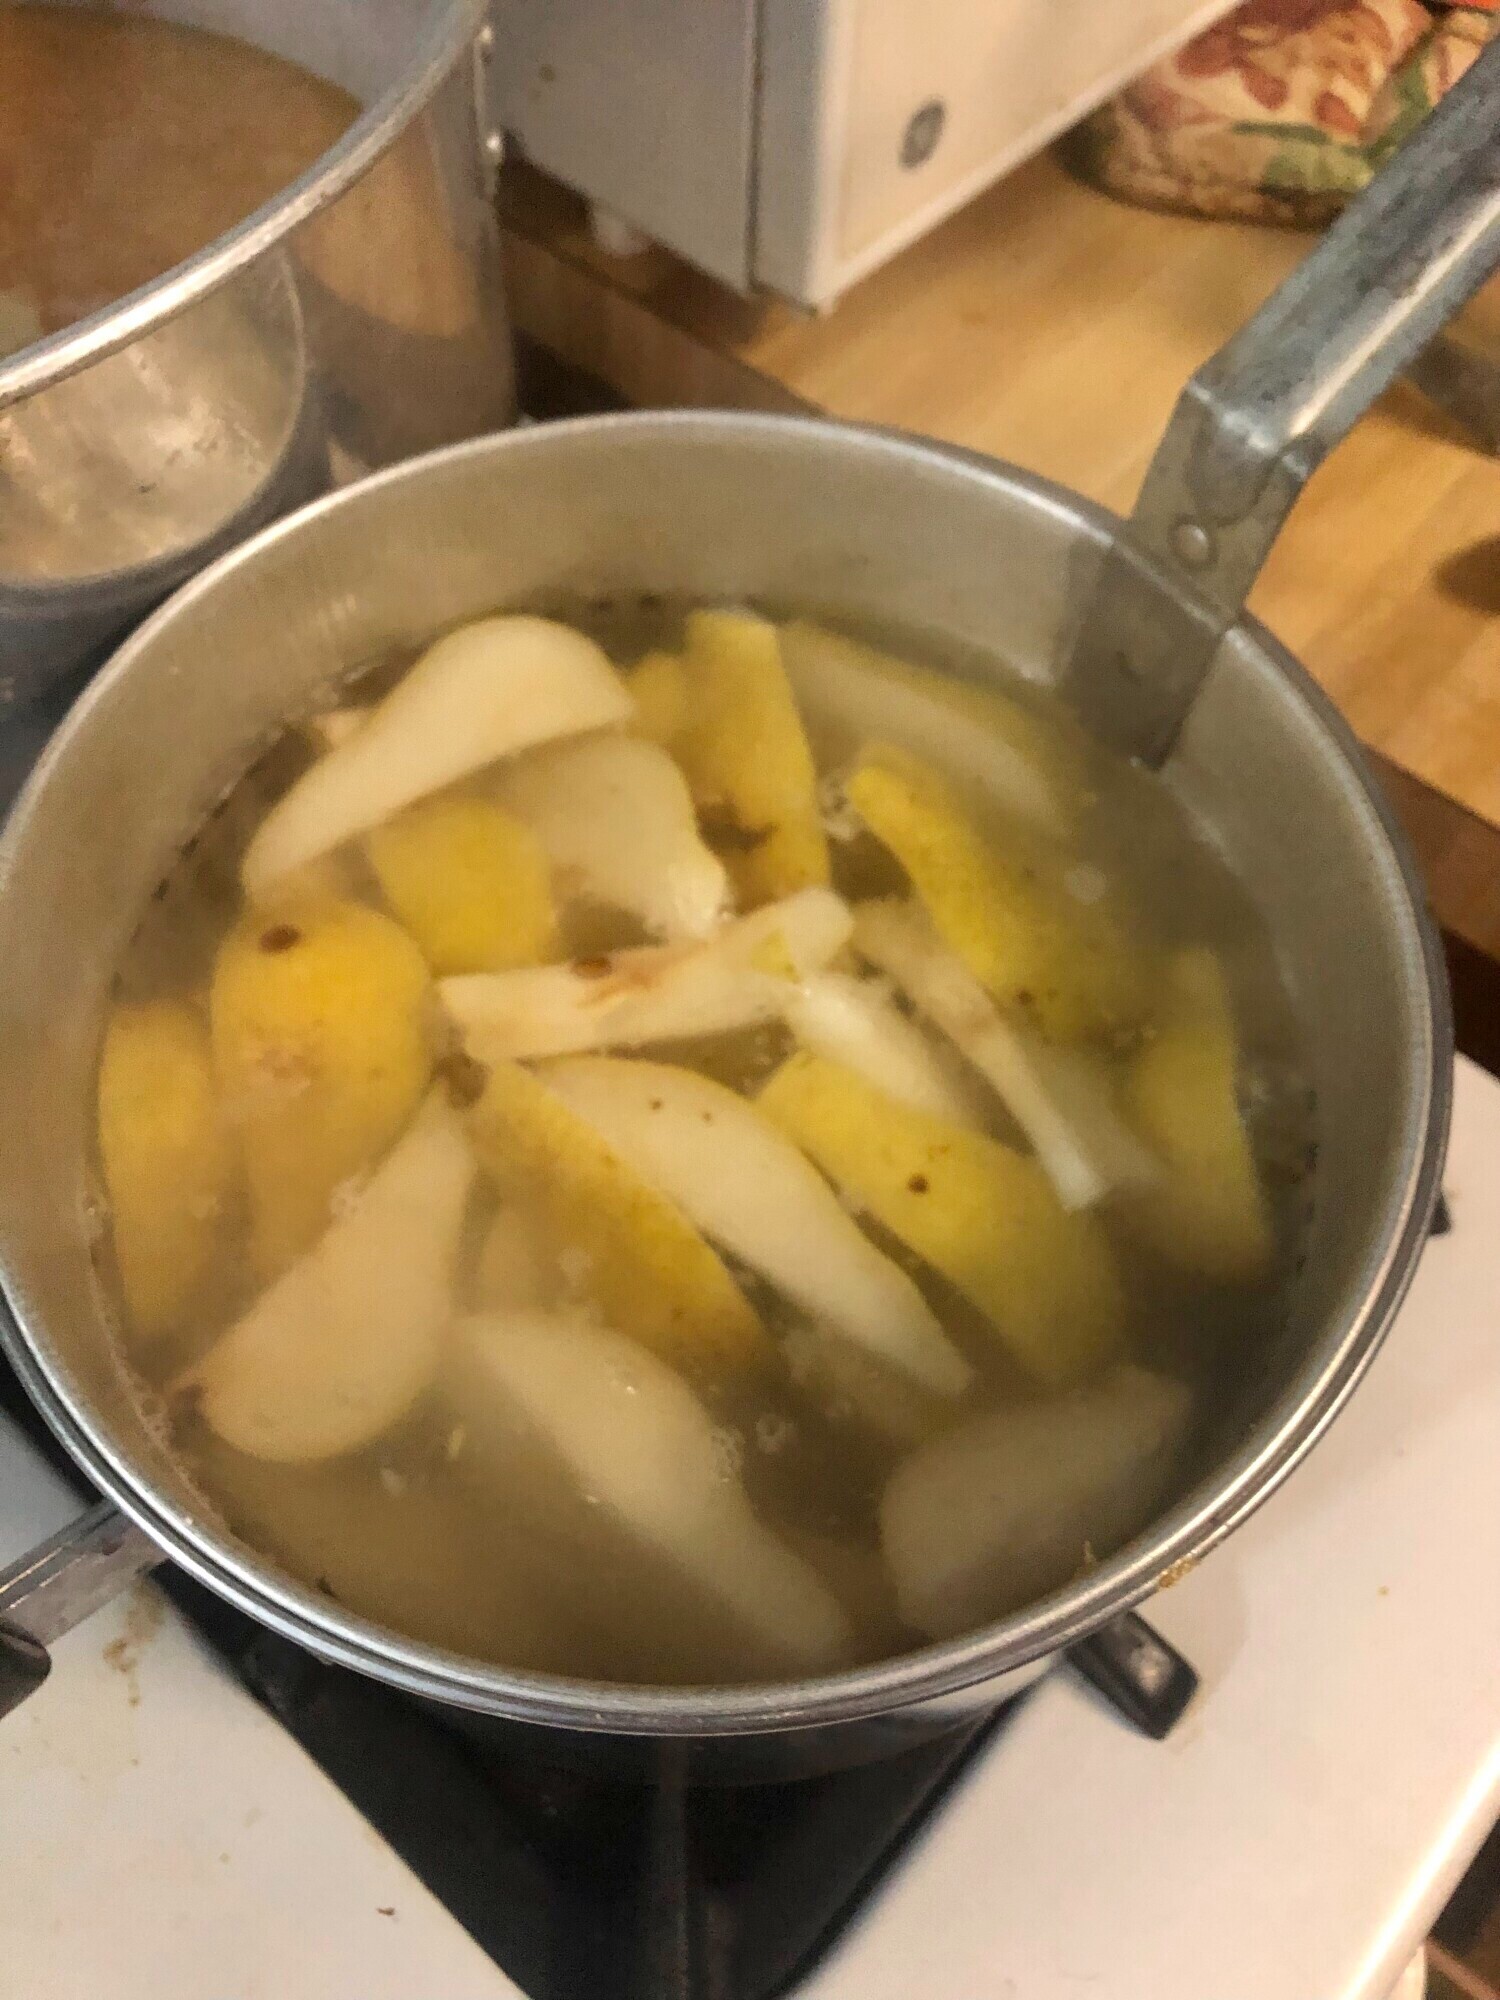
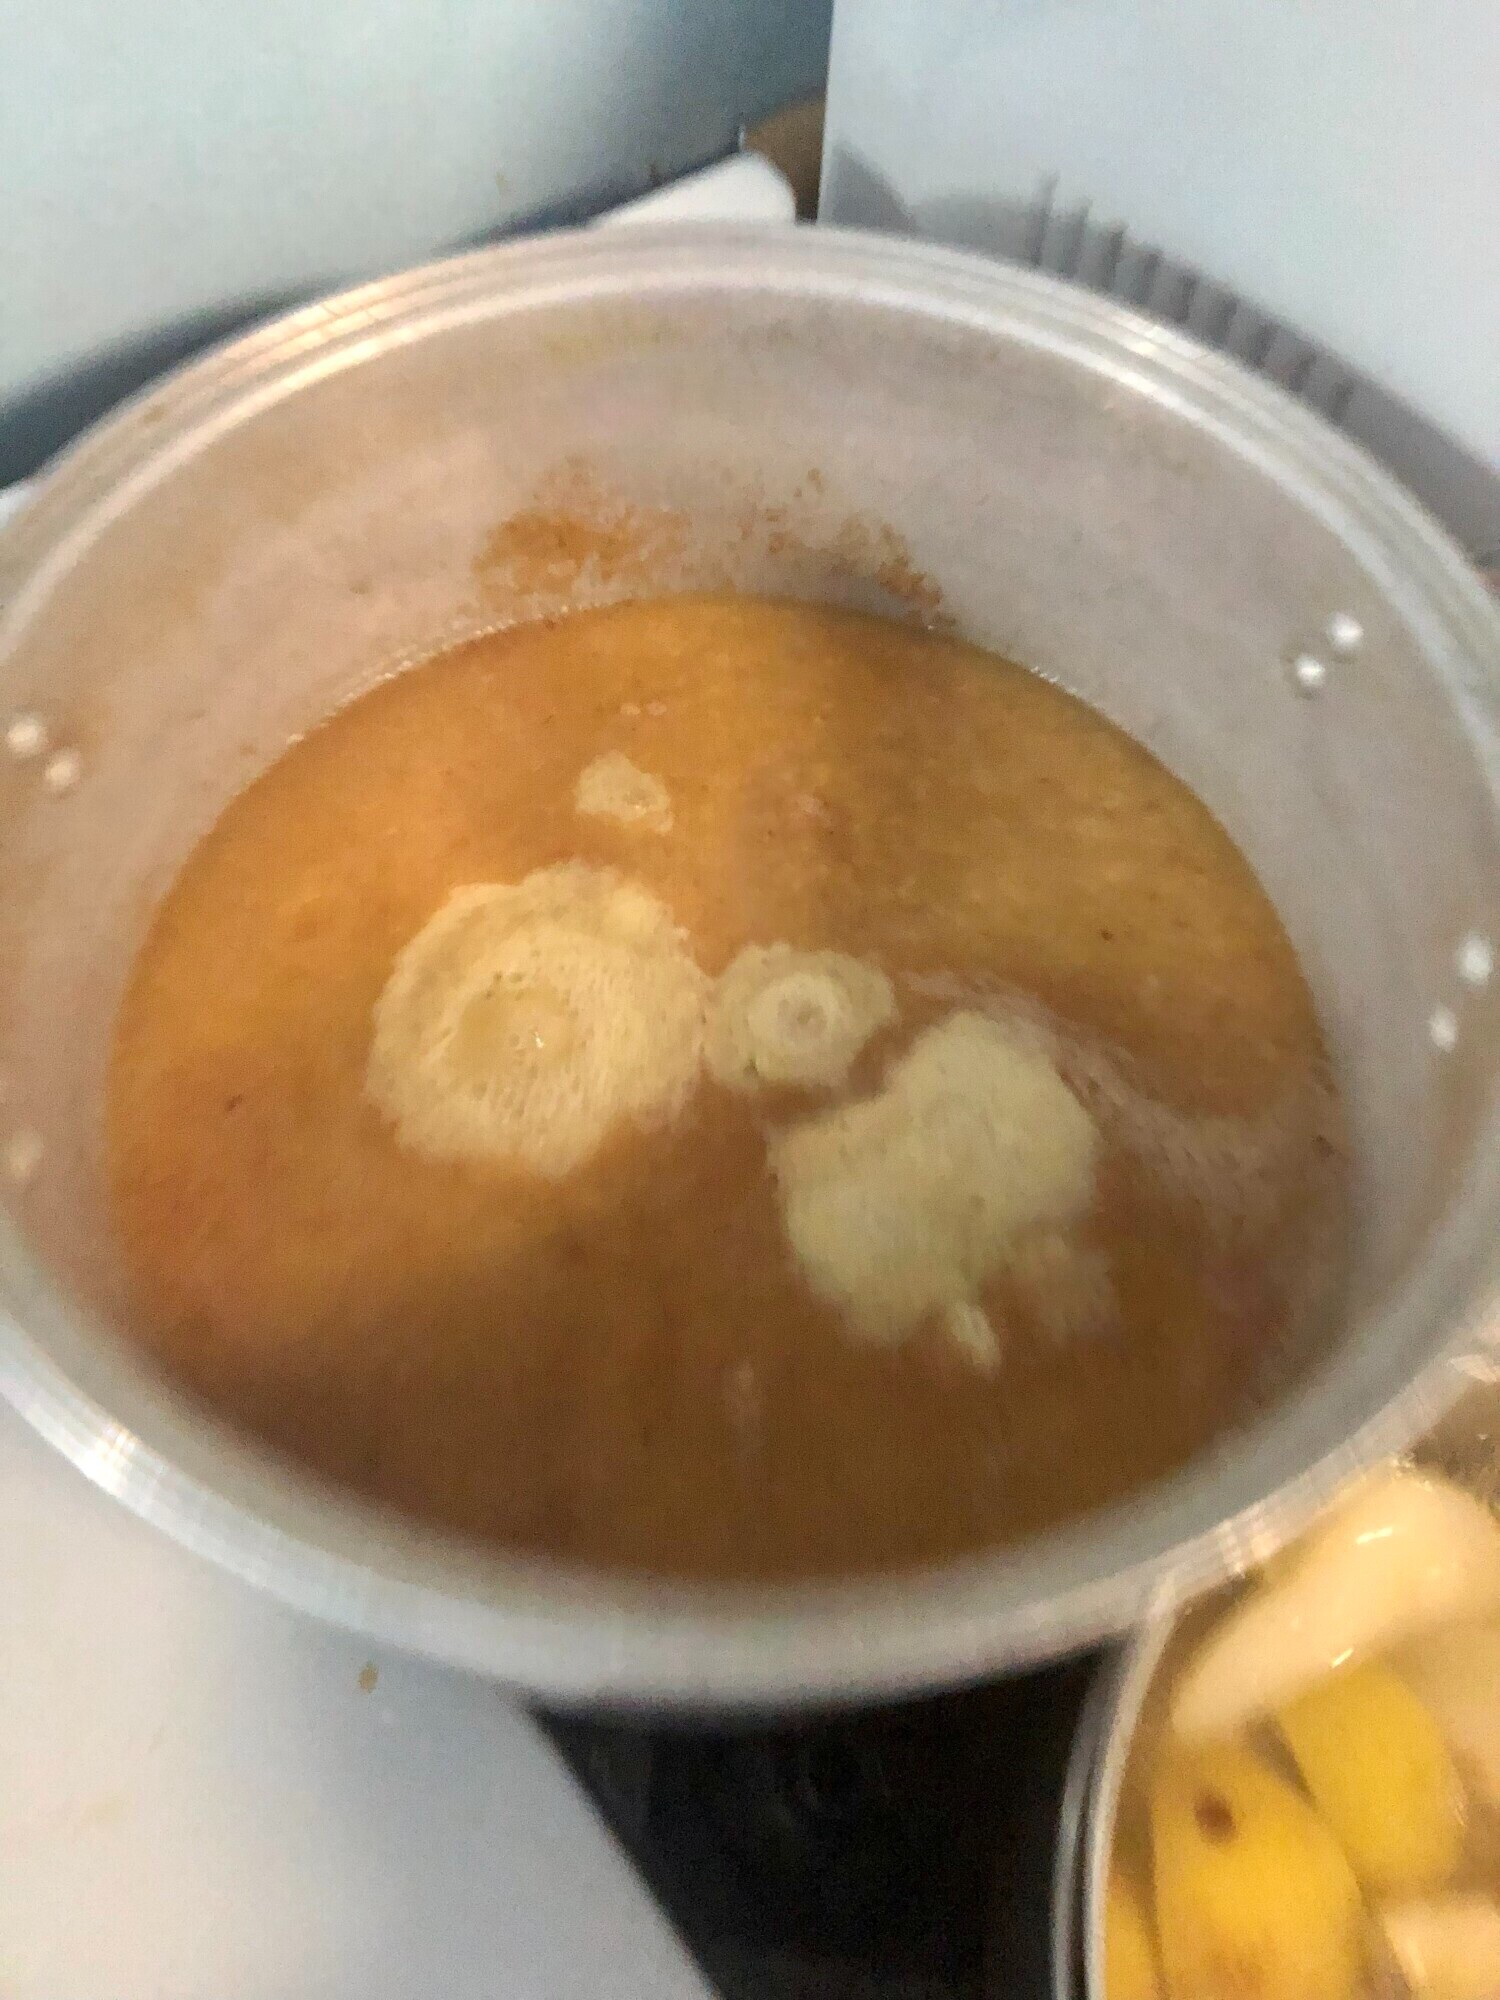
Step 5: Cook Down the Sauce.
Step 7: De-bubble the Jars
If you have any questions or need more tips, feel free to reach out. And if you're looking for high-quality, reusable canning lids, check out Tattler Reusable Canning Lids for some great options.
Happy canning, and enjoy your pear sauce!
Join the FREE Community
Wanting a community to lean into? Join the FREE Courageous + Purposeful Mommas group! This community is for the Mommas, mommas to be, in the midst of raising, and kids grown, looking for tips on building your family up and providing for them through natural methods. Tips include: gardening, bulk buying, caning,/preserving, livestock, homesteading, and home remedies. Your family is precious, and this group is to help you gain the knowledge and tools to keep your family well and not reliant on outside professionals. Remedies and tips are easy and simple for the busy momma, time is precious after all, including pregnancy, birth, young kids, and illness. Trust your Momma gut again! This community offers the resources + community you need to help get started on your journey and prepare for whatever future you envision.
Click here to get the stories straight to your email:
For more on wellness tips click here:
For more on homesteading on your budget click here:
For more simple DIY updates click here:
This post may contain affiliate links, which means that I may receive a commission if you make a purchase using these links, with NO additional cost to you.
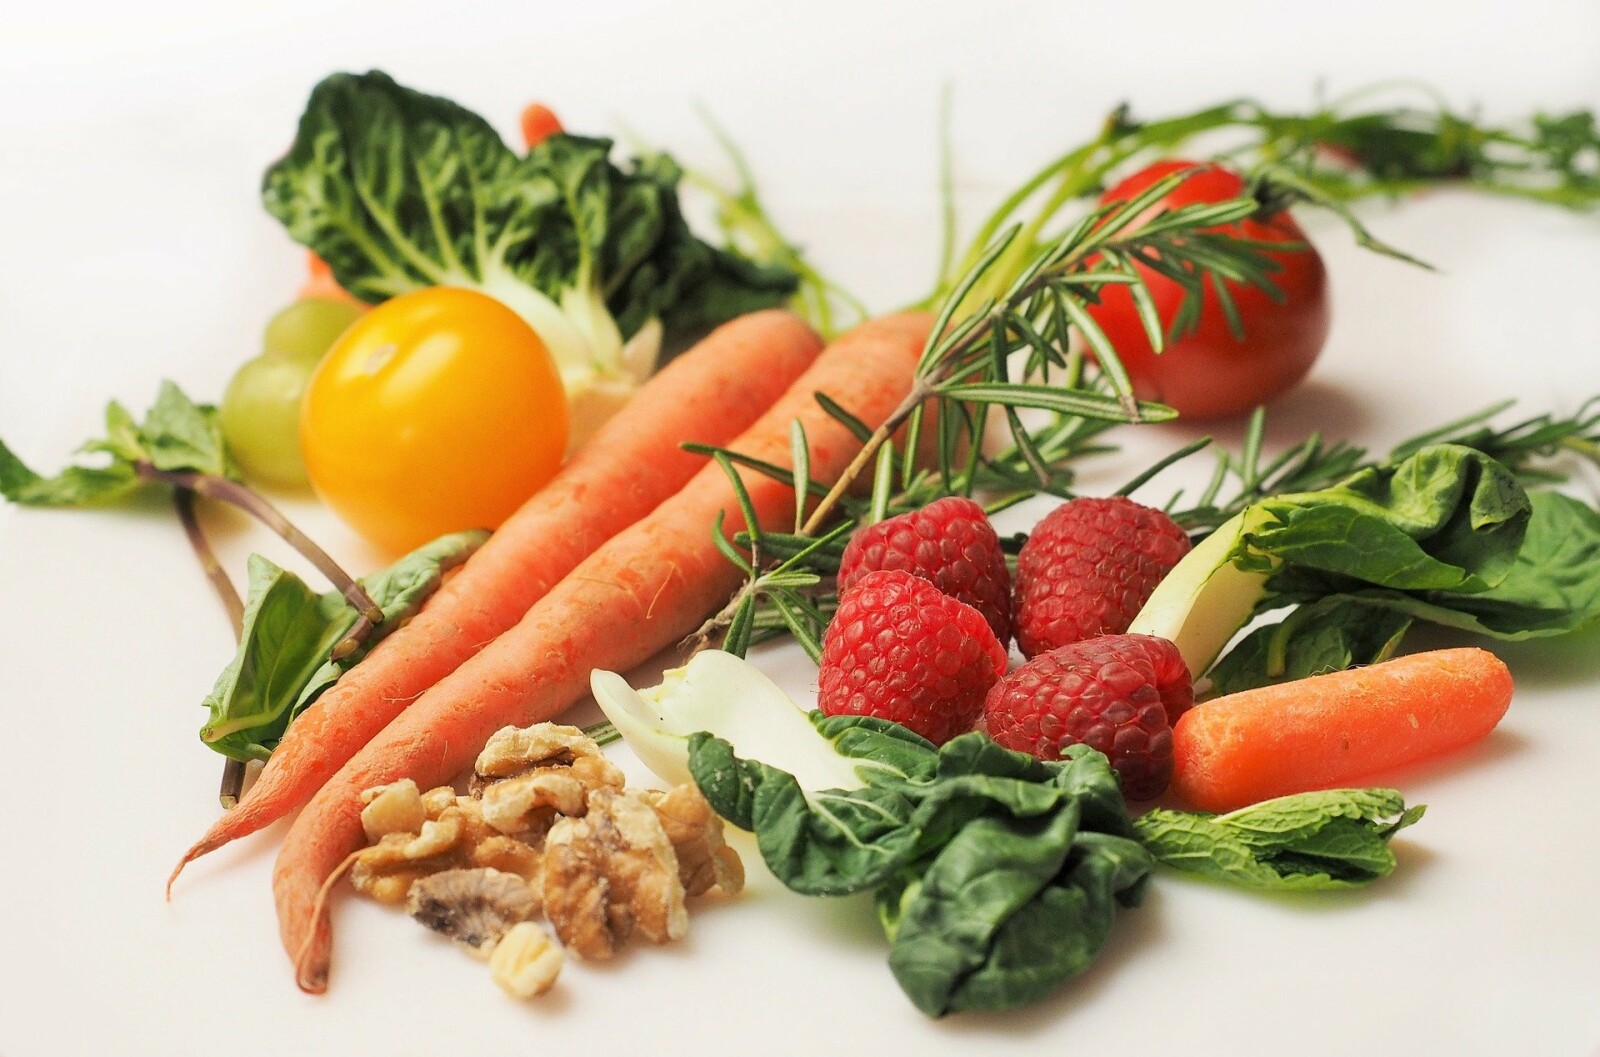
You’ve made the goal to eat healthier, but where do you even start? Go back to Easy Whole Cooking for tips on cooking. Snacks are also important, with the holidays, food all parties, and general need for snacking with young ones, you cannot forget the importance of snacks. So where do you start?
To keep a healthy snack routine, stick with the whole food guidelines. Avoid foods/snacks with preservatives or are highly processed. This includes most crackers (triscuits and a few others like Off the Beaten Path maybe the only exceptions). The beloved summer sausage or beef sticks that show up at parties are also a no go. They are full of preservatives, nitrates, and junk. Sugar is another thing to avoid. Yes that includes the leftover Christmas cookies.
As with all food, read your labels. More than likely if the snack comes ready out of a box or bag, it is not going to be that healthy. Check each label for ingredients you are unfamiliar with and look them up. We are blessed to be able to look information up on our phones. Every now and the. I find a surprise treat that I can pick up for my kids, that is still healthy.
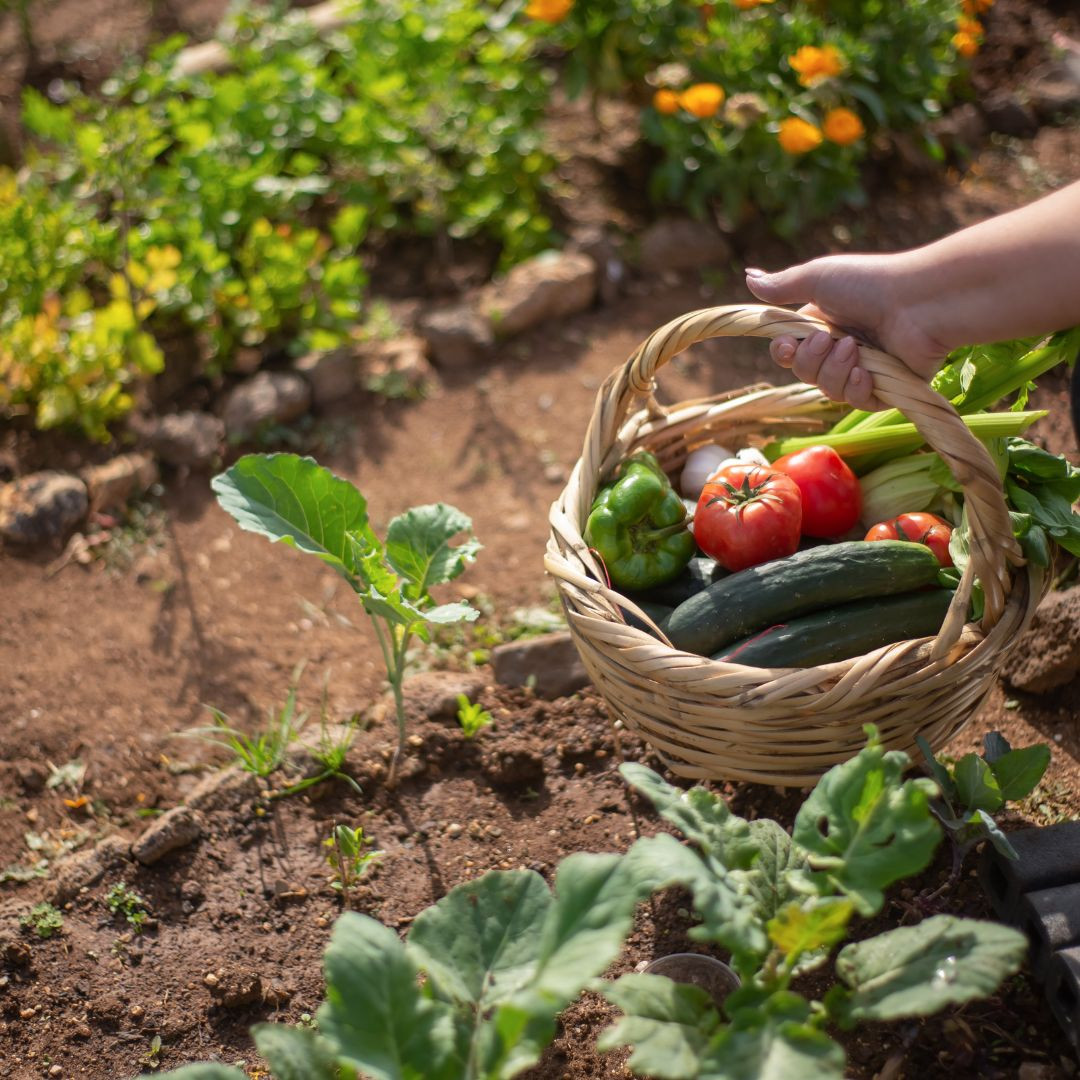
So what can you have? Foods that are close to nature and unprocessed. Fruits are huge! You can dehydrate them if you find a case of sale for later use or eat them fresh. Vegetables are another big one. Grab a bag of carrots and cut them up. Store then in cold water for freshness and easy quick snacking. Peas work fantastic right out of the freezer well. Nuts are another food that is usually easy to come by and snack on.
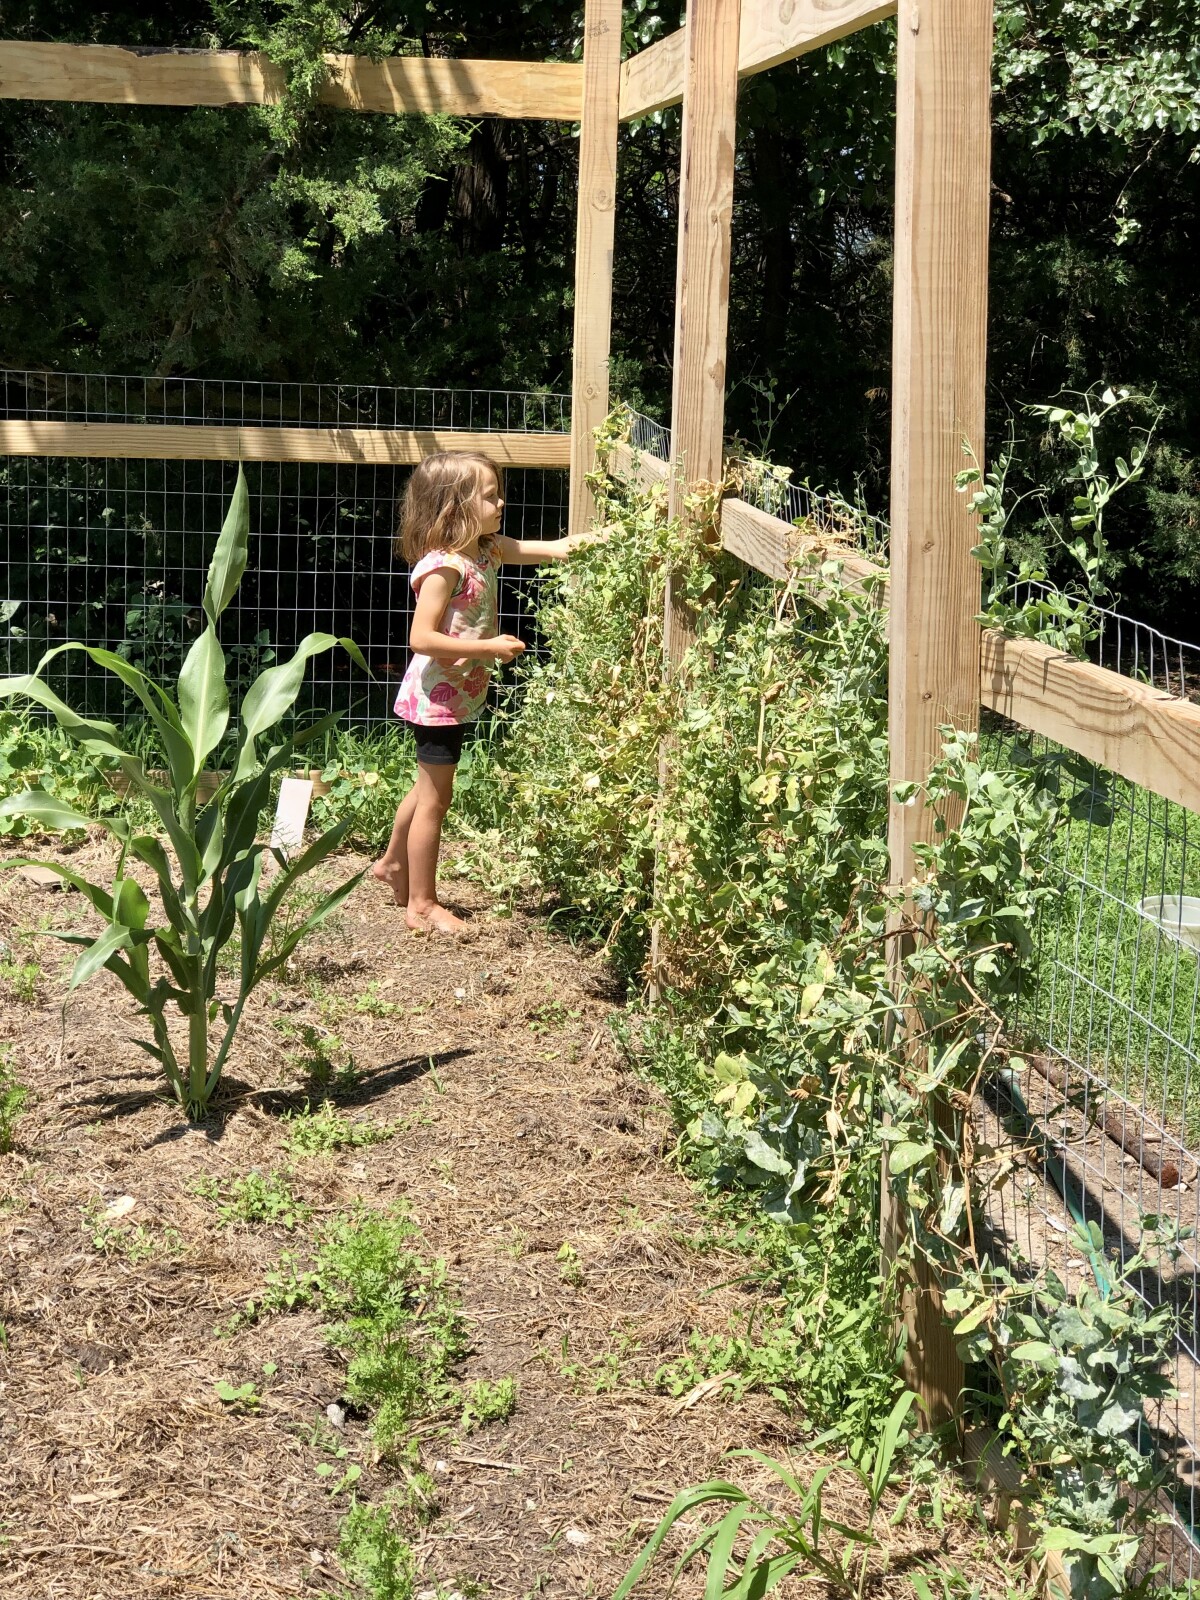
In our house I have fresh fruits and vegetables on hand most of the time for snacking. Summer is no problem as many times we are outside and the kids get what they want out of the garden. In the winter months, I use dehydrated fruit that I picked or found on sale. Bananas are easy to dehydrate. You can get instructions on how to dehydrate them here. You can usually buy dehydrated fruit, but again check the labels! Most of them are covered in sugar and dyes. I have found some dehydrated fruits without the sugar and dyes, including: apples, peaches, pineapple, mango, and banana. Carrots and peas are some favorites in our house, along with bananas, grapes, apples, and oranges.
Wanting a community to lean into? Join the FREE Courageous + Purposeful Mommas group! This community is for the Mommas, mommas to be, in the midst of raising, and kids grown, looking for tips on building your family up and providing for them through natural methods. Tips include: gardening, bulk buying, caning,/preserving, livestock, homesteading, and home remedies. Your family is precious, and this group is to help you gain the knowledge and tools to keep your family well and not reliant on outside professionals. Remedies and tips are easy and simple for the busy momma, time is precious after all, including pregnancy, birth, young kids, and illness. Trust your Momma gut again! This community offers the resources + community you need to help get started on your journey and prepare for whatever future you envision.
Click here to get the stories straight to your email:
For more on wellness tips click here:
For more on homesteading on your budget click here:
For more simple DIY updates click here:
This post may contain affiliate links, which means that I may receive a commission if you make a purchase using these links, with NO additional cost to you.
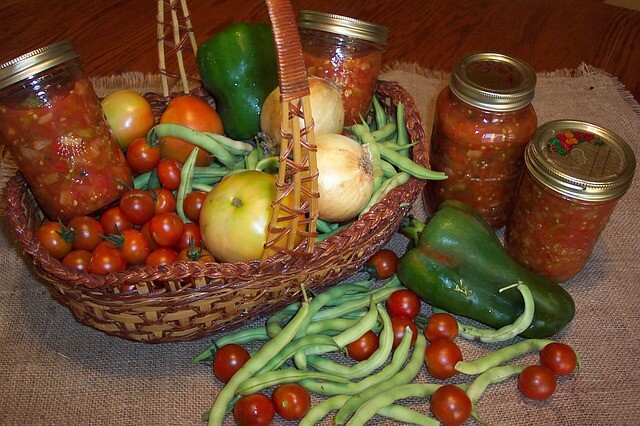
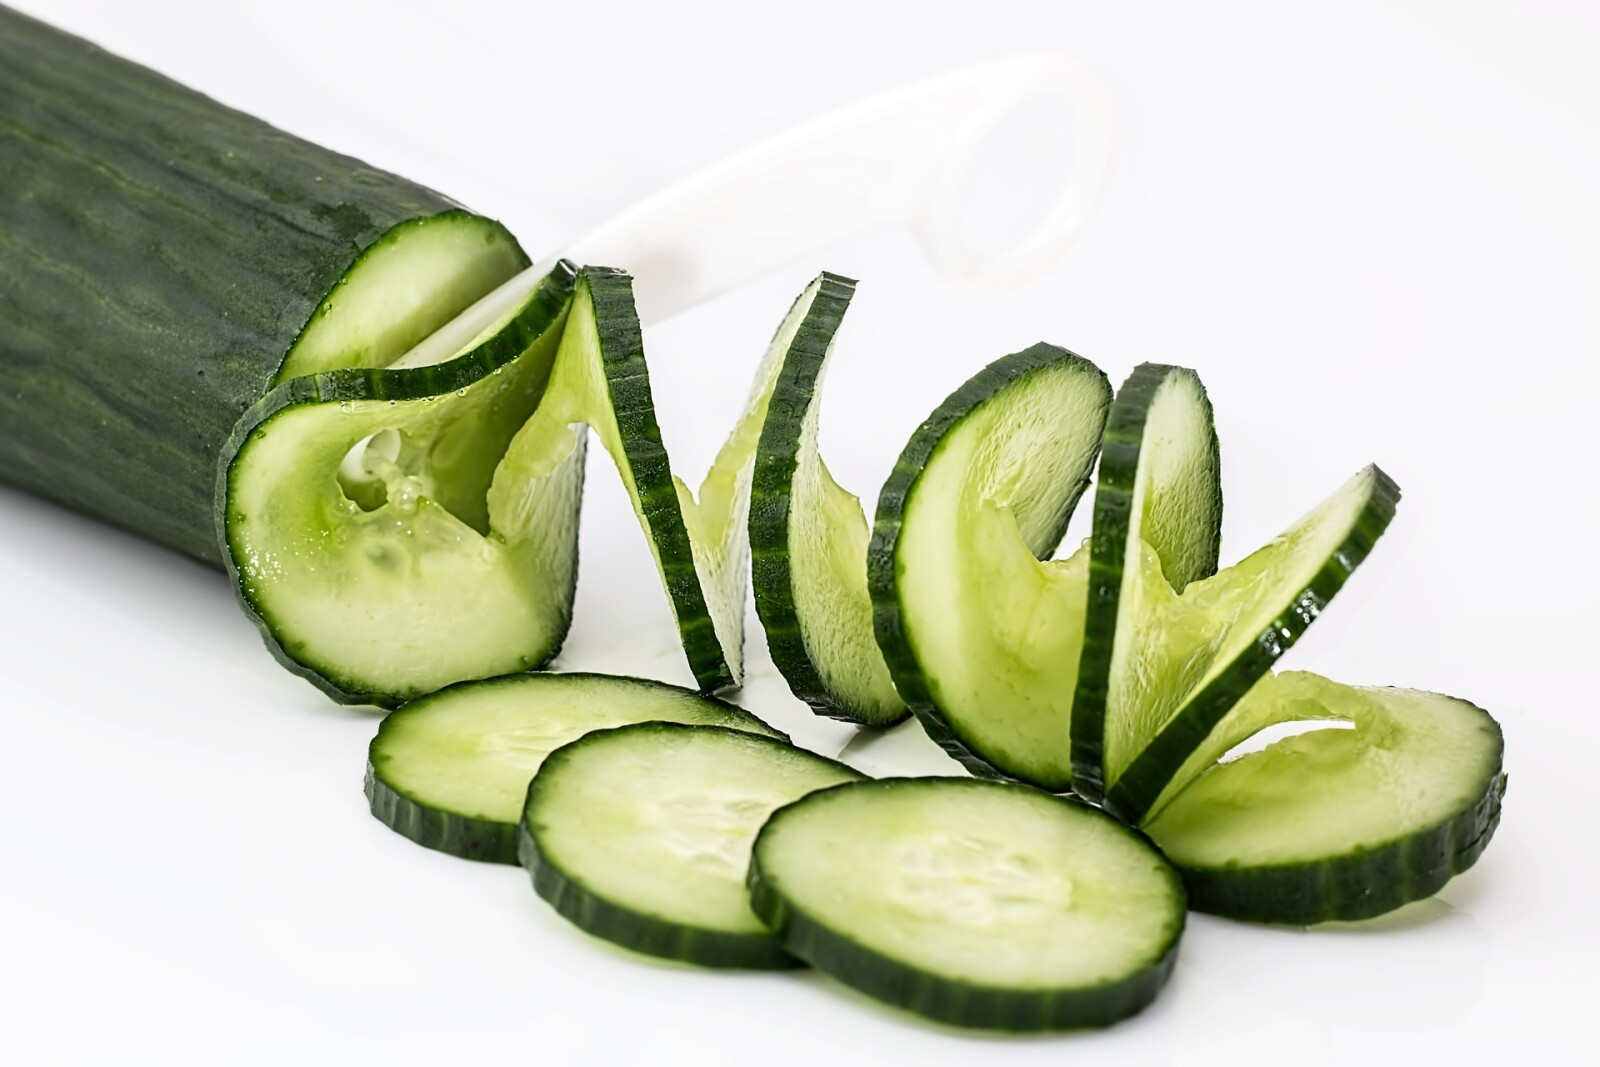
Wait what?!? That was my reaction at first, but having an abundance of cucumbers, I decided to try it. Besides if they were good, it would be a good way to make them last over the winter. I already had pickles and relish left from last year to get me through this year, so I needed something else.
I started with a very small batch, there was no point in having a bunch if they weren’t any good. The first batch I did through one of those old cheese graters. This sliced the cucumbers very thin, but still took quite a bit of time and I got many partial pieces, instead of round slices. After they dehydrated overnight we tasted them. They were dissolve on your tongue thin, but tasted good. So I tried round two filling the entire dehydrator.
In my quest for quick easy cutting I remembered my food processor! I had to cut the cucumbers in half to fit, but cutting part went way faster, and more uniform in shape and thickness. I still tossed them in the oil and salt mixture as the recipe directed. The results of round 2 were mixed. They still tasted good, but they were too thin for a good chip
Round three, I went back to the good old knife. While the cutting part took longer, and the thickness was not exactly uniform. I filled the dehydrator as full as I could. I also tried brushing the oil salt mix on the slices instead of tossing them. You know to save a dish to wash. These turned out good! They were the proper thickness for a chip and tasted good. I tend to not like a lot of salt, so the one side was perfect for me. My kids liked the chips as well, but they love cucumbers straight out of the garden too.
Recipe
Cucumbers sliced thin
1 T Olive oil
½ t Sea Salt
2 t apple cider vinegar (if you want salt vinegar chips)
1. Lay cucumbers on dehydrator trays.
2. Mix olive oil, sea salt, and vinegar (if desired)
3. Brush onto the cucumbers
4. Dehydrate at 135 degrees F for 10-12 hours until crispy
5. Cool and eat or place in containers for storage.
Wanting a community to lean into? Join the FREE Courageous + Purposeful Mommas group! This community is for the Mommas, mommas to be, in the midst of raising, and kids grown, looking for tips on building your family up and providing for them through natural methods. Tips include: gardening, bulk buying, caning,/preserving, livestock, homesteading, and home remedies. Your family is precious, and this group is to help you gain the knowledge and tools to keep your family well and not reliant on outside professionals. Remedies and tips are easy and simple for the busy momma, time is precious after all, including pregnancy, birth, young kids, and illness. Trust your Momma gut again! This community offers the resources + community you need to help get started on your journey and prepare for whatever future you envision.
Click here to get the stories straight to your email:
For more on wellness tips click here:
For more on homesteading on your budget click here:
For more simple DIY updates click here:
This post may contain affiliate links, which means that I may receive a commission if you make a purchase using these links, with NO additional cost to you.
My kids love fruit! And I love that they love it. But when you are on the go, some fruits just don’t travel well. Many of the favorite fruits are also harder to find in the winter. My solution? Dehydrated fruit!
Last winter I was buying some dehydrated fruits to try them out. Thinking that I was getting great healthy snacks that weren’t loaded with sugar. I got bananas, pineapple, kiwi, and mango at first. Then I read the labels. Every one of them had a sugar coating and some kind of dye. Lesson learned: read the labels very carefully before buying. I did find a few brands that were actually just the fruit and do get those for the occasional treat. You can buy the pineapple here.
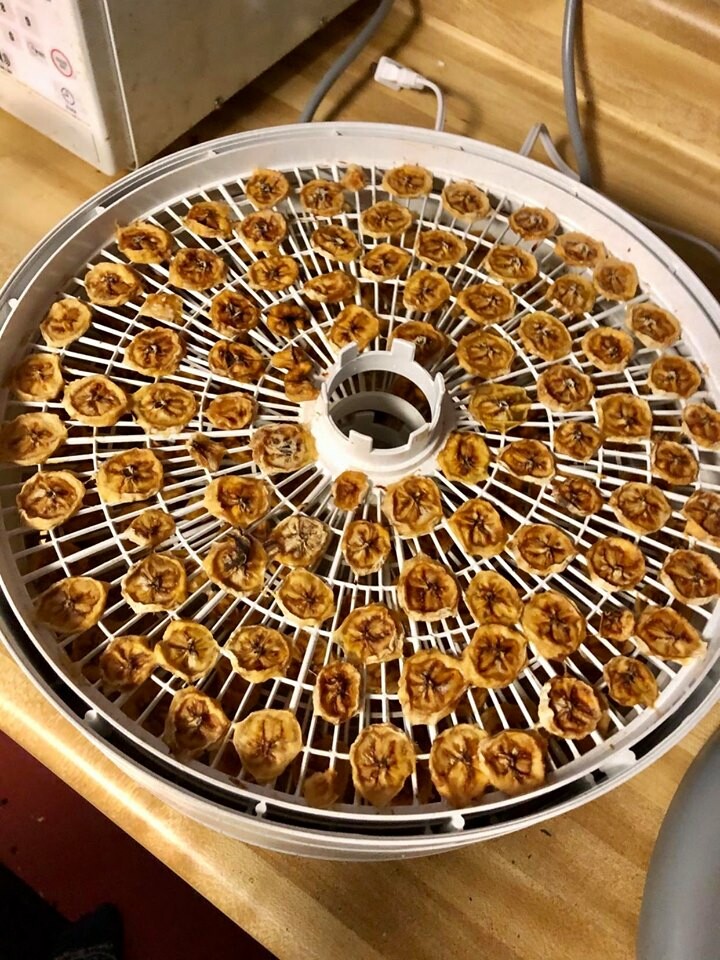
Bananas proved a little harder to find without the extra sugar. So I decided to make my own, since my kids like them so much. The riper the banana the sweater they are. Bananas actually have quite a bit of fructose (fruit sugar) naturally. What I found is the over ripe bananas actually make really good chips, because they are so sweet. Bonus? You can usually buy them half price. They cut up really nicely as long as they aren't bruised or complete mush. If you don’t want them to brown you will need to dip them in a citric acid or lemon juice. I personally don’t mind, so I sip that step and cut them straight onto the dehydrator. I have found I can get around 3 bananas per tray, depending on how thick I cut them.
How simple is this little treat? Buy overripe bananas, purchase only enough to fill the dehydrator. They tend to go bad very quickly. Cut the bananas thinly onto the dehydrating trays. Once full, turn the dehydrator on 135 degrees and walk away for at least 24 hours. Let the bananas cool once dry and pack into freezer containers. I leave mine a little chewy, so I put them in the freezer for storage. I personally love these reusable containers.
Banana Chips
Over ripe bananas
Citric acid or lemon juice (optional)
Thinly slice bananas onto tray
Turn dehydrator on 135 degrees for 24 hours
Check bananas for dryness
Store in freezer safe containers
Wanting a community to lean into? Join the FREE Courageous + Purposeful Mommas group! This community is for the Mommas, mommas to be, in the midst of raising, and kids grown, looking for tips on building your family up and providing for them through natural methods. Tips include: gardening, bulk buying, caning,/preserving, livestock, homesteading, and home remedies. Your family is precious, and this group is to help you gain the knowledge and tools to keep your family well and not reliant on outside professionals. Remedies and tips are easy and simple for the busy momma, time is precious after all, including pregnancy, birth, young kids, and illness. Trust your Momma gut again! This community offers the resources + community you need to help get started on your journey and prepare for whatever future you envision.
Click here to get the stories straight to your email:
For more on wellness tips click here:
For more on homesteading on your budget click here:
For more simple DIY updates click here: