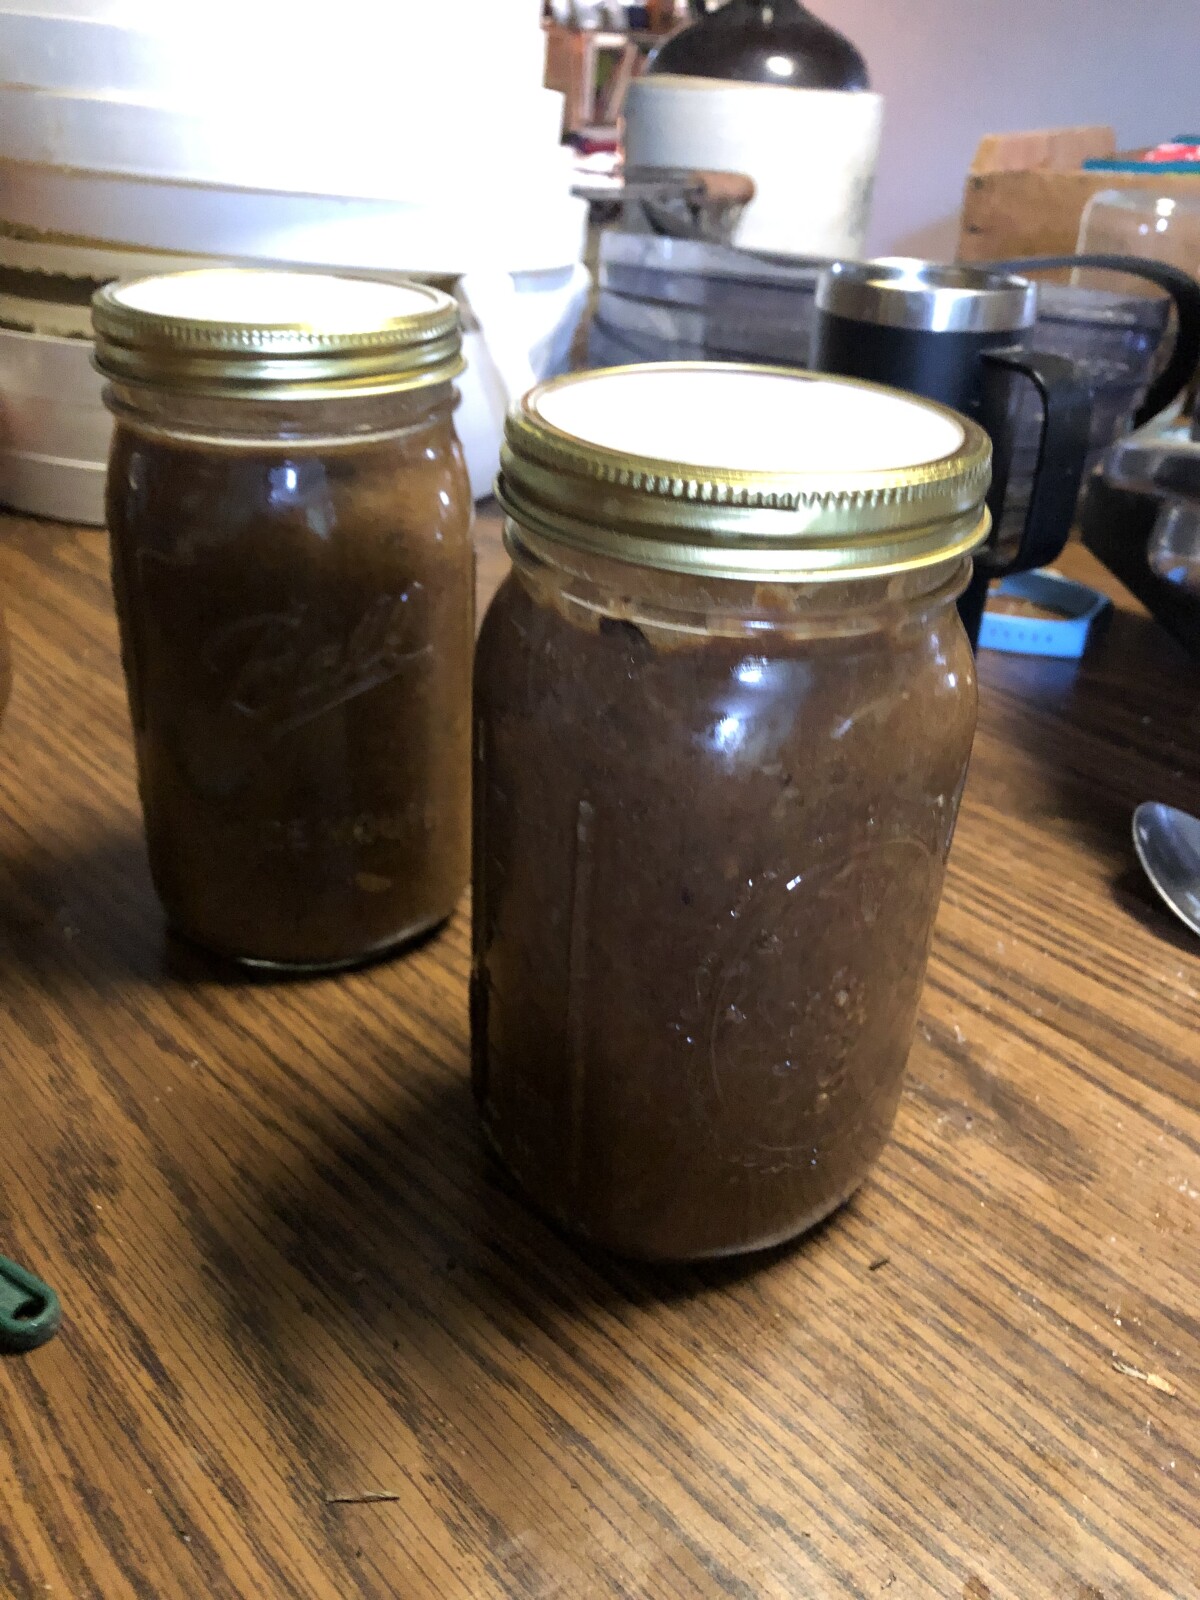
Basic Bone Broth Recipe and How to Preserve It

Basic Bone Broth Recipe and How to Preserve It
This post may contain affiliate links, which means that I may receive a commission if you make a purchase using these links, with NO additional cost to you. 
 
                                                  
One ingredient we use a lot in soups and other dishes is bone broth. I’ll be honest it used to scare me to make it. We use it in place of store-bought bouillon or stock. Why? No fillers, or preservatives. More real nutrients and its better for you. The good news is it is easy to make. 
 
You will need bones, I like to keep species the same. A crock pot, or roster. Glass canning jars for storage. Below is an outline of the basic ingredients. You can change the flavor up by adding different vegetables or herbs. If you have some vegetables about to go bad, throw them in the pot with the bones!
 
4 pounds of bones (about 4 chicken carcass bones)
1-2 Onions
2T apple cider vinegar or 3T Braggs 
3 Celery Stalks chopped
3 Carrots chopped
Sea salt and pepper
4 cloves garlic
2” knob of ginger
2 bay leaves
3 springs Thyme
3 springs parsley
 
Place all the ingredients in a crock pot or roaster. Add water until everything is covered. Simmer on low, about 200 degrees in a roaster, for 24-48 hours. Stir and skim the fat occasionally. 
 
Remove the solids. Remove the bones from the vegetables and meat. Place the vegetables and meat in a food processor and blend until smooth. Add the blended food back to the broth and stir. This will make the broth very thick. If you want a thinner broth, do not add as much blended solids back. 
 
You can also remove the bones and use an immersion blender to blend the remaining solids. 
 
You can freeze the broth in freezer containers, leaving 2 inch head space, or can using the directions below. 
 
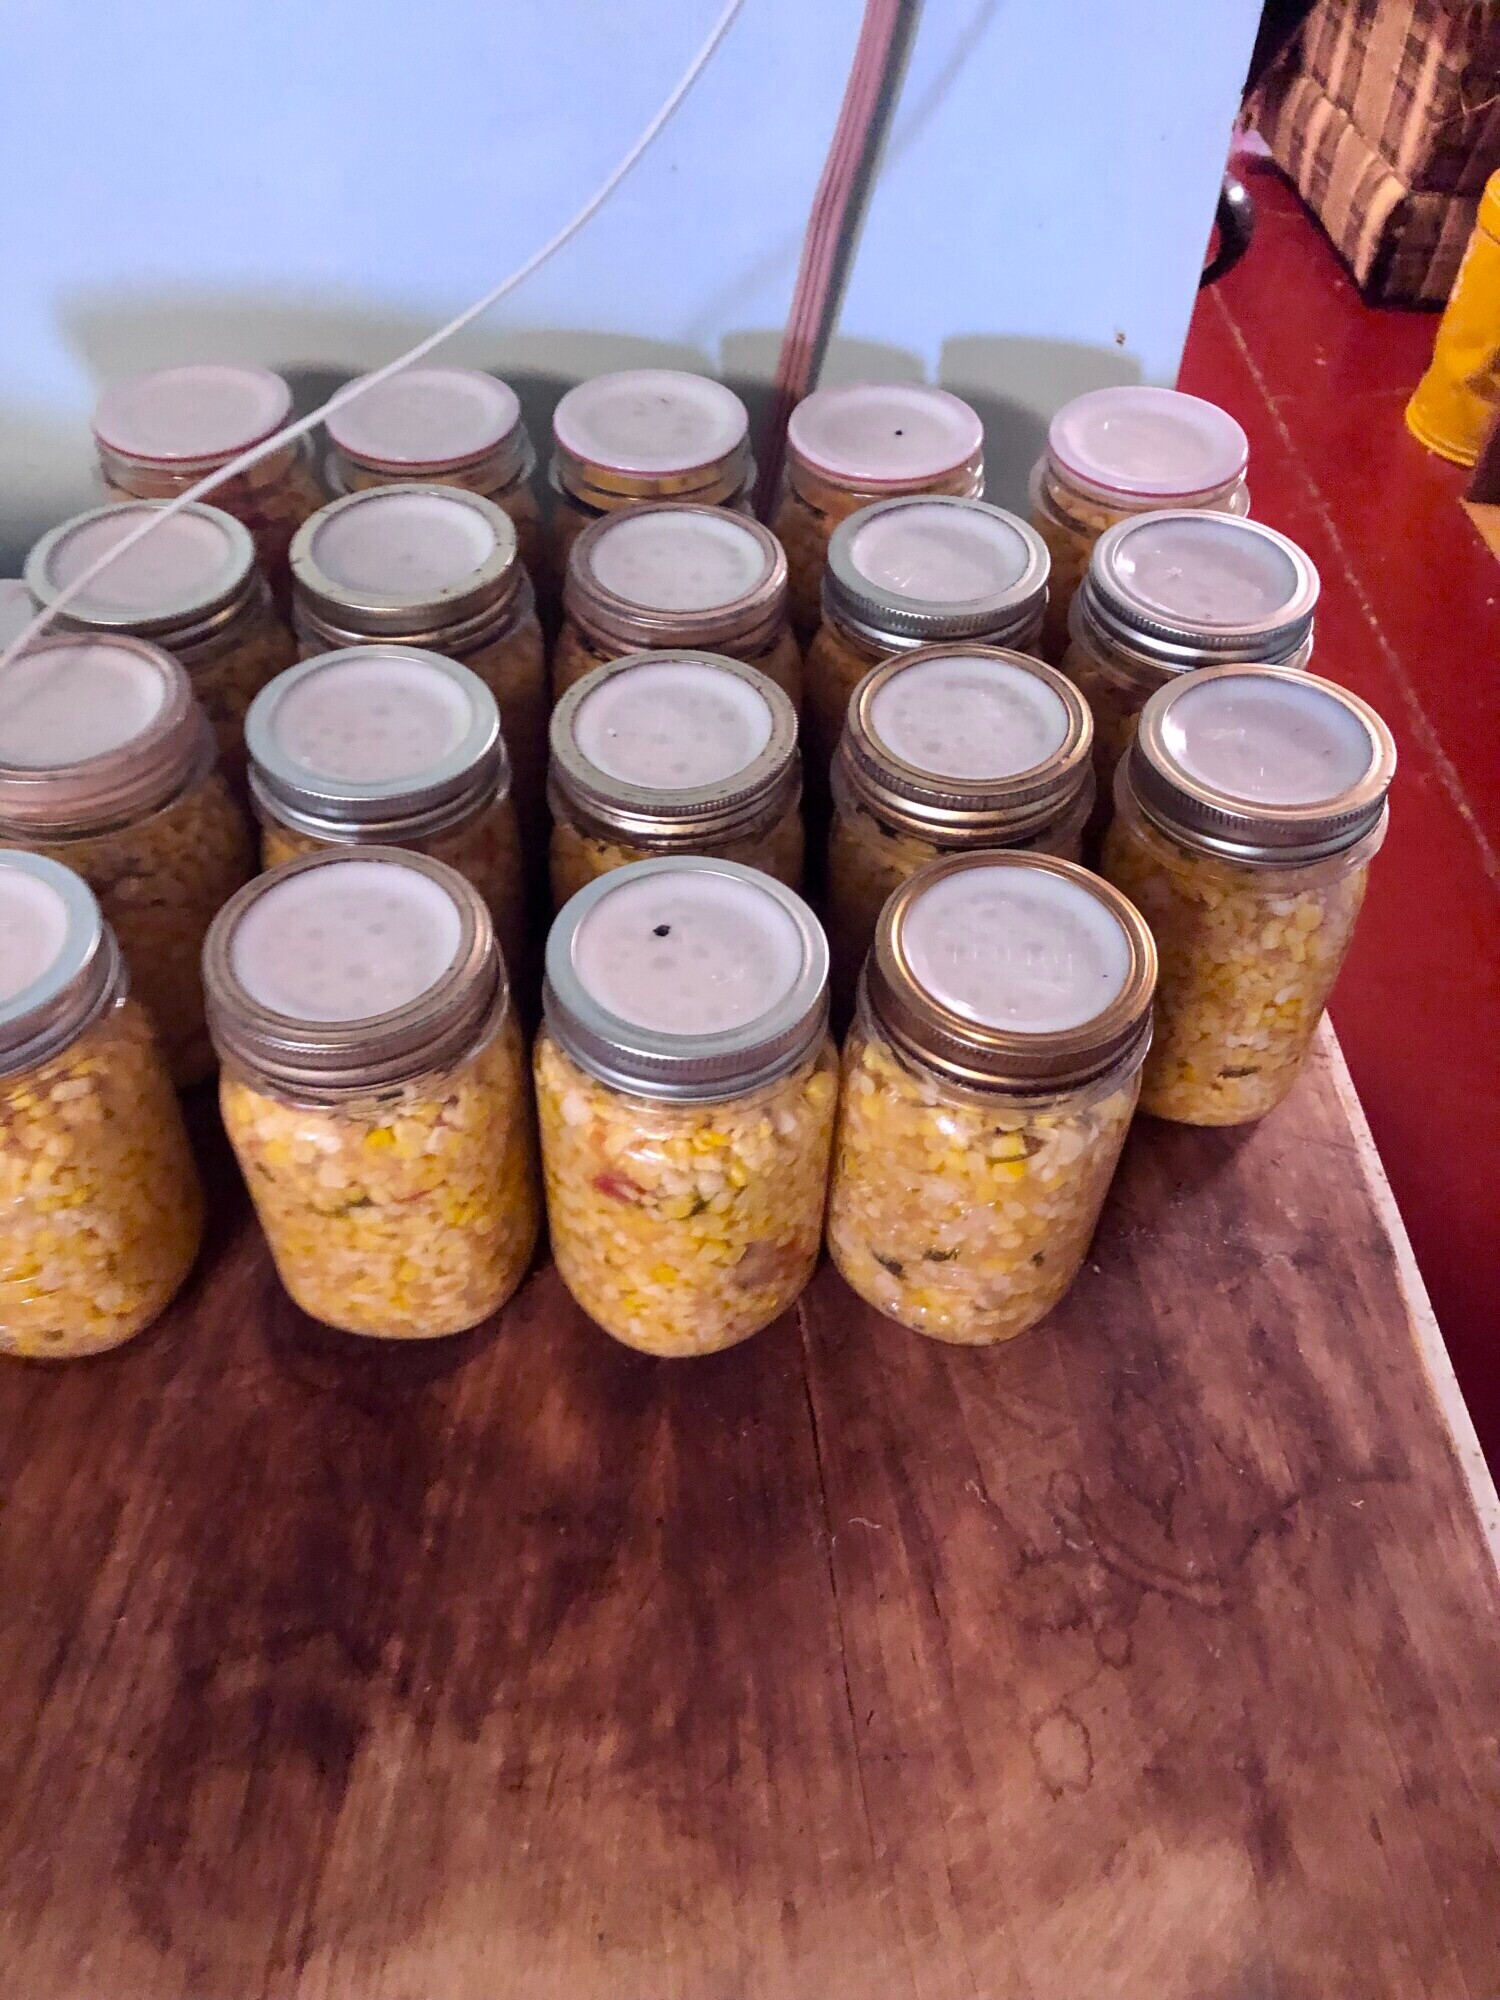
Add the broth into sterilized pressure canning jars, leaving 1 inch head space. 
 
Wipe the rims clean and place lids on. I like to use the reusable canning lids from Tattler. 
 
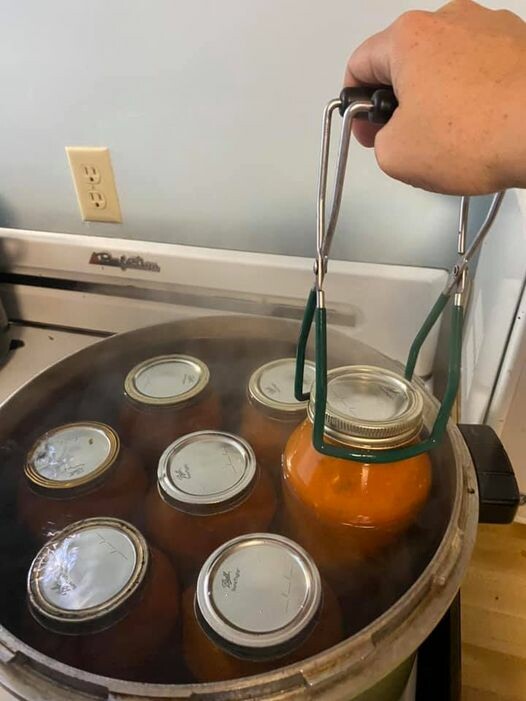
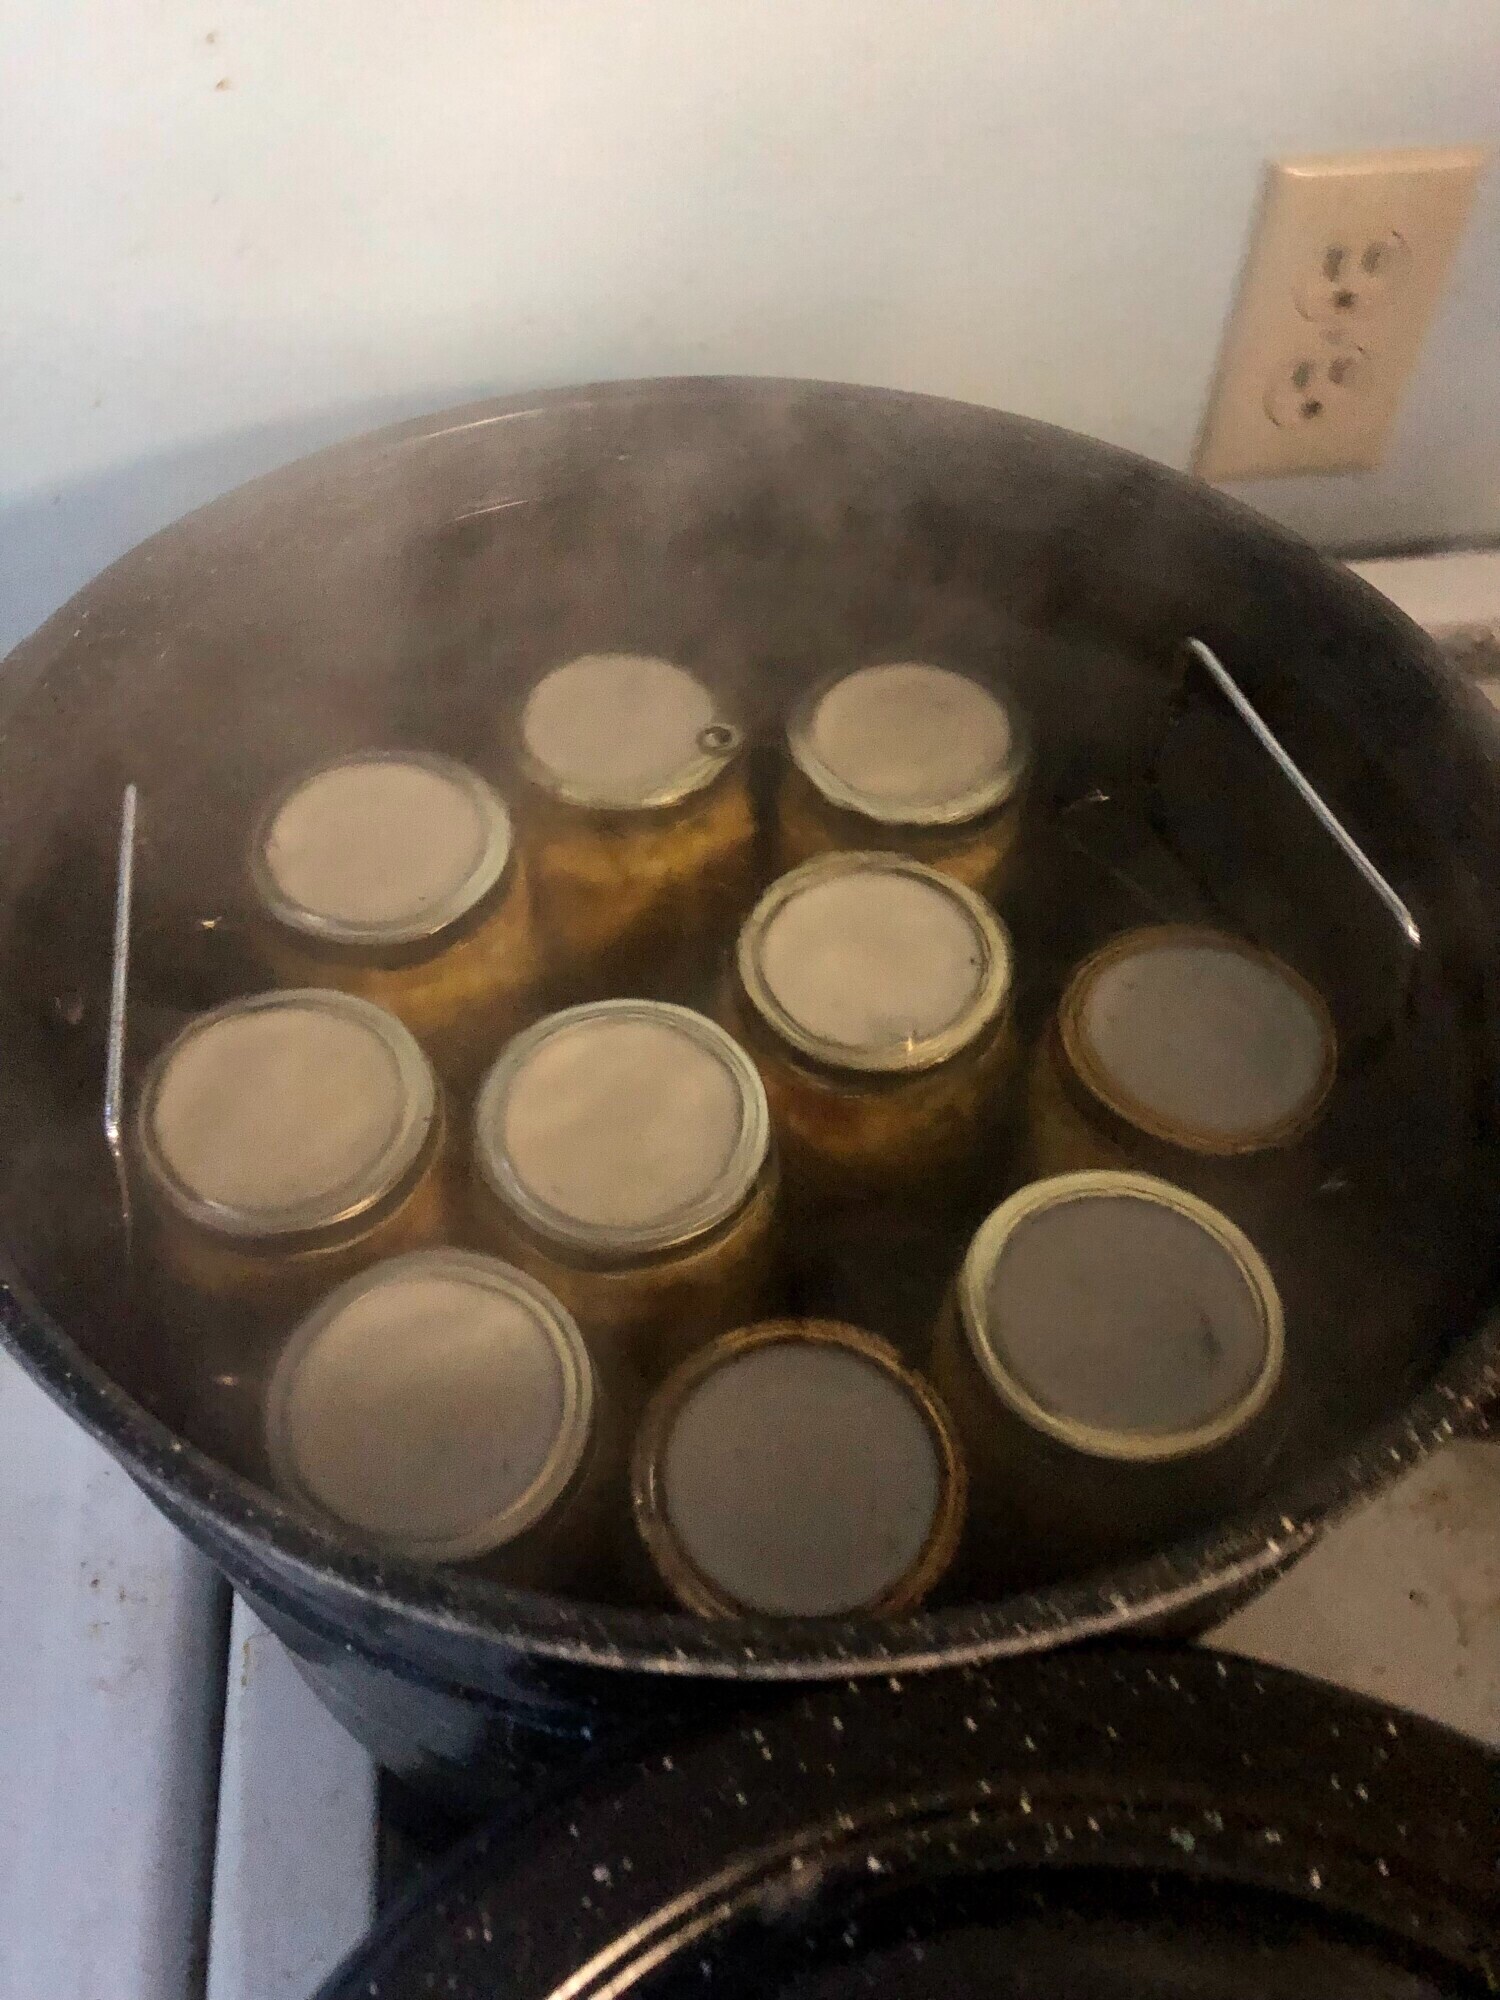
Place hot jars into the pressure canner and fill with water until water is 2 inches above the jars. 
 
Process jars at 11 pounds psi for 20 minutes for pints and 25 minutes for quarts. 


As I've grown in  my journey as an entrepreneur, mom, gardener, and livestock owner, I struggled to find a planner that met my needs and kept me organized. So I MADE MY OWN. You can take a look at it on the link blow and buy it on amazon below
Don't want the whole calendar part? I got you! I pulled the gardening and animal care pages out and put them in a book all their own. 

Wanting a community to lean into? Join the FREE Helping Your Family Homestead for Food group! This community is for the Mommas, looking to stay home and raise their kids, but unsure how to keep everyone fed and make ends meet. I share tips from my journey from the office, to half the income and feeding my family from home, while maintaining good nourishing food. Tips include: gardening, bulk buying, caning,/preserving, livestock, homesteading, and home remedies. Your family is precious and this group is to help you gain the knowledge and tools to keep your family well and not reliant on outside professionals. Remedies and tips are easy and simple for the busy momma, time is precious after all, including pregnancy, birth, young kids, and illness. Trust your Momma gut again! This community offers the resources + community you need to help get started on your journey and prepare for whatever future you envision. 
 
Starting to garden doesn't have to be hard! I gathered all the tips I've learned over my gardening learning curve and made them into a simple course to jump start your gardening your life. 

Supporting Your Family Naturally From the Inside Out community!! This community is for the Mommas, looking  to Support Your Family from Nature for Wellness. Tips range from nutrition, herbals, detoxing, natural cleaning, and essential oils. Basically all the things I’ve learned slowly over the past 5+ years if my journey. We have moved off Facebook, so to better serve our community and be able to discuss openly option for providing for your family in the best way possible.
Join the FREE Community
I've had 3 very different pregnancies. After the first traumatic birth, I learned better and how to care for my body naturally and prevent common pregnancy and birth problems before they arise. This quick course will get you the tools you need to have a naturally healthy pregnancy, labor, and delivery. My first pregnancy I had a normal western medicine all the things pregnancy. My second? I flipped to completely natural, no medicine. Bonus: Preventing Preeclampsia Without the Aspirin & Healing from Birth Trauma

Click here to get the stories straight to your email:
 
For more on wellness tips click here:
 
For more on homesteading on your budget click here:
 
For more simple DIY updates click here:


Storing White Potatoes or Sweet Potatoes at room tempature

Storing White Potatoes or Sweet Potatoes at room tempature
This post may contain affiliate links, which means that I may receive a commission if you make a purchase using these links, with NO additional cost to you. 

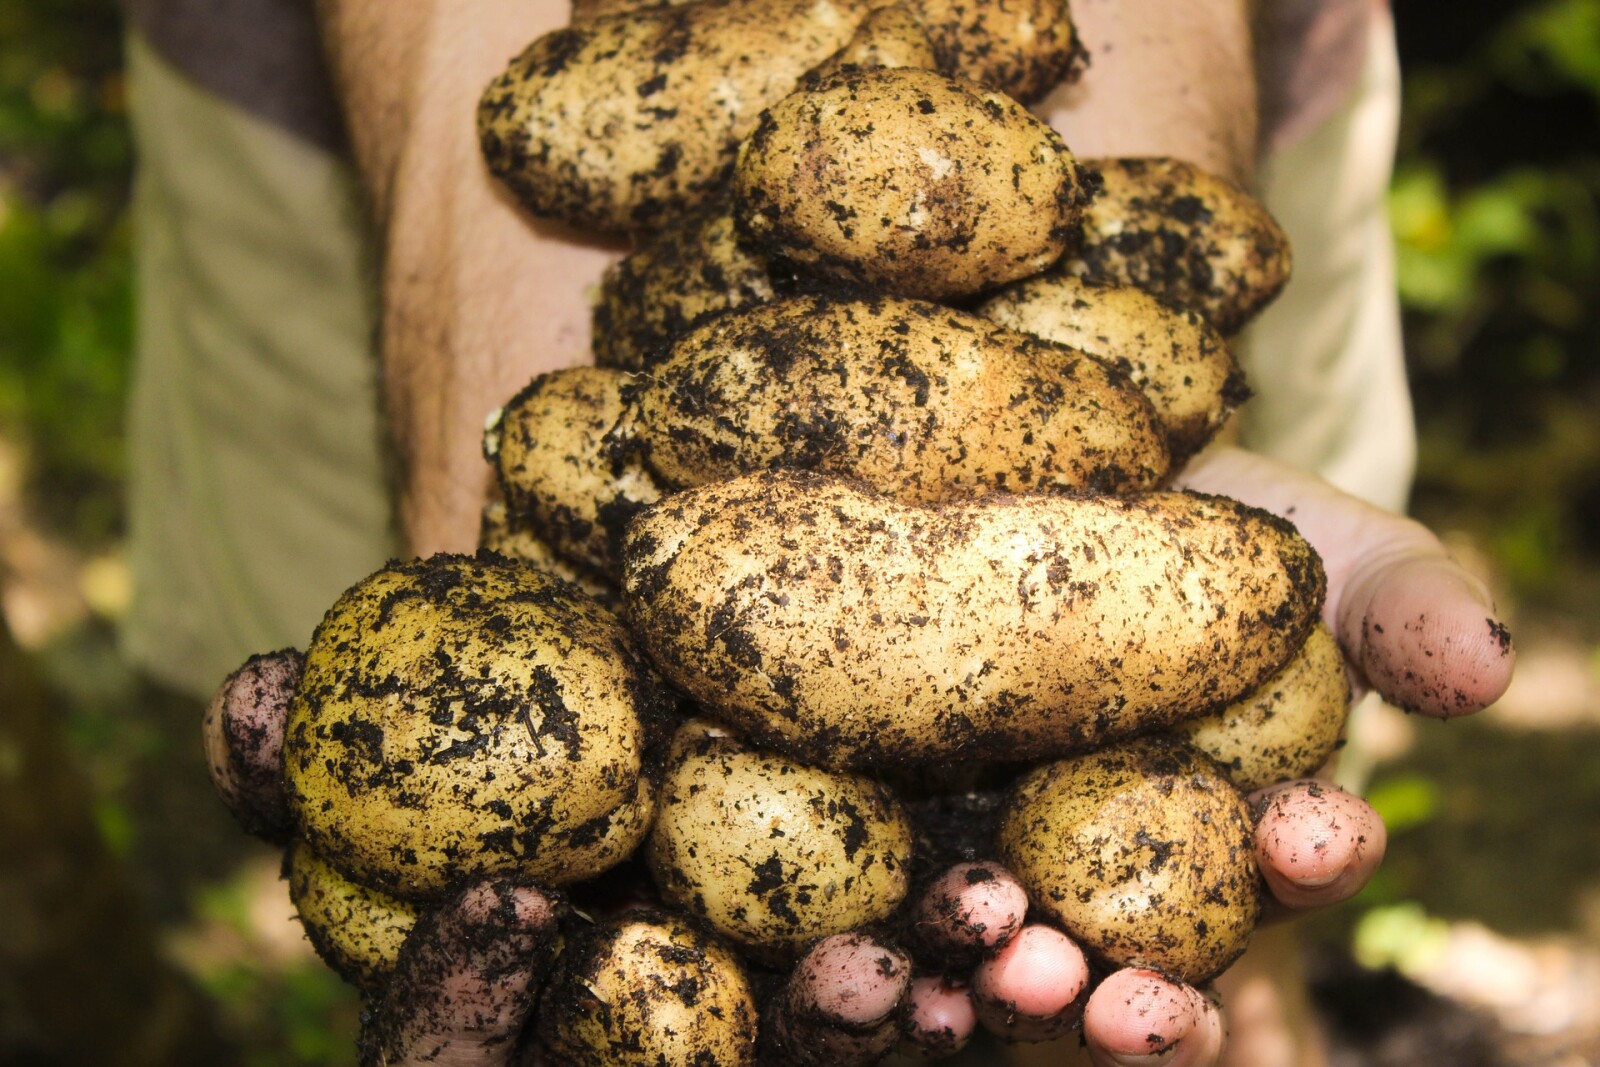
I love growing my own food. Part of growing all the food is not only eating it fresh in the summer, but preserving it for winter use. One vegetable we use for cooking throughout the year is potatoes. This storing method can be used for both regular potatoes and sweet potatoes. Note that red skinned white potatoes will not keep as long as brown or yellow skinned potatoes, and thick skinned keeps even longer. So use the red ones first, then the thin skinned, leaving the thick (like russets) for last. 

Storing potatoes for winter actually starts before the harvest. Reduce the water to the potatoes for a couple weeks prior to harvest. This helps the skin to dry and harden which will prevent mold growth later. Wait until the vines start to die back. They will turn speckled yellow before completely drying up. Waiting until this point allows the potato tubers to completely mature prior to harvest. 

Dig the potatoes, being careful to not cut or damage any tubers while digging. Lightly dust the dirt from the potatoes and place them in a shallow open box. 

Curing is next, and the most crucial for long term storage. White potatoes tend to be harvested late in the summer when it is still warm and humid. Sweet potatoes are more towards fall, when temperatures are cooling off. Both need to be cured for 10-14 days in warm temperatures with high humidity. White potatoes' ideal temperature is 65 degrees with 95% humidity, while sweet potatoes are closer to 80-85 degrees with 80% humidity. I cure my white potatoes in my garage, which is a little higher in temperature than ideal, but the humidity is about right. Sweet potatoes I place next to the furnace in boxes covered with a cloth to keep humidity up. 

After the curing period is up you can gently brush any remaining dirt off the potatoes. Dispose of or use quickly any with bad spots, soft spots, green ends, or cuts. Store potatoes in a cool and dry room. An unheated basement room or garage works well for this. But take care to make sure they do not freeze. I have a cellar room that we can close off to keep the heat out of, in our basement that works well. Ideal temperature for storing white potatoes is around 40 degrees, while sweet potatoes can handle a bit warmer at 55 degrees. 


Wanting a community to lean into? Join the FREE Courageous + Purposeful Mommas group! This community is for the Mommas, mommas to be, in the midst of raising, and kids grown, looking for tips on building your family up and providing for them through natural methods. Tips include: gardening, bulk buying, caning,/preserving, livestock, homesteading, and home remedies. Your family is precious, and this group is to help you gain the knowledge and tools to keep your family well and not reliant on outside professionals. Remedies and tips are easy and simple for the busy momma, time is precious after all, including pregnancy, birth, young kids, and illness. Trust your Momma gut again! This community offers the resources + community you need to help get started on your journey and prepare for whatever future you envision.

Join the Free Community


Click here to get the stories straight to your email:

Sign up for the Blog


For more on wellness tips click here:

Sign up for Wellness tips


For more on homesteading on your budget click here:

Sign up for Homesteading Tips


For more simple DIY updates click here:
Sign up for easy DIYs 


How to store squash at room tempature

How to store squash at room tempature
This post may contain affiliate links, which means that I may receive a commission if you make a purchase using these links, with NO additional cost to you. 

I love growing my own food. Part of growing all the food is not only eating it fresh in the summer, but preserving it for winter use. One vegetable we are trying to incorporate more of is squash.

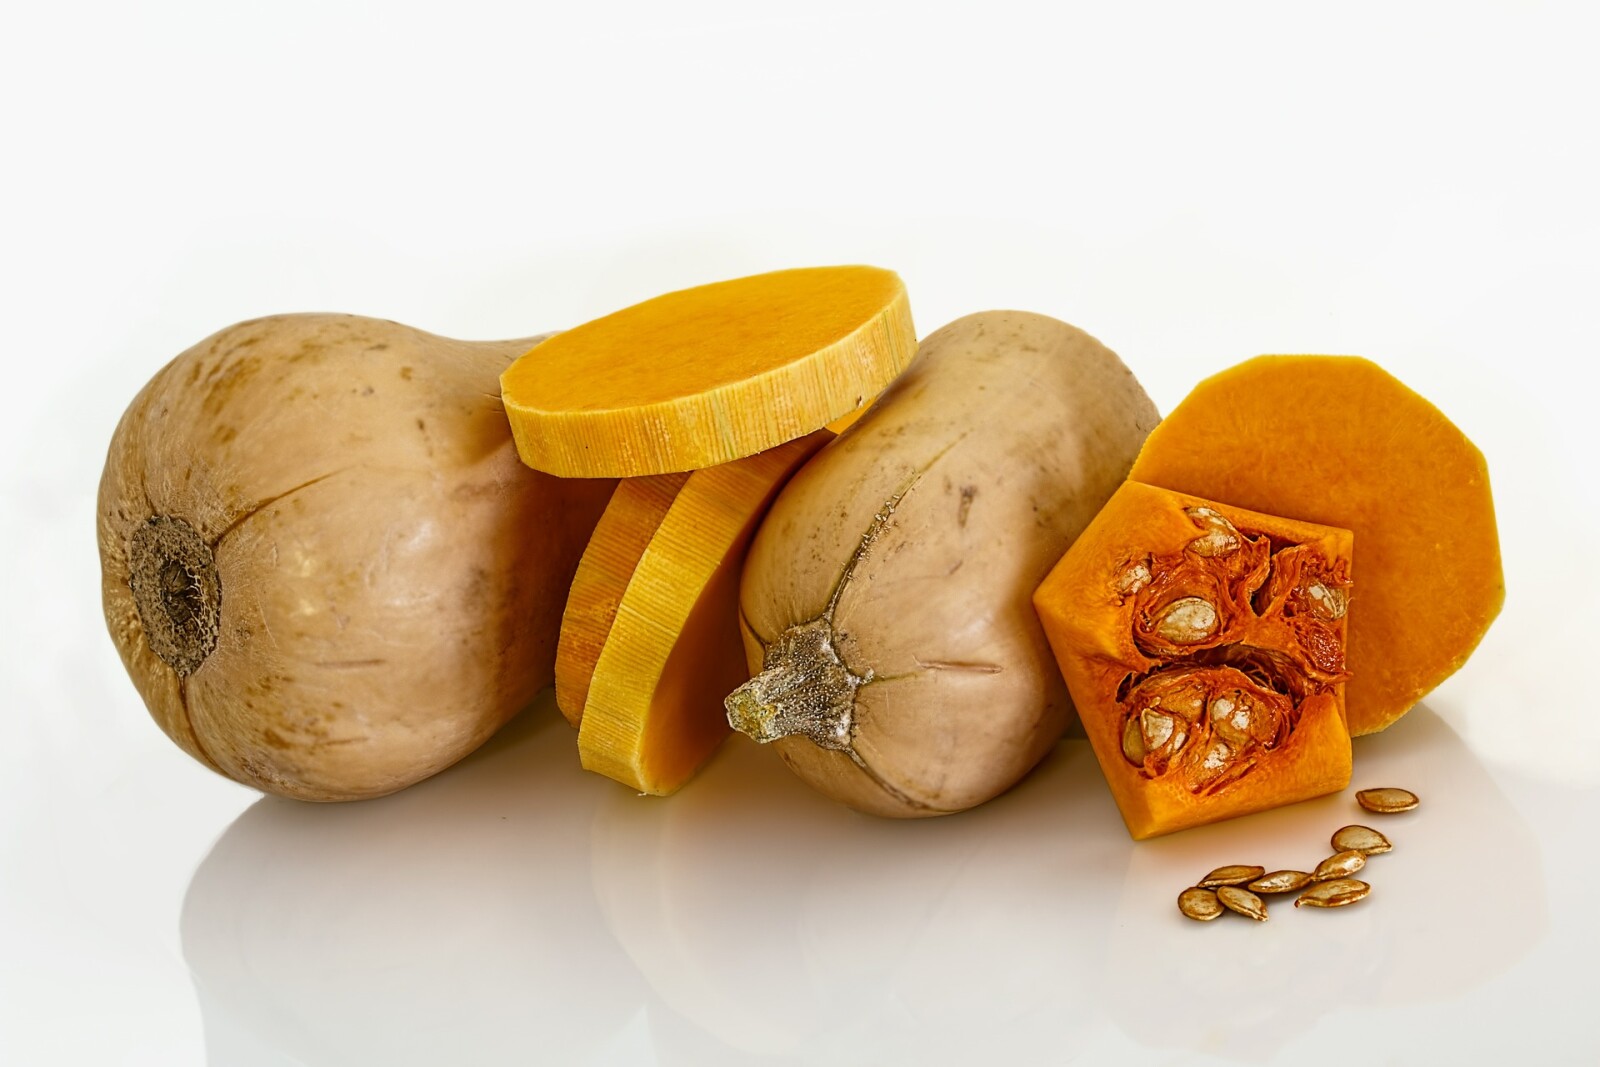
There are a few options to preserve squash for the winter. You can dice and freeze them, or store them at room temperature for 6-8 months depending on the type of squash. Squash with harder skins, like butternut, spaghetti, or pumpkin store well at room temperature. I will briefly cover storing squash at room temperature. 

Step 1: For any method is to harvest the squash. Cut the squash (butternut, spaghetti, pumpkin) from the vines when they are ripe and before the first killing frost. Squash plants can typically handle light frost just fine. 

Step 2: There are two different options here. The first is simply storing them on newspaper, the second is coating them with oil. 

Storing squash on newspaper is by far the easier way. Simply spread several layers of newspaper out on a counter, then set the squash on them without touching. You want to place them in a place with moderate temperature. I use my basement as it is finished and kept around 60 degrees in the winter, with little humidity (we run a dehumidifier). A root cellar is too damp, and an attic too cold in the winter for squash to keep. Feel free to decorate with them too around the house. This allows you to monitor them for mold and remove them before they become mush and enjoy their decorative features. 

The other option is to coat the squash with oil. Again you want to store at a moderate temperature, with low humidity. The oil method takes a bit more time and supervision, but the squash do keep longer. Before you store the squash, simply wipe each squash with a clean rag, soaked in vegetable oil. The oil reduces the spread of mold spores. If mold does appear, simply re-wipe the squash with oil. 

Happy squash harvesting and decorating!


Wanting a community to lean into? Join the FREE Courageous + Purposeful Mommas group! This community is for the Mommas, mommas to be, in the midst of raising, and kids grown, looking for tips on building your family up and providing for them through natural methods. Tips include: gardening, bulk buying, caning,/preserving, livestock, homesteading, and home remedies. Your family is precious, and this group is to help you gain the knowledge and tools to keep your family well and not reliant on outside professionals. Remedies and tips are easy and simple for the busy momma, time is precious after all, including pregnancy, birth, young kids, and illness. Trust your Momma gut again! This community offers the resources + community you need to help get started on your journey and prepare for whatever future you envision.

Join the Free Community


Click here to get the stories straight to your email:

Sign up for the Blog


For more on wellness tips click here:

Sign up for Wellness tips


For more on homesteading on your budget click here:

Sign up for Homesteading Tips


For more simple DIY updates click here:

Sign up for easy DIYs 


Homemade canned Salsa

Homemade canned Salsa
This post may contain affiliate links, which means that I may receive a commission if you make a purchase using these links, with NO additional cost to you. 

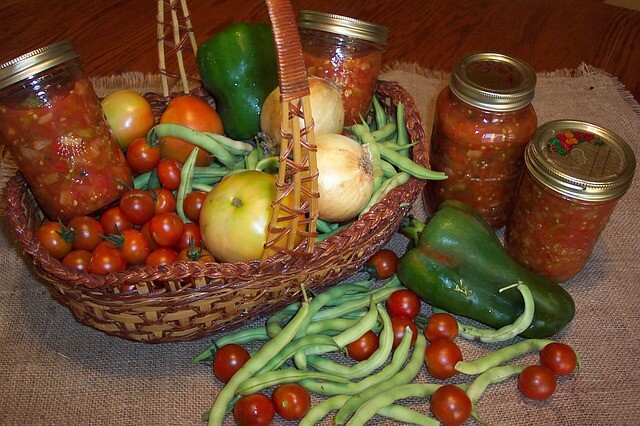
I love growing my own food. Part of growing all the food is not only eating it fresh in the summer, but preserving it for winter use. One vegetable we use for several canning recipes is tomatoes. I usually can salsa with many of the tomatoes. Its perfect for that side you forgot you needed to bring, or adding to chops or roasts. Making salsa is a simple process. 

For homemade salsa you will need (this will make approximately 3 quarts)
12 large tomatoes (approximately 1 cup each)
3 large onion
1 c vinegar (I like apple cider vinegar)
1 c Jalapenos chopped
½ c sugar
¼ c salt
¼ c cilantro (to taste)
4 cloves garlic
2 c corn (½ qt frozen)

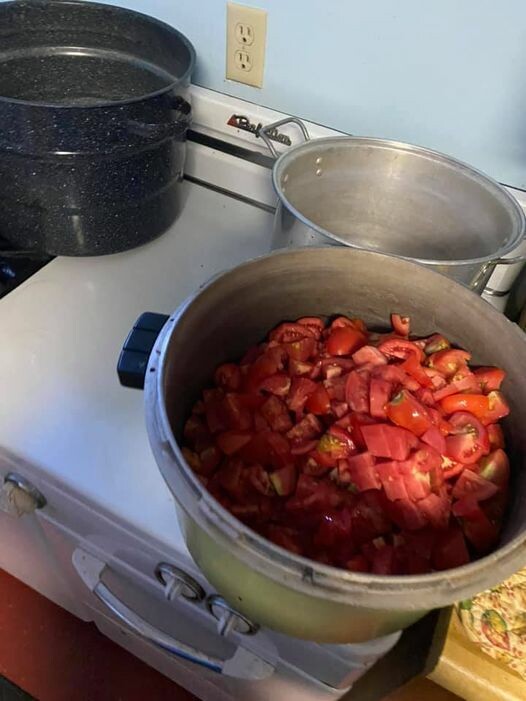
I usually make 5 times the recipe and make as big of a batch as I can at one time. For the pot pictured the recipe is 3x. The smaller pot in the back will do 2x the recipe. 

You will need the following supplies:
Canning jars
Canning lids
Canning rings
Jar Funnel
Long spatula or knife
Hot water bath
Stock pot (I usually have at least 2)
Immersion blender (for smooth salsa texture)


Step 1. Quarter tomatoes and add all the ingredients to a big stock pot. Sometimes I don’t even quarter them. No need to remove skins or seeds. If you are using frozen tomatoes, just throw them in the pot. They will cook down and chop up as you stir the pot. 

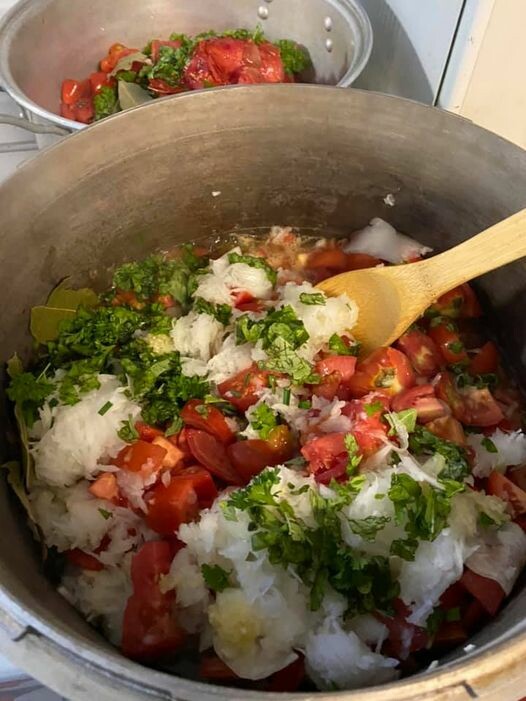
Step 2. Add all the ingredients. As I harvest produce or find ingredients on sale, I will chop them up and freeze them in sizes I will need for the recipes. It makes the process so much faster. I also like to use fresh herbs if I have them on hand at the time (you will need about double the amount using fresh). Chop onions with a food processor saves your eyes and time too. Once everything is in the pot turn the burner on high and stir occasionally. 

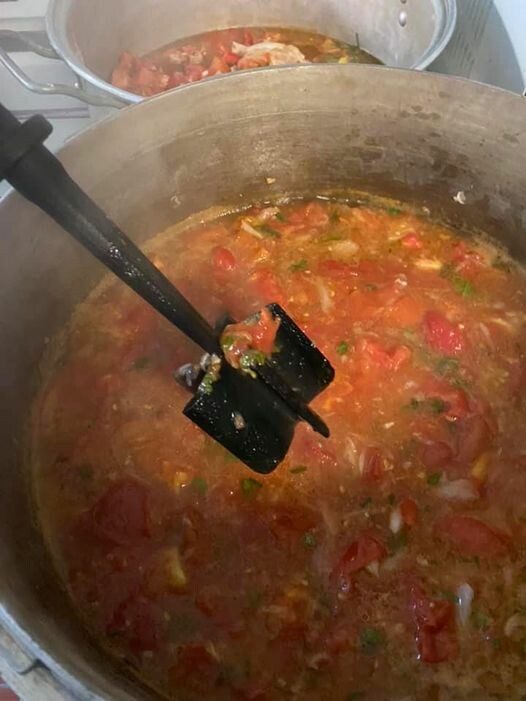
Step 3. Stir the sauce and break up the chunks. I like to use my mix and chop for the first part to break up the big chunks. For a smoother sauce, use an immersion blender to blend everything together in the pot. 

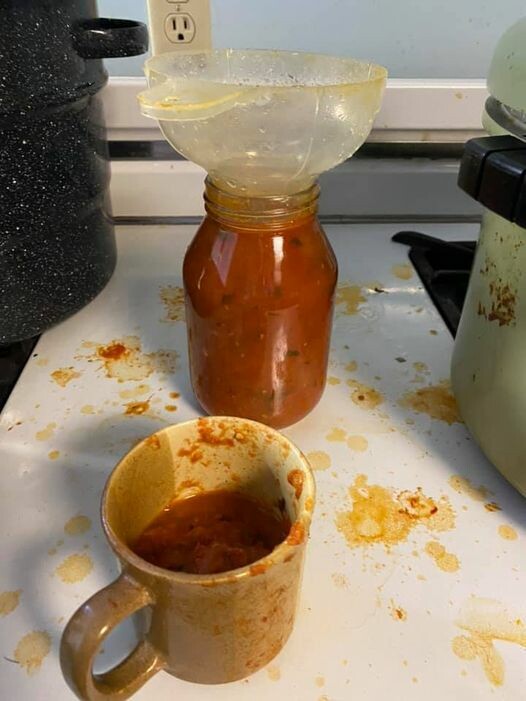
Step 4. Once the sauce has boiled down to the correct consistency (this will be based purely on individual preference), pour into your cleaned and sanitized jars (running them through the dishwasher is an easy way to do this).

Step 5. Fill quart jars to ½ inch below the rim. 

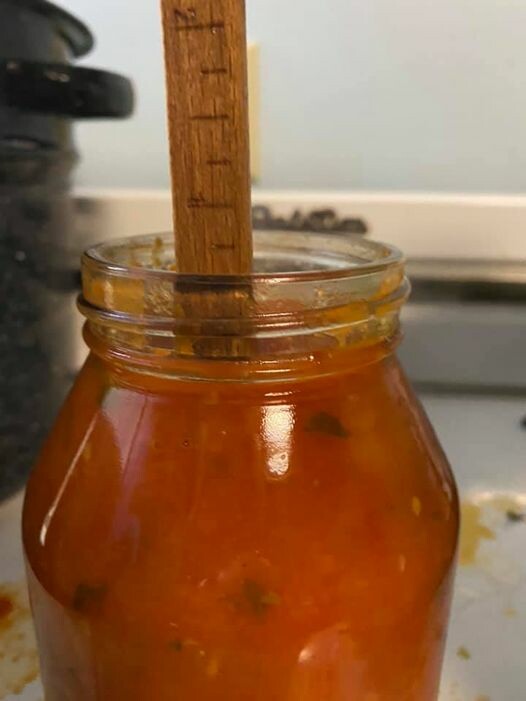
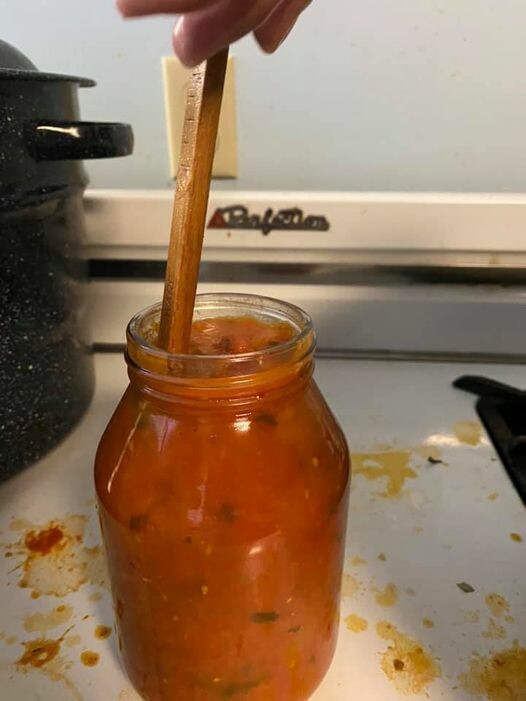
Step 6. Run the rubber spatula up and down along the inside of the jar to remove any air bubbles. Add more sauce if needed. Wipe the rim clean. Do NOT forget this step. Jars with bubbles can explode in the water bath. Sauce on the rims will keep the jars from sealing properly. 

Step 7. Lids. Rinse the, one time use, canning lids in hot water. This is new compared to older lids which you needed to boil first. Then set them on the jar and attach the rings down. Do not over tighten the rings, a quick tight twist will do before you burn your fingers on the hot jar. 

If you are using reusable lids you will want to boil the seals and follow the instructions from the manufacturer. I purchased some from Tattler at www.reusablecanninglids.com


Step 8. Fill your spare pot (or now empty pot) half way with hot water and bring to a boil. If you have the stove space you can actually start the pot of water when you start cooking your sauce in the beginning (this also saves time). 

Step 9. Place jars in the pot, and cover with a lid to help it come to a boil quicker.

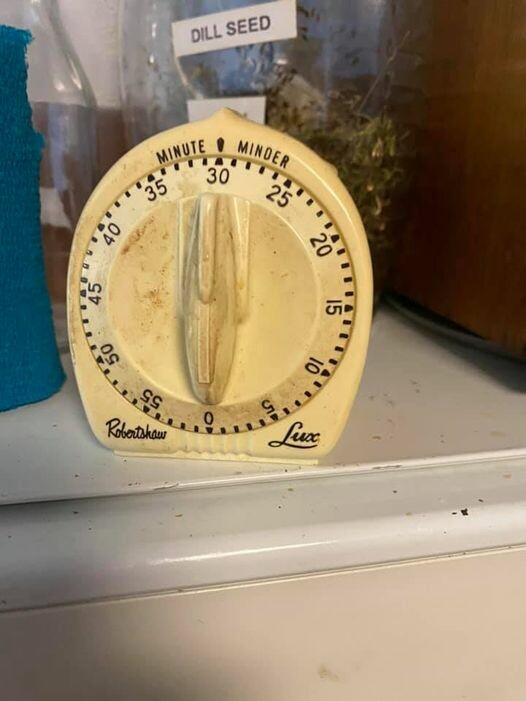
Step 10. Once boiling, set your timer for 25 minutes, and let it continue to boil (this is called Water Bathing)

Step 11. After the 25 minutes have elapsed, pull the jars out and set them on a doubled over towel on the counter. Listen for a small “pop” of the middle of the lid dropping down. This indicates that the jar is sealed correctly (for one time use lids). Let the jars cool completely. Check seals, remove rings, label, then store in your pantry.

For one time use lids, the bubble should be down and not pop up. For reusable lids, gently pick them up by the lid (it's terrifying the first few times), if the lid holds, the seal is good. 


Wanting a community to lean into? Join the FREE Courageous + Purposeful Mommas group! This community is for the Mommas, mommas to be, in the midst of raising, and kids grown, looking for tips on building your family up and providing for them through natural methods. Tips include: gardening, bulk buying, caning,/preserving, livestock, homesteading, and home remedies. Your family is precious, and this group is to help you gain the knowledge and tools to keep your family well and not reliant on outside professionals. Remedies and tips are easy and simple for the busy momma, time is precious after all, including pregnancy, birth, young kids, and illness. Trust your Momma gut again! This community offers the resources + community you need to help get started on your journey and prepare for whatever future you envision.

Join the Free Community


Click here to get the stories straight to your email:

Sign up for the Blog


For more on wellness tips click here:

Sign up for Wellness tips


For more on homesteading on your budget click here:

Sign up for Homesteading Tips


For more simple DIY updates click here:
Sign up for easy DIYs 


Homemade Canned Spaghetti Sauce

Homemade Canned Spaghetti Sauce
This post may contain affiliate links, which means that I may receive a commission if you make a purchase using these links, with NO additional cost to you. 

I love growing my own food. Part of growing all the food is not only eating it fresh in the summer, but preserving it for winter use. One vegetable we use for several canning recipes is tomatoes. I usually can spaghetti sauce with many of the tomatoes. It makes for quick meals in the winter months and the kids love it. Making spaghetti sauce is a simple process. 

For homemade spaghetti sauce you will need (this will make approximately 3 quarts)
1 large onion
1 clove garlic
12 large tomatoes (approximately 1 cup each)
6 beef bouillon cubes (or 3 pints beef/bone broth)
4 t basil
2 lg bay leaves
1t salt
1 t oregano
12 oz can tomato paste
Optional mushrooms

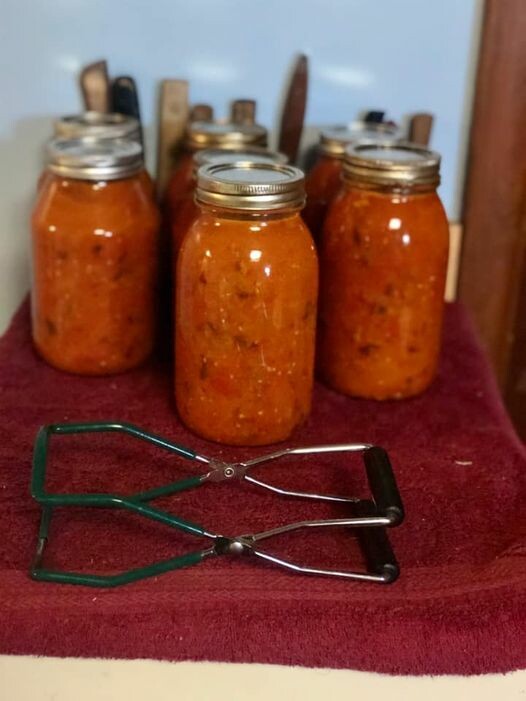
I usually 3-5 times the recipe and make as big of a batch as I can at one time. For the pot pictured the recipe is 3x. The smaller pot in the back will do 2x the recipe. A tip I've learned recently is to combine everything into a roster (steps 1-3) and allow the sauce to cook down overnight to save on canning time in the kitchen. 

You will need the following supplies:
Canning jars
Canning lids
Canning rings
Jar Funnel
Long spatula or knife
Hot water bath
Stock pot (I usually have at least 2)
Immersion blender (for smooth sauce texture)


Step 1. Quarter tomatoes and add all the ingredients to a big stock pot. No need to remove skins or seeds. If you are using frozen tomatoes, just throw them in the pot. They will cook down and chop up as you stir the pot. 


Step 2. Add all the ingredients. As I harvest produce or find ingredients on sale, I will chop them up and freeze them in sizes I will need for the recipes. It makes the process so much faster. I also like to use fresh herbs if I have them on hand at the time (you will need about double the amount using fresh). Chop onions with a food processor saves your eyes and time too. Once everything is in the pot turn the burner on high and stir occasionally. 

Step 3. Stir the sauce and break up the chunks. I like to use my mix and chop for the first part to break up the big chunks. For a smoother sauce, use an immersion blender to blend everything together in the pot. 

Step 4. Once the sauce has boiled down to the correct consistency (this will be based purely on individual preference), pour into your cleaned and sanitized jars (running them through the dishwasher is an easy way to do this).

Step 5. Fill jars to ½ inch below the rim. 

Step 6. Run the rubber spatula up and down along the inside of the jar to remove any air bubbles. Add more sauce if needed. Wipe the rim clean. Do NOT forget this step. Jars with bubbles can explode in the water bath. Sauce on the rims will keep the jars from sealing properly. 

Step 7. Lids. Rinse the, one time use, canning lids in hot water. This is new compared to older lids which you needed to boil first. Then set them on the jar and attach the rings down. Do not over tighten the rings, a quick tight twist will do before you burn your fingers on the hot jar. 

If you are using reusable lids you will want to boil the seals and follow the instructions from the manufacturer. I purchased some from Tattler at www.reusablecanninglids.com

Step 8. Fill your spare pot (or now empty pot) half way with hot water and bring to a boil. If you have the stove space you can actually start the pot of water when you start cooking your sauce in the beginning (this also saves time). 

Step 9. Place jars in the pot, and cover with a lid to help it come to a boil quicker.


Step 10. Once boiling, set your timer for 30 minutes, and let it continue to boil (this is called Water Bathing)

Step 11. After the 30 minutes have elapsed, pull the jars out and set them on a doubled over towel on the counter. Listen for a small “pop” of the middle of the lid dropping down. This indicates that the jar is sealed correctly (for one time use lids). Let the jars cool completely. Check seals, remove rings, label, then store in your pantry.

For one time use lids, the bubble should be down and not pop up. For reusable lids, gently pick them up by the lid (it's terrifying the first few times), if the lid holds, the seal is good. 

Wanting a community to lean into? Join the FREE Thriving Through Farm Life: Wife’s Support Network! In our community, we embrace the challenges of farm life and provide a supportive space for wives facing the complexities of managing a family farm. Whether you're navigating financial pressures, day-to-day operations, or seeking ways to create a thriving home, we're here for you. Explore gardening and preserving tips for cultivating your own oasis, share insights on animal care, and discover practical family budgeting strategies. Together, let's grow through challenges, flourish authentically, and sow the seeds for a resilient and thriving farm life. Join us on this journey of resilience and abundance! 
 
As I've grown in my journey as an entrepreneur, mom, gardener, and livestock owner, I struggled to find a planner that met my needs and kept me organized. So, I MADE MY OWN. You can look at it on the link below and buy it on amazon below.
Don't want the whole calendar part? I got you! I pulled the gardening and animal care pages out and put them in a book all their own. 
 
Starting to garden doesn't have to be hard! I gathered all the tips I've learned over my gardening learning curve and made them into a simple course to jump start your gardening your life. 
 
I've had 3 very different pregnancies. After the first traumatic birth, I learned better and how to care for my body naturally and prevent common pregnancy and birth problems before they arise. This quick course will get you the tools you need to have a naturally healthy pregnancy, labor, and delivery. My first pregnancy I had a normal western medicine all the things pregnancy. My second? I flipped to completely natural, no medicine. Bonus: Preventing Preeclampsia Without the Aspirin & Healing from Birth Trauma


How to Make Homemade Pear Sauce without added Sugar

How to Make Homemade Pear Sauce without added Sugar
This post may contain affiliate links, which means that I may receive a commission if you make a purchase using these links, with NO additional cost to you. 
Updated: August 29, 2024

I love growing my own food. Not only do I get to enjoy fresh produce in the summer, but I also get to preserve some for those chilly winter months. When we moved to our little farm, we were lucky to inherit two pear trees! Naturally, I wanted to make the most of them, and one of the best ways I've found is by making pear sauce.

Pear sauce is an excellent way to use the pears, and it turns out sweeter than apple sauce, without adding any sugar. Making pear sauce at home is simpler than you might think! Here's step-by-step directions to get you started:

You will need:
  • Canning jars
  • Canning lids
  • Canning rings
  • Jar Funnel
  • Long spatula or knife
  • Hot water bath
  • Stock pot (I usually have at least 2)
  • Colander
  • Sieve/immersion blender/kitchen aid sieve attachment 
  • Pears
Step 1: Pick the pears 
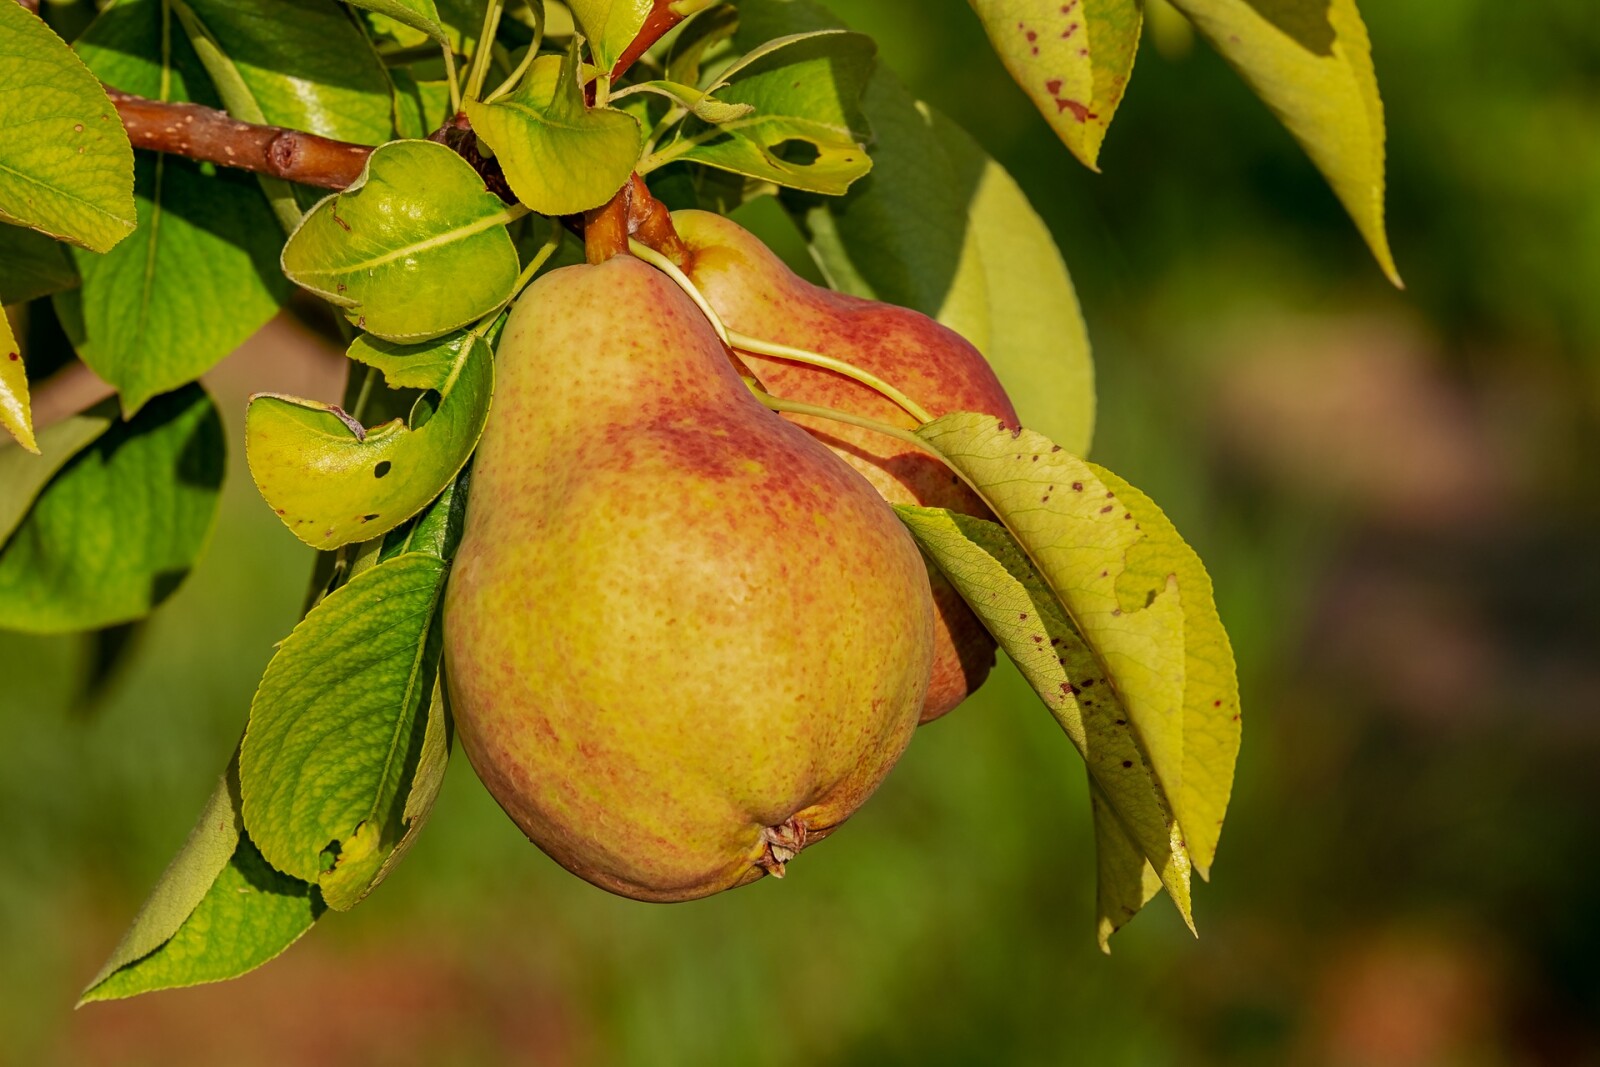
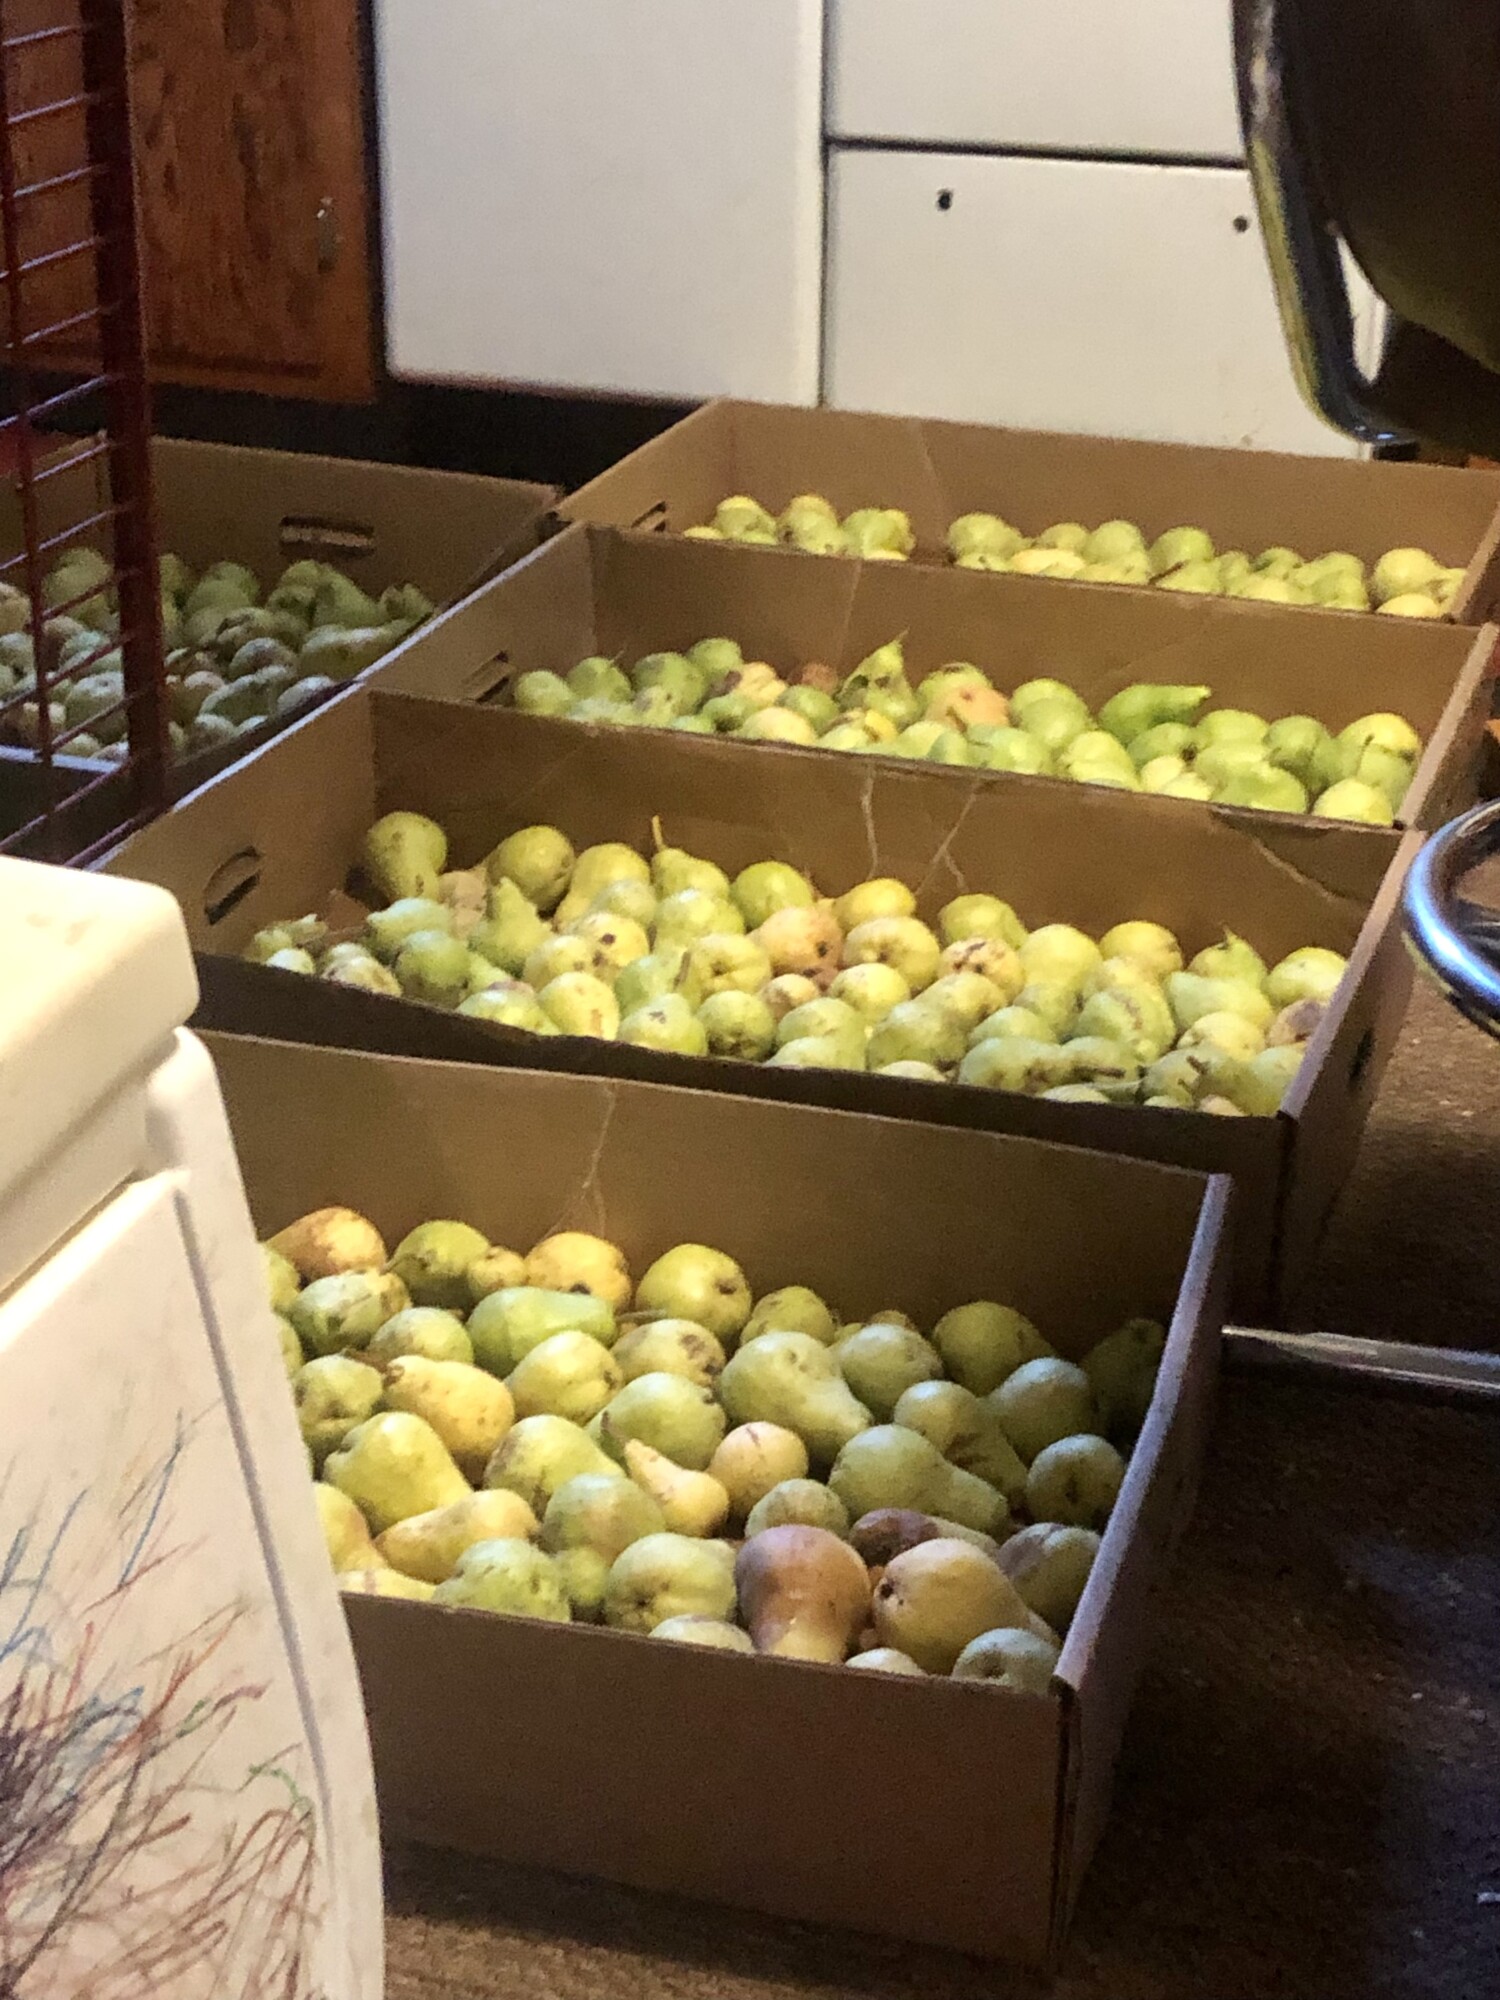
Harvest your pears while they are still green on the tree to avoid bruising and keep them safe from hungry squirrels. Lay them out in a cool, dark area such as a basement using an old sheet or boxes. Check on them every few days until they ripen, turning from green to slightly yellow. 


Step 2: Prepare the Pears
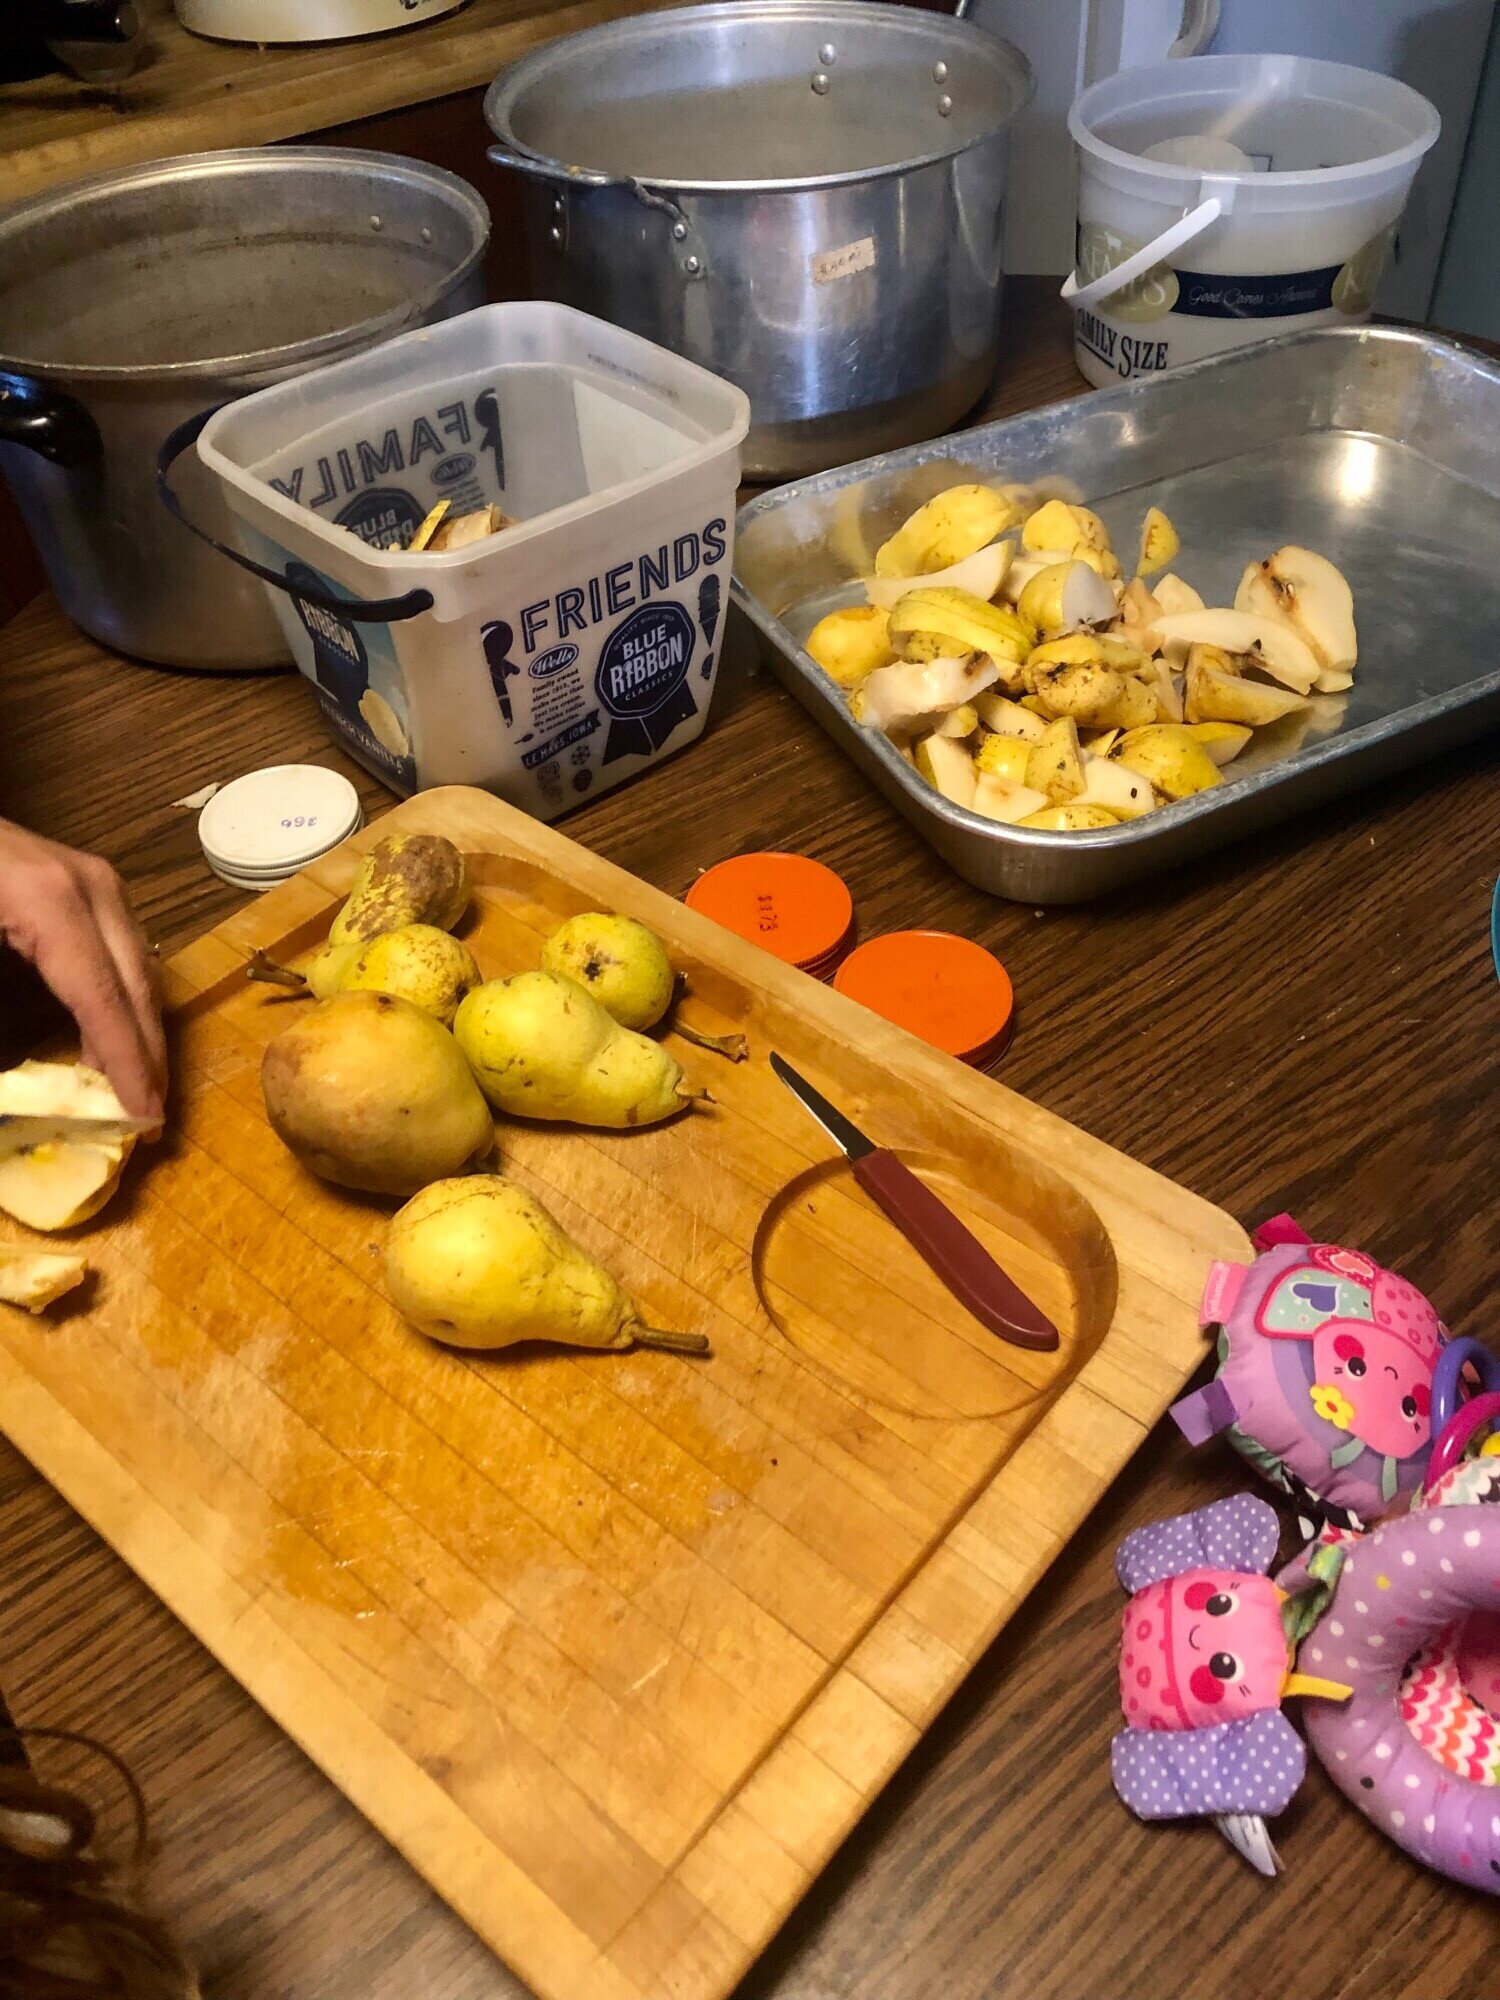
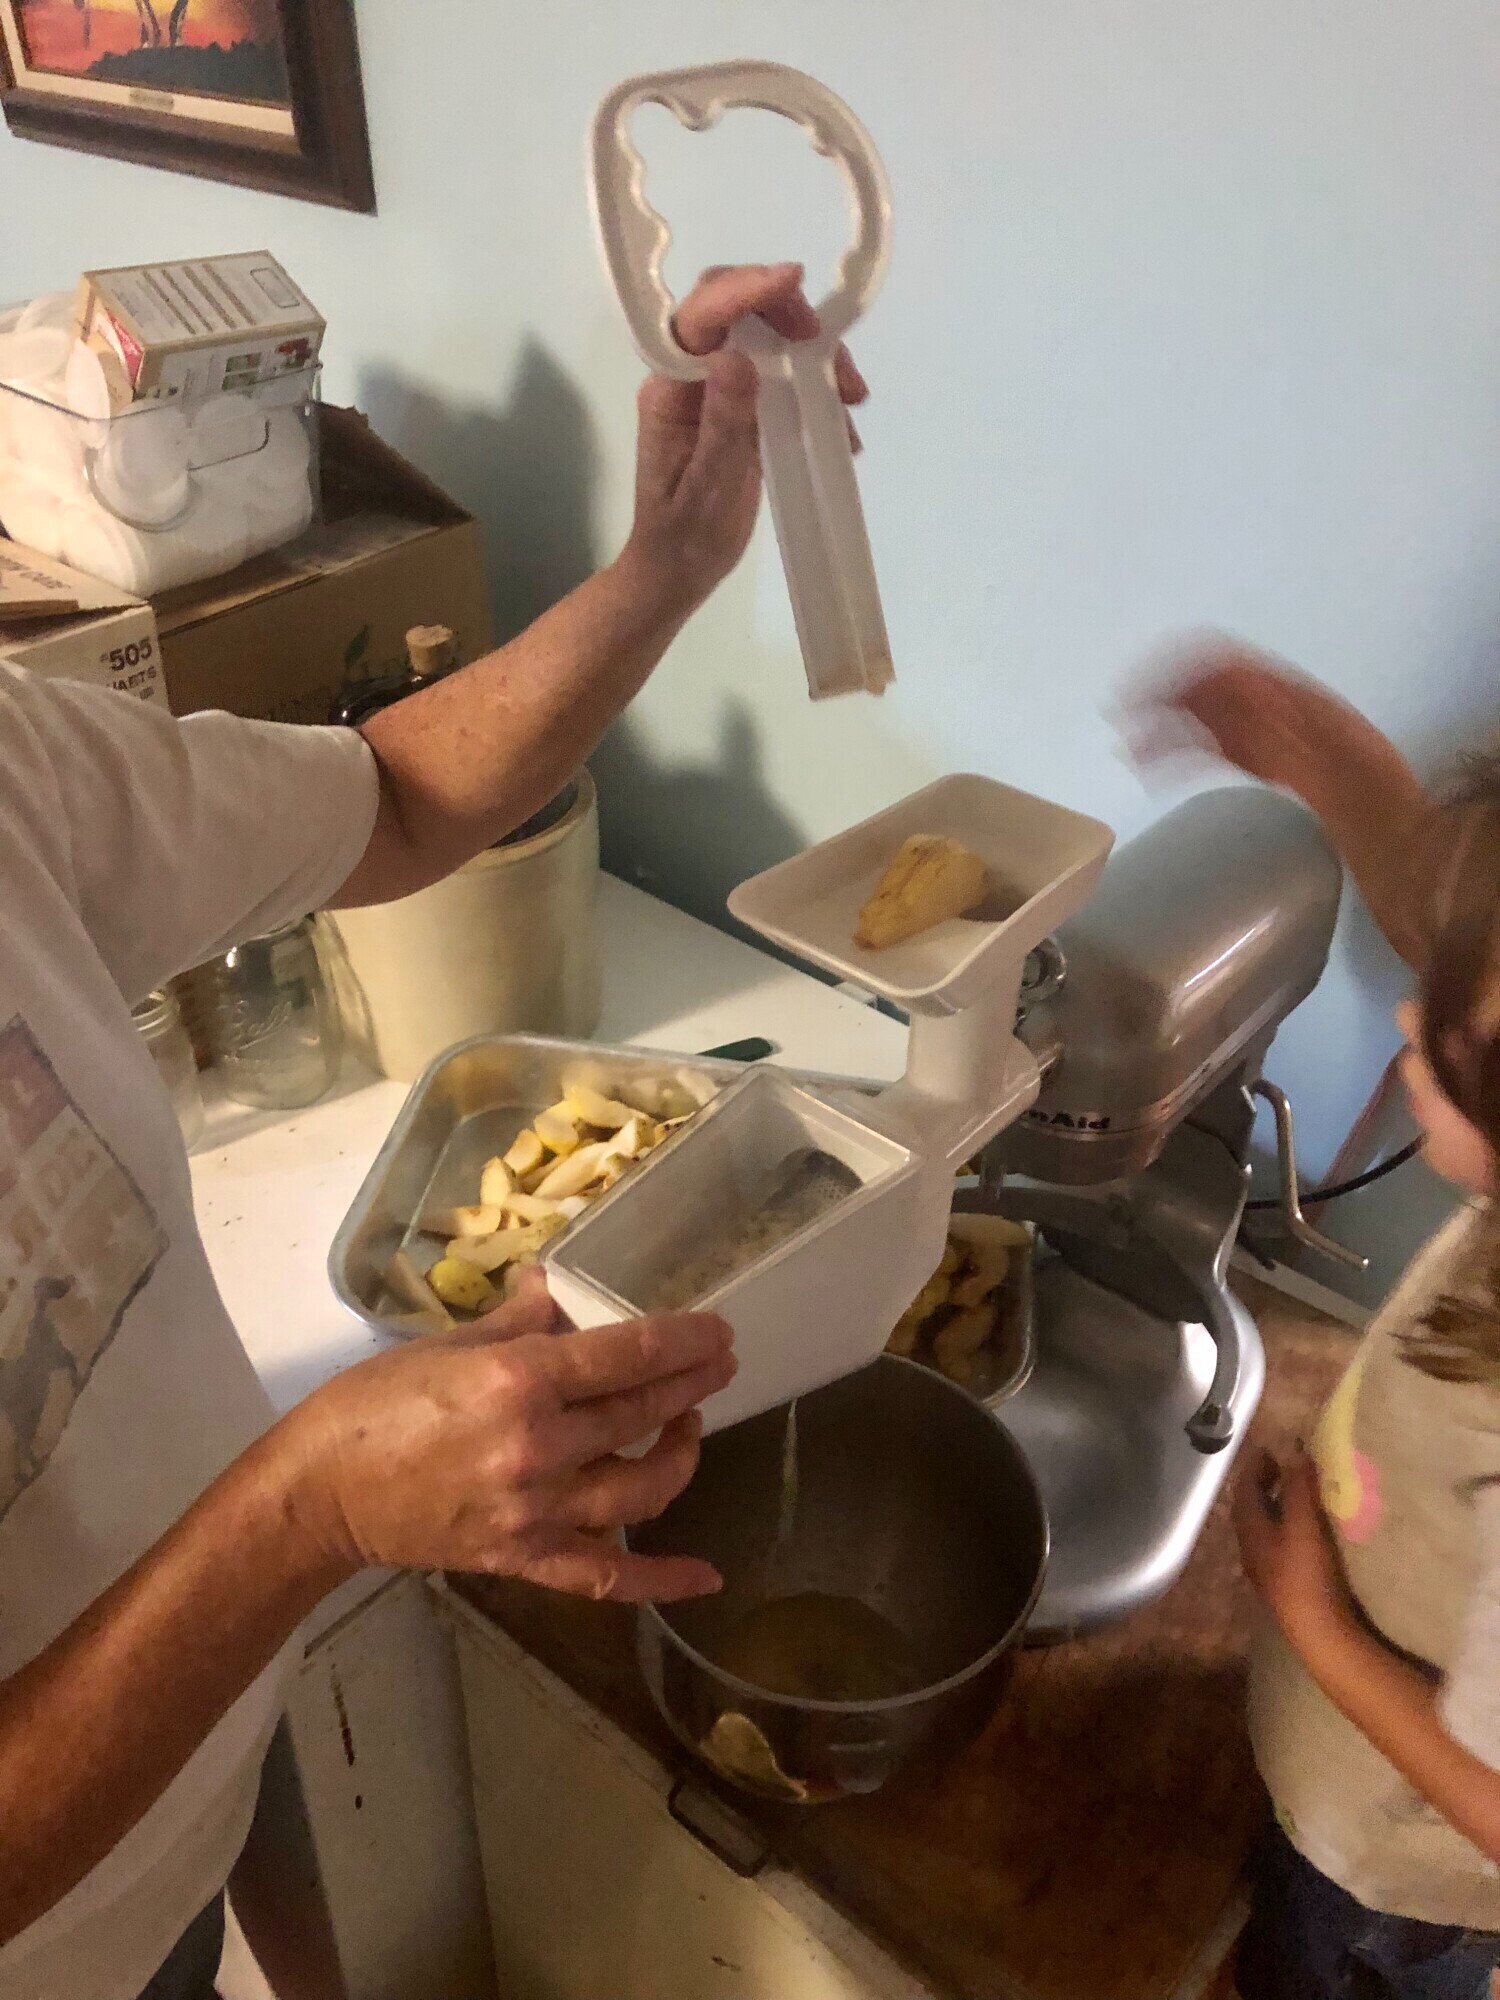
Once about half to two-thirds of your pears are ripe (and you haven't eaten them all), wash them gently in the sink, removing any bad spots. If you have a kitchen aid sieve attachment, there's no need to core the pears. Otherwise, peel, quarter, and core them. The sieve attachment is a time-saver and worth the investment!


Step 3: Cook the Pears 
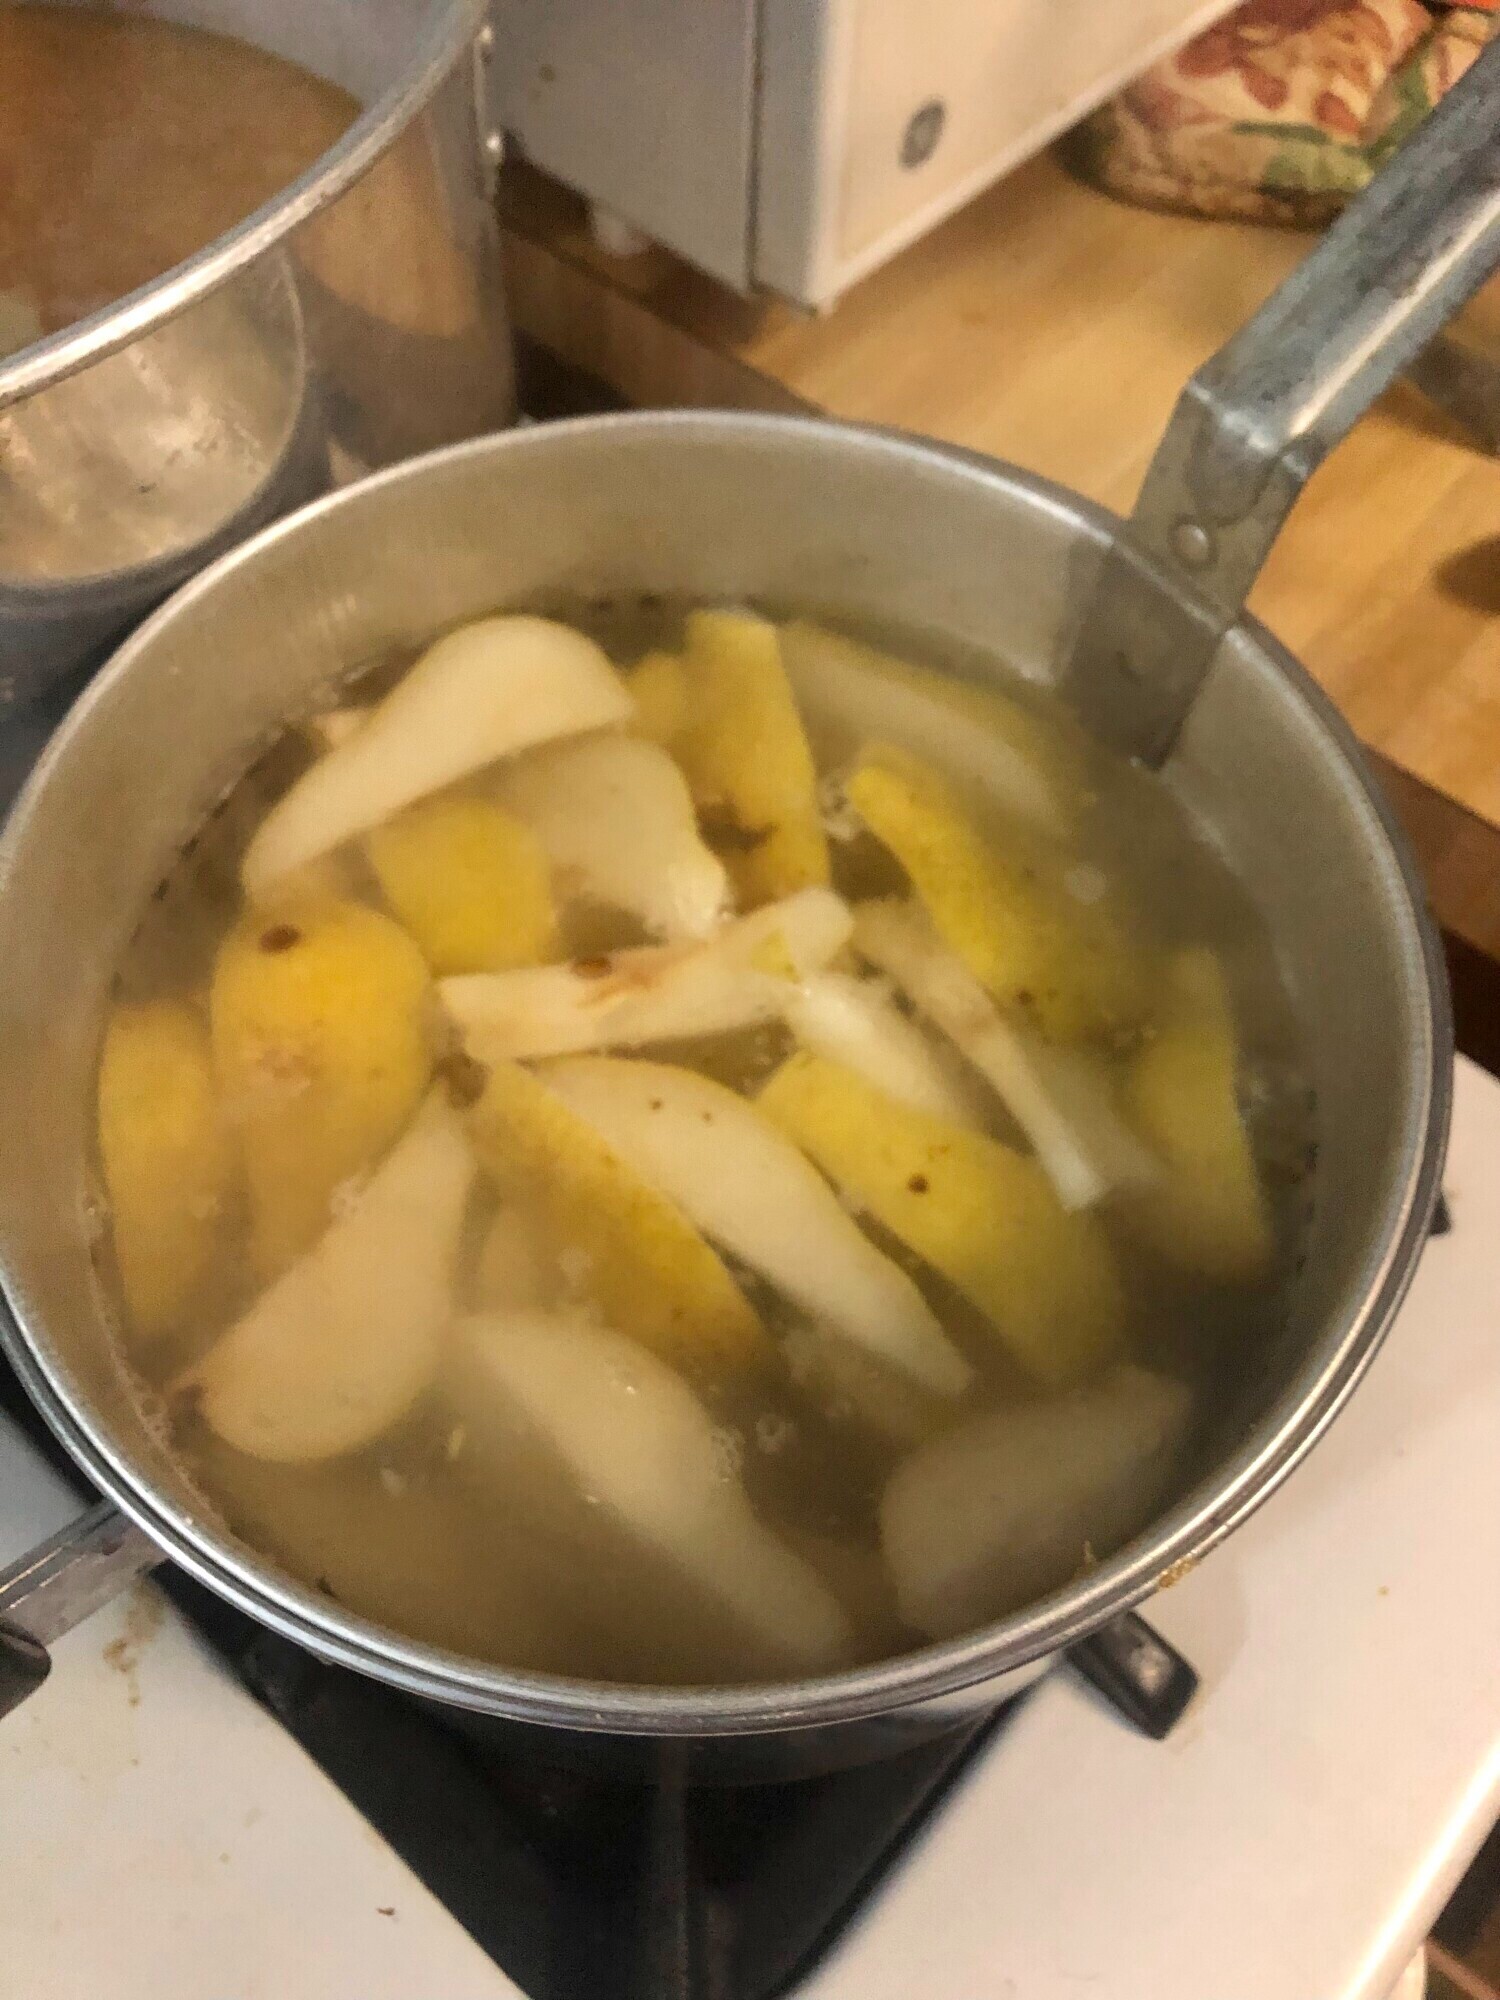
To prevent the pears from darkening, you can dip them in lemon juice or citric acid. Personally, I don't mind the darker color, so I skip this step. Place the pears in a stock pot that fits your colander for easy removal. Cook until the pears are soft and mushy, which usually takes about 5 minutes. 


Step 4: Puree the Pears 
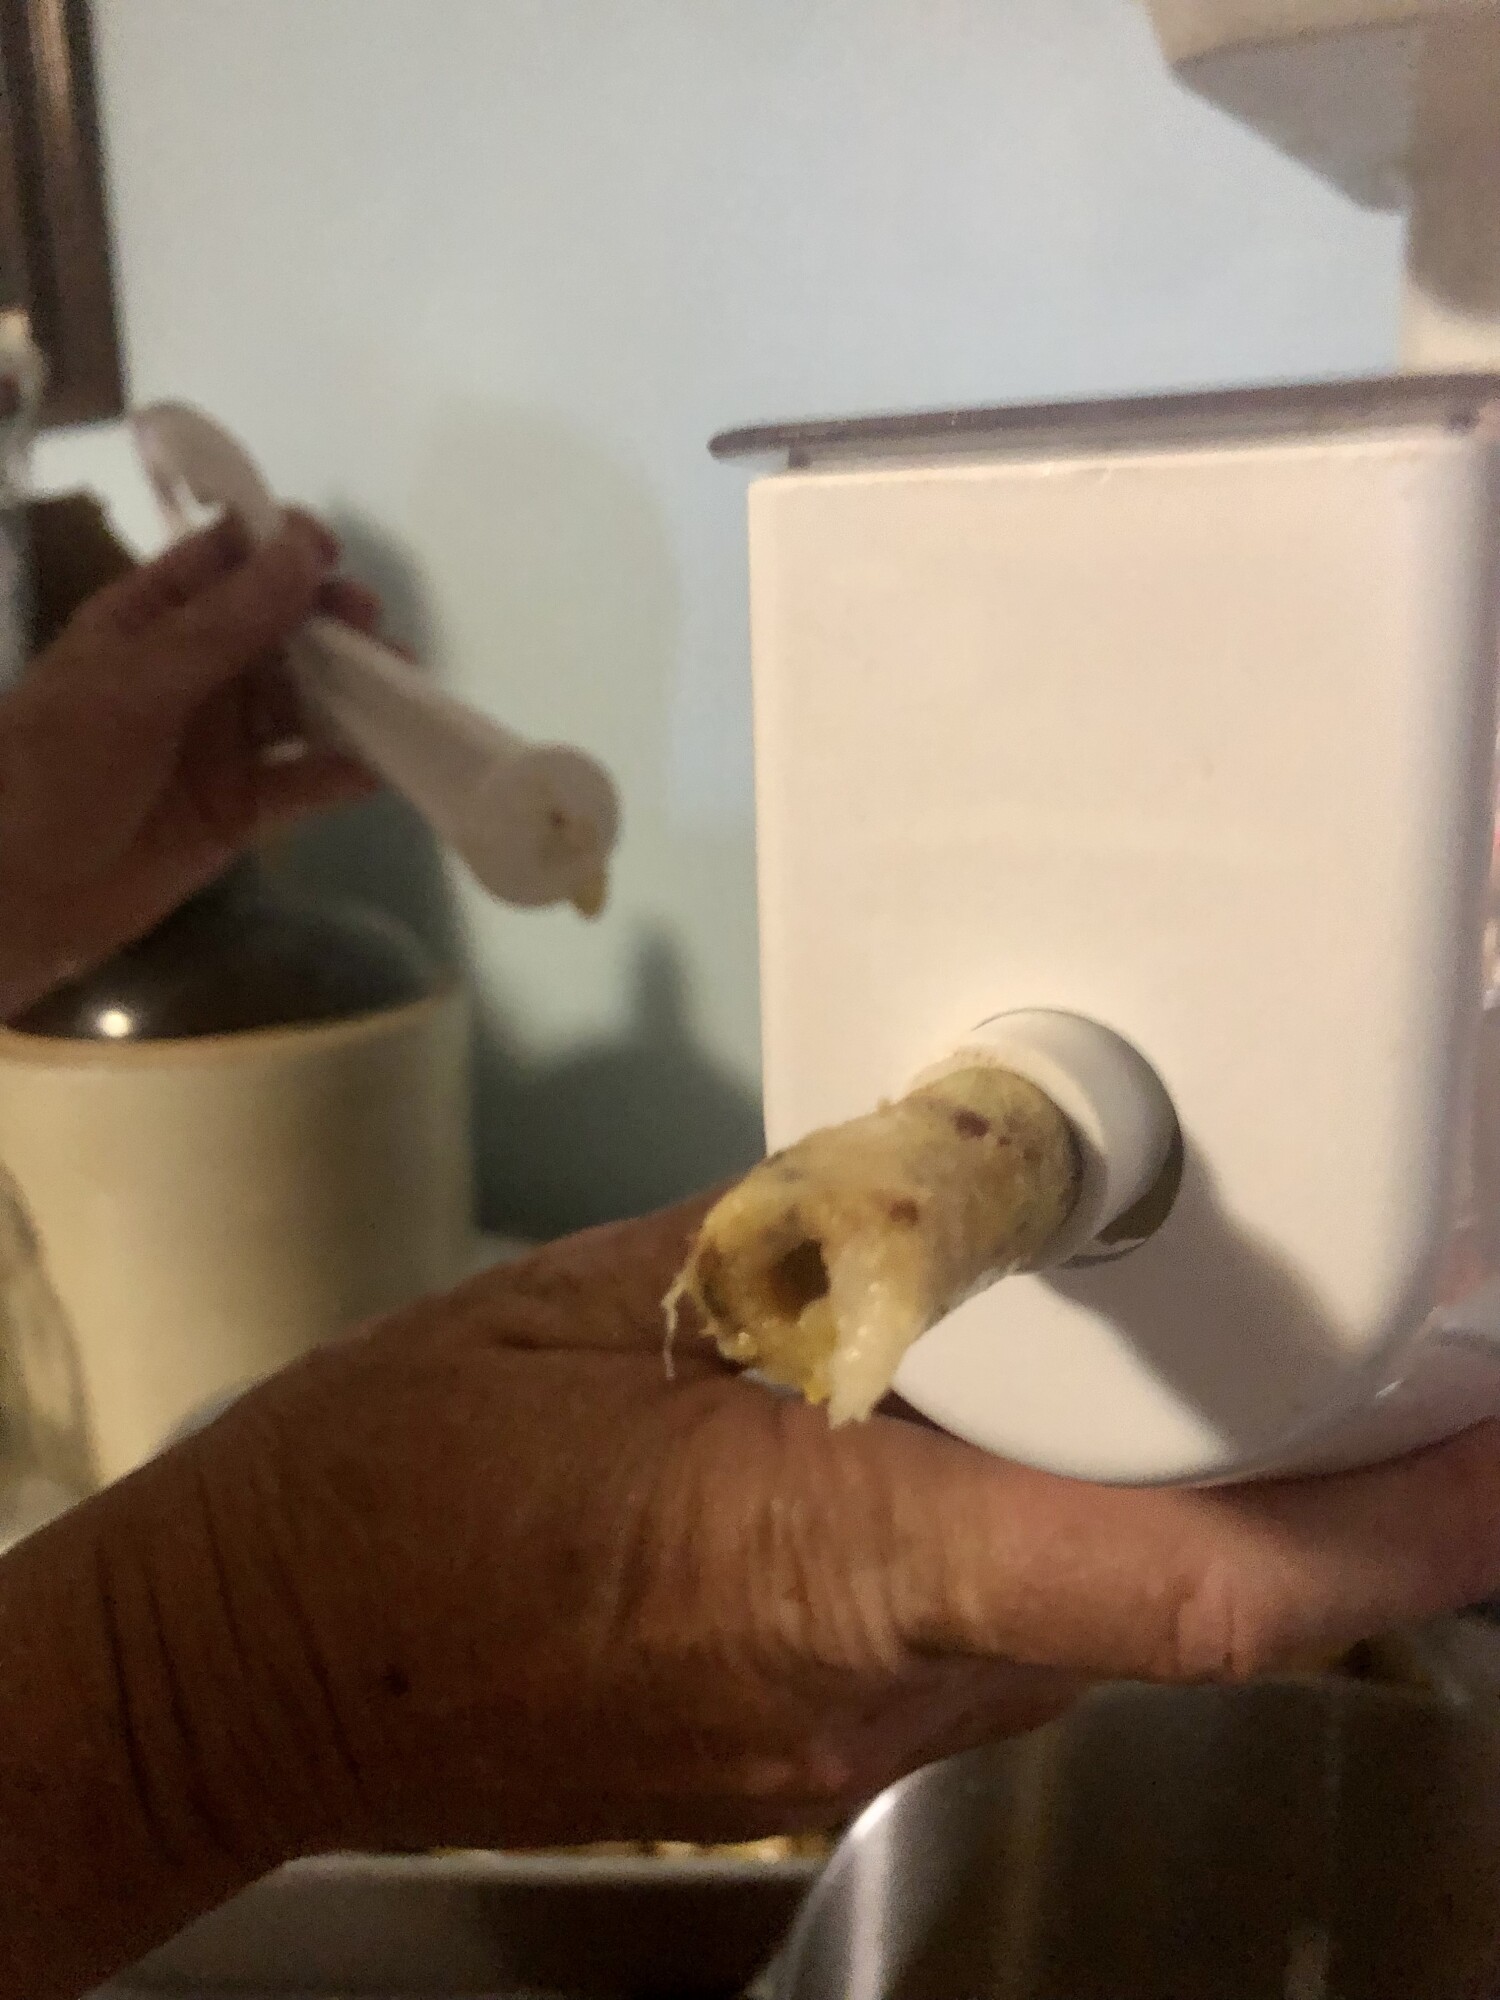
Run the cooked pears through your kitchen aid sieve or use an immersion blender if you've peeled and cored them. You could also use a food processor or blender. The goal is to achieve a smooth, consistent texture.


Any more white than this and you are loosing to much of the pear. Cook them a little longer to soften them. Peal and core should be the main thing you see coming out this end.

Step 5: Cook Down the Sauce. 
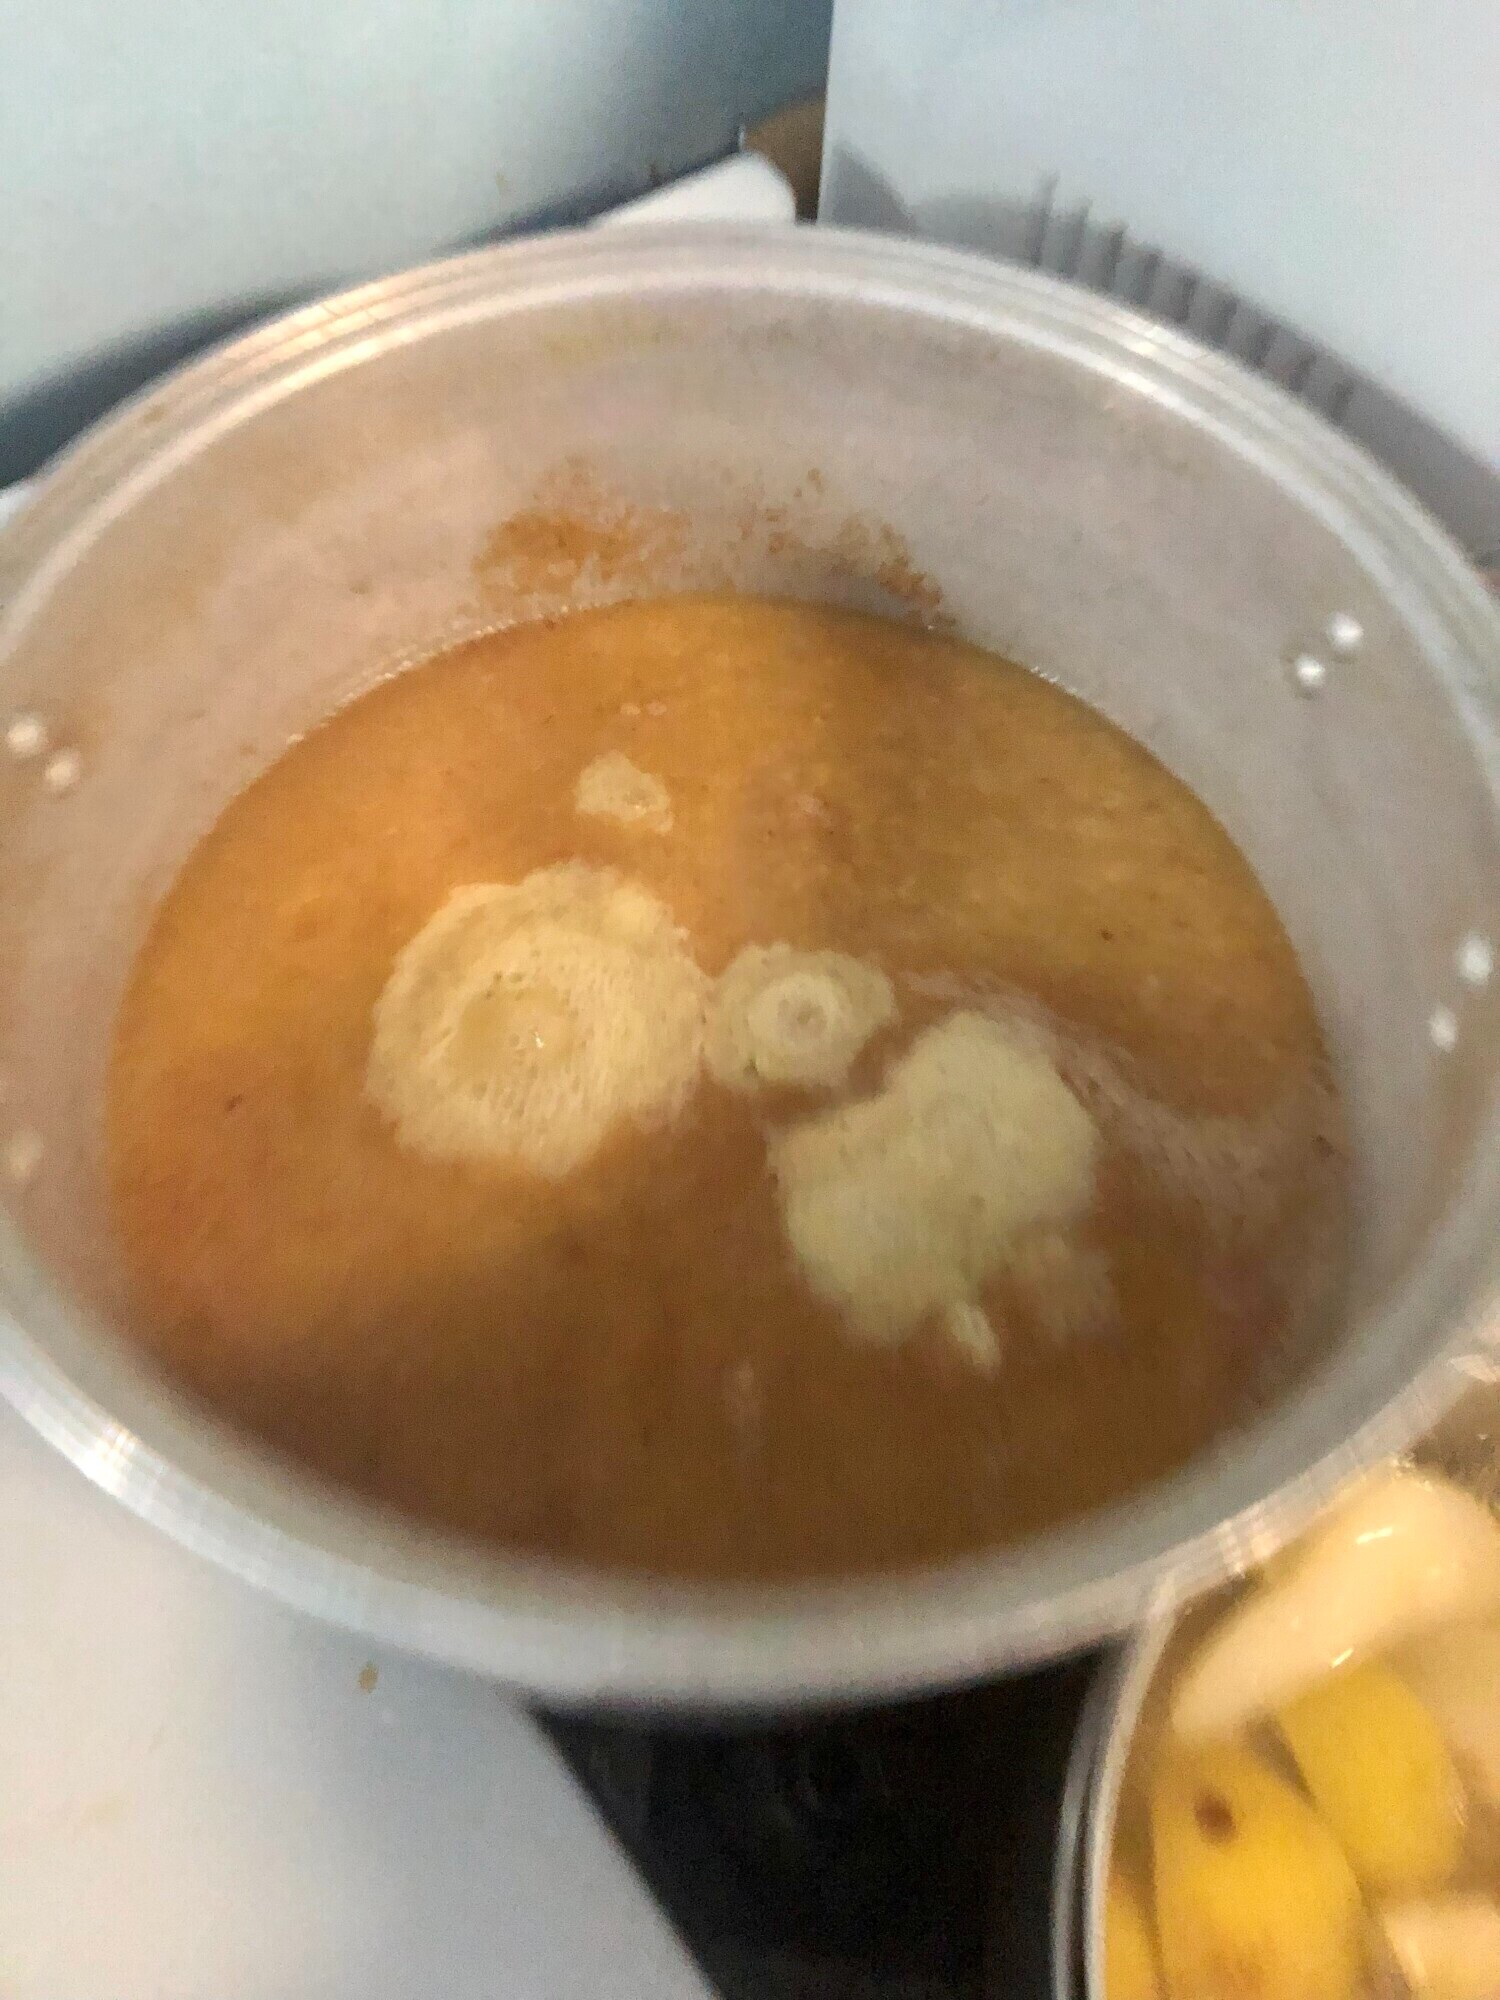
Return the pear puree to the stock pot and bring it to a simmer until you reach your desired consistency. Stir regularly to prevent sticking or burning at the bottom. If you want to add some cinnamon or other spices to your sauce now is the time to do that as well.

Step 6: Fill the jars! 
Fill clean, hot jars with pear sauce, leaving about ½ inch of headspace.

Step 7: De-bubble the Jars 
Run a long spatula or knife along the edge of the jar to remove any air bubbles. Wipe the rim clean to ensure a proper seal. This step is crucial; jars with bubbles can explode in the water bath, and sauce on the rims can prevent proper sealing.

Step 8: Prepare the Lids 
Rinse the one-time-use canning lids in hot water. Place them on the jars and attach the rings, but avoid over-tightening. A quick twist is enough before the jars become too hot to handle. For reusable lids (like those from Tattler), follow the manufacturer's instructions.

Step 9. Place the Jars 
Place the jars, pint or quart, in a hot water bath and wait for the water to boil. Once boiling, set the timer for 20 minutes.

Step 10: Cool and Store 
Remove the jars from the hot water bath and allow them to cool completely. Check the lids to ensure the jars are sealed. Remove the rings, label the jars, and store them. For one-time-use lids, the bubble should be down and not pop up. For reusable lids, gently lift them by the lid to check the seal.

Making pear sauce is a wonderful way to preserve the bounty of your harvest and enjoy delicious, homemade treats year-round. If you're new to food preservation, don’t worry—each step of this process is manageable, and you'll get the hang of it quickly.

If you have any questions or need more tips, feel free to reach out. And if you're looking for high-quality, reusable canning lids, check out 
Tattler Reusable Canning Lids for some great options.

Happy canning, and enjoy your pear sauce!
 
Wanting a community to lean into? Join the FREE Thriving Through Farm Distress: Wife’s Support Network! In our community, we embrace the challenges of farm life and provide a supportive space for wives facing the complexities of managing a family farm. Whether you're navigating financial pressures, day-to-day operations, or seeking ways to create a thriving home, we're here for you. Explore gardening tips for cultivating your own oasis, share insights on animal care, and discover practical family budgeting strategies. Together, let's grow through challenges, flourish authentically, and sow the seeds for a resilient and thriving farm life. Join us on this journey of resilience and abundance! 
 
As I've grown in my journey as an entrepreneur, mom, gardener, and livestock owner, I struggled to find a planner that met my needs and kept me organized. So, I MADE MY OWN. You can look at it on the link below and buy it on amazon below.
Don't want the whole calendar part? I got you! I pulled the gardening and animal care pages out and put them in a book all their own. 
 
Starting to garden doesn't have to be hard! I gathered all the tips I've learned over my gardening learning curve and made them into a simple course to jump start your gardening your life. 
 
Supporting Your Family Naturally from the Inside Out community!! This community is for Mommas, looking to Support Your Family from Nature for Wellness. Tips range from nutrition, herbals, detoxing, natural cleaning, and essential oils. Basically, all the things I’ve learned slowly over the past 5+ years of my journey. We have moved off Facebook, to better serve our community and be able to discuss openly options for providing for your family in the best way possible.
 
Join the FREE Community
 
I've had 3 very different pregnancies. After the first traumatic birth, I learned better and how to care for my body naturally and prevent common pregnancy and birth problems before they arise. This quick course will get you the tools you need to have a naturally healthy pregnancy, labor, and delivery. My first pregnancy I had a normal western medicine all the things pregnancy. My second? I flipped to completely natural, no medicine. Bonus: Preventing Preeclampsia Without the Aspirin & Healing from Birth Trauma


How to dehydrate apples

How to dehydrate apples
This post may contain affiliate links, which means that I may receive a commission if you make a purchase using these links, with NO additional cost to you. 

I love growing my own food. Part of growing all the food is not only eating it fresh in the summer, but preserving it for winter use. When we moved to our property, we bought 2 apple trees.  A favorite snack for the winter time is dehydrated apple slices. It is fairly simple and an easy snack when apples are no longer ripe or you're traveling!

You will need:
Core/slicer/peeler (you can use a cutting board and knife, but this tool makes the process so much faster).
Citric Acid/lemon juice (optional)
Apples

Step 1: Pick the apples just as they are ripening on the tree. This saves bruising when they fall off, and allows you to get the apples instead of the squirrels eating them all half way. Take them to a cool dark area and lay them out. I usually use an old sheet or boxes in the basement. Check on them every few days for those that are ripe. 

Step 2: Once 6-12 are ripe that you (haven’t eaten), gently wash them up in the sink removing any bad spots.

Step 3: Using the core/slicer spin the apples through the blade. I will often leave the peel on the apples. 

Step 4: If you don’t want the apple to brown, dip them in citric acid/lemon juice. I don’t mind them browning a bit, so I skip this part.

Step 5: Lay the sliced apples out on a dehydrating tray. You can buy add on trays for most dehydrators so you can do more at once. 

Step 6: Once all the trays are full, put the lid on the dehydrator and set the temperature for 135 degrees F.

Step 7: My apples usually take around 12-24 hours depending on how thick I sliced them. If you start it at night, check them in the morning and adjust depending on how they look. I typically leave a little juice in mine as they are easier for small kids to chew that way. 

Step 8: Remove apples from the dehydrator and place in freezer containers. Label and freeze. I do this because I leave some juice in them and then they last for an entire year without molding. 


Wanting a community to lean into? Join the FREE Courageous + Purposeful Mommas group! This community is for the Mommas, mommas to be, in the midst of raising, and kids grown, looking for tips on building your family up and providing for them through natural methods. Tips include: gardening, bulk buying, caning,/preserving, livestock, homesteading, and home remedies. Your family is precious, and this group is to help you gain the knowledge and tools to keep your family well and not reliant on outside professionals. Remedies and tips are easy and simple for the busy momma, time is precious after all, including pregnancy, birth, young kids, and illness. Trust your Momma gut again! This community offers the resources + community you need to help get started on your journey and prepare for whatever future you envision.

Join the Free Community


Click here to get the stories straight to your email:

Sign up for the Blog


For more on wellness tips click here:

Sign up for Wellness tips


For more on homesteading on your budget click here:

Sign up for Homesteading Tips


For more simple DIY updates click here:
Sign up for easy DIYs 


How to dehydrate pears

How to dehydrate pears
This post may contain affiliate links, which means that I may receive a commission if you make a purchase using these links, with NO additional cost to you. 

I love growing my own food. Part of growing all the food is not only eating it fresh in the summer, but preserving it for winter use. We were blessed with 2 pear trees on our property when we moved. You’d better believe I figured out how to use them! A favorite snack for the winter time is dehydrated pear slices. It is fairly simple and an easy snack when pears are no longer ripe!

You will need:
Cutting board and knife (works best. I’ve tried a slicer, but the pears are usually too soft).
Citric Acid/lemon juice (optional)
Pears

Step 1: Pick the pears while they are still green on the tree. This saves bruising when they fall off, and allows you to get the pears instead of the squirrels eating them all half way. Take them to a cool dark area and lay them out. I usually use an old sheet or boxes in the basement. Check on them every few days for those that are ripe. Mine turn from green to slightly yellow. 

Step 2: Once 6-12 are ripe that you (haven’t eaten), gently wash them up in the sink removing any bad spots.

Step 3: Slice the pears thin and even. I don’t take the time to peel the pears, but you can if you don’t like them.

Step 4: If you don’t want the pears to brown, dip them in citric acid/lemon juice. I don’t mind them browning a bit, so I skip this part.

Step 5: Lay the sliced pears out on a dehydrating tray. You can buy add on trays for most dehydrators so you can do more at once. 

Step 6: Once all the trays are full, put the lid on the dehydrator and set the temperature for 135 degrees F.

Step 7: My pears usually take around 12-24 hours depending on how thick I sliced them. If you start it at night, check them in the morning and adjust depending on how they look. I typically leave a little juice in mine as they are easier for small kids to chew that way. 

Step 8: Remove pears from the dehydrator and place in freezer containers. Label and freeze. I do this because I leave some juice in them and then they last for an entire year without molding. 


Wanting a community to lean into? Join the FREE Courageous + Purposeful Mommas group! This community is for the Mommas, mommas to be, in the midst of raising, and kids grown, looking for tips on building your family up and providing for them through natural methods. Tips include: gardening, bulk buying, caning,/preserving, livestock, homesteading, and home remedies. Your family is precious, and this group is to help you gain the knowledge and tools to keep your family well and not reliant on outside professionals. Remedies and tips are easy and simple for the busy momma, time is precious after all, including pregnancy, birth, young kids, and illness. Trust your Momma gut again! This community offers the resources + community you need to help get started on your journey and prepare for whatever future you envision.

Join the Free Community


Click here to get the stories straight to your email:

Sign up for the Blog


For more on wellness tips click here:

Sign up for Wellness tips


For more on homesteading on your budget click here:

Sign up for Homesteading Tips


For more simple DIY updates click here:
Sign up for easy DIYs 


How to Preserve Tomatoes and Make Homemade Tomato Sauce

How to Preserve Tomatoes and Make Homemade Tomato Sauce

This post may contain affiliate links, which means that I may receive a commission if you make a purchase using these links, with NO additional cost to you. 


Growing your own food is a rewarding experience, and preserving it for winter use ensures you enjoy those fresh flavors year-round. One staple in many homes is tomato sauce—a versatile ingredient that can be used in various dishes like salsa, spaghetti sauce, and more. Below, we'll guide you through the simple steps to make and preserve your own homemade tomato sauce. 
Why Preserve Tomatoes?
Preserving tomatoes allows you to enjoy the rich, natural taste of homegrown produce throughout the year. It also reduces your grocery bills and provides a sense of self-sufficiency and security. This blog will focus on canning homemade tomato sauce, a delicious way to make the most of your tomato harvest and keep a versatile staple on your pantry shelves all year long. 
Benefits of Homemade Tomato Sauce
  • Freshness: Enjoy the taste of summer all year long.
  • Health: Control over ingredients means no unwanted preservatives or additives.
  • Cost-Effective: Save money by using what you grow.
What You Will Need
  • Canning jars 
  • Canning lids 
  • Canning rings 
  • Jar funnel 
  • Long spatula or knife 
  • Hot water bath canner 
  • Large stock pot or roaster
  • Sieve or immersion blender 
  • Tomatoes
  • Citric Acid or Lemon Juice

Step-by-Step directions to Preserving Tomatoes and Making Tomato Sauce
Step 1: Prepare the Tomatoes
  • Harvest Fresh Tomatoes or if you have frozen tomatoes, pull them out of the freezer. This is actually my preferred way as you can drain some of the water off and skip the slicing step. 
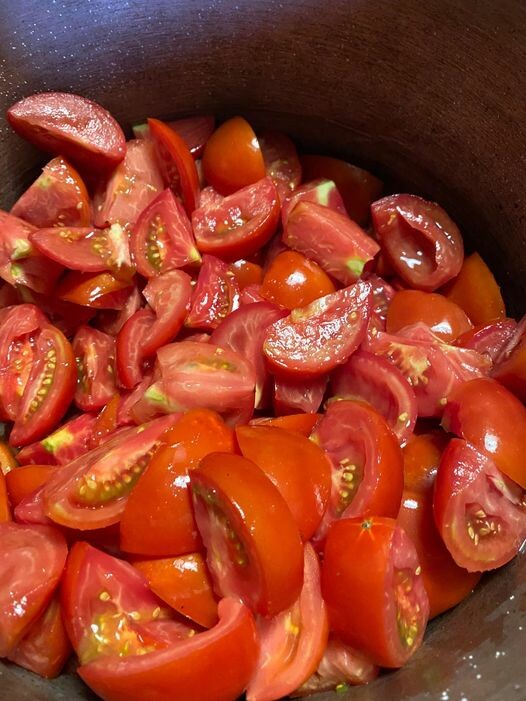
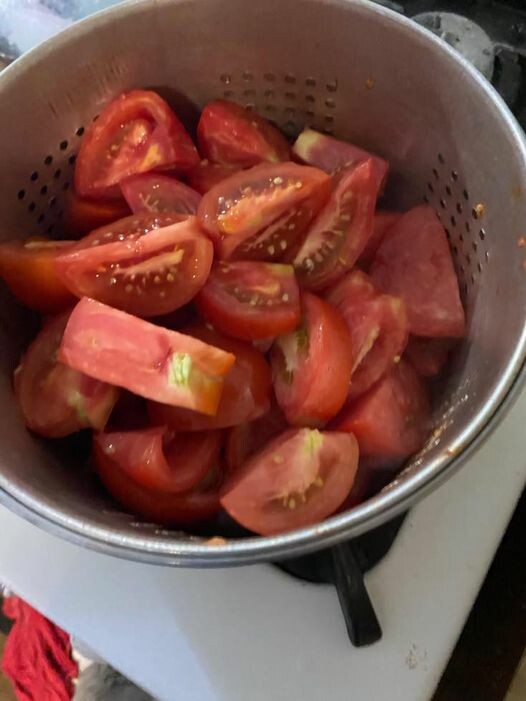
  • Slice the Tomatoes into quarters. There's no need to blanch or core them; just toss them into the stock pot.


Step 2 (Optional): Steam the Tomatoes
  • If the tomatoes are firm, place them in a pot to steam until they soften. Using a strainer can make this easier.


Step 3: Strain the Tomatoes
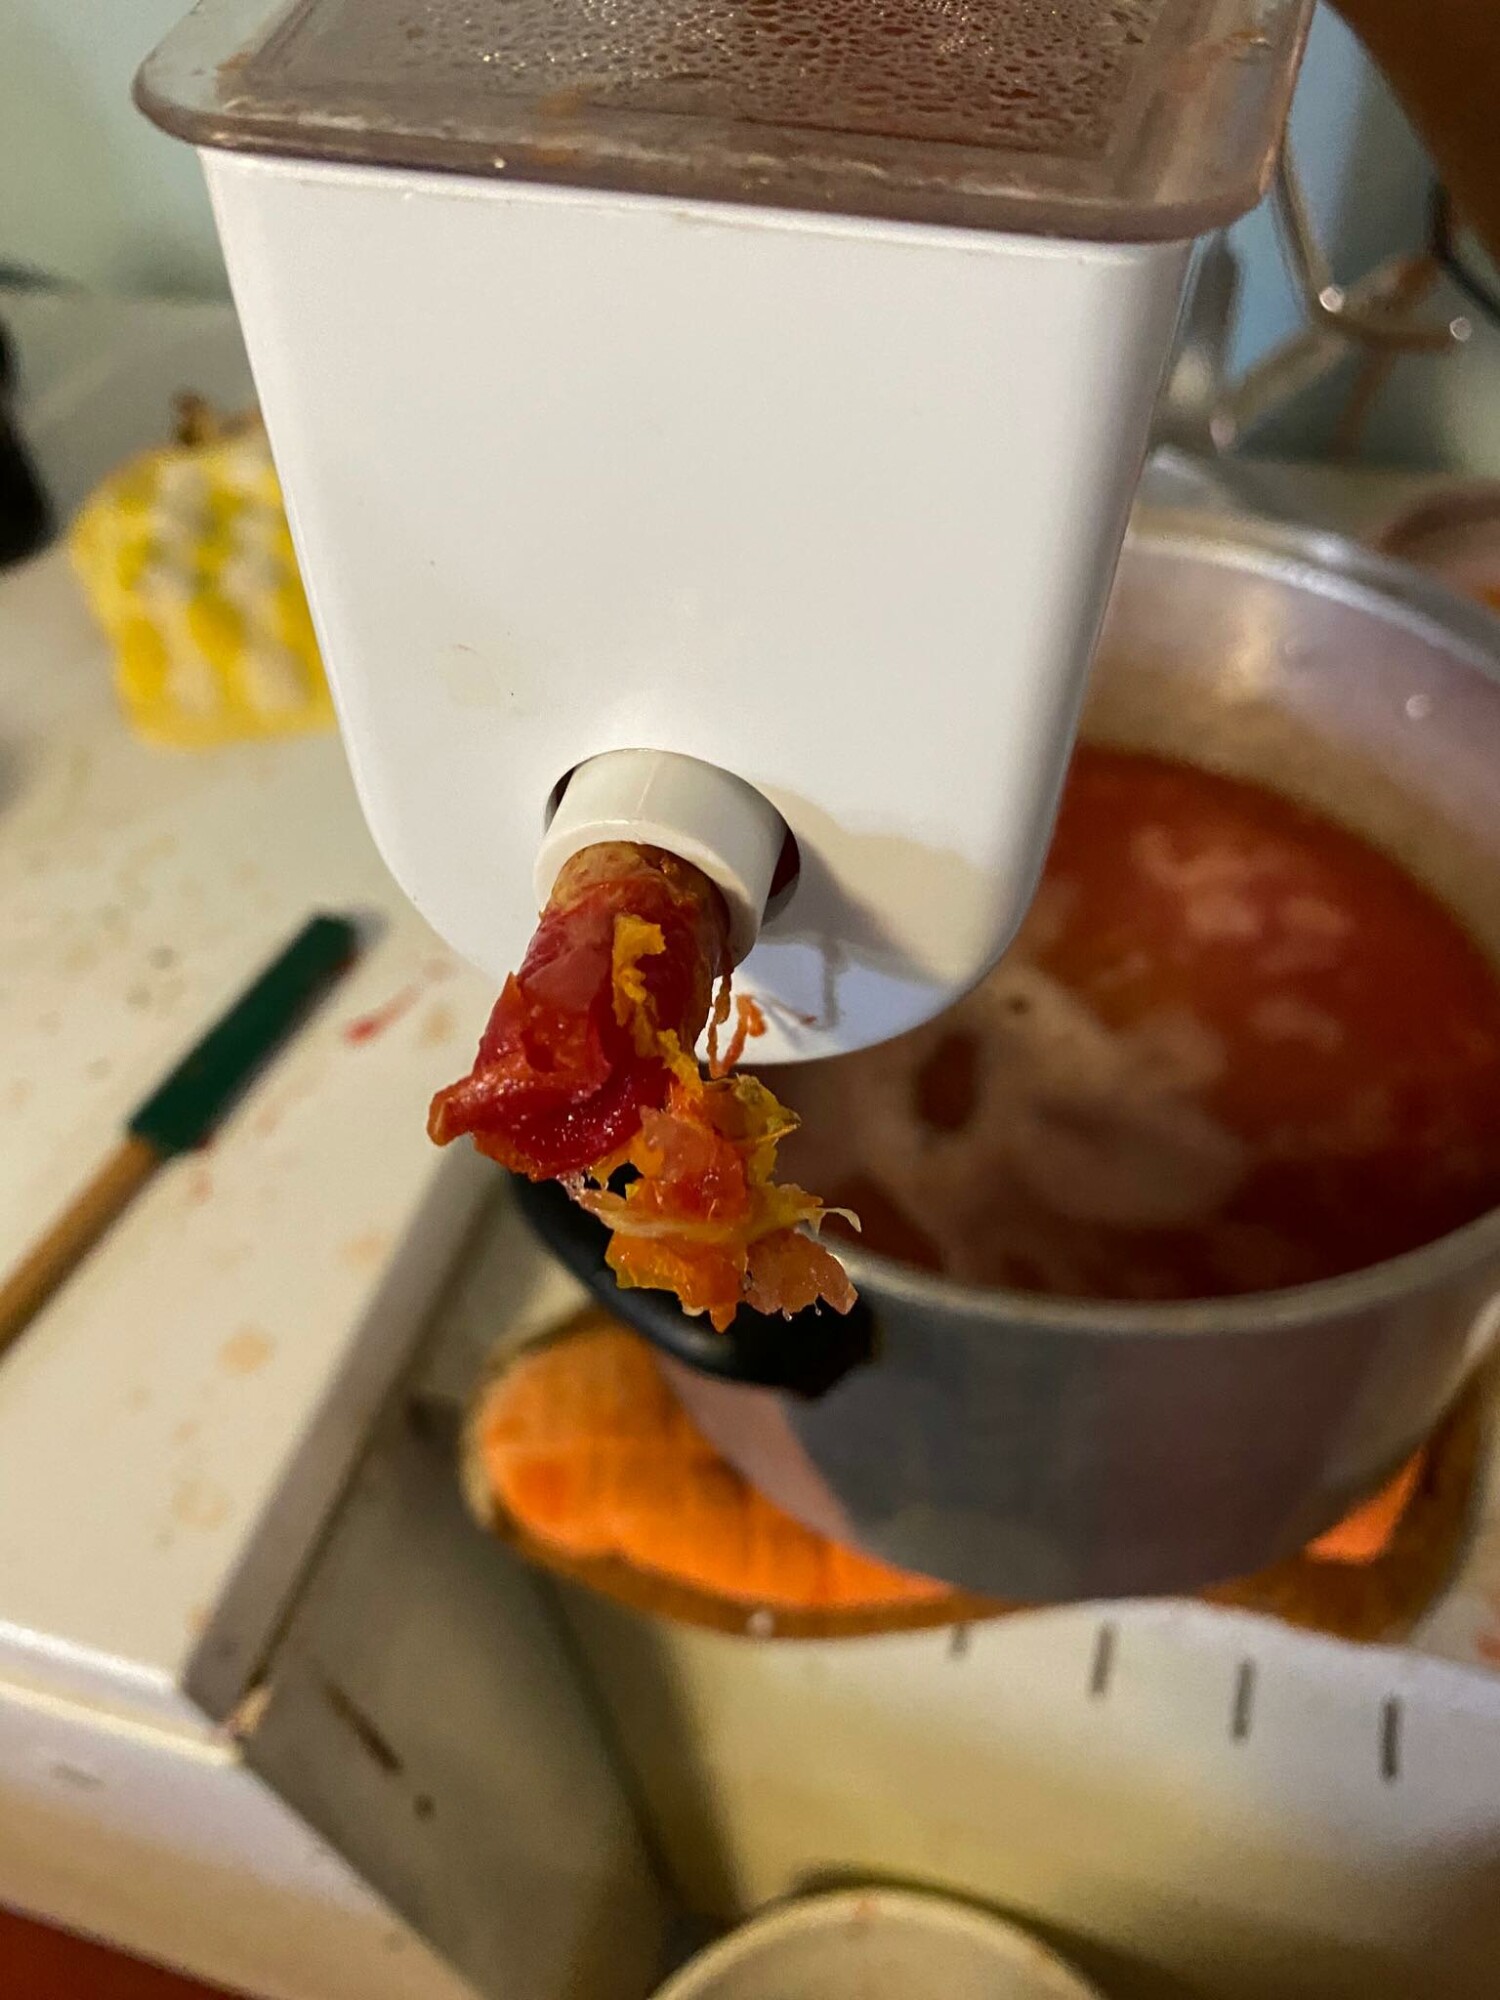
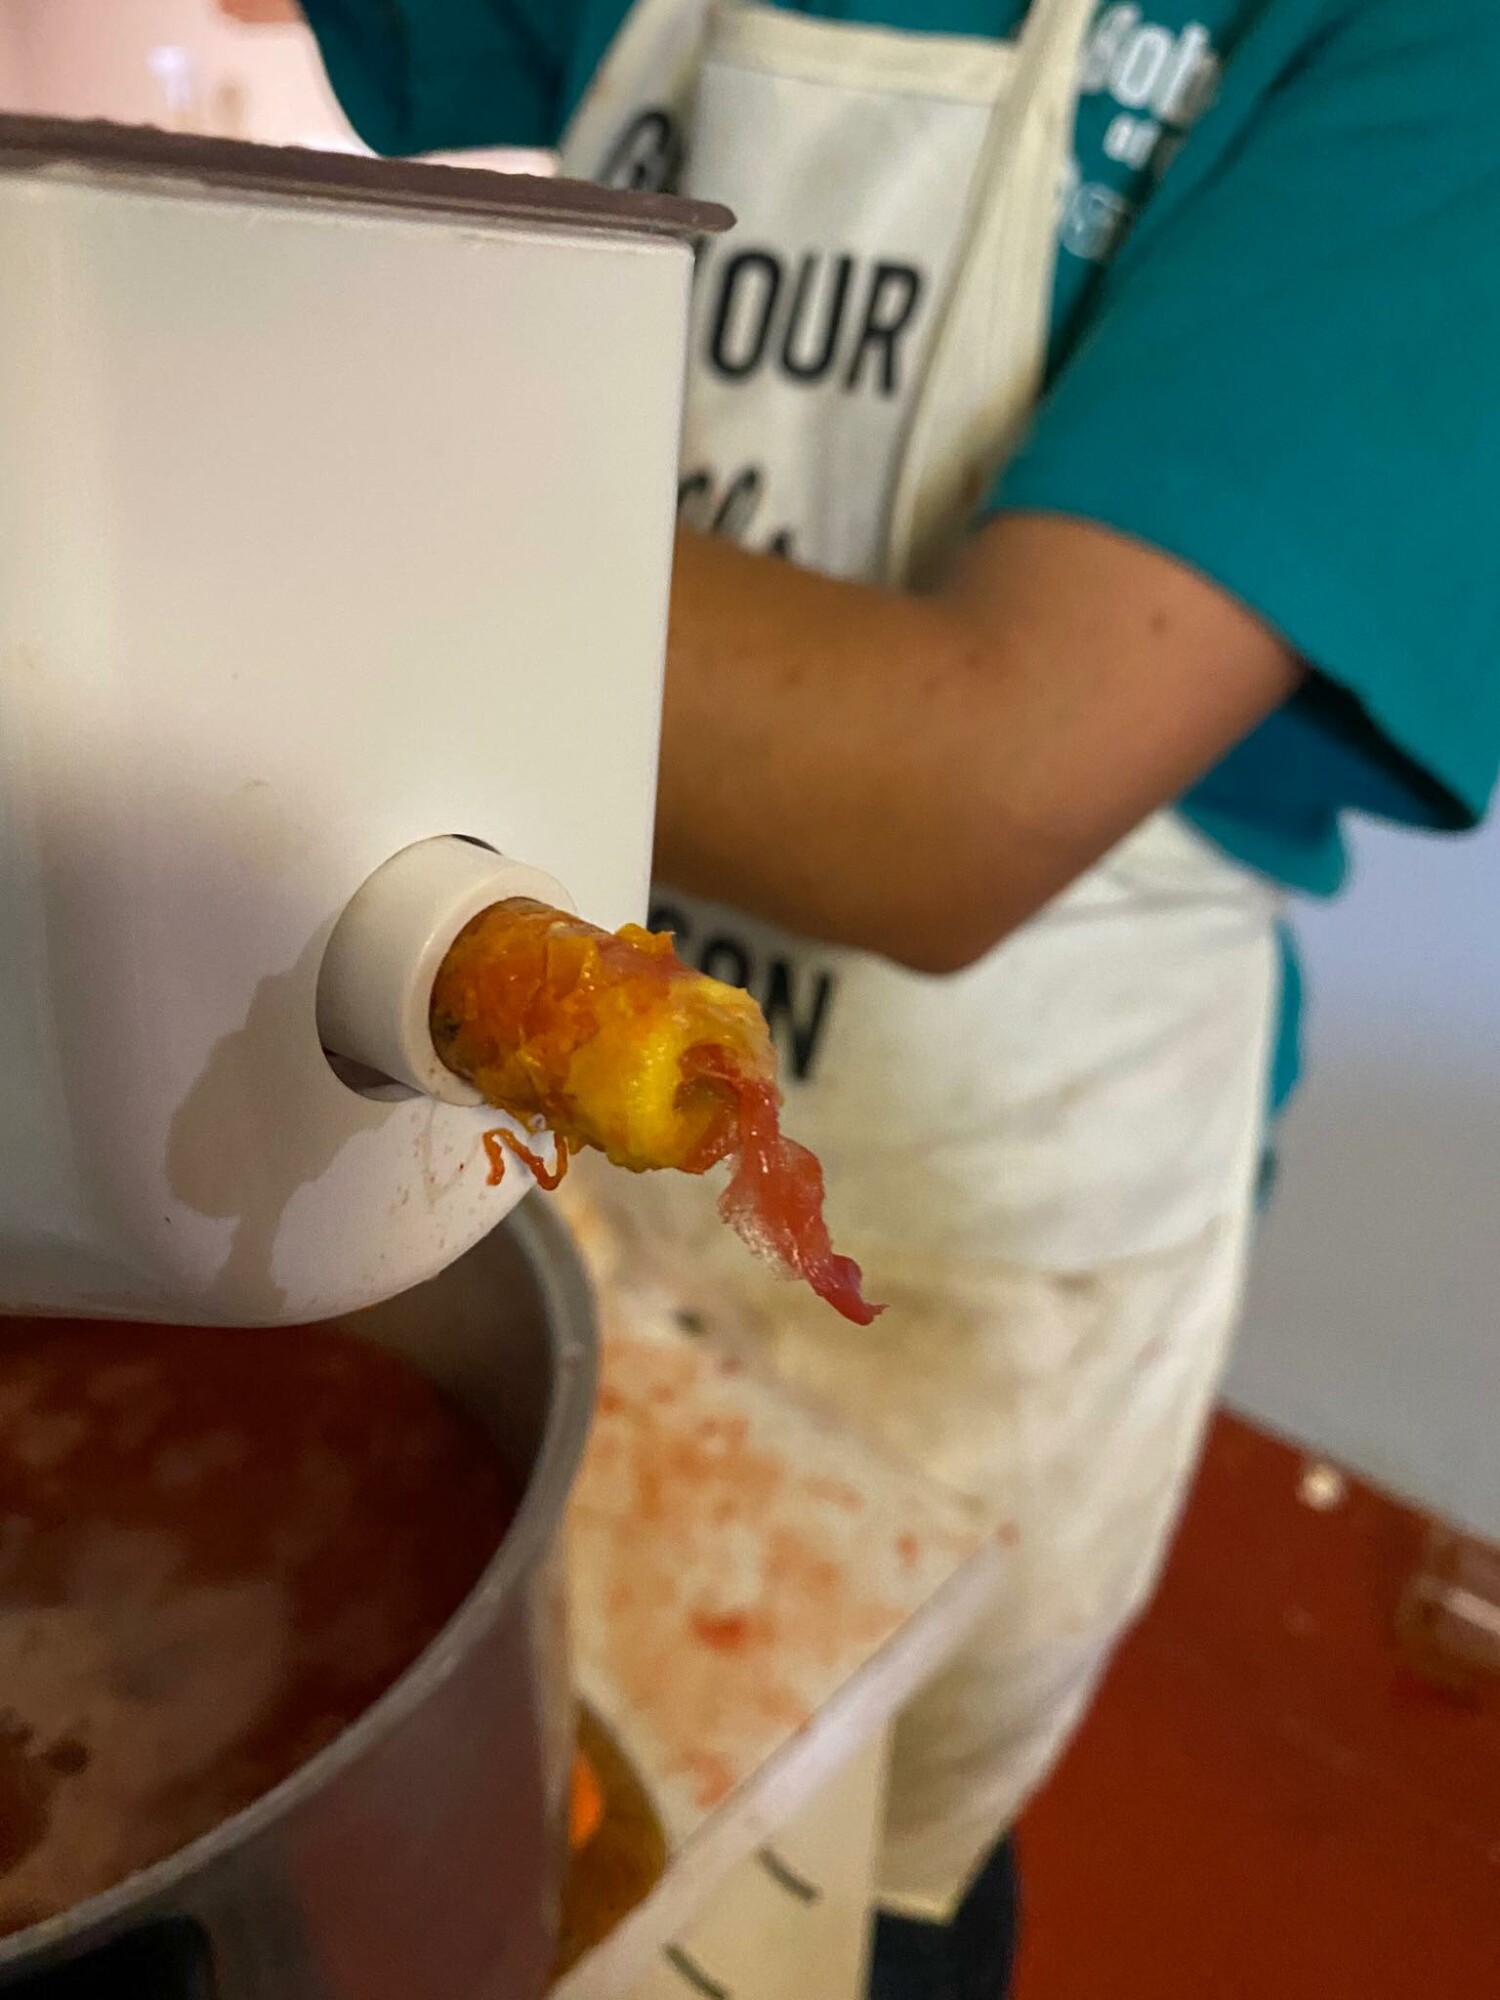
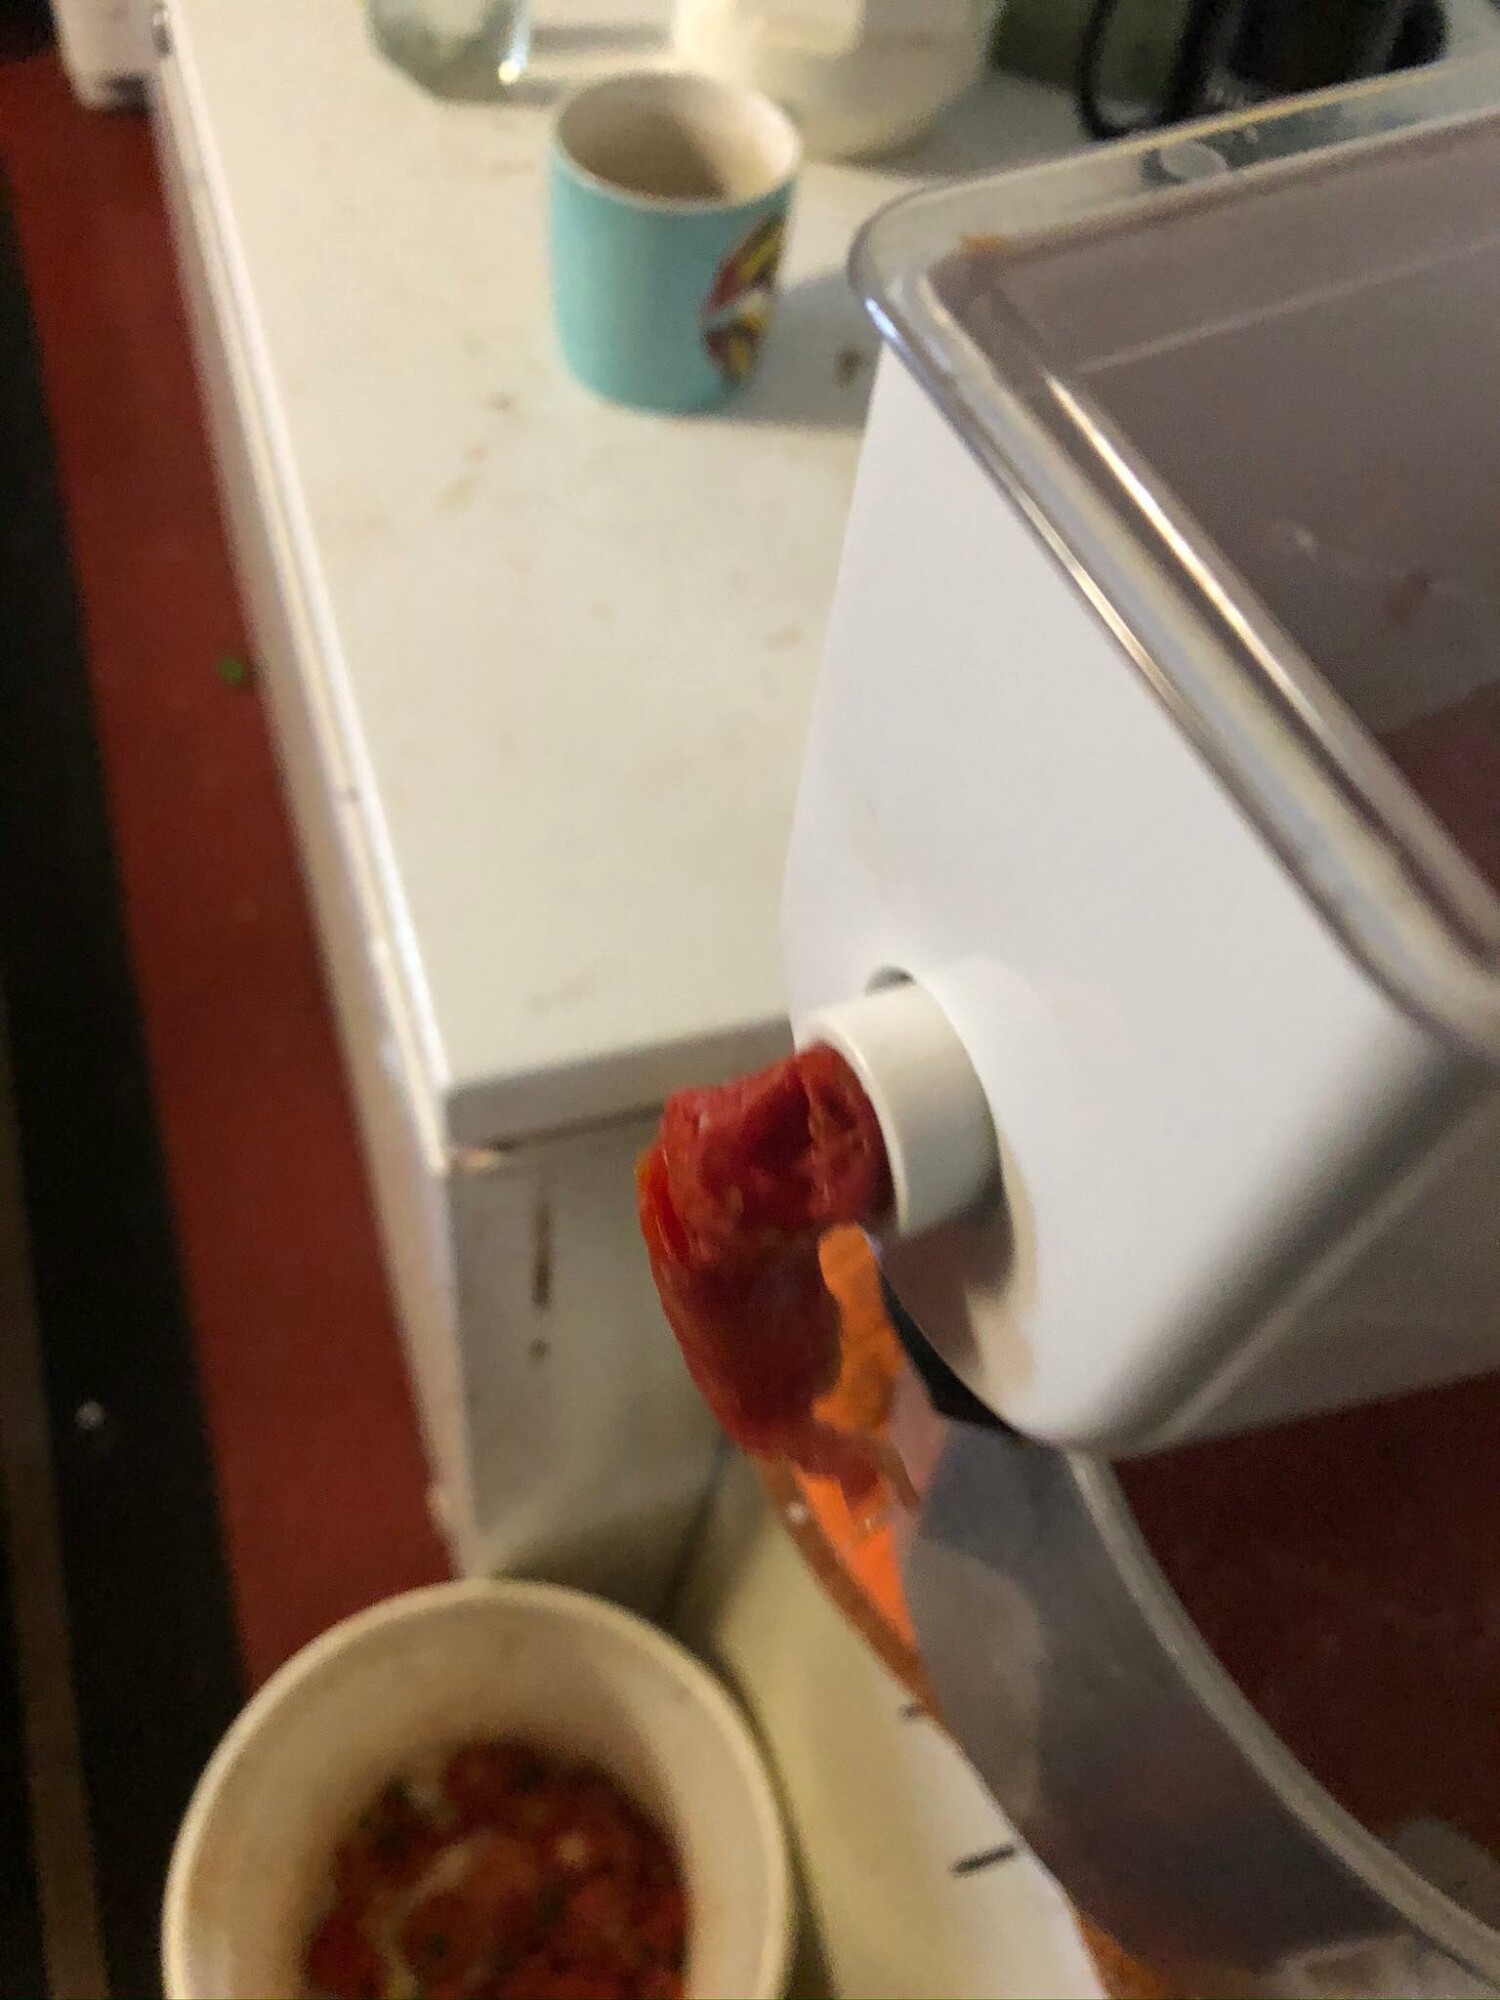
  • Run the softened tomatoes through a sieve to separate the juice from the skins and seeds. This will give you a smooth tomato base. Alternatively if you don't care about the skins and seeds, you can use an immersion blender and blend the whole tomatoes. Note you will probably have a few rouge skins if you choose to do this. 
  • You can dry the sieved skins and seeds down to grind into powder and make tomato paste when needed. 
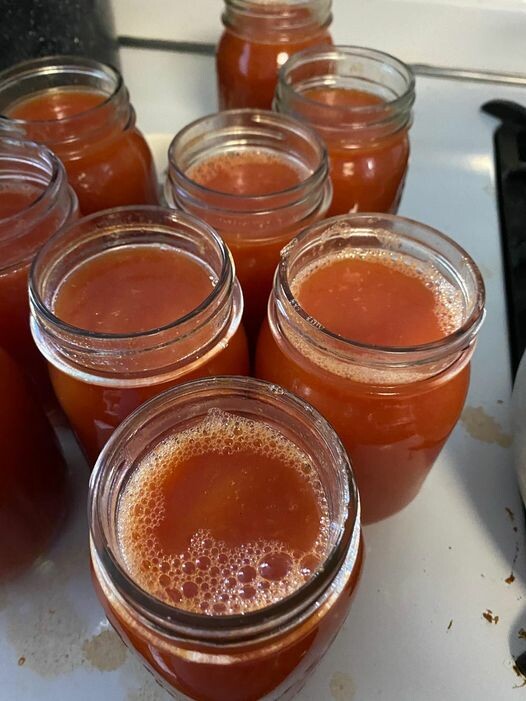
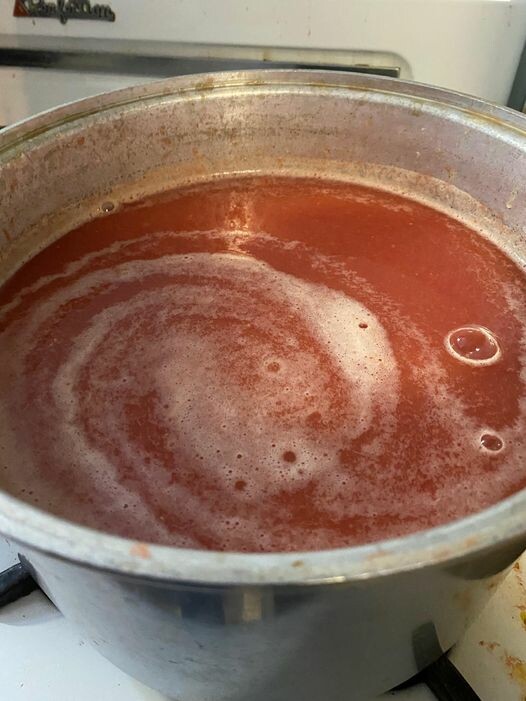
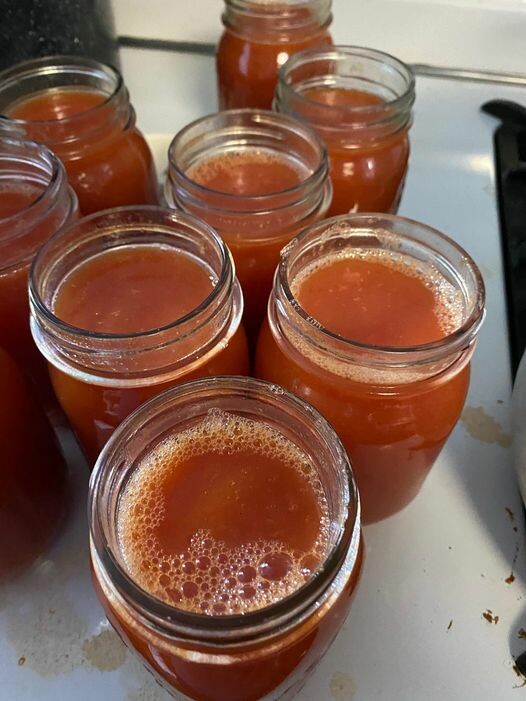
  • Pictures 1 & 2 are how the rejects should look. Picture three the tomatoes are a bit firm yet and I’m loosing quite a bit of pulp, not just skin and seed.

Step 4: Cook Down the Sauce
  • Allow the tomato juice to cook down to your desired consistency. This could take a while depending on your preference. This is where a crock pot or roaster can come in handy. Using a roaster or crock pot you can walk away and do other things easier. You can also let them cook overnight and can them in the morning. 
  • Stir occasionally to avoid burning the bottom of the sauce if using a stock pot.


Step 5: Fill Sterile Jars
  • Fill sterile canning jars with 1/4 teaspoon citric acid or lemon juice per pint of sauce and the hot tomato sauce, leaving about ½ inch of headspace. 
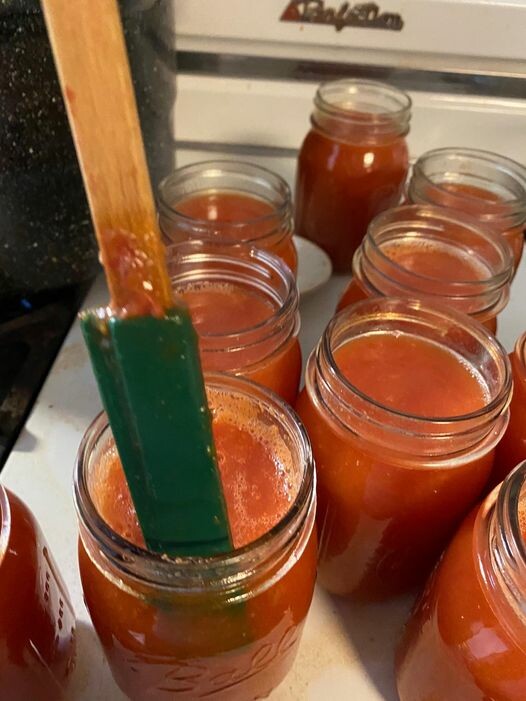
Step 6: De-bubble the Jars
  • Use a long spatula or knife to remove air bubbles by running it along the edge of the jar. Wipe the rim clean to ensure a proper seal. 
Step 7: Prepare the Lids
  • For one-time-use lids, rinse them in hot water before placing them on the jars and securing them with the rings. Do not over-tighten.
  • For reusable lids, follow the manufacturer’s instructions. Tattler reusable canning lids, for example, recommend boiling the seals.
Step 8: Process in a Hot Water Bath
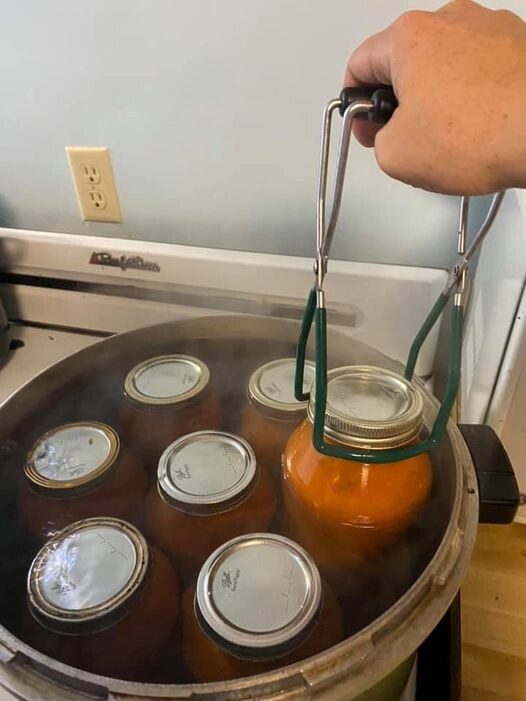
  • Place jars in a hot water bath canner. Once the water is boiling, process the jars for 20 minutes.

Step 9: Cool and Store
  • Remove jars from the canner and allow them to cool overnight. Check the lids to ensure they are sealed.
  • For one-time-use lids, the center should be concave and not pop up. For reusable lids, gently lift by the lid to test the seal.
Additional Tips for Successful Canning
  1. Use Garden, Ripe Tomatoes to ensure the best flavor.
  1. Sterilize Jars Properly to prevent contamination.
  1. Label and Date each jar for easy identification later. You will forget what is in that jar. 
Why Use Reusable Canning Lids?
Reusable canning lids, like those from Tattler, offer several benefits:
  • Eco-Friendly: Reduce waste by reusing lids.
  • Cost-Effective: Save money in the long run.
  • Reliable Seals: Trusted by home canners for their durability.
Preserving tomatoes and making your own tomato sauce can be a fulfilling and practical venture. By following these steps, you can enjoy fresh, homemade tomato sauce all year long. If you're new to canning or looking for more personalized advice, join the Thriving Through Life community on Facebook. 
Start preserving today and savor the taste of homegrown tomatoes anytime you want.  
Wanting a community to lean into? Join the FREE Thriving Through Farm Distress: Wife’s Support Network! In our community, we embrace the challenges of farm life and provide a supportive space for wives facing the complexities of managing a family farm. Whether you're navigating financial pressures, day-to-day operations, or seeking ways to create a thriving home, we're here for you. Explore gardening tips for cultivating your own oasis, share insights on animal care, and discover practical family budgeting strategies. Together, let's grow through challenges, flourish authentically, and sow the seeds for a resilient and thriving farm life. Join us on this journey of resilience and abundance! 
 
As I've grown in my journey as an entrepreneur, mom, gardener, and livestock owner, I struggled to find a planner that met my needs and kept me organized. So, I MADE MY OWN. You can look at it on the link below and buy it on amazon below.
Don't want the whole calendar part? I got you! I pulled the gardening and animal care pages out and put them in a book all their own. 
 
Starting to garden doesn't have to be hard! I gathered all the tips I've learned over my gardening learning curve and made them into a simple course to jump start your gardening your life. 
 
Supporting Your Family Naturally from the Inside Out community!! This community is for Mommas, looking to Support Your Family from Nature for Wellness. Tips range from nutrition, herbals, detoxing, natural cleaning, and essential oils. Basically, all the things I’ve learned slowly over the past 5+ years of my journey. We have moved off Facebook, to better serve our community and be able to discuss openly options for providing for your family in the best way possible. 
 
Join the FREE Community
 
I've had 3 very different pregnancies. After the first traumatic birth, I learned better and how to care for my body naturally and prevent common pregnancy and birth problems before they arise. This quick course will get you the tools you need to have a naturally healthy pregnancy, labor, and delivery. My first pregnancy I had a normal western medicine all the things pregnancy. My second? I flipped to completely natural, no medicine. Bonus: Preventing Preeclampsia Without the Aspirin & Healing from Birth Trauma


How to can corn salsa.

How to can corn salsa.
This post may contain affiliate links, which means that I may receive a commission if you make a purchase using these links, with NO additional cost to you. 

I love growing my own food. Part of growing all the food is not only eating it fresh in the summer, but preserving it for winter use. One vegetable we use a lot of is sweet corn! I love to make the sweet corn into corn salsa for use in recipes or a simple chip dip. Depending on time of year and schedules, sometimes I just freeze the corn and come back to make salsa later. For freezing corn see the blog post here. 

You will need:
Canning jars
Canning lids
Canning rings
Jar Funnel
Long spatula or knife
Big Stock pot

Sweet corn
Tomatoes
Jalapenos pepper
Poblano pepper
Red onion
Garlic
Cilantro
Cumin
Salt
Sugar
Vinegar

I usually take the recipe times 6 to fill my pots. 

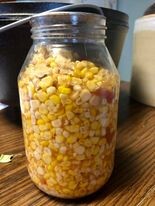
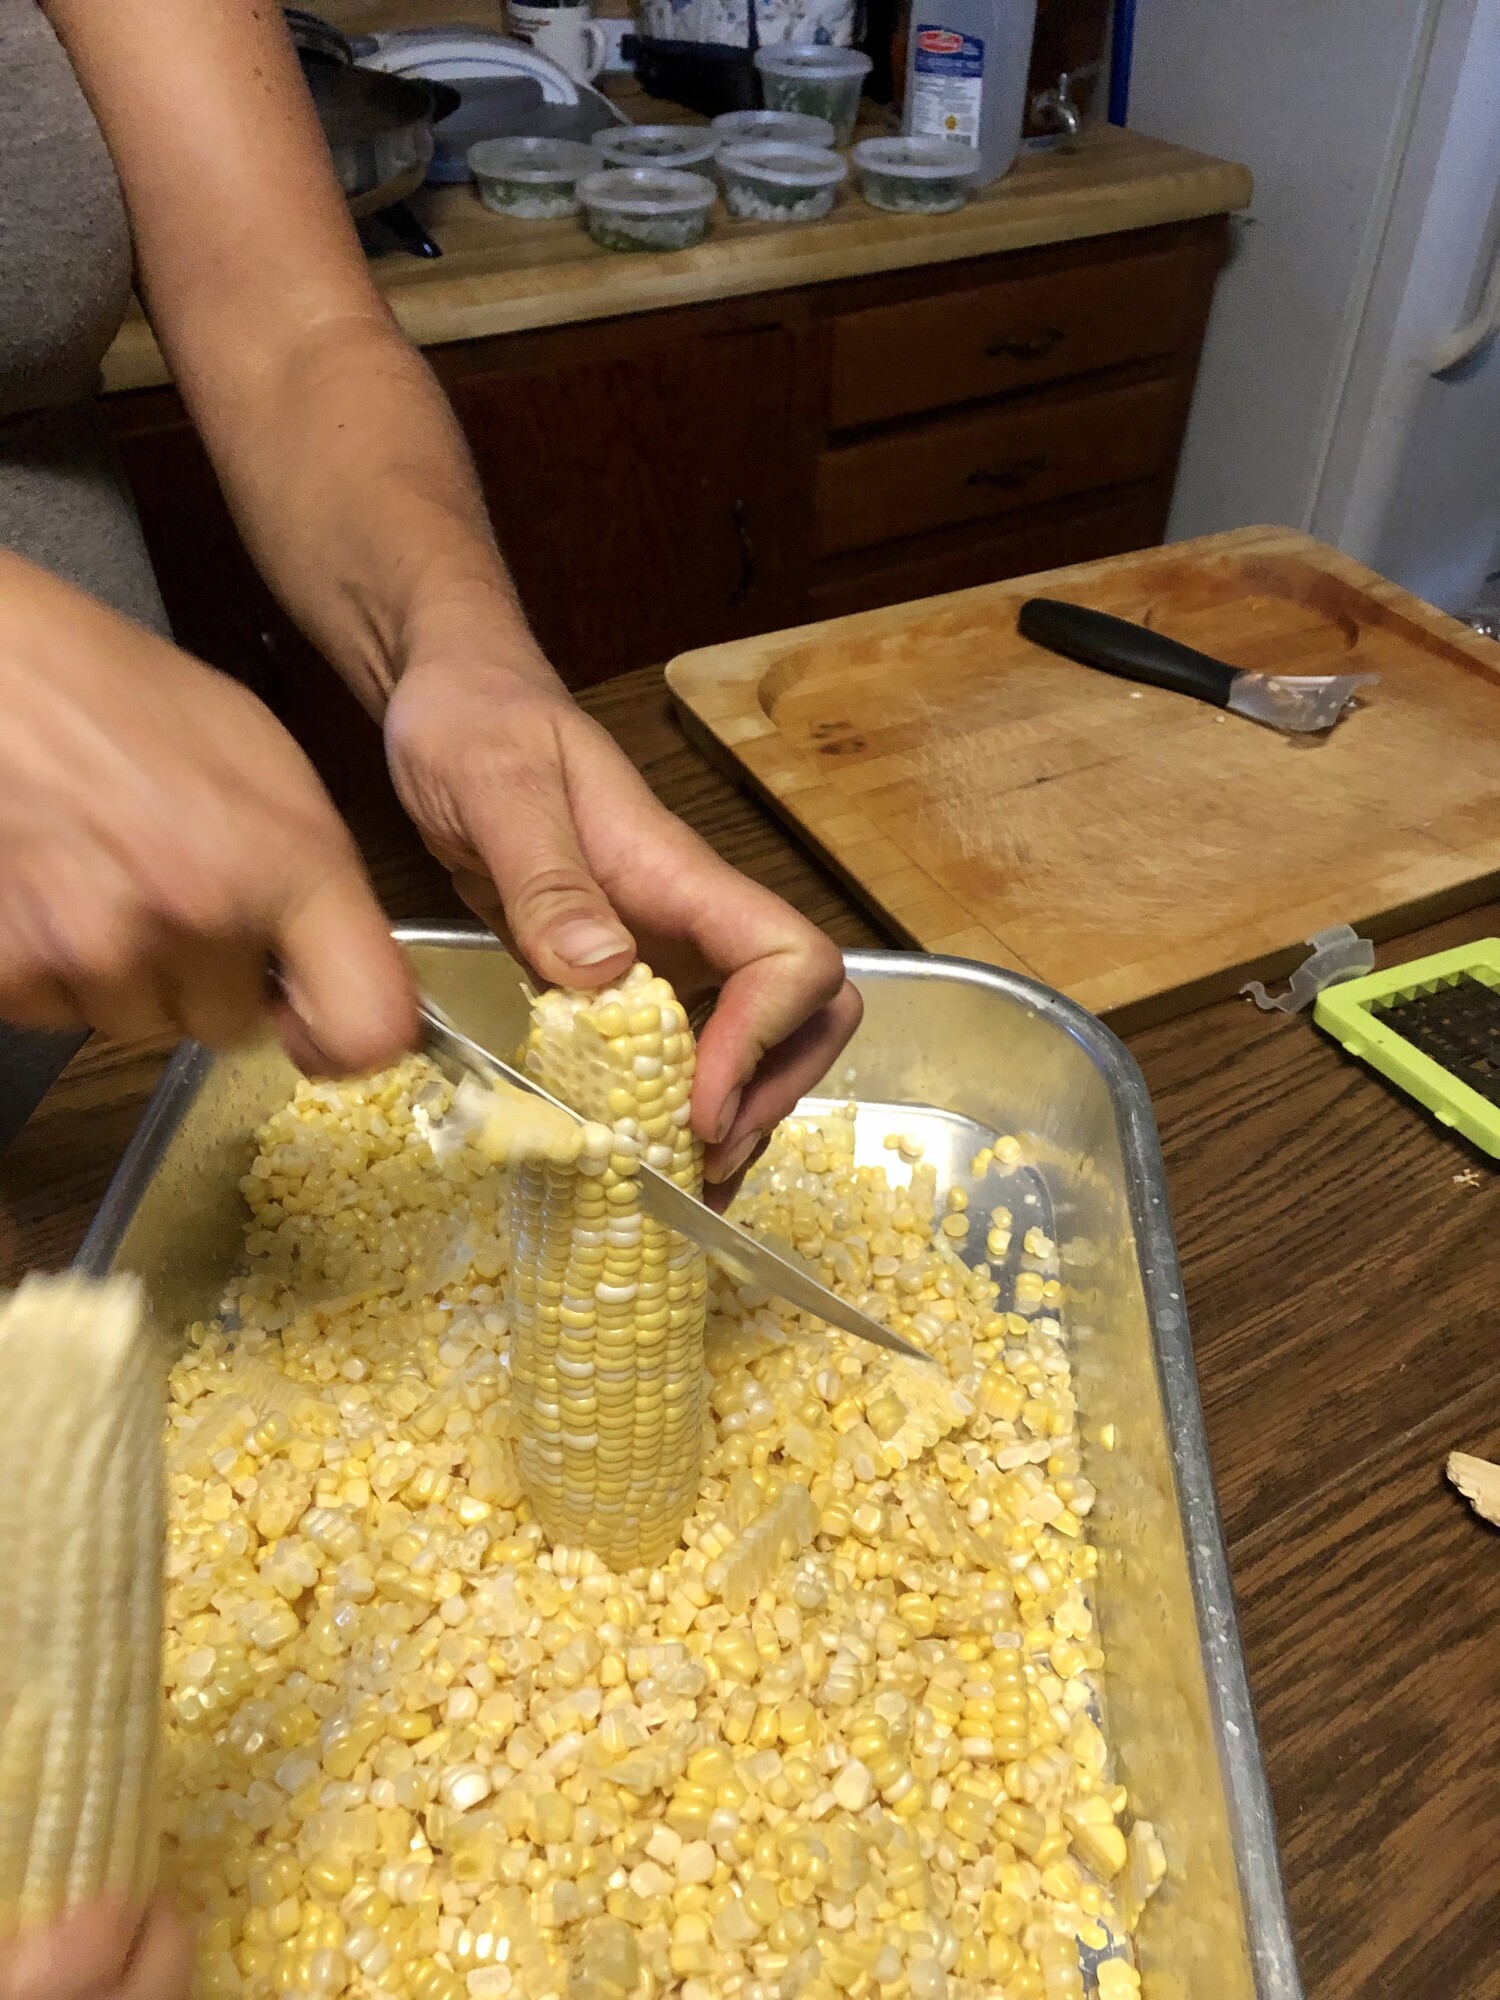
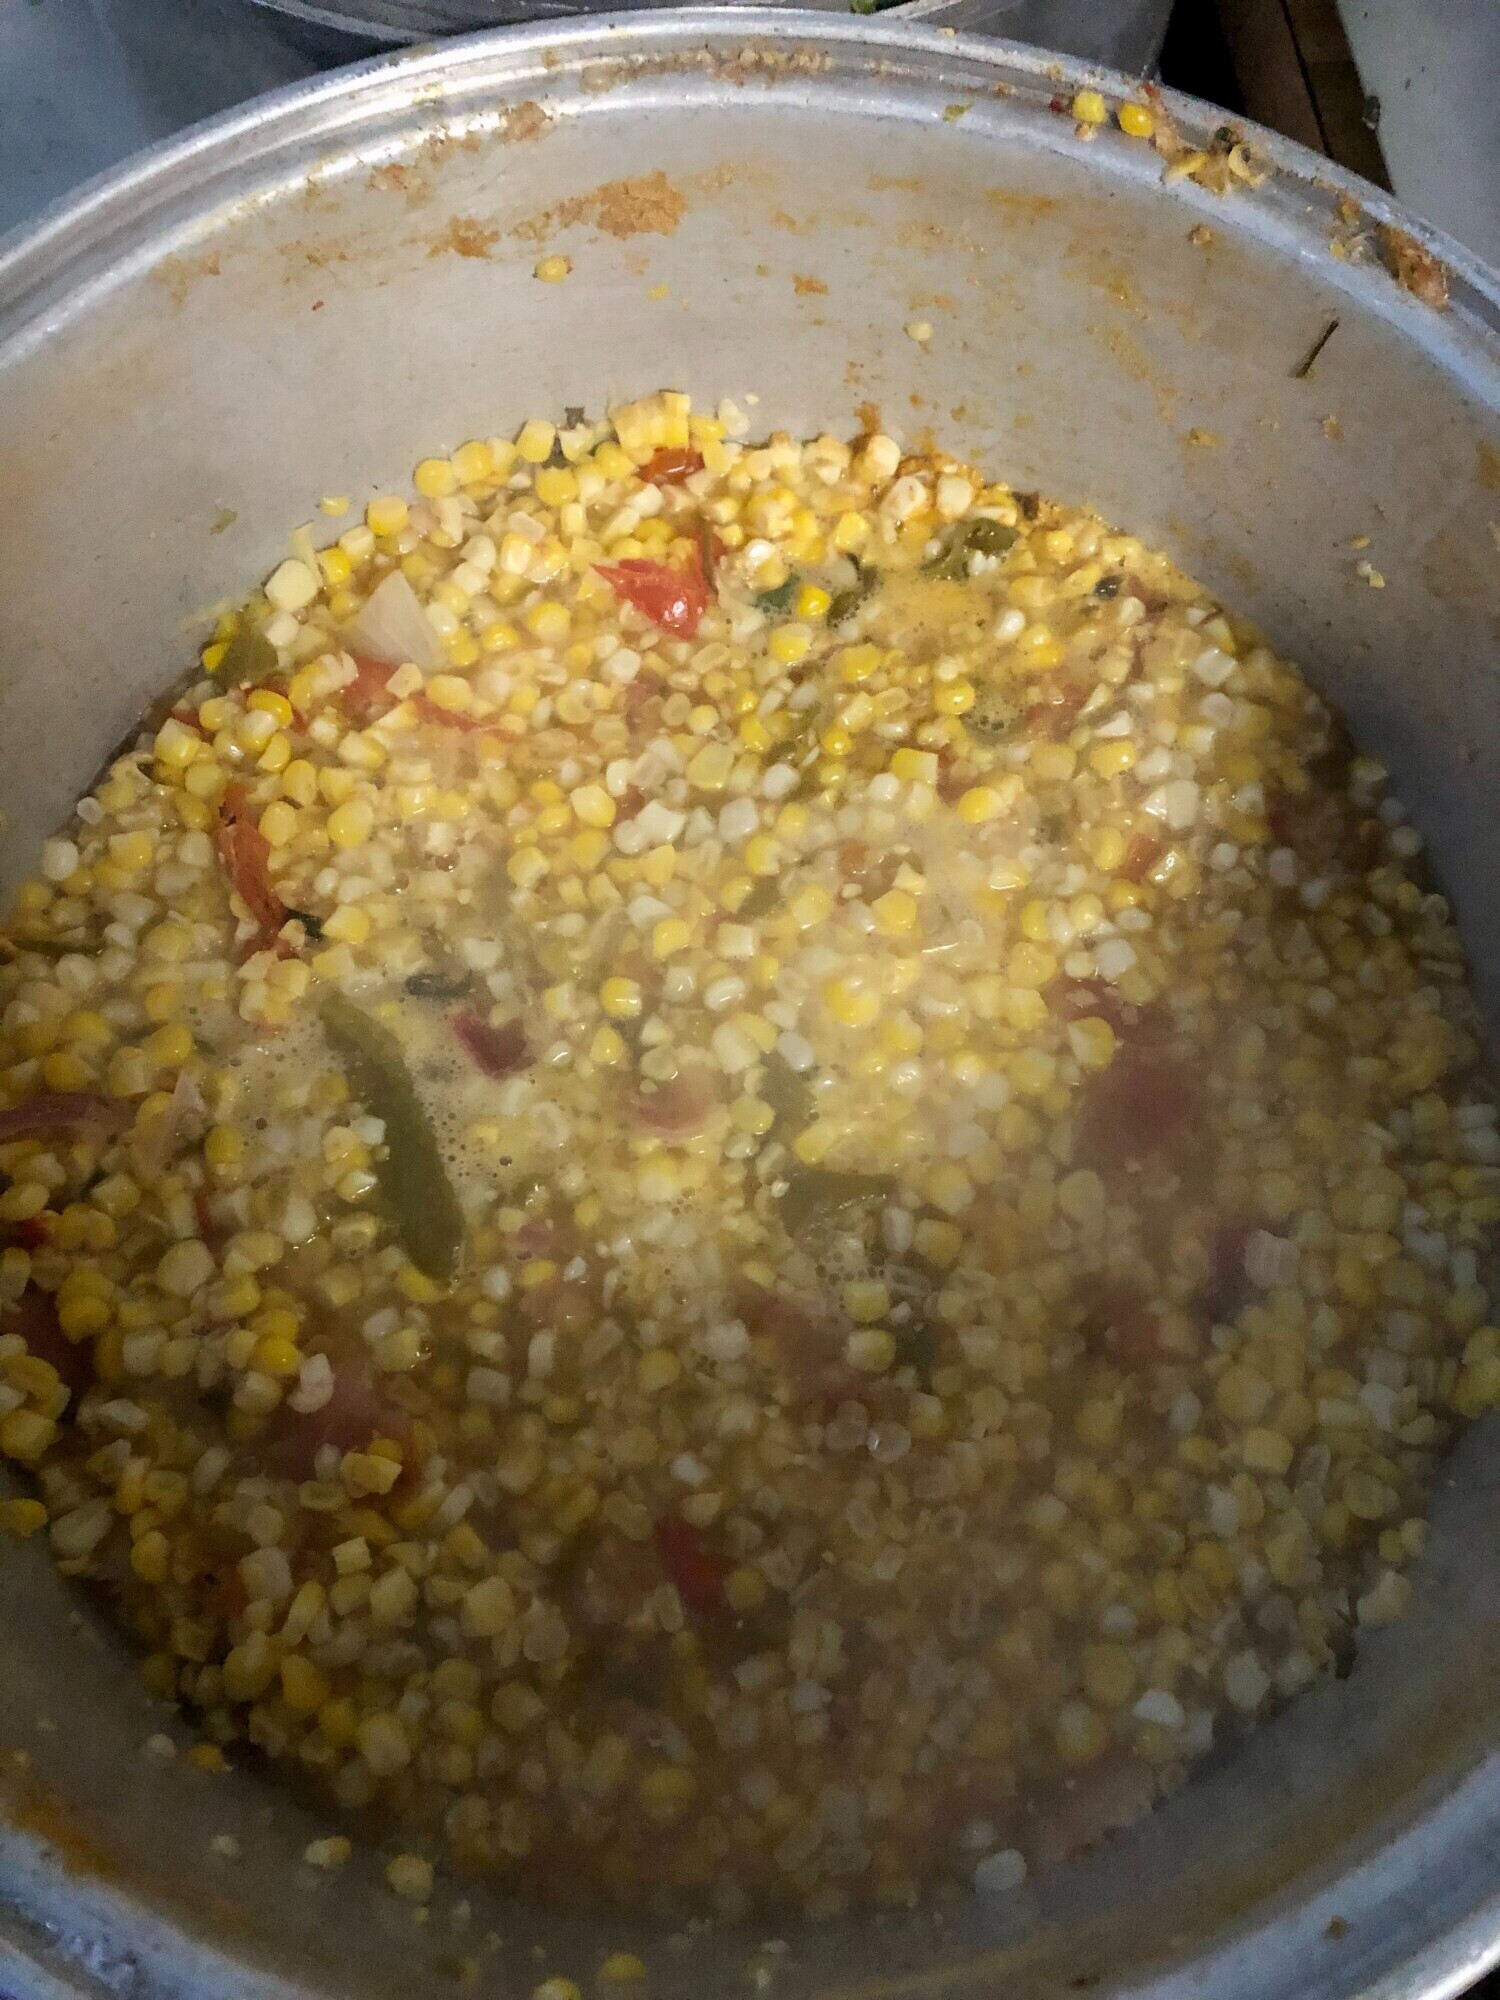
Step 1. Remove the kernels from 6 ears of corn. This is about 1 quart bag if you're using frozen corn. Place in a large stock pot.

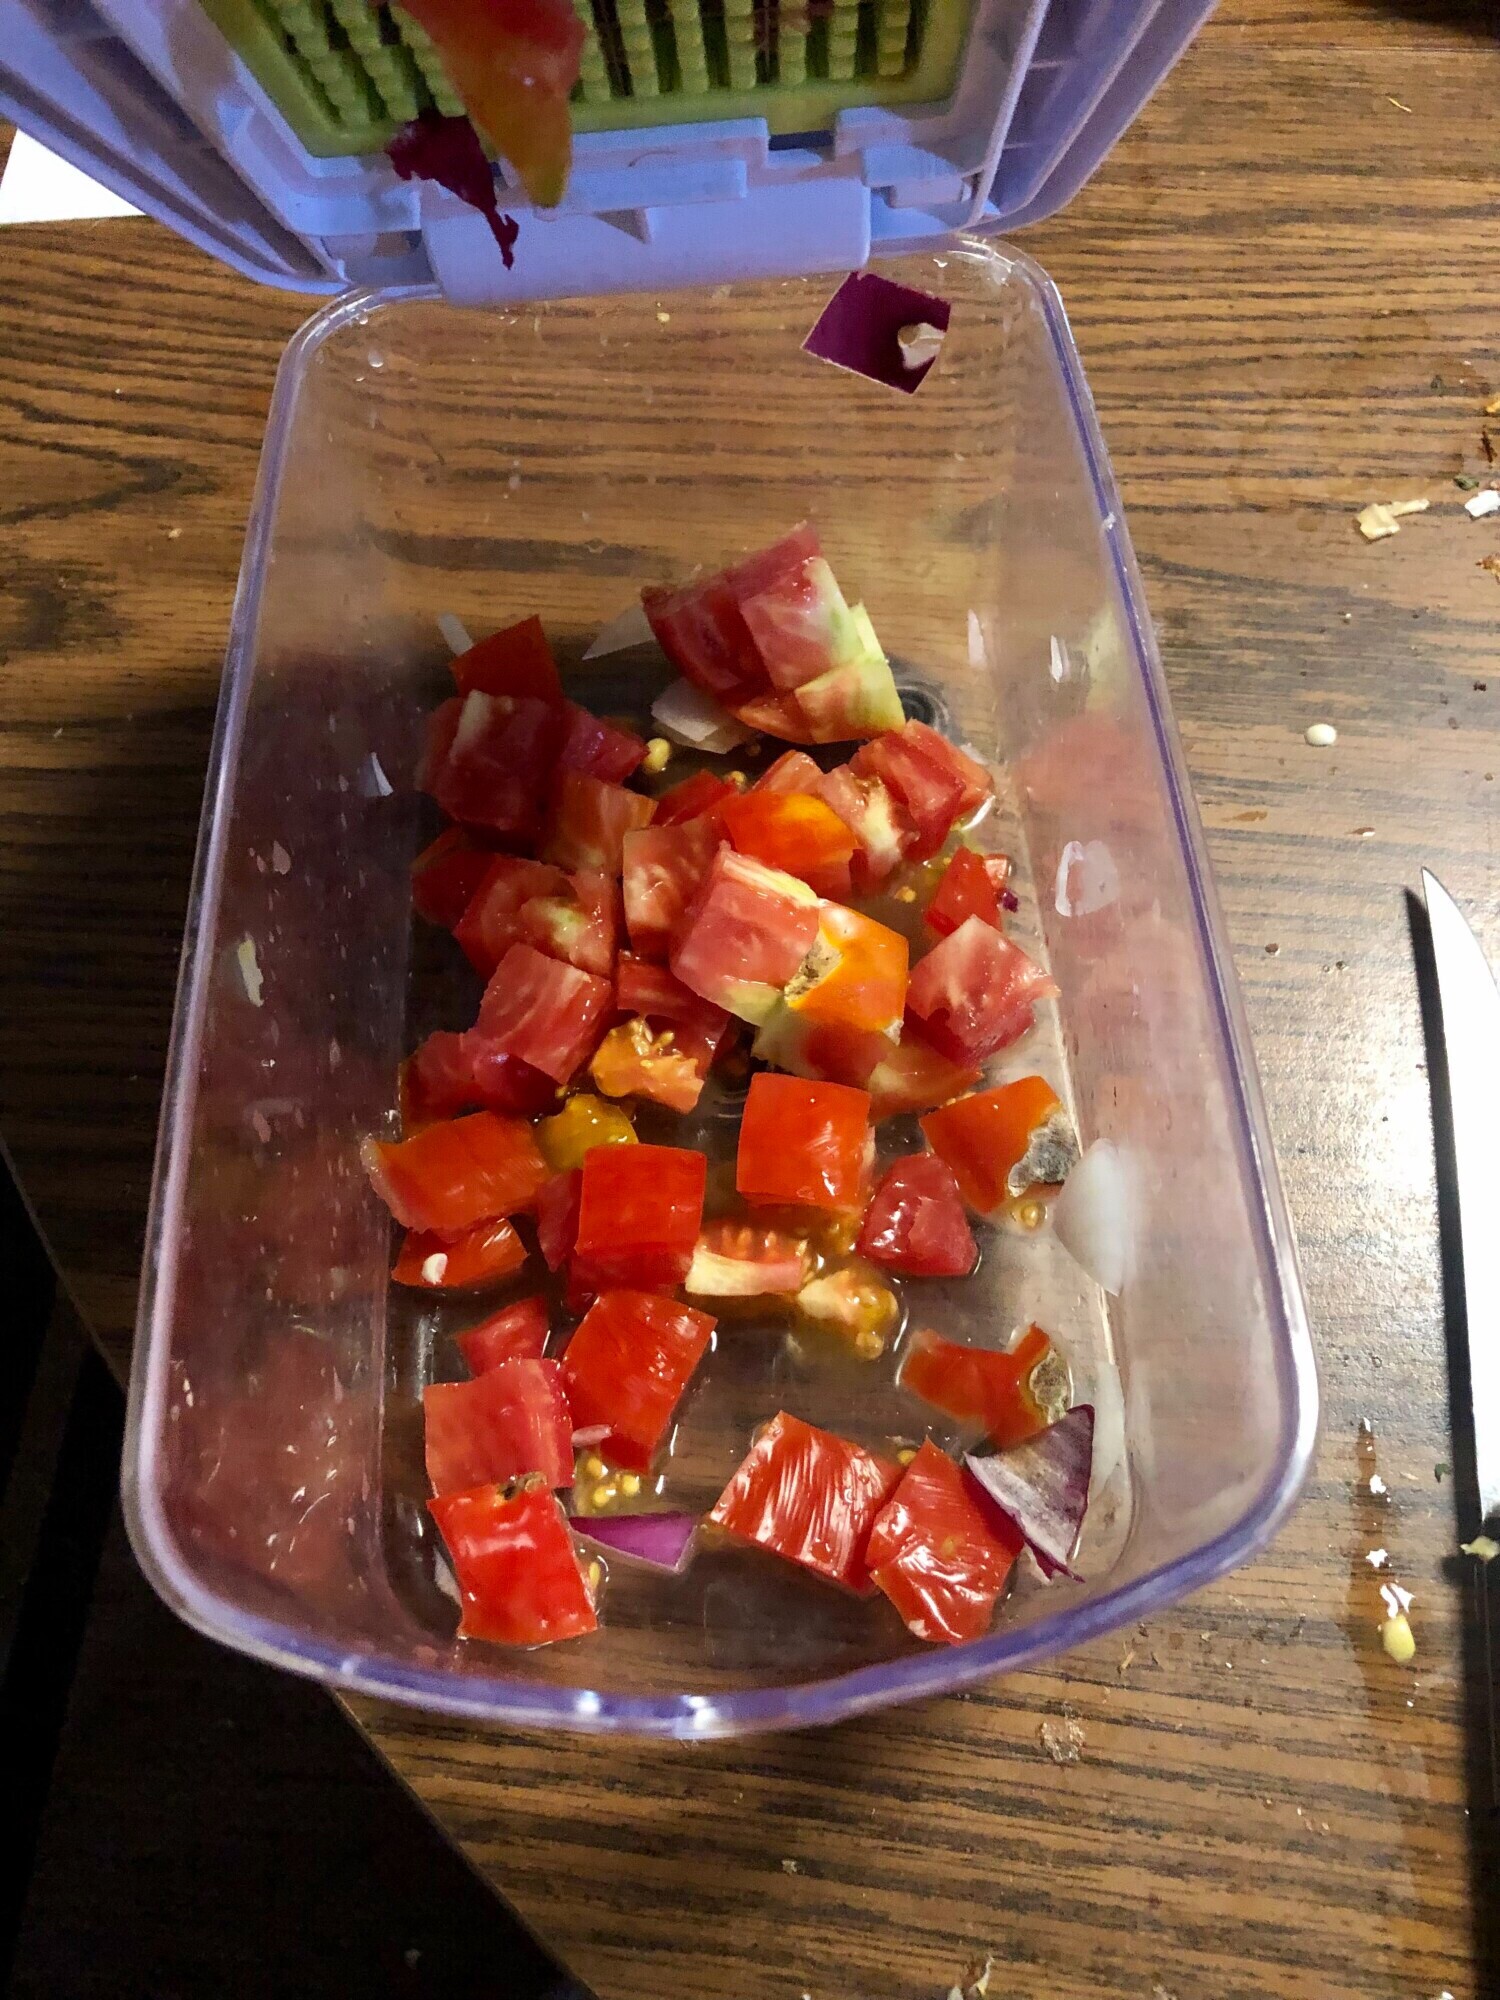
Step 2. Chop 2 pounds (approximately 2 large tomatoes) and add to the stock pot. I like to use this handy dicer I found or a food processor to make the work faster. 


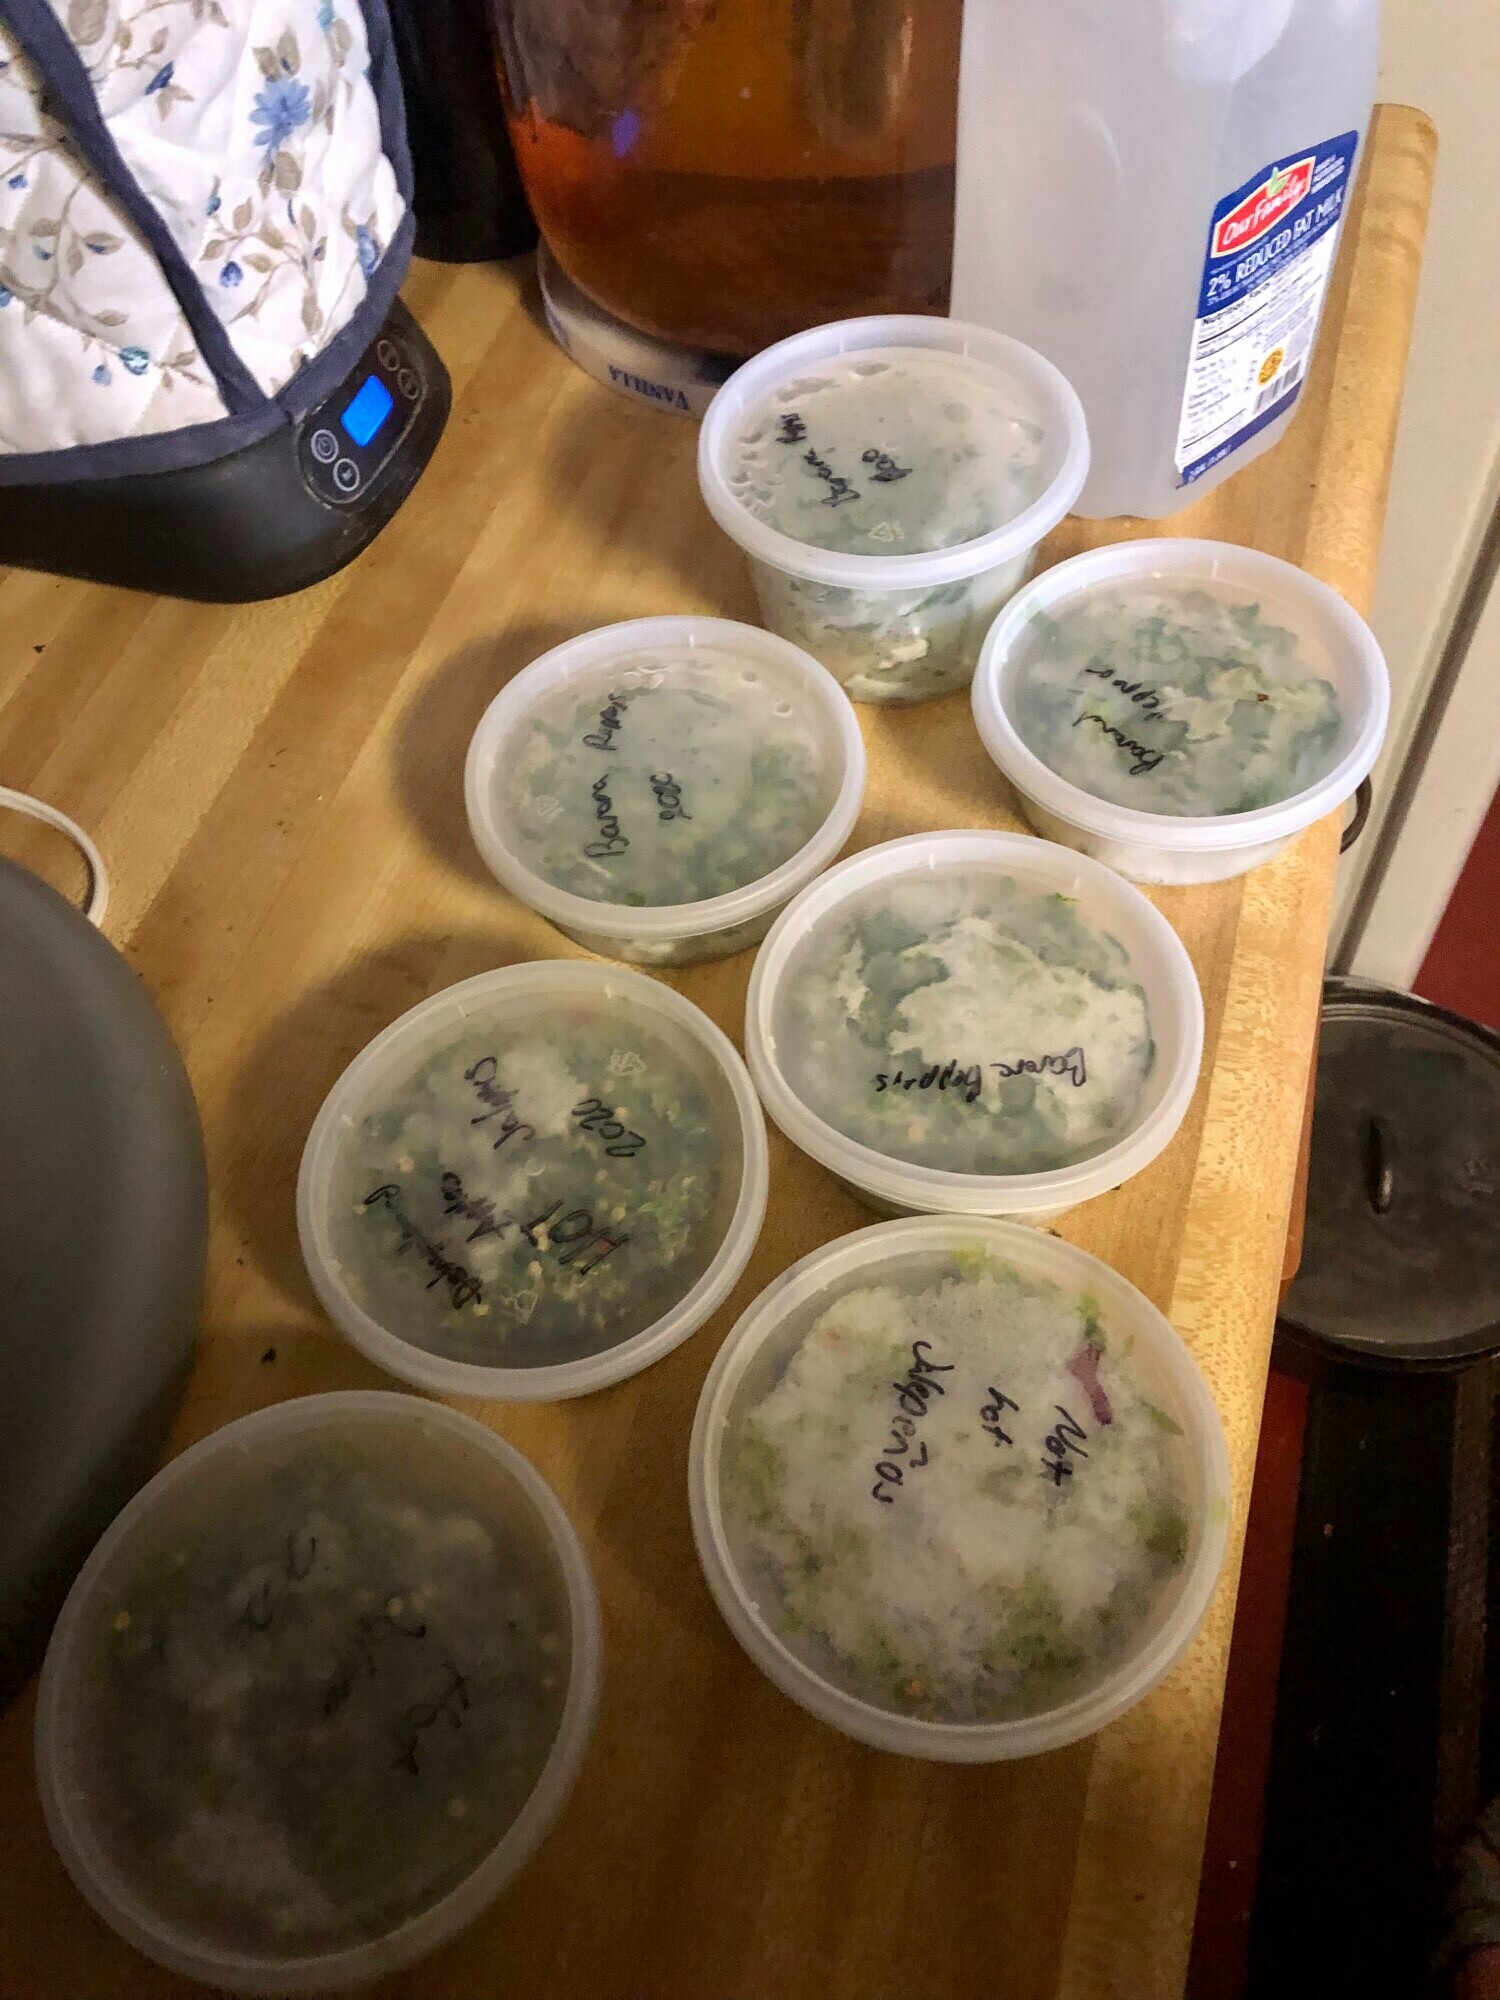
Step 3. Dice 1 jalapeno, 1 poblano pepper, and 1 red onion. Add to the stock pot. Many times I’ll chop them as I harvest and freeze them as shown. Then I can just dump the peppers in the pot as I go.


Step 4. Add 2 cloves garlic, 2t cilantro (double if using fresh), 2t cumin, 2t salt, 1 c sugar, 1 c vinegar. Add all to the stock pot.

Step 5. Bring the stock pot to boil then simmer for 15 minutes.

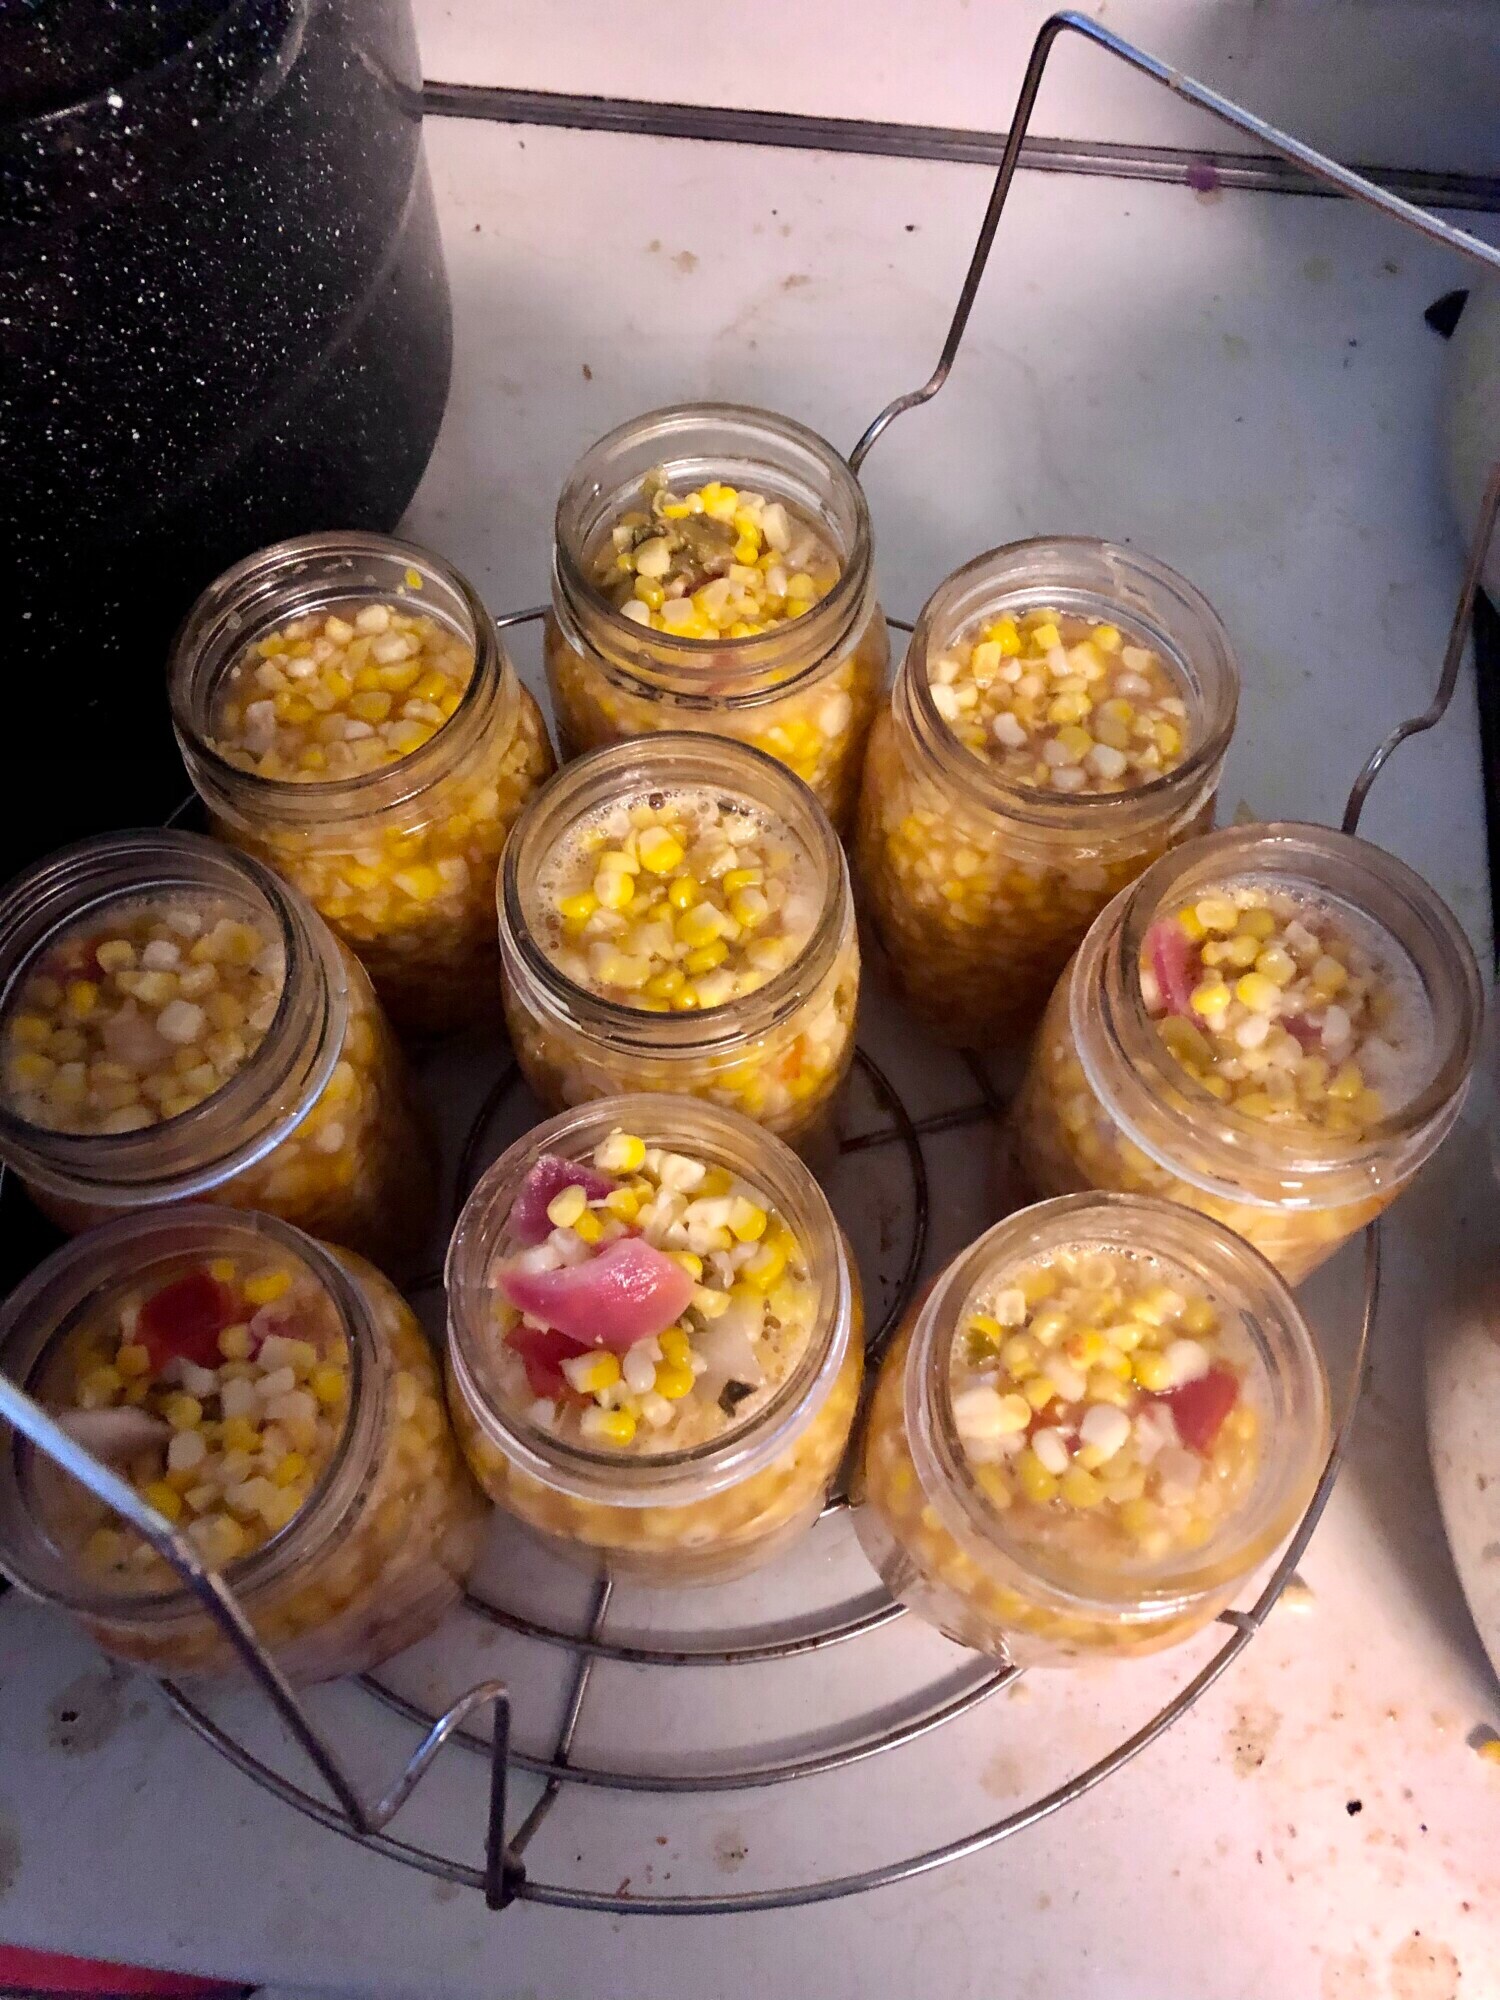
Step 6. Pack the jars leaving ½ inch head space.


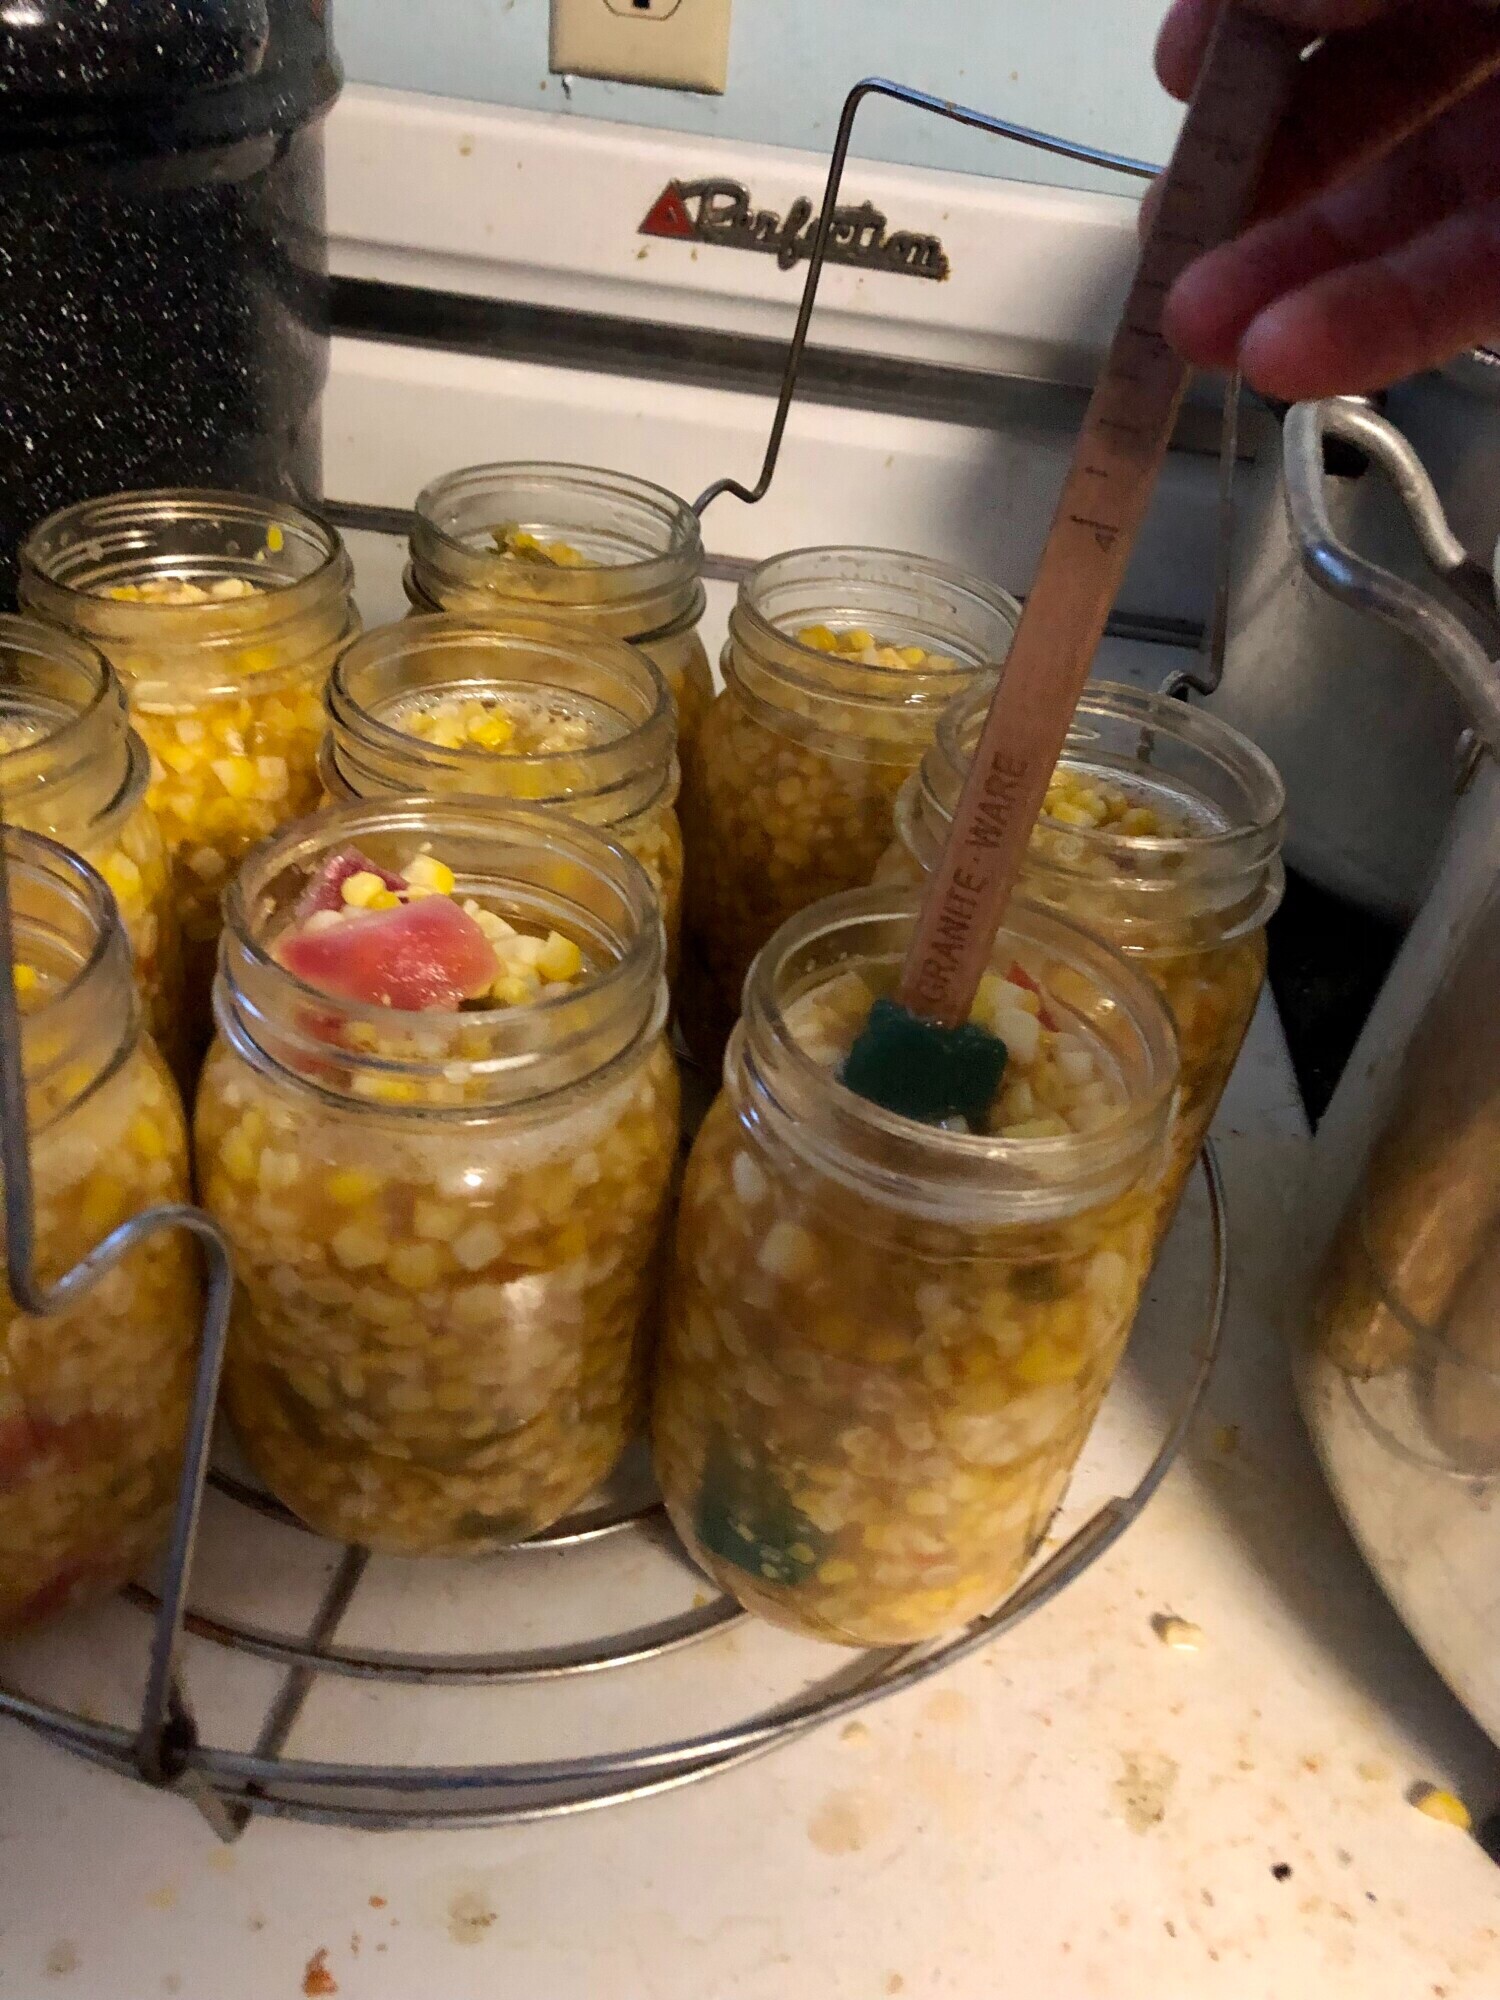
Step 7. De-Bubble. This step is very important!
Slide a long spatula along the edge of the jar 2-3 times to remove any trapped air bubbles.


If an air bubble is trapped and not removed your jar could explode in the canner.

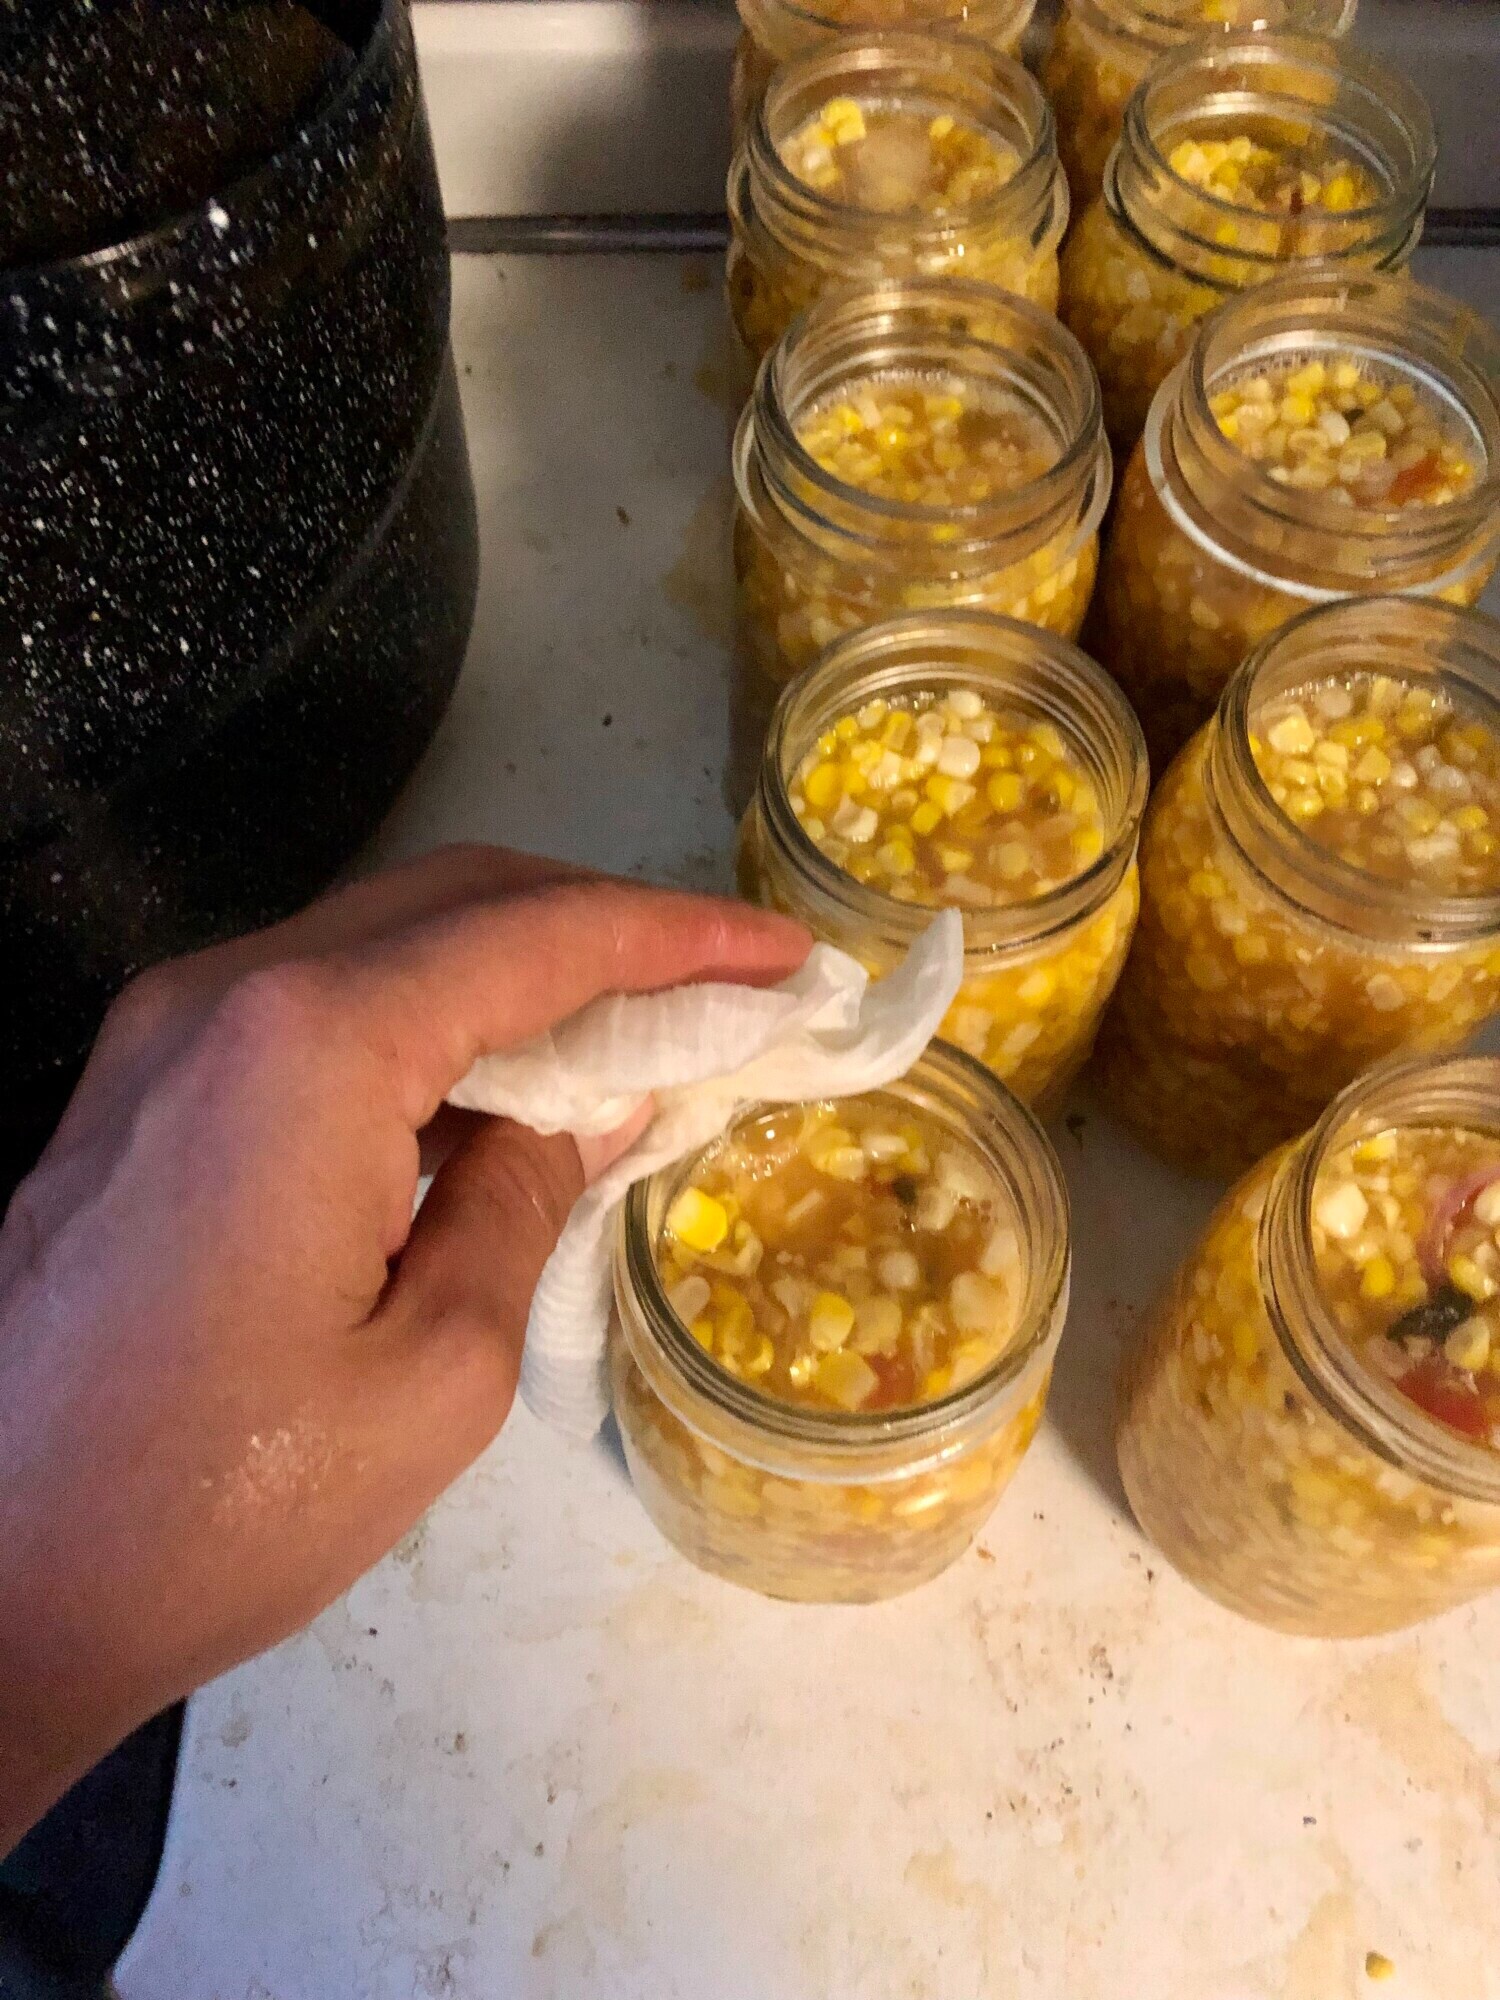
Step 8. Wipe the rims and attach lids. Rinse the, one time use, canning lids in hot water. This is new compared to older lids which you needed to boil first. Then set them on the jar and attach the rings down as tight as you can. 

If you are using reusable lids you will want to boil the seals and follow the instructions from the manufacturer. I purchased some from Tattler at www.reusablecanninglids.com


Step 9. Place jars in a hot water bath and place lid on. Bring to boil and process for 25 minutes. 

Step 10. Remove jars from the hot water bath and allow to cool completely. Check the lids to make sure the jars are sealed. Remove rings, label and store. For one time use lids, the bubble should be down and not pop up. For reusable lids, gently pick them up by the lid (it's terrifying the first few times), if the lid holds, the seal is good. 


Wanting a community to lean into? Join the FREE Courageous + Purposeful Mommas group! This community is for the Mommas, mommas to be, in the midst of raising, and kids grown, looking for tips on building your family up and providing for them through natural methods. Tips include: gardening, bulk buying, caning,/preserving, livestock, homesteading, and home remedies. Your family is precious, and this group is to help you gain the knowledge and tools to keep your family well and not reliant on outside professionals. Remedies and tips are easy and simple for the busy momma, time is precious after all, including pregnancy, birth, young kids, and illness. Trust your Momma gut again! This community offers the resources + community you need to help get started on your journey and prepare for whatever future you envision.

Join the Free Community


Click here to get the stories straight to your email:

Sign up for the Blog


For more on wellness tips click here:

Sign up for Wellness tips


For more on homesteading on your budget click here:

Sign up for Homesteading Tips


For more simple DIY updates click here:
Sign up for easy DIYs 


Read Older Updates