- Sodium Laureth Sulfate in soaps is used industrially to remove grease and can damage your skin and disrupt immune and hormonal health.
- Phthalates are present in shampoos despite being banned from children's toys due to their endocrine disruption potential.
- Many household items like candles and air fresheners contain formaldehyde, a leading carcinogen. And fragrance which is a catch all for chemical scents and not required to disclose.
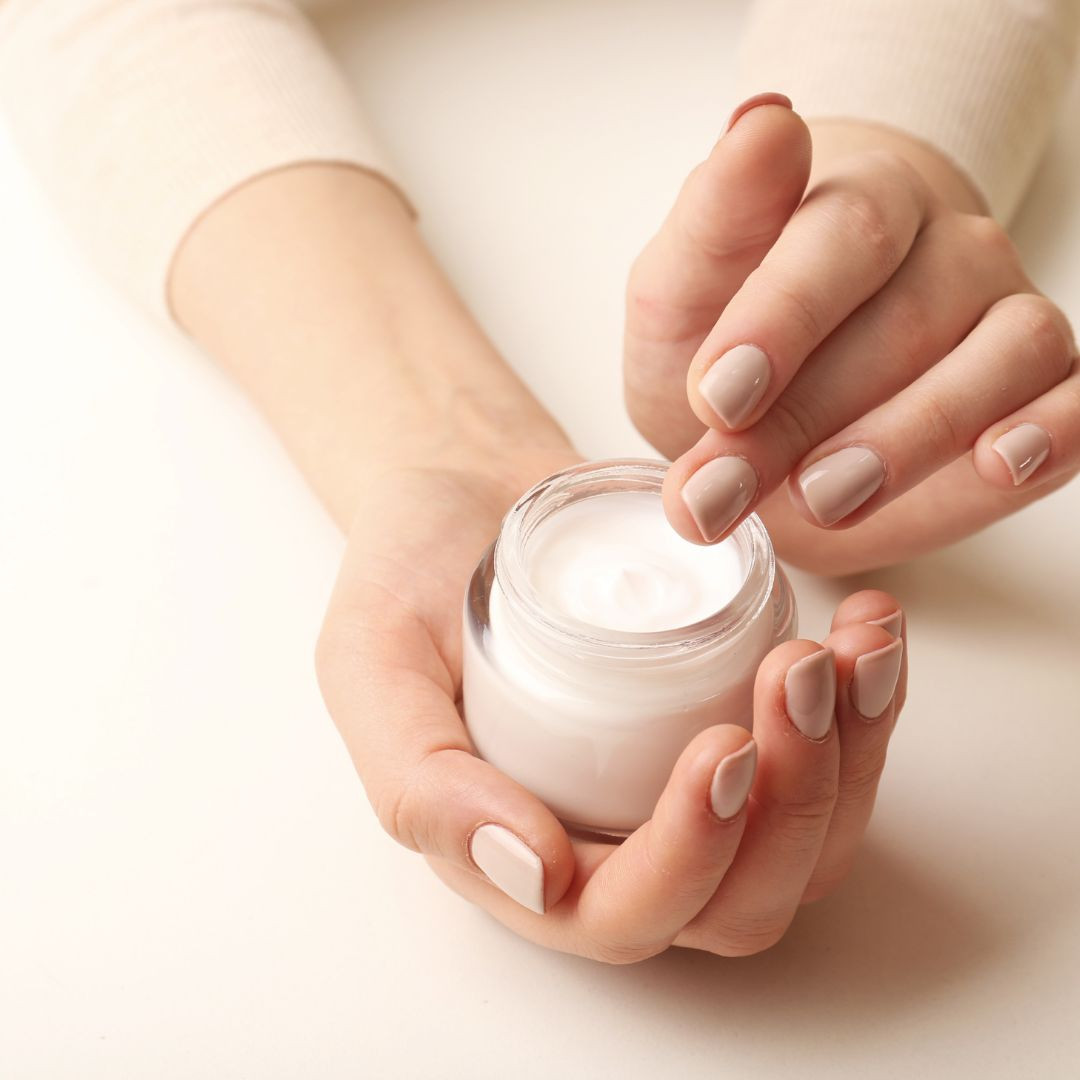
- Simplicity: Only a few natural ingredients are needed.
- Safety: You're in control of what's touching your skin.
- Cost-Effective: Perfect for tight budgets, offering more value than store-bought alternatives.
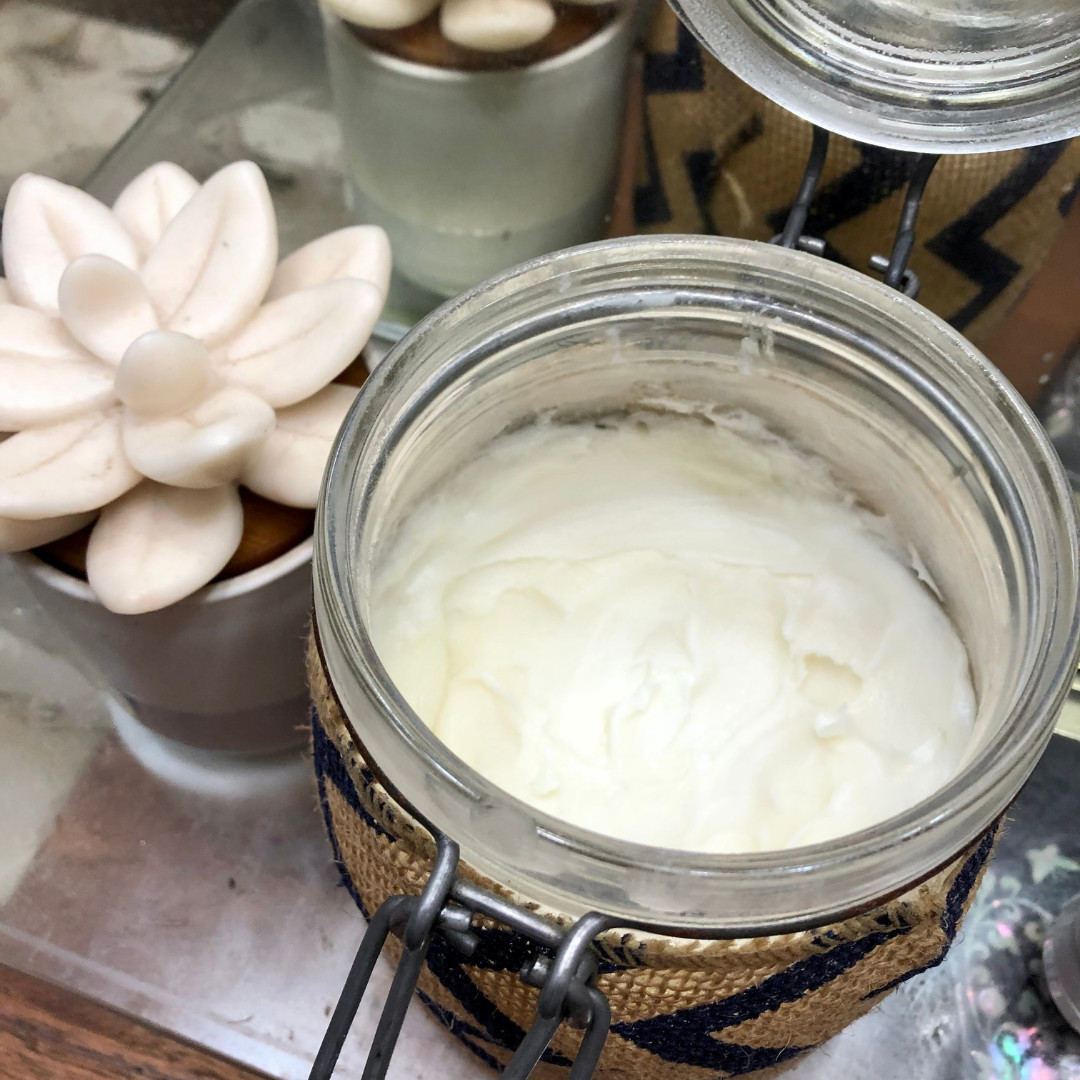
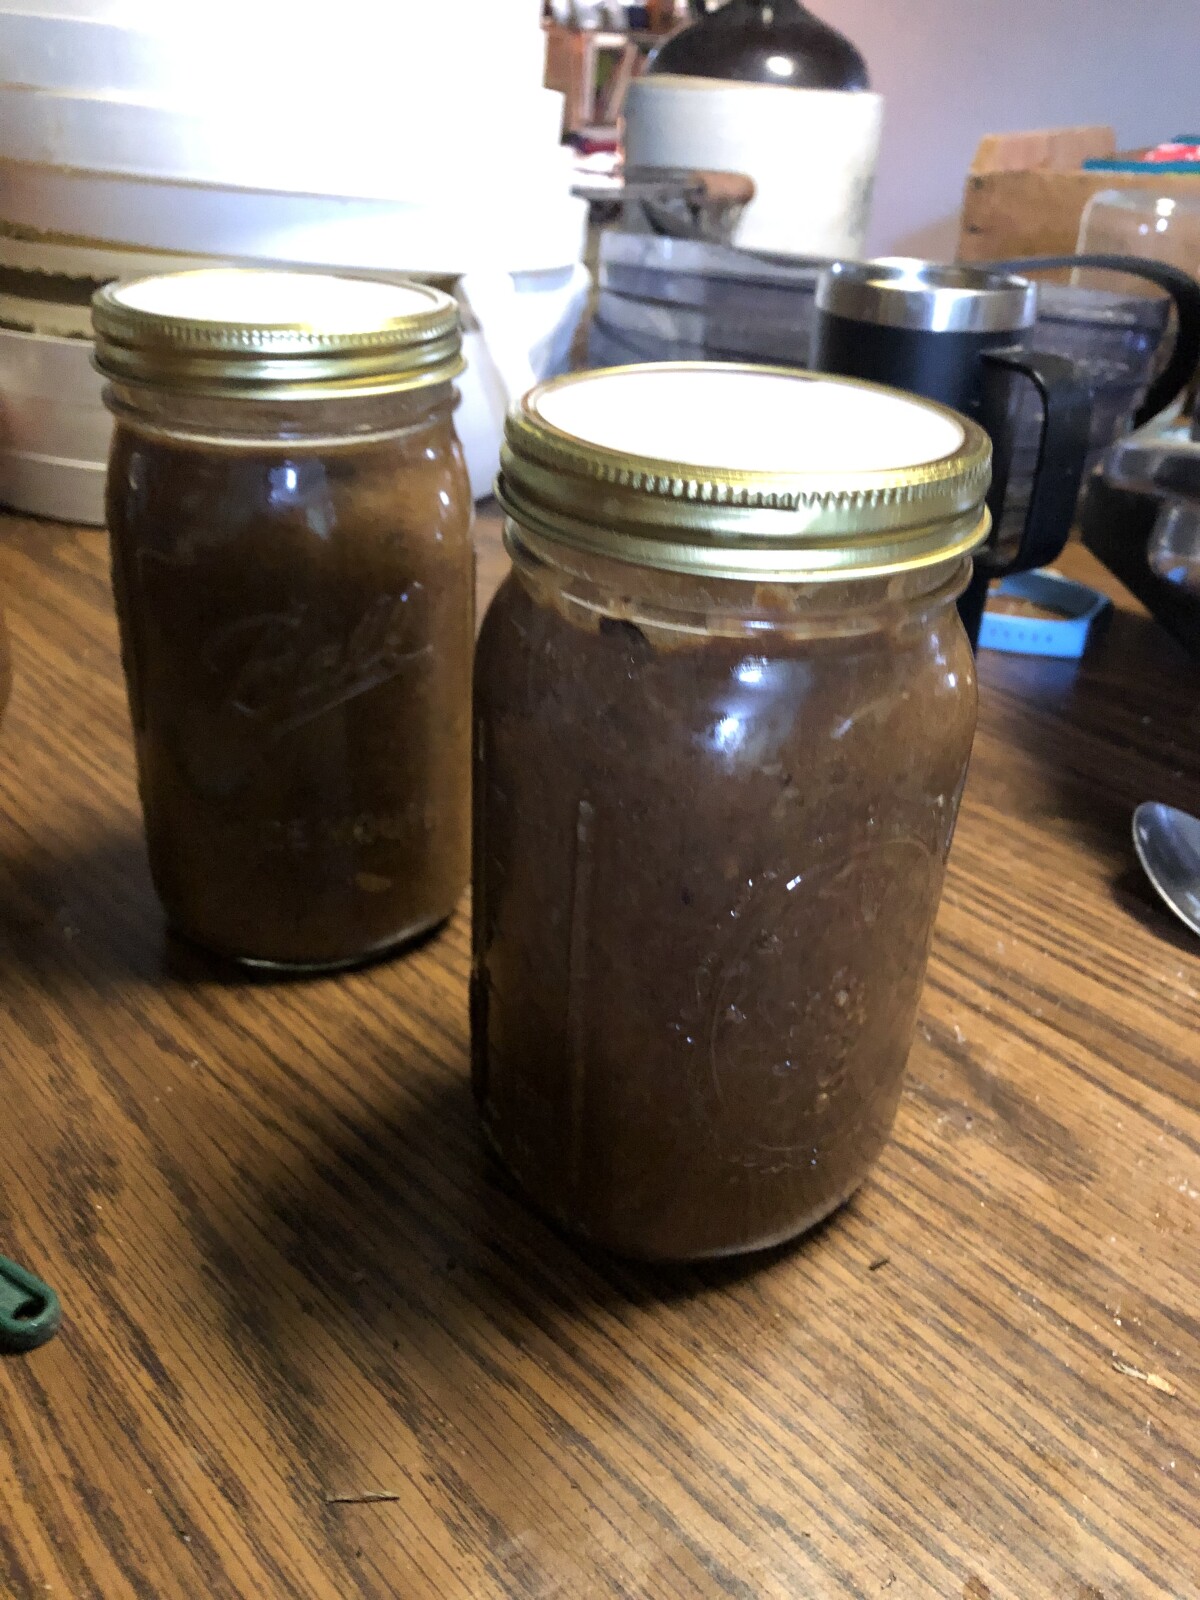
- 16 oz Rendered Tallow (a traditional, nourishing fat)
- 4 TBSP Olive Oil (for moisture and richness)
- 5 ml Essential Oil (optional, for fragrance; ensure purity, click here for my favorite brand)
- 2 tsp Starch (optional, reduces the oily feel)
- Melt and Combine
- Cool and Mix
- Solidify and Whip
- Incorporate Extras
Join the FREE Community

- 4 drops Purification
- 4 drops Citronella
- 1 drop Cedarwood
- 2 drops Palo Santo
- 1 drop Thyme
- 9 drops Palo Santo
- 6 drops Peppermint
- 6 drops Citronella
- Safety: Non-toxic for both pets and children.
- Efficacy: Proven to repel pests effectively.
- Peace of Mind: You can rest easy knowing your family is safe from harsh chemicals.
Join the FREE Community
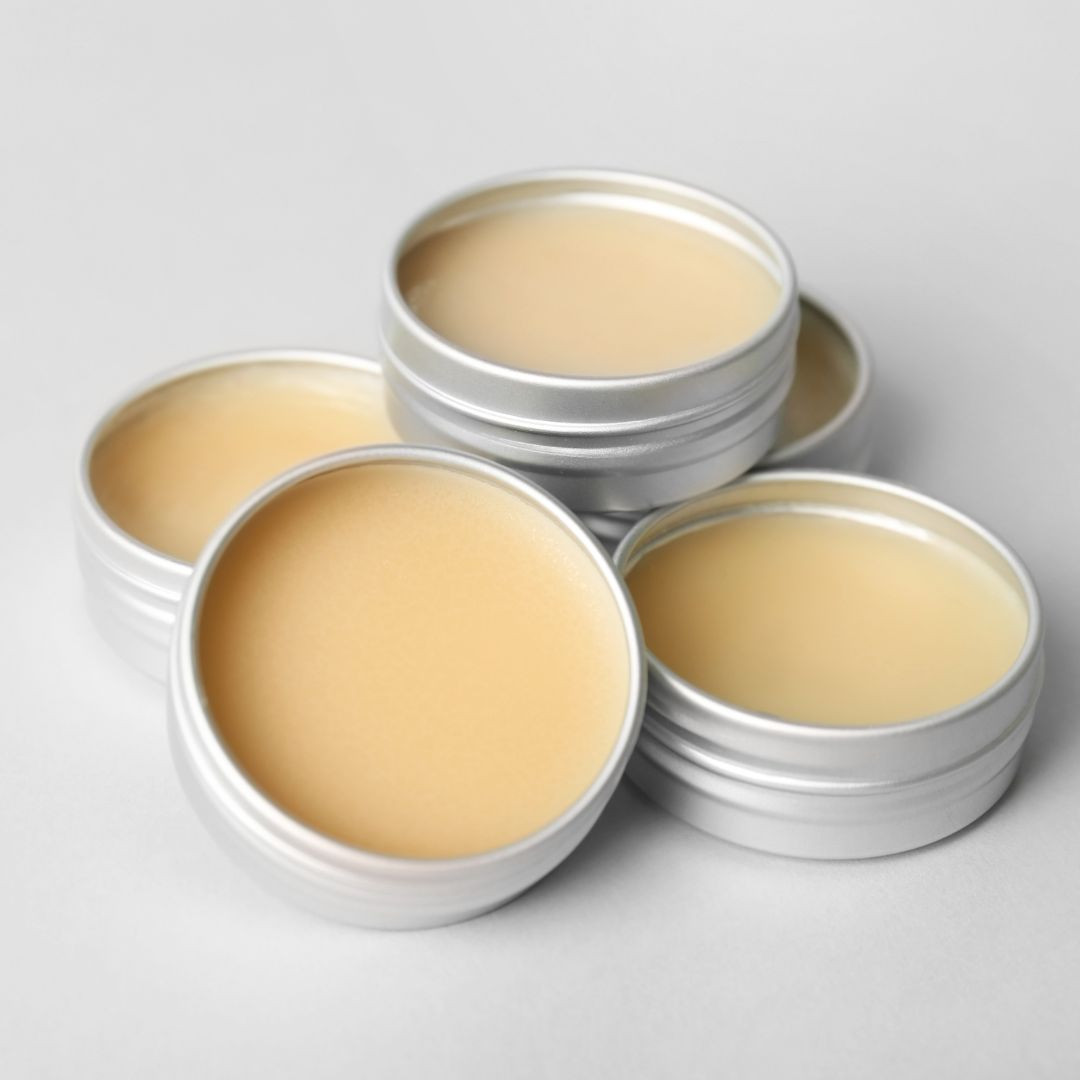
- 3 tbsp coconut oil
- 1 tsp tallow
- 1 tbsp beeswax
- 1 tsp honey
- 6-8 drops essential oil
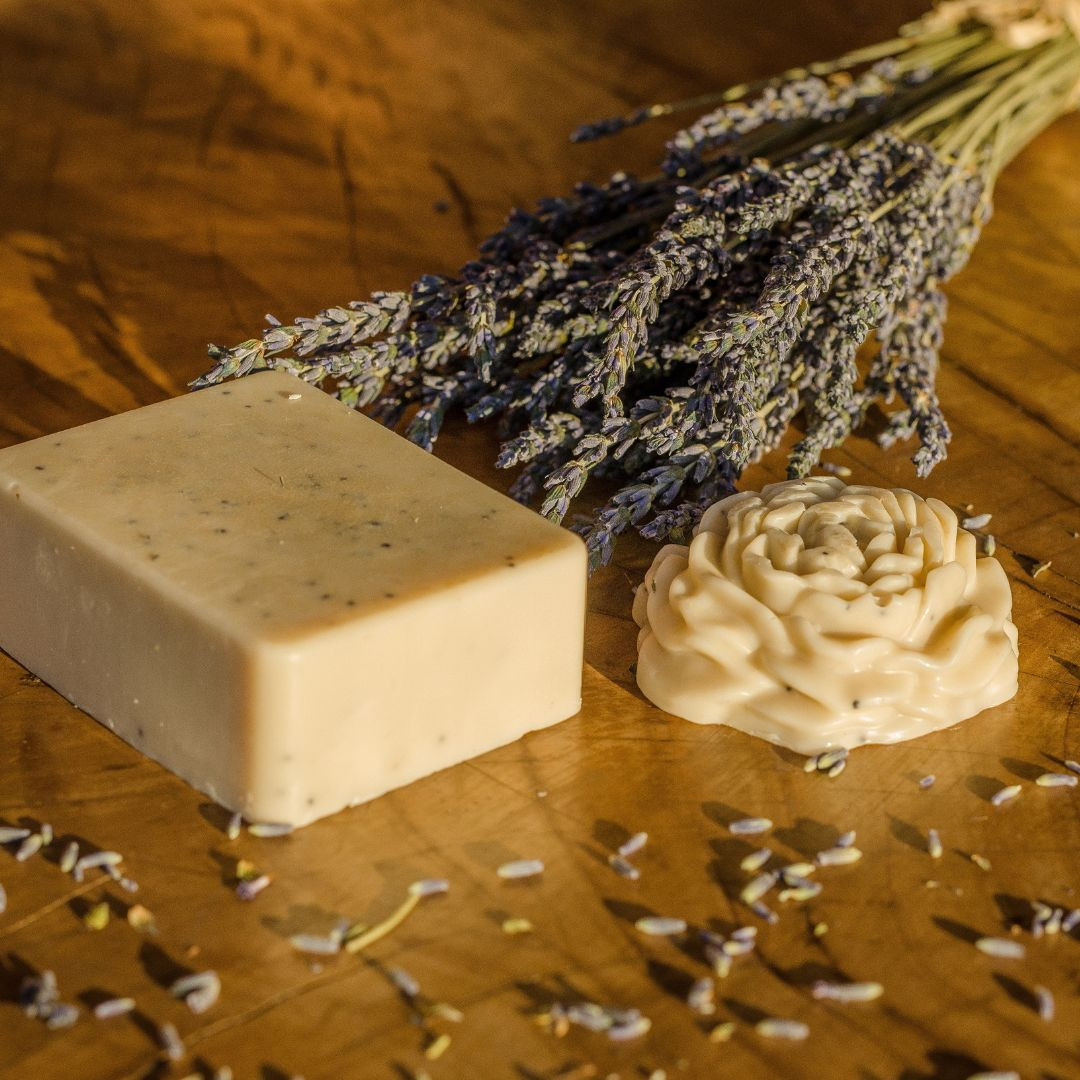
- In a double boiler, melt the tallow, coconut oil, and beeswax.
- Once melted, stir in the honey.
- Remove the mixture from heat and stir in the essential oils.
- Carefully pour the mixture into small containers or chap-stick tubes.
- Allow several hours for the mixture to completely harden.
Join the FREE Community
Join the FREE Community
- 16 oz tallow
- 4 T olive oil (or other liquid oil)
- 5 ml essential oil (optional, but make sure to use a high-quality pure oil I recommend Young Living. You can grab some with the link here)
- 2 t arrowroot powder (optional, to reduce greasiness)
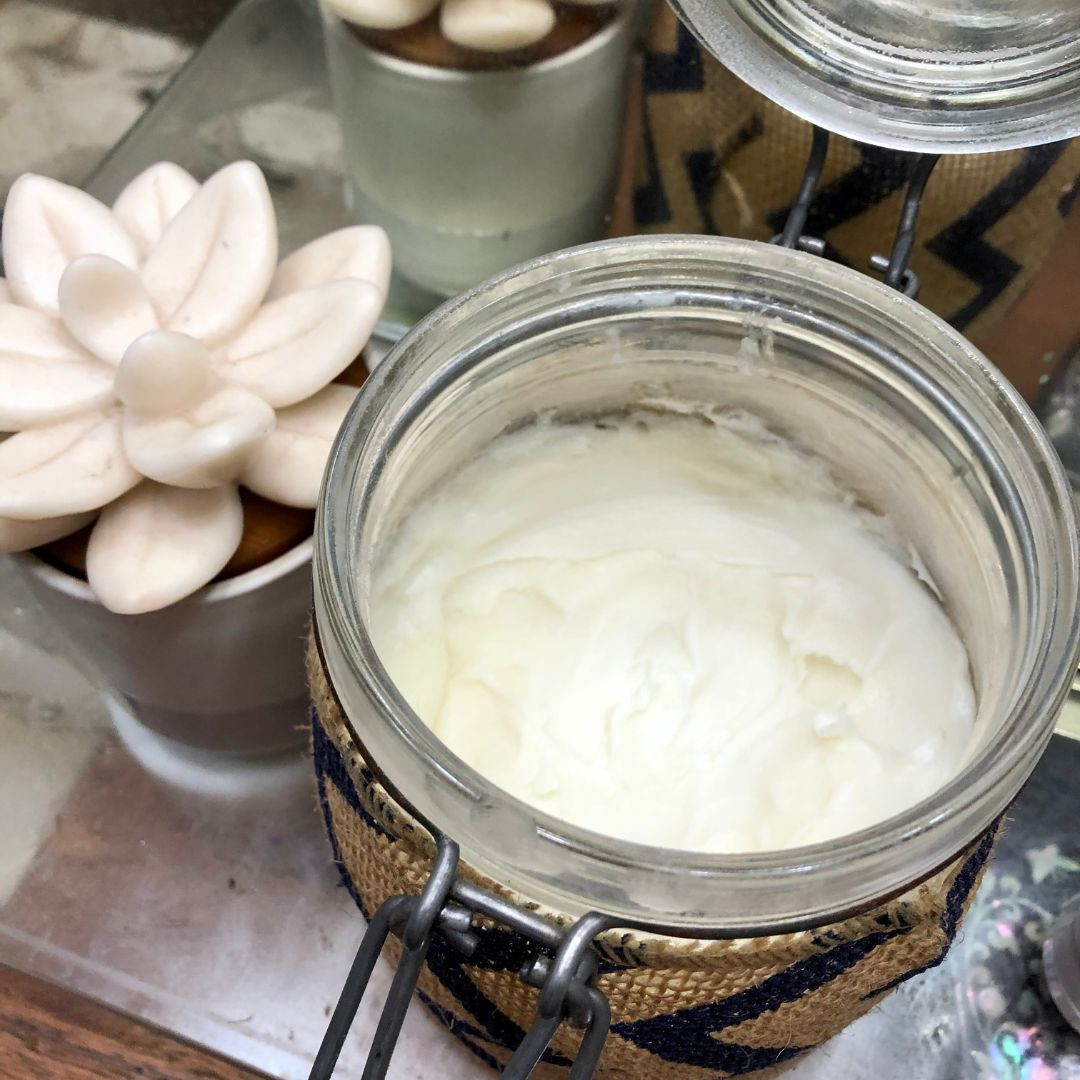
- To make the lotion, melt the tallow and allow it to cool to room temperature, but not harden.
- Add the olive oil and stir with a wooden spoon to combine.
- Place the mixture in the fridge until solid, then remove and allow it to warm to room temperature. This will make whipping easier.
- Using a hand-held mixer, whip the tallow mixture until it appears fluffy like whipped cake frosting.
- Finally, add in the arrowroot powder and essential oils.
Join the FREE Community
Join the FREE Community
Join the FREE Community

Join the FREE Community

Join the FREE Community
This post may contain affiliate links, which means that I may receive a commission if you make a purchase using these links, with NO additional cost to you.
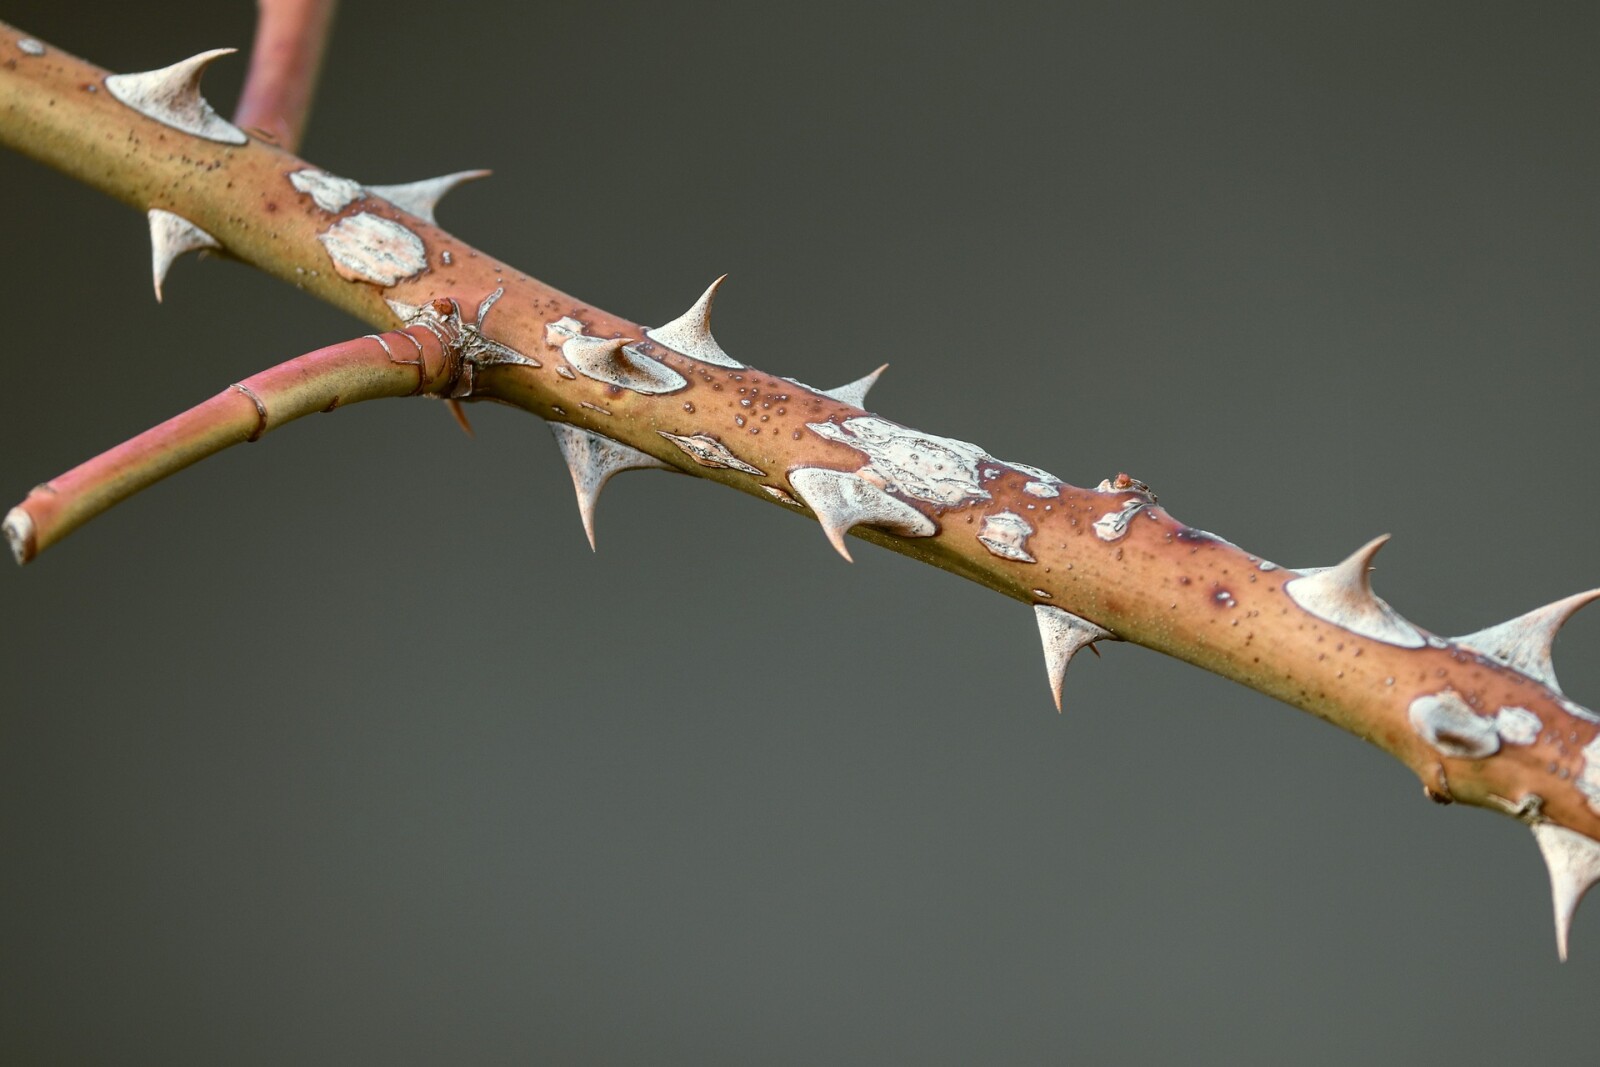
To keep roses, or berry bushes healthy, they need to be pruned every year. This trains the bushes how to grow and makes them more productive. The best time to prune the bushes is actually winter or very early spring. All the energy reserves are in the roots at that time and most of the foliage has dropped making it easier to prune. You want to make sure you prune before they start waking up in the spring.
When pruning, first cut all the dead wood back to the base. You will know it is dead wood by cutting into. The dead wood is all brown, green is alive. If you are unsure, cut high to start then lower if needed.
Next you want to take out the branches that cross, as they can damage other canes (the bush branches) and cause disease. After those, remove any small weak growing canes. These are anything smaller than a pencil in diameter.
Finally prune the remaining canes by cutting ¼ - ½” about an outward facing bud eye. This is the small bump where the leaf would meet a stem. This will encourage the bush to grow outward instead on inward, reducing disease. Be sure to look for a bud at least halfway up the cane. If you cut to low and the bush is a hybrid, you will cut it back to the wild-type base. Make your cuts at a 45-degree angle towards the outside of the plant. This allows water to run off, also reducing disease.
Make sure you clean up all the branches and leaves from the base of the plant. If your feeling generous, add a little compost while your there to feed the bushes for the next year. Most bushes are heavy feeders and require quite a bit of nutrition to bloom properly.
Join the FREE Community