
This post may contain affiliate links, which means that I may receive a commission if you make a purchase using these links, with NO additional cost to you.
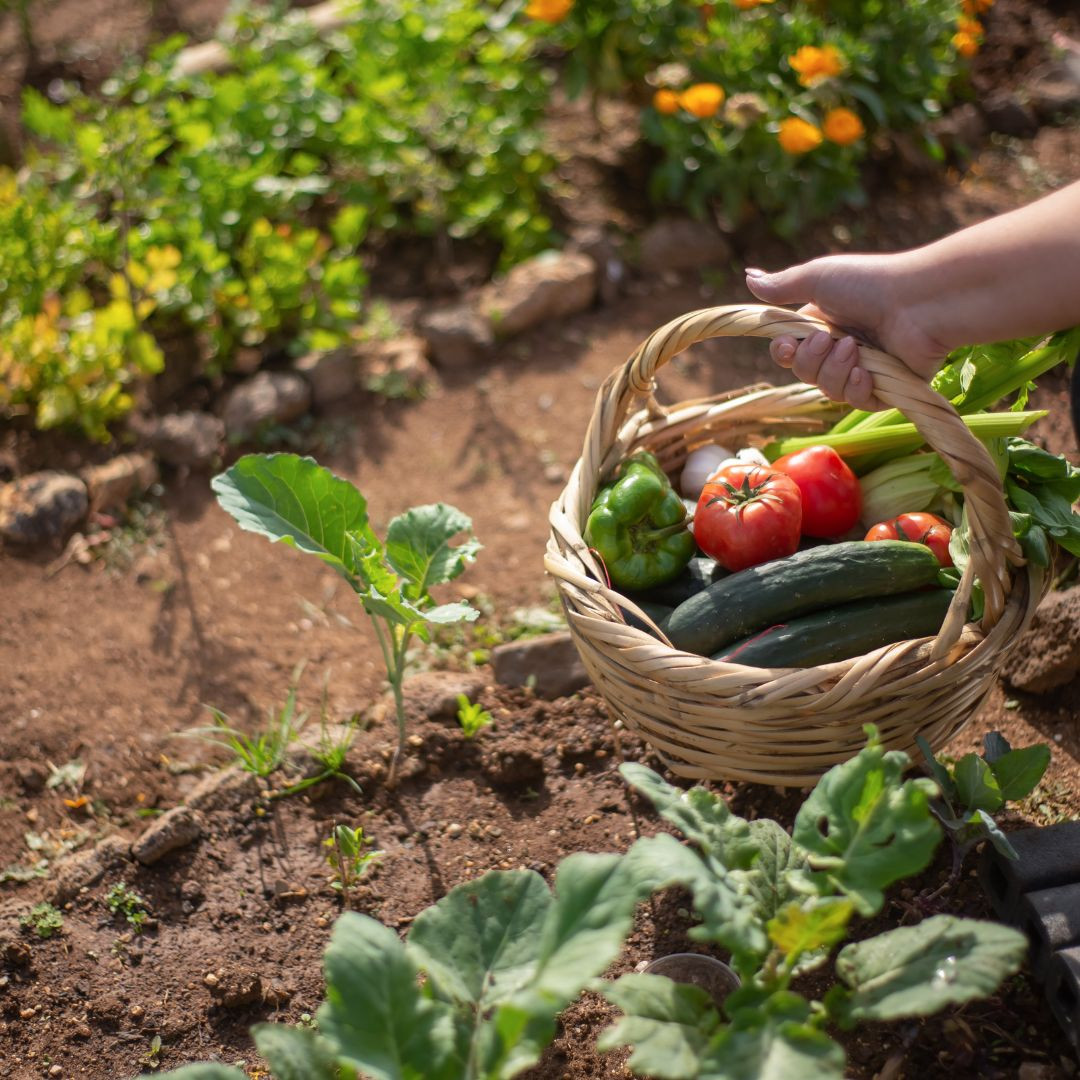
I love growing my own food. Part of growing all the food is not only eating it fresh in the summer, but preserving it for winter use. One vegetable we eat a lot of is corn. Freezing corn is a simple but time consuming process. The best way is to get a group of friends and family and make a party out of it, splitting the end product.
You will need freezer bags quart or gallon works best or other freezer containers.
Large stock pot for blanching.
Cutting boards and knives
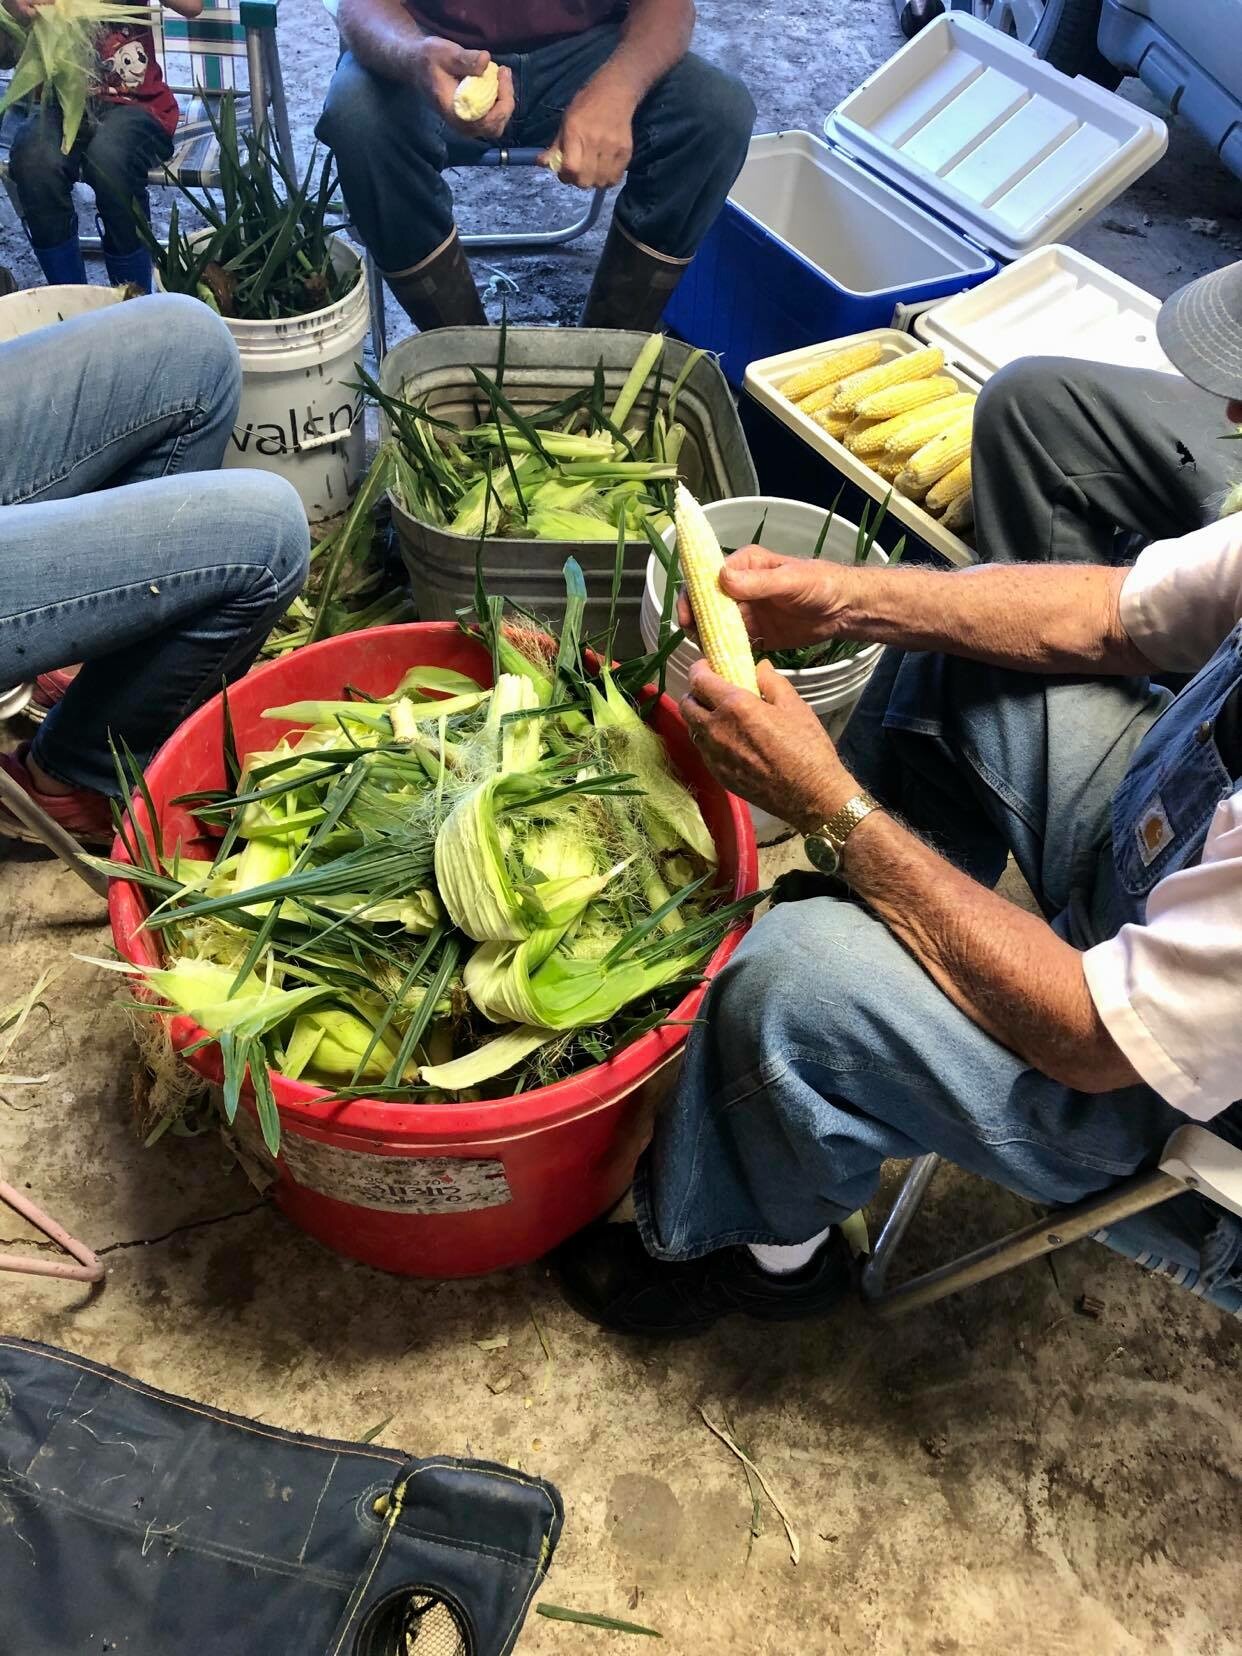
Step 1. Pick and husk the corn. By far the most time consuming task. This is hands down the best place to have a lot of people helping. Many hands make the work quicker and the stories better, and less likely for a dog to steal an ear (maybe that's just my dogs).
When selecting the ears, look for big ears, with brown silks. When you bend them, they should break from the stock easily. If they don't leave them for another time or person.
Remove all the husks and silks from the ears, and any worms or bugs. I recommend this step outside.
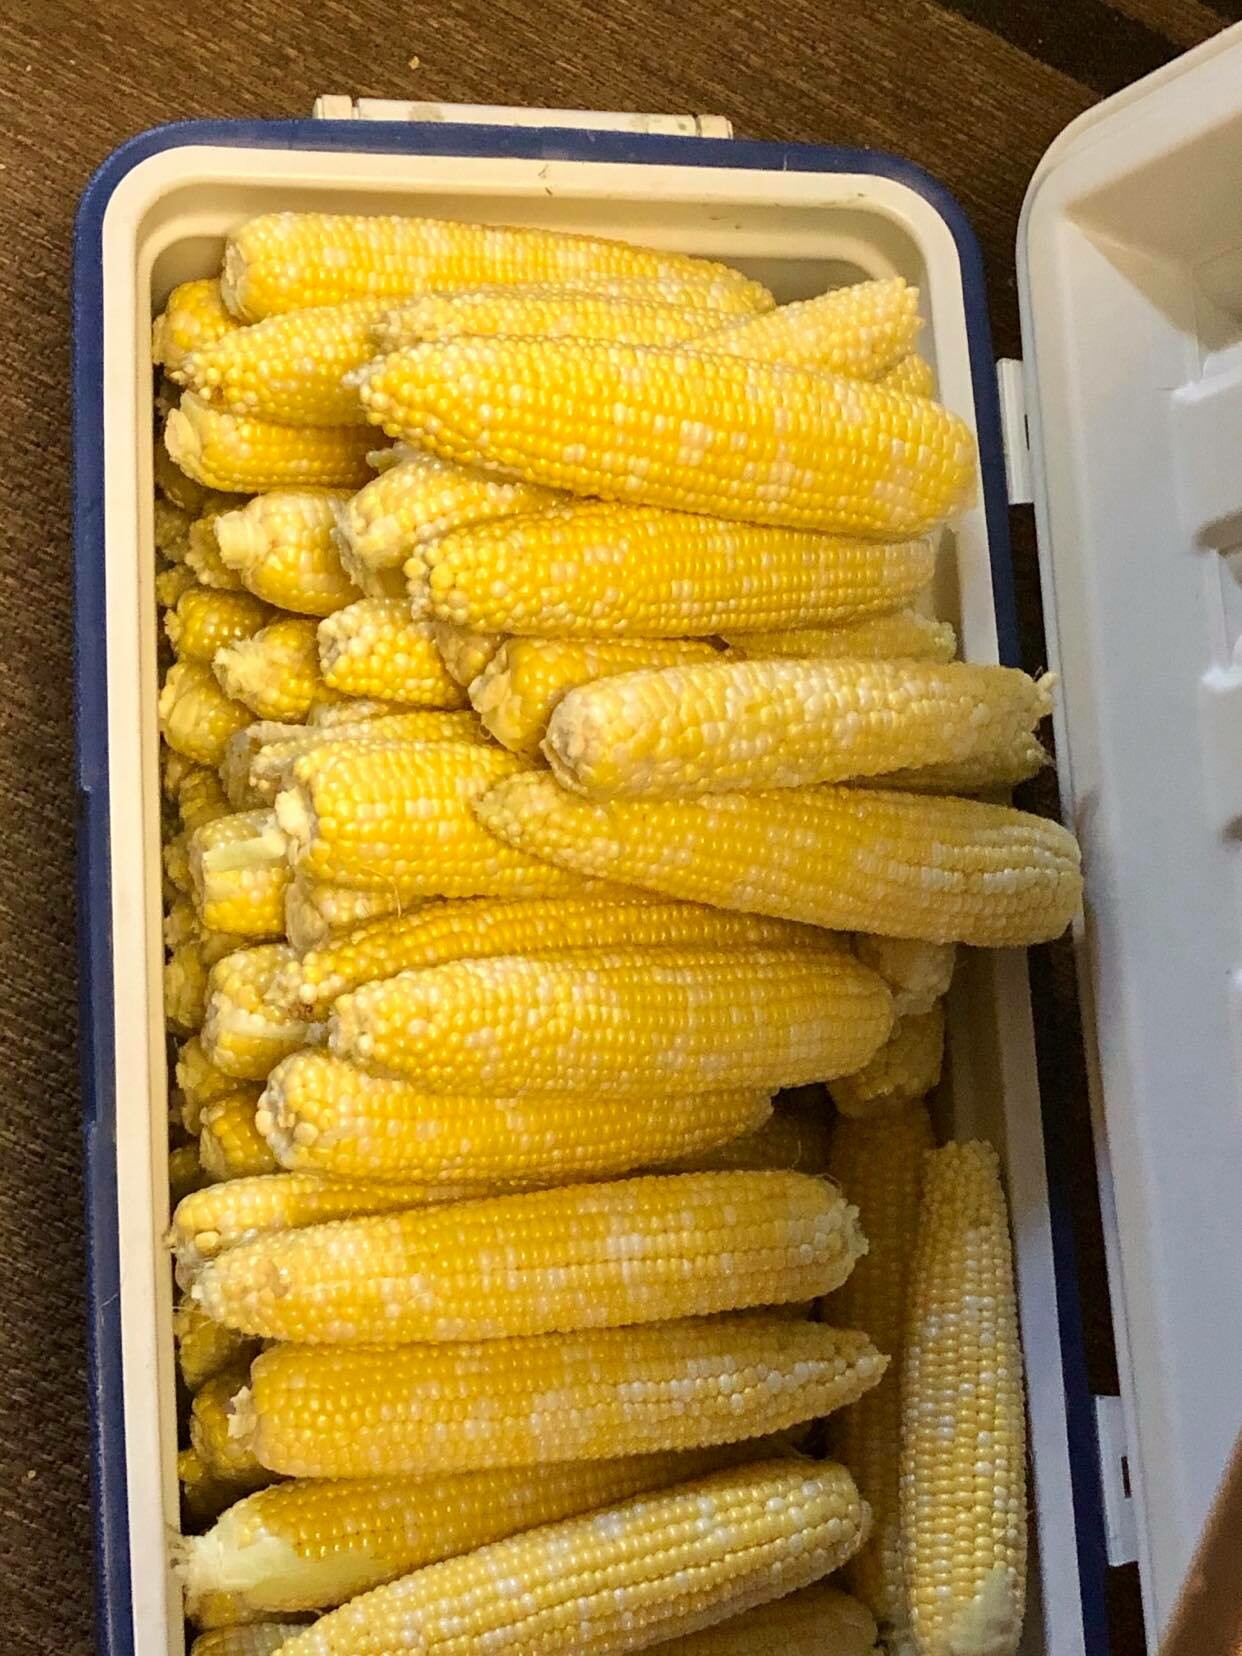
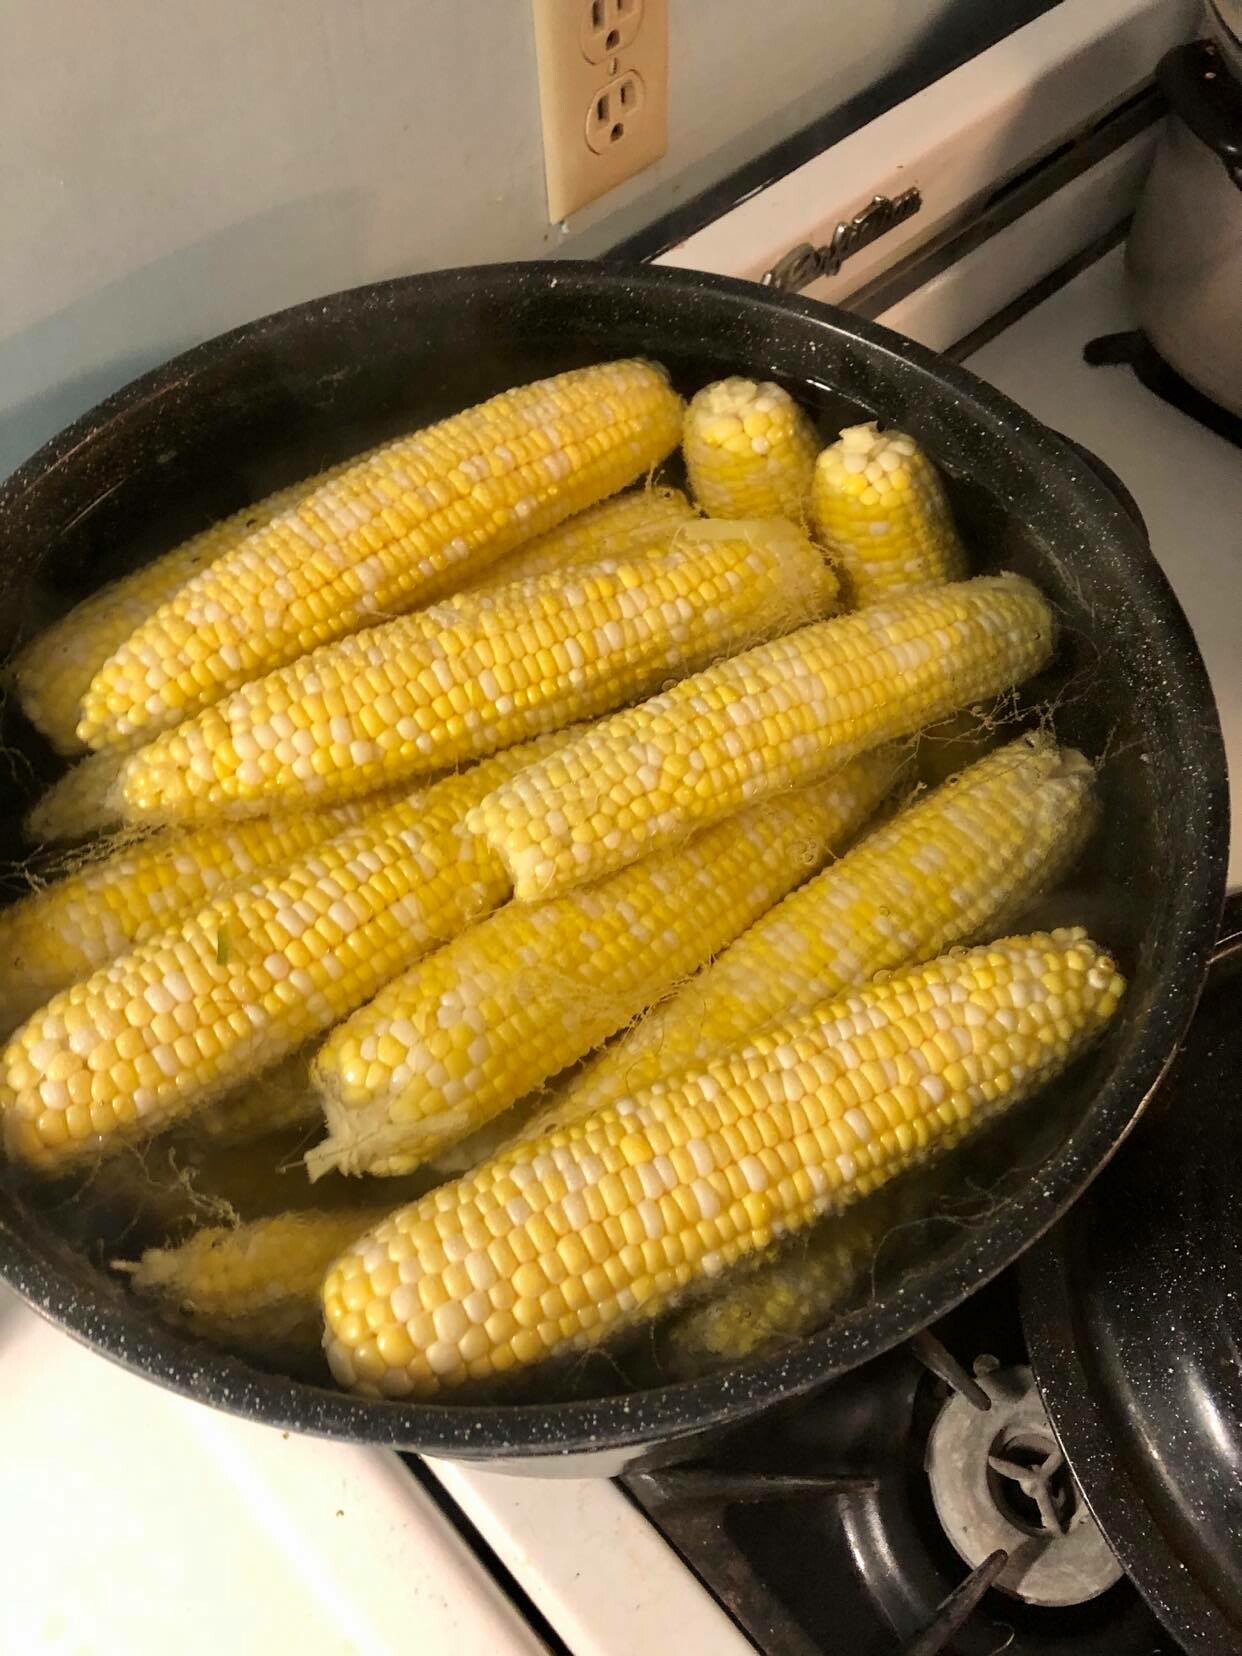
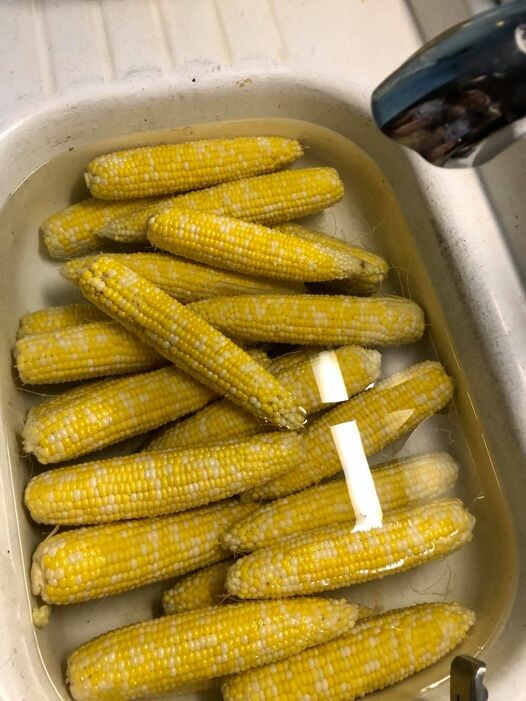
Step 2. Cook the corn. Bring the cleaned ears inside (chest coolers work great for carrying the cobs) and place them in a pot of boiling water, for 3-5 minutes. The corn will turn a bright golden yellow color when it is done.
Step 3. Cool the cobs. Take the hot cobs and place them in ice cold water. I like to use my sink, with the water as cold as it will go. The idea is to stop the cooking process quickly. Step 2 & 3 combined are called blanching.
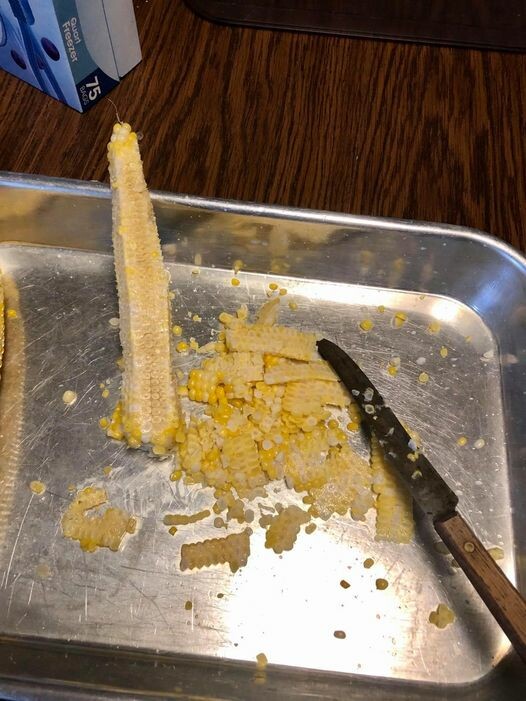
Step 4. Remove the corn from the cob. I like to use a regular knife for this step and cut into a sheet pan. My mom always used an electric knife. Cut the corn off the cob and cast the cob to a bucket. If you have chicken they will feast on this cob. Cows like to munch on them too.
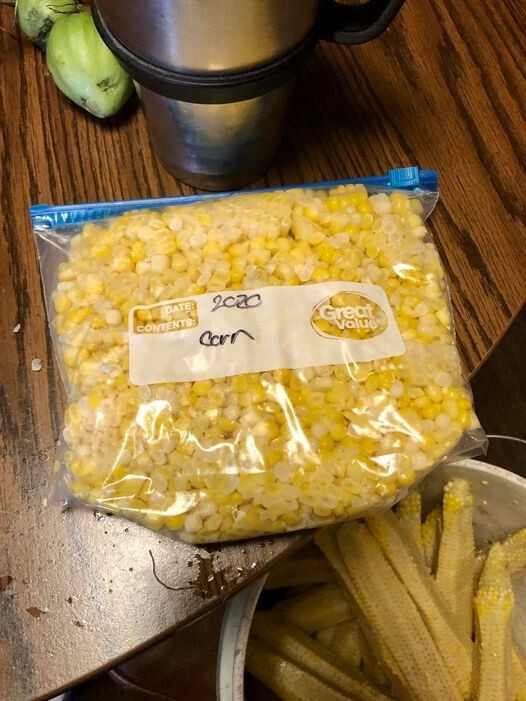
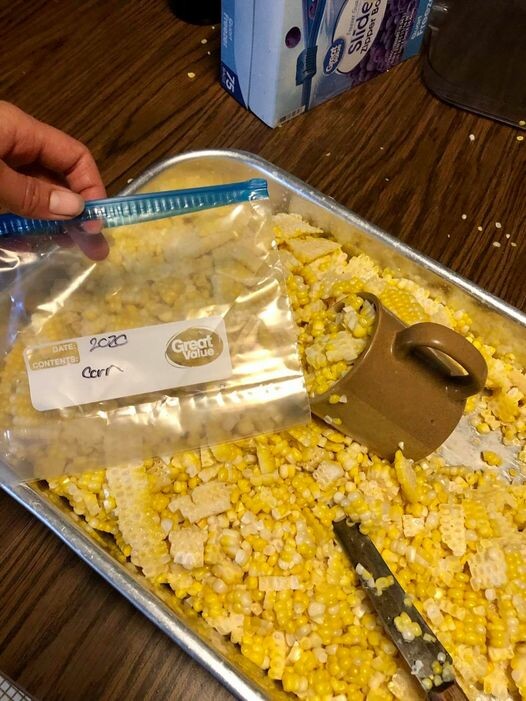
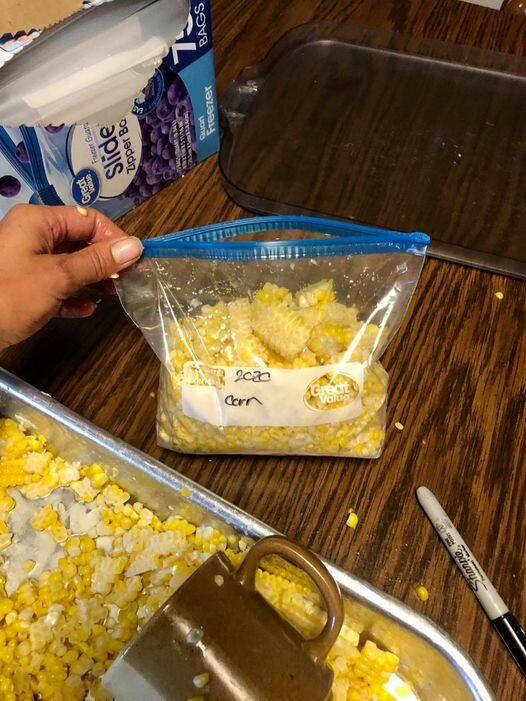
Step 5. Label and bag. Label your bags and fill them. I like to use quarts, as that is about the right size for our family. This year we did a couple gallons for family dinners (and because we ran out of quarts).
I like to use a coffee cup for the scoop/measuring tool. Fill with approximately 3 scoops and press the air out. Most bags or containers will have a fill line on them. Then flatten the bag.
Step 6. Freeze. Flatten all bags and stack them up. You can put them in the freezer right away, or wait until you have a stack then place them all in the freezer at the same time.
Wanting a community to lean into? Join the FREE Courageous + Purposeful Mommas group! This community is for the Mommas, mommas to be, in the midst of raising, and kids grown, looking for tips on building your family up and providing for them through natural methods. Tips include: gardening, bulk buying, caning,/preserving, livestock, homesteading, and home remedies. Your family is precious, and this group is to help you gain the knowledge and tools to keep your family well and not reliant on outside professionals. Remedies and tips are easy and simple for the busy momma, time is precious after all, including pregnancy, birth, young kids, and illness. Trust your Momma gut again! This community offers the resources + community you need to help get started on your journey and prepare for whatever future you envision.
Join the Free Community
Click here to get the stories straight to your email:
Sign up for the Blog
For more on wellness tips click here:
Sign up for Wellness tips
For more on homesteading on your budget click here:
Sign up for Homesteading Tips
For more simple DIY updates click here:
Sign up for easy DIYs


0 Comments