
This post may contain affiliate links, which means that I may receive a commission if you make a purchase using these links, with NO additional cost to you.
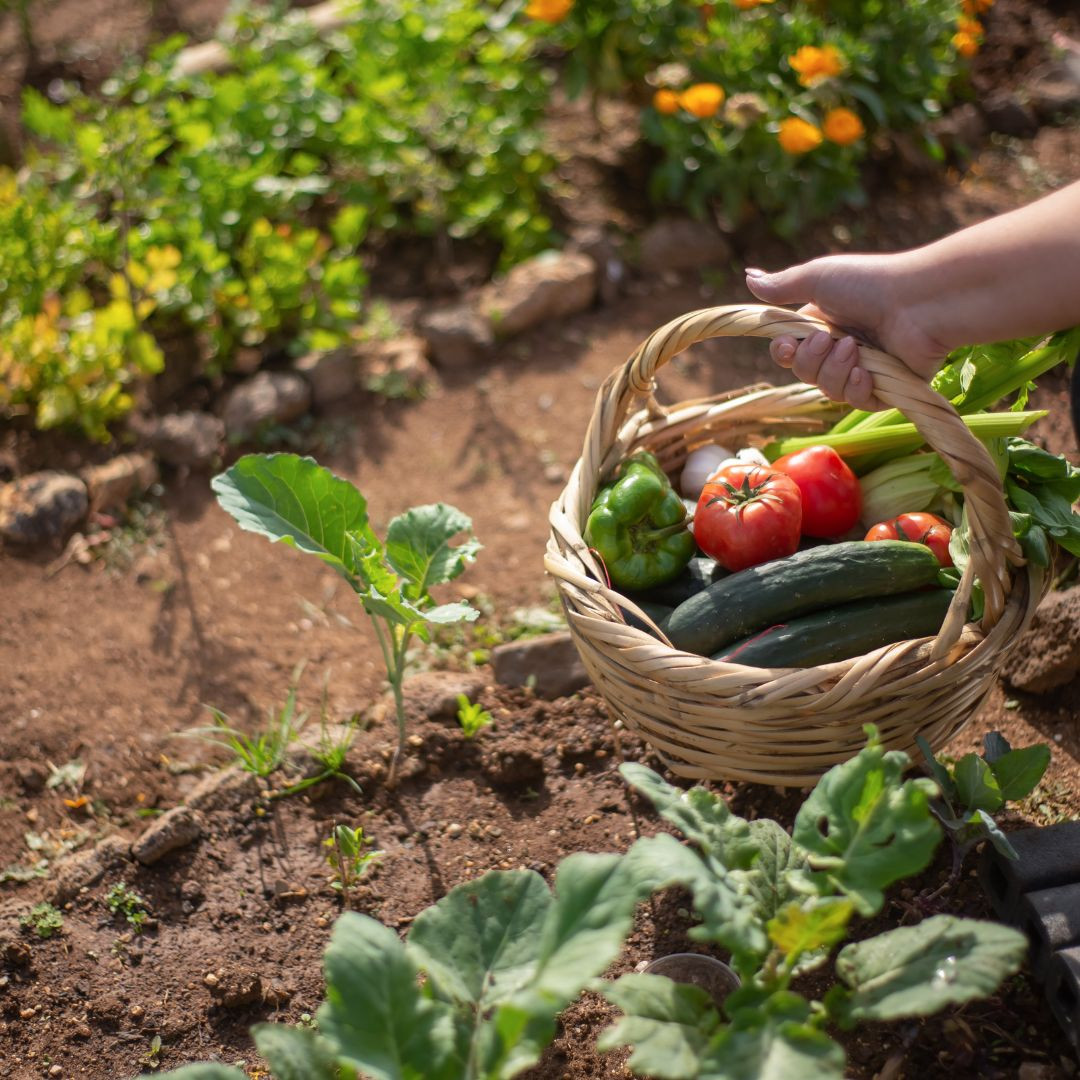
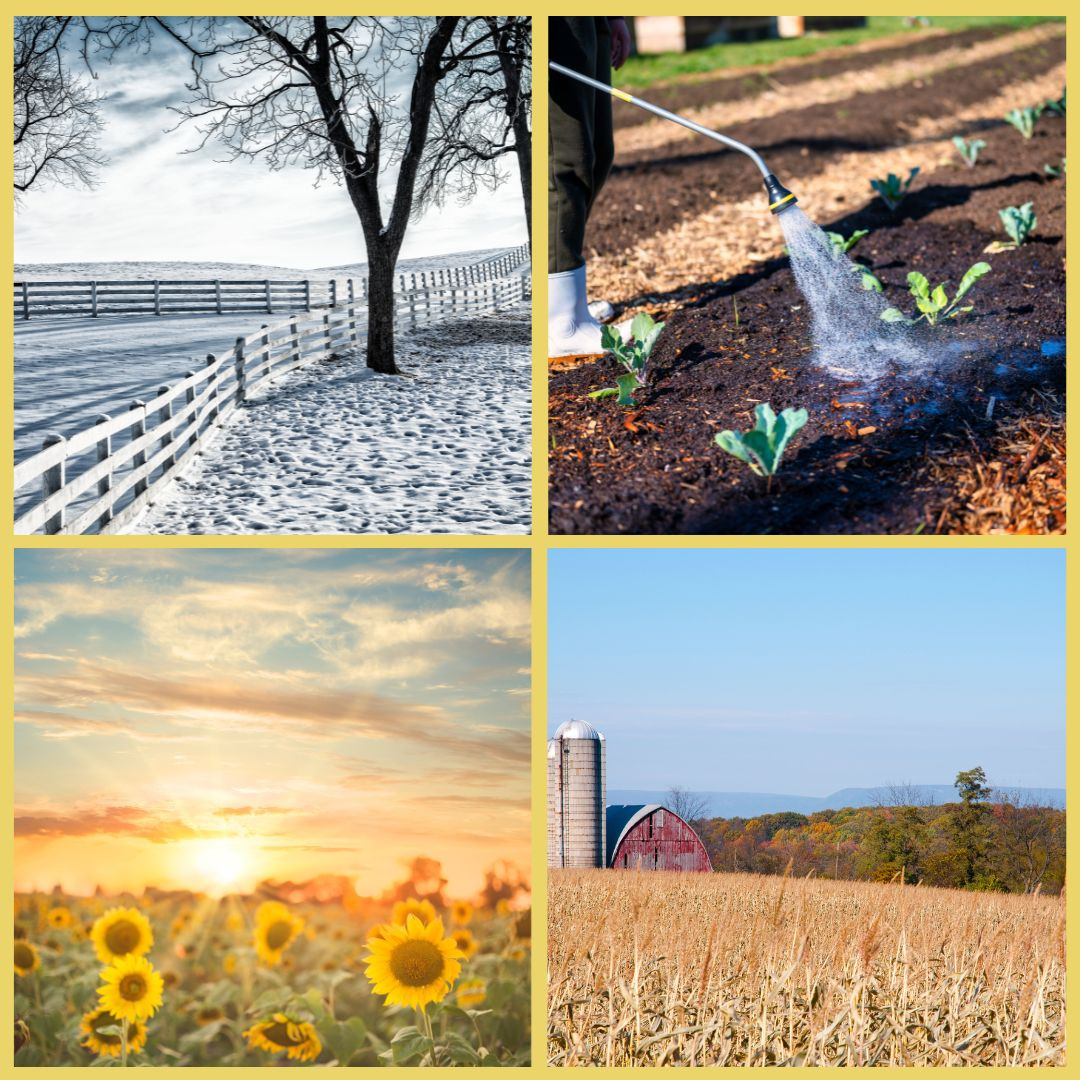
I love growing my own food. Part of growing all the food is not only eating it fresh in the summer, but preserving it for winter use. One vegetable we eat a lot of is carrots. Freezing carrots is a simple and quick process.
You will need:
Freezer containers or bags. I like the quart freezer containers, or vacuum seal bags. Cutting board and knife (I like my nifty chopper, it makes the cutting so much faster)
Stock pot
Strainer/steamer
Carrots
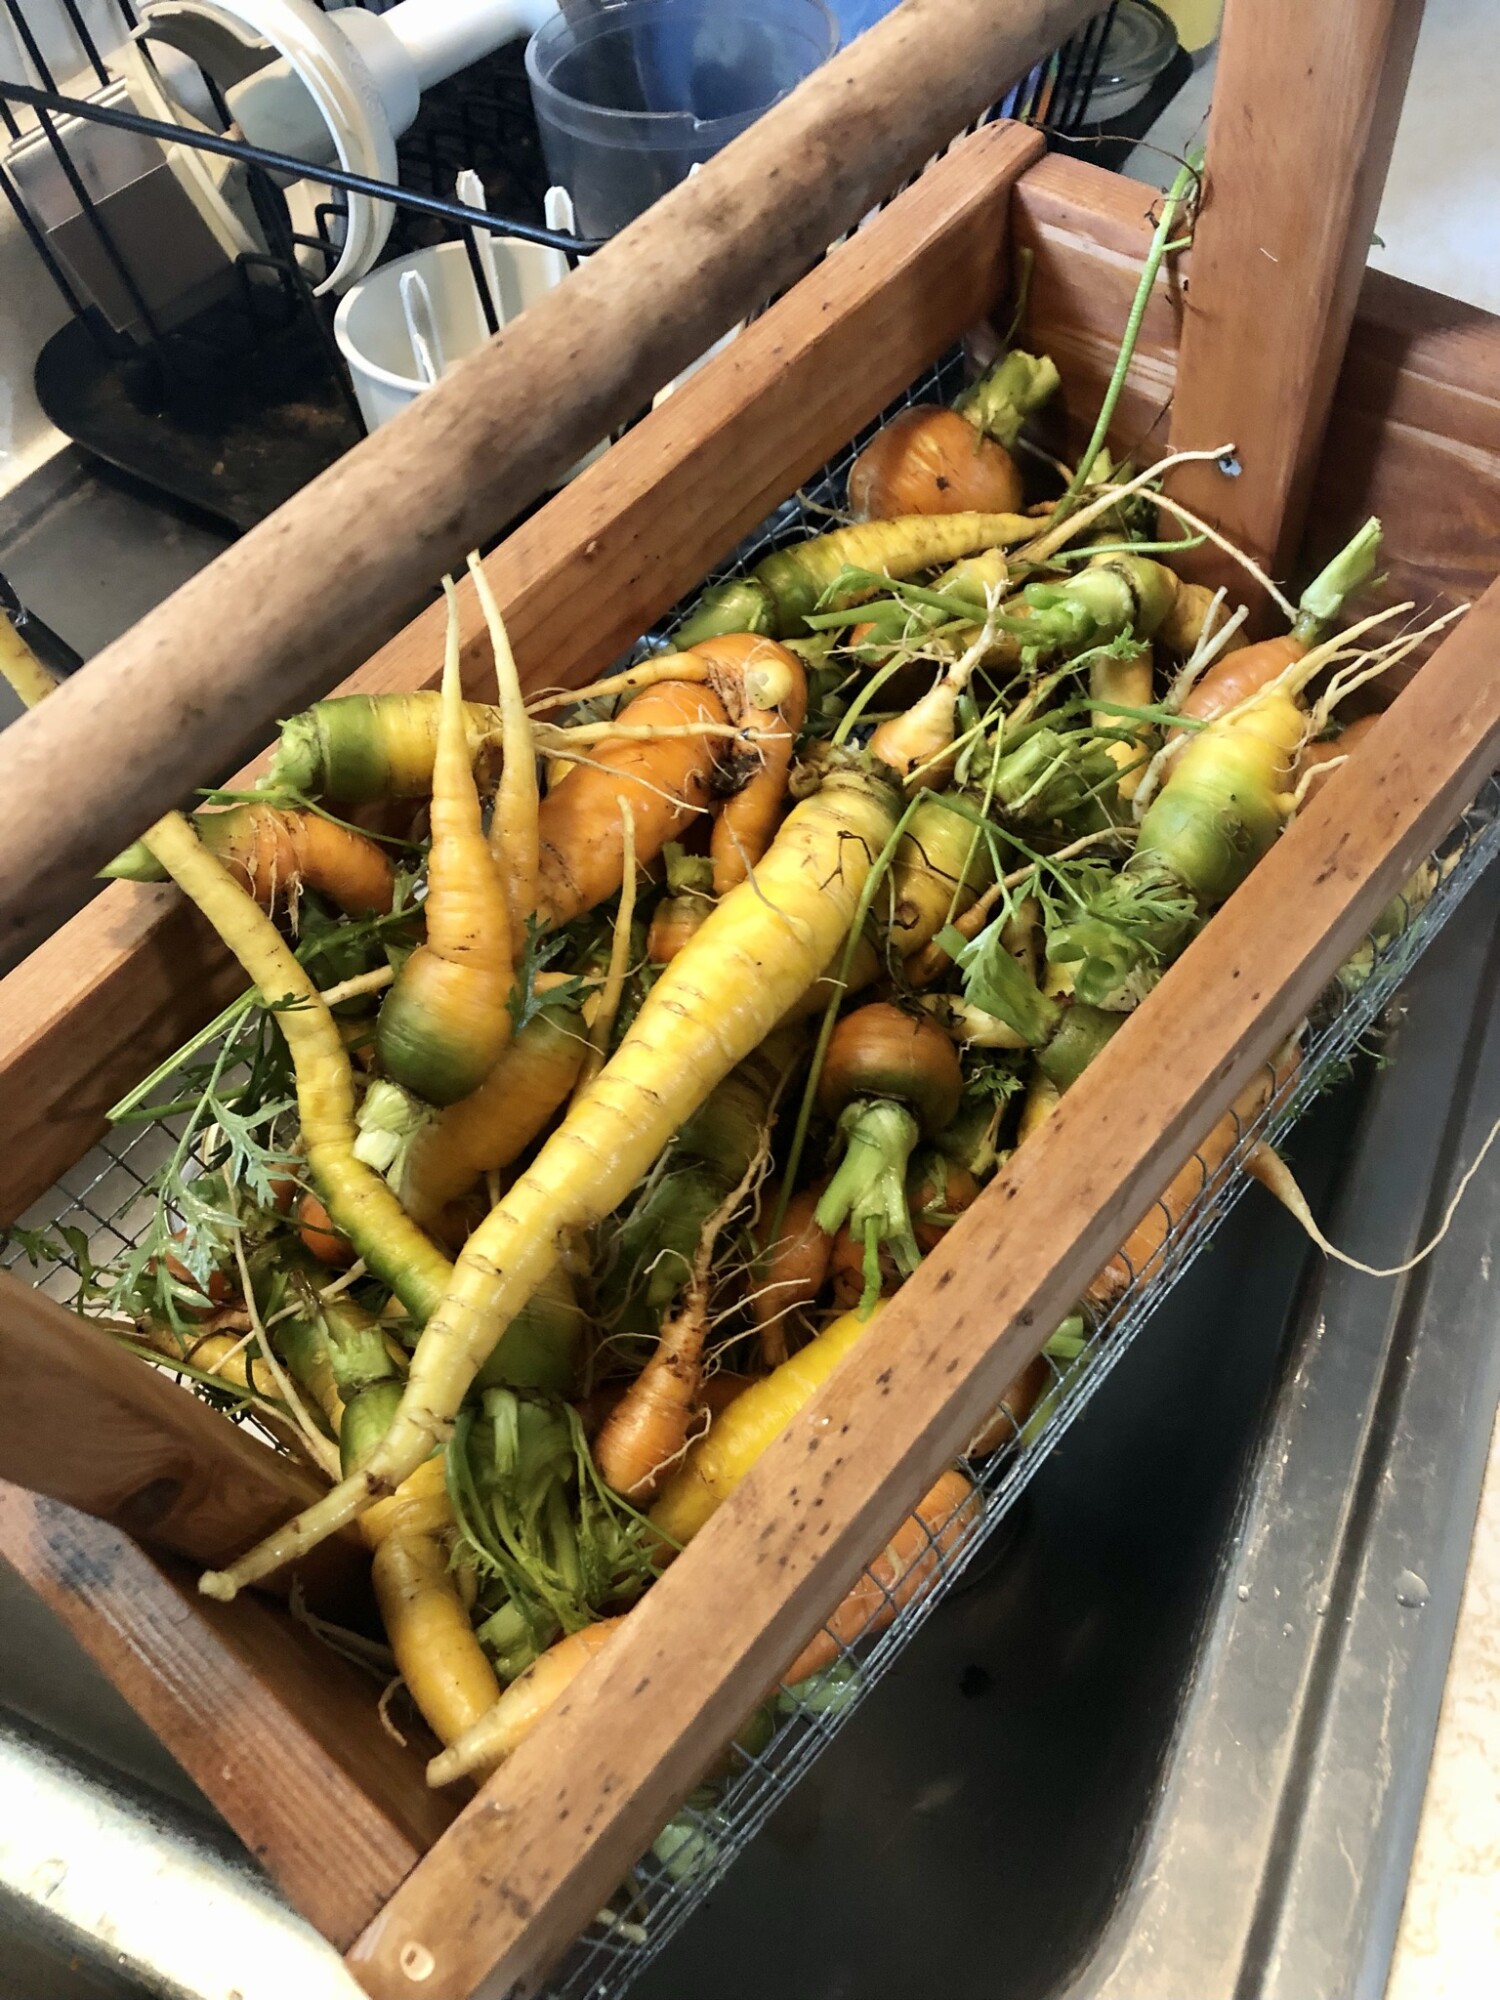
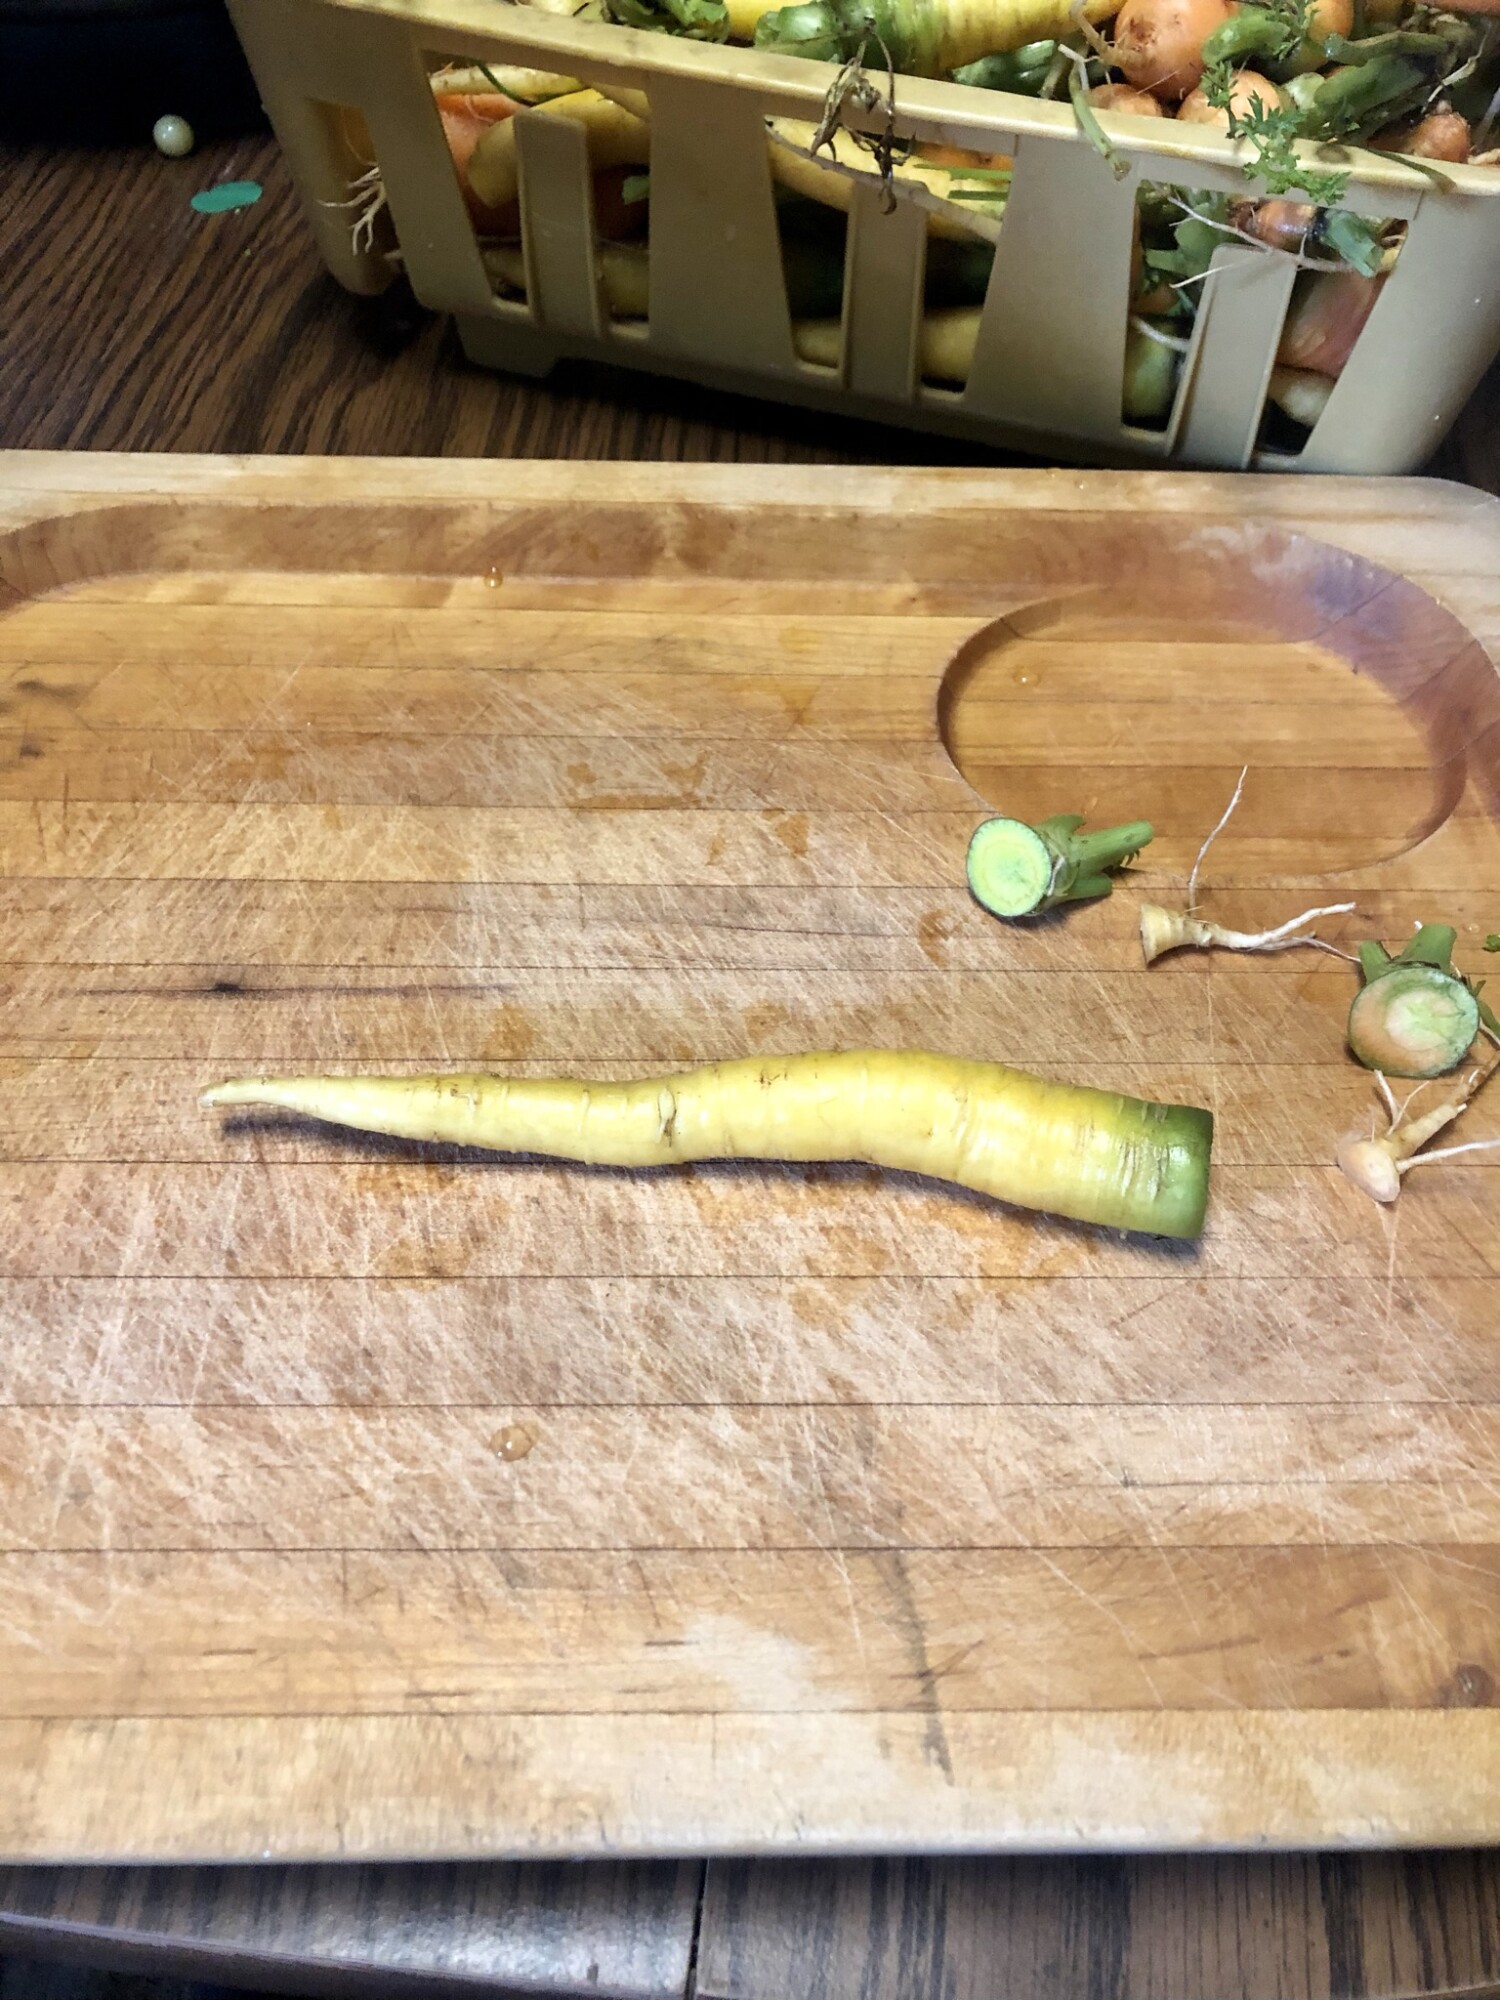
Step 1. Pick the carrots from the garden. Depending on the variety how big the carrots will be when finished. I like them a little bigger than my thumb at the top. You can gently remove the dirt from the top of the plants to see how big the carrot is before you pick them. I break the carrot top off and either leave it in the garden as mulch or feed it to the chickens.
I like to use a basket with a wire mesh bottom so I can easily hose the carrots off outside before they come in for a final wash.
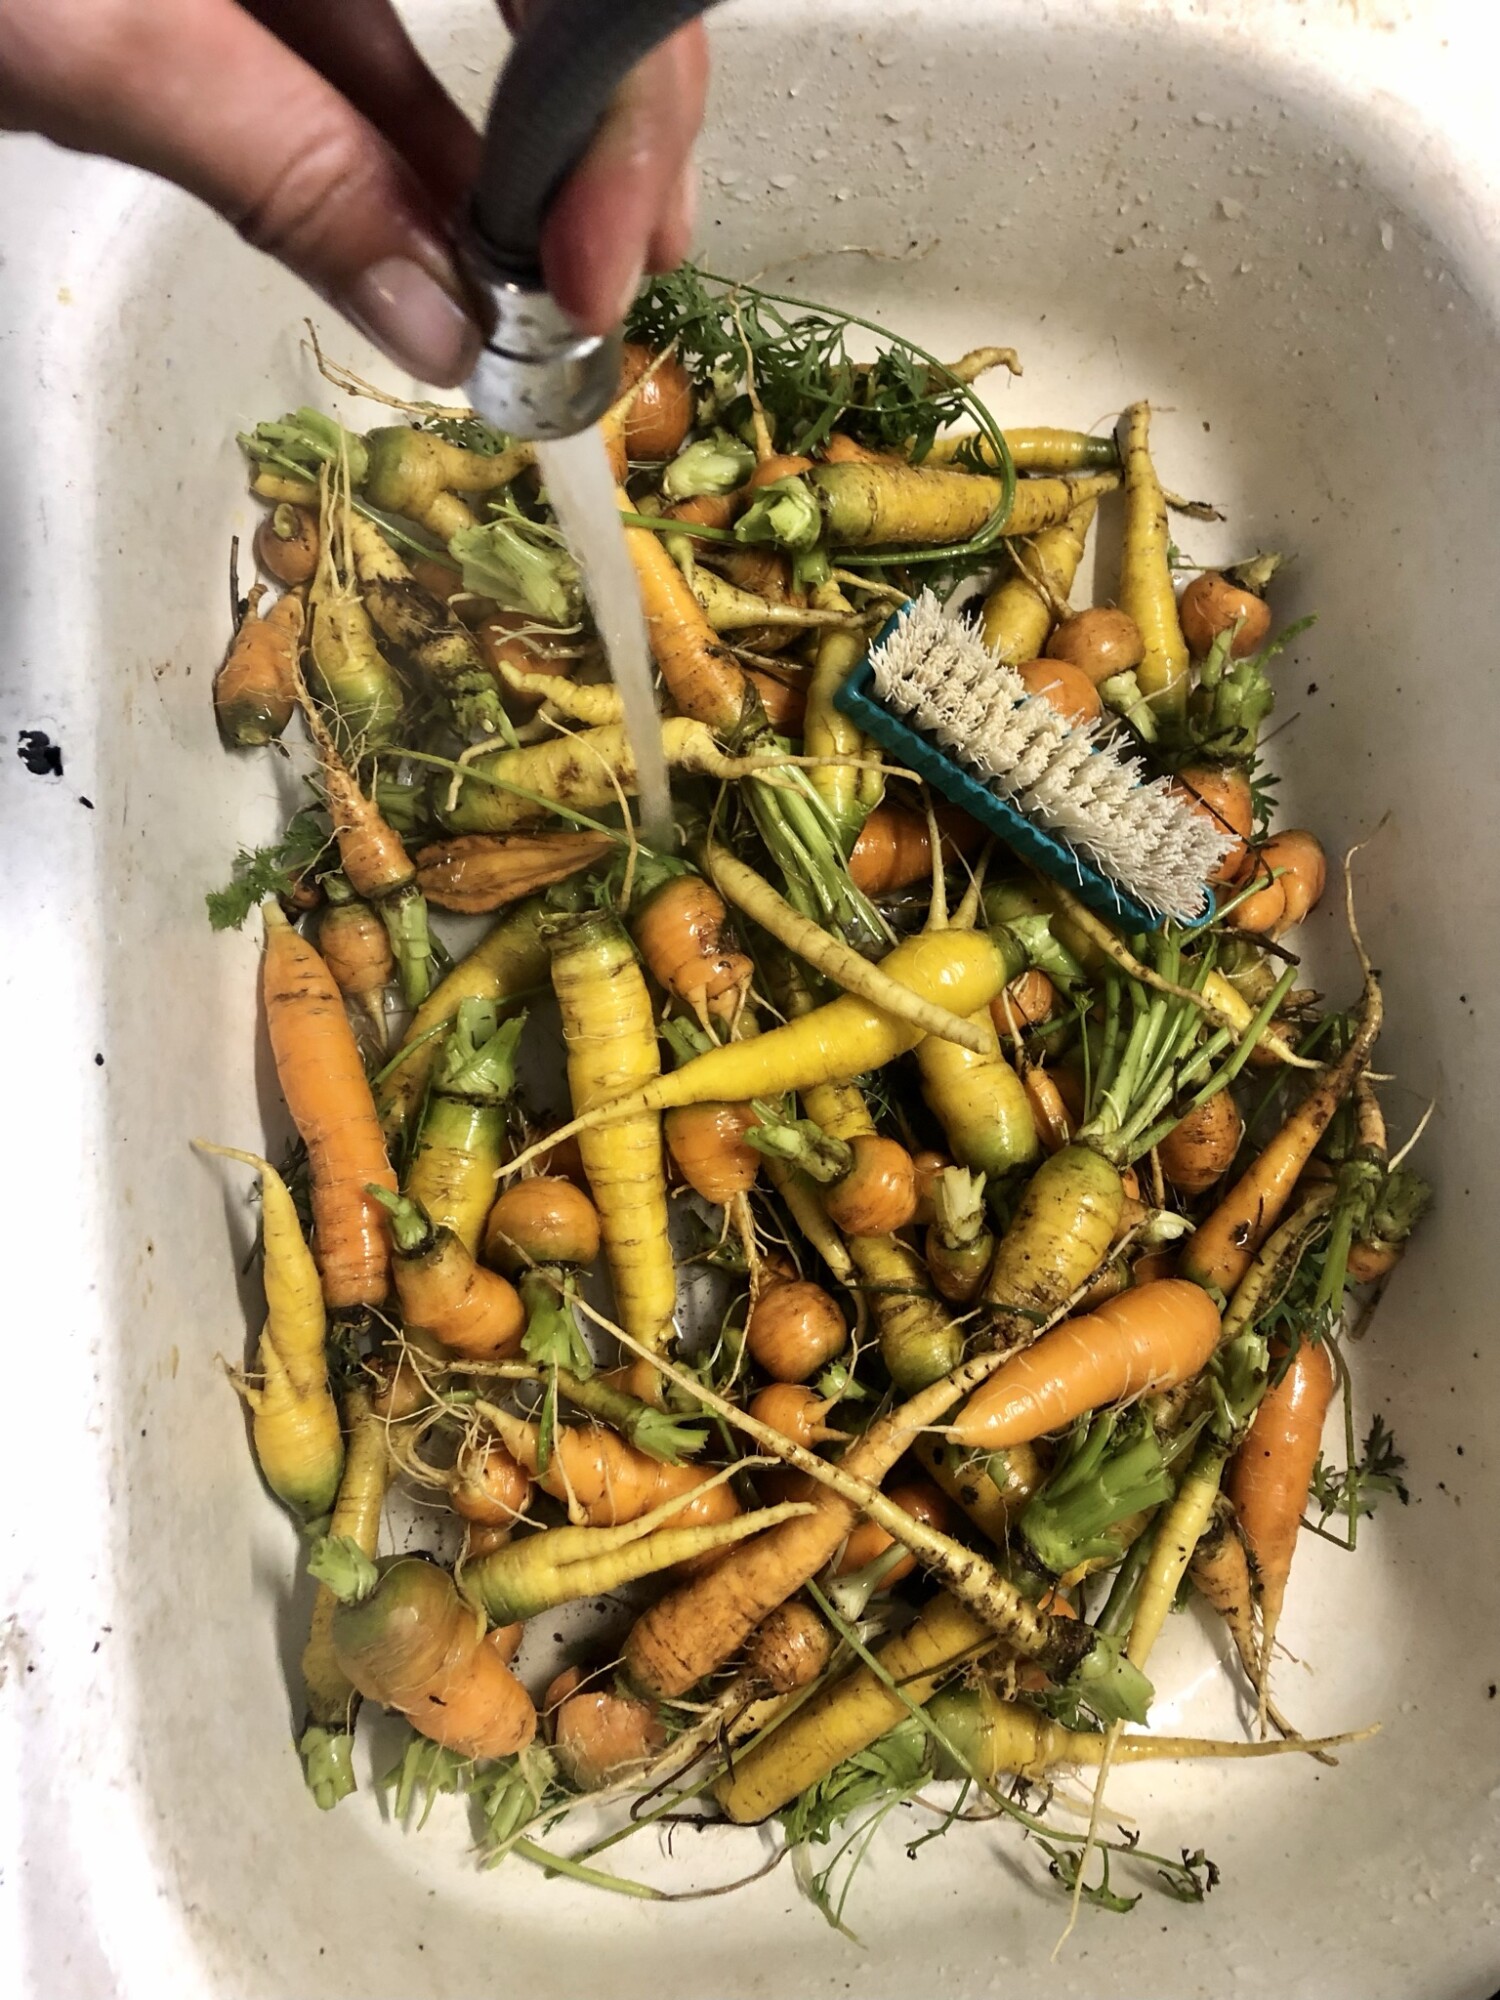
Step 2. Wash the carrots. I do a first wash outside with the garden hose. It saves a lot of the dirt coming inside. Then I dump all the carrots into the sink and scrub them. I do not peel the carrots, so I make sure they are scrubbed clean.
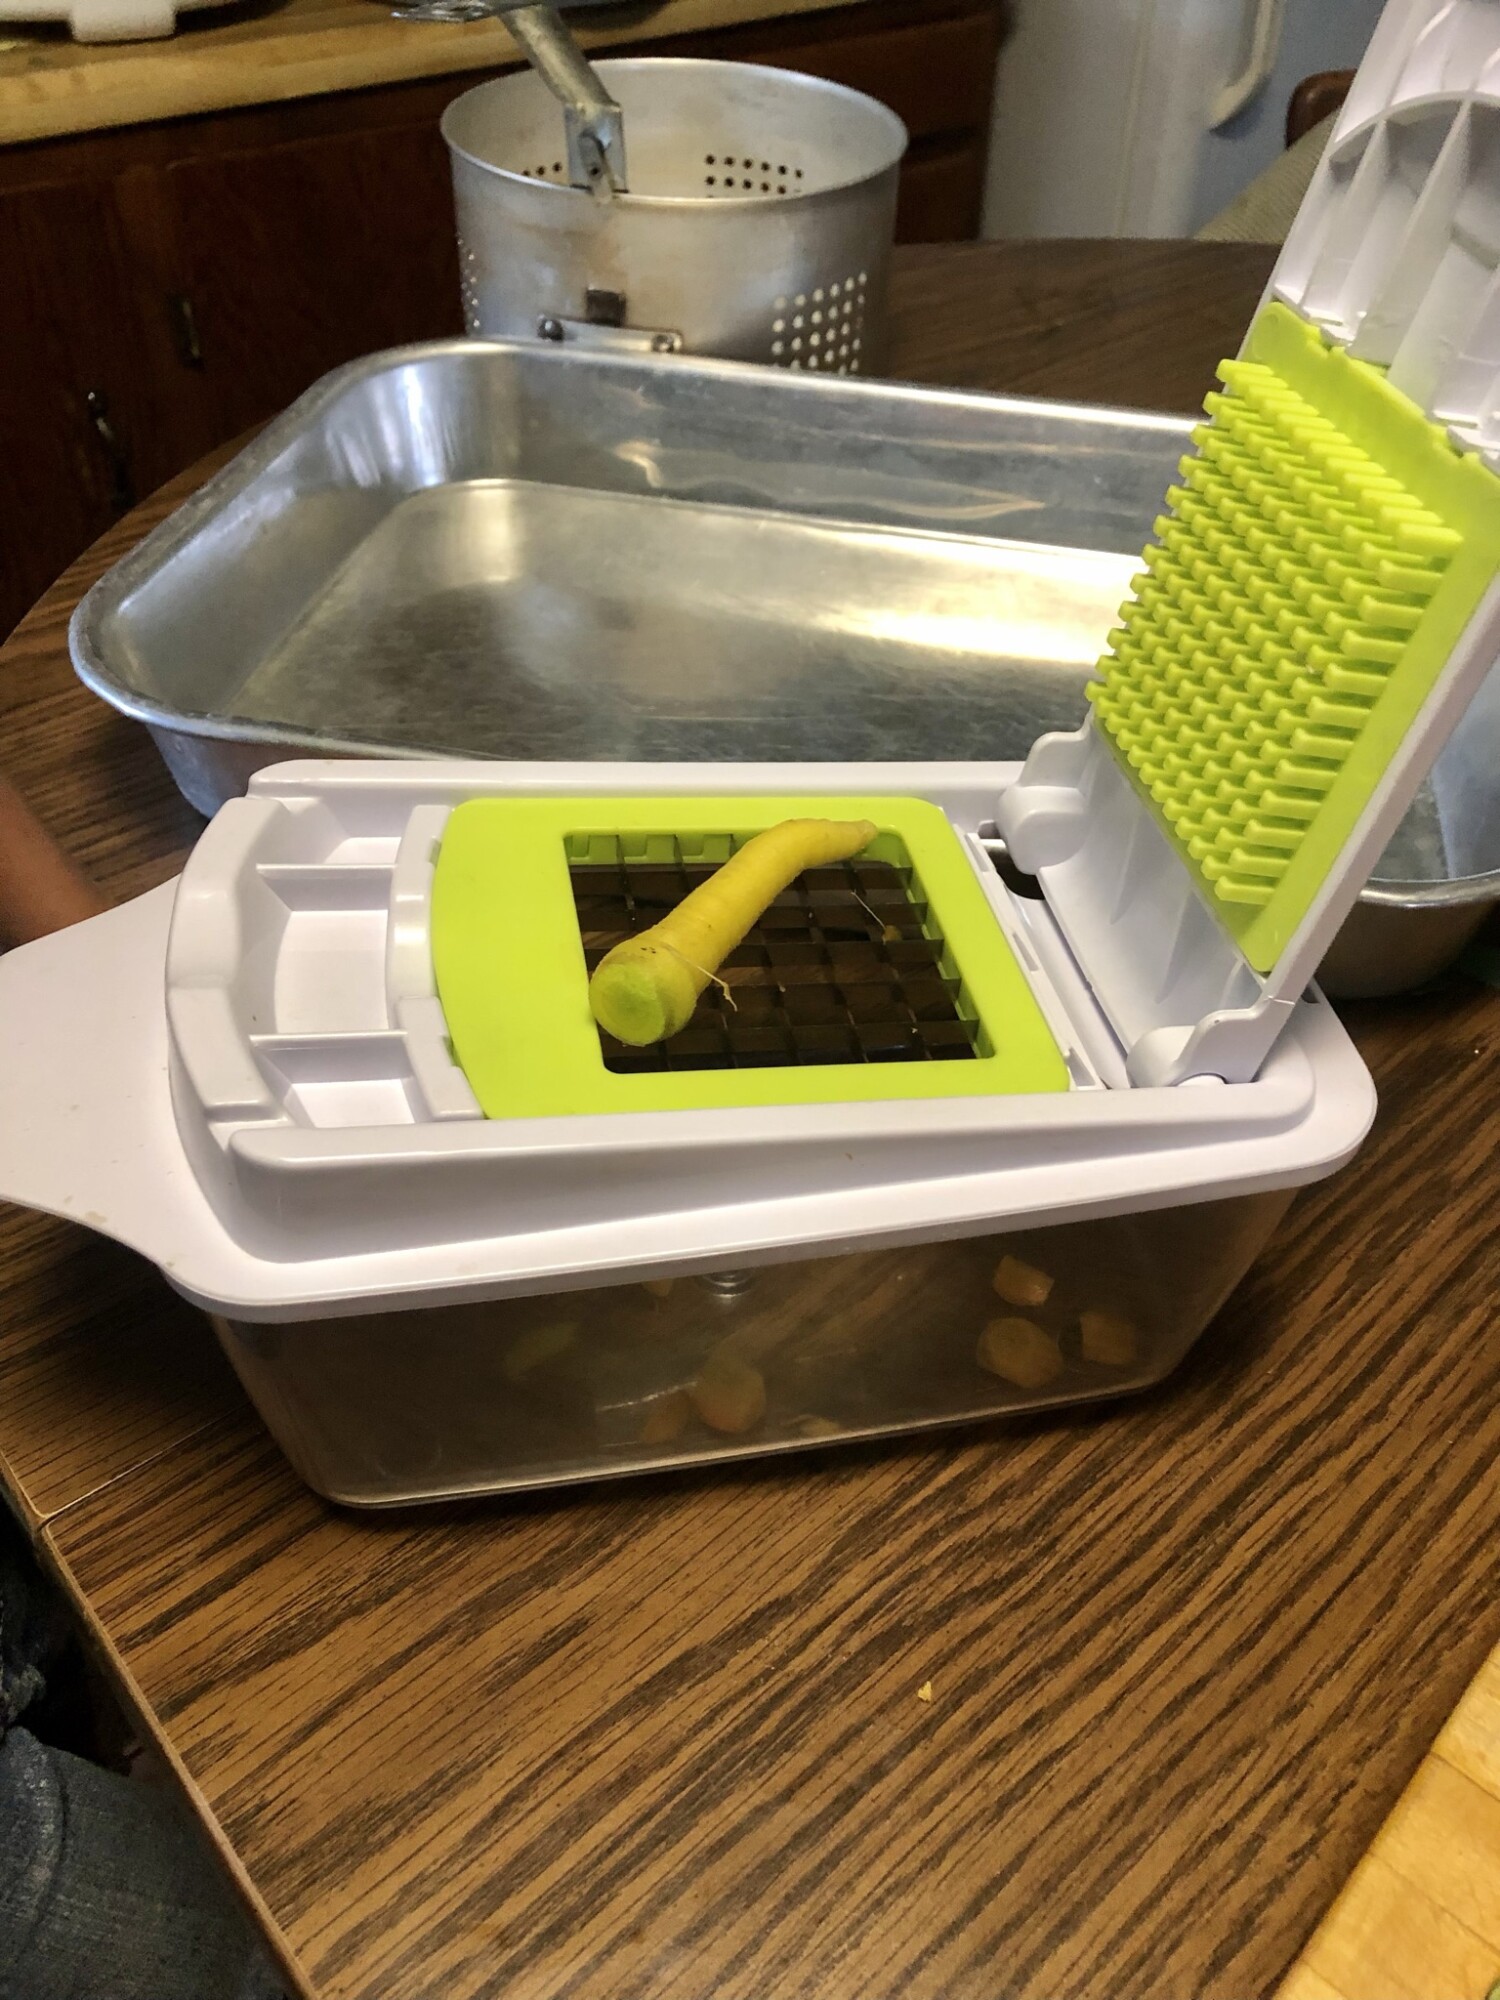
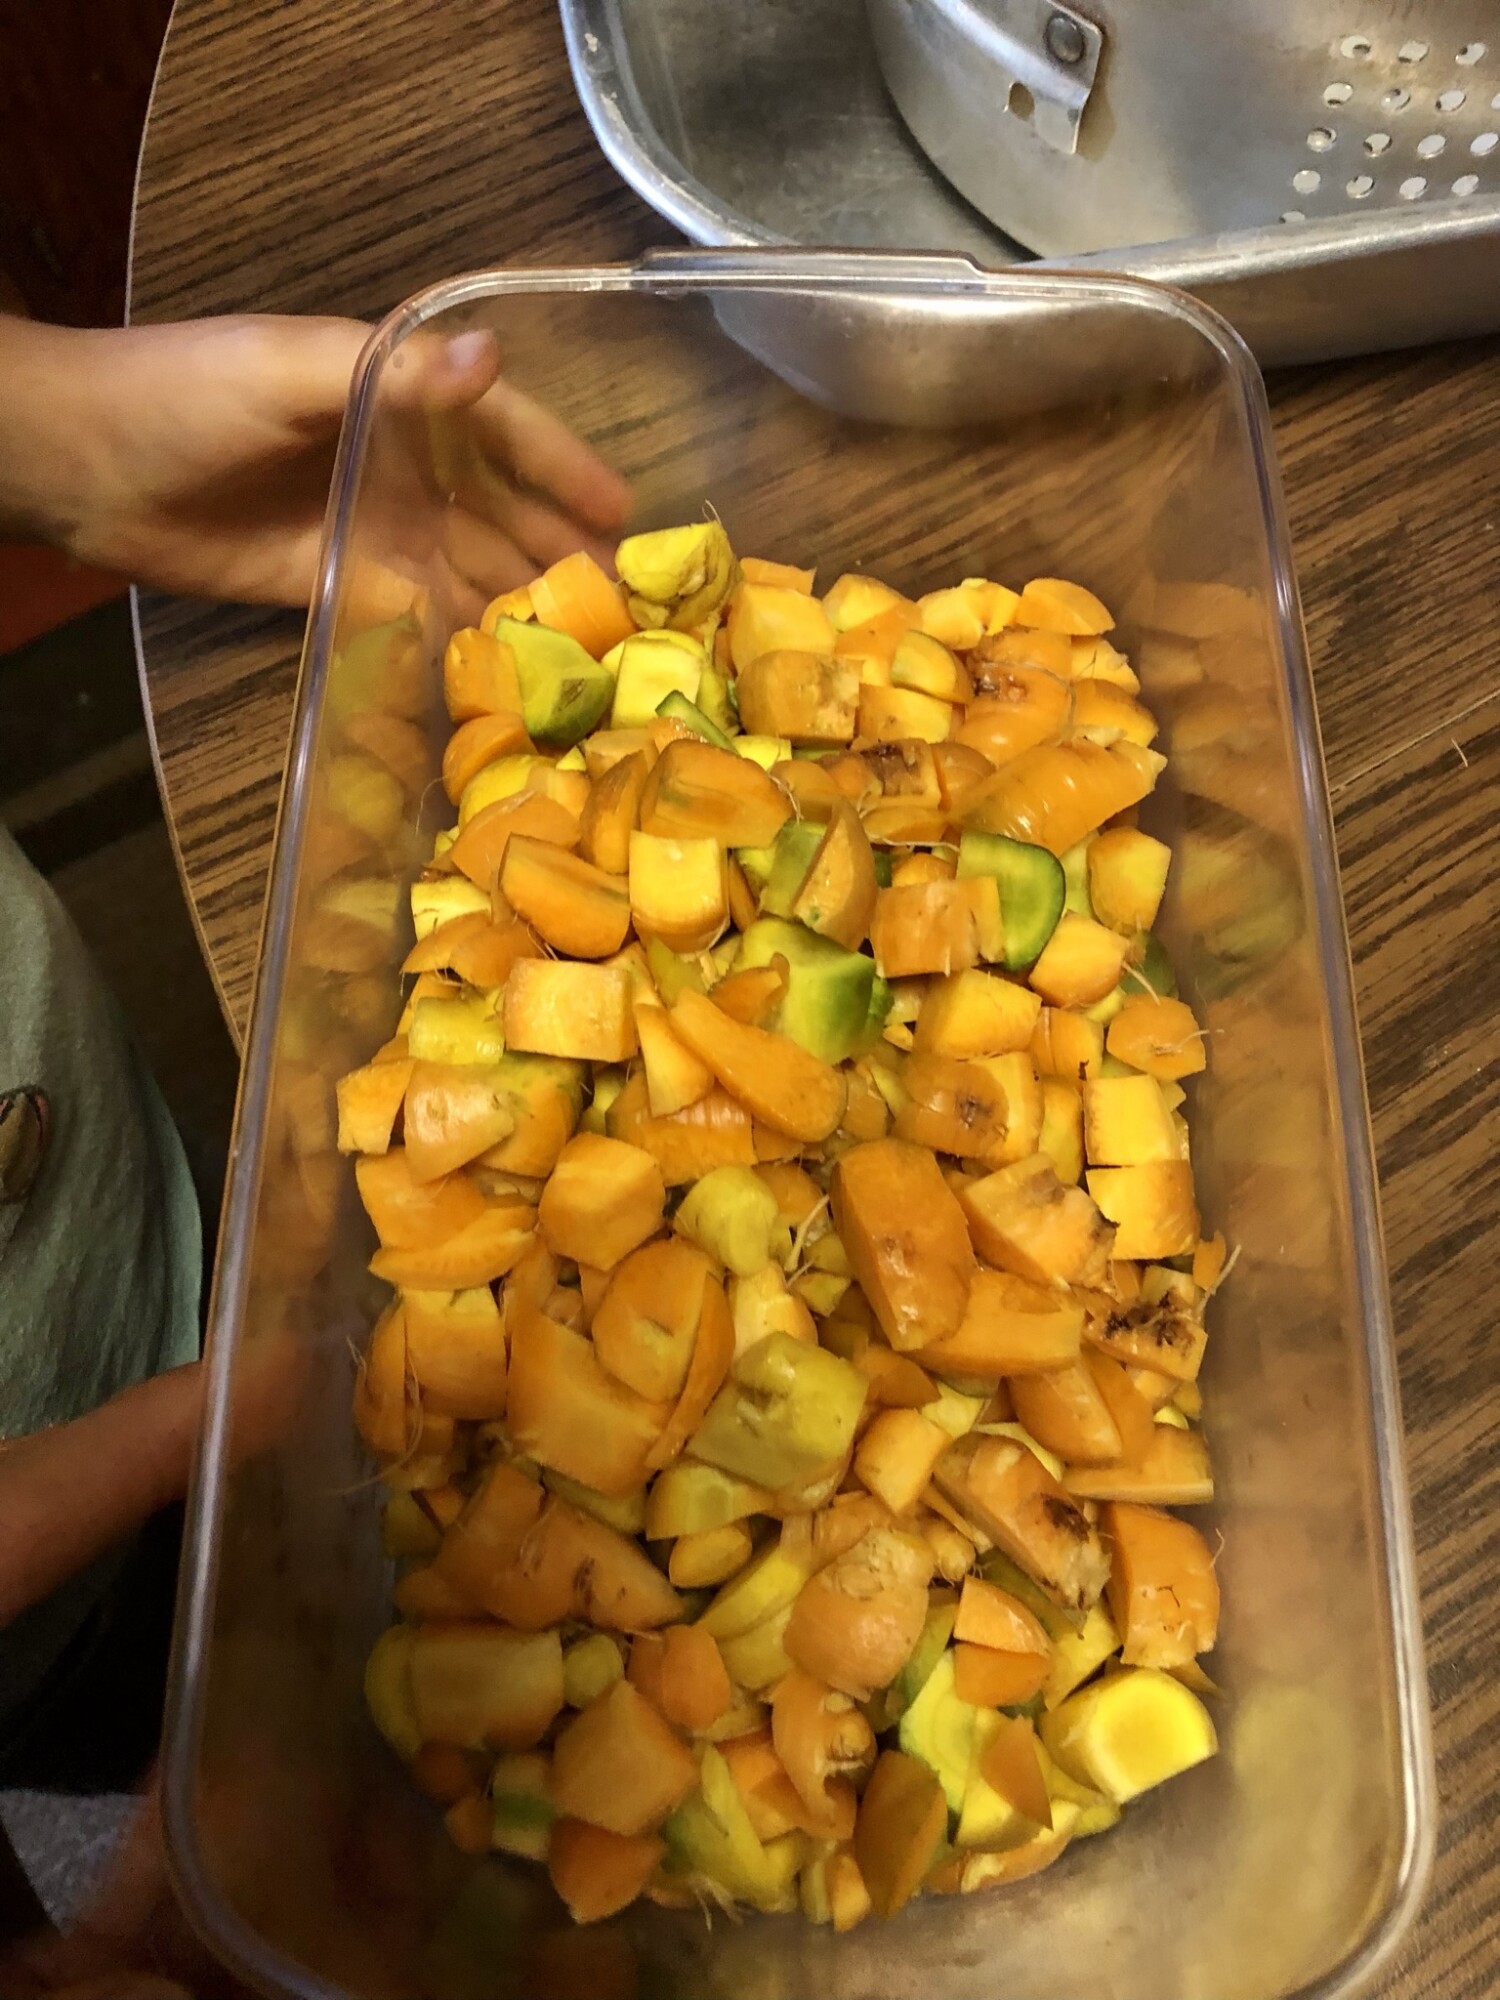
Step 3. Cut the carrots. I used to slice the carrots up with a knife, but I found this handy chopper that made the process so much faster and diced the carrots the way my kids like them.
Cut the tail and top knob off, then cut to the desired size.
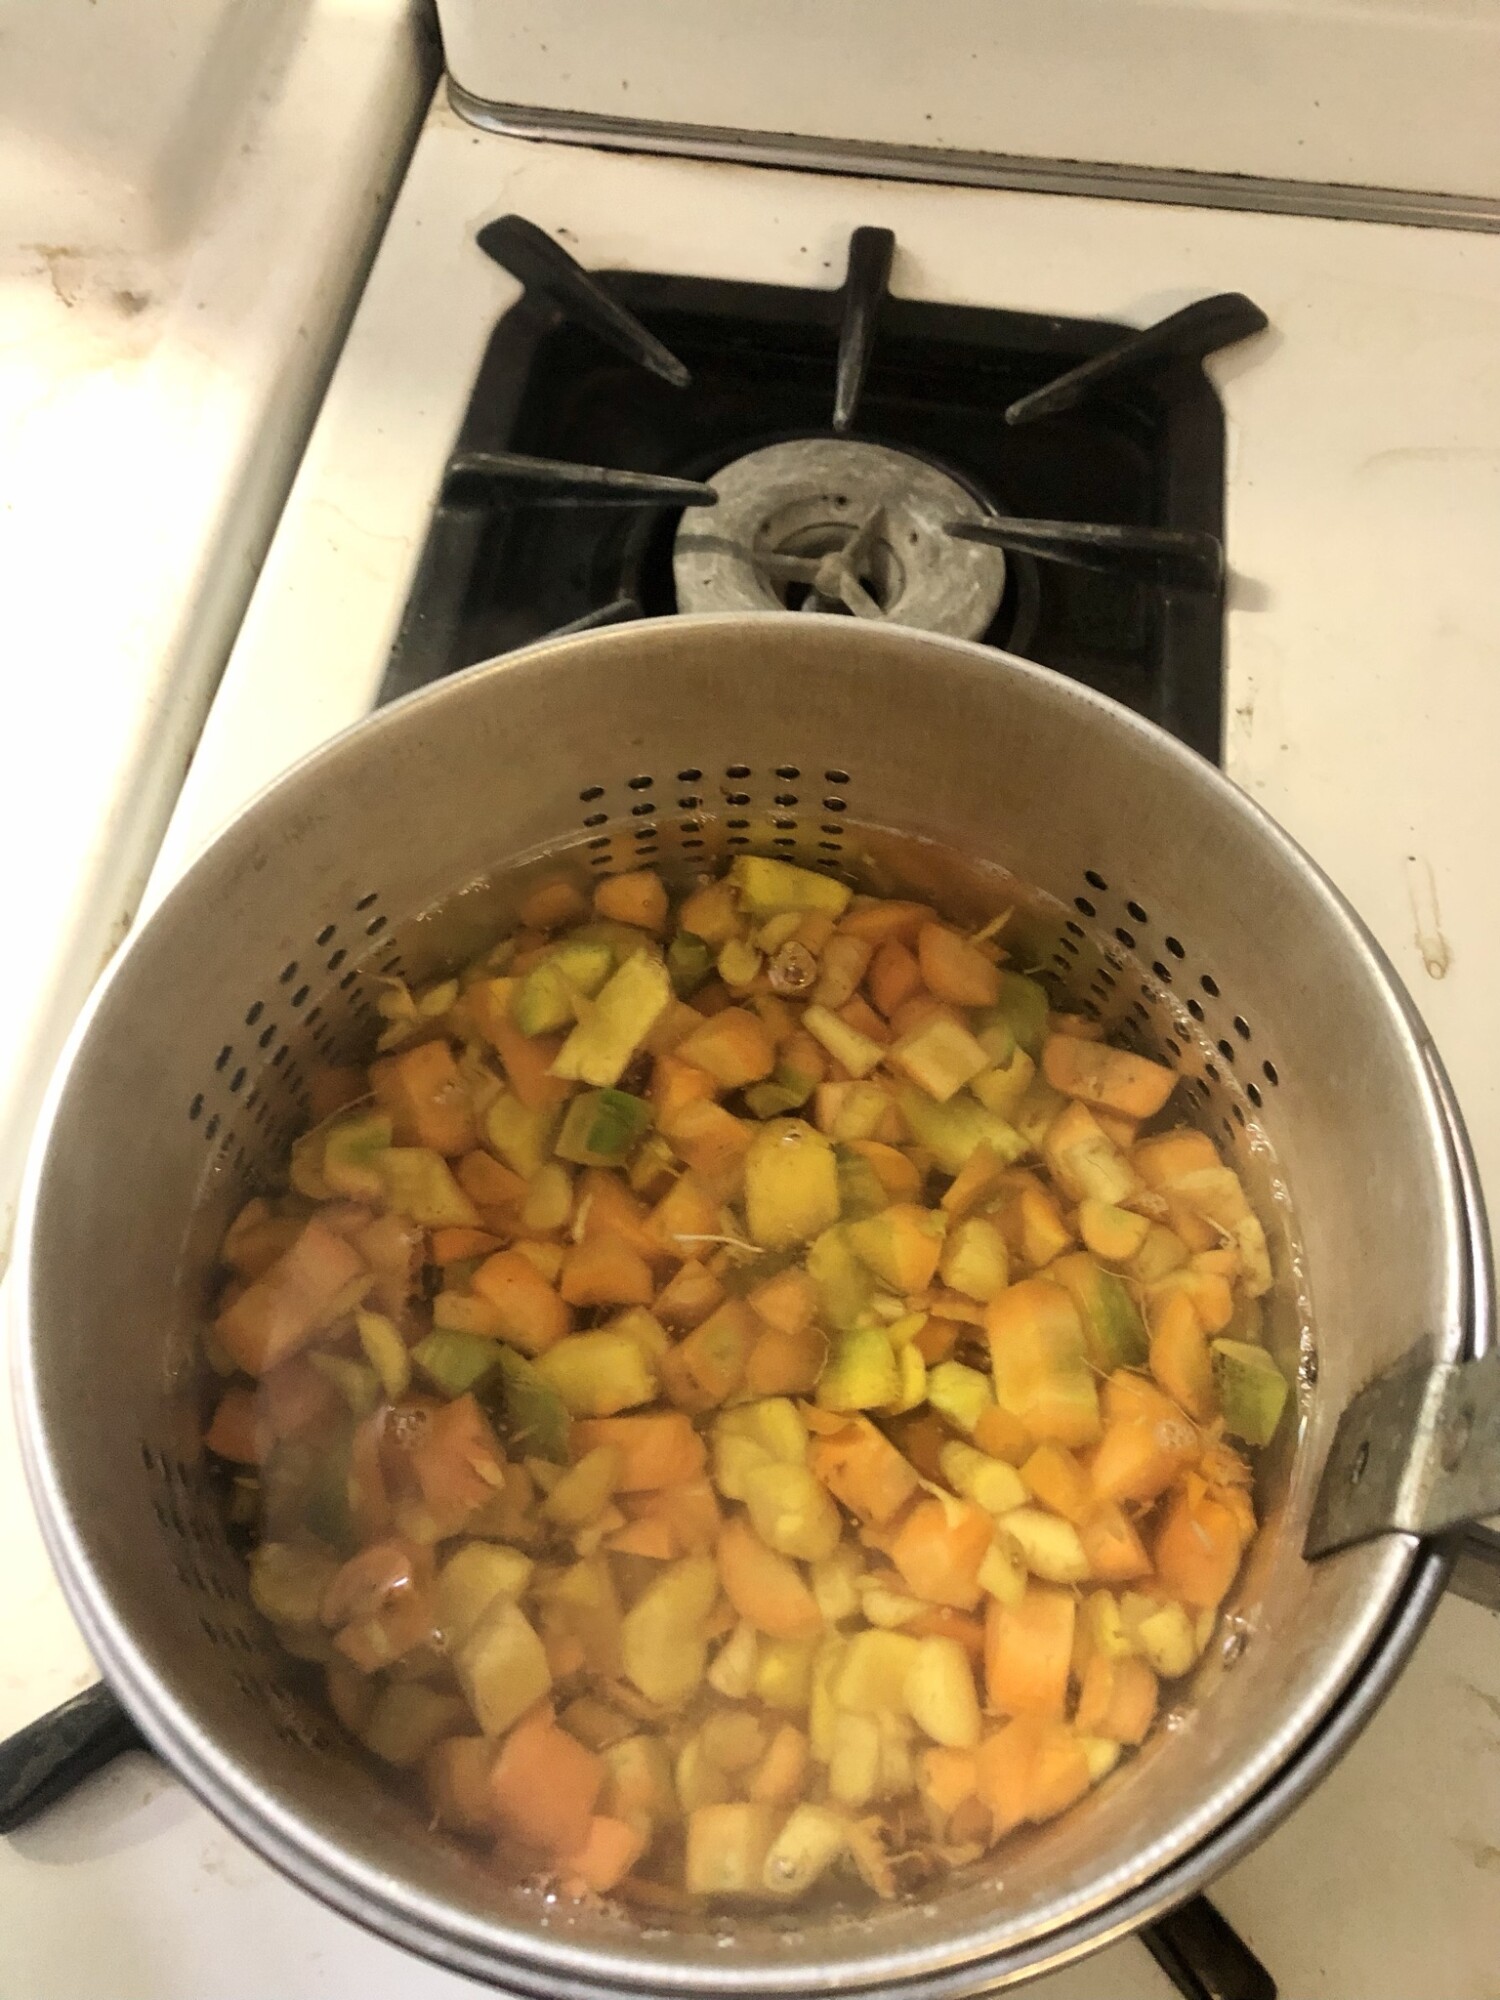
Step 4. Cook the carrots. We don’t like mushy vegetables in our house, so I cook the carrots for 3-4 minutes, then take them out. They will change color a bit while cooking which is how I determine they are done.
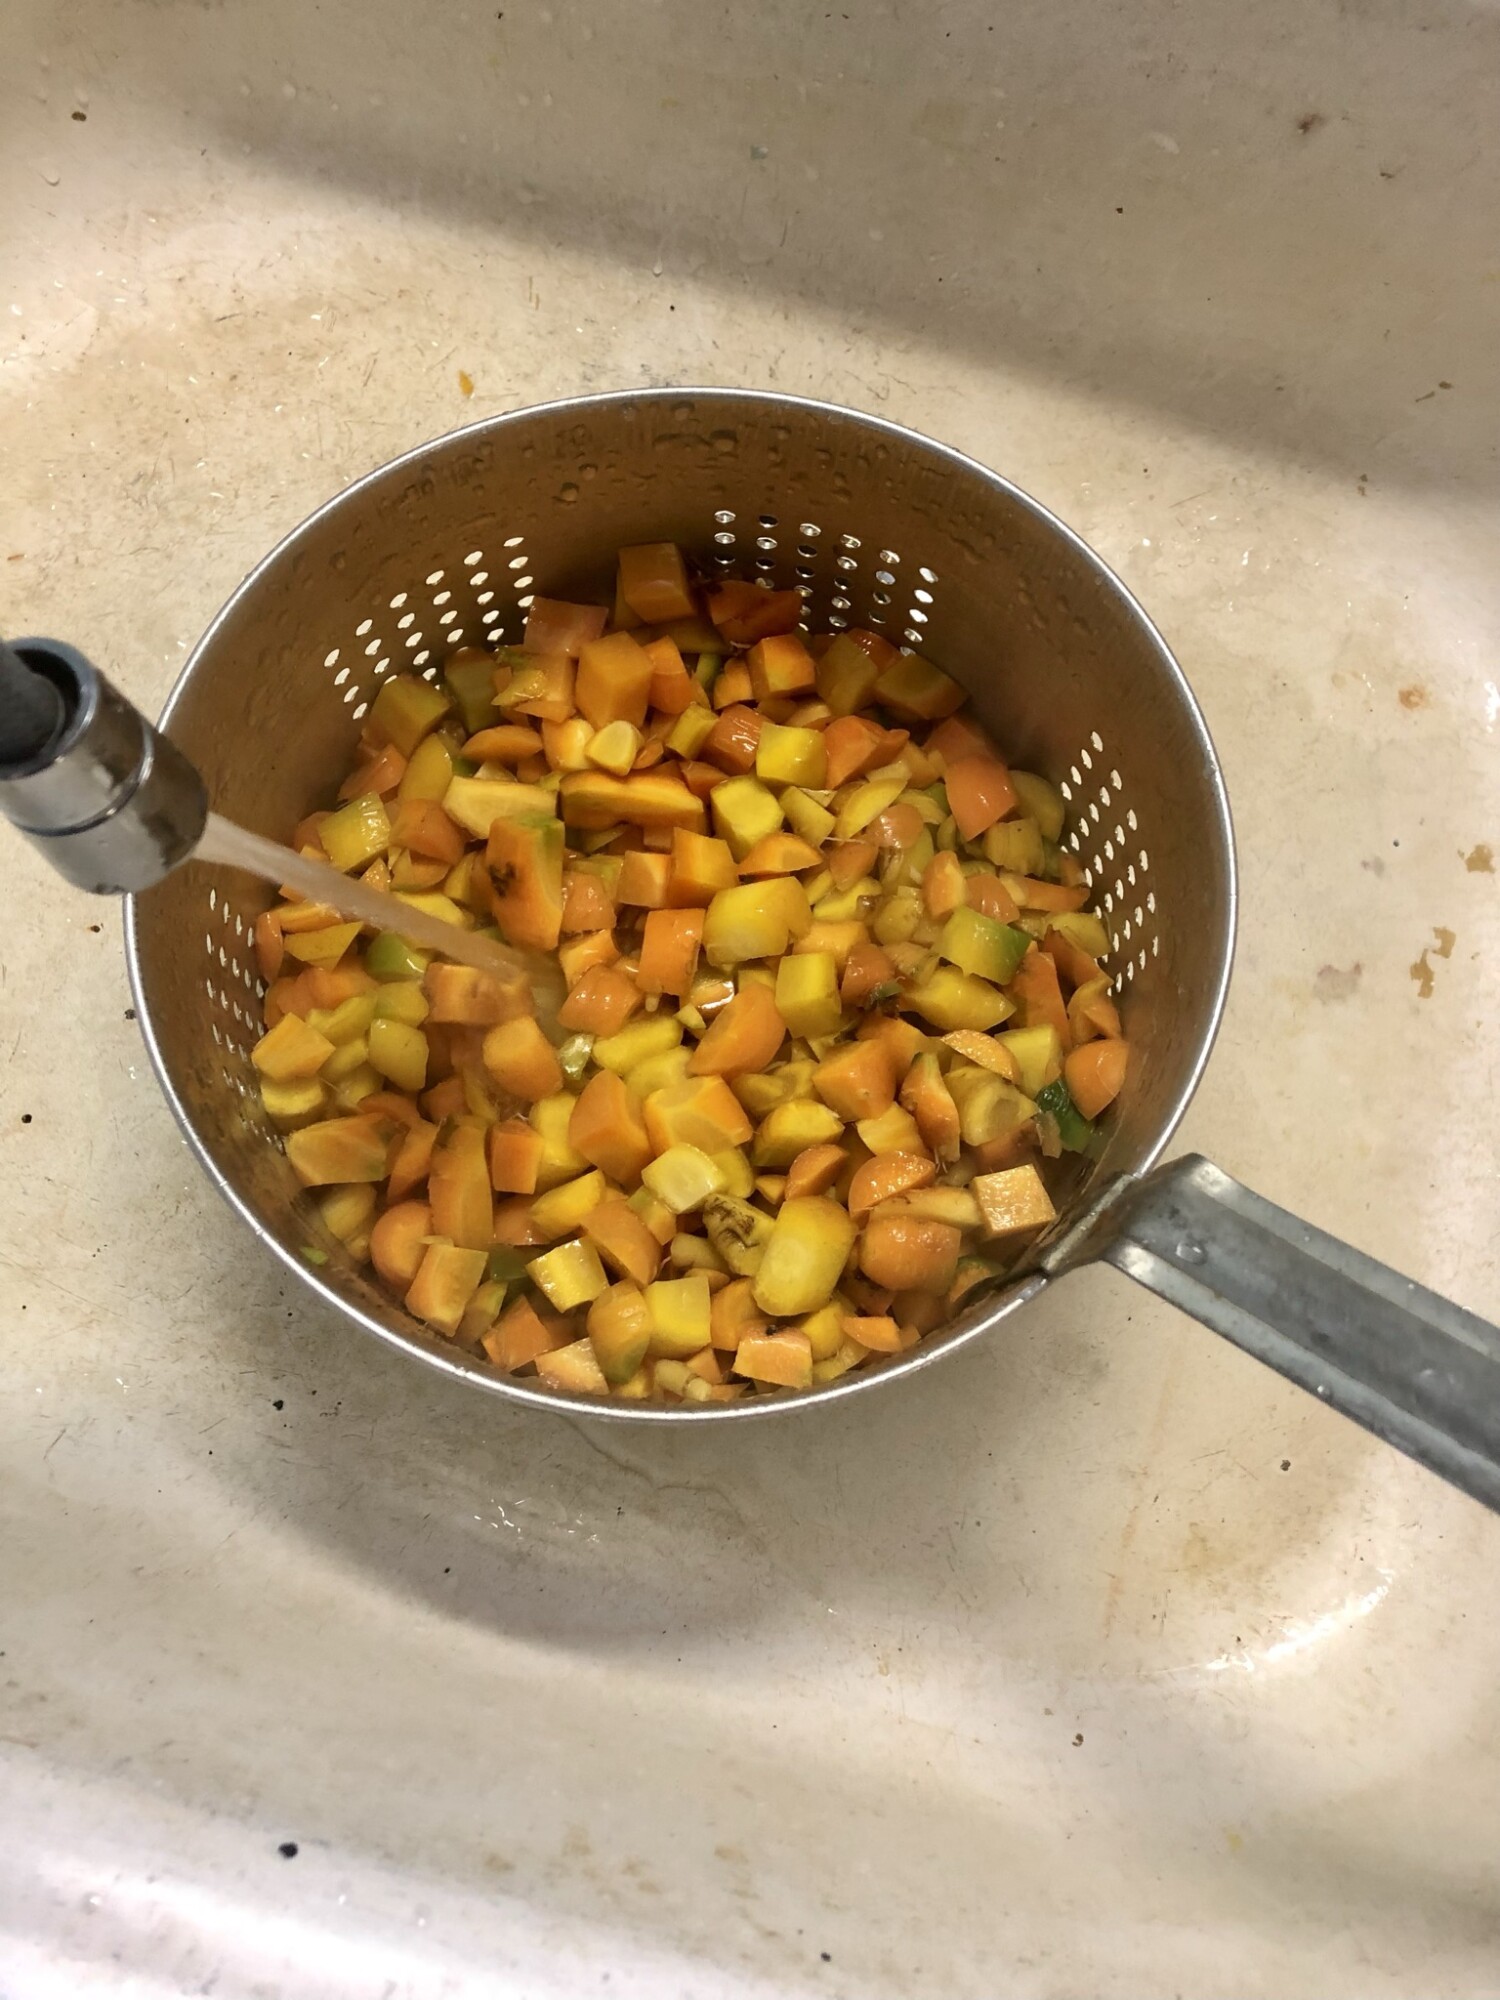
Step 5. Cool them off quickly. Ice water works great for this. You want to stop the cooking process, so cooling them as fast as possible is necessary. I use my sink with ice bottles,or run the water on cold over them until cool.
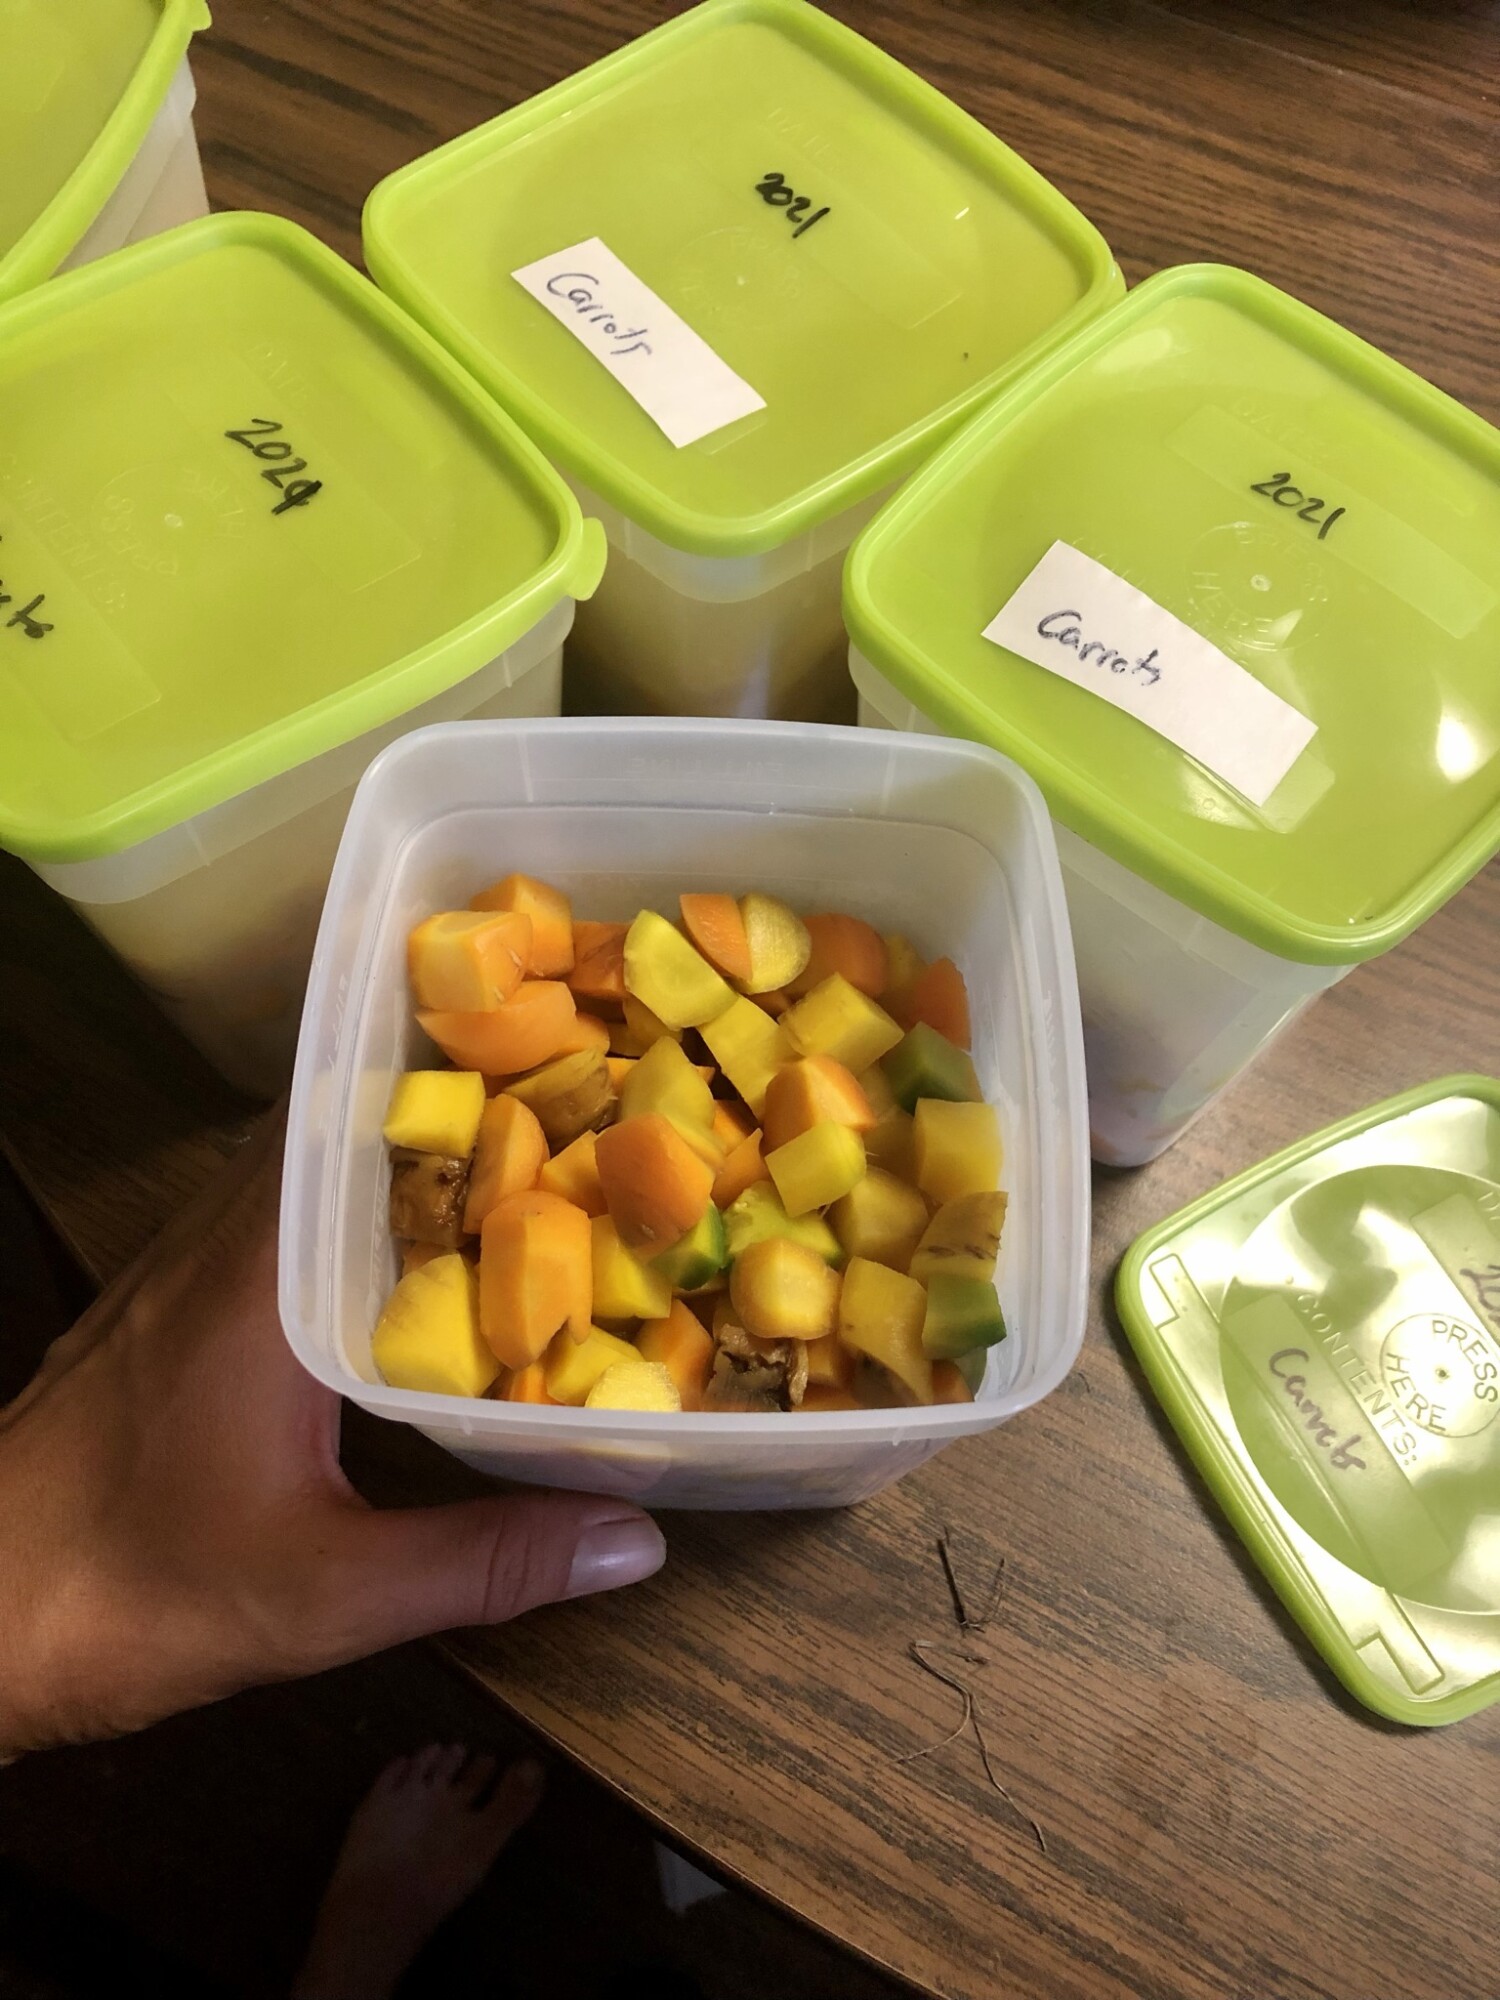
Step 6. Freeze the carrots. Place the cooled carrots in freezer containers filling to the fill line. I used freezer containers last year, and plan to try vacuum bags this year.
Step 7. Fill the freezer. Once you have all the carrots packed, label and place them in your freezer.
UPDATE: After breaking several choppers I started cooking the carrots first, then dicing them. This works much better and doesn't break the chopper blades.
Wanting a community to lean into? Join the FREE Courageous + Purposeful Mommas group! This community is for the Mommas, mommas to be, in the midst of raising, and kids grown, looking for tips on building your family up and providing for them through natural methods. Tips include: gardening, bulk buying, caning,/preserving, livestock, homesteading, and home remedies. Your family is precious, and this group is to help you gain the knowledge and tools to keep your family well and not reliant on outside professionals. Remedies and tips are easy and simple for the busy momma, time is precious after all, including pregnancy, birth, young kids, and illness. Trust your Momma gut again! This community offers the resources + community you need to help get started on your journey and prepare for whatever future you envision.
Join the Free Community
Click here to get the stories straight to your email:
Sign up for the Blog
For more on wellness tips click here:
Sign up for Wellness tips
For more on homesteading on your budget click here:
Sign up for Homesteading Tips
For more simple DIY updates click here:
Sign up for easy DIYs


0 Comments