This post may contain affiliate links, which means that I may receive a commission if you make a purchase using these links, with NO additional cost to you.
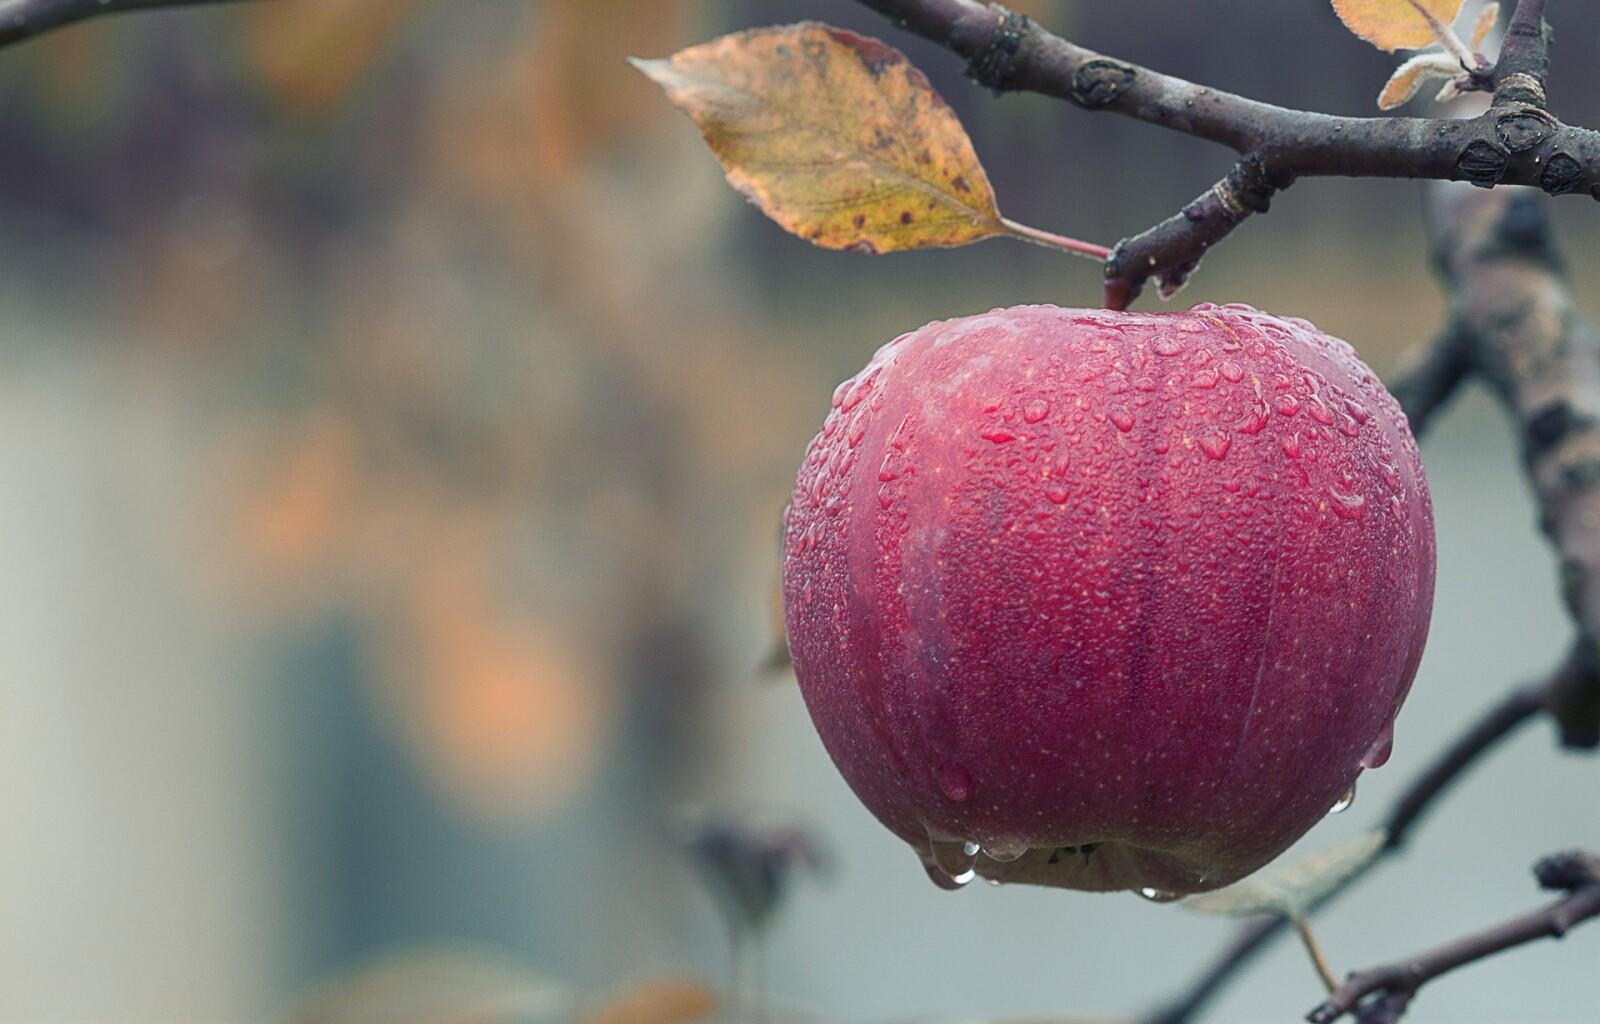
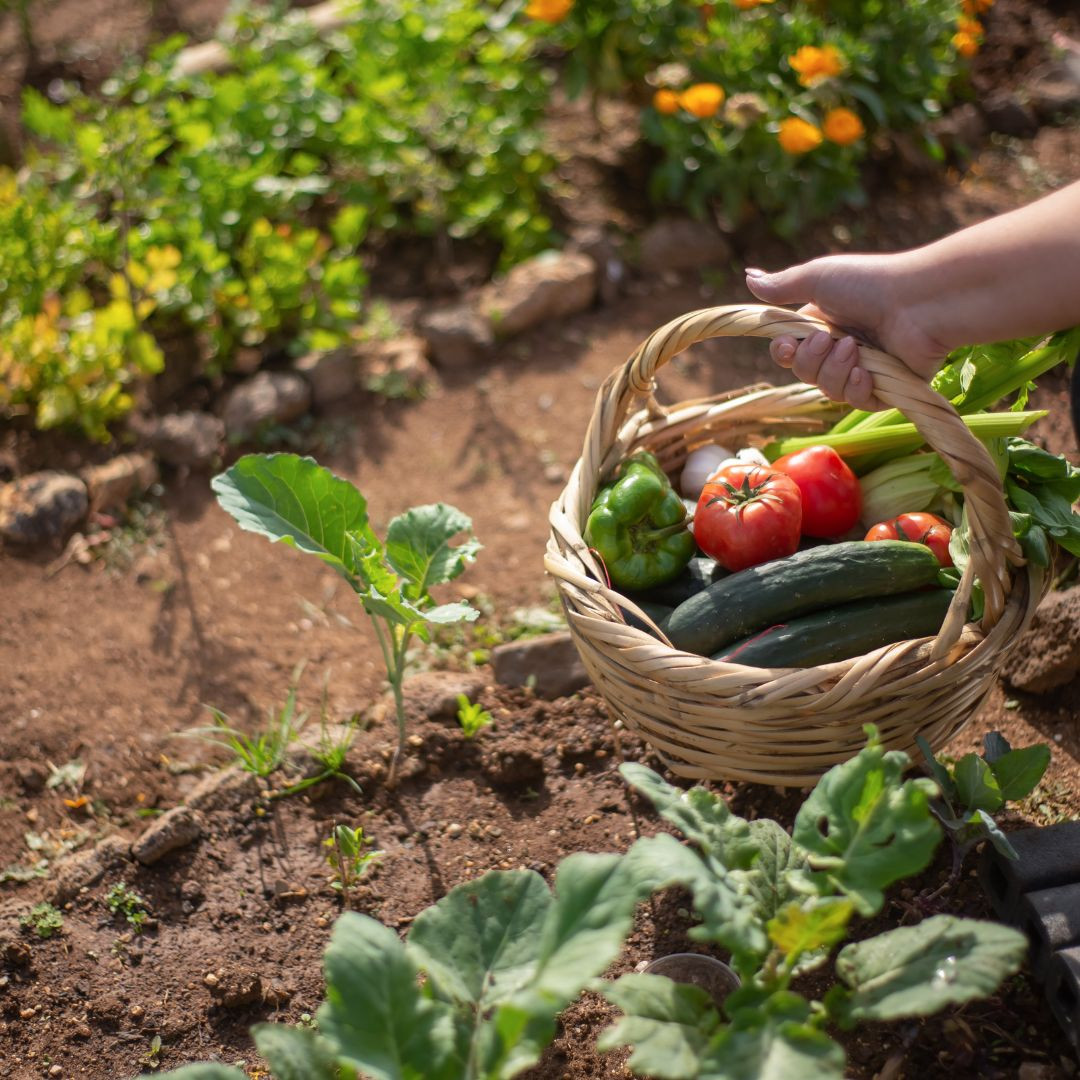
I love growing my own food. Part of growing all the food is not only eating it fresh in the summer, but preserving it for winter use. When we moved to our property, we bought 2 apple trees. A favorite snack for the winter time is dehydrated apple slices. It is fairly simple and an easy snack when apples are no longer ripe or you're traveling!
You will need:
Core/slicer/peeler (you can use a cutting board and knife, but this tool makes the process so much faster).
Apples
Step 1: Pick the apples just as they are ripening on the tree. This saves bruising when they fall off, and allows you to get the apples instead of the squirrels eating them all half way. Take them to a cool dark area and lay them out. I usually use an old sheet or boxes in the basement. Check on them every few days for those that are ripe.
Step 2: Once 6-12 are ripe that you (haven’t eaten), gently wash them up in the sink removing any bad spots.
Step 3: Using the core/slicer spin the apples through the blade. I will often leave the peel on the apples.
Step 4: If you don’t want the apple to brown, dip them in citric acid/lemon juice. I don’t mind them browning a bit, so I skip this part.
Step 5: Lay the sliced apples out on a dehydrating tray. You can buy add on trays for most dehydrators so you can do more at once.
Step 6: Once all the trays are full, put the lid on the dehydrator and set the temperature for 135 degrees F.
Step 7: My apples usually take around 12-24 hours depending on how thick I sliced them. If you start it at night, check them in the morning and adjust depending on how they look. I typically leave a little juice in mine as they are easier for small kids to chew that way.
Step 8: Remove apples from the dehydrator and place in freezer containers. Label and freeze. I do this because I leave some juice in them and then they last for an entire year without molding.
Wanting a community to lean into? Join the FREE Courageous + Purposeful Mommas group! This community is for the Mommas, mommas to be, in the midst of raising, and kids grown, looking for tips on building your family up and providing for them through natural methods. Tips include: gardening, bulk buying, caning,/preserving, livestock, homesteading, and home remedies. Your family is precious, and this group is to help you gain the knowledge and tools to keep your family well and not reliant on outside professionals. Remedies and tips are easy and simple for the busy momma, time is precious after all, including pregnancy, birth, young kids, and illness. Trust your Momma gut again! This community offers the resources + community you need to help get started on your journey and prepare for whatever future you envision.
Join the Free Community
Click here to get the stories straight to your email:
Sign up for the Blog
For more on wellness tips click here:
Sign up for Wellness tips
For more on homesteading on your budget click here:
Sign up for Homesteading Tips
For more simple DIY updates click here:
Sign up for easy DIYs


0 Comments