This post may contain affiliate links, which means that I may receive a commission if you make a purchase using these links, with NO additional cost to you.
Updated: August 29, 2024
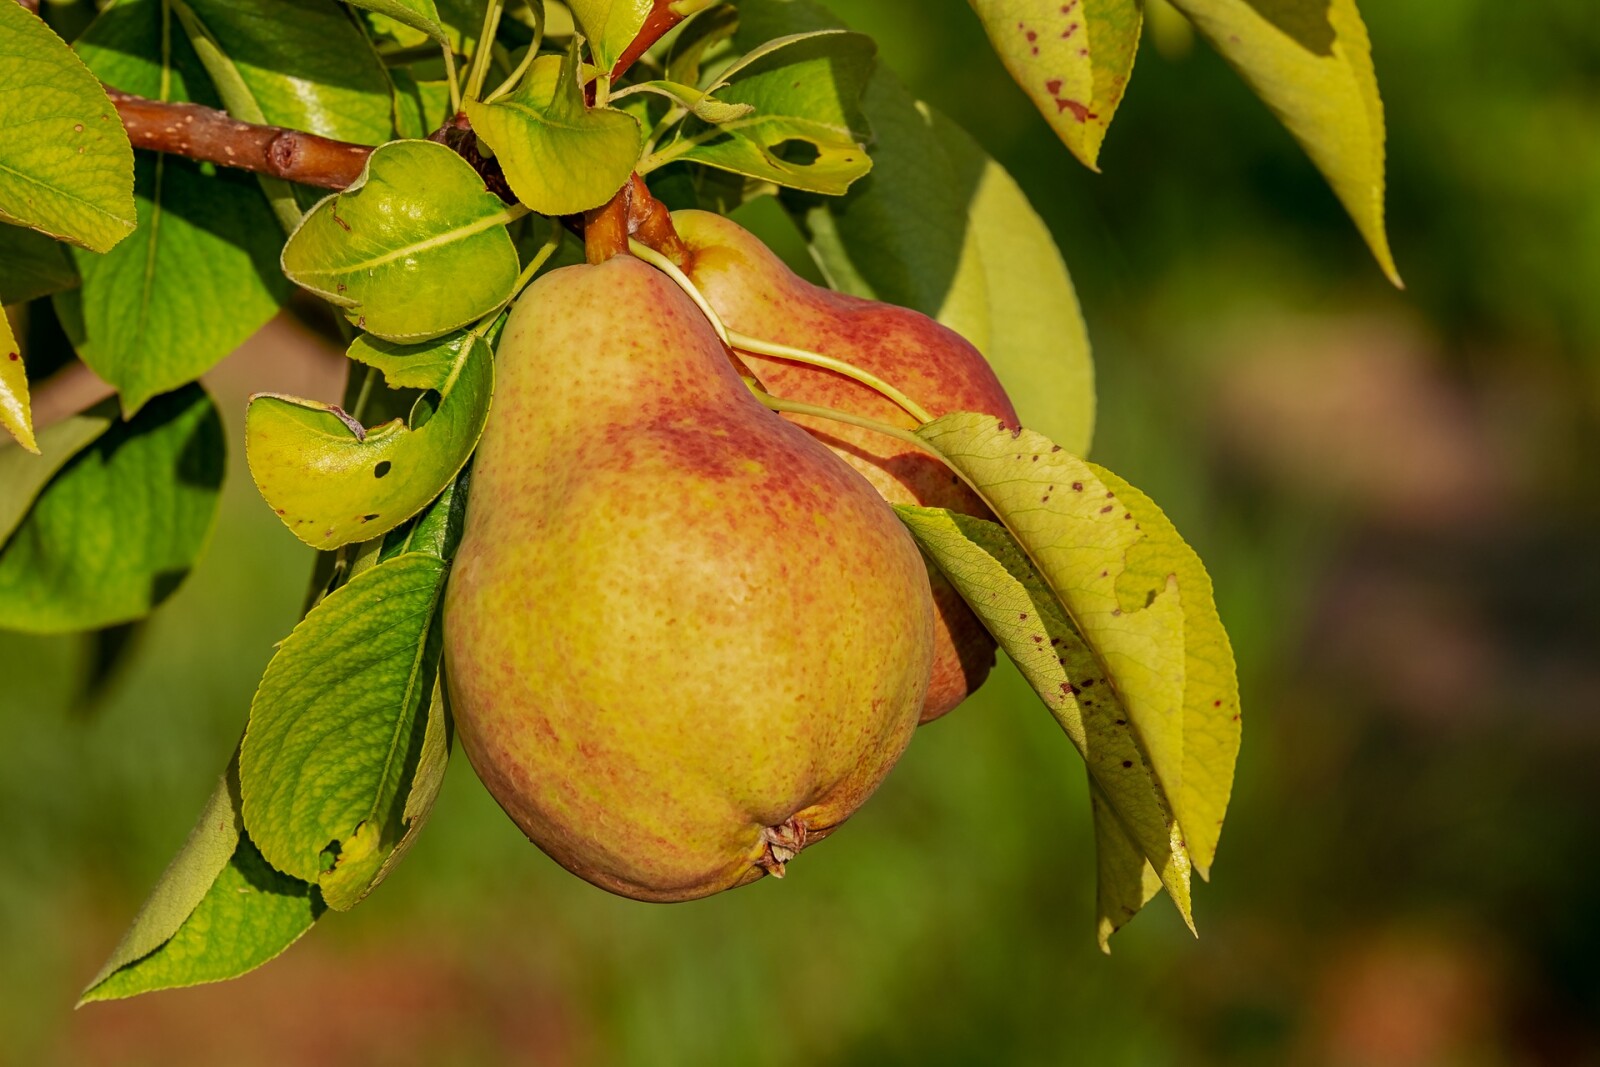
I love growing my own food. Not only do I get to enjoy fresh produce in the summer, but I also get to preserve some for those chilly winter months. When we moved to our little farm, we were lucky to inherit two pear trees! Naturally, I wanted to make the most of them, and one of the best ways I've found is by making pear sauce.
Pear sauce is an excellent way to use the pears, and it turns out sweeter than apple sauce, without adding any sugar. Making pear sauce at home is simpler than you might think! Here's step-by-step directions to get you started:
You will need:
- Canning jars
- Canning lids
- Canning rings
- Jar Funnel
- Long spatula or knife
- Hot water bath
- Stock pot (I usually have at least 2)
- Colander
- Sieve/immersion blender/kitchen aid sieve attachment
- Pears
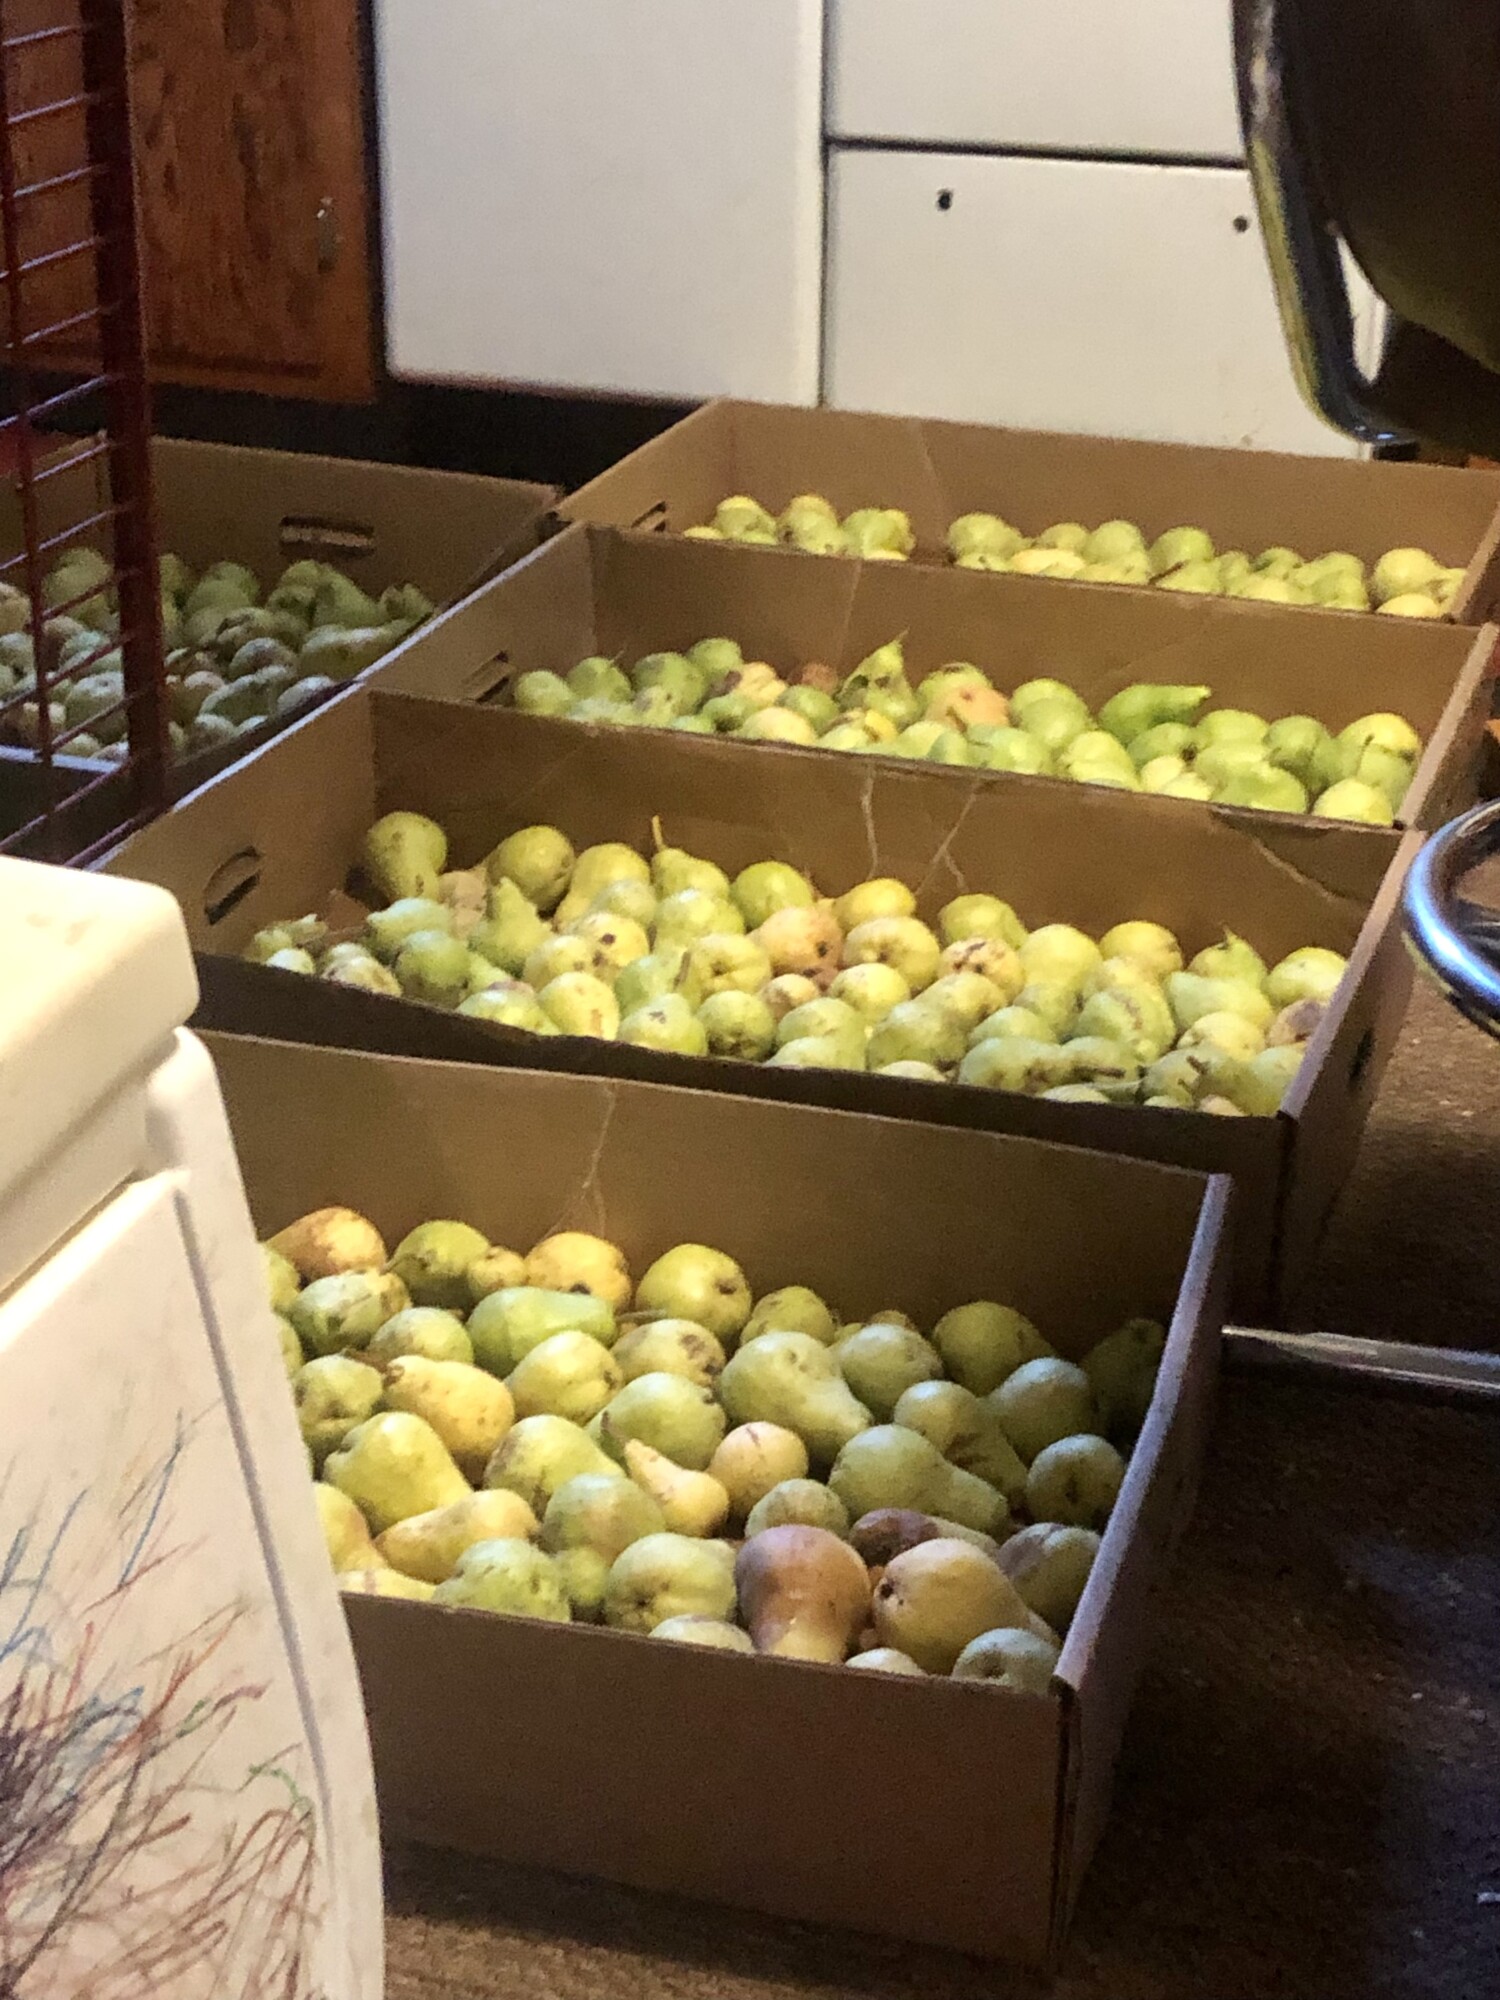
Step 1: Pick the pears
Harvest your pears while they are still green on the tree to avoid bruising and keep them safe from hungry squirrels. Lay them out in a cool, dark area such as a basement using an old sheet or boxes. Check on them every few days until they ripen, turning from green to slightly yellow.
Step 2: Prepare the Pears
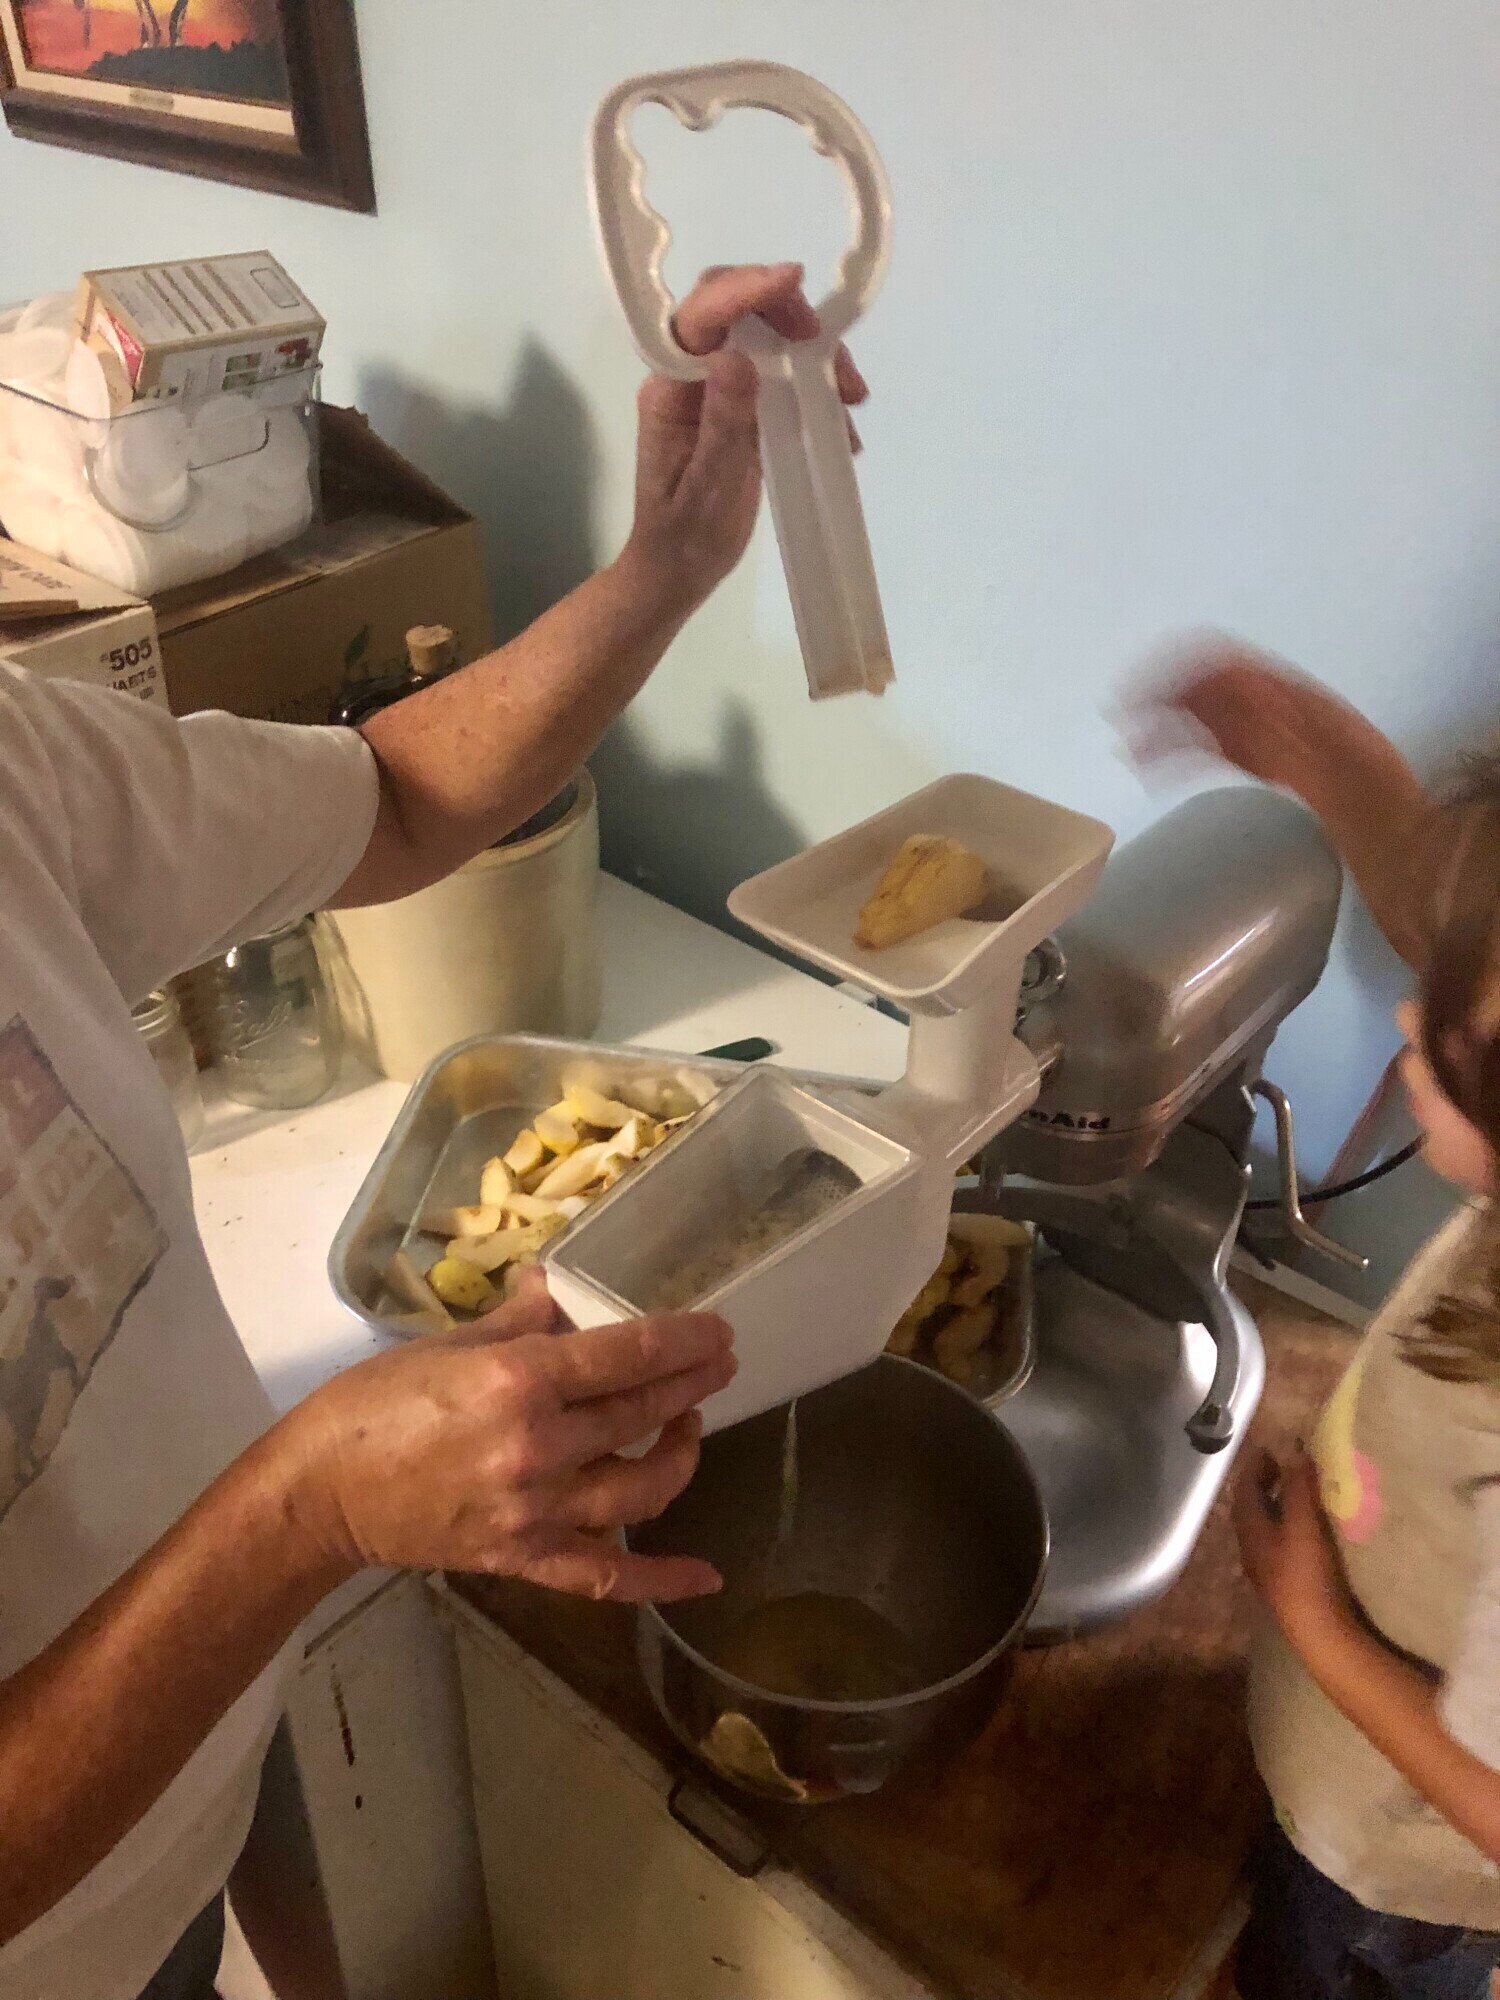
Once about half to two-thirds of your pears are ripe (and you haven't eaten them all), wash them gently in the sink, removing any bad spots. If you have a kitchen aid sieve attachment, there's no need to core the pears. Otherwise, peel, quarter, and core them. The sieve attachment is a time-saver and worth the investment!
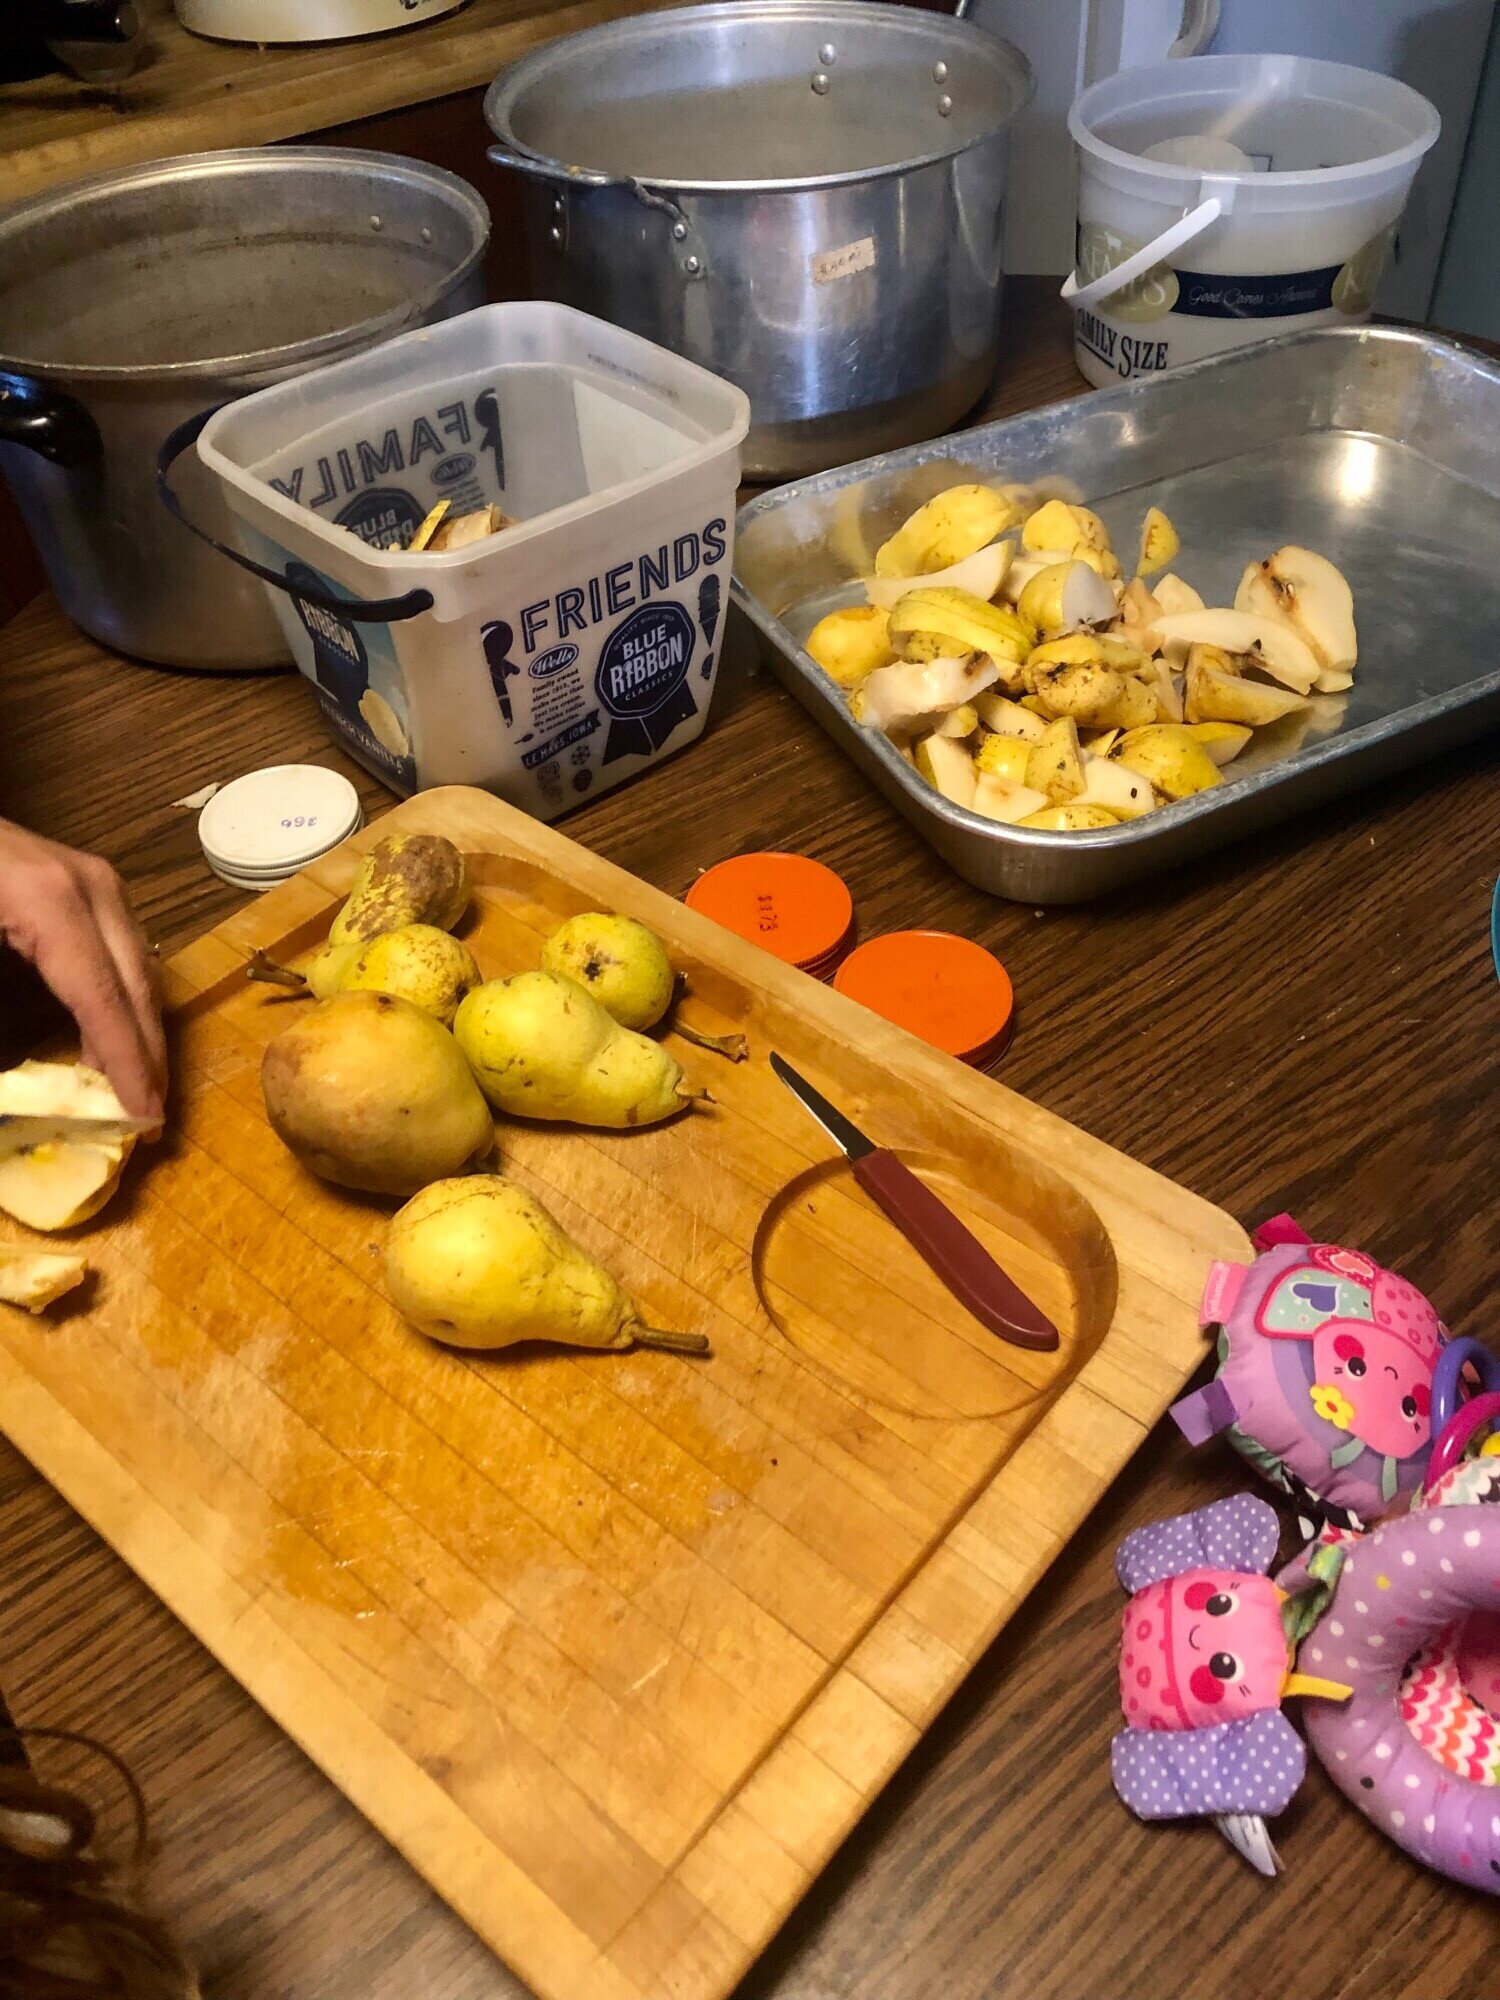
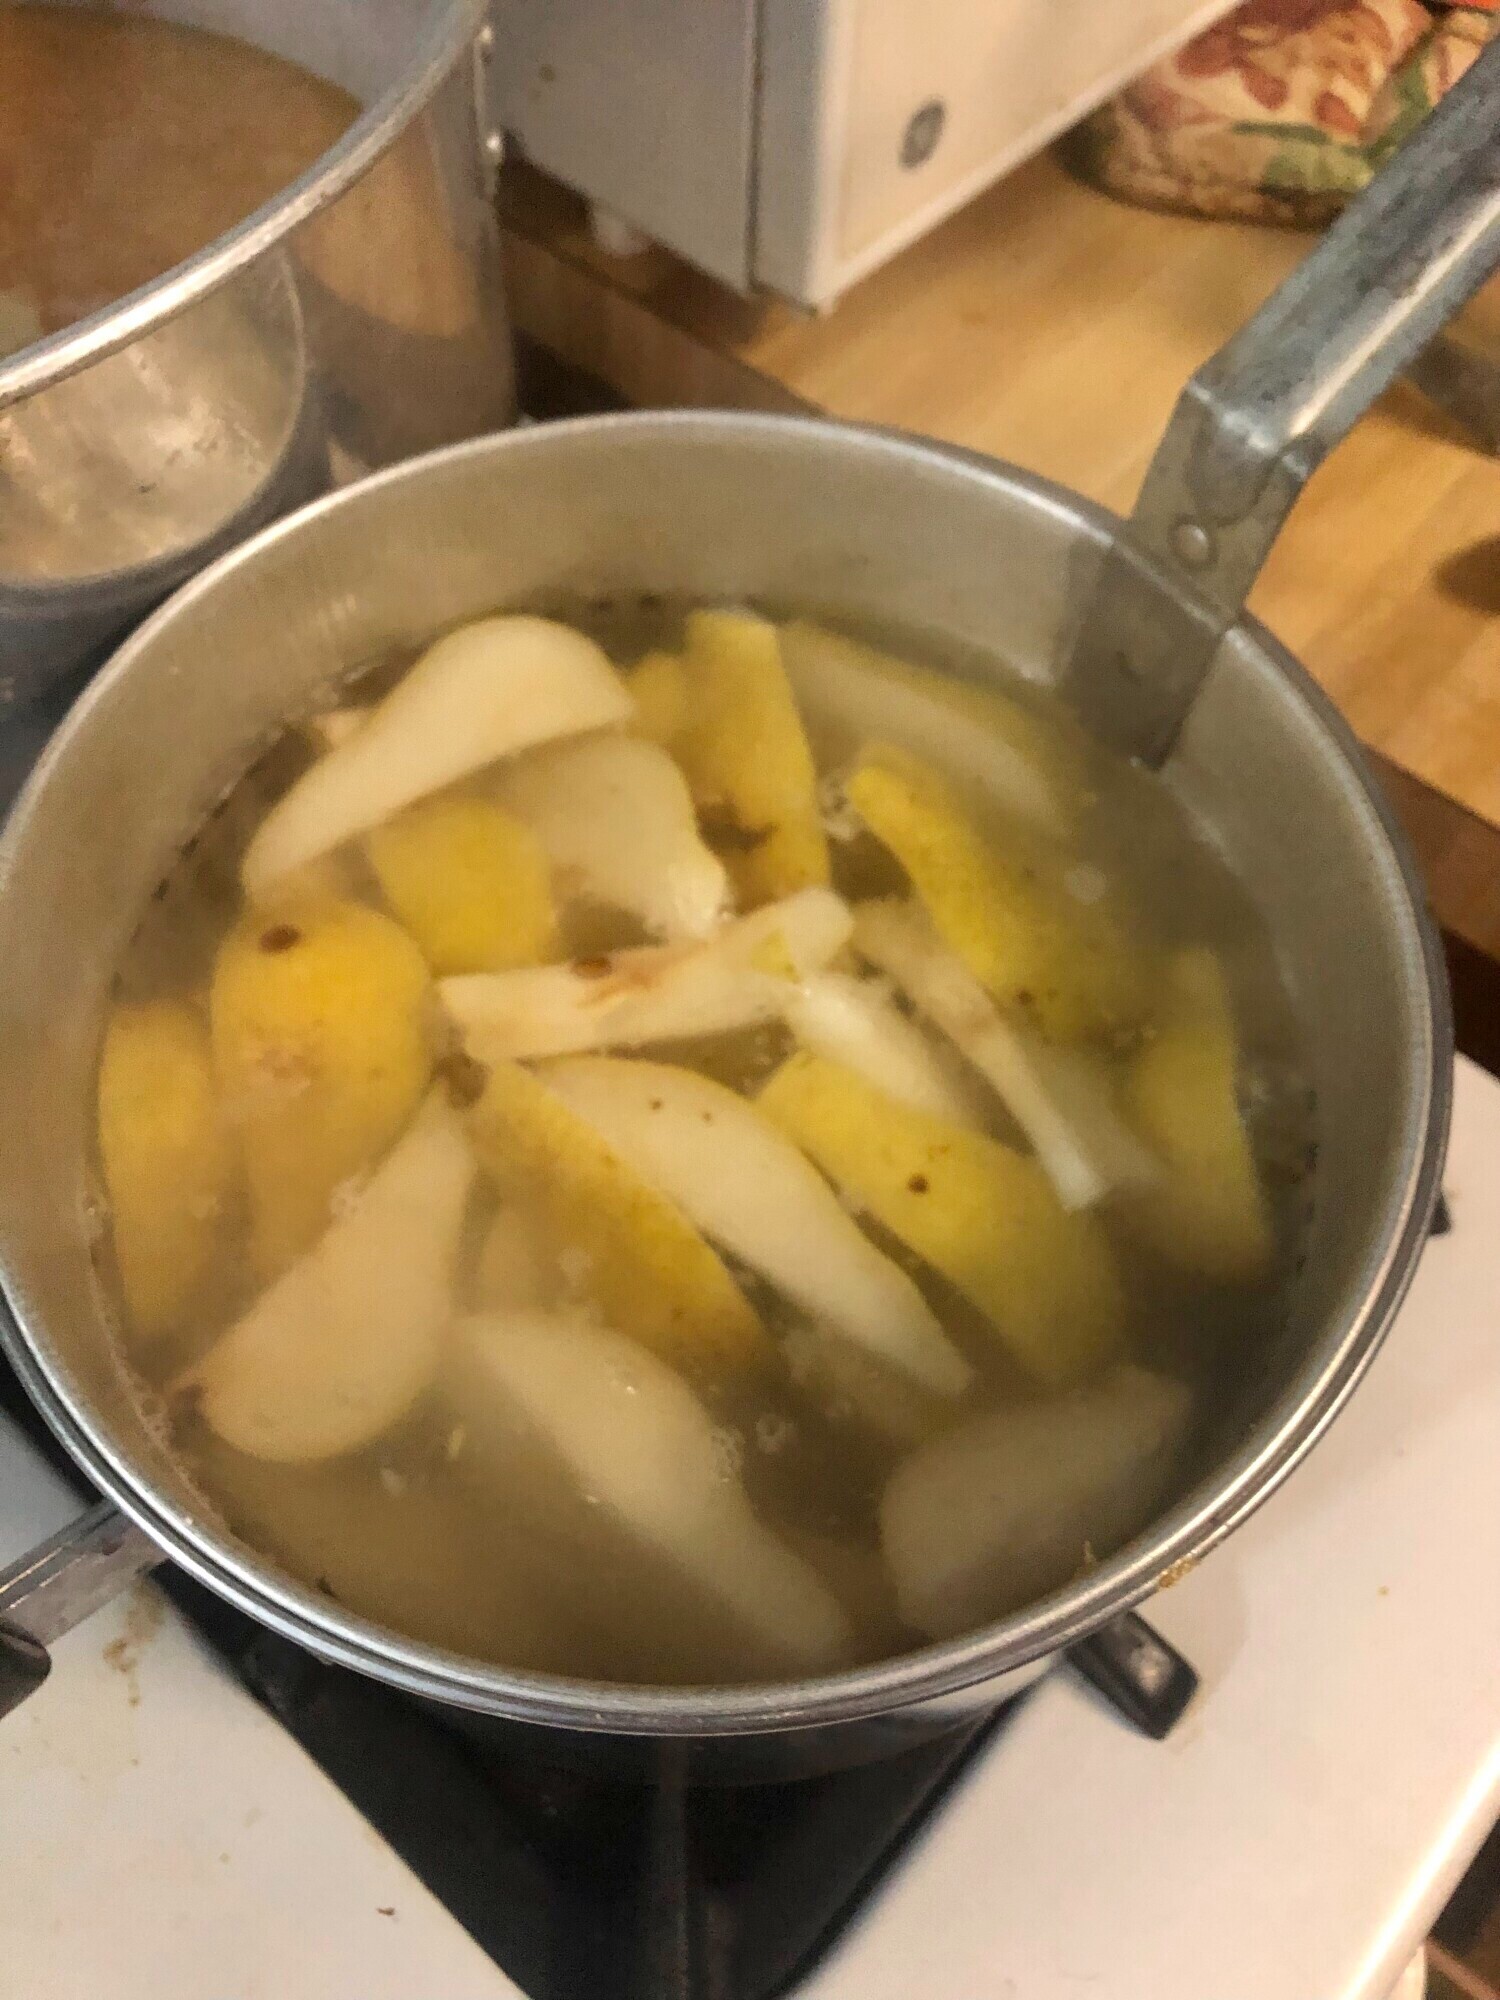
Step 3: Cook the Pears
To prevent the pears from darkening, you can dip them in lemon juice or citric acid. Personally, I don't mind the darker color, so I skip this step. Place the pears in a stock pot that fits your colander for easy removal. Cook until the pears are soft and mushy, which usually takes about 5 minutes.
Step 4: Puree the Pears
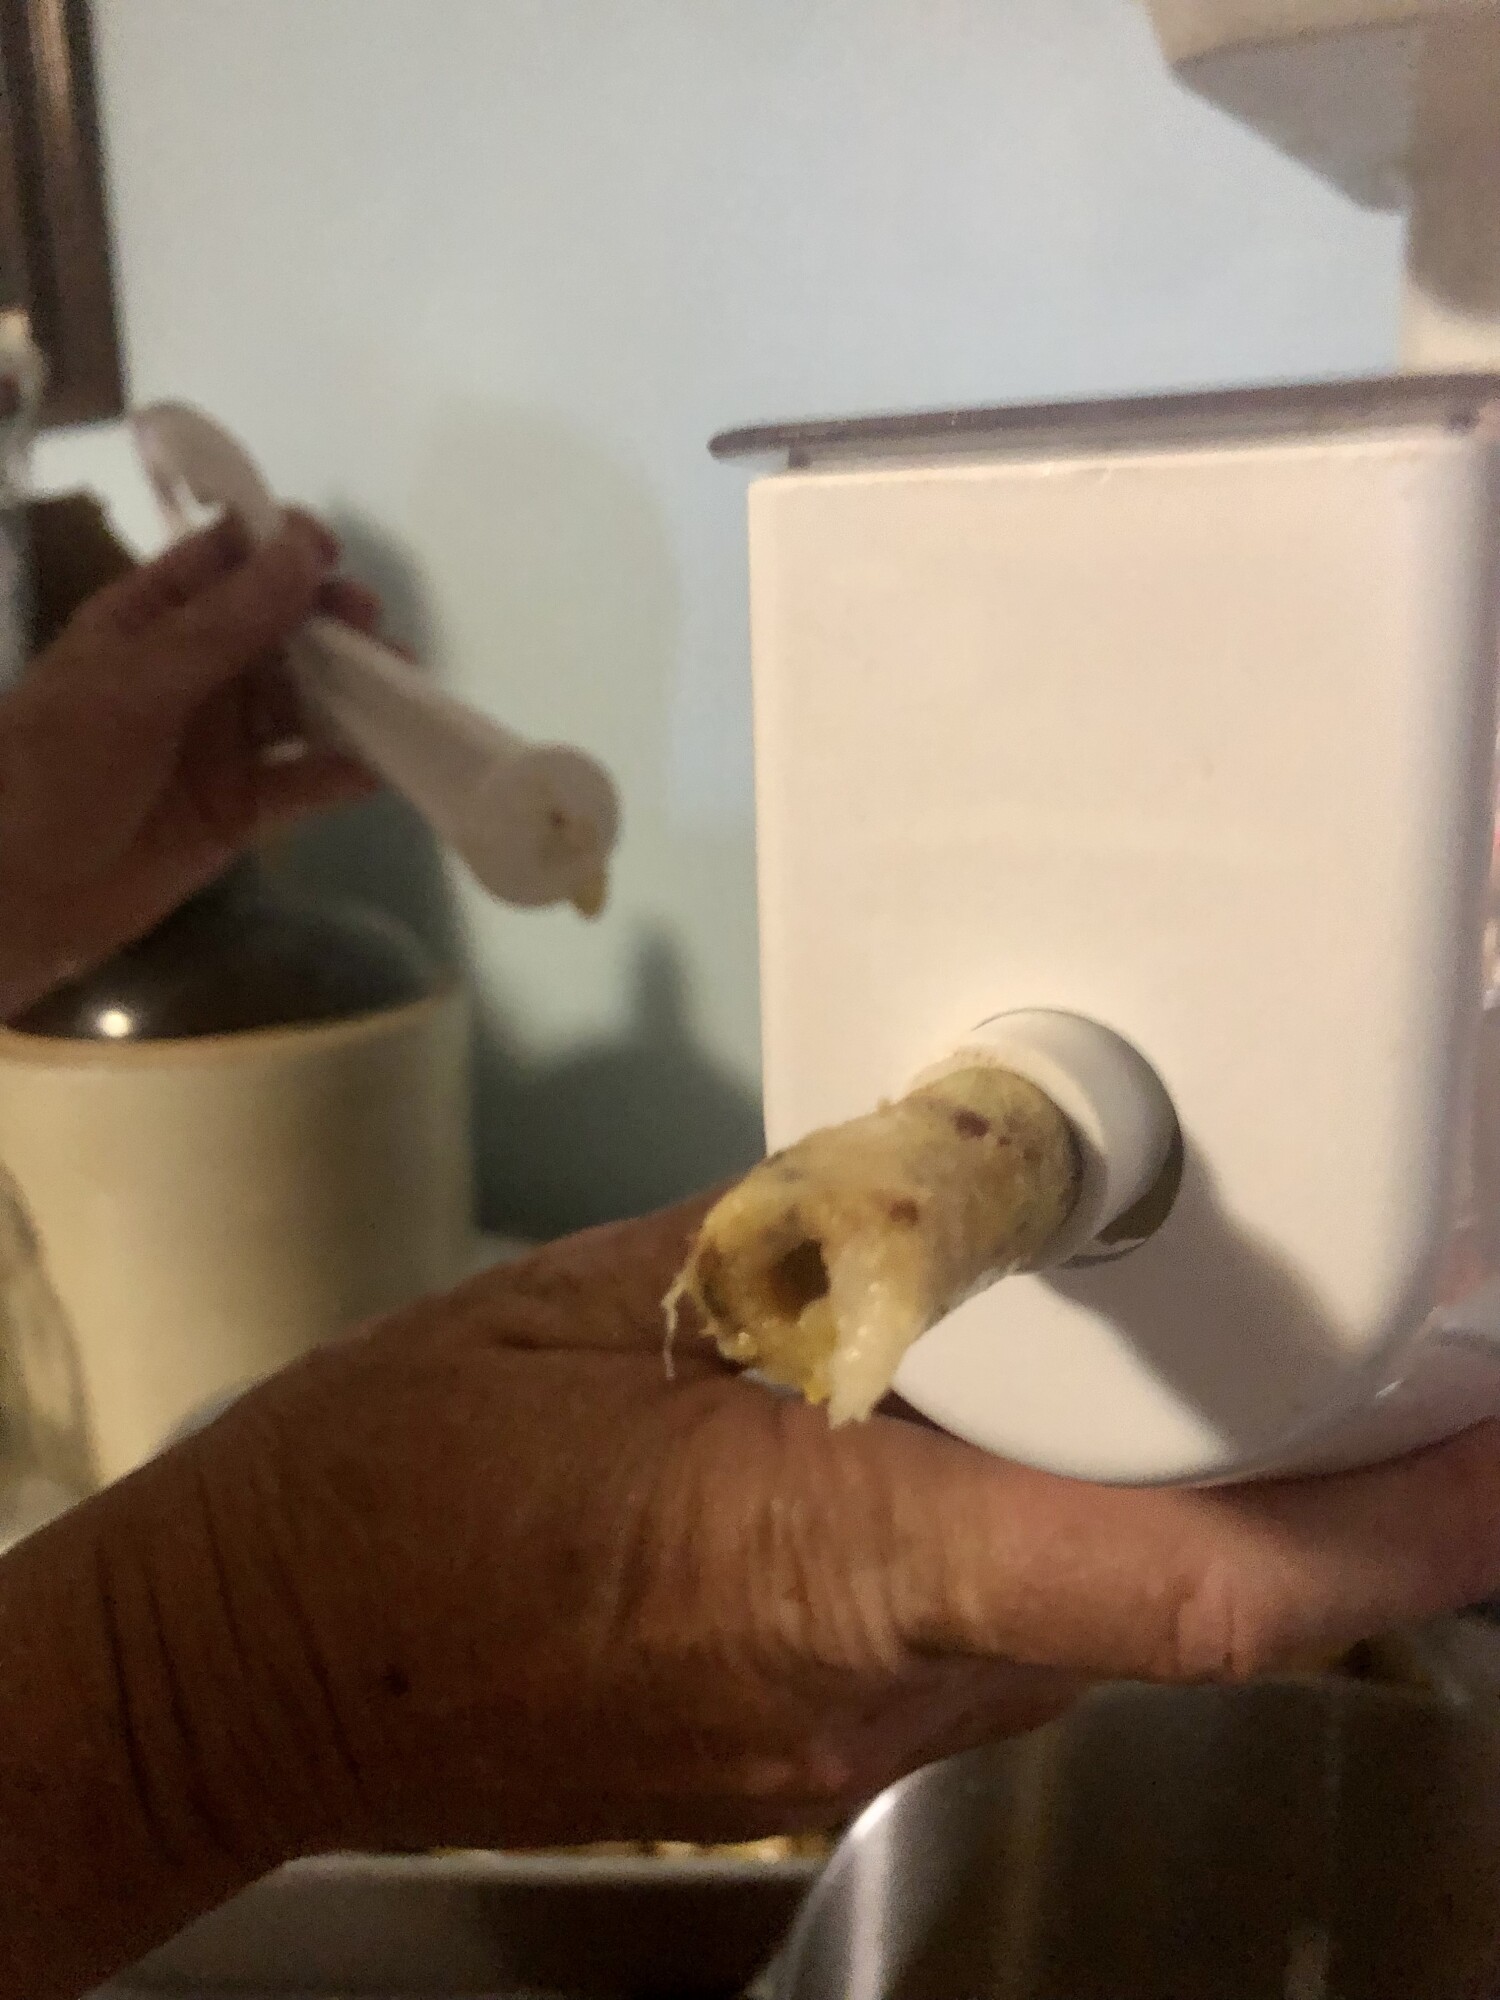
Run the cooked pears through your kitchen aid sieve or use an immersion blender if you've peeled and cored them. You could also use a food processor or blender. The goal is to achieve a smooth, consistent texture.
Any more white than this and you are loosing to much of the pear. Cook them a little longer to soften them. Peal and core should be the main thing you see coming out this end.
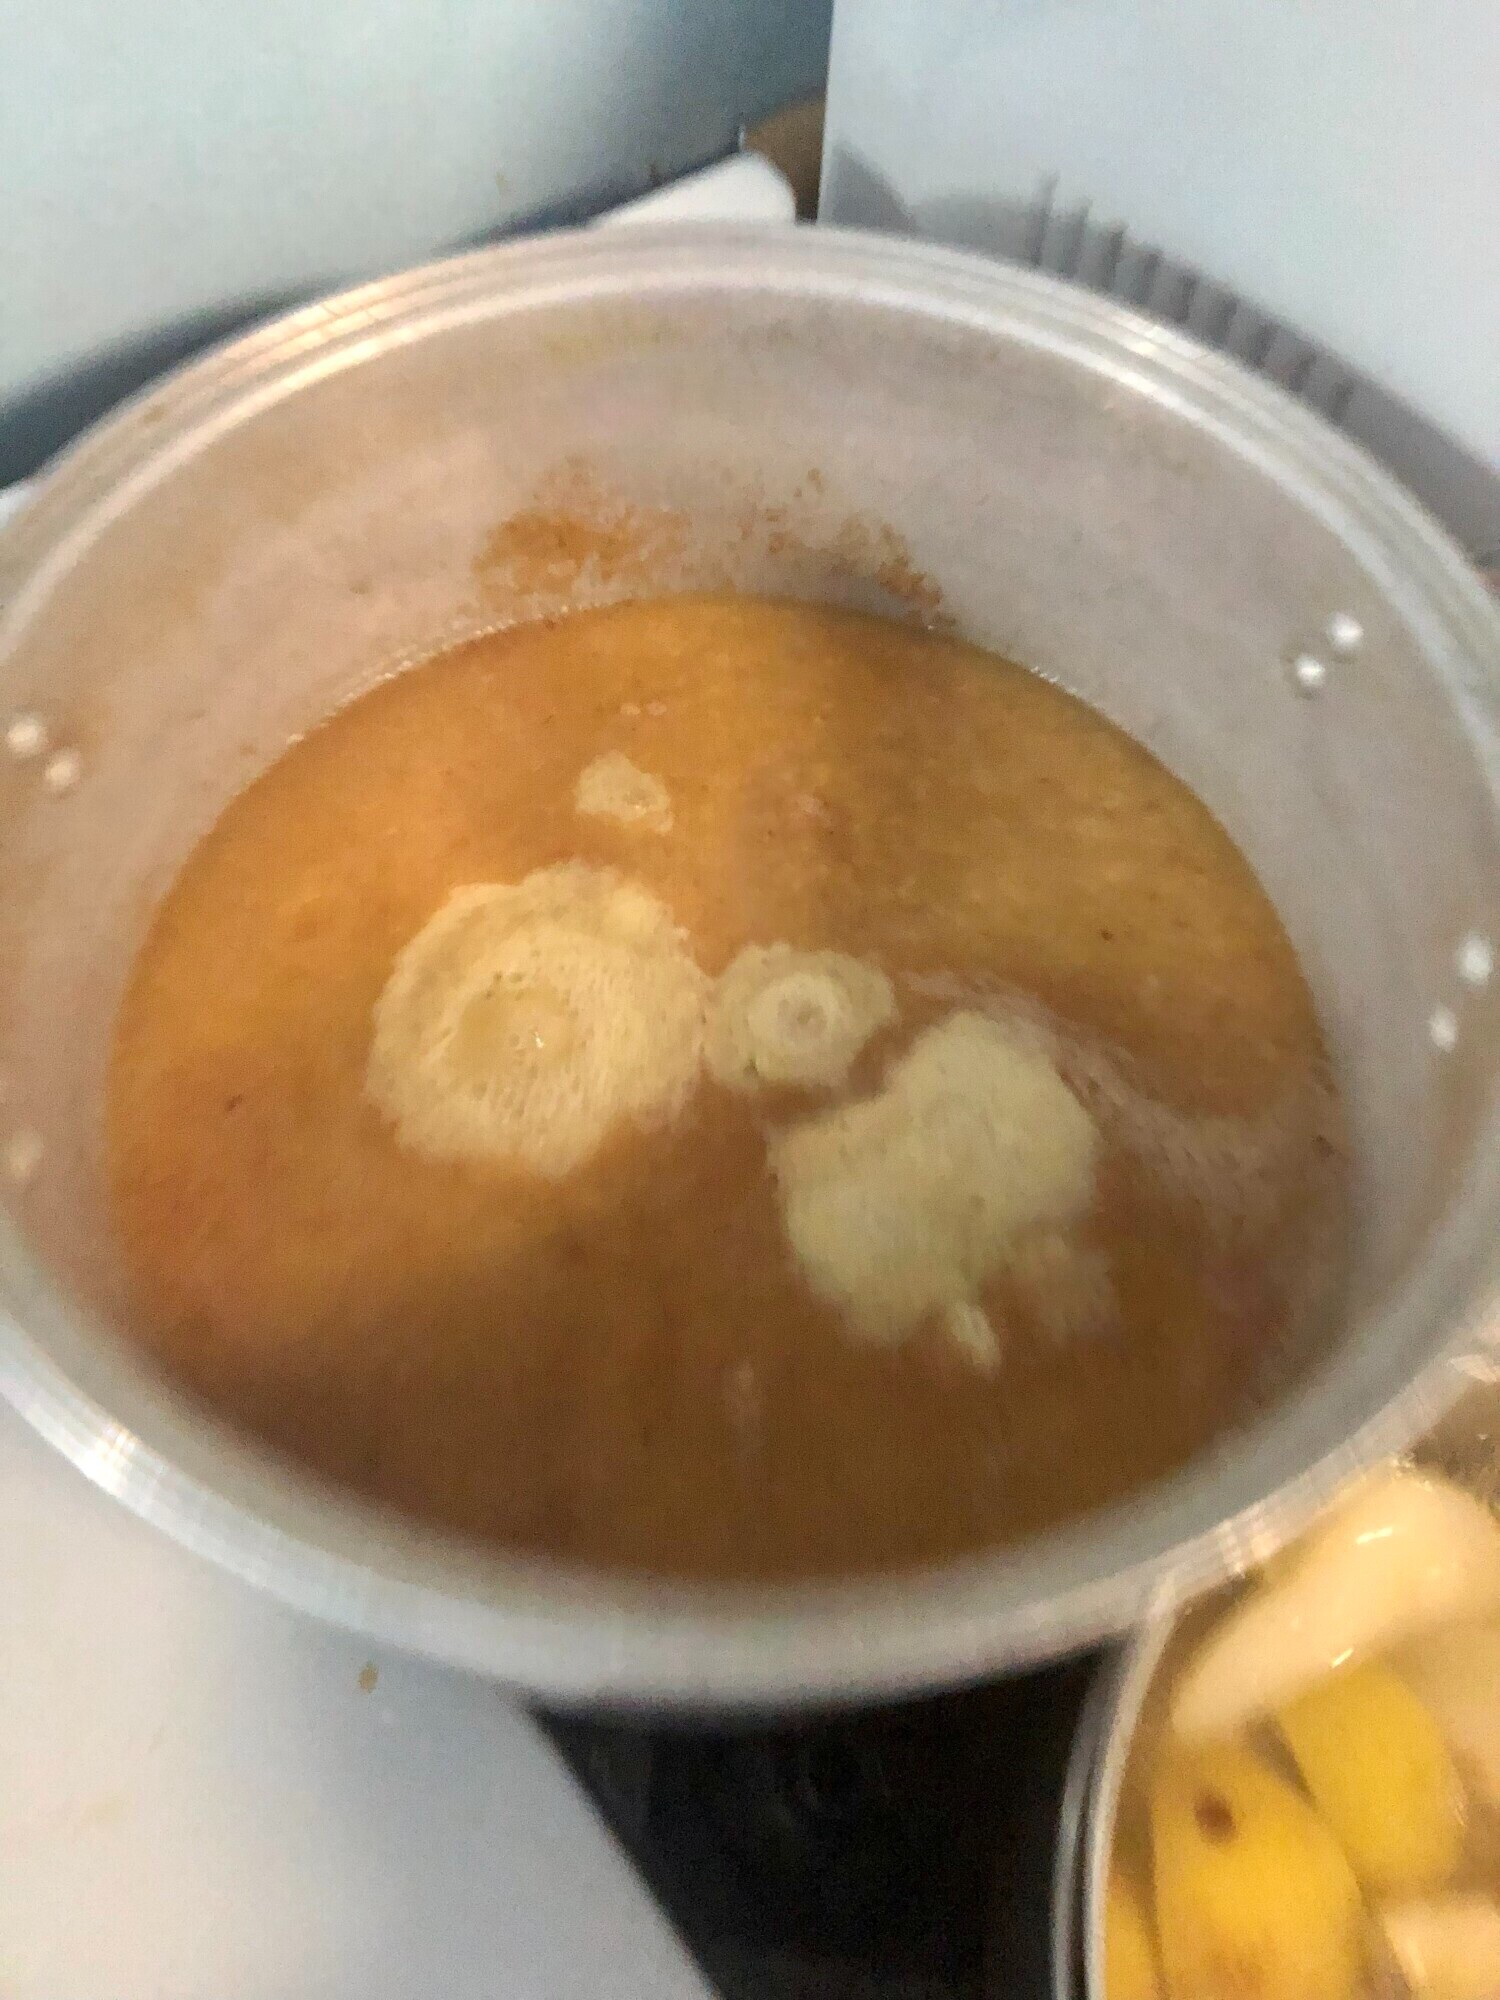
Step 5: Cook Down the Sauce.
Return the pear puree to the stock pot and bring it to a simmer until you reach your desired consistency. Stir regularly to prevent sticking or burning at the bottom. If you want to add some cinnamon or other spices to your sauce now is the time to do that as well.
Step 6: Fill the jars!
Fill clean, hot jars with pear sauce, leaving about ½ inch of headspace.
Step 7: De-bubble the Jars
Run a long spatula or knife along the edge of the jar to remove any air bubbles. Wipe the rim clean to ensure a proper seal. This step is crucial; jars with bubbles can explode in the water bath, and sauce on the rims can prevent proper sealing.
Step 8: Prepare the Lids
Rinse the one-time-use canning lids in hot water. Place them on the jars and attach the rings, but avoid over-tightening. A quick twist is enough before the jars become too hot to handle. For reusable lids (like those from Tattler), follow the manufacturer's instructions.
Step 9. Place the Jars
Place the jars, pint or quart, in a hot water bath and wait for the water to boil. Once boiling, set the timer for 20 minutes.
Step 10: Cool and Store
Remove the jars from the hot water bath and allow them to cool completely. Check the lids to ensure the jars are sealed. Remove the rings, label the jars, and store them. For one-time-use lids, the bubble should be down and not pop up. For reusable lids, gently lift them by the lid to check the seal.
Making pear sauce is a wonderful way to preserve the bounty of your harvest and enjoy delicious, homemade treats year-round. If you're new to food preservation, don’t worry—each step of this process is manageable, and you'll get the hang of it quickly.
If you have any questions or need more tips, feel free to reach out. And if you're looking for high-quality, reusable canning lids, check out Tattler Reusable Canning Lids for some great options.
Happy canning, and enjoy your pear sauce!
Wanting a community to lean into? Join the FREE Thriving Through Farm Distress: Wife’s Support Network! In our community, we embrace the challenges of farm life and provide a supportive space for wives facing the complexities of managing a family farm. Whether you're navigating financial pressures, day-to-day operations, or seeking ways to create a thriving home, we're here for you. Explore gardening tips for cultivating your own oasis, share insights on animal care, and discover practical family budgeting strategies. Together, let's grow through challenges, flourish authentically, and sow the seeds for a resilient and thriving farm life. Join us on this journey of resilience and abundance!
As I've grown in my journey as an entrepreneur, mom, gardener, and livestock owner, I struggled to find a planner that met my needs and kept me organized. So, I MADE MY OWN. You can look at it on the link below and buy it on amazon below.
Don't want the whole calendar part? I got you! I pulled the gardening and animal care pages out and put them in a book all their own.
Starting to garden doesn't have to be hard! I gathered all the tips I've learned over my gardening learning curve and made them into a simple course to jump start your gardening your life.
Supporting Your Family Naturally from the Inside Out community!! This community is for Mommas, looking to Support Your Family from Nature for Wellness. Tips range from nutrition, herbals, detoxing, natural cleaning, and essential oils. Basically, all the things I’ve learned slowly over the past 5+ years of my journey. We have moved off Facebook, to better serve our community and be able to discuss openly options for providing for your family in the best way possible.
Join the FREE Community
Join the FREE Community
I've had 3 very different pregnancies. After the first traumatic birth, I learned better and how to care for my body naturally and prevent common pregnancy and birth problems before they arise. This quick course will get you the tools you need to have a naturally healthy pregnancy, labor, and delivery. My first pregnancy I had a normal western medicine all the things pregnancy. My second? I flipped to completely natural, no medicine. Bonus: Preventing Preeclampsia Without the Aspirin & Healing from Birth Trauma


0 Comments