
This post may contain affiliate links, which means that I may receive a commission if you make a purchase using these links, with NO additional cost to you.
I love growing my own food. Part of growing all the food is not only eating it fresh in the summer, but preserving it for winter use. One vegetable we use for several canning recipes is tomatoes. I usually can spaghetti sauce with many of the tomatoes. It makes for quick meals in the winter months and the kids love it. Making spaghetti sauce is a simple process.
For homemade spaghetti sauce you will need (this will make approximately 3 quarts)
1 large onion
1 clove garlic
12 large tomatoes (approximately 1 cup each)
6 beef bouillon cubes (or 3 pints beef/bone broth)
4 t basil
2 lg bay leaves
1t salt
1 t oregano
12 oz can tomato paste
Optional mushrooms
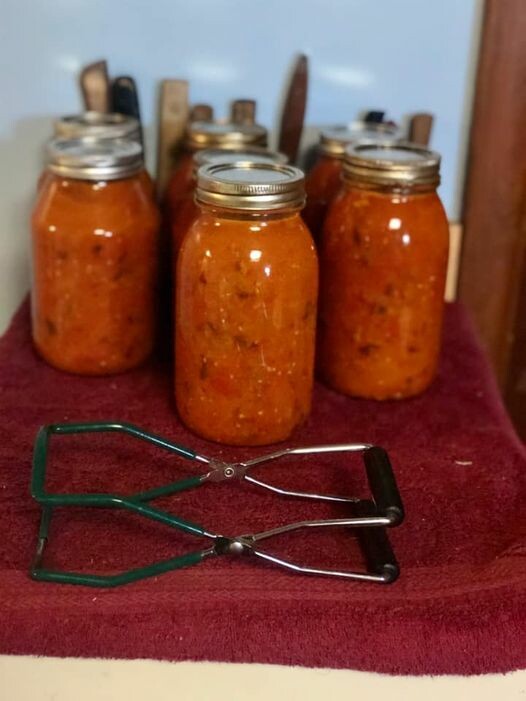
I usually 3-5 times the recipe and make as big of a batch as I can at one time. For the pot pictured the recipe is 3x. The smaller pot in the back will do 2x the recipe. A tip I've learned recently is to combine everything into a roster (steps 1-3) and allow the sauce to cook down overnight to save on canning time in the kitchen.
You will need the following supplies:
Canning jars
Canning lids
Canning rings
Jar Funnel
Long spatula or knife
Hot water bath
Stock pot (I usually have at least 2)
Immersion blender (for smooth sauce texture)
Step 1. Quarter tomatoes and add all the ingredients to a big stock pot. No need to remove skins or seeds. If you are using frozen tomatoes, just throw them in the pot. They will cook down and chop up as you stir the pot.
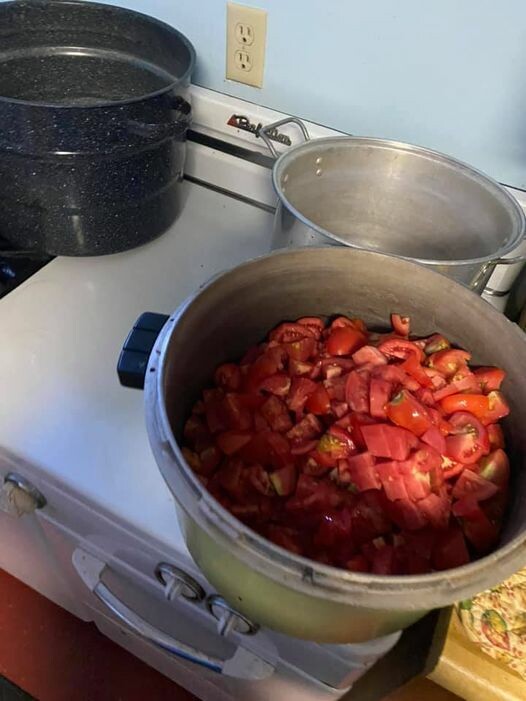
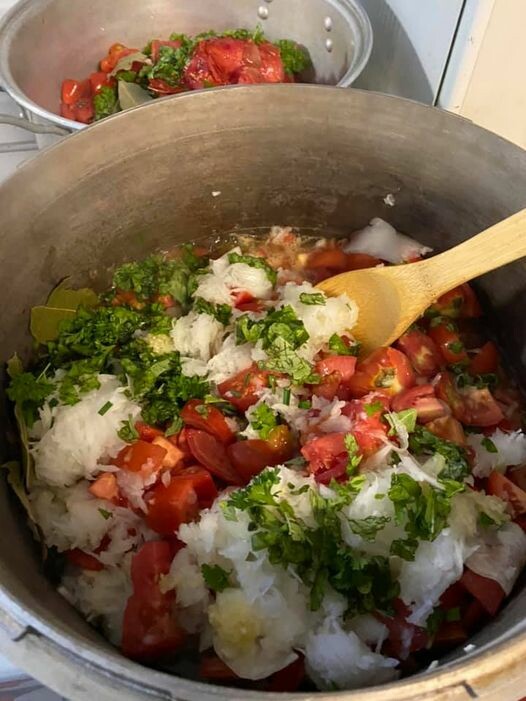
Step 2. Add all the ingredients. As I harvest produce or find ingredients on sale, I will chop them up and freeze them in sizes I will need for the recipes. It makes the process so much faster. I also like to use fresh herbs if I have them on hand at the time (you will need about double the amount using fresh). Chop onions with a food processor saves your eyes and time too. Once everything is in the pot turn the burner on high and stir occasionally.
Step 3. Stir the sauce and break up the chunks. I like to use my mix and chop for the first part to break up the big chunks. For a smoother sauce, use an immersion blender to blend everything together in the pot.
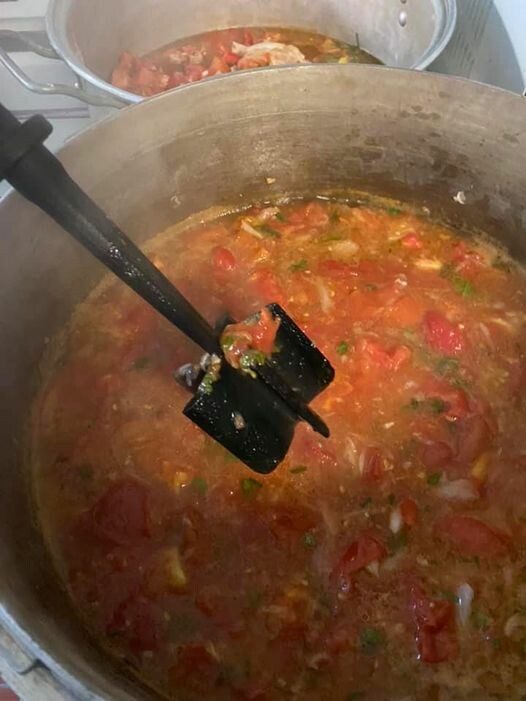
Step 4. Once the sauce has boiled down to the correct consistency (this will be based purely on individual preference), pour into your cleaned and sanitized jars (running them through the dishwasher is an easy way to do this).
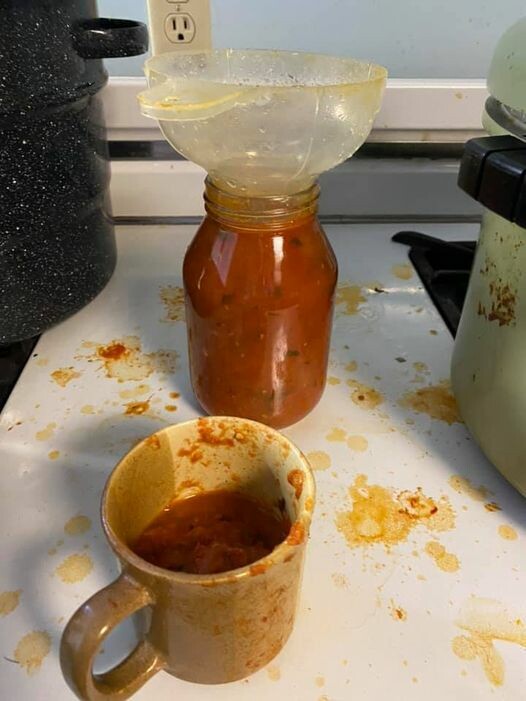
Step 5. Fill jars to ½ inch below the rim.
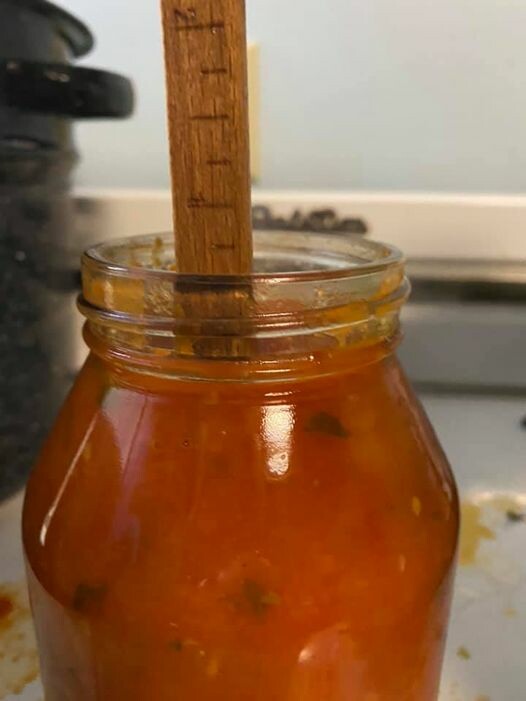
Step 6. Run the rubber spatula up and down along the inside of the jar to remove any air bubbles. Add more sauce if needed. Wipe the rim clean. Do NOT forget this step. Jars with bubbles can explode in the water bath. Sauce on the rims will keep the jars from sealing properly.
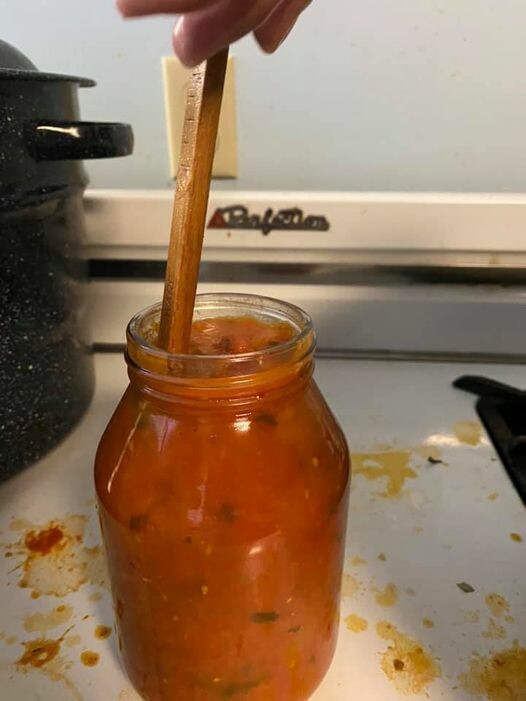
Step 7. Lids. Rinse the, one time use, canning lids in hot water. This is new compared to older lids which you needed to boil first. Then set them on the jar and attach the rings down. Do not over tighten the rings, a quick tight twist will do before you burn your fingers on the hot jar.
If you are using reusable lids you will want to boil the seals and follow the instructions from the manufacturer. I purchased some from Tattler at www.reusablecanninglids.com.
Step 8. Fill your spare pot (or now empty pot) half way with hot water and bring to a boil. If you have the stove space you can actually start the pot of water when you start cooking your sauce in the beginning (this also saves time).
Step 9. Place jars in the pot, and cover with a lid to help it come to a boil quicker.
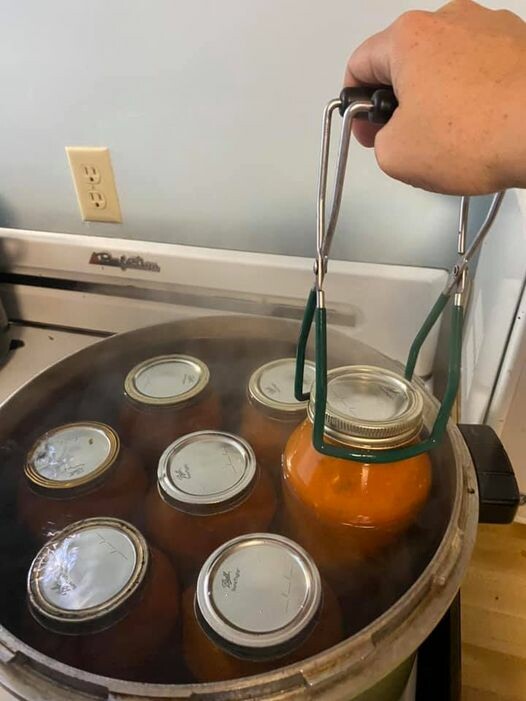
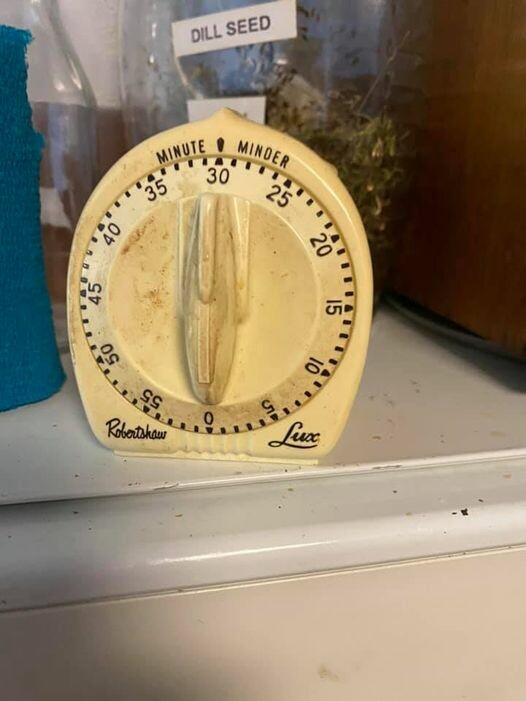
Step 10. Once boiling, set your timer for 30 minutes, and let it continue to boil (this is called Water Bathing)
Step 11. After the 30 minutes have elapsed, pull the jars out and set them on a doubled over towel on the counter. Listen for a small “pop” of the middle of the lid dropping down. This indicates that the jar is sealed correctly (for one time use lids). Let the jars cool completely. Check seals, remove rings, label, then store in your pantry.
For one time use lids, the bubble should be down and not pop up. For reusable lids, gently pick them up by the lid (it's terrifying the first few times), if the lid holds, the seal is good.
Wanting a community to lean into? Join the FREE Thriving Through Farm Life: Wife’s Support Network! In our community, we embrace the challenges of farm life and provide a supportive space for wives facing the complexities of managing a family farm. Whether you're navigating financial pressures, day-to-day operations, or seeking ways to create a thriving home, we're here for you. Explore gardening and preserving tips for cultivating your own oasis, share insights on animal care, and discover practical family budgeting strategies. Together, let's grow through challenges, flourish authentically, and sow the seeds for a resilient and thriving farm life. Join us on this journey of resilience and abundance!
As I've grown in my journey as an entrepreneur, mom, gardener, and livestock owner, I struggled to find a planner that met my needs and kept me organized. So, I MADE MY OWN. You can look at it on the link below and buy it on amazon below.
Don't want the whole calendar part? I got you! I pulled the gardening and animal care pages out and put them in a book all their own.
Starting to garden doesn't have to be hard! I gathered all the tips I've learned over my gardening learning curve and made them into a simple course to jump start your gardening your life.
I've had 3 very different pregnancies. After the first traumatic birth, I learned better and how to care for my body naturally and prevent common pregnancy and birth problems before they arise. This quick course will get you the tools you need to have a naturally healthy pregnancy, labor, and delivery. My first pregnancy I had a normal western medicine all the things pregnancy. My second? I flipped to completely natural, no medicine. Bonus: Preventing Preeclampsia Without the Aspirin & Healing from Birth Trauma











0 Comments