This post may contain affiliate links, which means that I may receive a commission if you make a purchase using these links, with NO additional cost to you.
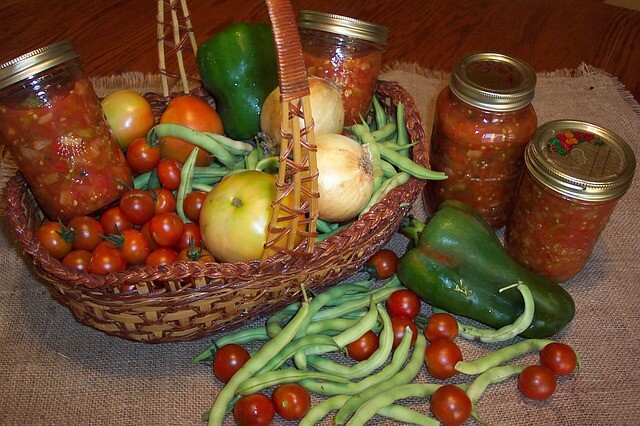
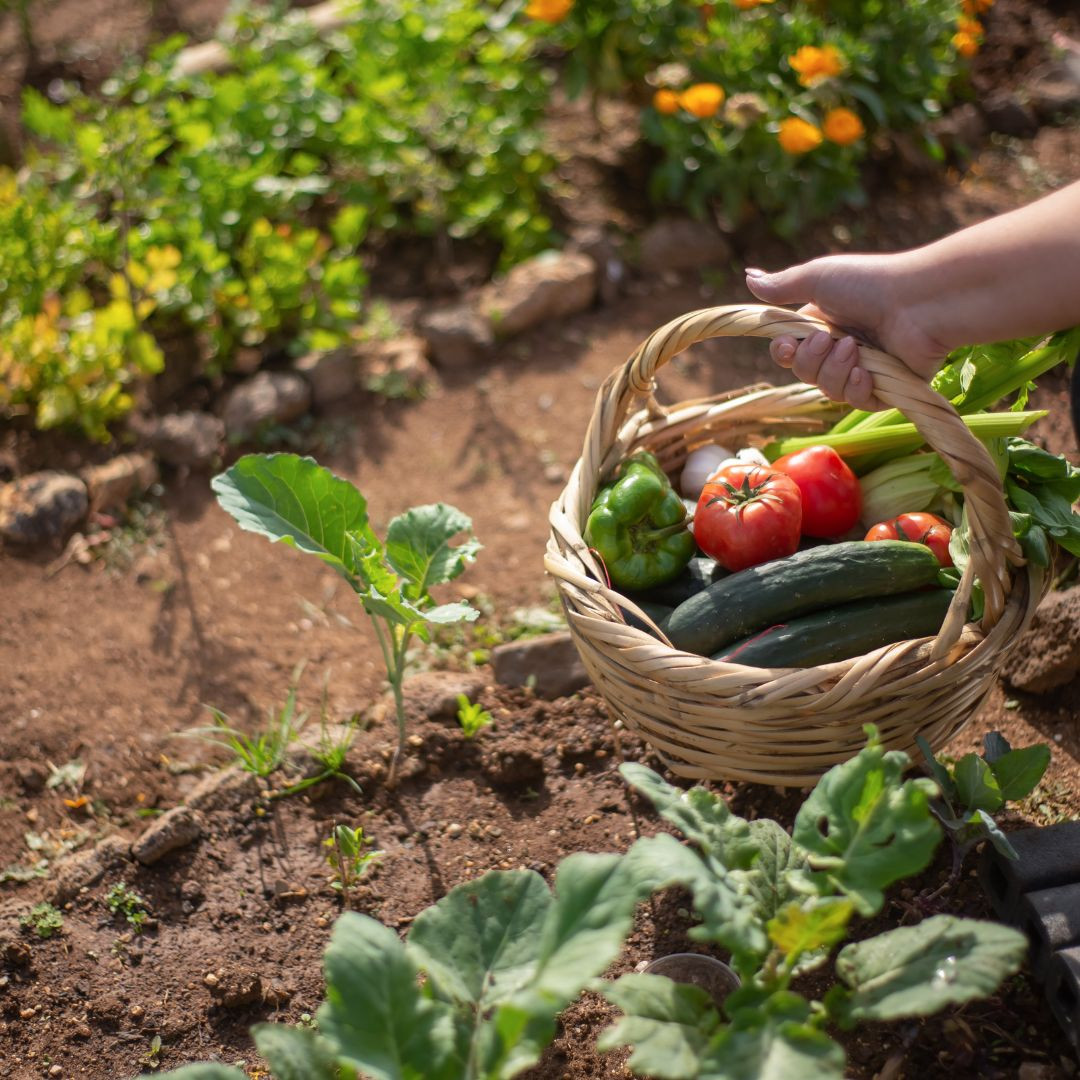
I love growing my own food. Part of growing all the food is not only eating it fresh in the summer, but preserving it for winter use. One vegetable we use for several canning recipes is tomatoes. I usually can salsa with many of the tomatoes. Its perfect for that side you forgot you needed to bring, or adding to chops or roasts. Making salsa is a simple process.
For homemade salsa you will need (this will make approximately 3 quarts)
12 large tomatoes (approximately 1 cup each)
3 large onion
1 c vinegar (I like apple cider vinegar)
1 c Jalapenos chopped
½ c sugar
¼ c salt
¼ c cilantro (to taste)
4 cloves garlic
2 c corn (½ qt frozen)
I usually make 5 times the recipe and make as big of a batch as I can at one time. For the pot pictured the recipe is 3x. The smaller pot in the back will do 2x the recipe.
You will need the following supplies:
Canning jars
Canning lids
Canning rings
Jar Funnel
Long spatula or knife
Hot water bath
Stock pot (I usually have at least 2)
Immersion blender (for smooth salsa texture)
Step 1. Quarter tomatoes and add all the ingredients to a big stock pot. Sometimes I don’t even quarter them. No need to remove skins or seeds. If you are using frozen tomatoes, just throw them in the pot. They will cook down and chop up as you stir the pot.
Step 2. Add all the ingredients. As I harvest produce or find ingredients on sale, I will chop them up and freeze them in sizes I will need for the recipes. It makes the process so much faster. I also like to use fresh herbs if I have them on hand at the time (you will need about double the amount using fresh). Chop onions with a food processor saves your eyes and time too. Once everything is in the pot turn the burner on high and stir occasionally.
Step 3. Stir the sauce and break up the chunks. I like to use my mix and chop for the first part to break up the big chunks. For a smoother sauce, use an immersion blender to blend everything together in the pot.
Step 4. Once the sauce has boiled down to the correct consistency (this will be based purely on individual preference), pour into your cleaned and sanitized jars (running them through the dishwasher is an easy way to do this).
Step 5. Fill quart jars to ½ inch below the rim.
Step 6. Run the rubber spatula up and down along the inside of the jar to remove any air bubbles. Add more sauce if needed. Wipe the rim clean. Do NOT forget this step. Jars with bubbles can explode in the water bath. Sauce on the rims will keep the jars from sealing properly.
Step 7. Lids. Rinse the, one time use, canning lids in hot water. This is new compared to older lids which you needed to boil first. Then set them on the jar and attach the rings down. Do not over tighten the rings, a quick tight twist will do before you burn your fingers on the hot jar.
If you are using reusable lids you will want to boil the seals and follow the instructions from the manufacturer. I purchased some from Tattler at www.reusablecanninglids.com.
Step 8. Fill your spare pot (or now empty pot) half way with hot water and bring to a boil. If you have the stove space you can actually start the pot of water when you start cooking your sauce in the beginning (this also saves time).
Step 9. Place jars in the pot, and cover with a lid to help it come to a boil quicker.
Step 10. Once boiling, set your timer for 25 minutes, and let it continue to boil (this is called Water Bathing)
Step 11. After the 25 minutes have elapsed, pull the jars out and set them on a doubled over towel on the counter. Listen for a small “pop” of the middle of the lid dropping down. This indicates that the jar is sealed correctly (for one time use lids). Let the jars cool completely. Check seals, remove rings, label, then store in your pantry.
For one time use lids, the bubble should be down and not pop up. For reusable lids, gently pick them up by the lid (it's terrifying the first few times), if the lid holds, the seal is good.
Wanting a community to lean into? Join the FREE Courageous + Purposeful Mommas group! This community is for the Mommas, mommas to be, in the midst of raising, and kids grown, looking for tips on building your family up and providing for them through natural methods. Tips include: gardening, bulk buying, caning,/preserving, livestock, homesteading, and home remedies. Your family is precious, and this group is to help you gain the knowledge and tools to keep your family well and not reliant on outside professionals. Remedies and tips are easy and simple for the busy momma, time is precious after all, including pregnancy, birth, young kids, and illness. Trust your Momma gut again! This community offers the resources + community you need to help get started on your journey and prepare for whatever future you envision.
Join the Free Community
Click here to get the stories straight to your email:
Sign up for the Blog
For more on wellness tips click here:
Sign up for Wellness tips
For more on homesteading on your budget click here:
Sign up for Homesteading Tips
For more simple DIY updates click here:
Sign up for easy DIYs


0 Comments