This post may contain affiliate links, which means that I may receive a commission if you make a purchase using these links, with NO additional cost to you.
You know what I love about native plants? They are easy to grow and survive basically on their own! They can handle a drought, they can handle weeds, and a lot of what mother nature throws at them. They also usually self seed and therefore are easy to have year after year, without a lot of work. My dad and I go back and forth on what is a weed and what is a flower. Most my my herbal plants he would honestly call a weed. Anyway, two amazing resources for herbal remedies are Medical Herbs: a Beginners Guide and Midwest Medicinal Plants.
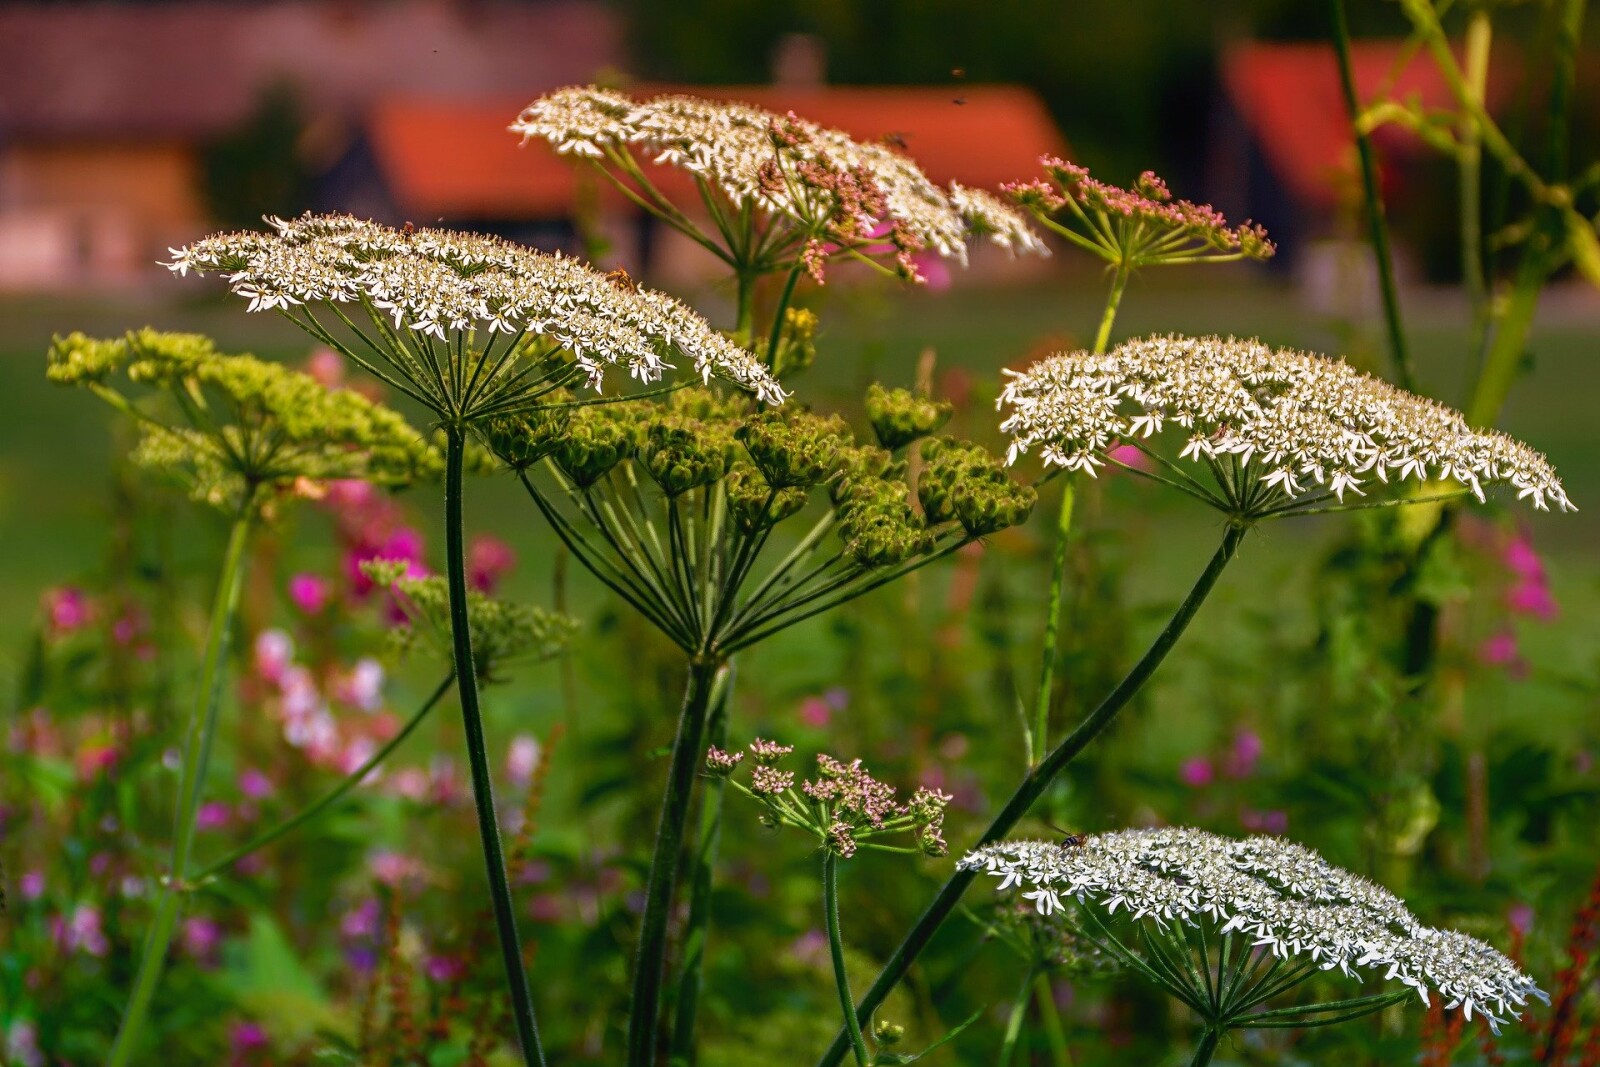
Last year I discovered a small patch of Yarrow in my horse pasture. Once it had flowered and was starting to seed I took a few top cuts of the seed heads, and took them to where I wanted some in my garden. I made sure to leave several established plants in the pasture just in case this crazy idea didn’t work. I put a small cage around them so the dogs didn't disturb the spot and waited for spring. I was shocked this spring when I was cleaning out the weeds and discovered a few small Yarrow plants coming up! They were the first to come up. Now I have a small patch in my garden and in the pasture.
Once it started to flower, I took a few of the leaves and flowers to make a tincture. I saw more younger plants coming so I wasn’t too concerned about leaving enough for seeds. I took only a couple stocks from the flowering plants so they would continue to grow and have reserves for next year. Later this fall I plan to harvest some more to hang dry for use this winter in teas.
Yarrow is excellent at helping to stop bleeding. Use as a poultice or tincture by applying topically to the bleeding wound. Yarrow can also help to dispel stagnant blood in bruises. You can make an ointment for bruises. It is also considered a bitter herb that can help stimulate stagnant or sluggish digestion. It has also been known to help stimulate the peripheral immune system during a cold and flu.
Why a tincture? A tincture is a plant infused in alcohol. It has a very long shelf life (years). Keep it on hand as one more tool in your tool box, that doesn't really expire.
Yarrow Tincture:
A glass jar to fill
Fresh Yarrow leaves and Flowers
Alcohol 80 proof or above
Harvest when in full bloom and scent is strong.
Loosely pack leaves and flowers into a jar. Fill the jar with alcohol until leaves are covered by 2 to 3 inches.
Place in a sunny spot and shake daily to mix. Allow to infuse for 4-6 weeks (write the date on the jar) you won’t actually remember when you started it.
strain the material from the liquid and place liquid in an air tight sealed glass jar.
Wanting a community to lean into? Join the FREE Courageous + Purposeful Mommas group! This community is for the Mommas, mommas to be, in the midst of raising, and kids grown, looking for tips on building your family up and providing for them through natural methods. Tips include: gardening, bulk buying, caning,/preserving, livestock, homesteading, and home remedies. Your family is precious, and this group is to help you gain the knowledge and tools to keep your family well and not reliant on outside professionals. Remedies and tips are easy and simple for the busy momma, time is precious after all, including pregnancy, birth, young kids, and illness. Trust your Momma gut again! This community offers the resources + community you need to help get started on your journey and prepare for whatever future you envision.
Click here to get the stories straight to your email:
For more on wellness tips click here:
For more on homesteading on your budget click here:
For more simple DIY updates click here:
This post may contain affiliate links, which means that I may receive a commission if you make a purchase using these links, with no additional cost to you.
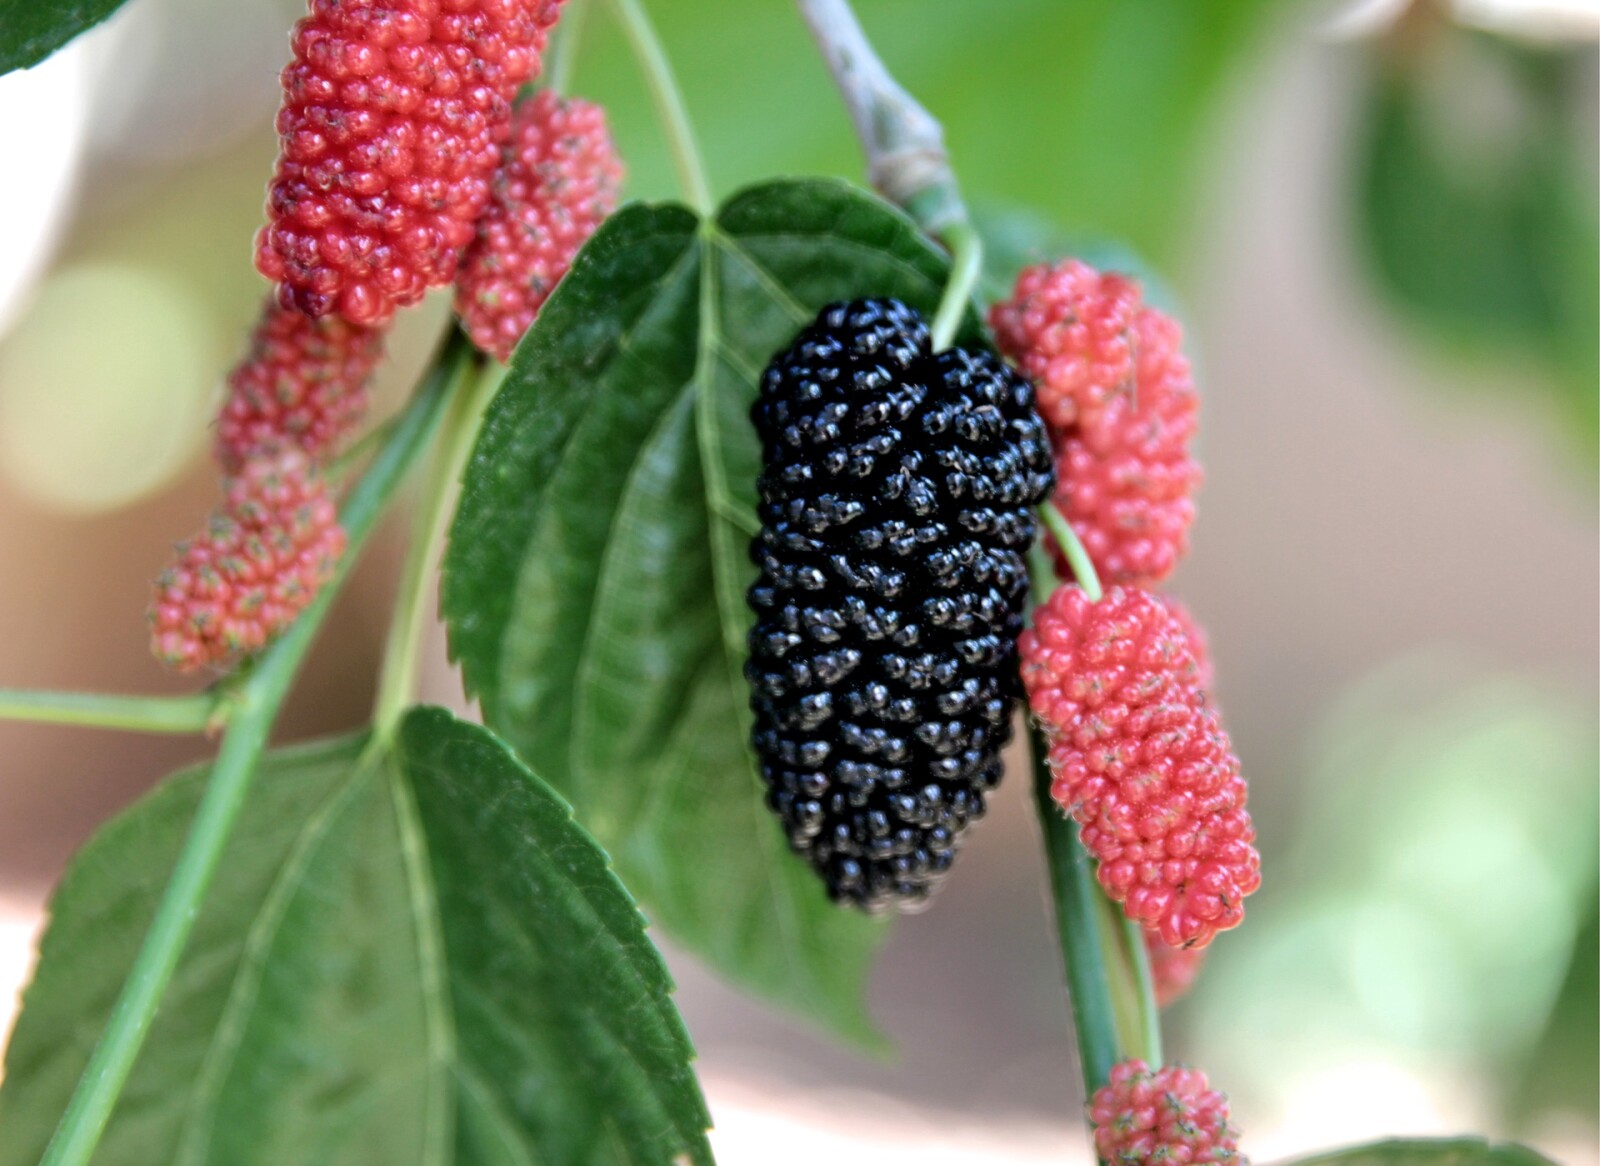
So one of my Facebook friends, Lisa, had a post about this delicious sounding mulberry syrup. I had some mulberry trees in my yard I wanted to do something with, but did not have the ambition for jam or jelly. I asked my friend for the recipe. What was even better, was it was so simple! Recipe is at the bottom :)
I called up my friend Nicole, to share my idea! Of course she was in. Two mom’s, 6 kids under 5, shouldn’t be too hard right? Go ahead and laugh now, it’s ok. Thankfully we didn’t have to go anywhere other than my yard.
So we set out one Thursday morning, with kids cranky and colander in tow. The first tree was already past and the birds had taken most of it. The good thing with mulberries is where there is one, there is probably more. So we headed into the windbreak. Sure enough we found one along the back side of the trees. Kids taking turns with the colander, me in a tree, Nicole picking what she could from the ground and catching what I threw down. Kids snacking on the pickings, winning, and seeing what they could find on the ground.
Once we got about 2 cups worth we called it good and headed back to the house. Neither of us do winning kids well. The kids got to playing and we headed to the kitchen. Remember the simple I like? Blender, pan, cheesecloth, and a jar was all we needed. We didn’t wash the berries, because we knew what had been on them. If you are gathering wild, I recommend washing them with Fruit and Veggie Soak. Pat them dry then blend them up. Squeeze through a cheesecloth, or mesh strainer, into a pan. Add sugar, boil and jar. We were done in under 30 minutes in the kitchen!
Later that week my sisters visited and we cooked up pancakes and sampled it. It was delicious! Kids approved too! It keeps in the fridge for two months without canning too!
Recipe:
2 cups mulberries
¾ cup of sugar
Blend mulberries in a blender
Strain through cheesecloth into a pan
Add sugar and bring to boil
Turn off heat and Jar (makes ~1 8oz jar)
Wanting a community to lean into? Join the FREE Courageous + Purposeful Mommas group! This community is for the Mommas, mommas to be, in the midst of raising, and kids grown, looking for tips on building your family up and providing for them through natural methods. Tips include: gardening, bulk buying, caning,/preserving, livestock, homesteading, and home remedies. Your family is precious, and this group is to help you gain the knowledge and tools to keep your family well and not reliant on outside professionals. Remedies and tips are easy and simple for the busy momma, time is precious after all, including pregnancy, birth, young kids, and illness. Trust your Momma gut again! This community offers the resources + community you need to help get started on your journey and prepare for whatever future you envision.
Click here to get the stories straight to your email:
For more on wellness tips click here:
For more on homesteading on your budget click here:
For more simple DIY updates click here:
This post may contain affiliate links, which means that I may receive a commission if you make a purchase using these links, with no additional cost to you.
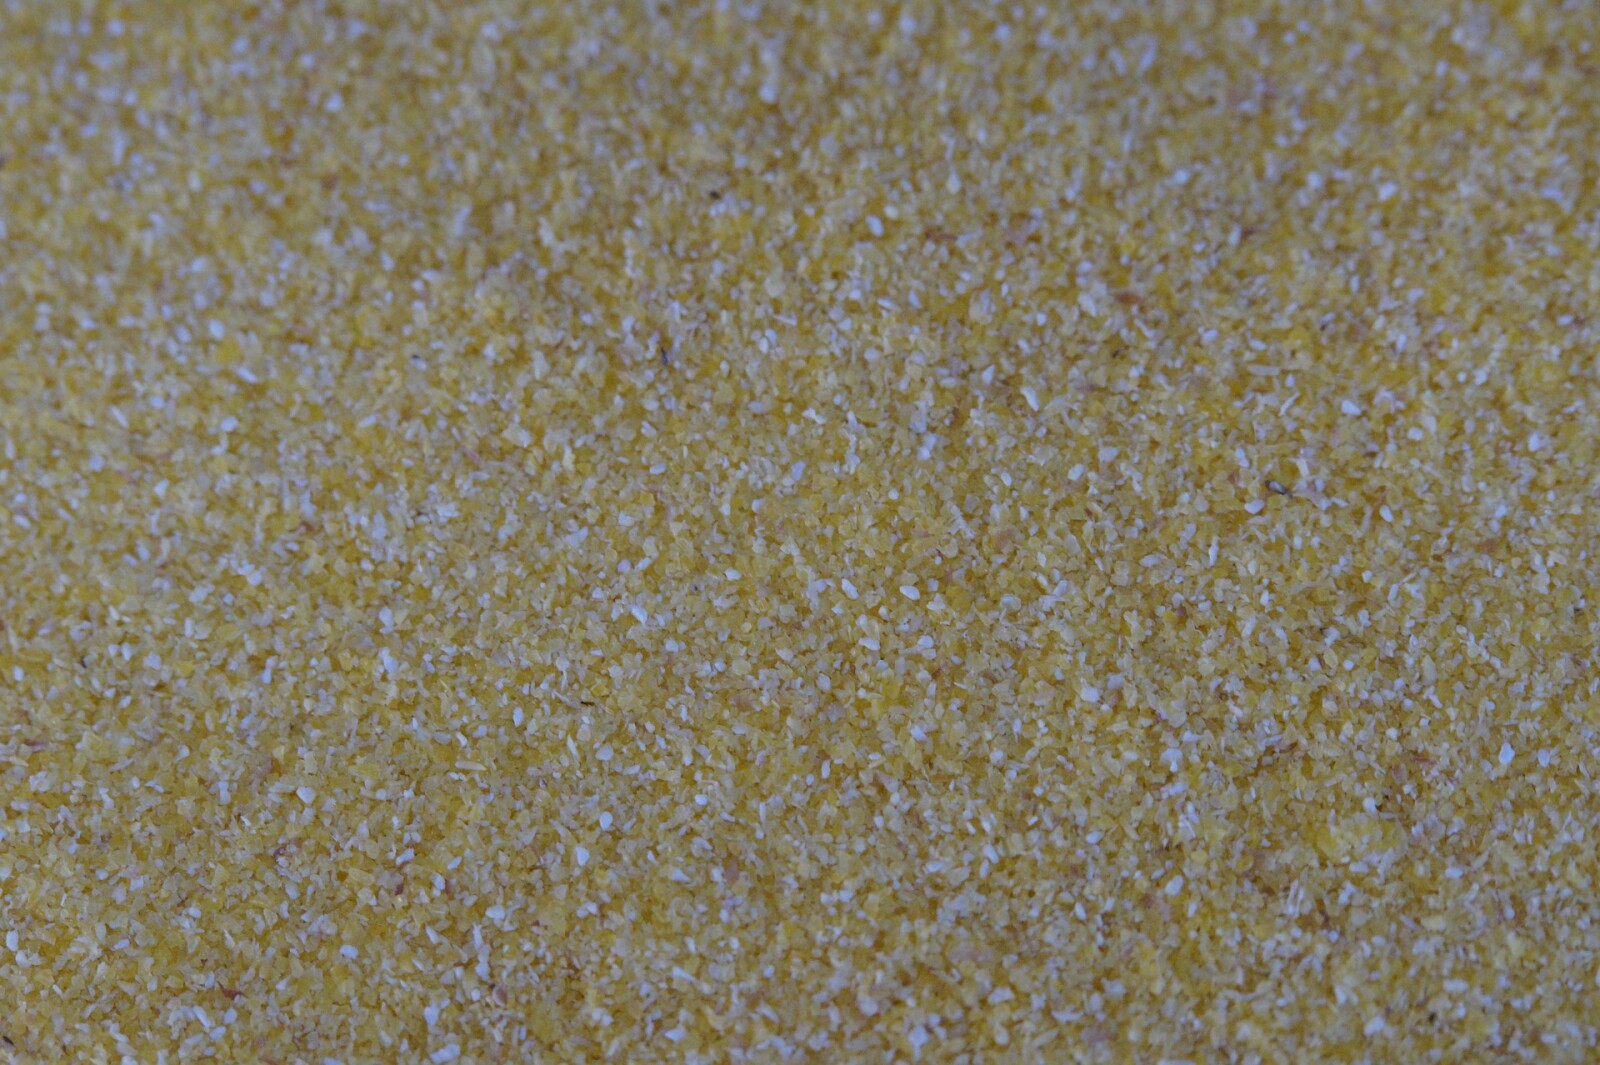
When looking through the Encyclopedia of Country Living, I found guidelines for making your own chick feed. I decided to try my hand at making my own feed since we have an old grain grinder in the garage. The basics to a chick diet are finely ground corn, oats, and wheat, a protein source, and greens. Their diet needs to be 20% protein. Protein can come from fish meal, meat meal, small portion of canned cat food, chopped hard-boiled or scrambled eggs, clabbered milk, yogurt, cottage cheese, or bugs, or a combination of. The more variety the better. Greens, such as alfalfa meal or leaves, clover lettuce, dandelion, cress, chives, grass, spinach, finely chopped weeds, supply many of their vitamins like Vitamin A. Young chicks need ground eggshells or oyster shells for calcium, unless there is another source of calcium. Chicks can become picky about what they eat so keep it changing if you can.
Basics: 2 parts grain, 1 part protein, 1 part greens.
I picked up a bag of oats when we picked out the chicks. We had plenty of corn for the cows, and we had left over milk replacer from calves and lambs. For the first batch, I chose the milk replacer to fill the calcium and vitamin source. There weren't a whole bunch of chicks the first time, so I wanted something easy. I ground the oats and corn as fine as I could. I ground in large batches and measured out what I needed. I then did 2 parts grain to 1 part milk replacer. I would then bring in some weeds and shred them into the feed tray. As soon as the days were warm enough and the chicks moving good, I opened the chick door to the outdoor pen. I also started only refilling their feed at night to train them to come in at dusk.
As the chicks became about a month old, I coarsely ground the grain, and mixed in fine ground eggshells for calcium, reducing the milk replacer to ½ part. They were also out eating bugs and weeds at that point, so I did not feed as much protein.
Around a month and a half I started giving them the scraps of fruit and veggies the kids didn’t finish, or left over peels from the kitchen. They also come to the call of “here Chick-Chick” because food is usually coming! As they grow into layers I will continue with about the same ration. They will be free ranging most of the day, so the grain is mostly a treat to get them to come in at night and lay eggs in the coop.
Wanting a community to lean into? Join the FREE Courageous + Purposeful Mommas group! This community is for the Mommas, mommas to be, in the midst of raising, and kids grown, looking for tips on building your family up and providing for them through natural methods. Tips include: gardening, bulk buying, caning,/preserving, livestock, homesteading, and home remedies. Your family is precious, and this group is to help you gain the knowledge and tools to keep your family well and not reliant on outside professionals. Remedies and tips are easy and simple for the busy momma, time is precious after all, including pregnancy, birth, young kids, and illness. Trust your Momma gut again! This community offers the resources + community you need to help get started on your journey and prepare for whatever future you envision.
Click here to get the stories straight to your email:
For more on wellness tips click here:
For more on homesteading on your budget click here:
For more simple DIY updates click here:
This post may contain affiliate links, which means that I may receive a commission if you make a purchase using these links, with no additional cost to you.
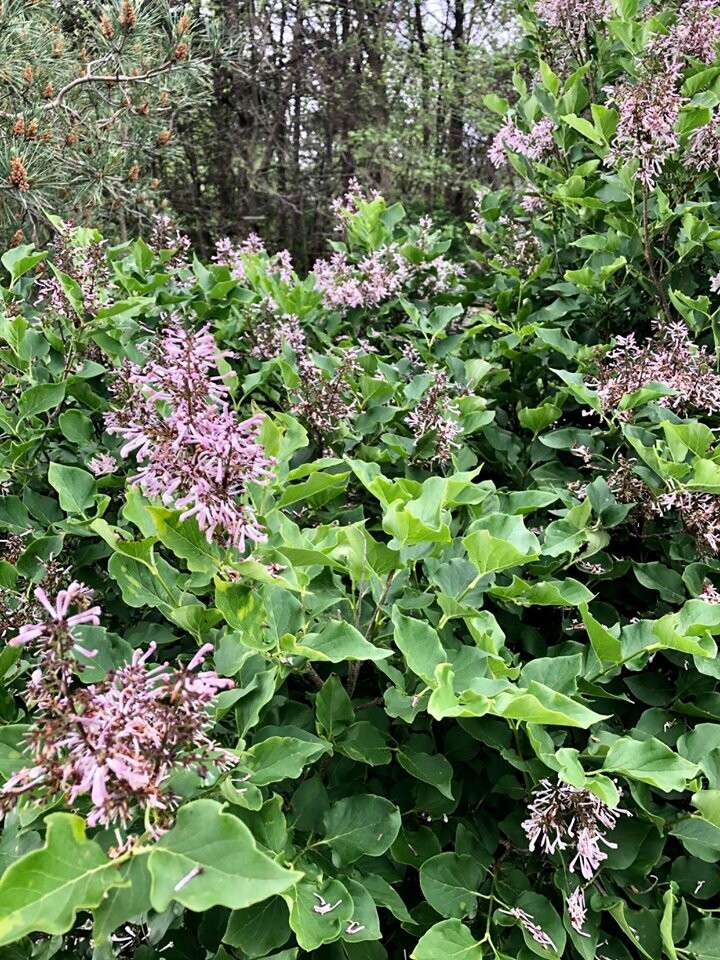
I have this bush out by the pond that is very fragrant and beautiful in the springtime. I was here when we moved, but I really haven’t done much with it. This year in my effort to make the most out of my property, I decided to see what I could do with these beautiful blossoms.
Turns out these fragrant blossoms are not only good for flower arrangements, but they are also edible! After looking I decided to make 3 simple recipes to start: Lilac infused honey, lilac infused sugar, and lilac jelly. The first two simple, the third, more steps, but fairly simple.
First for anything you have to pick the blossoms when they are in full bloom. If you are picking with small children, place the blossoms in a bucket so you don’t lose them. After you are done picking, place them in a shallow pan OUTSIDE for an hour. This will let the bugs crawl away without bringing them into your house. I made the mistake of not waiting and spent just as much time smashing bugs as I did separating the blossoms. 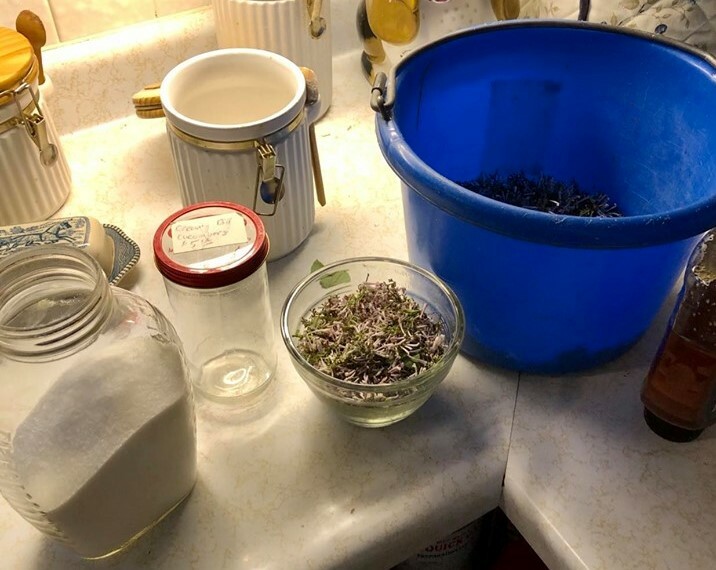
While you’re waiting, you can get your supplies ready. You will need sugar, honey (local is best, especially if you're dealing with seasonal issues), air tight jars, and hot water. Once the bugs have left, you can start the process. I stripped the blossoms off the bush, then had to pick the stems and leaf pieces out. Possibly took more time, but easier and safer with little ones than doing it all by the pond.
The water should be boiling by now. Pour 2.5 cups over the blossoms destined for jelly and let sit overnight. Add honey to your jar slowly, it will take a long time to filter down through the blossoms. When you come back the next morning the honey blossoms will have floated to the top, simply stir and use. You can use the honey right away or let it sit and no need to filter out the blossoms!
Lilac Honey
Blossoms
Honey
Pack the jar with blossoms. Slowly add honey letting the honey settle amongst the blossoms. Fill until all blossoms are covered. Stir before use to distribute the blossoms and enjoy.
This is great over biscuits, toast, scones, and more!
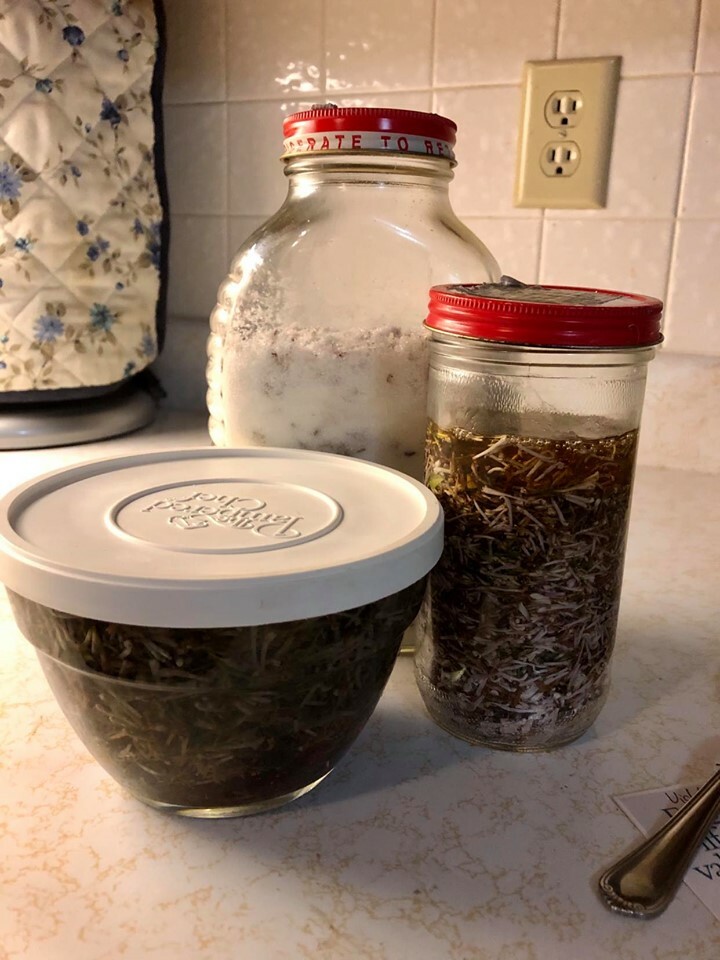
Lilac Sugar
Blossom Petals
White Sugar
Seal able jar
Fill the air tight jar ¾ with sugar. Place petals on top of the sugar. Add more sugar to weight down to petals. Seal the jar and shake to mix.
Add to tea or coffee for a slight floral taste. Add to your cupcakes or desserts for a lovely lilac flavor.
Lilac Jelly - ~ 8 4 oz jars
2 c packed blossoms (no leaves or stems)
2.5 c boiling water
¼ c lemon juice
3 c sugar (lilac sugar is amazing)
1 box Jello pectin (4 T)
Place blossoms in a jar and add boiling water. Allow steep 8 hours or overnight
Strain the water. You should be left with about 2.25 cups of lilac infused water.
You can then start the Jelly making, or let the strained water sit in the refrigerator overnight.
Sterilize 4 8oz jelly jars. Heat the lids and rings, but do not boil
Place water infusion, lemon juice and pectin in a pot and bring to rolling boil
Add all the sugar and return to boil for 1 minute stirring constantly. Skim Foam if needed and remove from heat.
Ladle jelly into hot sterilized jars leaving ¼” headspace. Wipe the rims and screw on the lids.
Process in hot water bath for 10 minutes (add 1 minute for ever 1,000 feet above sea level)
Remove and cool overnight. Label and store.
Wanting a community to lean into? Join the FREE Courageous + Purposeful Mommas group! This community is for the Mommas, mommas to be, in the midst of raising, and kids grown, looking for tips on building your family up and providing for them through natural methods. Tips include: gardening, bulk buying, caning,/preserving, livestock, homesteading, and home remedies. Your family is precious, and this group is to help you gain the knowledge and tools to keep your family well and not reliant on outside professionals. Remedies and tips are easy and simple for the busy momma, time is precious after all, including pregnancy, birth, young kids, and illness. Trust your Momma gut again! This community offers the resources + community you need to help get started on your journey and prepare for whatever future you envision.
Click here to get the stories straight to your email:
For more on wellness tips click here:
For more on homesteading on your budget click here:
For more simple DIY updates click here:
This post may contain affiliate links, which means that I may receive a commission if you make a purchase using these links, with no additional cost to you.
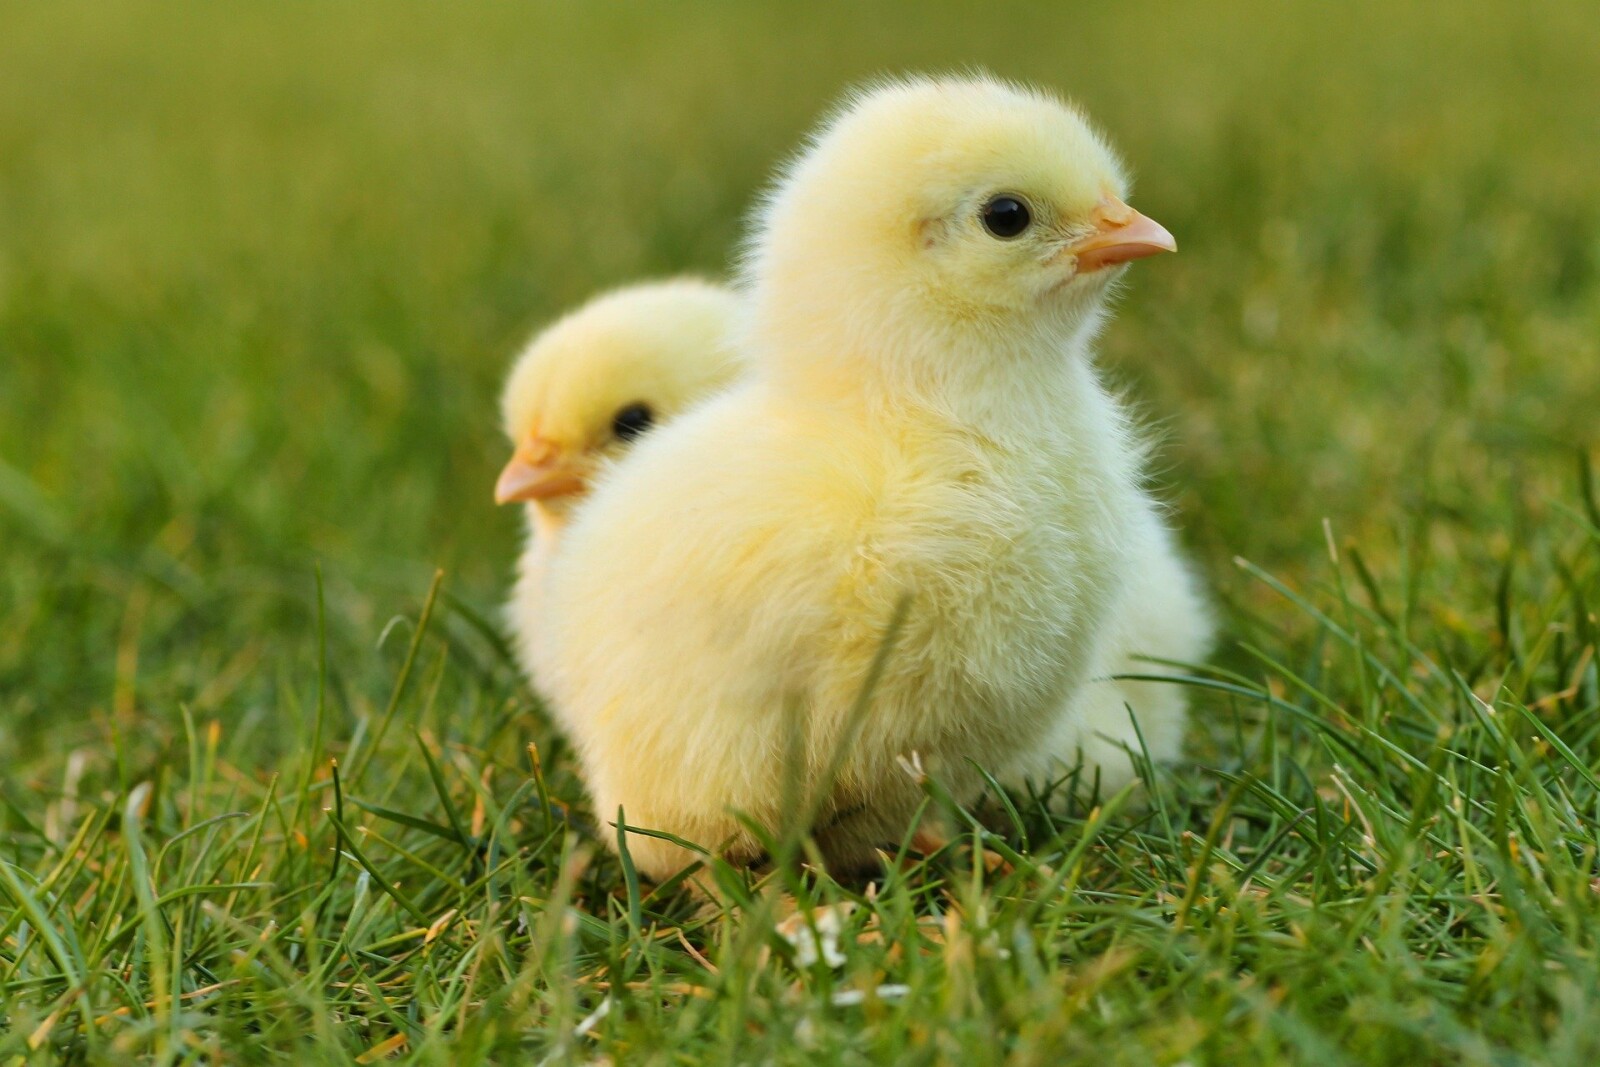
Now where to get the chicks? I talked to another friend and they got their chicks from Cackle Hatchery. They shipped to you as well! I looked it up, at this point I was back to I don’t really know what I want for the price I could afford. She recommended a Surprise Box, if you’re not picky about what you want. Remember my primary goal? Bug control. As long as they were eating bugs, the eggs are a side bonus. She was also willing to let me buy some of her guinea chicks she was getting at the end of June.
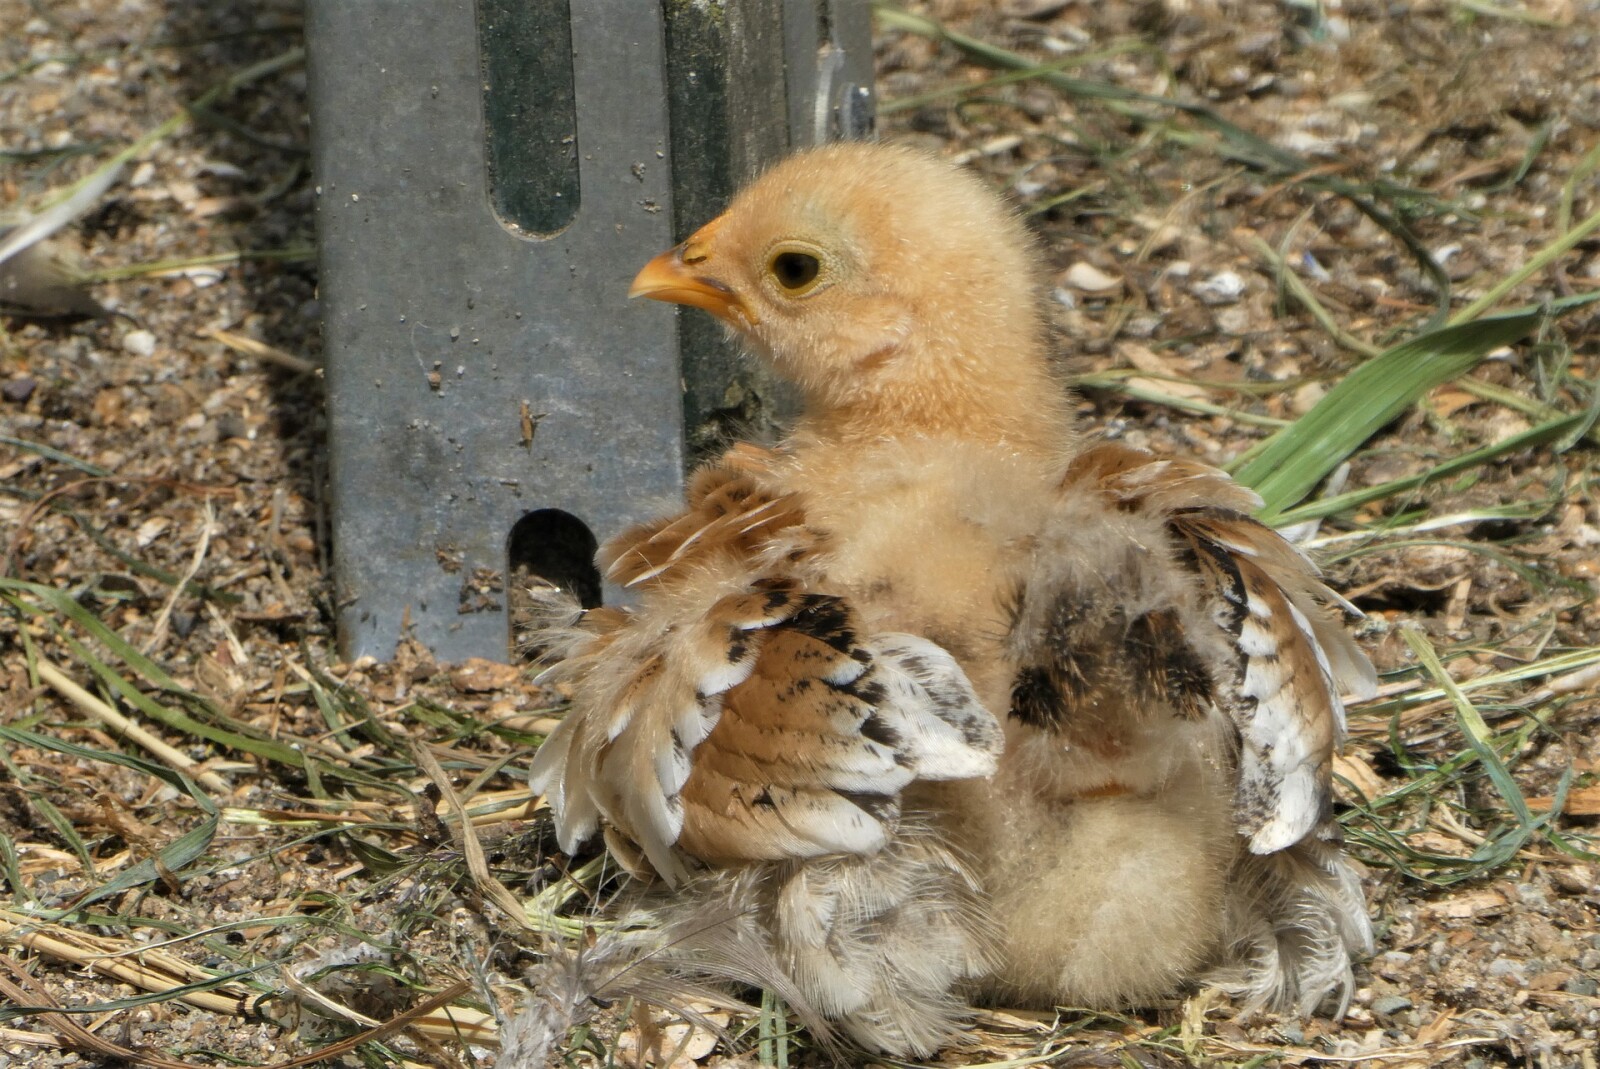
I hopped on the sight and found the earliest I could get a Surprise Box was JULY! I finally had my coop, I didn’t want to wait until June/July to fill it. So I got 10 chicken chicks from Orschlens to start and experiment with on May 22nd. The kids enjoyed picking them out and I can barely keep my daughter out of the coop.
We lost one of the little chicks at the end of May, and we had a dog mishap middle of June, all others look healthy and are eating quite well. They have some of their adult feathers, are enjoying their outside pen and eating kitchen scraps. The dogs are the next question as the older one is obsessive over the chickens.
The guineas should be arriving next week. The chicks will be in the pen by then, and possibly starting into the yard. The Surprise Box will arrive at the end of July and the guineas should be transitioning to the pen by then, and the chickens in the yard. I’m excited for the staggering of the chicks coming in to give me a chance to figure it out. Stay tuned for updates!
Wanting a community to lean into? Join the FREE Courageous + Purposeful Mommas group! This community is for the Mommas, mommas to be, in the midst of raising, and kids grown, looking for tips on building your family up and providing for them through natural methods. Tips include: gardening, bulk buying, caning,/preserving, livestock, homesteading, and home remedies. Your family is precious, and this group is to help you gain the knowledge and tools to keep your family well and not reliant on outside professionals. Remedies and tips are easy and simple for the busy momma, time is precious after all, including pregnancy, birth, young kids, and illness. Trust your Momma gut again! This community offers the resources + community you need to help get started on your journey and prepare for whatever future you envision.
Click here to get the stories straight to your email:
For more on wellness tips click here:
For more on homesteading on your budget click here:
For more simple DIY updates click here:
This post may contain affiliate links, which means that I may receive a commission if you make a purchase using these links, with no additional cost to you.
Early this year I had this crazy idea to get birds to help with bug control around our house. The fly predators help with the stable flies, but none of the other bugs. I shared the idea with my husband and he was very supportive, telling me to figure out what birds I wanted. After researching I found the best bug control to be guineas. And a bonus they are low maintenance. That was my kind of bird! Low maintenance, bug control, and a side bonus of eggs! The next step was figuring out what they needed and how to care for them.
Turns out guineas like to nest on the ground, feeling hidden, and don’t want their eggs found (don’t let them see you take them). I know we have predator issues, but as long as the birds stay in the yard (once the dogs are trained to them) predators should be minimal. I still plan on locking them up at night in a coop.
I also liked the idea of having ducks. But after consulting with friends, I discovered they were messy and I’m not sure I want to deal with that. So I decided I’d get a couple and see. If I can’t stand the mess, I would just not hatch any of the eggs. My dad gave me an awesome resource for Christmas this year. The Homestead Encyclopedia is loaded with everything from gardening to birds, to processing, and preserving. It even had recipes for making your own chick food!
I designed a coop that could house multiple types of birds and have room to grow, in January. I tend to design buildings by how big can I make it, in the space available. Nothing is more frustrating than getting going and wishing you had more space. It was a 16’ X 16’ simple building, below. I ran the idea past my husband and he was on board. I then let everything sit for months while I waited for the building to start. I wasn’t going to get birds until I had a building.

In May I happened to be scrolling Facebook and saw a coop for sale. I ran the idea around my husband again. He loved it, especially since there was no post in the ground yet for the coop we were going to build. And it was at about the same cost of what we were looking at to build it, even if it was slightly smaller. We picked up the coop. My husband (bless him) replaced a few of the rotten floor joists and moved it into the tight space. I then started working on the fence, for the young chicks, made some repairs, and added the roosts and boxes. The small pen will give the dogs time to adjust to the chicks, and me a chance to train them to come in at night.
Wanting a community to lean into? Join the FREE Courageous + Purposeful Mommas group! This community is for the Mommas, mommas to be, in the midst of raising, and kids grown, looking for tips on building your family up and providing for them through natural methods. Tips include: gardening, bulk buying, caning,/preserving, livestock, homesteading, and home remedies. Your family is precious, and this group is to help you gain the knowledge and tools to keep your family well and not reliant on outside professionals. Remedies and tips are easy and simple for the busy momma, time is precious after all, including pregnancy, birth, young kids, and illness. Trust your Momma gut again! This community offers the resources + community you need to help get started on your journey and prepare for whatever future you envision.
Click here to get the stories straight to your email:
For more on wellness tips click here:
For more on homesteading on your budget click here:
For more simple DIY updates click here:
This post may contain affiliate links, which means that I may receive a commission if you make a purchase using these links, with no additional cost to you.
- Soaps: sodium laureth sulfate - chemical used to remove car grease off floors. It can be damaging to the skin and disruptive to immune and hormonal health.
- Shampoos: phthalates - banned in children's toys, but still used in cleansing products. It is a known endocrine disruptor and very hard for the body to break down.
- Candles and Air fresheners: Formaldehyde - #1 cancer causing chemical. This is what they use to embalm at the morgue....
- Household cleaners: 2-butoxyethanol - known to cause sore throat, narcosis, severe liver and kidney damage.
- Laundry detergents and dryer sheets: alpha-terpineol, benzyl alcohol, and camphor - all cause central nervous system disorders, loss of muscular coordination, central nervous system depression, headaches, nausea, and vomiting.
- Fragrance: a broad category that hides hundreds of chemicals. Fun fact. Companies are not required to reveal the actual chemicals in each "fragrance", keeping the public in the dark about what the true toxicity of the products are.
- Talc, bismuth, parabens, lead, mercury, and mineral oil: all found in store bought skin care and makeup products. They can disrupt the endocrine system, are highly carcinogenic, and have even been found in tumors.
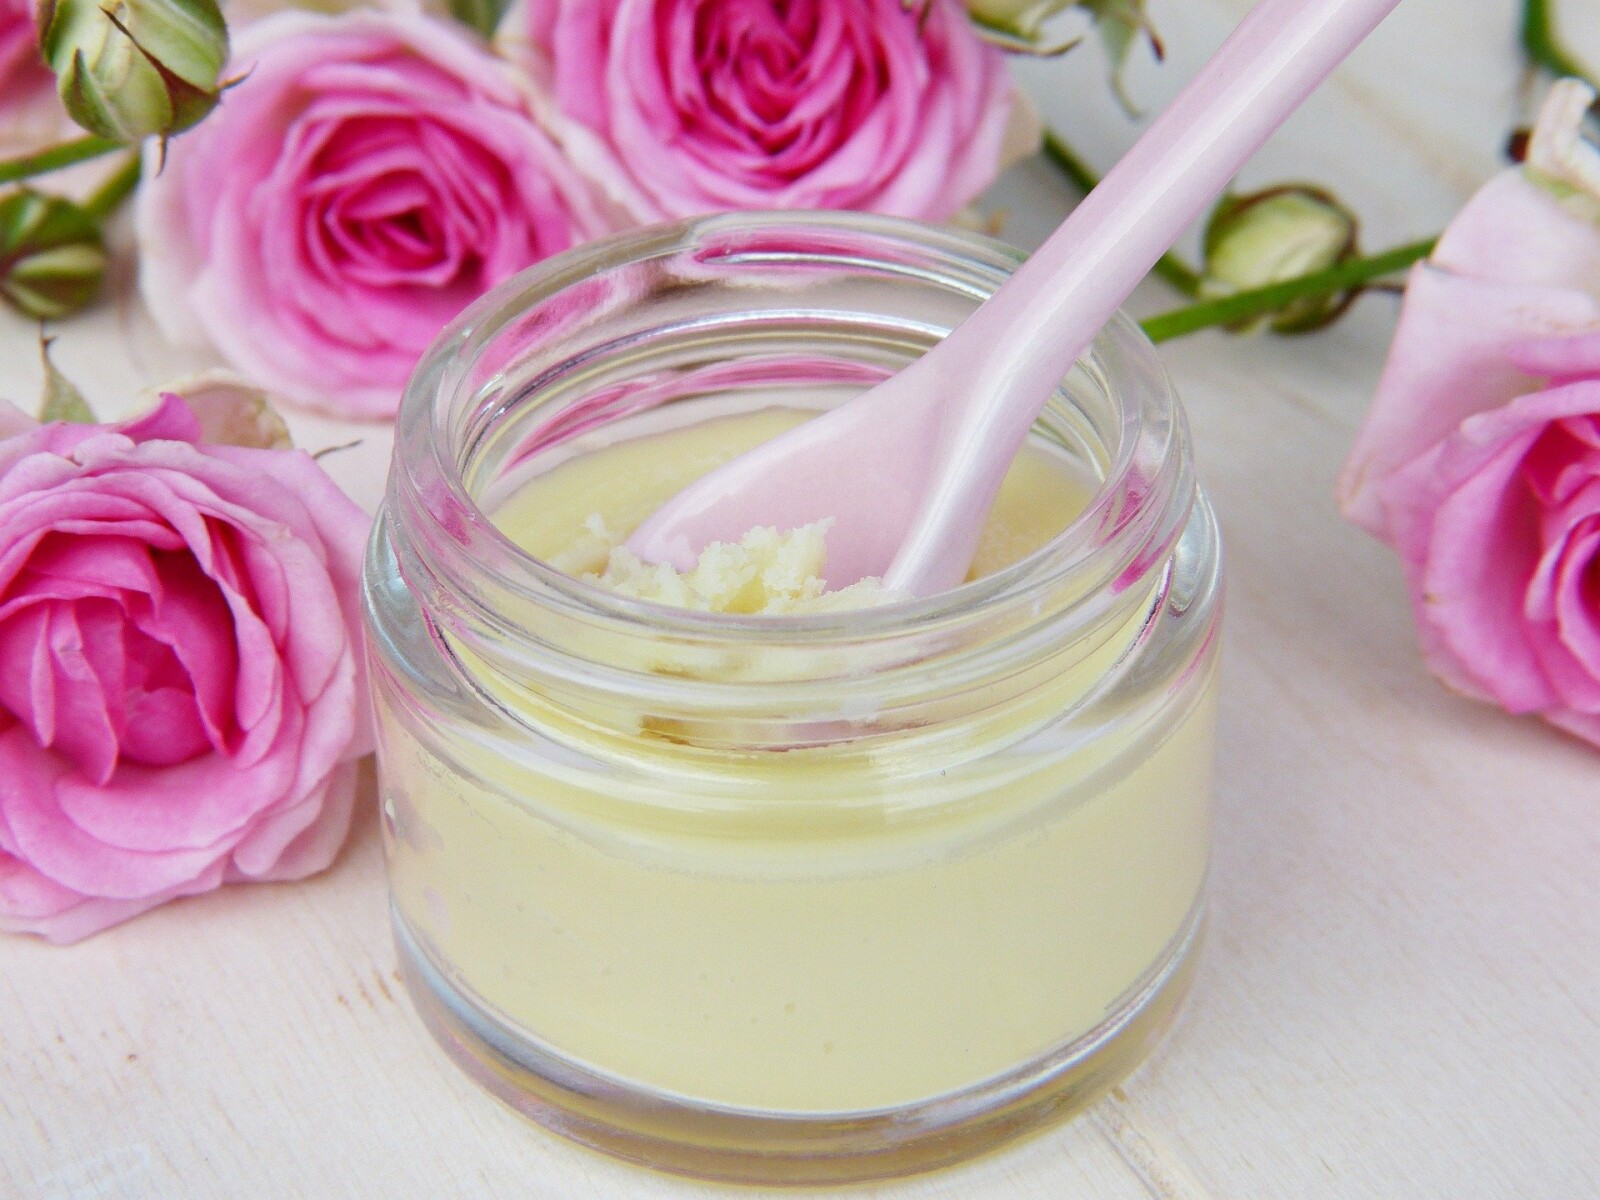
- Equal parts Shea butter and Coconut oil
- Splash of Vitamin E
- Essential oil of choice
- Soften Shea butter (l like to use a double broiler)
- Mix coconut oil into butter until fluffy (about 15 min)
- Stir in essential oils. I use 15-20 drops of Frankincense, Lavender, and Geranium
- Store in glass container
Wanting a community to lean into? Join the FREE Courageous + Purposeful Mommas group! This community is for the Mommas, mommas to be, in the midst of raising, and kids grown, looking for tips on building your family up and providing for them through natural methods. Tips include: gardening, bulk buying, caning,/preserving, livestock, homesteading, and home remedies. Your family is precious, and this group is to help you gain the knowledge and tools to keep your family well and not reliant on outside professionals. Remedies and tips are easy and simple for the busy momma, time is precious after all, including pregnancy, birth, young kids, and illness. Trust your Momma gut again! This community offers the resources + community you need to help get started on your journey and prepare for whatever future you envision.
Click here to get the stories straight to your email:
For more on wellness tips click here:
For more on homesteading on your budget click here:
For more simple DIY updates click here:
This post may contain affiliate links, which means that I may receive a commission if you make a purchase using these links, with no additional cost to you.
Wanting a community to lean into? Join the FREE Courageous + Purposeful Mommas group! This community is for the Mommas, mommas to be, in the midst of raising, and kids grown, looking for tips on building your family up and providing for them through natural methods. Tips include: gardening, bulk buying, caning,/preserving, livestock, homesteading, and home remedies. Your family is precious, and this group is to help you gain the knowledge and tools to keep your family well and not reliant on outside professionals. Remedies and tips are easy and simple for the busy momma, time is precious after all, including pregnancy, birth, young kids, and illness. Trust your Momma gut again! This community offers the resources + community you need to help get started on your journey and prepare for whatever future you envision.
Click here to get the stories straight to your email:
For more on wellness tips click here:
For more on homesteading on your budget click here:
For more simple DIY updates click here:

This post may contain affiliate links, which means that I may receive a commission if you make a purchase using these links, with no additional cost to you.
If you like to have as many plants as possible it is important to plan out where you will plant everything in your garden. I have found that if I space the bigger plants, like the tomatoes, out amongst the other plants the bugs are not as bad. If I don’t map the garden out before, I found that I run out of space or forget something.
Some plants give off a strong fragrance that bugs don’t like. Use this to your advantage to keep the bugs in the garden away. I plant marigolds all around the boarder of my garden and have seen reduction in the bug issues I had on my plants. Onions and garlic are also pest repellents.
If you’re going to have both green sweet peppers and hot peppers, make sure they are not next to each other. They will cross pollinate and your hot peppers will not be hot. In general, the dryer, the hotter the peppers will be. For this reason, I tend to plant my hot peppers on the edge of the garden. They catch water, but not as much as the center of the garden. I also plant the sweet peppers and hot peppers at least halfway across the garden from each other.
Keep in mind that some plants do well together, while others work against each other. Below is a nice graph I found that has friend and foe plants. You can pair cool season with warm season as well. For example, broccoli will be done early, pair it something that likes the hot like peppers or cabbage and you have doubled your space without adding area! Another tip is to make plants that can climb, like cucumber, climb. Add a fence or old panel for heavy plants like cucumbers, squash, or pumpkins or you can purchase a trellis. I actually take the pumpkins and squash to the irrigation engines or centers and plant them there for weed control!
Friend | Foe | Friend | Foe | Friend | Foe | ||
Beans | Corn | Onions | |||||
Beets | Garlic | Beans | Tomatoes | Beets | Beans | ||
Broccoli | Onions | Cucumbers | Broccoli | Peas | |||
Cabbage | Peppers | Lettuce | Cabbage | Sage | |||
Carrots | Sunflowers | Melons | Carrots | ||||
Cauliflower | Peas | Lettuce | |||||
Eggplant | Potatoes | Peppers | |||||
Peas | Squash | Potatoes | |||||
Potatoes | Sunflowers | Spinach | |||||
Radishes | Tomatoes | ||||||
Squash | |||||||
Strawberries | |||||||
Summer savory | |||||||
Tomatoes | |||||||
Friend | Foe | Friend | Foe | Friend | Foe | ||
Cucumbers | Peppers | Radishes | |||||
Beans | Aromatic herbs | Basil | Beans | Basil | Beans | ||
Cabbage | Melons | Coriander | Kohlrabi | Coriander | Kohlrabi | ||
Cauliflower | Potatoes | Onions | Onions | ||||
Corn | Spinach | Spinach | |||||
Lettuce | Tomatoes | Tomatoes | |||||
Peas | |||||||
Radishes | |||||||
Sunflowers | |||||||
Friend | Foe | Friend | Foe | Friend | Foe | ||
Cabbage | Lettuce | Tomatoes | |||||
Beans | Broccoli | Asparagus | Broccoli | Asparagus | Broccoli | ||
Celery | Cauliflower | Beets | Basil | Brussels sprouts | |||
Cucumbers | Strawberries | Brussels sprouts | Beans | Cabbage | |||
Dill | Tomatoes | Cabbage | Borage | Cauliflower | |||
Kale | Carrots | Carrots | Corn | ||||
Lettuce | Corn | Celery | Kale | ||||
Onions | Cucumbers | Dill | Potatoes | ||||
Potatoes | Eggplants | Lettuce | |||||
Sage | Onions | Melons | |||||
Spinach | Peas | Onions | |||||
Thyme | Potatoes | Parsley | |||||
Radishes | Peppers | ||||||
Friend | Foe | Spinach | Radishes | ||||
Carrots | Strawberries | Spinach | |||||
Beans | Anise | Sunflowers | Thyme | ||||
Lettuce | Dill | Tomatoes | |||||
Onions | Parsley | ||||||
Peas | |||||||
Radishes | |||||||
Rosemary | |||||||
Sage | |||||||
Tomatoes | |||||||
Wanting a community to lean into? Join the FREE Courageous + Purposeful Mommas group! This community is for the Mommas, mommas to be, in the midst of raising, and kids grown, looking for tips on building your family up and providing for them through natural methods. Tips include: gardening, bulk buying, caning,/preserving, livestock, homesteading, and home remedies. Your family is precious, and this group is to help you gain the knowledge and tools to keep your family well and not reliant on outside professionals. Remedies and tips are easy and simple for the busy momma, time is precious after all, including pregnancy, birth, young kids, and illness. Trust your Momma gut again! This community offers the resources + community you need to help get started on your journey and prepare for whatever future you envision.
Click here to get the stories straight to your email:
For more on wellness tips click here:
For more on homesteading on your budget click here:
For more simple DIY updates click here:
This post may contain affiliate links, which means that I may receive a commission if you make a purchase using these links, with NO additional cost to you.
Wanting a community to lean into? Join the FREE Courageous + Purposeful Mommas group! This community is for the Mommas, mommas to be, in the midst of raising, and kids grown, looking for tips on building your family up and providing for them through natural methods. Tips include: gardening, bulk buying, caning,/preserving, livestock, homesteading, and home remedies. Your family is precious, and this group is to help you gain the knowledge and tools to keep your family well and not reliant on outside professionals. Remedies and tips are easy and simple for the busy momma, time is precious after all, including pregnancy, birth, young kids, and illness. Trust your Momma gut again! This community offers the resources + community you need to help get started on your journey and prepare for whatever future you envision.
Click here to get the stories straight to your email:
For more on wellness tips click here:
For more on homesteading on your budget click here:
For more simple DIY updates click here: