Wanting a community to lean into? Join the FREE Courageous + Purposeful Mommas group! This community is for the Mommas, mommas to be, in the midst of raising, and kids grown, looking for tips on building your family up and providing for them through natural methods. Tips include: gardening, bulk buying, caning,/preserving, livestock, homesteading, and home remedies. Your family is precious, and this group is to help you gain the knowledge and tools to keep your family well and not reliant on outside professionals. Remedies and tips are easy and simple for the busy momma, time is precious after all, including pregnancy, birth, young kids, and illness. Trust your Momma gut again! This community offers the resources + community you need to help get started on your journey and prepare for whatever future you envision.
Click here to get the stories straight to your email:
For more on wellness tips click here:
For more on homesteading on your budget click here:
For more simple DIY updates click here:

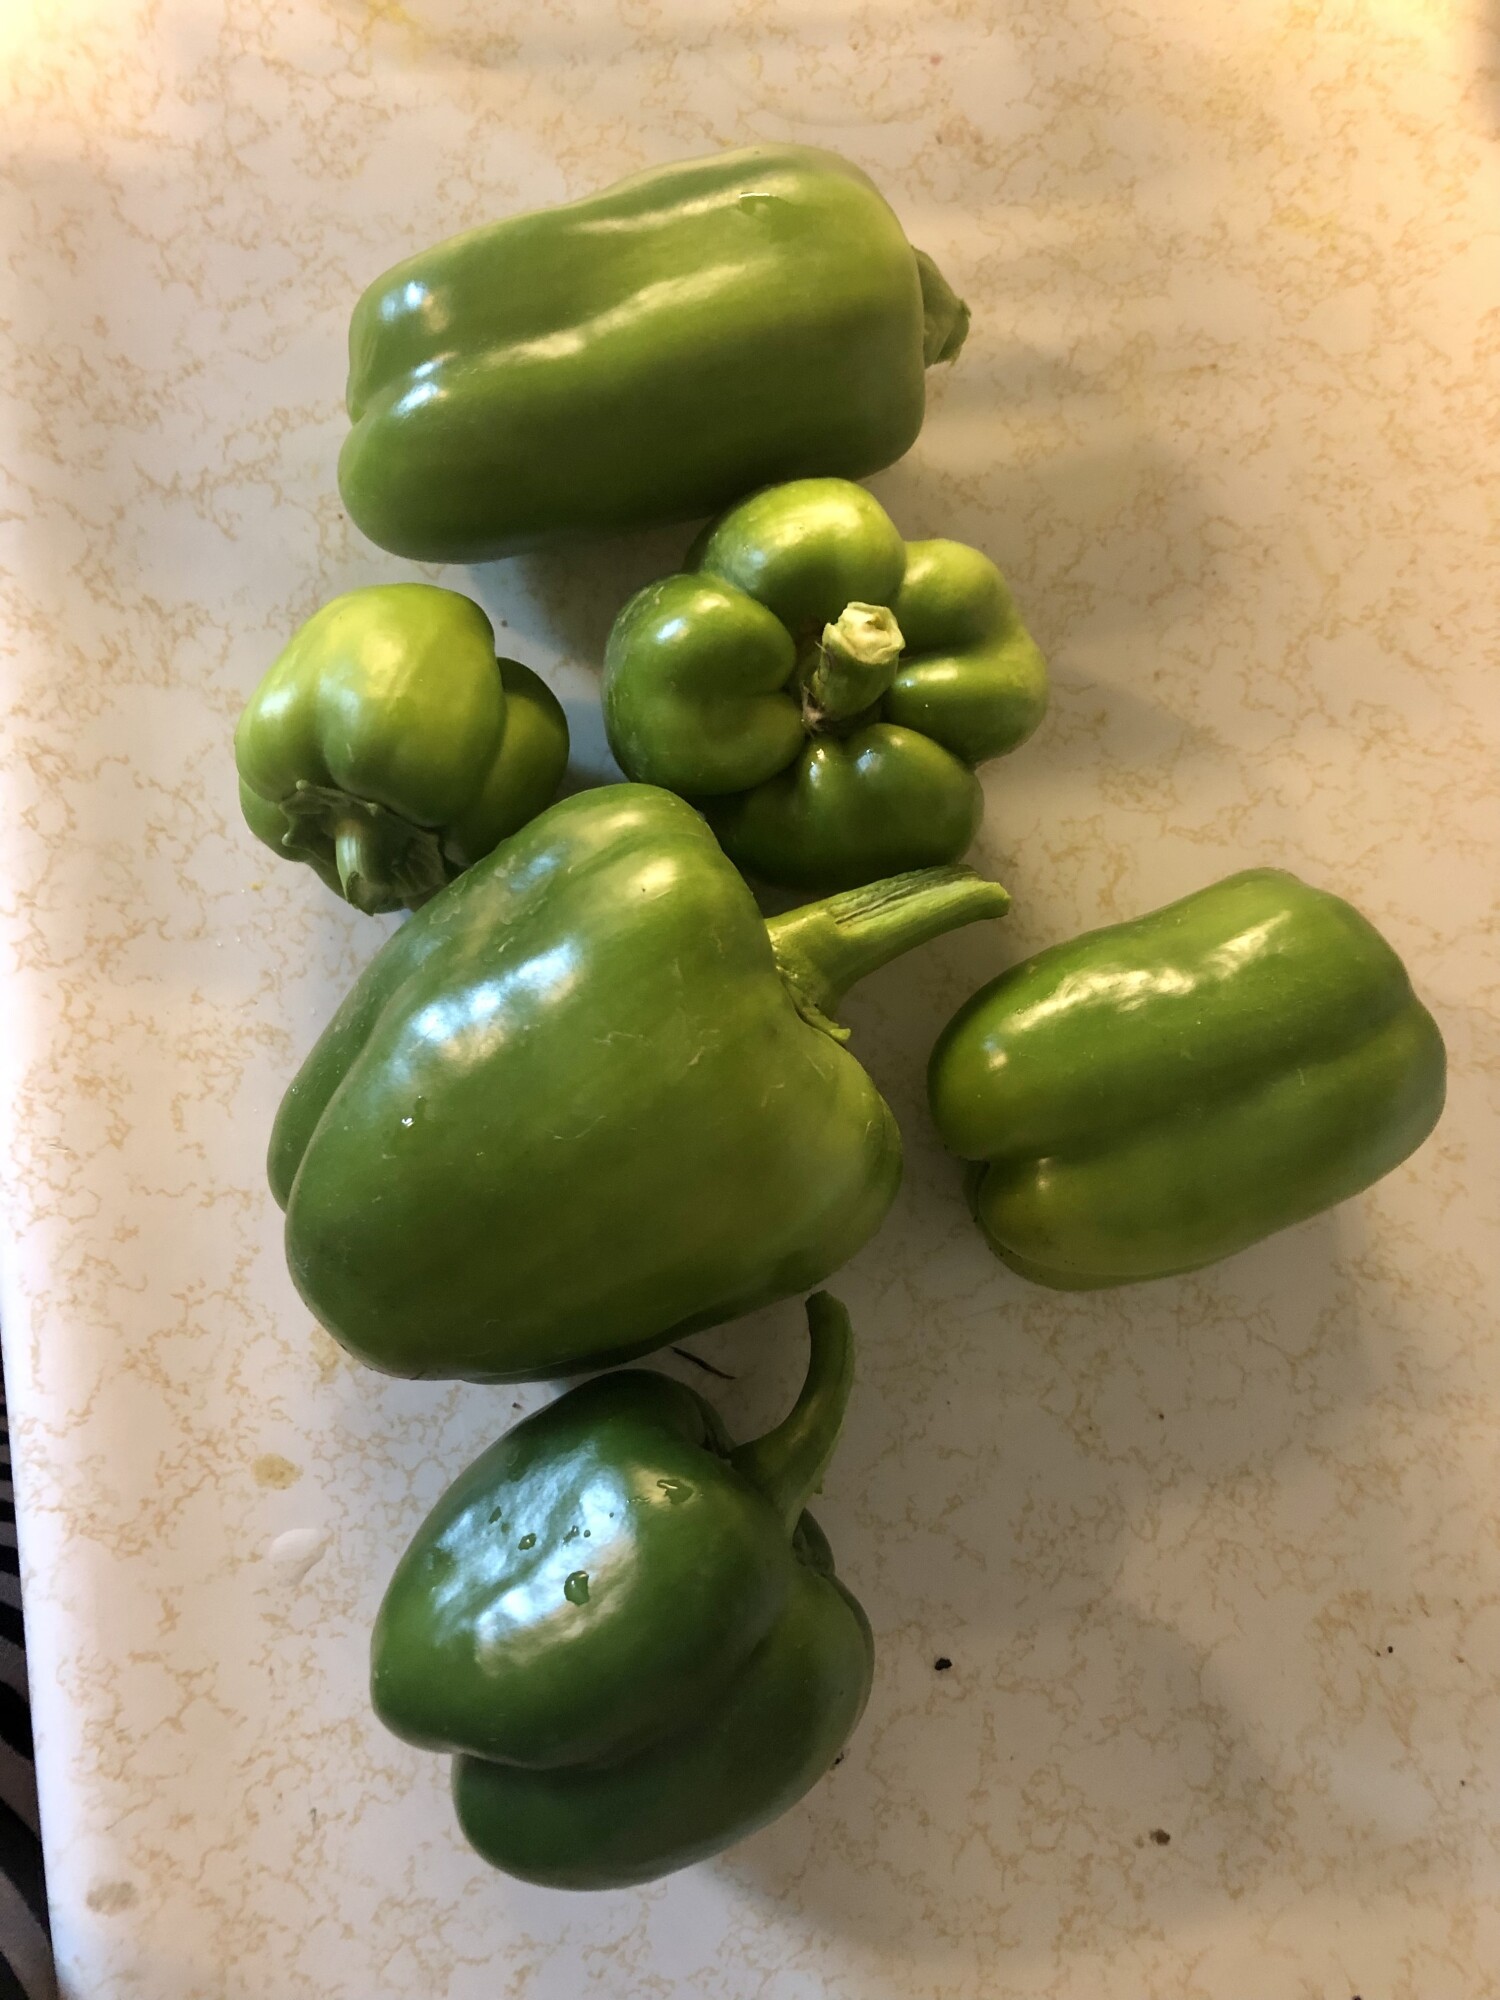
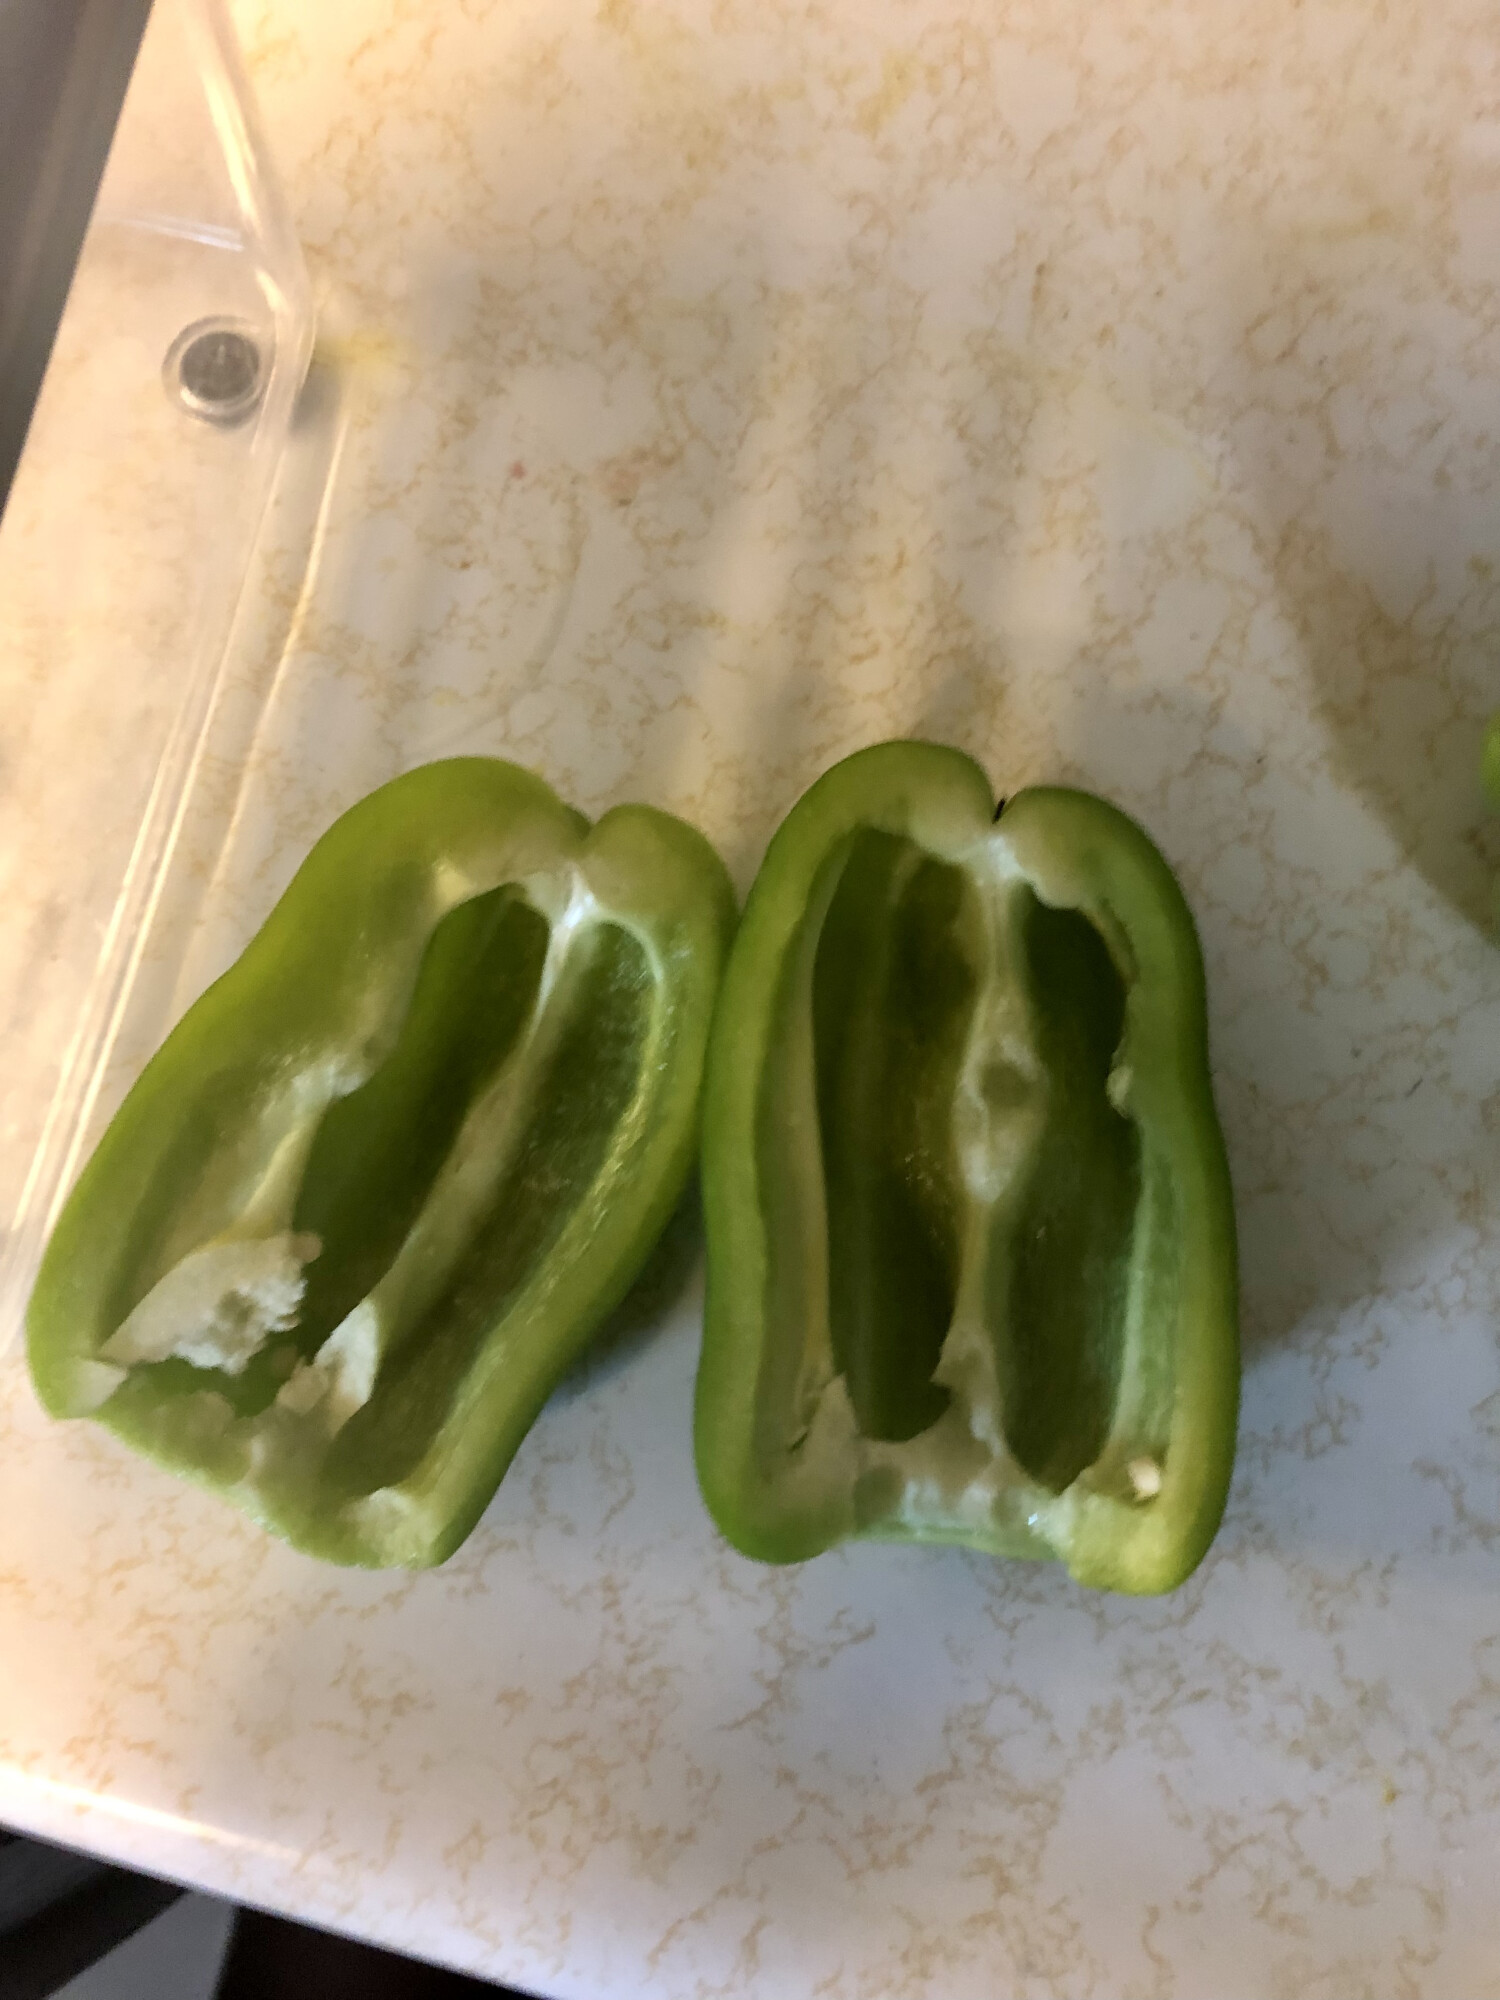
Step 3. Slice the pepper in half and remove the stem, seeds, and any bad spots. For hot peppers I will use for canning recipes later, I leave the seeds and chop them in a food processor.
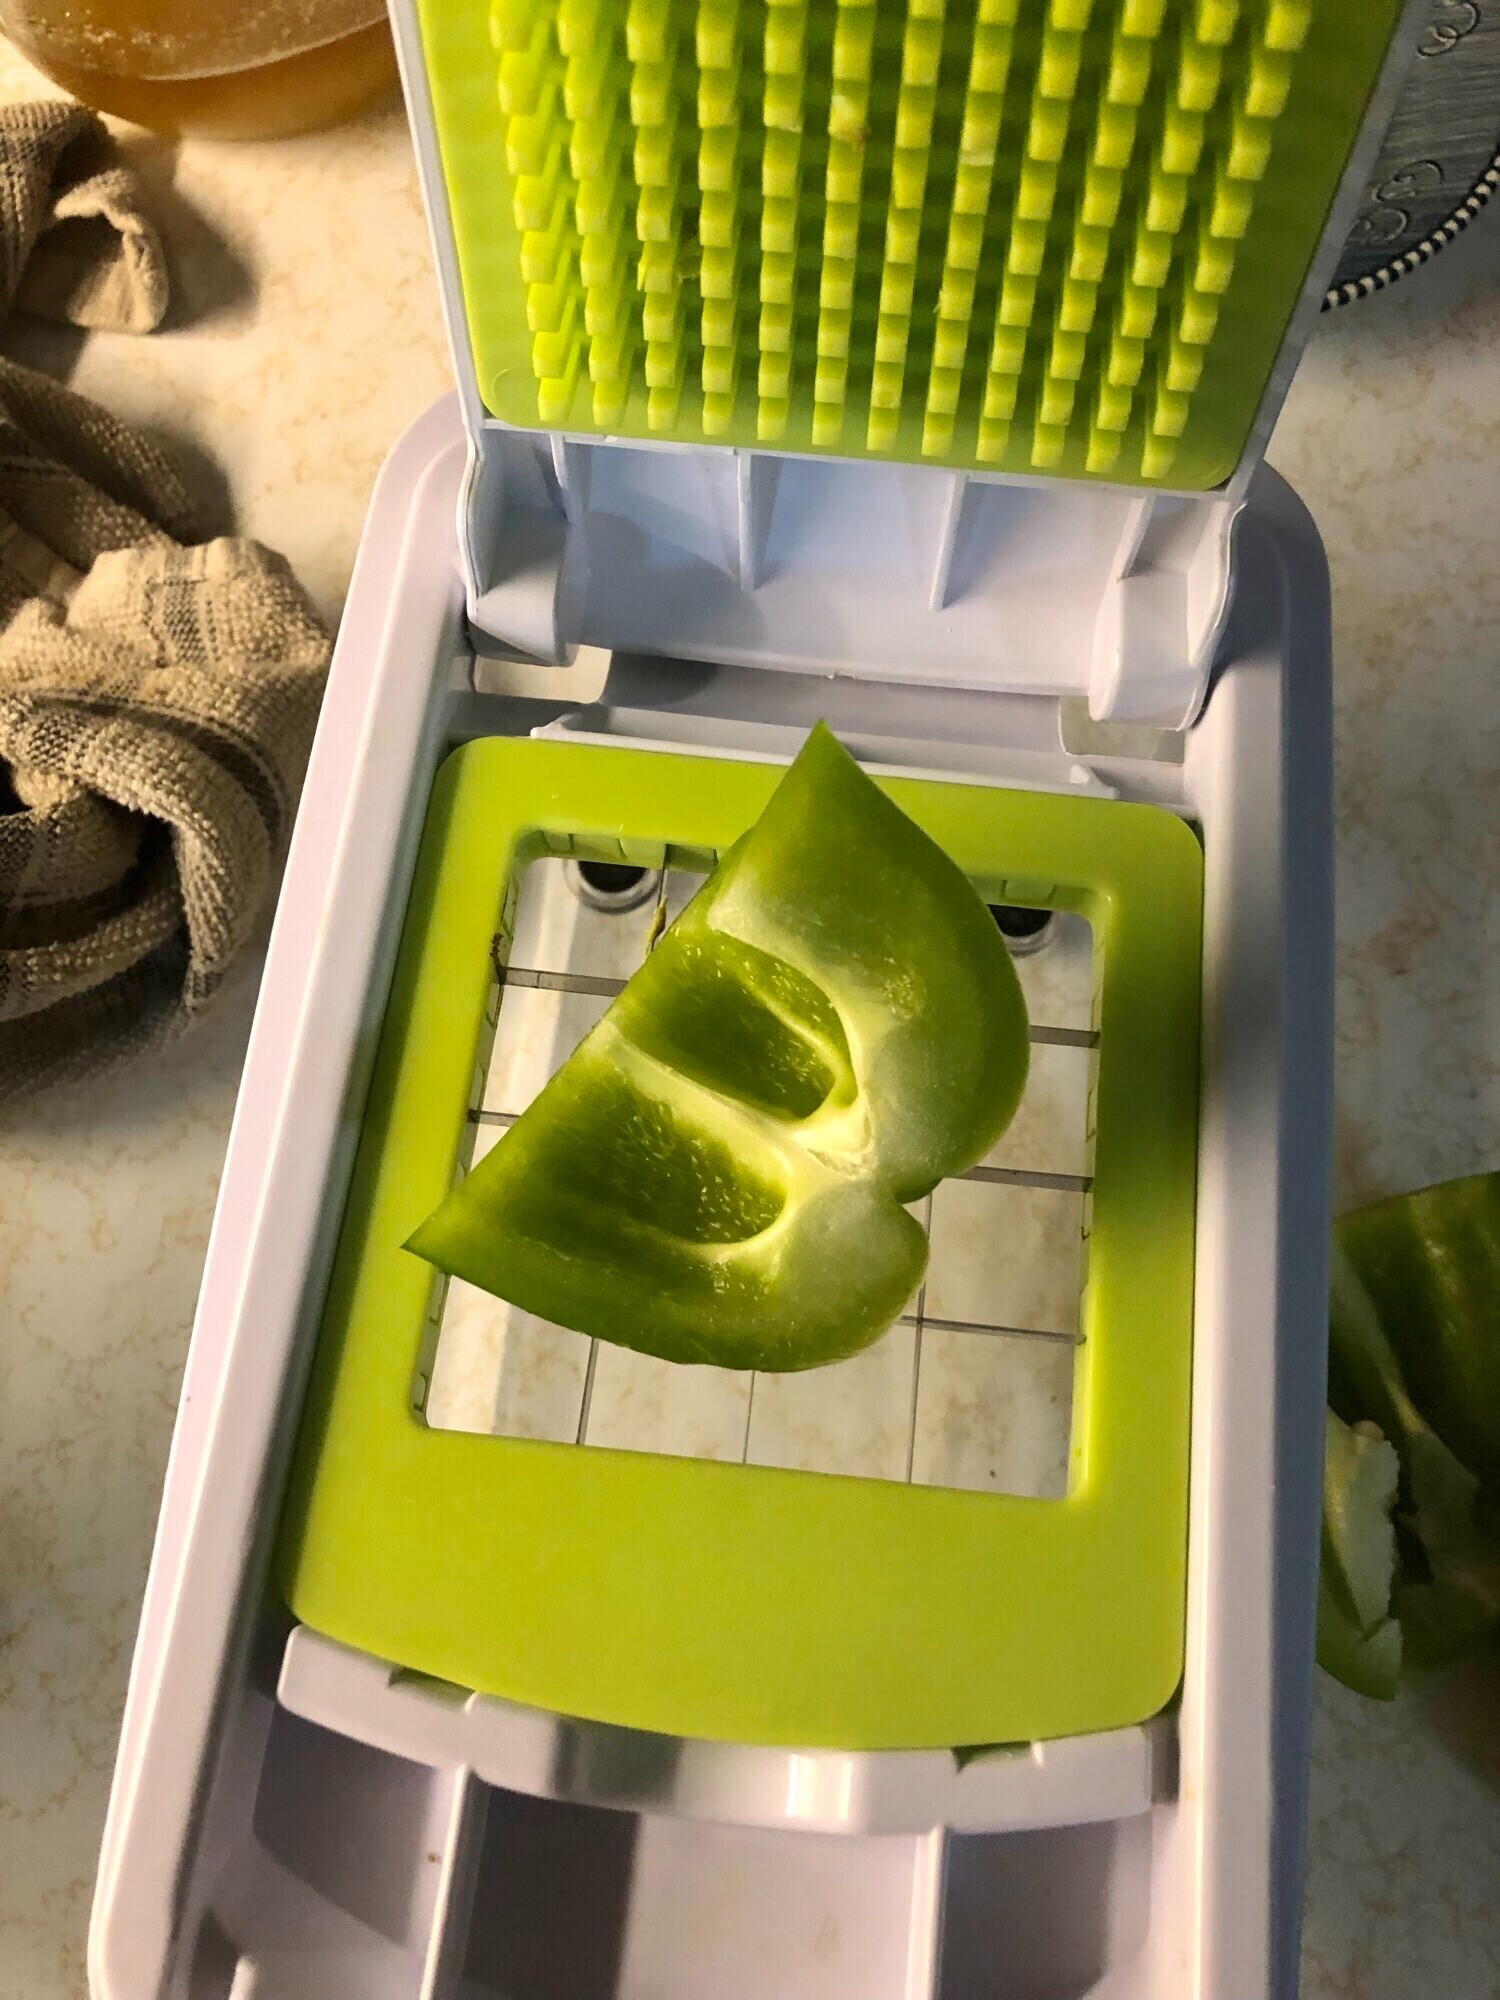
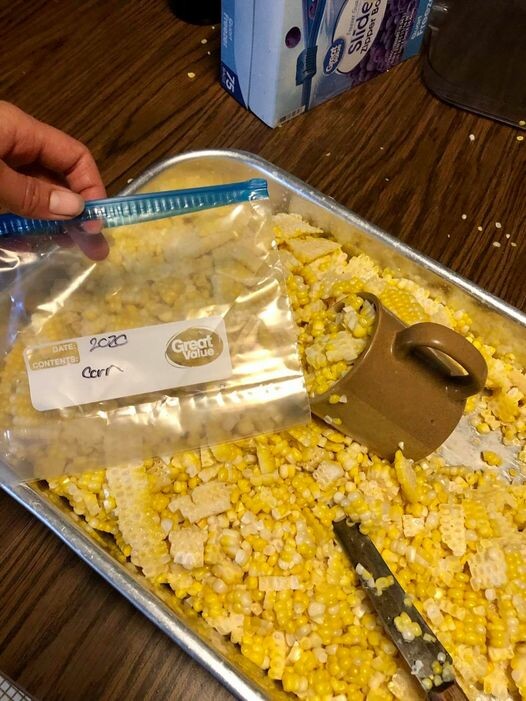
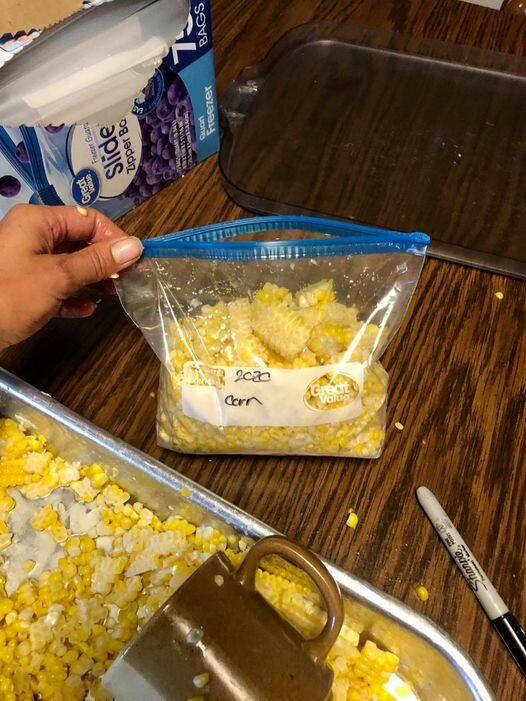
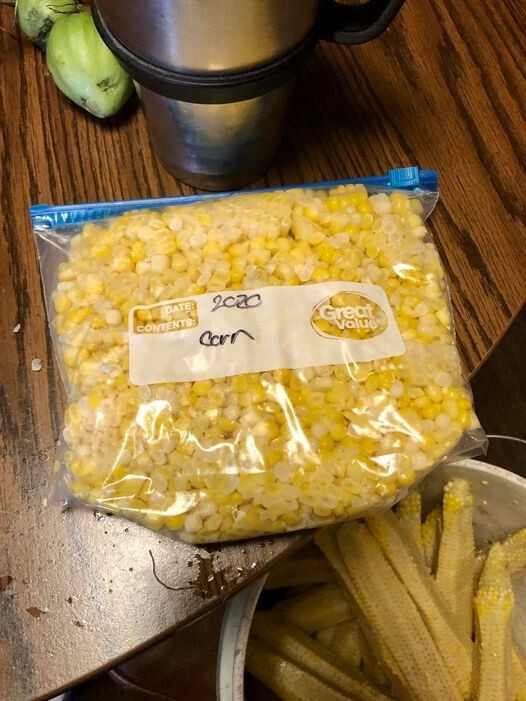
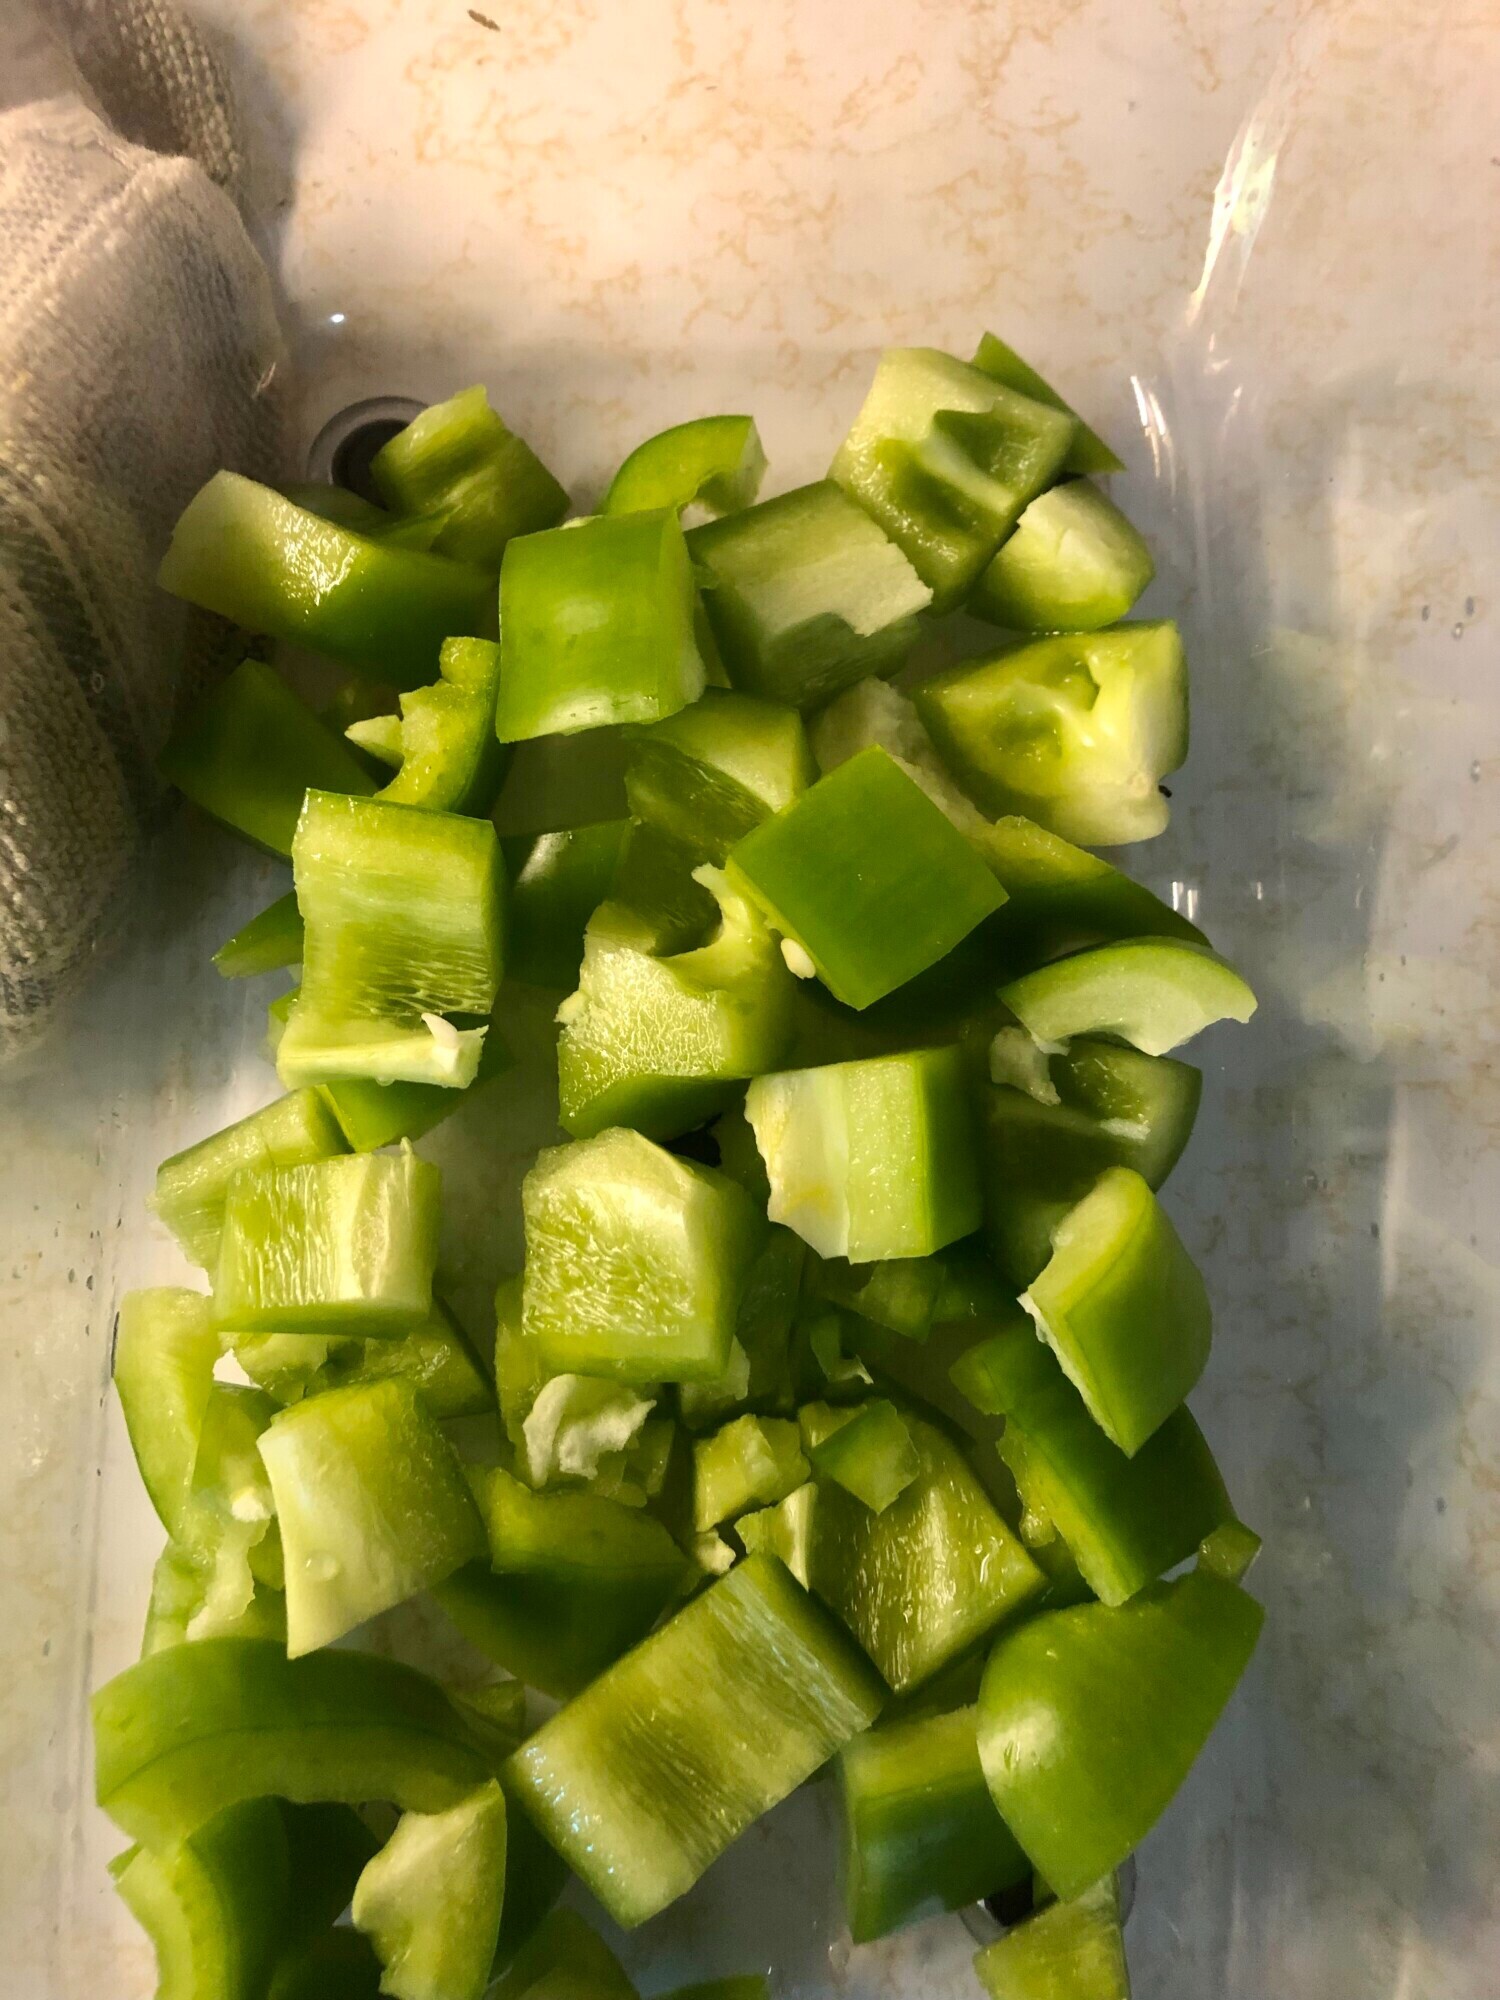
Step 4. Freeze the peppers. Place the peppers in freezer containers filling to the fill line. I used freezer containers last year, and plan to use vacuum bags this year. For the hot peppers, I use containers approximately the size I will need per recipe for simplicity.
Wanting a community to lean into? Join the FREE Courageous + Purposeful Mommas group! This community is for the Mommas, mommas to be, in the midst of raising, and kids grown, looking for tips on building your family up and providing for them through natural methods. Tips include: gardening, bulk buying, caning,/preserving, livestock, homesteading, and home remedies. Your family is precious, and this group is to help you gain the knowledge and tools to keep your family well and not reliant on outside professionals. Remedies and tips are easy and simple for the busy momma, time is precious after all, including pregnancy, birth, young kids, and illness. Trust your Momma gut again! This community offers the resources + community you need to help get started on your journey and prepare for whatever future you envision.
Click here to get the stories straight to your email:
For more on wellness tips click here:
For more on homesteading on your budget click here:
For more simple DIY updates click here:
This post may contain affiliate links, which means that I may receive a commission if you make a purchase using these links, with NO additional cost to you.
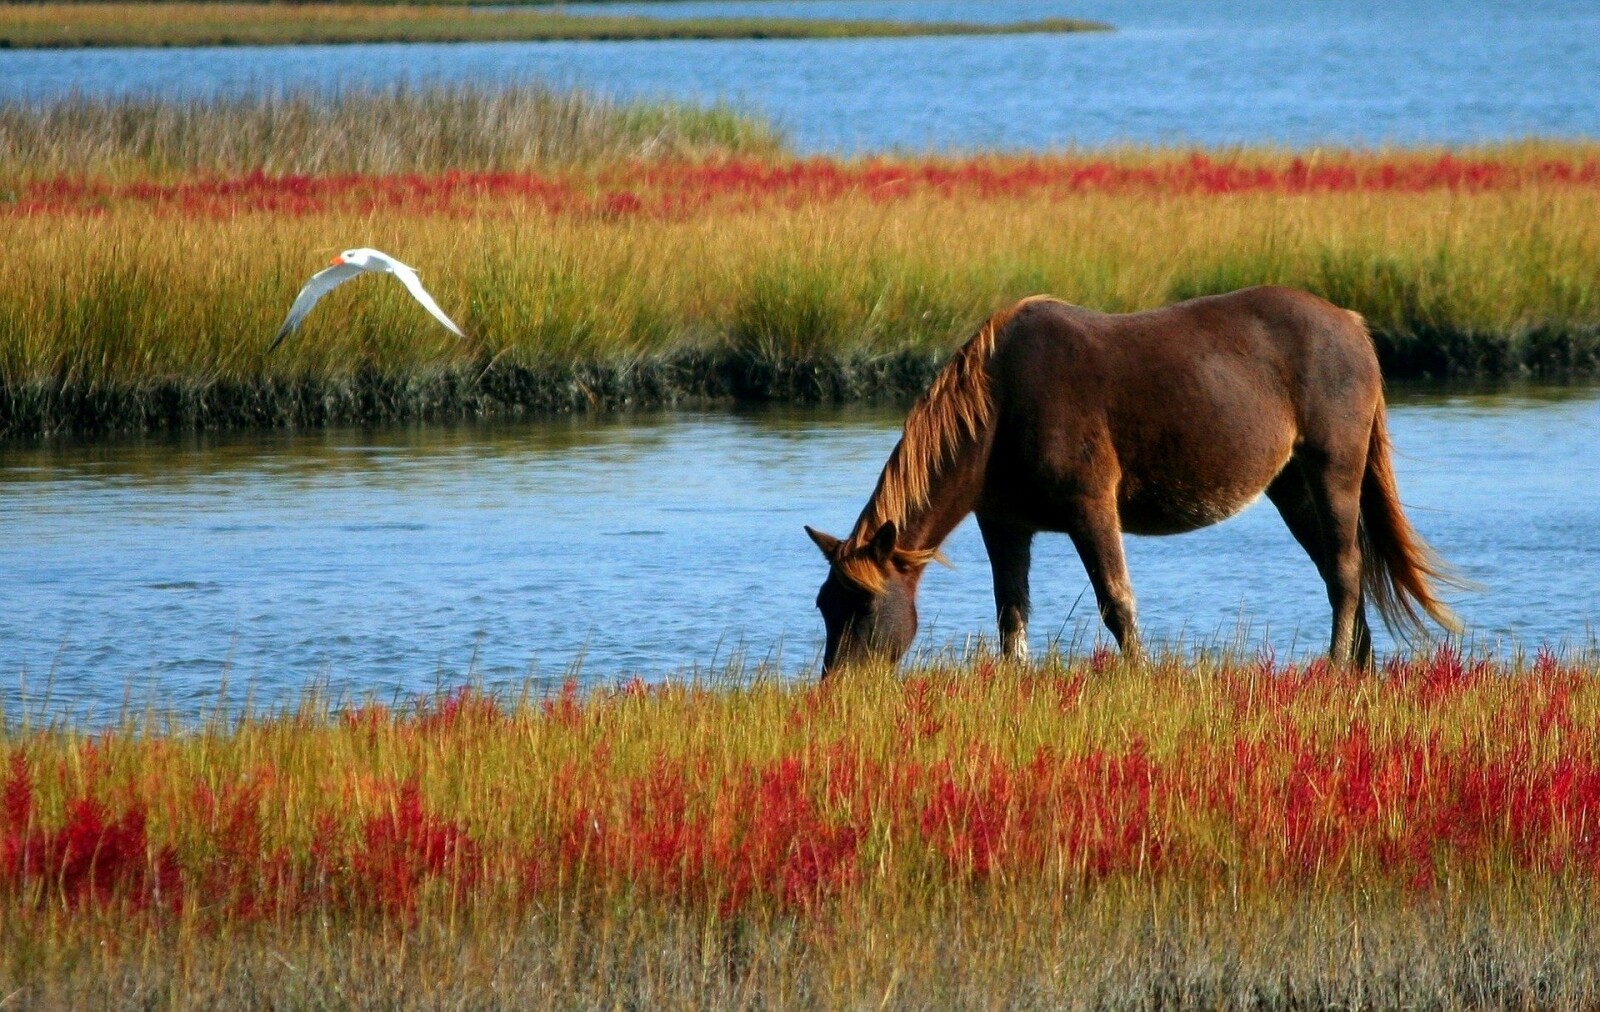
There is something about old horses that is just too good. Maybe it is that they have seen most things and are unfazed by the noise and commotion of life. Or maybe that they have earned their living and are now peacefully enjoying retirement. But what makes them such great horses?!?
Old horses have usually had at least one carrier before they are considered too old and retire, but their life doesn’t stop there. They may have been a ranch horse working long days, or a rodeo horse used to all the noise. Maybe a professional show horse used to hauling and the arena. Maybe they were just the family trail horse who has seen more miles than could be counted.
It is an old horse's past experiences and work that make them so good, especially for beginner riders. They know most of what is up and will take care of their rider as the rider learns. This is the trait that makes them invaluable.
We’ve had two early 20s horses with our family for quite some time. The one showed his age very early. Hank, being an old ranch horse, not much physed him. My husband used him for a few years working and moving cattle, but his age caught up, and he could no longer keep up with cows that broke away. He retired to being the kids' horse. They are merely beginning to ride, but he would pack them along on the ride like it was nothing. You had better believe it was hard to say good-bye this summer when the time came.
The other has had a much easier work life. He has always been a family horse and mainly just trail rode. When I bought Mojo almost 10 years ago he already had a laid back personality, but what not the best trained. I worked with him and found that he wasn’t just laid back, but smart enough to play dumb to get out of work! I literally threw everything I could think of at him that might scare him and he quickly came to expect the weird and out of normal. Why did I do that? Because my vision for him was to be a therapy horse and I needed him bomb proof. He was the beloved mount for many special needs riders while I was teaching lessons. Now he’s my children's favorite.
See older horses may be set in their ways, but when they have good ground manners and experience, they are the perfect teacher for a novice rider.
Wanting a community to lean into? Join the FREE Courageous + Purposeful Mommas group! This community is for the Mommas, mommas to be, in the midst of raising, and kids grown, looking for tips on building your family up and providing for them through natural methods. Tips include: gardening, bulk buying, caning,/preserving, livestock, homesteading, and home remedies. Your family is precious, and this group is to help you gain the knowledge and tools to keep your family well and not reliant on outside professionals. Remedies and tips are easy and simple for the busy momma, time is precious after all, including pregnancy, birth, young kids, and illness. Trust your Momma gut again! This community offers the resources + community you need to help get started on your journey and prepare for whatever future you envision.
Click here to get the stories straight to your email:
For more on wellness tips click here:
For more on homesteading on your budget click here:
For more simple DIY updates click here:
This post may contain affiliate links, which means that I may receive a commission if you make a purchase using these links, with NO additional cost to you.
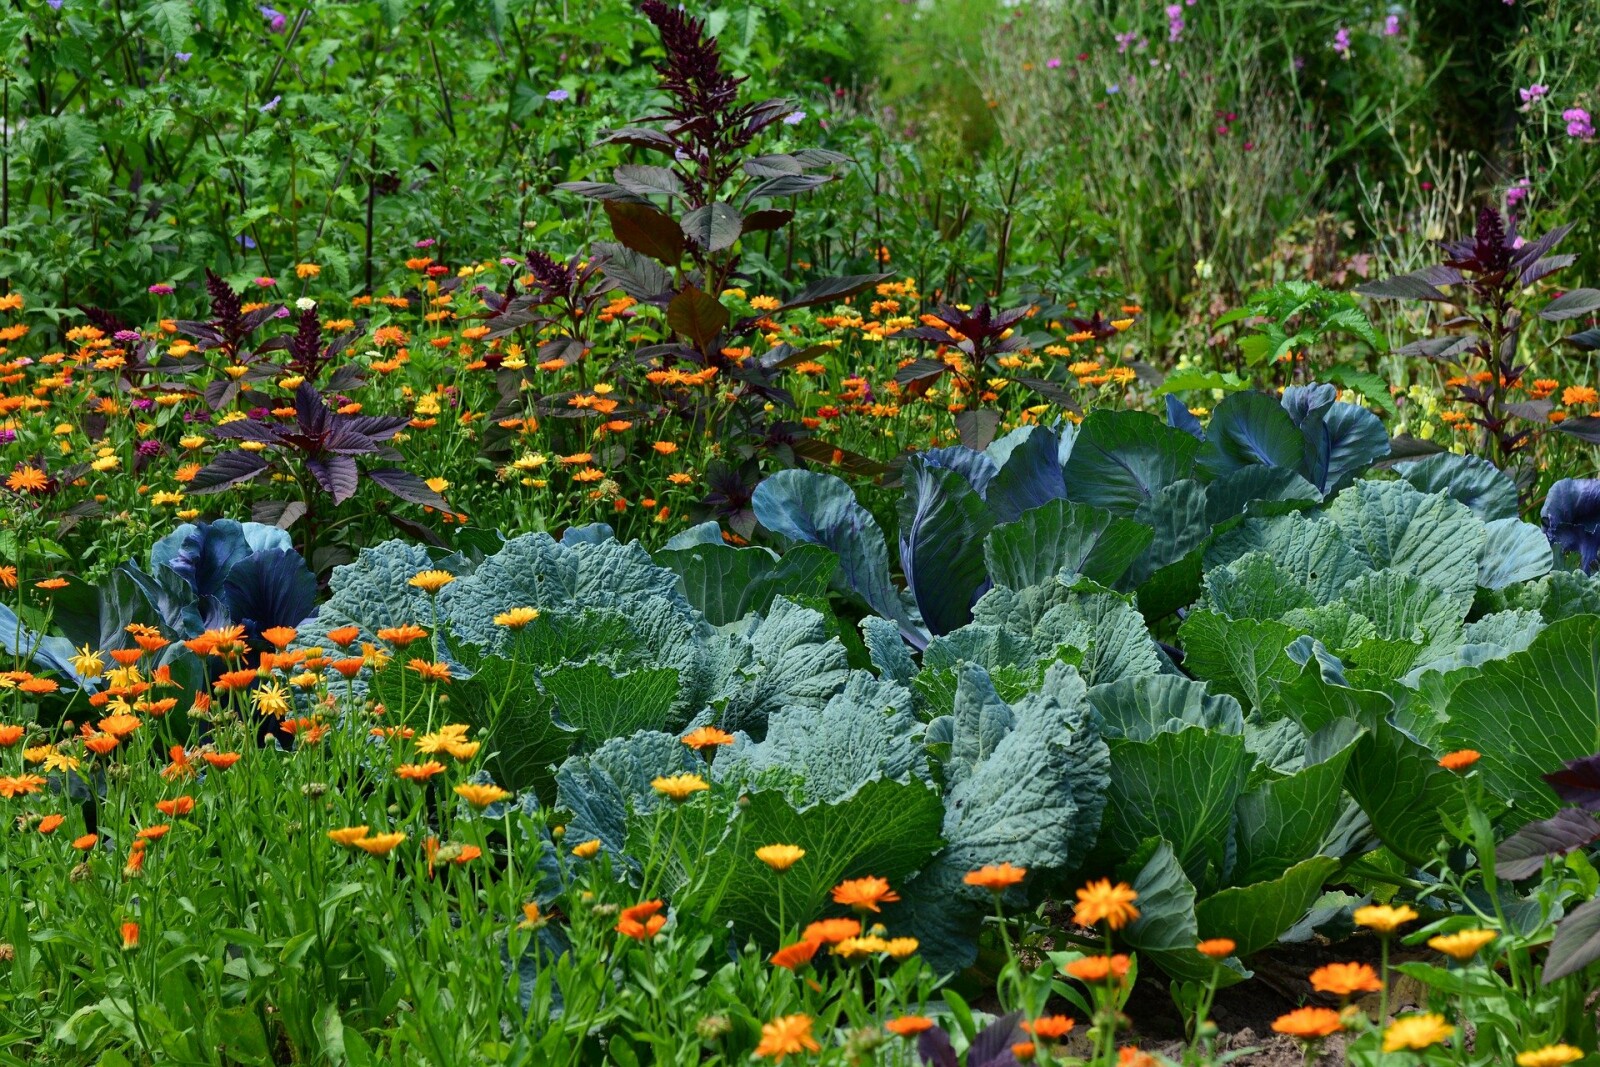
We are in the heart of gardening season in Nebraska. Plants are up, cool seasons done, most of the weeding is done, and the fruit of the labor is starting to show. It is honestly the best time. Water the garden and pick the produce and enjoy! The early hard work of establishing plants is done and the bulk of harvest is yet to come.
I’m often asked when people see or hear about my gardens: “How do you get it all done?” The short answer, ‘Little by little.” I started small with my garden, a few simple easy to grow plants and have expanded from there. Every year my garden has grown a bit, with more plants, more variety, and more space. Along the way I learned a few things that help cut down on the amount of work over the summer.
#1 Mulch. Not just the 1-2 inches of mulch or dusting like you do when planting grass, but deep mulch. Like 4-6 inches of mulch. Why that deep? Not only does it help the moisture stay in the soil better, it blocks much of the weed growth. Will you still have to weed? Yes, but much less. Who has time to spend all day weeding anyway?
#2 Tackle small parts at a time. This one hit hard this year. I would look at everything that needed done, planted, weeded, prepped, watered, and simply become overwhelmed. Once I reminded myself to tackle small chunks at a time, it made the job more do-able and less stressful. I divide the garden into sections for planting, weeding and watering and stick with the smaller parts. I am more likely to finish one section before it gets too hot or the kids need me that way.
#3 Try one new thing at a time. This is huge for beginners. I started with a sweet corn patch my hubby planted, some pumpkins and cucumbers that took over, and maybe a tomato plant and pepper. I cannot even count how many plants I have now without walking around the gardens. Each year I added one or two varieties to try. Became good with those and added more. I also started with small patches to experiment with so space isn't wasted.
#4 Companion plant. This took me a few years to catch on to. It actually started by accident, when I couldn’t fit all my tomatoes in one spot in the garden. The results were worth repeating year after year! There was less bug damage to the overall crop when plants were mixed together. This year I took a spin on it and planted my tomatoes all in beds together, but planted basil around them. Basil tends to repel the bugs attracted to the tomatoes and I wanted more basil. It was a win-win. Check out the list of friend/foe plants I made earlier for more details.
What are some lessons you’ve learned from your hobbies that others would benefit from?
Wanting a community to lean into? Join the FREE Courageous + Purposeful Mommas group! This community is for the Mommas, mommas to be, in the midst of raising, and kids grown, looking for tips on building your family up and providing for them through natural methods. Tips include: gardening, bulk buying, caning,/preserving, livestock, homesteading, and home remedies. Your family is precious, and this group is to help you gain the knowledge and tools to keep your family well and not reliant on outside professionals. Remedies and tips are easy and simple for the busy momma, time is precious after all, including pregnancy, birth, young kids, and illness. Trust your Momma gut again! This community offers the resources + community you need to help get started on your journey and prepare for whatever future you envision.
Click here to get the stories straight to your email:
For more on wellness tips click here:
For more on homesteading on your budget click here:
For more simple DIY updates click here:
This post may contain affiliate links, which means that I may receive a commission if you make a purchase using these links, with NO additional cost to you.
What was the first job you had? Was it a job that helped shape your views?
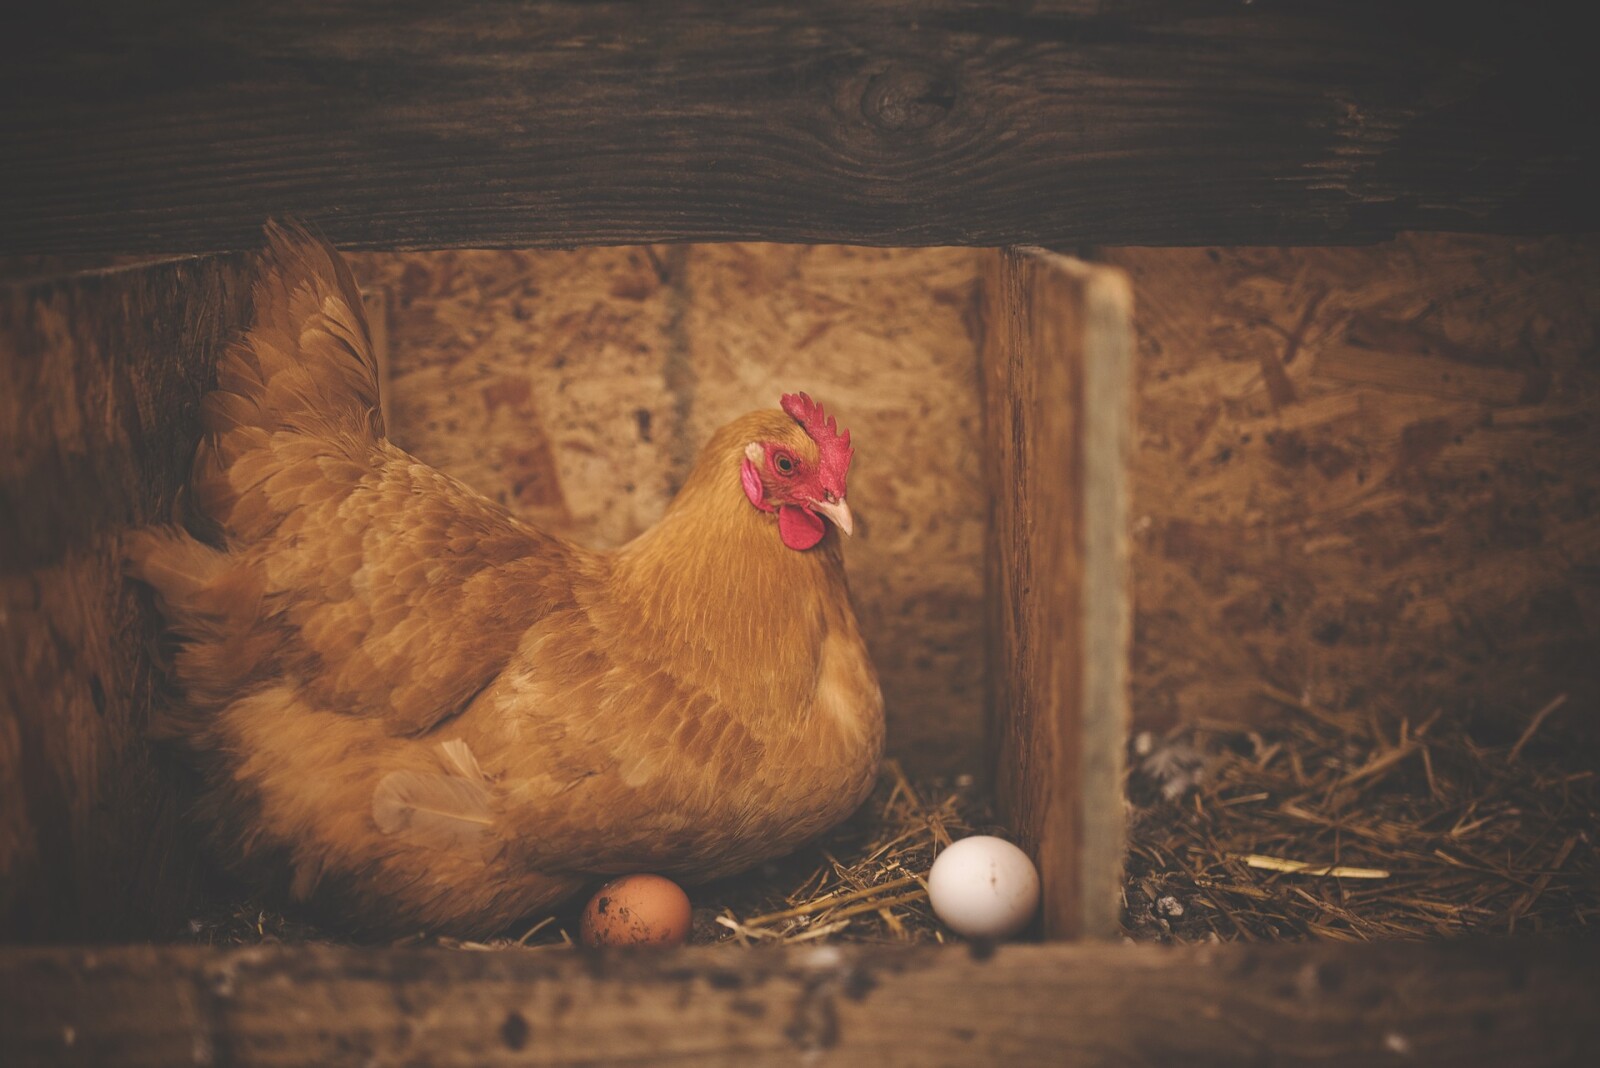
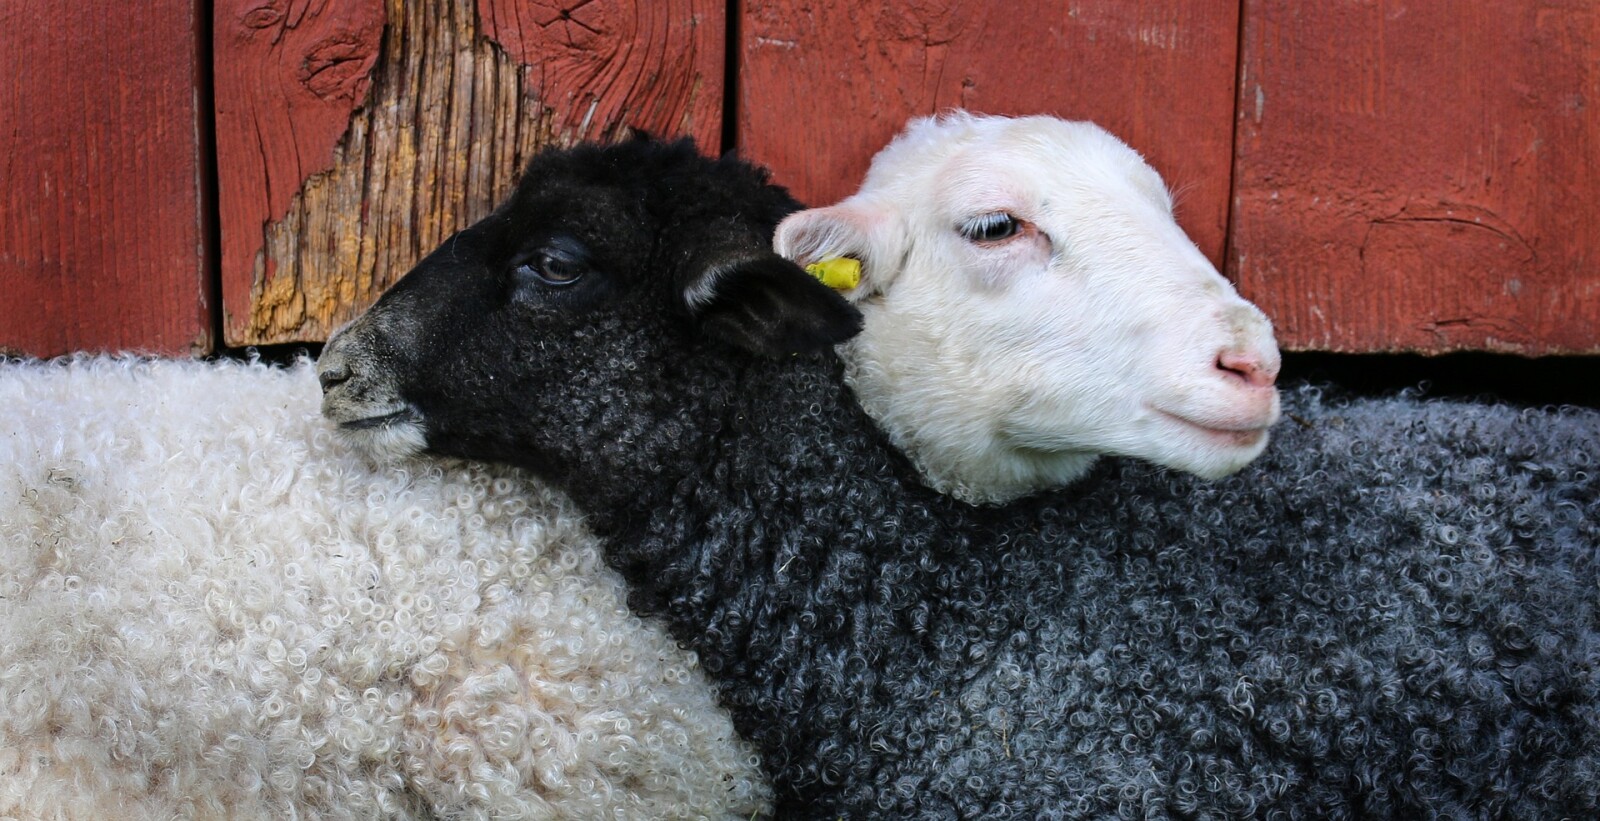
One of the first ‘jobs’ I had growing up was helping in the lambing barn. After all, I had convinced my dad to keep the ewes, so it was now part of my responsibility to help with the extra work and rewards of breeding them.
We would split lambing checks, with mom and dad doing them during the day, while we were at school, my sisters and I doing them after school and in the evening. I would then do the early 6 am check before school. I was the morning bird and enjoyed the quiet of the barn in the morning. I was also usually late for Spanish class once those checks started. Sorry, Ms. Hofts.
Those years of caring for the ewes taught me a lot about life. The natural cycle of life and death happens readily with sheep. And it is a hard lesson to learn, but one that brings understanding to the rest of life. But it also taught me that life and birth and death is natural. So many times we try to step in and adjust life to make things more convenient for us. But many times all we do is interfere and nature adjusts. The best example of this I can remember was with one of my first ewes (mom sheep).
It was chore time that afternoon, and one of my ewes already had one lamb almost born. We picked up the lamb and led the ewe into the maternity ward, where she would have her own pen to bond with her lamb. I continued to watch her as it finished chores around the barn. I knew she was carrying more than one lamb, but she refused to settle down and have it. Eventually we all left the barn and went back up to the house, deciding to go back in an hour and check her. In that hour she settled down and had another lamb. I made sure it got up and nursed well, and returned to the house. The next check she had another lamb! She ended up with 4 lambs that night, but every time we were in the barn, she would act as if nothing was going on and shut labor down. She needed her space and time.
The biggest lesson I learned in the lambing barn was when to step in and help and when to just leave the ewe alone. 95% of the time the ewes had the lambs just fine on their own. As long as none of the other ewes were bothering them or it wasn’t super cold, they did quite well in the pen until the lamb was up and had nursed. Then they could be moved to their ‘private room’. The other 5% of the time was the critical ones, where the ewe just wasn’t going to have the lamb on her own. Either the lamb was positioned wrong, or the ewe was just too exhausted, usually, but she needed help.
Distinguishing the difference in the two was tricky in the beginning, but with time and practice, it became easy to spot the births that were off, or not progressing as they should.
When I started having my own children, part of me wondered why something so natural was so medicalized. But it was what everyone was doing, so I followed suit. Later I learned there was a different more natural approach, and I was all for it. I just wanted the same space and respect I had given all the animals in my care.
Wanting a community to lean into? Join the FREE Courageous + Purposeful Mommas group! This community is for the Mommas, mommas to be, in the midst of raising, and kids grown, looking for tips on building your family up and providing for them through natural methods. Tips include: gardening, bulk buying, caning,/preserving, livestock, homesteading, and home remedies. Your family is precious, and this group is to help you gain the knowledge and tools to keep your family well and not reliant on outside professionals. Remedies and tips are easy and simple for the busy momma, time is precious after all, including pregnancy, birth, young kids, and illness. Trust your Momma gut again! This community offers the resources + community you need to help get started on your journey and prepare for whatever future you envision.
Click here to get the stories straight to your email:
For more on wellness tips click here:
For more on homesteading on your budget click here:
For more simple DIY updates click here:
This post may contain affiliate links, which means that I may receive a commission if you make a purchase using these links, with NO additional cost to you.
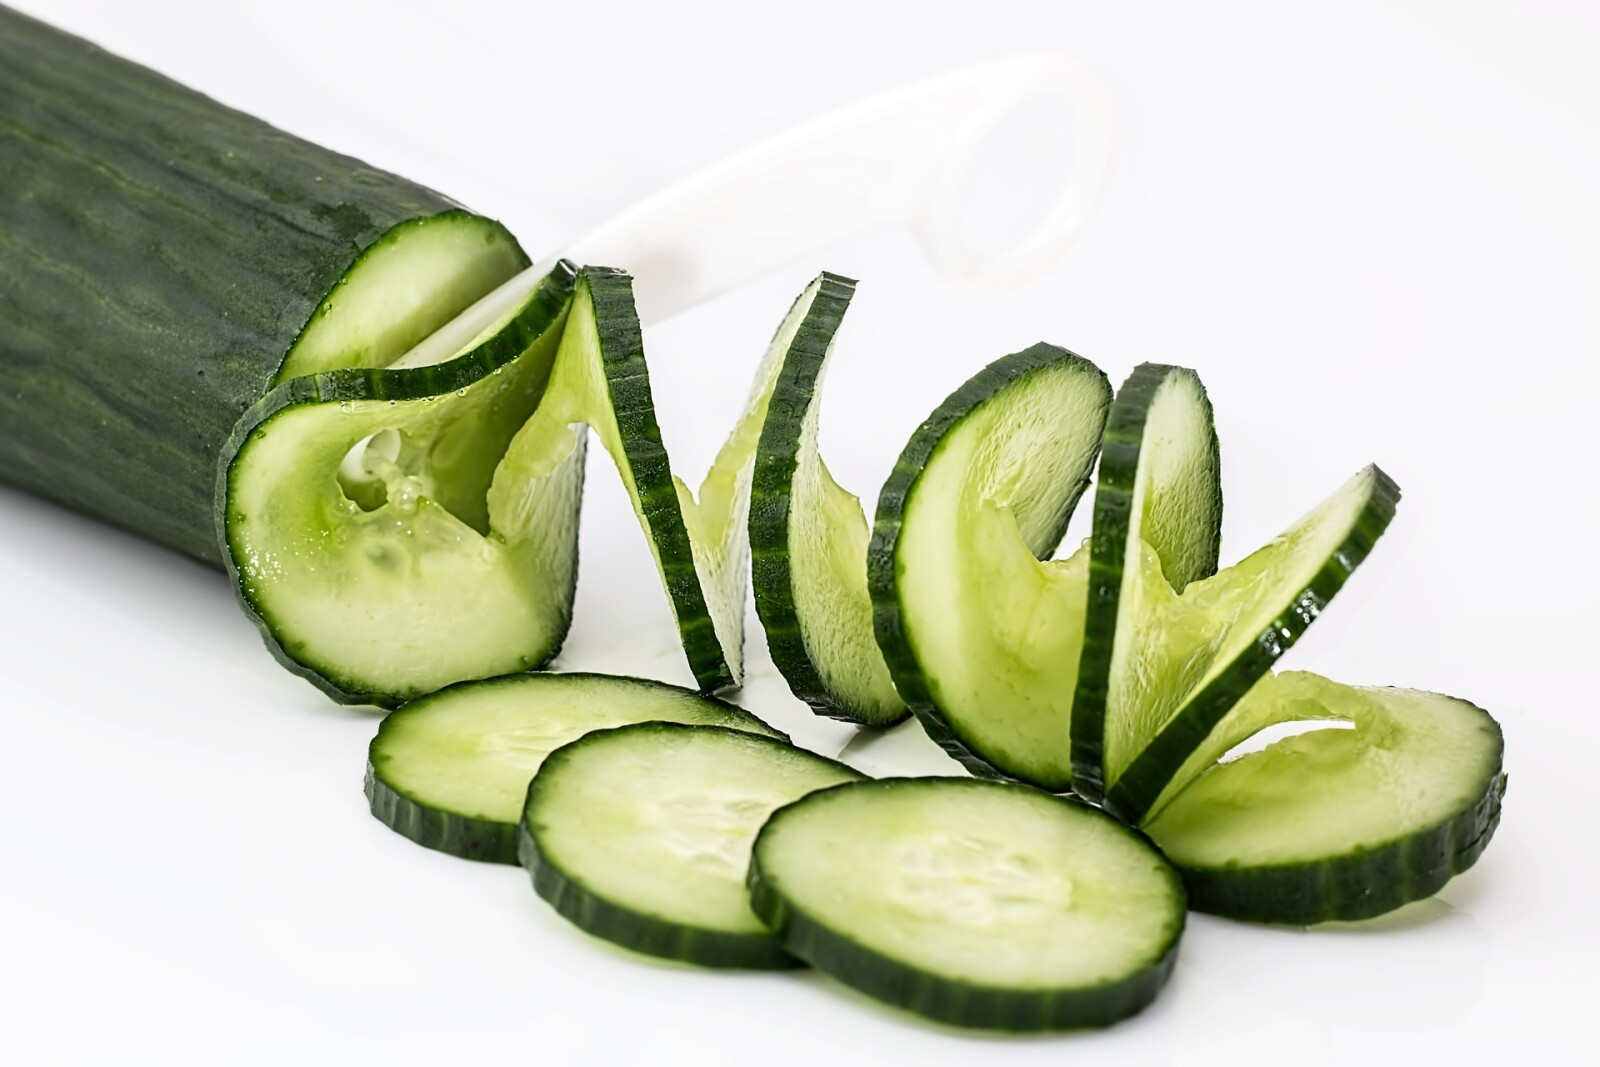
Wait what?!? That was my reaction at first, but having an abundance of cucumbers, I decided to try it. Besides if they were good, it would be a good way to make them last over the winter. I already had pickles and relish left from last year to get me through this year, so I needed something else.
I started with a very small batch, there was no point in having a bunch if they weren’t any good. The first batch I did through one of those old cheese graters. This sliced the cucumbers very thin, but still took quite a bit of time and I got many partial pieces, instead of round slices. After they dehydrated overnight we tasted them. They were dissolve on your tongue thin, but tasted good. So I tried round two filling the entire dehydrator.
In my quest for quick easy cutting I remembered my food processor! I had to cut the cucumbers in half to fit, but cutting part went way faster, and more uniform in shape and thickness. I still tossed them in the oil and salt mixture as the recipe directed. The results of round 2 were mixed. They still tasted good, but they were too thin for a good chip
Round three, I went back to the good old knife. While the cutting part took longer, and the thickness was not exactly uniform. I filled the dehydrator as full as I could. I also tried brushing the oil salt mix on the slices instead of tossing them. You know to save a dish to wash. These turned out good! They were the proper thickness for a chip and tasted good. I tend to not like a lot of salt, so the one side was perfect for me. My kids liked the chips as well, but they love cucumbers straight out of the garden too.
Recipe
Cucumbers sliced thin
1 T Olive oil
½ t Sea Salt
2 t apple cider vinegar (if you want salt vinegar chips)
1. Lay cucumbers on dehydrator trays.
2. Mix olive oil, sea salt, and vinegar (if desired)
3. Brush onto the cucumbers
4. Dehydrate at 135 degrees F for 10-12 hours until crispy
5. Cool and eat or place in containers for storage.
Wanting a community to lean into? Join the FREE Courageous + Purposeful Mommas group! This community is for the Mommas, mommas to be, in the midst of raising, and kids grown, looking for tips on building your family up and providing for them through natural methods. Tips include: gardening, bulk buying, caning,/preserving, livestock, homesteading, and home remedies. Your family is precious, and this group is to help you gain the knowledge and tools to keep your family well and not reliant on outside professionals. Remedies and tips are easy and simple for the busy momma, time is precious after all, including pregnancy, birth, young kids, and illness. Trust your Momma gut again! This community offers the resources + community you need to help get started on your journey and prepare for whatever future you envision.
Click here to get the stories straight to your email:
For more on wellness tips click here:
For more on homesteading on your budget click here:
For more simple DIY updates click here:
- Prepare Your Herbs:
- Wash and pat dry your herbs.
- For larger herbs like chives and basil, cut them into smaller pieces to ensure even drying.
- Set Up the Dehydrator:
- Place the herbs on the dehydrator trays. For smaller trays, I like to add a fine mess screen and the solid tray on the very bottom tray.
- Set the dehydrator to 95 degrees Fahrenheit.
- Drying Process:
- Leave the herbs to dry for at least 12 hours.
- Check if they're dry to the touch. If not, give them more time.
- Grind and Store:
- Once dry, grind the herbs using a coffee grinder or blender.
- If the hers seem a little damp, I’ll dry them another couple hours ground.
- Store them in airtight glass jars to keep them fresh.
- Retains Flavor and Scent:
- Time-Saving:
- Versatility:
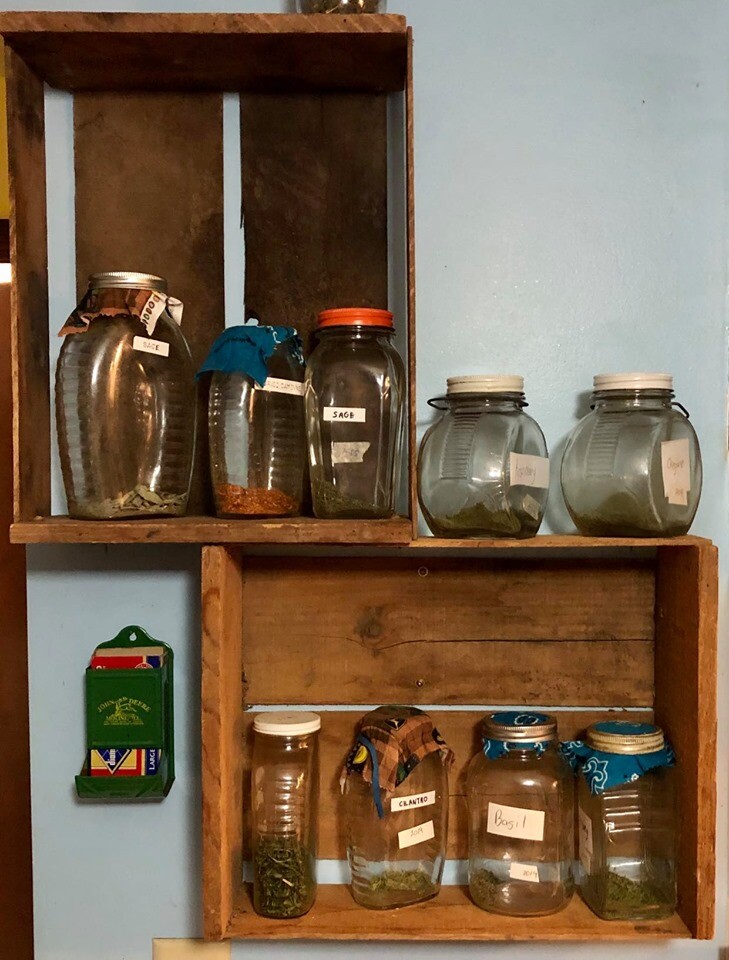
- Use clean, dry glass jars with solid lids.
- Label each jar with the herb's name and the date it was dried.
- Store the jars in a cool, dark place to keep the herbs fresh for longer.
Join the FREE Community