This post may contain affiliate links, which means that I may receive a commission if you make a purchase using these links, with NO additional cost to you.
- Freshness: Enjoy the taste of summer all year long.
- Health: Control over ingredients means no unwanted preservatives or additives.
- Cost-Effective: Save money by using what you grow.
- Canning jars
- Canning lids
- Canning rings
- Jar funnel
- Long spatula or knife
- Hot water bath canner
- Large stock pot or roaster
- Sieve or immersion blender
- Tomatoes
- Citric Acid or Lemon Juice
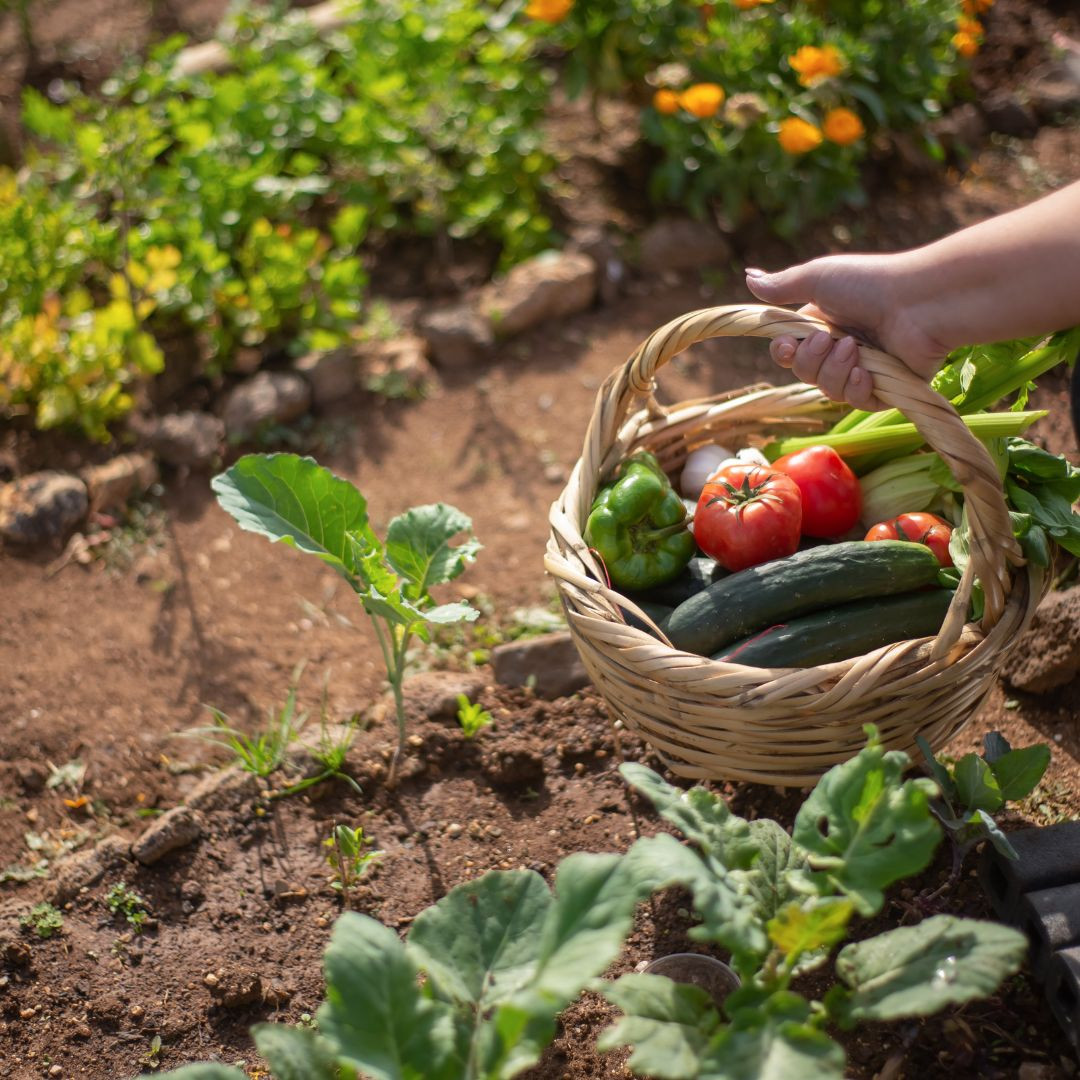
- Harvest Fresh Tomatoes or if you have frozen tomatoes, pull them out of the freezer. This is actually my preferred way as you can drain some of the water off and skip the slicing step.
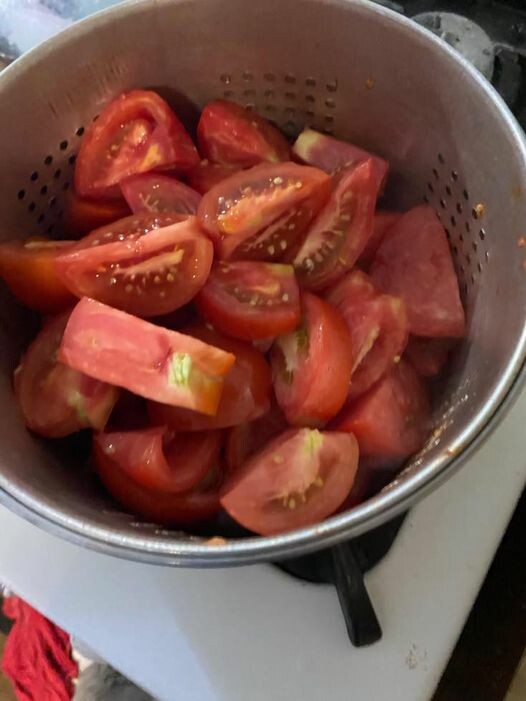
- Slice the Tomatoes into quarters. There's no need to blanch or core them; just toss them into the stock pot.
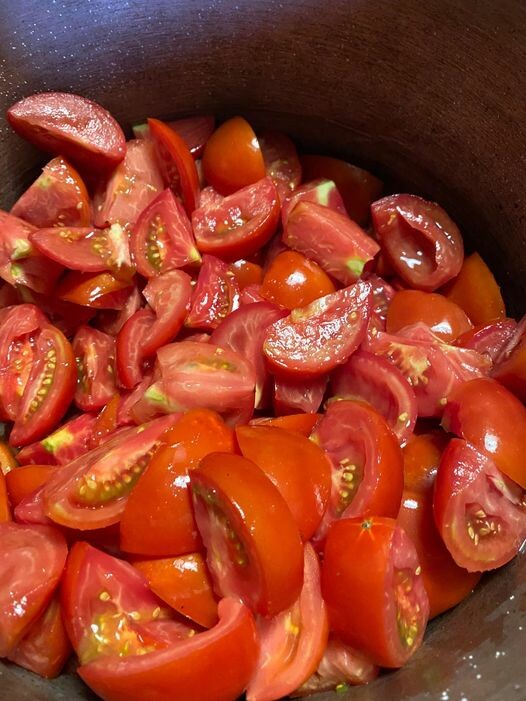
- If the tomatoes are firm, place them in a pot to steam until they soften. Using a strainer can make this easier.
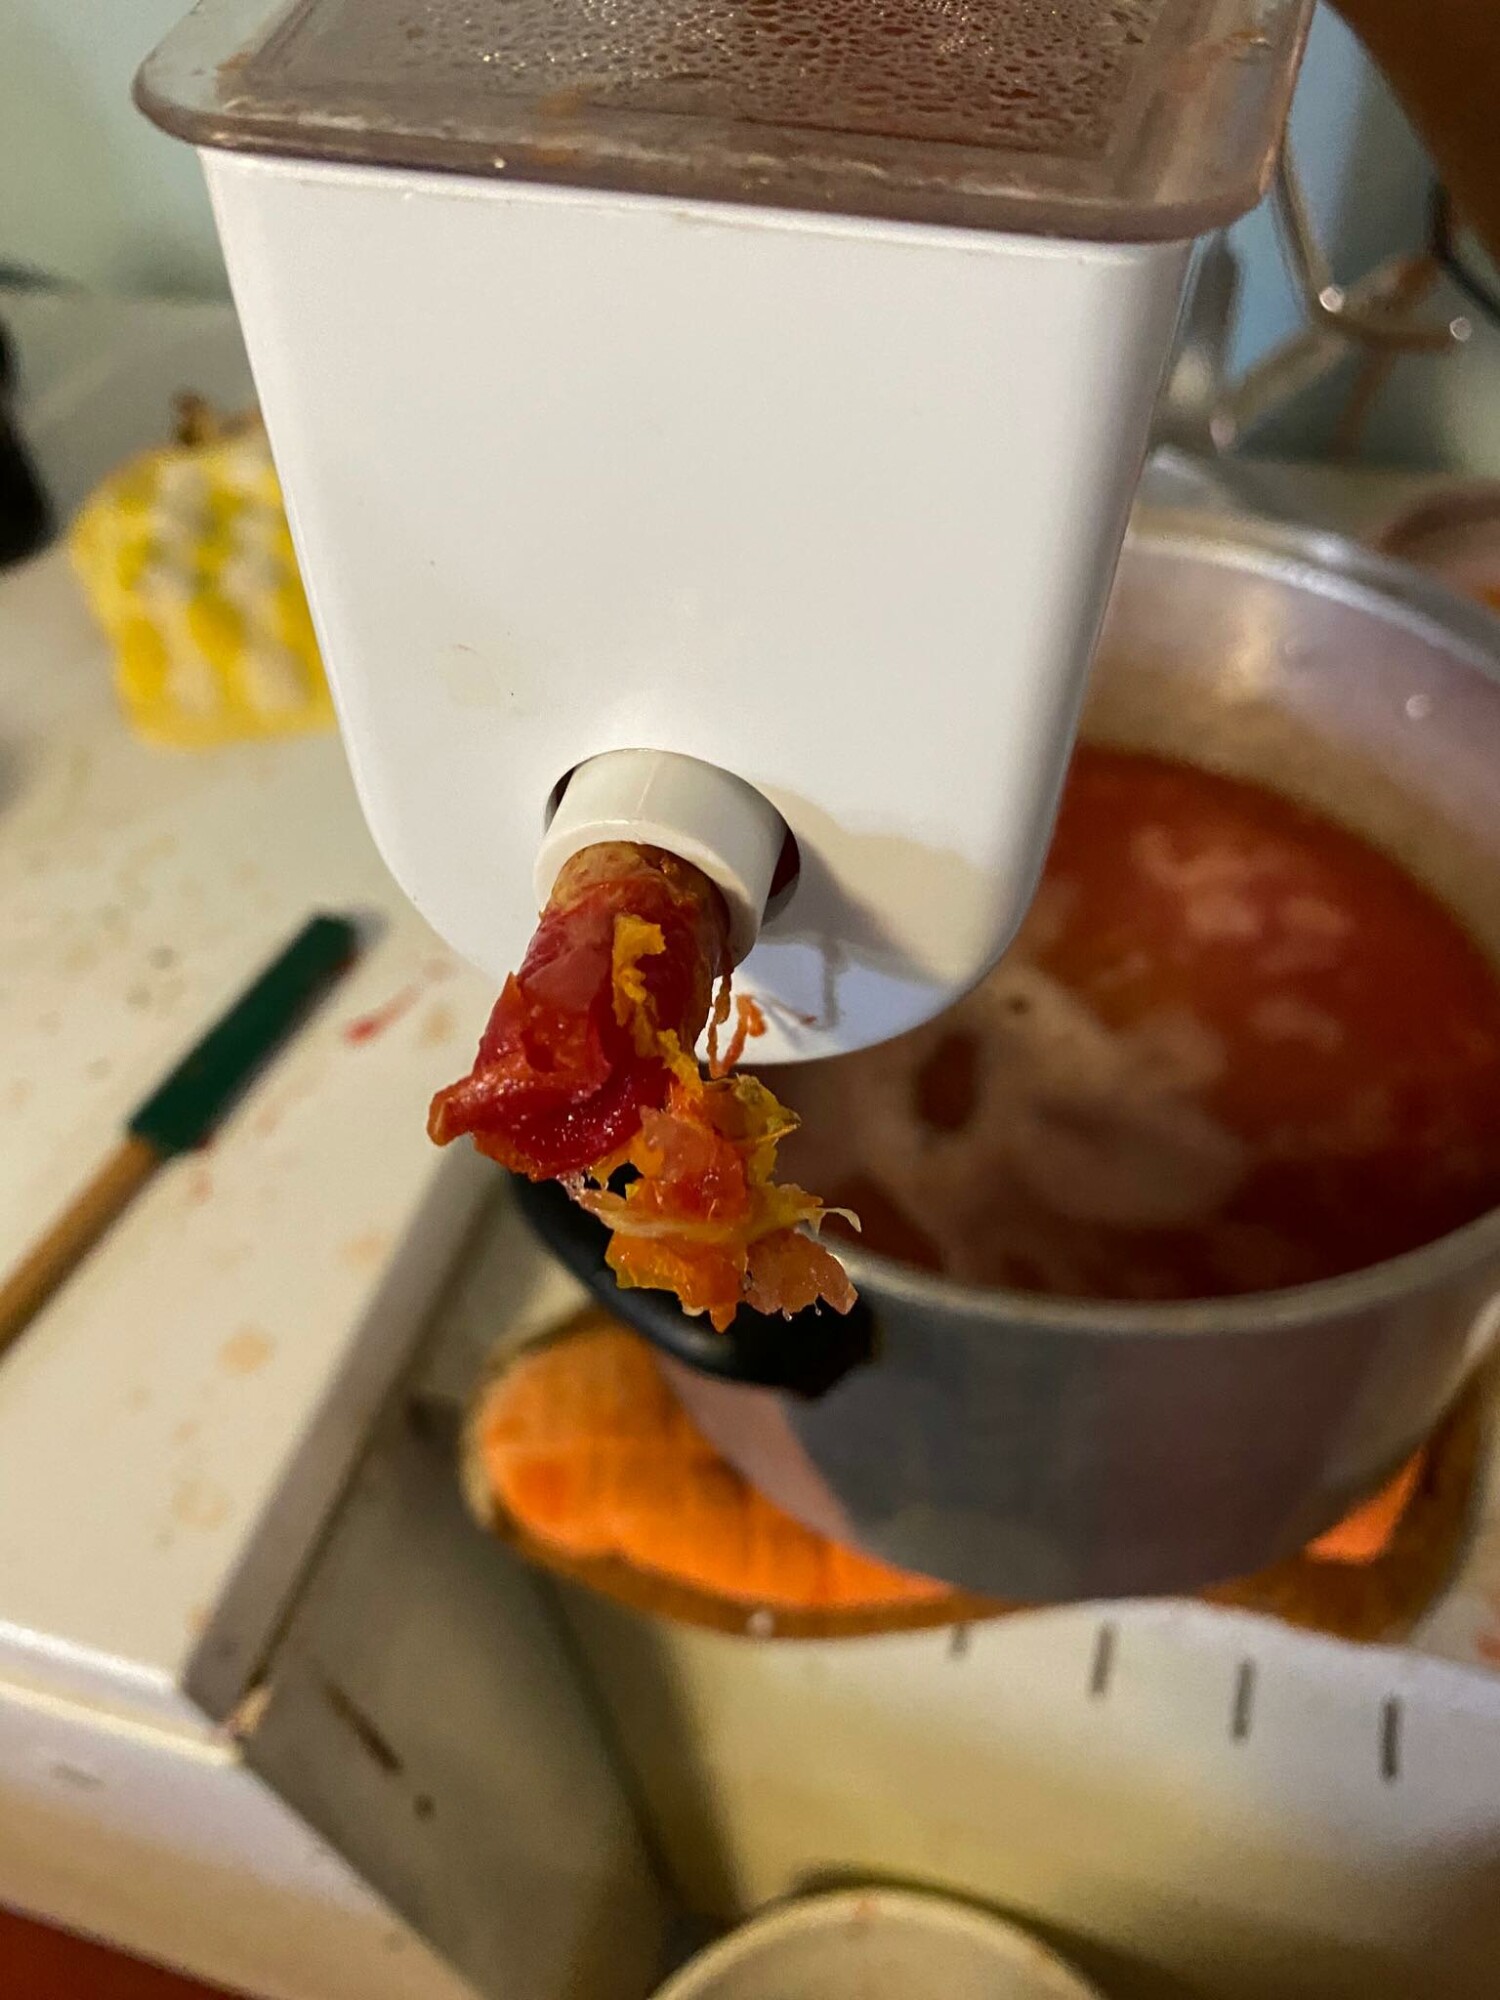
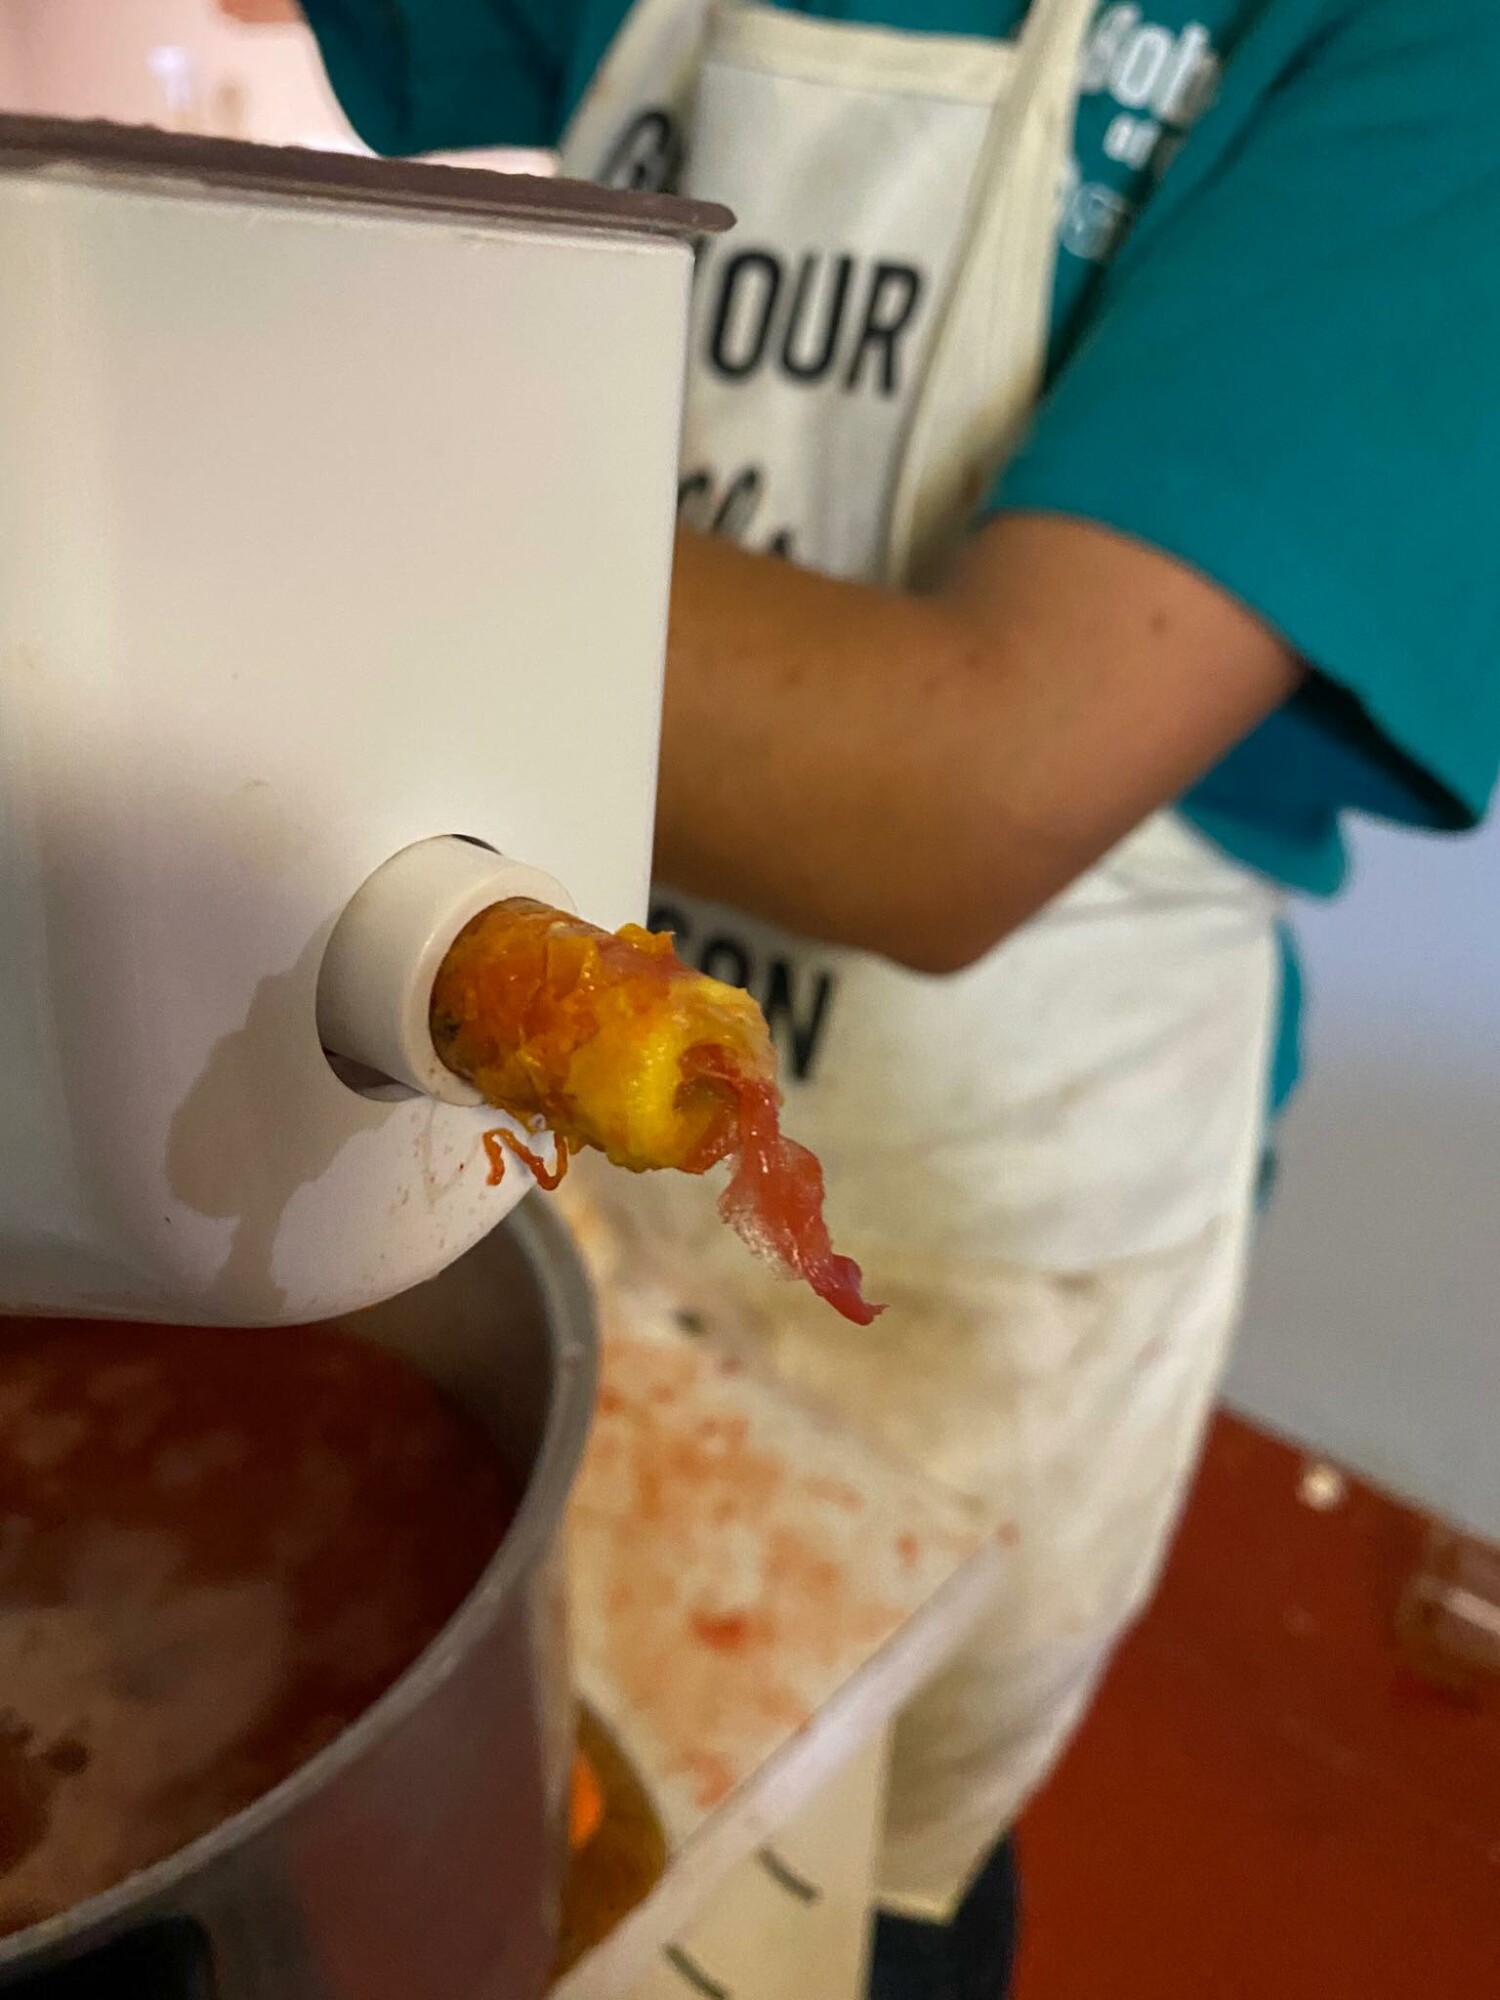
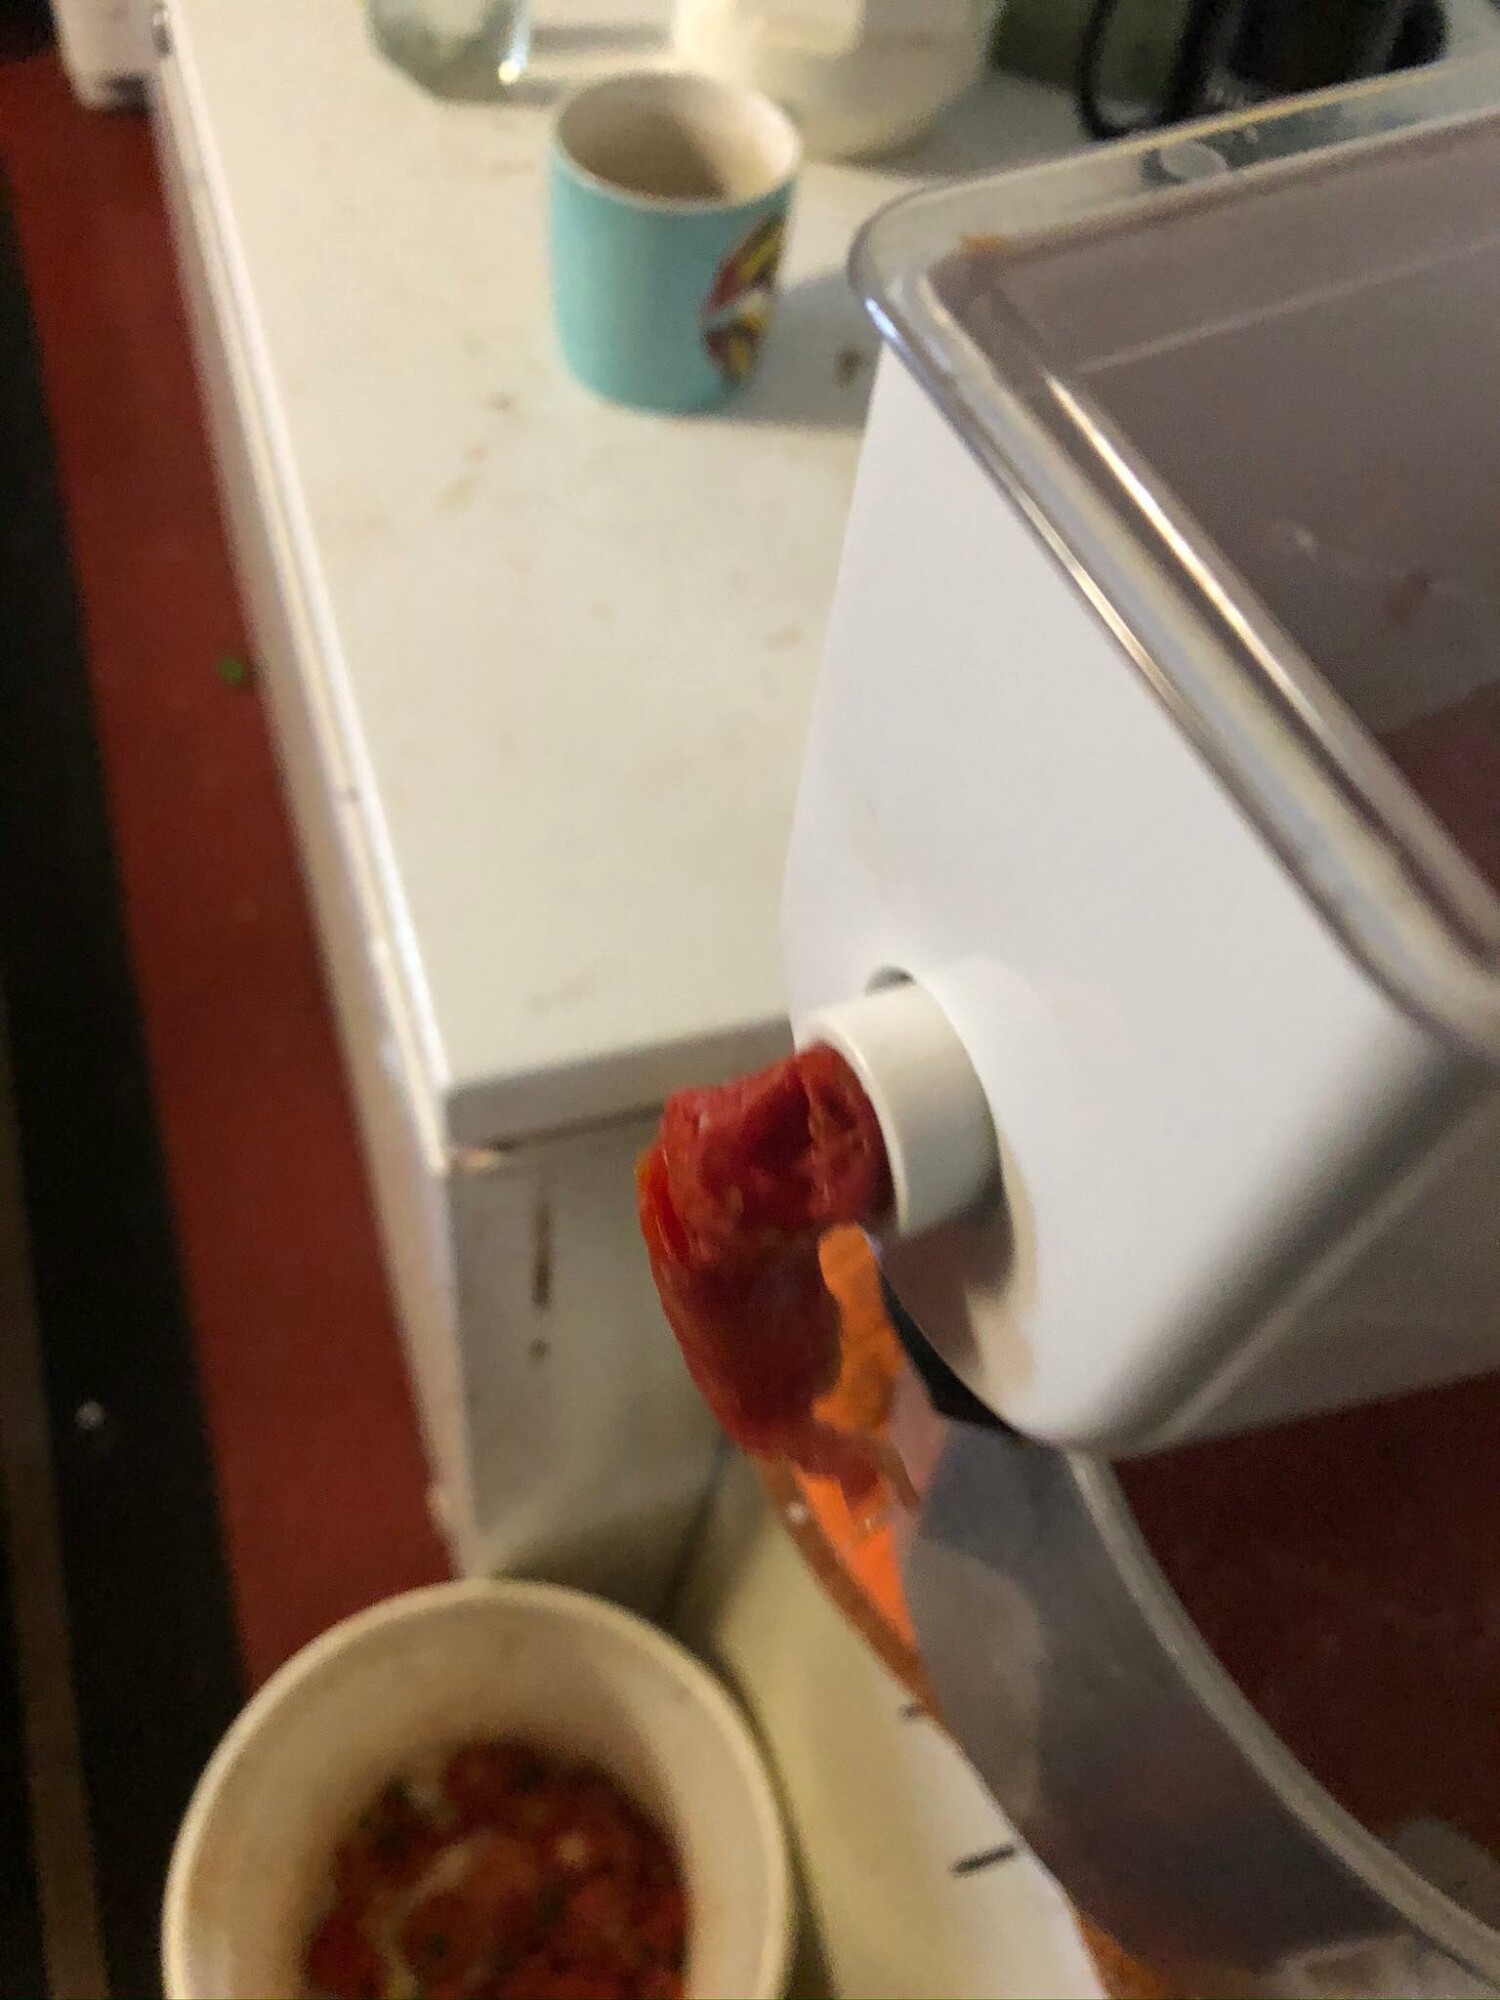
- Run the softened tomatoes through a sieve to separate the juice from the skins and seeds. This will give you a smooth tomato base. Alternatively if you don't care about the skins and seeds, you can use an immersion blender and blend the whole tomatoes. Note you will probably have a few rouge skins if you choose to do this.
- You can dry the sieved skins and seeds down to grind into powder and make tomato paste when needed.
- Pictures 1 & 2 are how the rejects should look. Picture three the tomatoes are a bit firm yet and I’m loosing quite a bit of pulp, not just skin and seed.
- Allow the tomato juice to cook down to your desired consistency. This could take a while depending on your preference. This is where a crock pot or roaster can come in handy. Using a roaster or crock pot you can walk away and do other things easier. You can also let them cook overnight and can them in the morning.
- Stir occasionally to avoid burning the bottom of the sauce if using a stock pot.
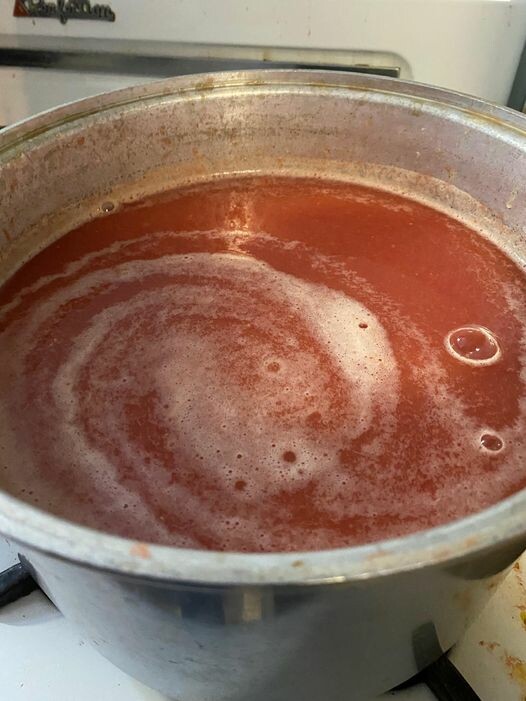
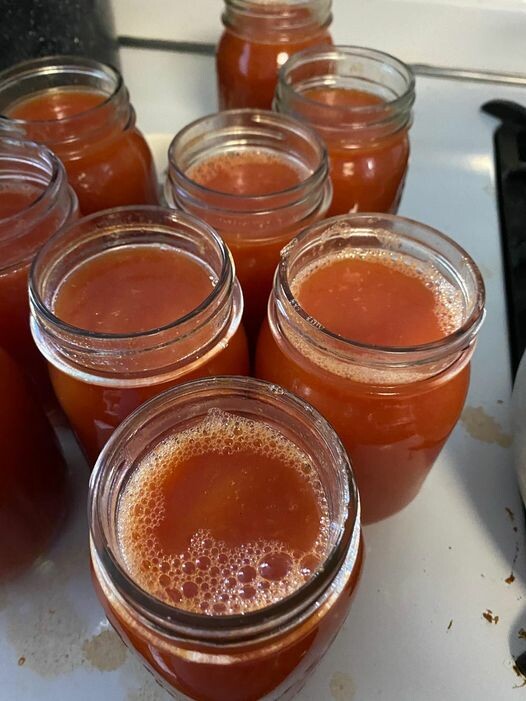
- Fill sterile canning jars with 1/4 teaspoon citric acid or lemon juice per pint of sauce and the hot tomato sauce, leaving about ½ inch of headspace.
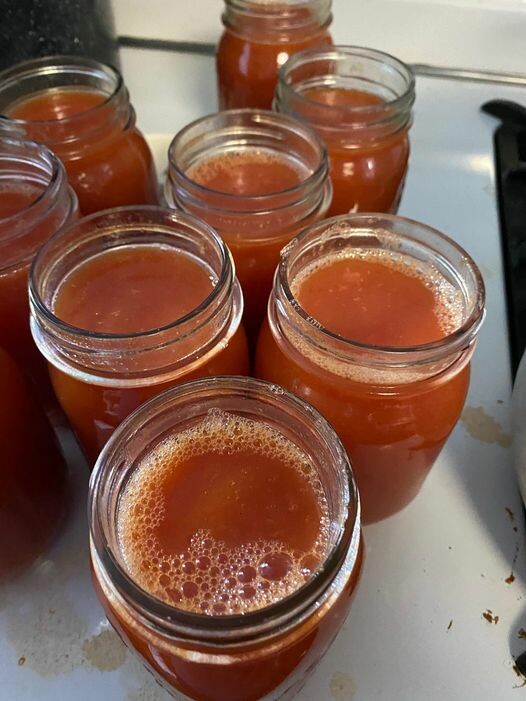
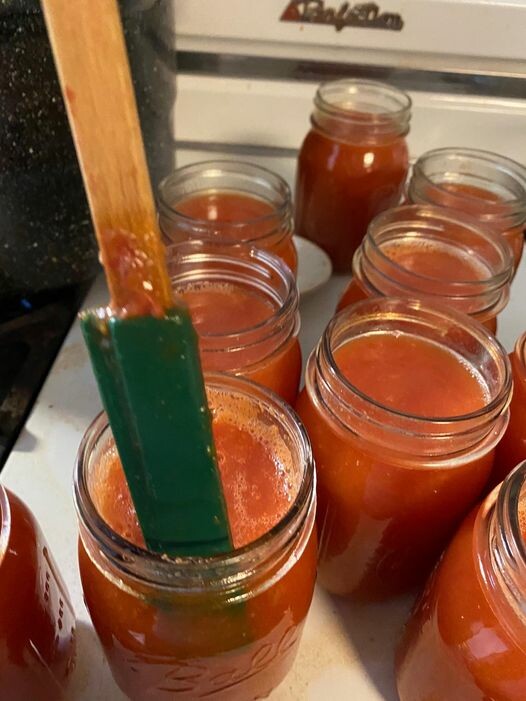
- Use a long spatula or knife to remove air bubbles by running it along the edge of the jar. Wipe the rim clean to ensure a proper seal.
- For one-time-use lids, rinse them in hot water before placing them on the jars and securing them with the rings. Do not over-tighten.
- For reusable lids, follow the manufacturer’s instructions. Tattler reusable canning lids, for example, recommend boiling the seals.
- Place jars in a hot water bath canner. Once the water is boiling, process the jars for 20 minutes.
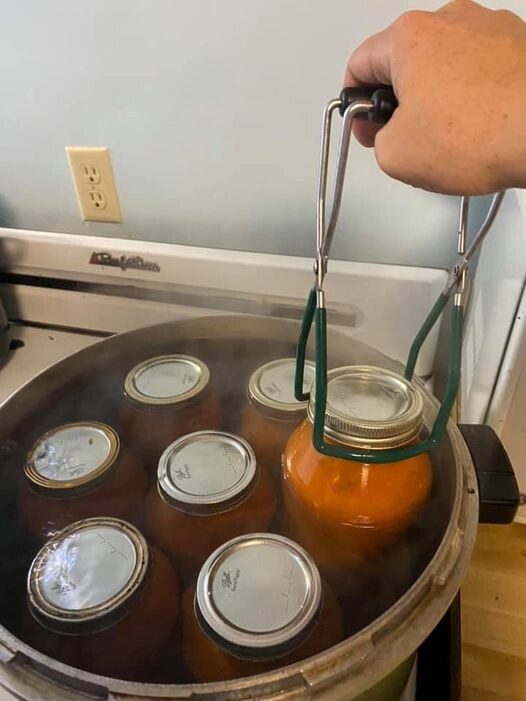
- Remove jars from the canner and allow them to cool overnight. Check the lids to ensure they are sealed.
- For one-time-use lids, the center should be concave and not pop up. For reusable lids, gently lift by the lid to test the seal.
- Use Garden, Ripe Tomatoes to ensure the best flavor.
- Sterilize Jars Properly to prevent contamination.
- Label and Date each jar for easy identification later. You will forget what is in that jar.
- Eco-Friendly: Reduce waste by reusing lids.
- Cost-Effective: Save money in the long run.
- Reliable Seals: Trusted by home canners for their durability.
Join the FREE Community
This post may contain affiliate links, which means that I may receive a commission if you make a purchase using these links, with NO additional cost to you.
Have you looked at the back of those taco seasoning packets lately? One I recently looked at contained: Corn starch, maltodextrin, vegetable oil, silicon dioxide, citric acid, sugar, flavor. Many flavor packets also have MSG (mono-sodium glutamate). That’s not even the spices that just fillers! What is up with all that?!
Corn starch was ok. Citric acid and sugar I understood for preserving. But why the vegetable oil, silicon dioxide, and maltodextrin? MSG is a flavor enhancer that gets you addicted to the food. That pop, McDonald’s fries or ice cream you can’t put down? Yep there is MSG in there. MSG also can be an allergen for some.
I was not ok with that. I didn’t even realize how much filler was in food seasoning until I started reading labels looking for food allergens. You would be surprised how much gluten and soy are in.
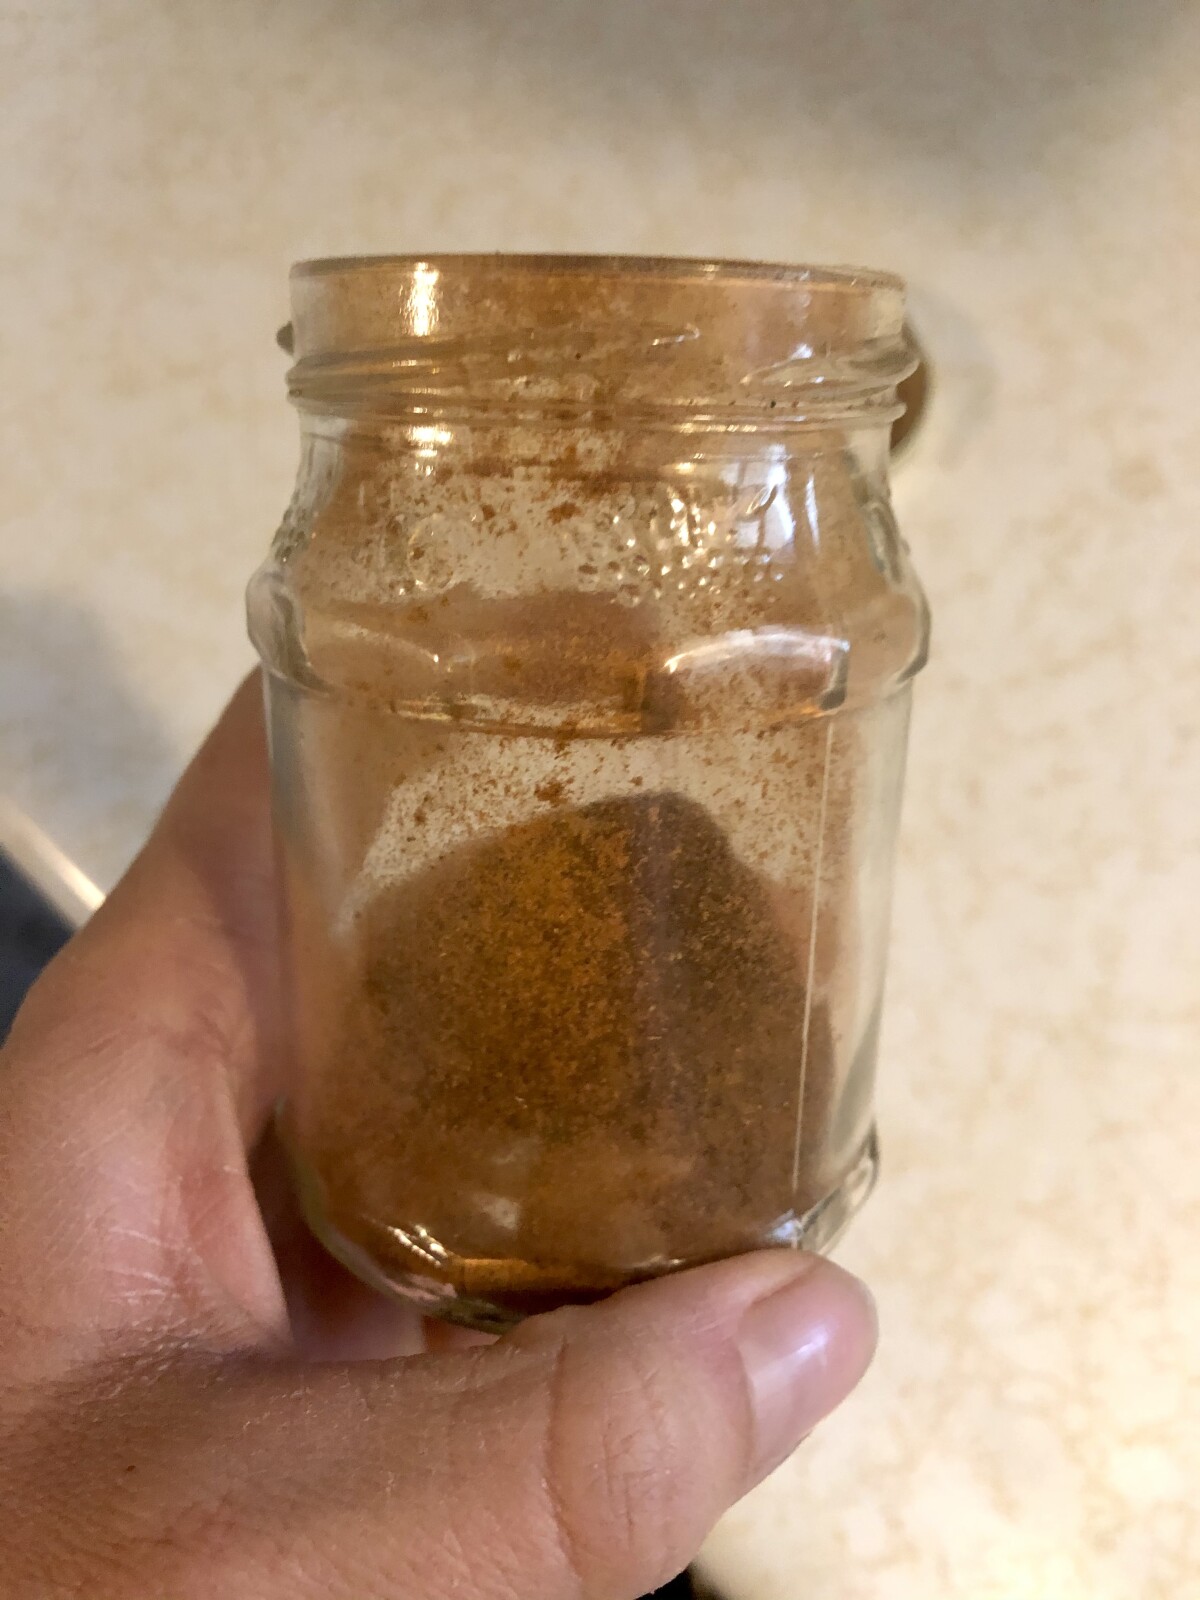
The good news is I found a simple way to make taco seasoning at home without all the extra. Bonus is it has spices that are usually in the kitchen anyway. I mix it up in a batch about the size of the jar in the picture and use as we cook. We love tacos and Mexican food at our house, so it has never been old enough to begin caking. Just shake the jar before use and apply as much as desired.
For this recipe you will want to store it in an airtight glass jar. This will prevent it from caking better, especially if your spices live near the stove like mine. I can put two batches in my jar, but I layer them in so mixing is easier. I also add a little extra cumin, because my family likes it.
Taco Seasoning
1 T chili powder
¼ t garlic powder
¼ t onion powder
¼ t oregano
½ t paprika
1 ½ t cumin
1 t salt
1 t black pepper
¼ t crushed red pepper
Wanting a community to lean into? Join the FREE Courageous + Purposeful Mommas group! This community is for the Mommas, mommas to be, in the midst of raising, and kids grown, looking for tips on building your family up and providing for them through natural methods. Tips include: gardening, bulk buying, caning,/preserving, livestock, homesteading, and home remedies. Your family is precious, and this group is to help you gain the knowledge and tools to keep your family well and not reliant on outside professionals. Remedies and tips are easy and simple for the busy momma, time is precious after all, including pregnancy, birth, young kids, and illness. Trust your Momma gut again! This community offers the resources + community you need to help get started on your journey and prepare for whatever future you envision.
Click here to get the stories straight to your email:
For more on wellness tips click here:
For more on homesteading on your budget click here:
For more simple DIY updates click here:
This post may contain affiliate links, which means that I may receive a commission if you make a purchase using these links, with NO additional cost to you.
Sometimes you just want something sweet right? I personally love cookie dough. It is my weakness. Peanut butter chocolate chip? I’ll eat the whole bowl if I’m not careful. I have been dairy and gluten free for a year now, and good cookies are difficult to come by. So when a friend shared their favorite flourless peanut butter cookie recipe with me, you bet I tried it!
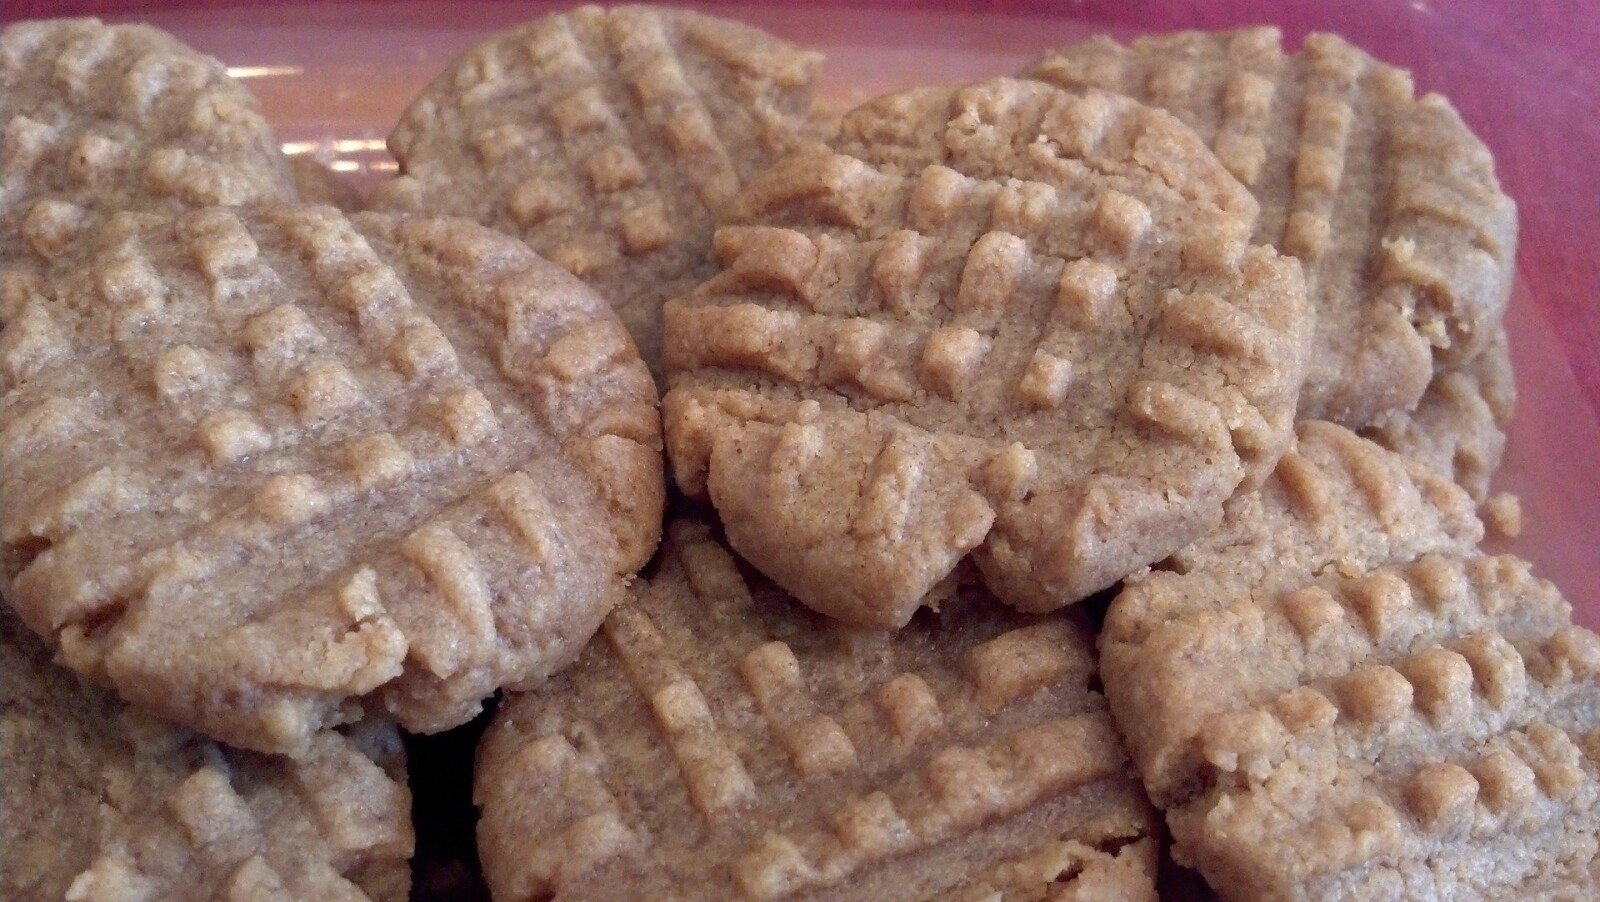
I waited until after the kids were in bed (they did not need that sugar anyway). Then mixed up a batch and actually baked ,most of them to see how they would hold up. Of course I sampled the dough, because how else are you going to make sure they taste ok? As with most peanut butter cookie recipes, it made a small batch, and that is ok, because my husband and I ate them all before the next morning. The cookies tasted fantastic, and held together!
Later, I started to make small personal sized batches of this, mostly for portion control for myself. Take one scoop of peanut butter, sugar (approximately the same amount as the peanut butter), and a splash of pure vanilla extract and mix it all together. Then add a handful of chocolate chips and mix once more. You can use coconut palm sugar instead of regular sugar for a healthier option. You can also adjust the sugar amount down, so it is not as sweet.
Peanut Butter Chocolate Chip Cookies- Gluten and dairy free
1 cup peanut butter
1 cup sugar
1 t pure vanilla extract
1 large egg beaten
1 cup allergen free chocolate chips
Preheat the oven to 350 degrees F.
Mix ingredients together and spoon onto a cookie sheet. Flatten slightly with a fork.
Bake for 10 minutes, until the edges are golden
Personal Size Peanut Butter Dough
Equal parts peanut butter and sugar (or drizzle honey instead)
Splash of vanilla extract
Handful of allergen free chocolate chips.
Mix together and enjoy!
Wanting a community to lean into? Join the FREE Courageous + Purposeful Mommas group! This community is for the Mommas, mommas to be, in the midst of raising, and kids grown, looking for tips on building your family up and providing for them through natural methods. Tips include: gardening, bulk buying, caning,/preserving, livestock, homesteading, and home remedies. Your family is precious, and this group is to help you gain the knowledge and tools to keep your family well and not reliant on outside professionals. Remedies and tips are easy and simple for the busy momma, time is precious after all, including pregnancy, birth, young kids, and illness. Trust your Momma gut again! This community offers the resources + community you need to help get started on your journey and prepare for whatever future you envision.
Click here to get the stories straight to your email:
For more on wellness tips click here:
For more on homesteading on your budget click here:
For more simple DIY updates click here:

This post may contain affiliate links, which means that I may receive a commission if you make a purchase using these links, with NO additional cost to you.
With winter rolling in early this year, I found myself wanting some hot chocolate after a blustery morning feeding all the animals. The kids 3 and 1 were all in favor of this idea to warm up. The problem? My 1 year old and I cannot have dairy and the only mix in the house had dairy.
I could have made a batch on the stove like my mom used to do, but we did not need that much hot chocolate. So I started digging through my recipes to see if I could find one that I could alter. I found 2 buried in the recipe box. One for actual hot chocolate mix, the other to make stove top hot chocolate. The hot chocolate mix had way too much dairy to try and substitute out. The stove top hot chocolate however was simple and did not contain dairy until you made it.
So I got busy and mixed it up, 6 parts sugar to 1 part cocoa powder. I added cinnamon and nutmeg, because I love them in hot chocolate. You could use coconut palm sugar if you wanted to make it healthier, but I did not have any on hand. I found one of my old swing top glass jars and started filling sugar, then cocoa, then the cinnamon and nutmeg. I filled the container until it was ¾ full and then closed the lid and shook it, to mix everything together.
I then heated a bit of almond milk and vanilla in a pan on the stove while the water kettle heated. Hindsight I could have heated everything together. The key is to have equal parts milk (or alternative) and water. Heat the milk until hot, but not boiling, stirring often, so the bottom does not burn or scald. I took 2 mugs and placed 1 T in each mug, then filled the mugs with the warm milk and water. Mix them well and done!
The 3 year old loved it right away. The 1.5 year old kept licking it like a dog, until he figured out how to drink it. He also loved it and barely let me drink any.
Hot Chocolate Mix - Dairy Free
6 Scoops sugar (can use coconut sugar or alternative if you desire)
1 Scoop Cocoa powder
Dash of cinnamon
Dash of Nutmeg
Fill an airtight container in layers, in the order given. When the container is ¾ full, tighten the lid and shake to mix.
To make the hot chocolate:
½ c water, ½ c milk alternative, 1 t vanilla
Heat milk alternative, vanilla, and water. Do NOT boil
Add 1 T of Coco mix.
Stir well and ENJOY!
Wanting a community to lean into? Join the FREE Courageous + Purposeful Mommas group! This community is for the Mommas, mommas to be, in the midst of raising, and kids grown, looking for tips on building your family up and providing for them through natural methods. Tips include: gardening, bulk buying, caning,/preserving, livestock, homesteading, and home remedies. Your family is precious, and this group is to help you gain the knowledge and tools to keep your family well and not reliant on outside professionals. Remedies and tips are easy and simple for the busy momma, time is precious after all, including pregnancy, birth, young kids, and illness. Trust your Momma gut again! This community offers the resources + community you need to help get started on your journey and prepare for whatever future you envision.
Click here to get the stories straight to your email:
For more on wellness tips click here:
For more on homesteading on your budget click here:
For more simple DIY updates click here:

