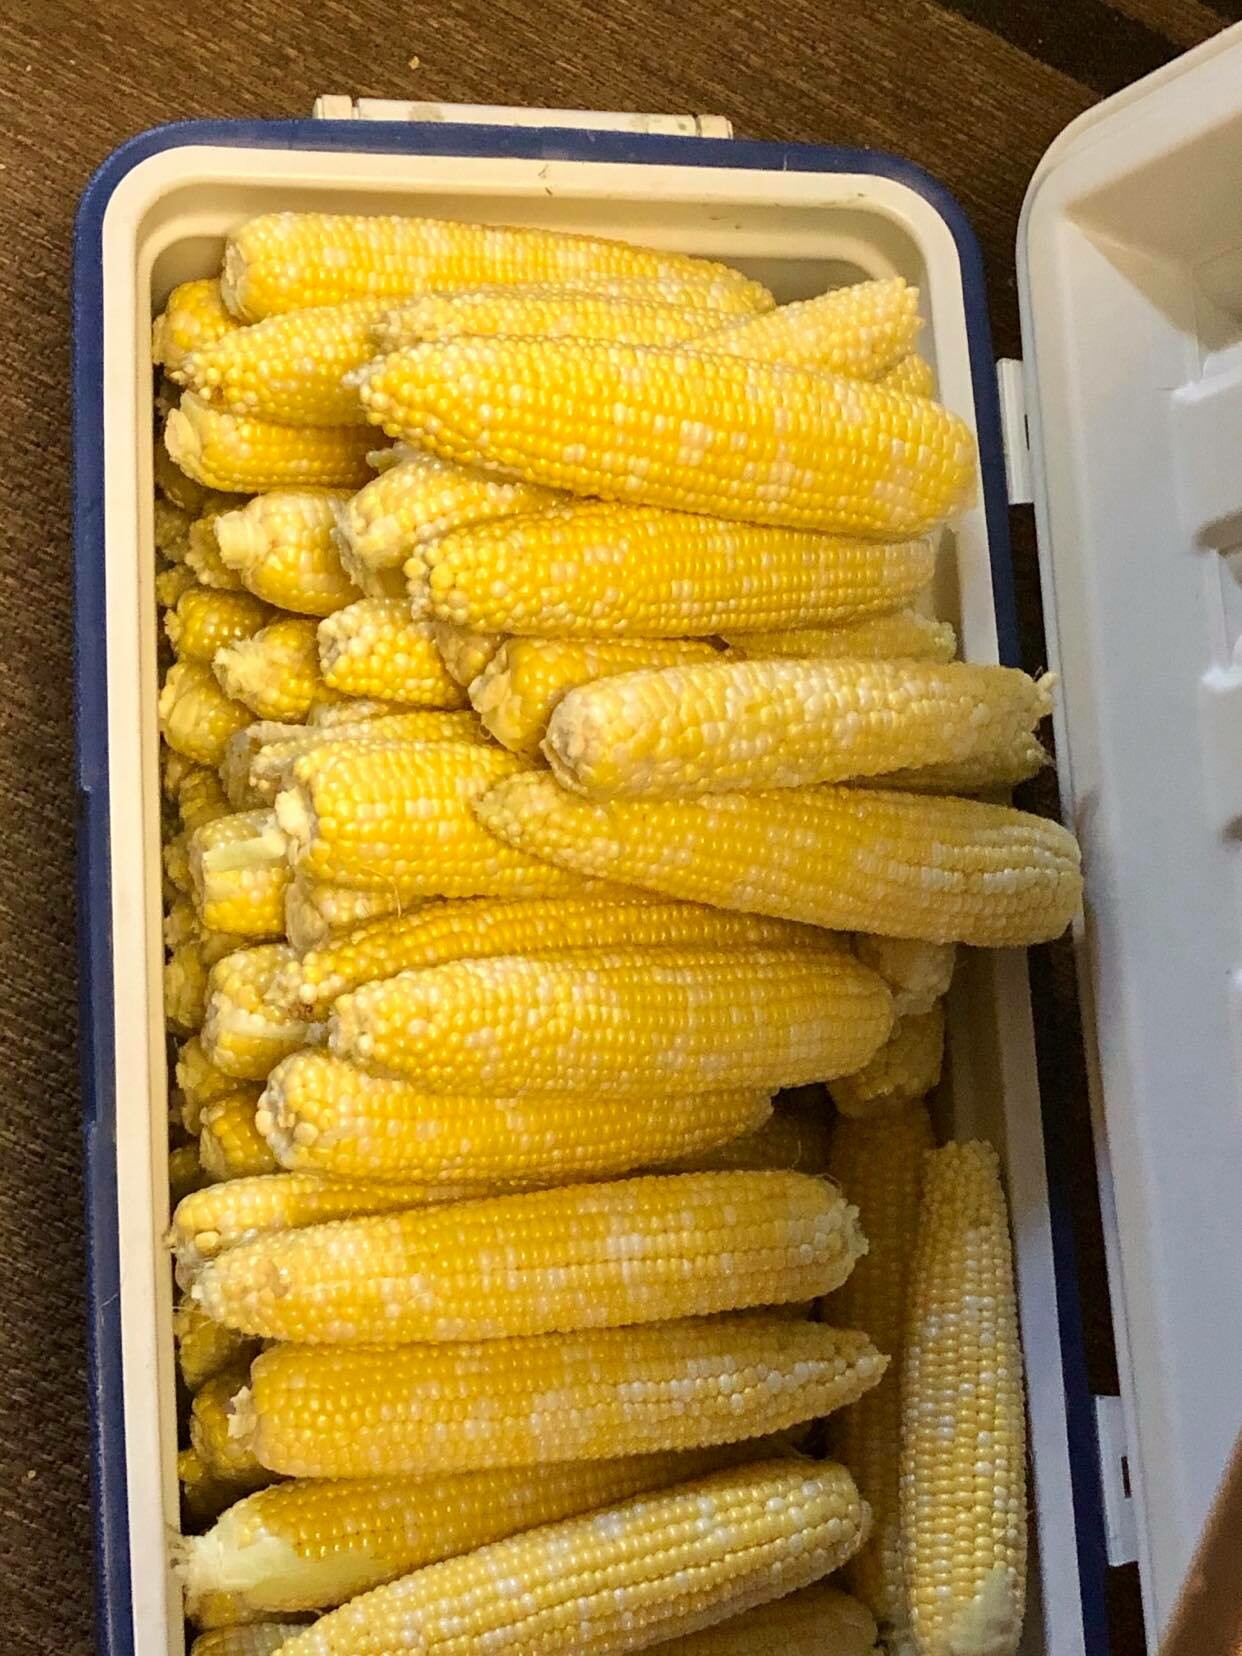
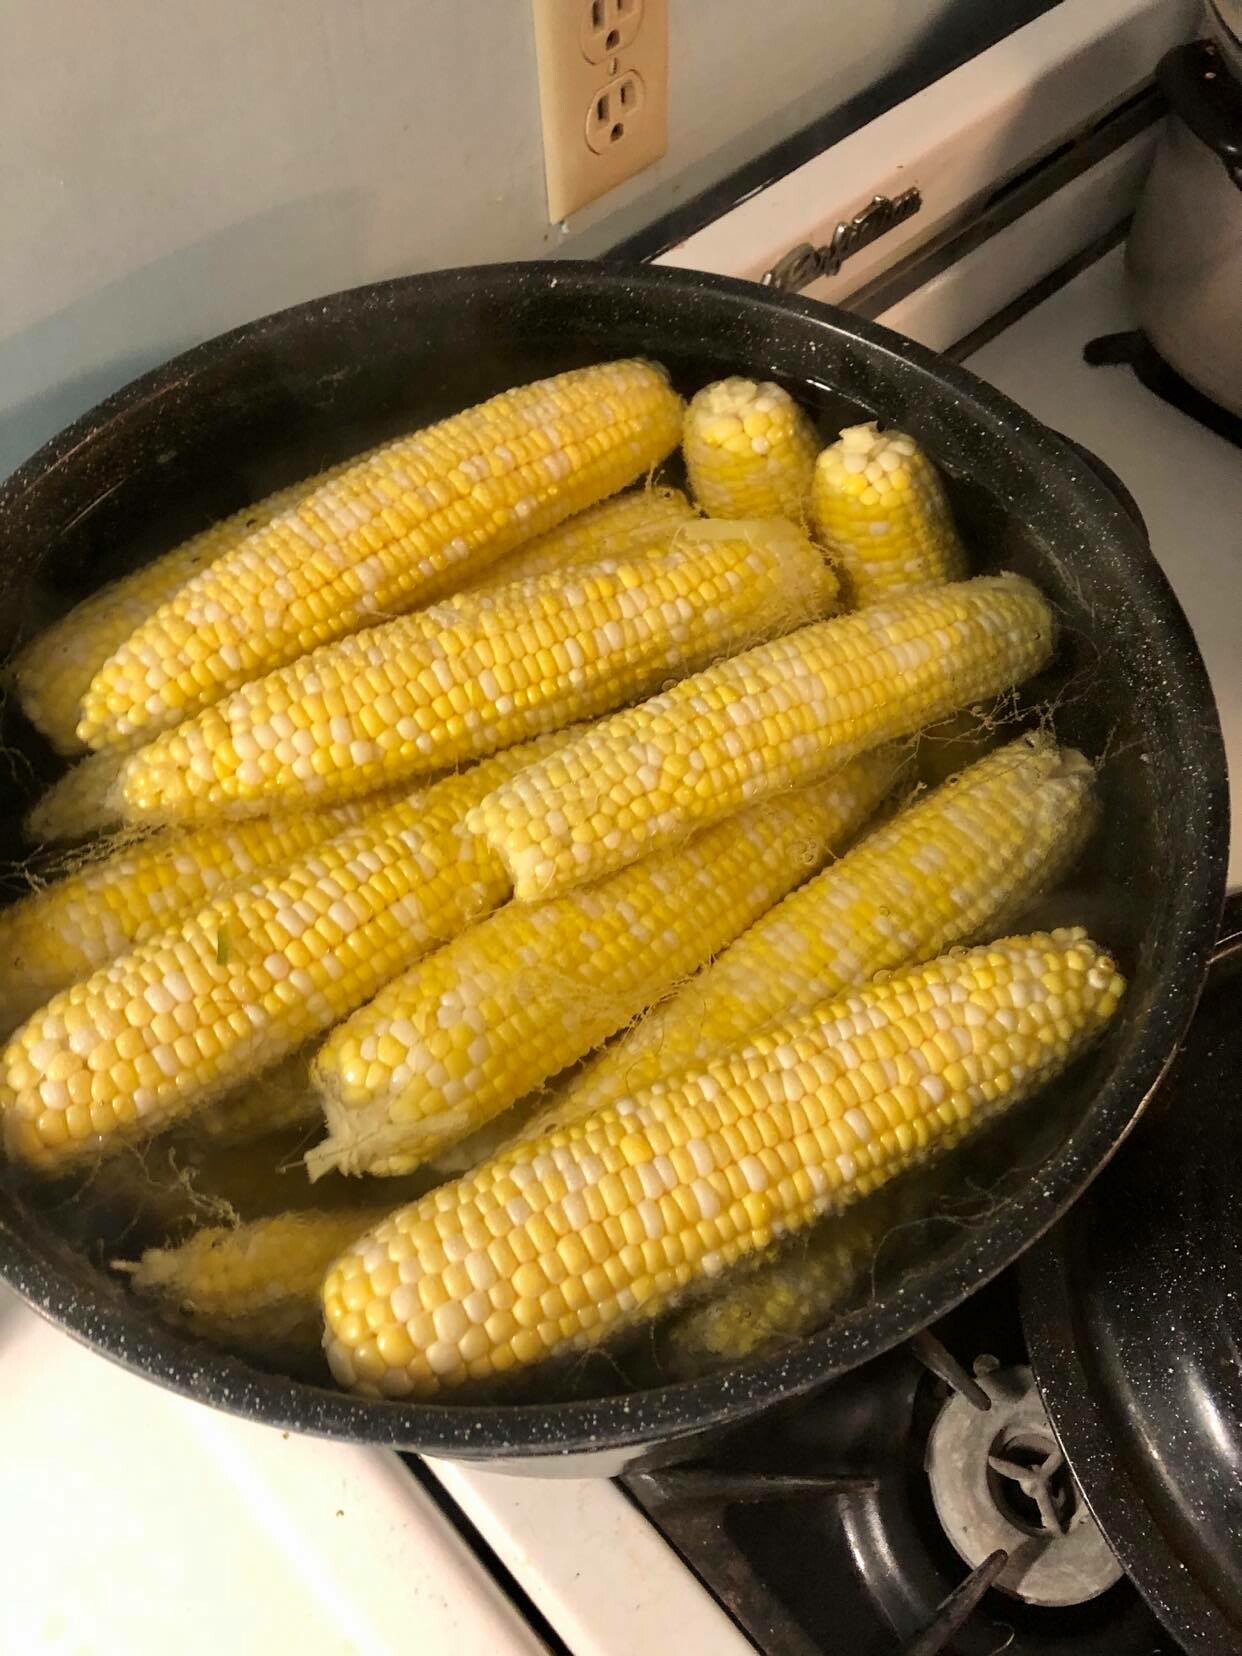
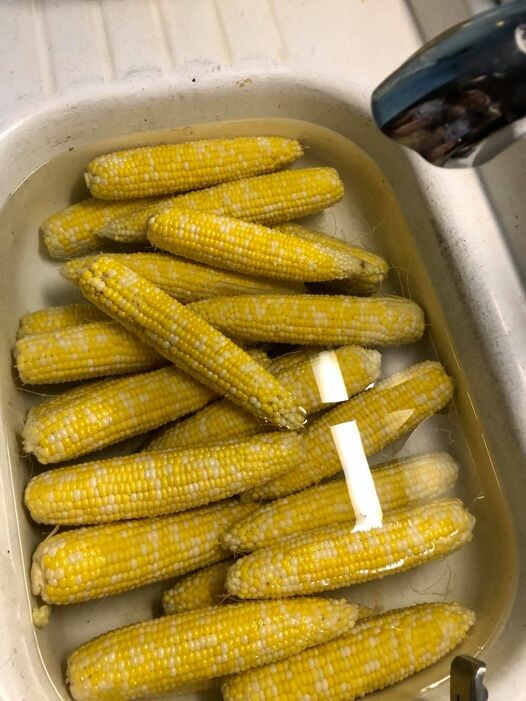
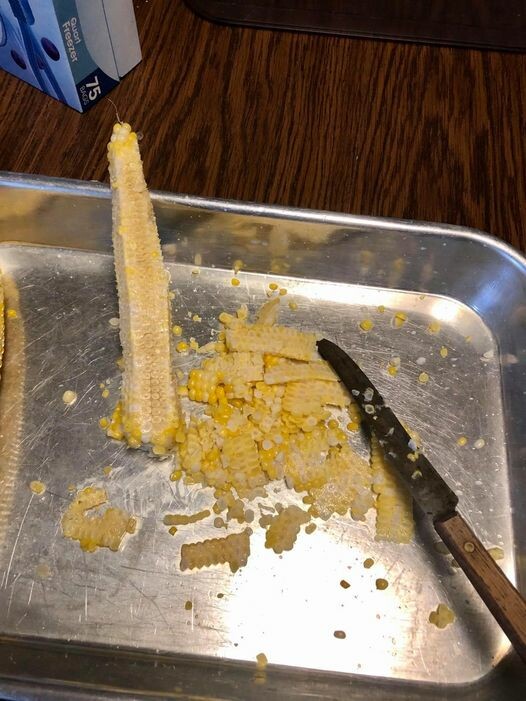
This post may contain affiliate links, which means that I may receive a commission if you make a purchase using these links, with NO additional cost to you.
At some point you will injure yourself or get sick. It is part of life. You don’t need to run to the doctor for everything, and you don’t have to run out and buy an over-the-counter salve or medicine. There are several remedies you can grow, forage, and make yourself. This will be a brief overview, as each category could be an entire blog itself. Read all the way to the end for my best owie slave recipe.
First prevention is the best medicine. Feeding your body what it needs to fight off and heal itself before you become symptomatic ill. The best way to do this is to eat good food that nourishes your body. Avoiding processed foods and sugar is the biggest tips. Eating a much of a whole food diet as you can is the next.
Herbals are my next line of defense. This includes essential oils. Essential oils are essentially concentrated versions of the herbs. Quality matters here, especially when using them for medicinal purposes. I use the essential oils to help build and support the body fighting off whatever infection and assist in the healing process. A favorite in our house as well are hot teas. Perfect herbal remedies to sip on when feeling sick.
I buy my essential oils. I do not have the knowledge to properly distill them, so they have the most effectiveness. For my top pick on essential oil company for quality and experience, click here. The herbals for tea are a mix of purchased and home grown. Many herbs I simply do not have the ability to grow. So, I just need an easy button an buy a pre-mixed herbal blend. Top herbs to keep on hand for illness, cinnamon, lemonbalm and lemongrass (bonus these also repel bugs when alive), clove, rosemary, and lemon.
Tinctures I often use in conjunction with herbals. A tincture is a plant soaked in alcohol, then strained off. The benefit to these is they last nearly forever, where a dried herb is only good for 1-2 years. To use the tincture, a small amount of liquid is placed under the tongue and then held there for a few minutes. The herbs that are harder to acquire, or spoil quickly are made into tinctures for long term storage and use.
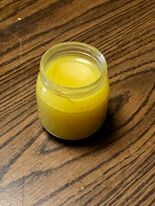
The part I’m sure most of you have been waiting for! My homemade owie salve. I use this salve on all kinds of owies, from cuts, to abrasions, to diaper rashes, to burns (after it has cooled off and the outer skin is healing. The best part is it is easy to make and grow. The two herbs in this salve are Calendula petals and Plantain leaves. You’ll also need olive oil for infusing, and bees wax to make the actual salve.
Step 1: Pick the calendula blossoms and plantain leaves on a warm sunny day (the resin is strongest then). Fill a glass jar with the leaves and blossoms, I like to pick them in about a 1:1 ratio.
Step 2: Fill the jar with olive oil to 1 inch from the top. Run a butter knife around to remove the air bubbles. Place in a sunny spot and let it sit for 3-4 weeks.
Step 3: Strain the oil through cheese cloth and squeeze out into a sauce pan.
Step 4: Warm the oil slightly (DO NOT BOIL). Add most of the grated bees wax to the warmed oil (approximately ¼ c grated beeswax per 1 cup of oil). Stirring to mix.
Step 5: As soon as the wax melts, put 1 Tablespoon of the mix on a plate and into the freezer for 1-2 minutes, until cool.
Step 6: Check for consistency. For a firmer salve, add more bees wax, for a softer salve, add more oil.
Step 7: Put the salve into small jars or tins and allow to cool
Step 8: Once cooled, tighten lids and store in a cool dark place for 1-2 years.
Join the FREE Community
Wanting a community to lean into? Join the FREE Courageous + Purposeful Mommas group! This community is for the Mommas, mommas to be, in the midst of raising, and kids grown, looking for tips on building your family up and providing for them through natural methods. Tips include: gardening, bulk buying, caning,/preserving, livestock, homesteading, and home remedies. Your family is precious, and this group is to help you gain the knowledge and tools to keep your family well and not reliant on outside professionals. Remedies and tips are easy and simple for the busy momma, time is precious after all, including pregnancy, birth, young kids, and illness. Trust your Momma gut again! This community offers the resources + community you need to help get started on your journey and prepare for whatever future you envision.
Click here to get the stories straight to your email:
For more on wellness tips click here:
For more on homesteading on your budget click here:
For more simple DIY updates click here:


- Canning jars
- Canning lids
- Canning rings
- Jar Funnel
- Long spatula or knife
- Hot water bath
- Stock pot (I usually have at least 2)
- Colander
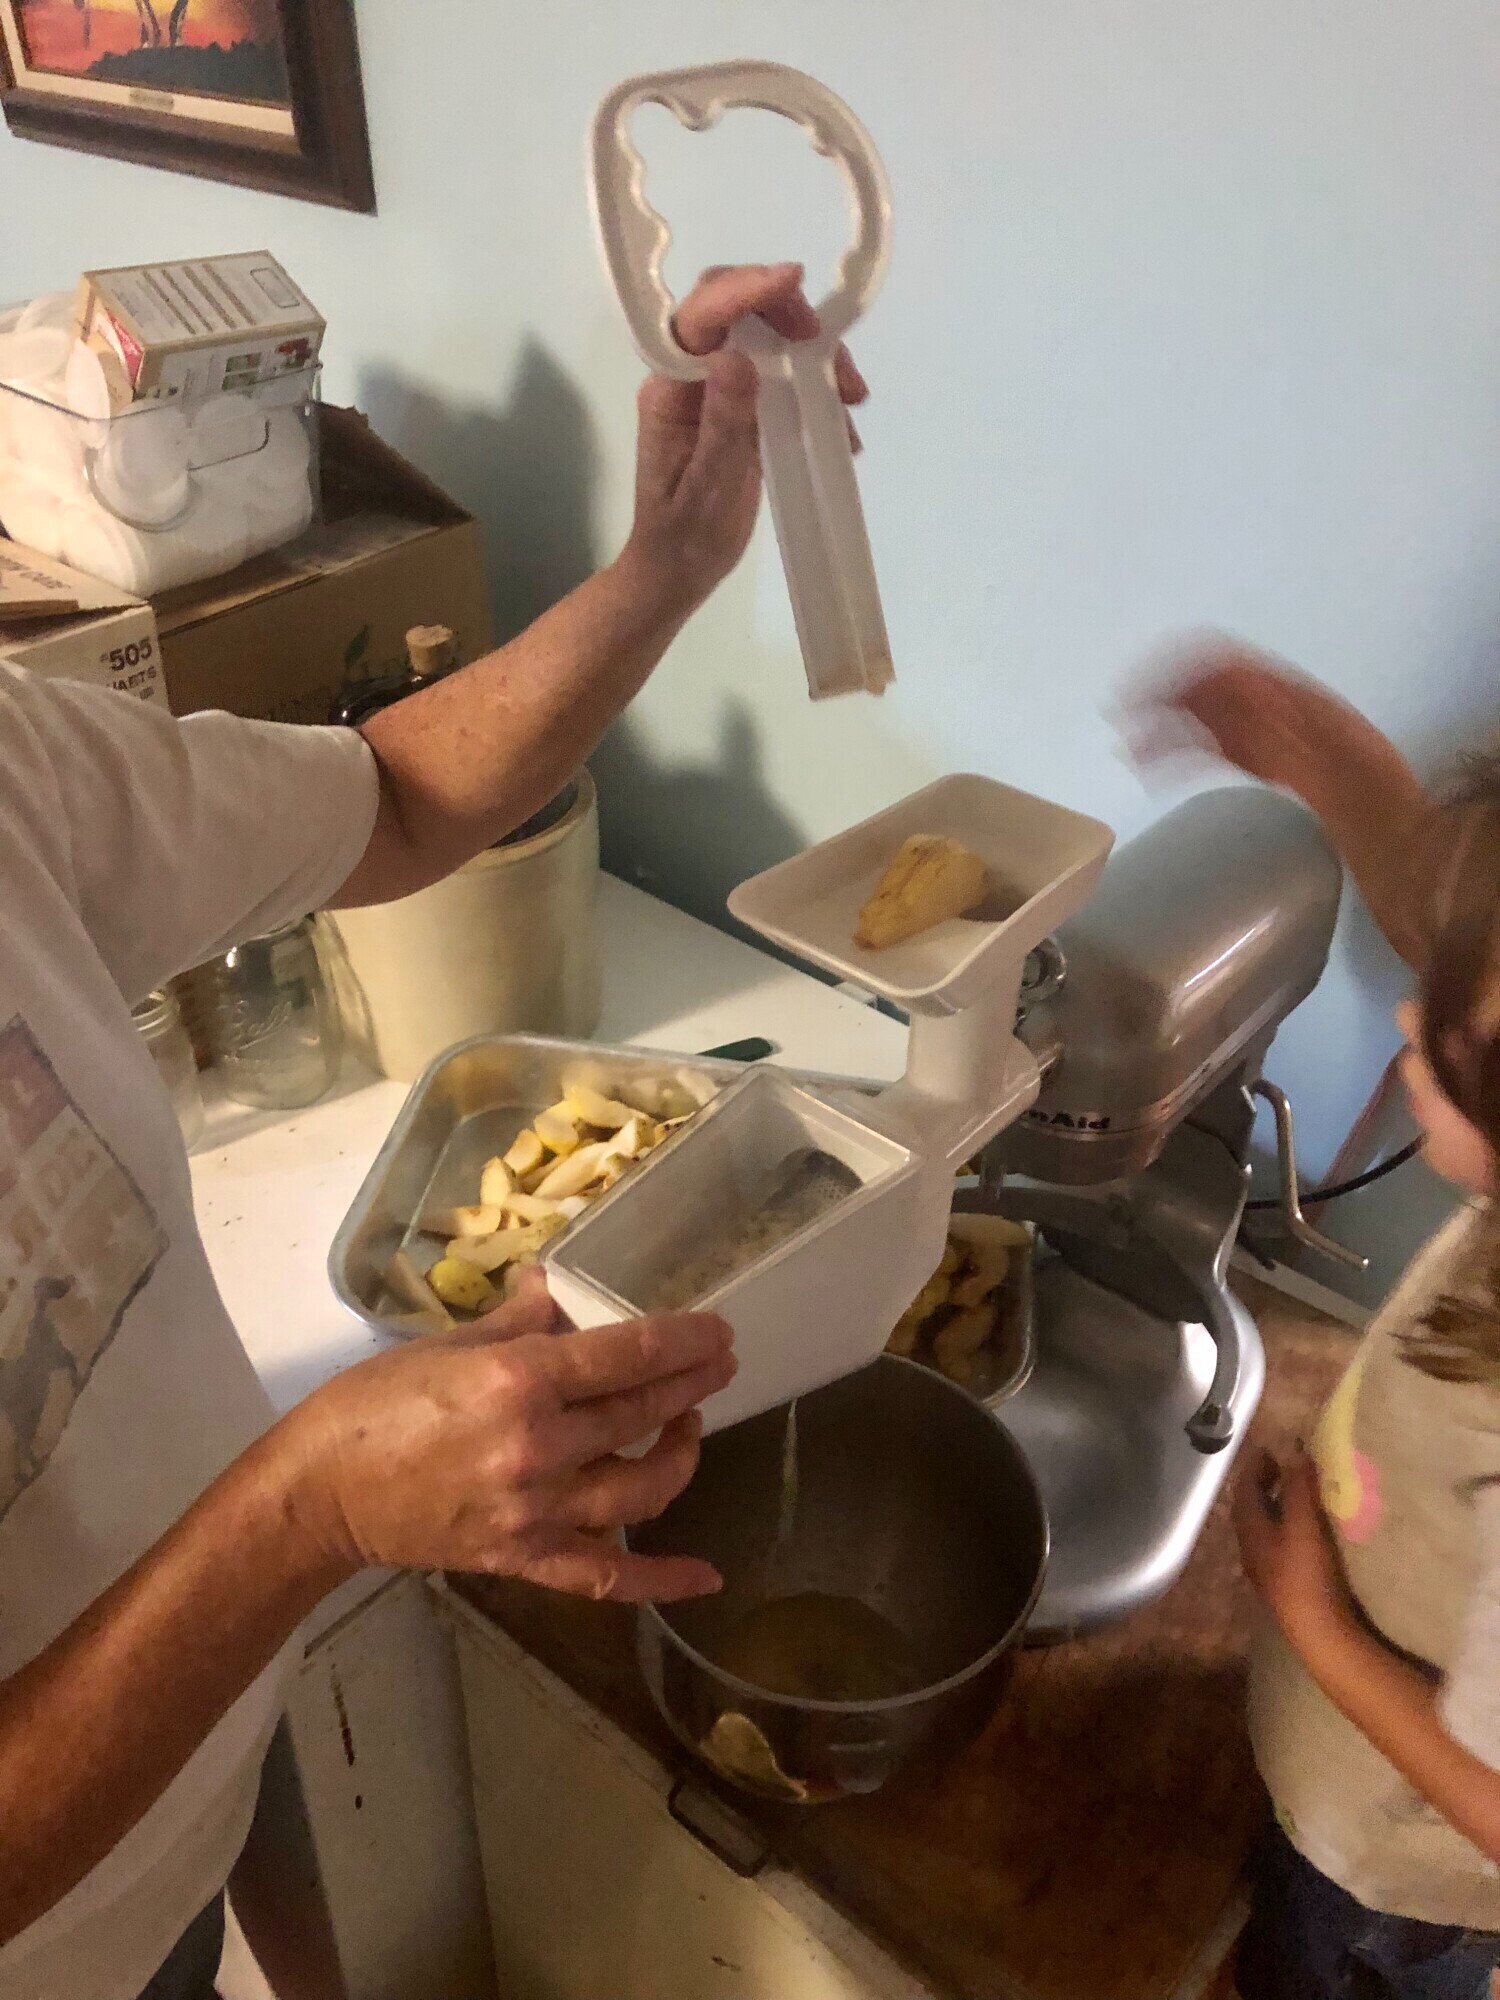
- Sieve/immersion blender/kitchen aid sieve attachment
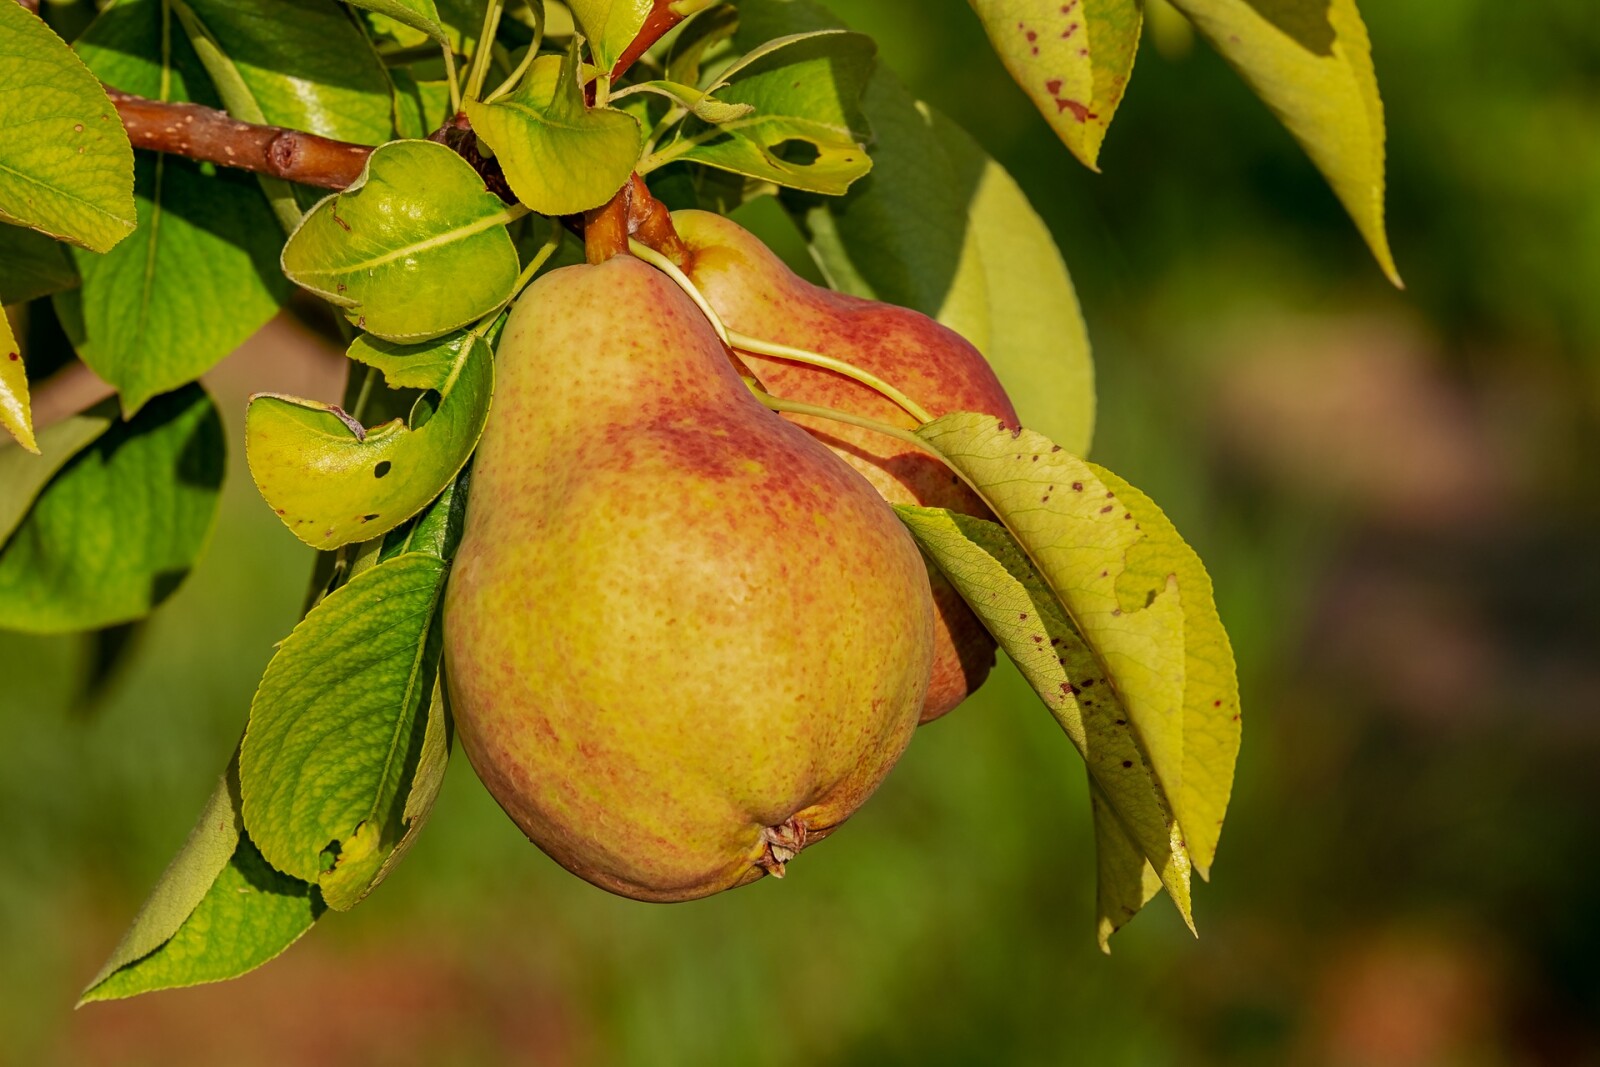
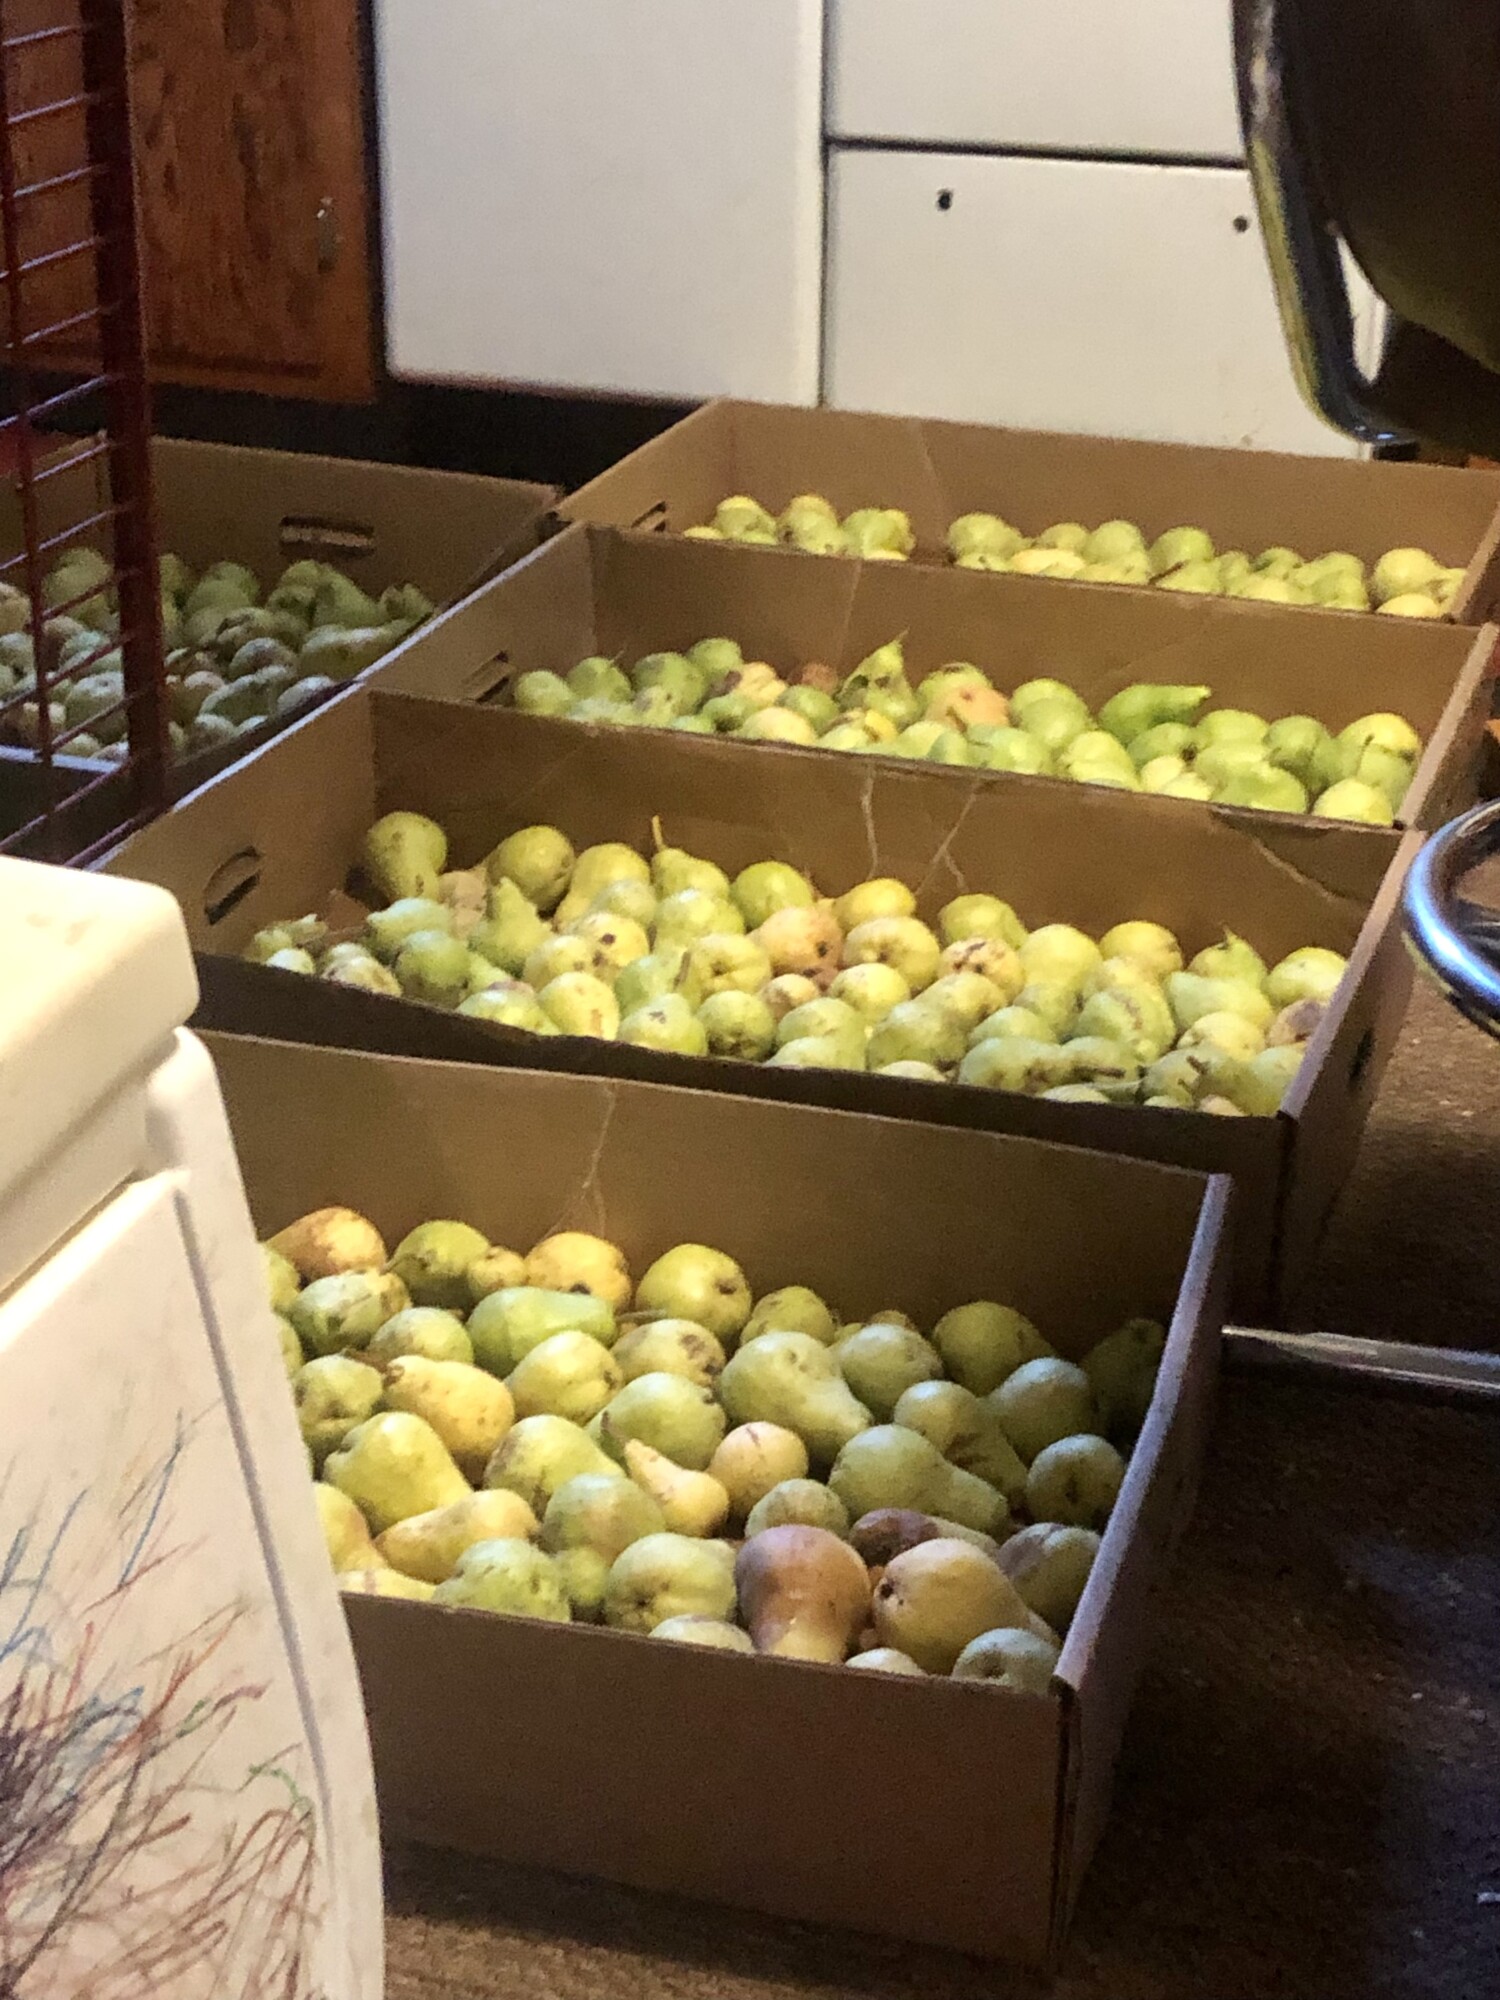
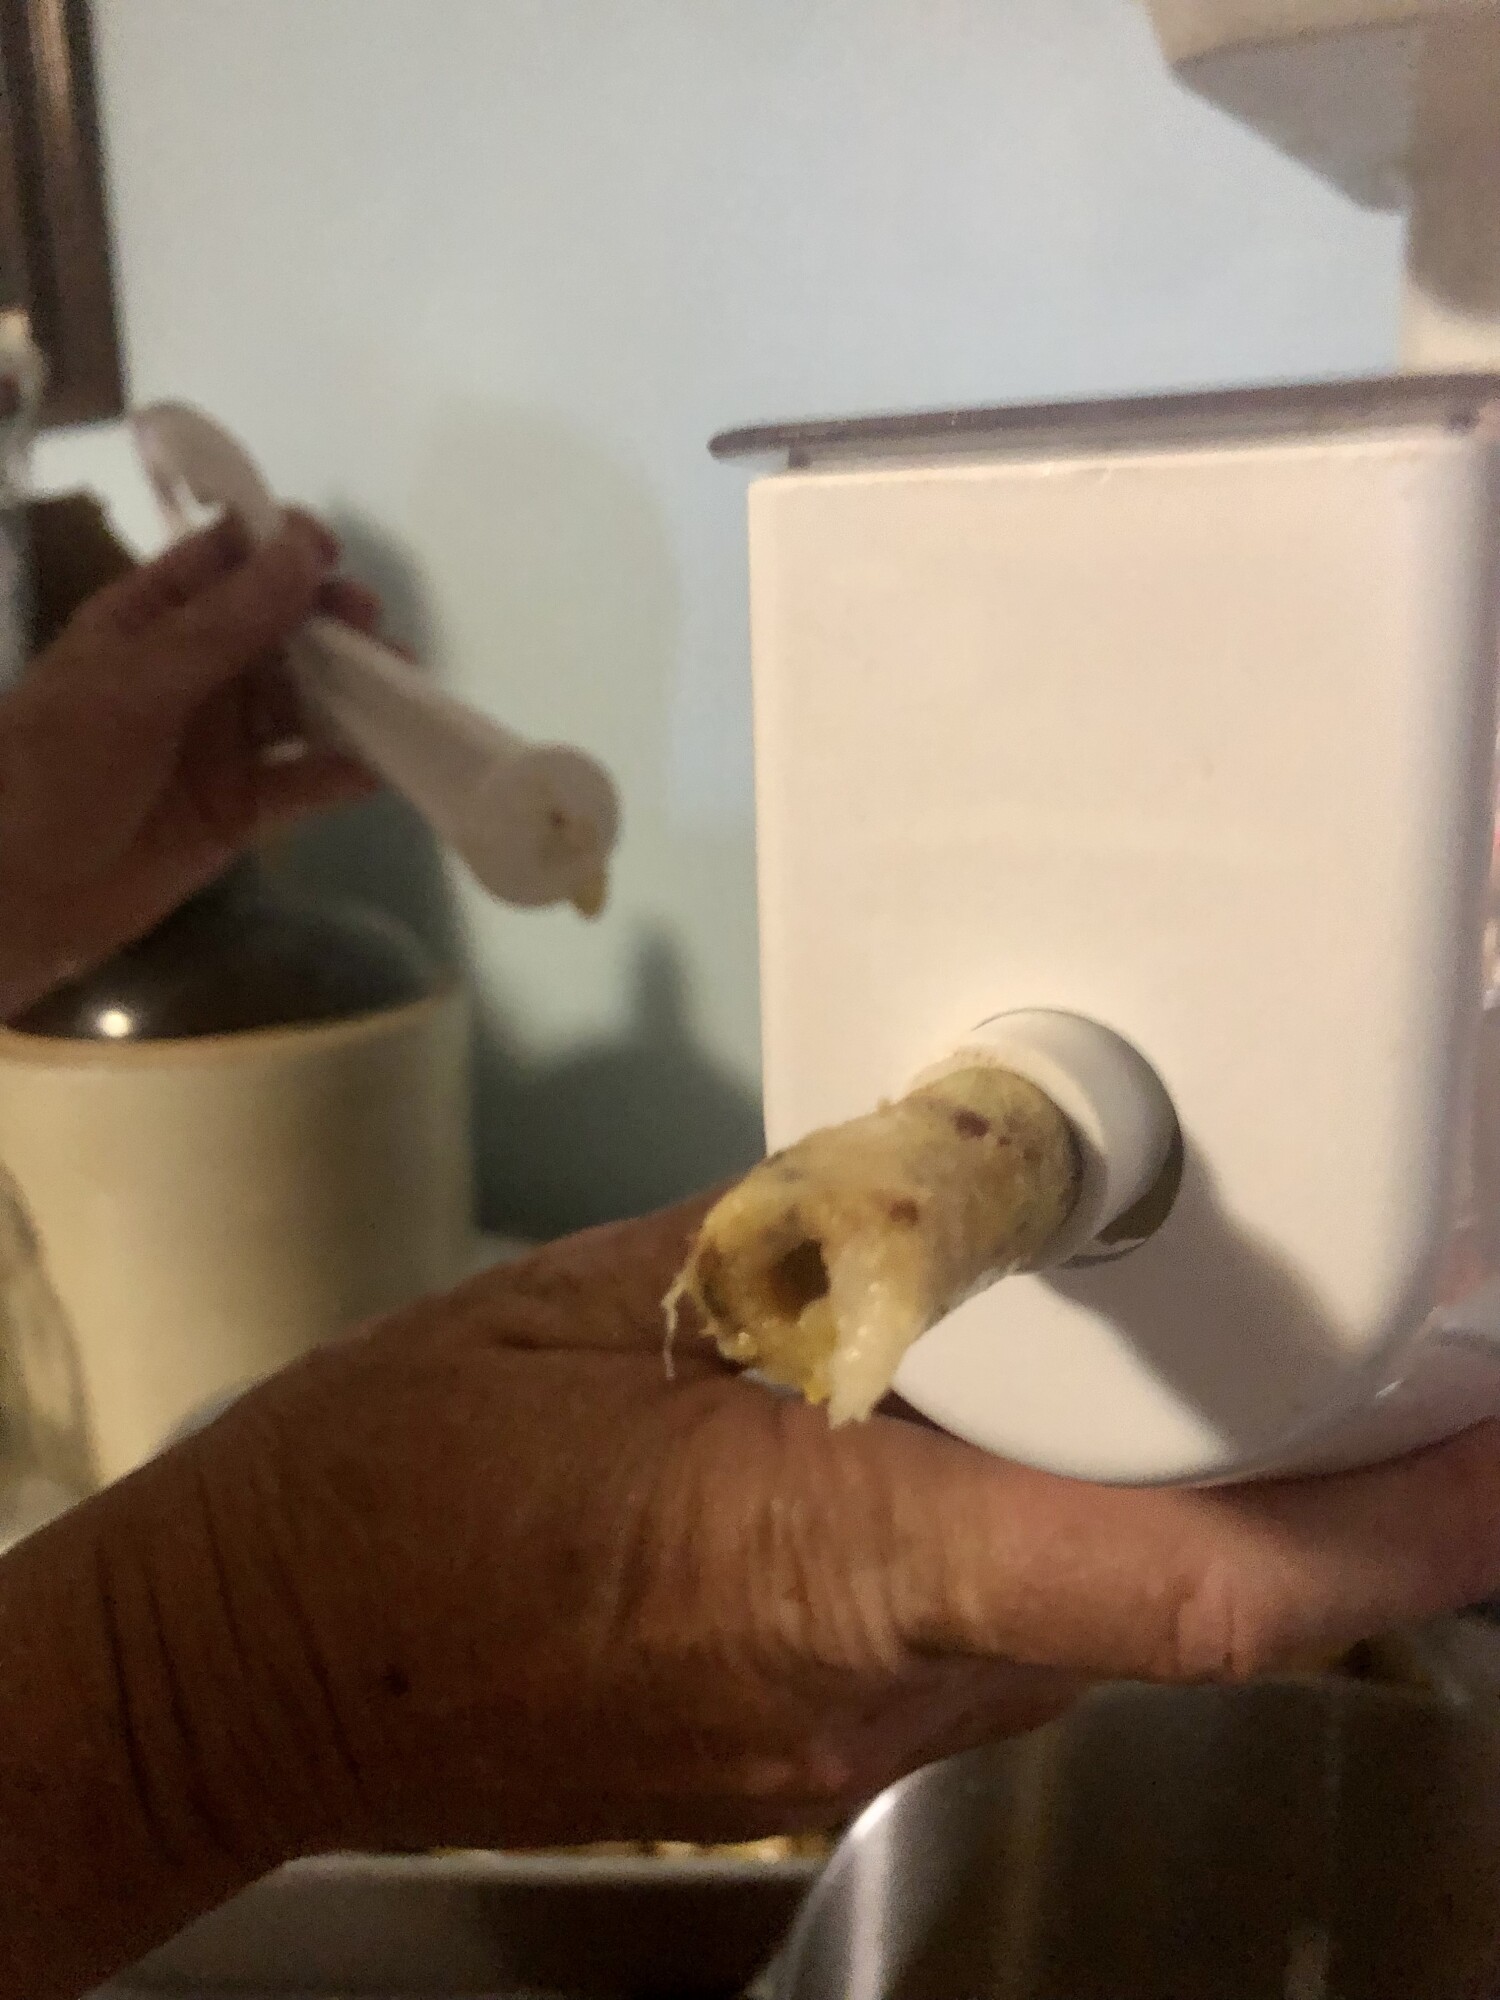
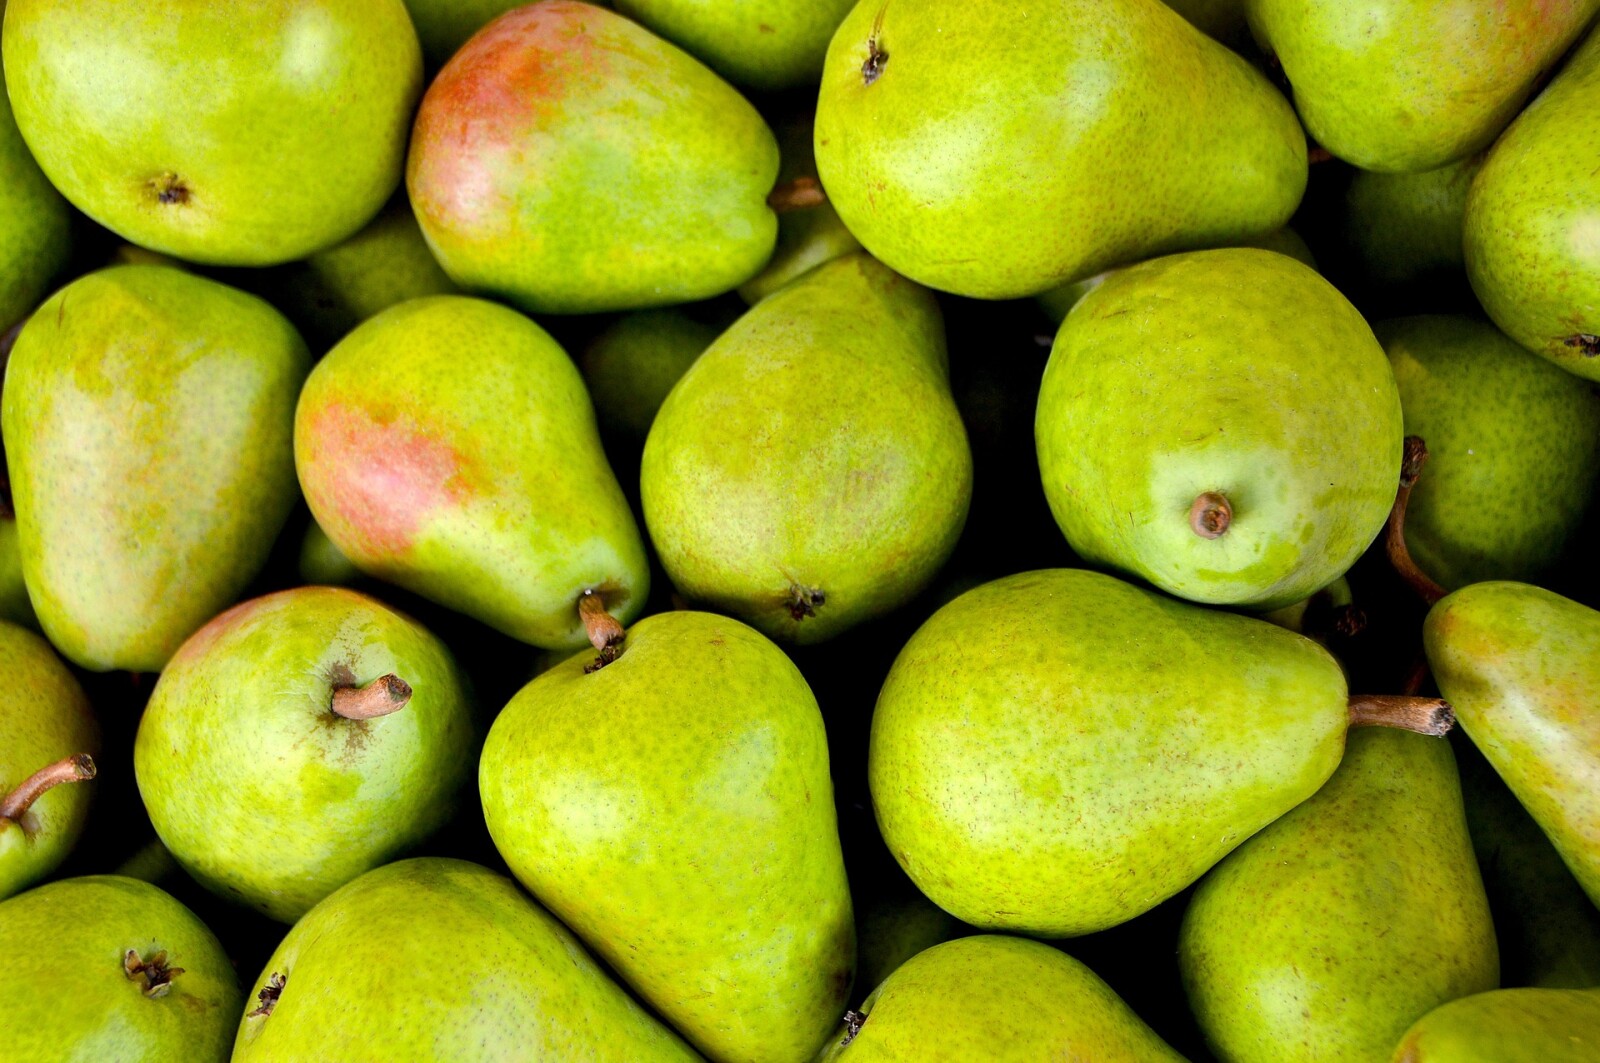
- Pears
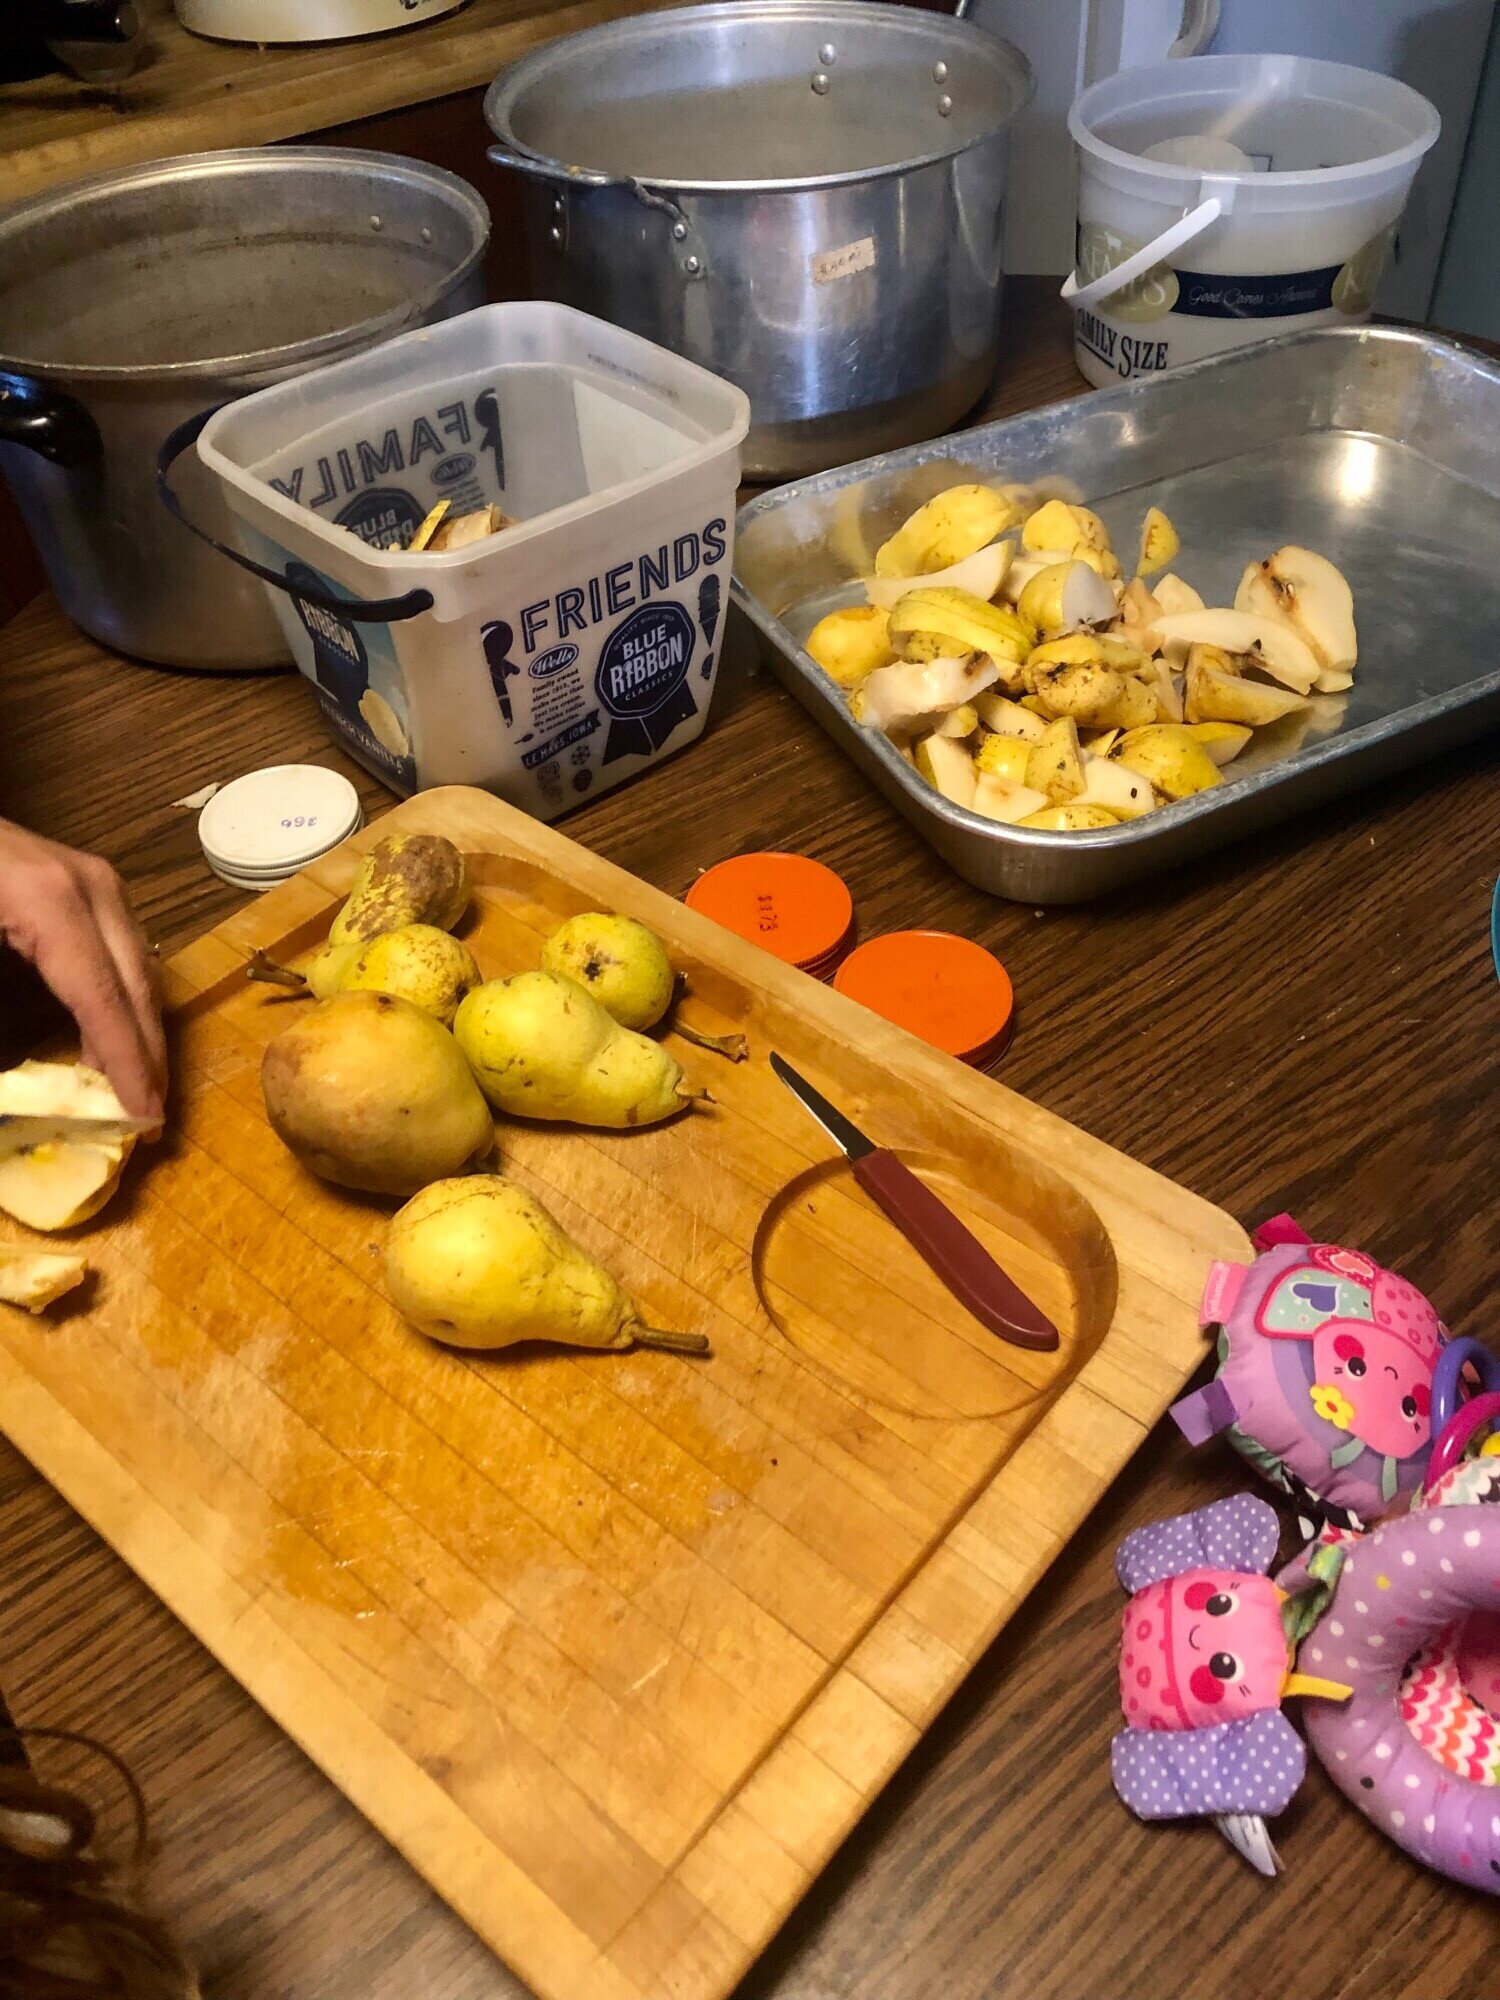
Any more white than this and you are loosing to much of the pear. Cook them a little longer to soften them. Peal and core should be the main thing you see coming out this end.
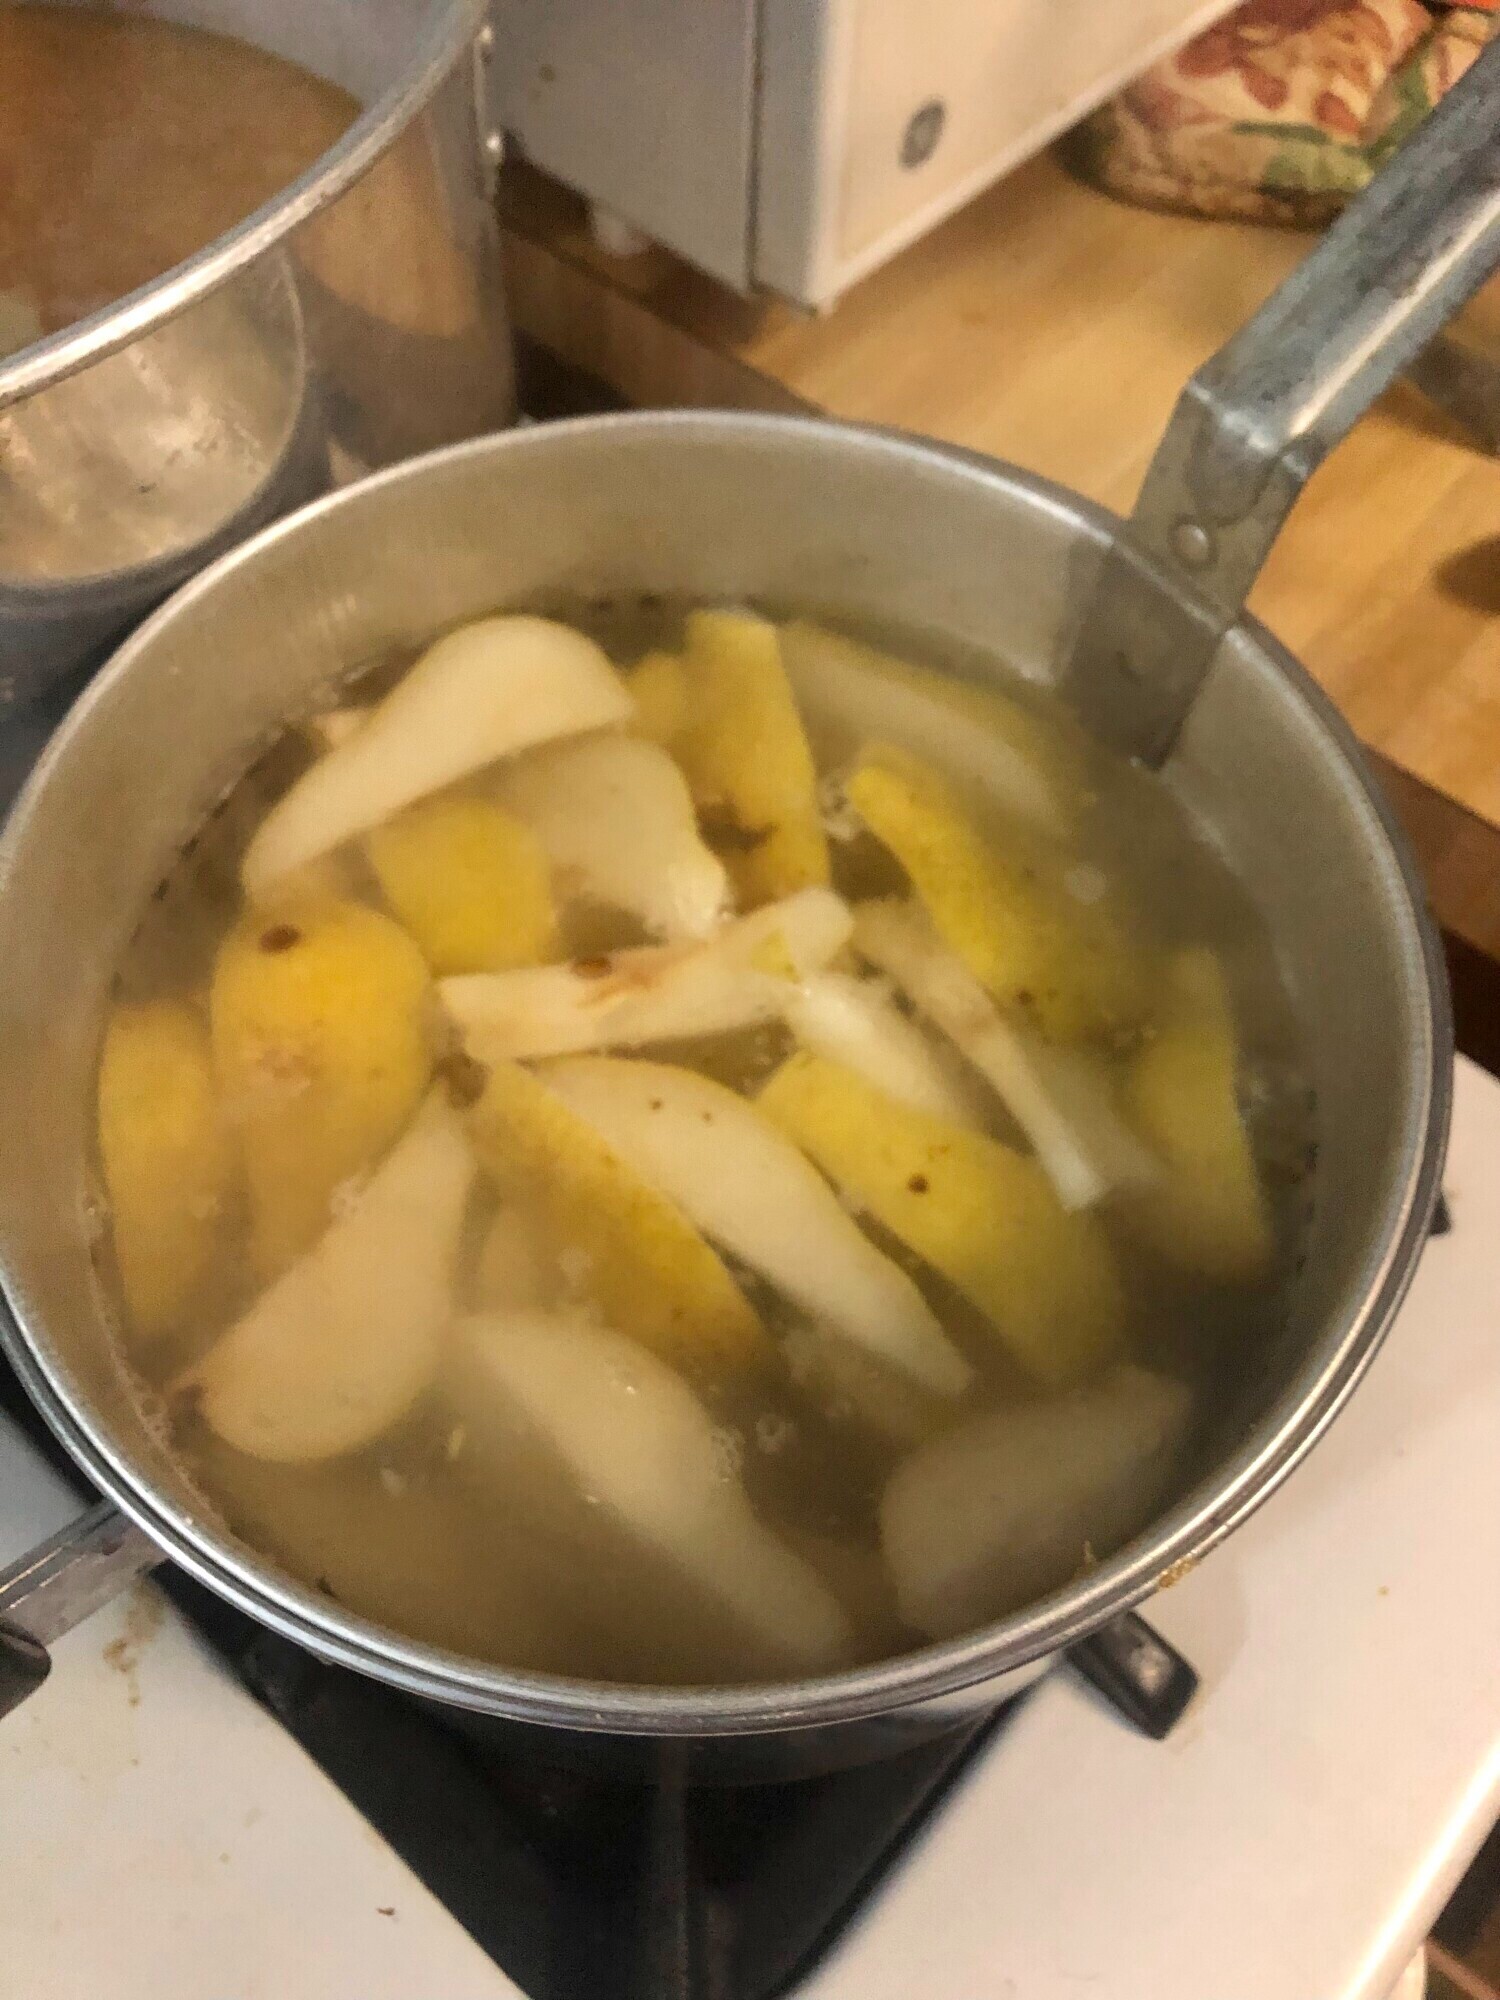
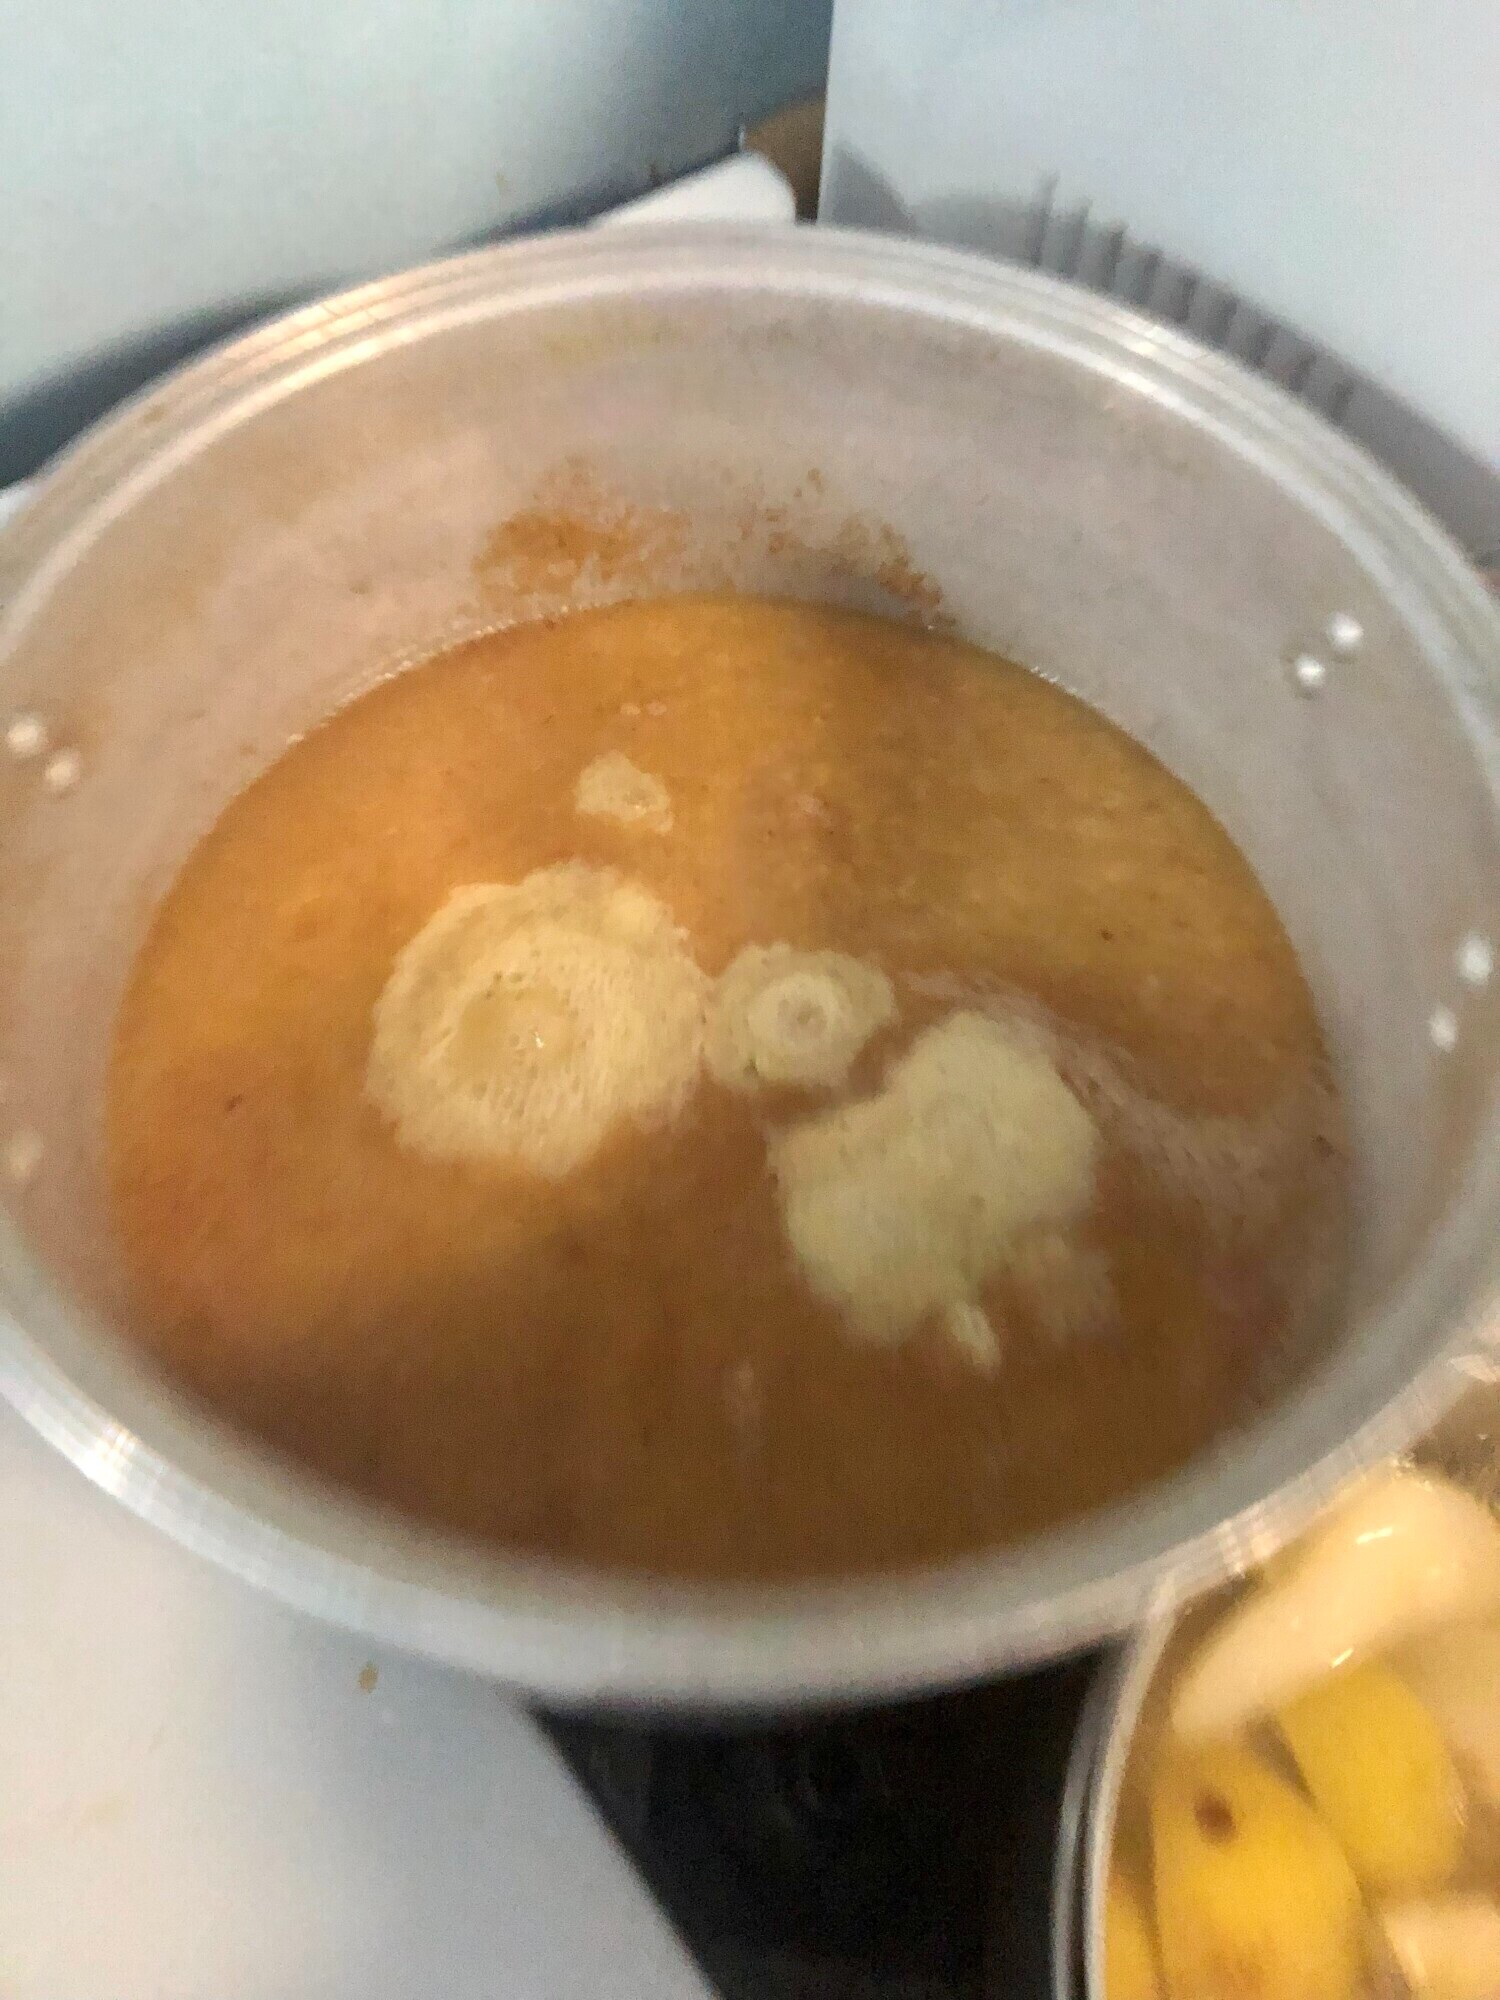
Step 5: Cook Down the Sauce.
Step 7: De-bubble the Jars
If you have any questions or need more tips, feel free to reach out. And if you're looking for high-quality, reusable canning lids, check out Tattler Reusable Canning Lids for some great options.
Happy canning, and enjoy your pear sauce!
Join the FREE Community
Wanting a community to lean into? Join the FREE Courageous + Purposeful Mommas group! This community is for the Mommas, mommas to be, in the midst of raising, and kids grown, looking for tips on building your family up and providing for them through natural methods. Tips include: gardening, bulk buying, caning,/preserving, livestock, homesteading, and home remedies. Your family is precious, and this group is to help you gain the knowledge and tools to keep your family well and not reliant on outside professionals. Remedies and tips are easy and simple for the busy momma, time is precious after all, including pregnancy, birth, young kids, and illness. Trust your Momma gut again! This community offers the resources + community you need to help get started on your journey and prepare for whatever future you envision.
Click here to get the stories straight to your email:
For more on wellness tips click here:
For more on homesteading on your budget click here:
For more simple DIY updates click here:
This post may contain affiliate links, which means that I may receive a commission if you make a purchase using these links, with NO additional cost to you.
- Freshness: Enjoy the taste of summer all year long.
- Health: Control over ingredients means no unwanted preservatives or additives.
- Cost-Effective: Save money by using what you grow.
- Canning jars
- Canning lids
- Canning rings
- Jar funnel
- Long spatula or knife
- Hot water bath canner
- Large stock pot or roaster
- Sieve or immersion blender
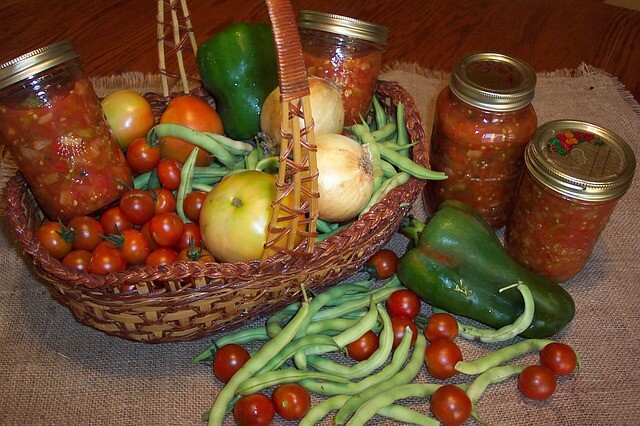
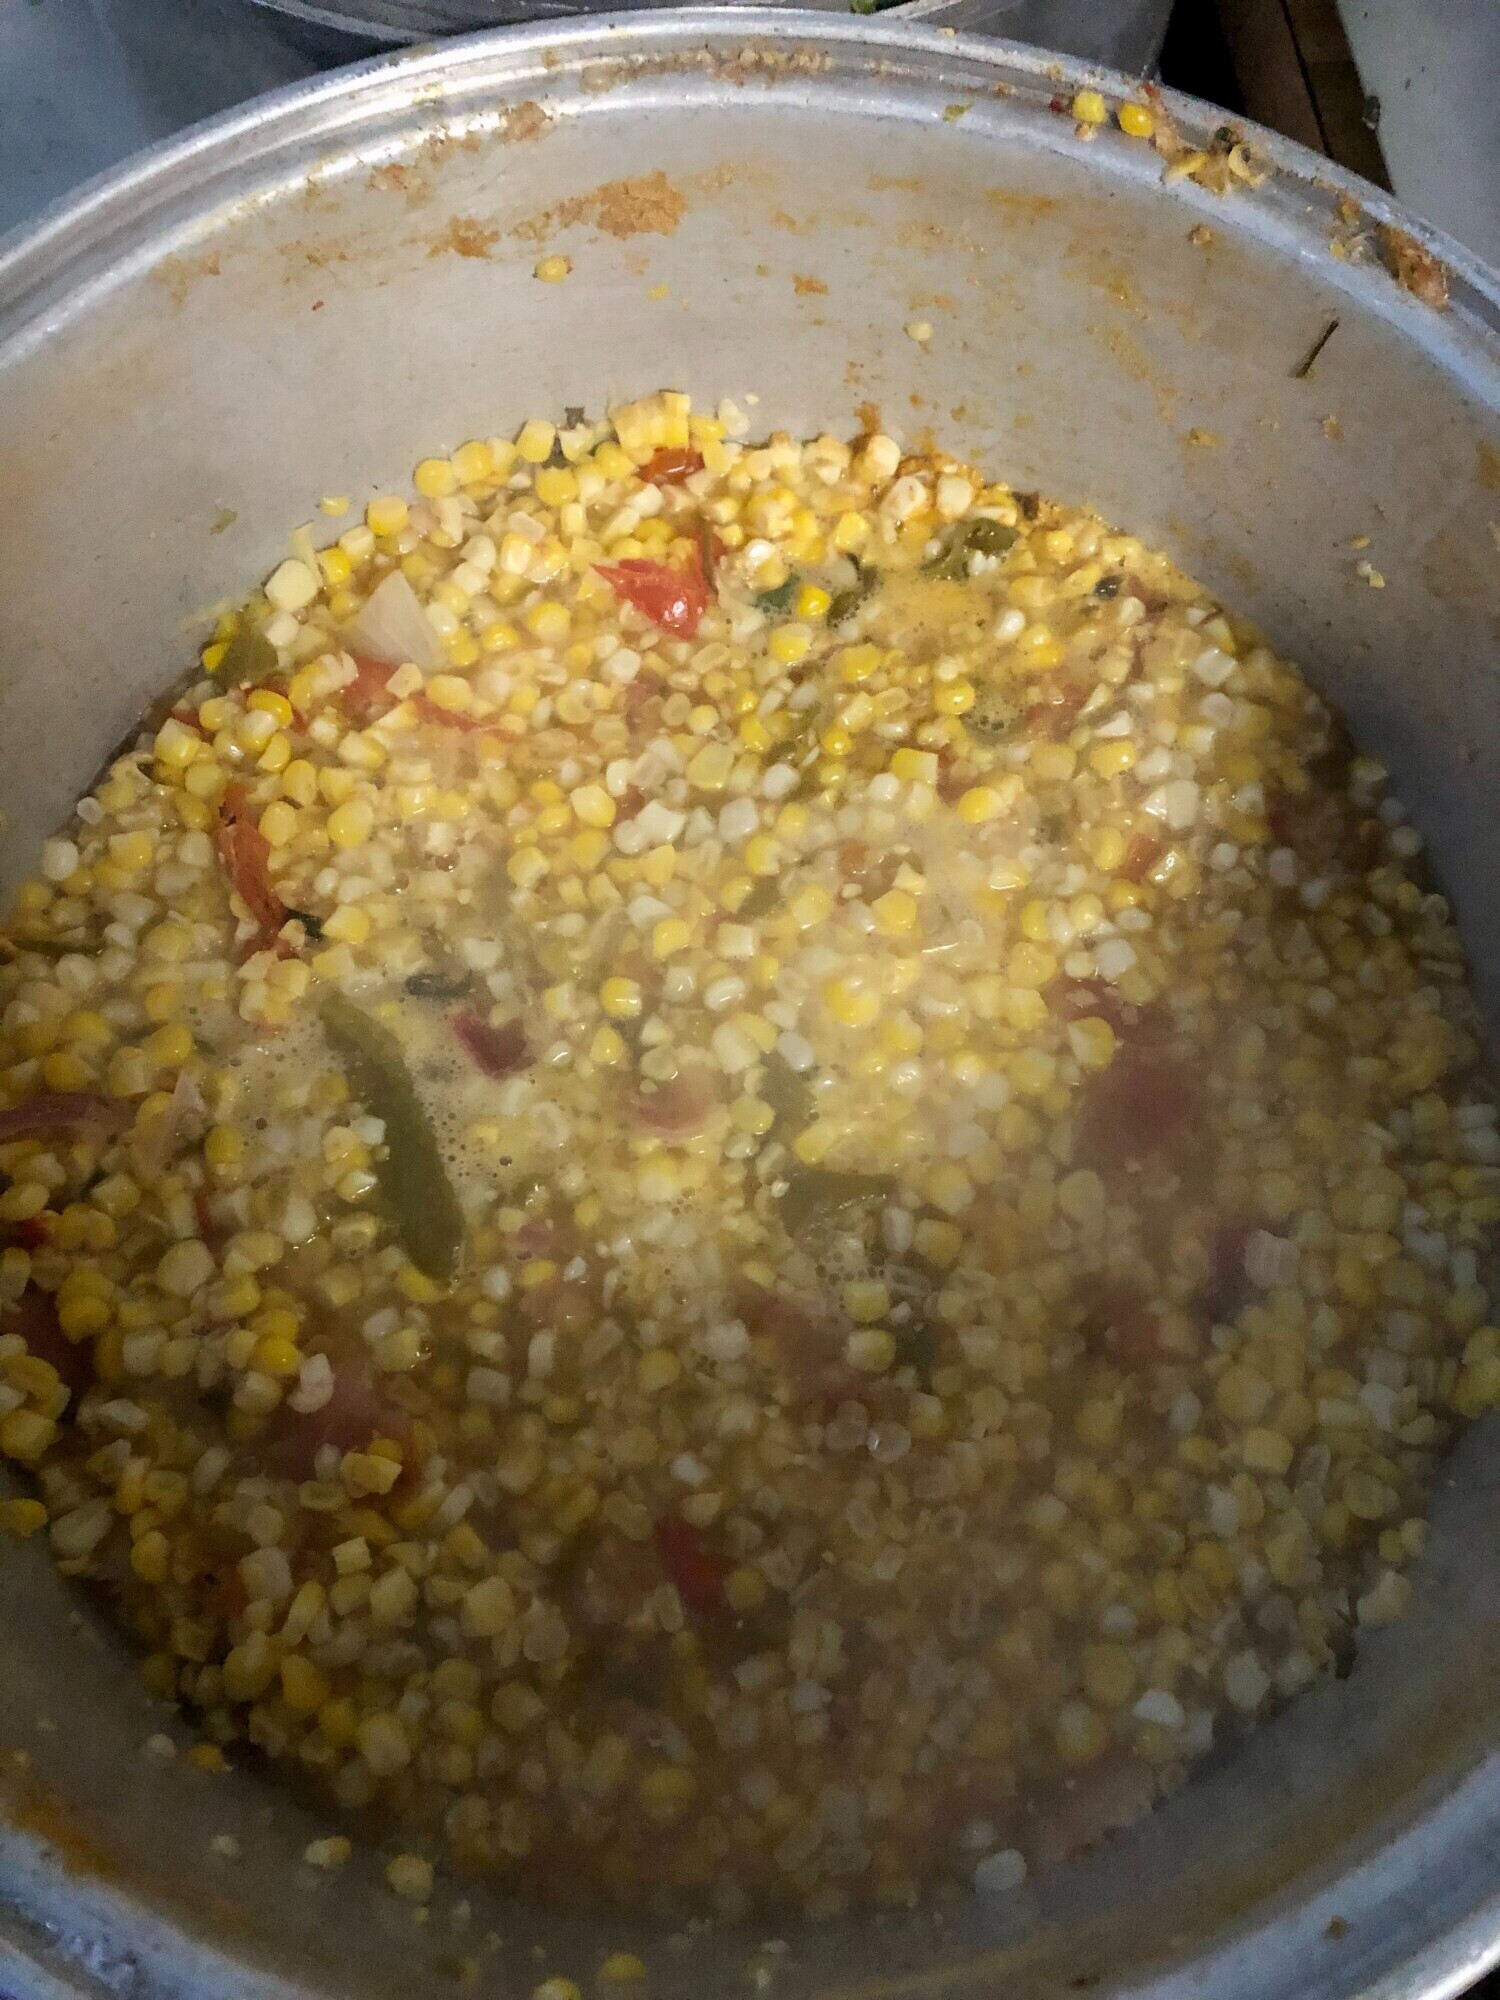
- Tomatoes
- Citric Acid or Lemon Juice
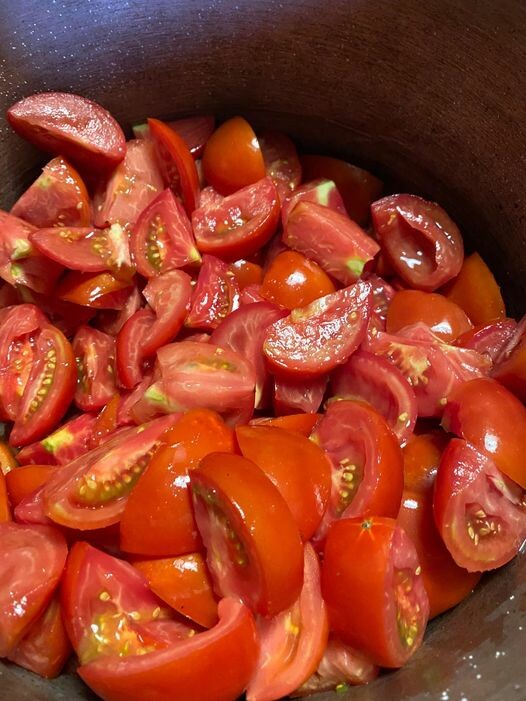
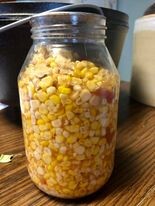
- Harvest Fresh Tomatoes or if you have frozen tomatoes, pull them out of the freezer. This is actually my preferred way as you can drain some of the water off and skip the slicing step.
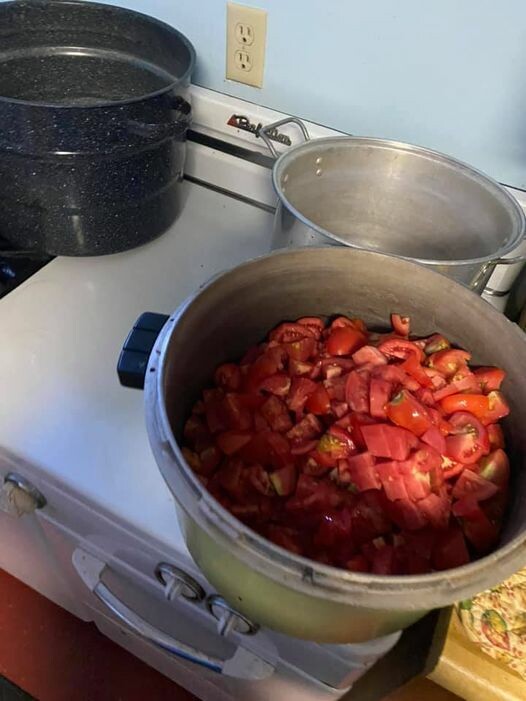
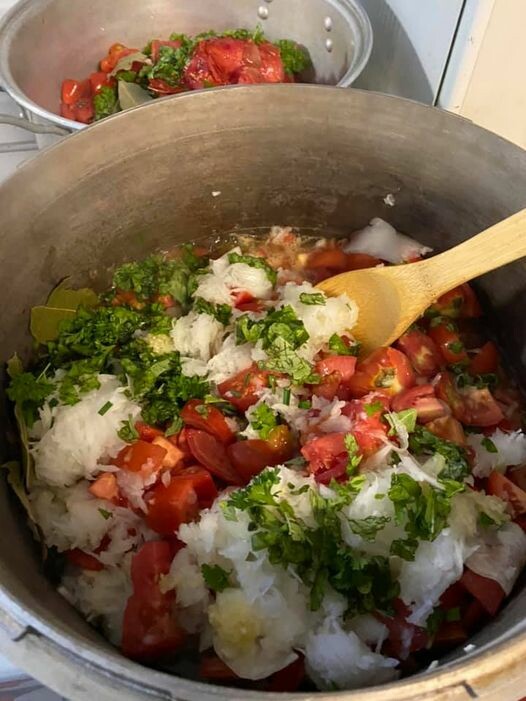
- Slice the Tomatoes into quarters. There's no need to blanch or core them; just toss them into the stock pot.
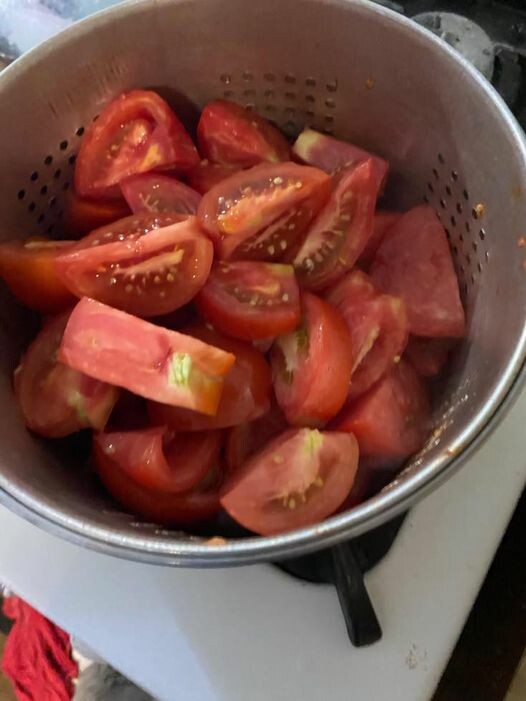
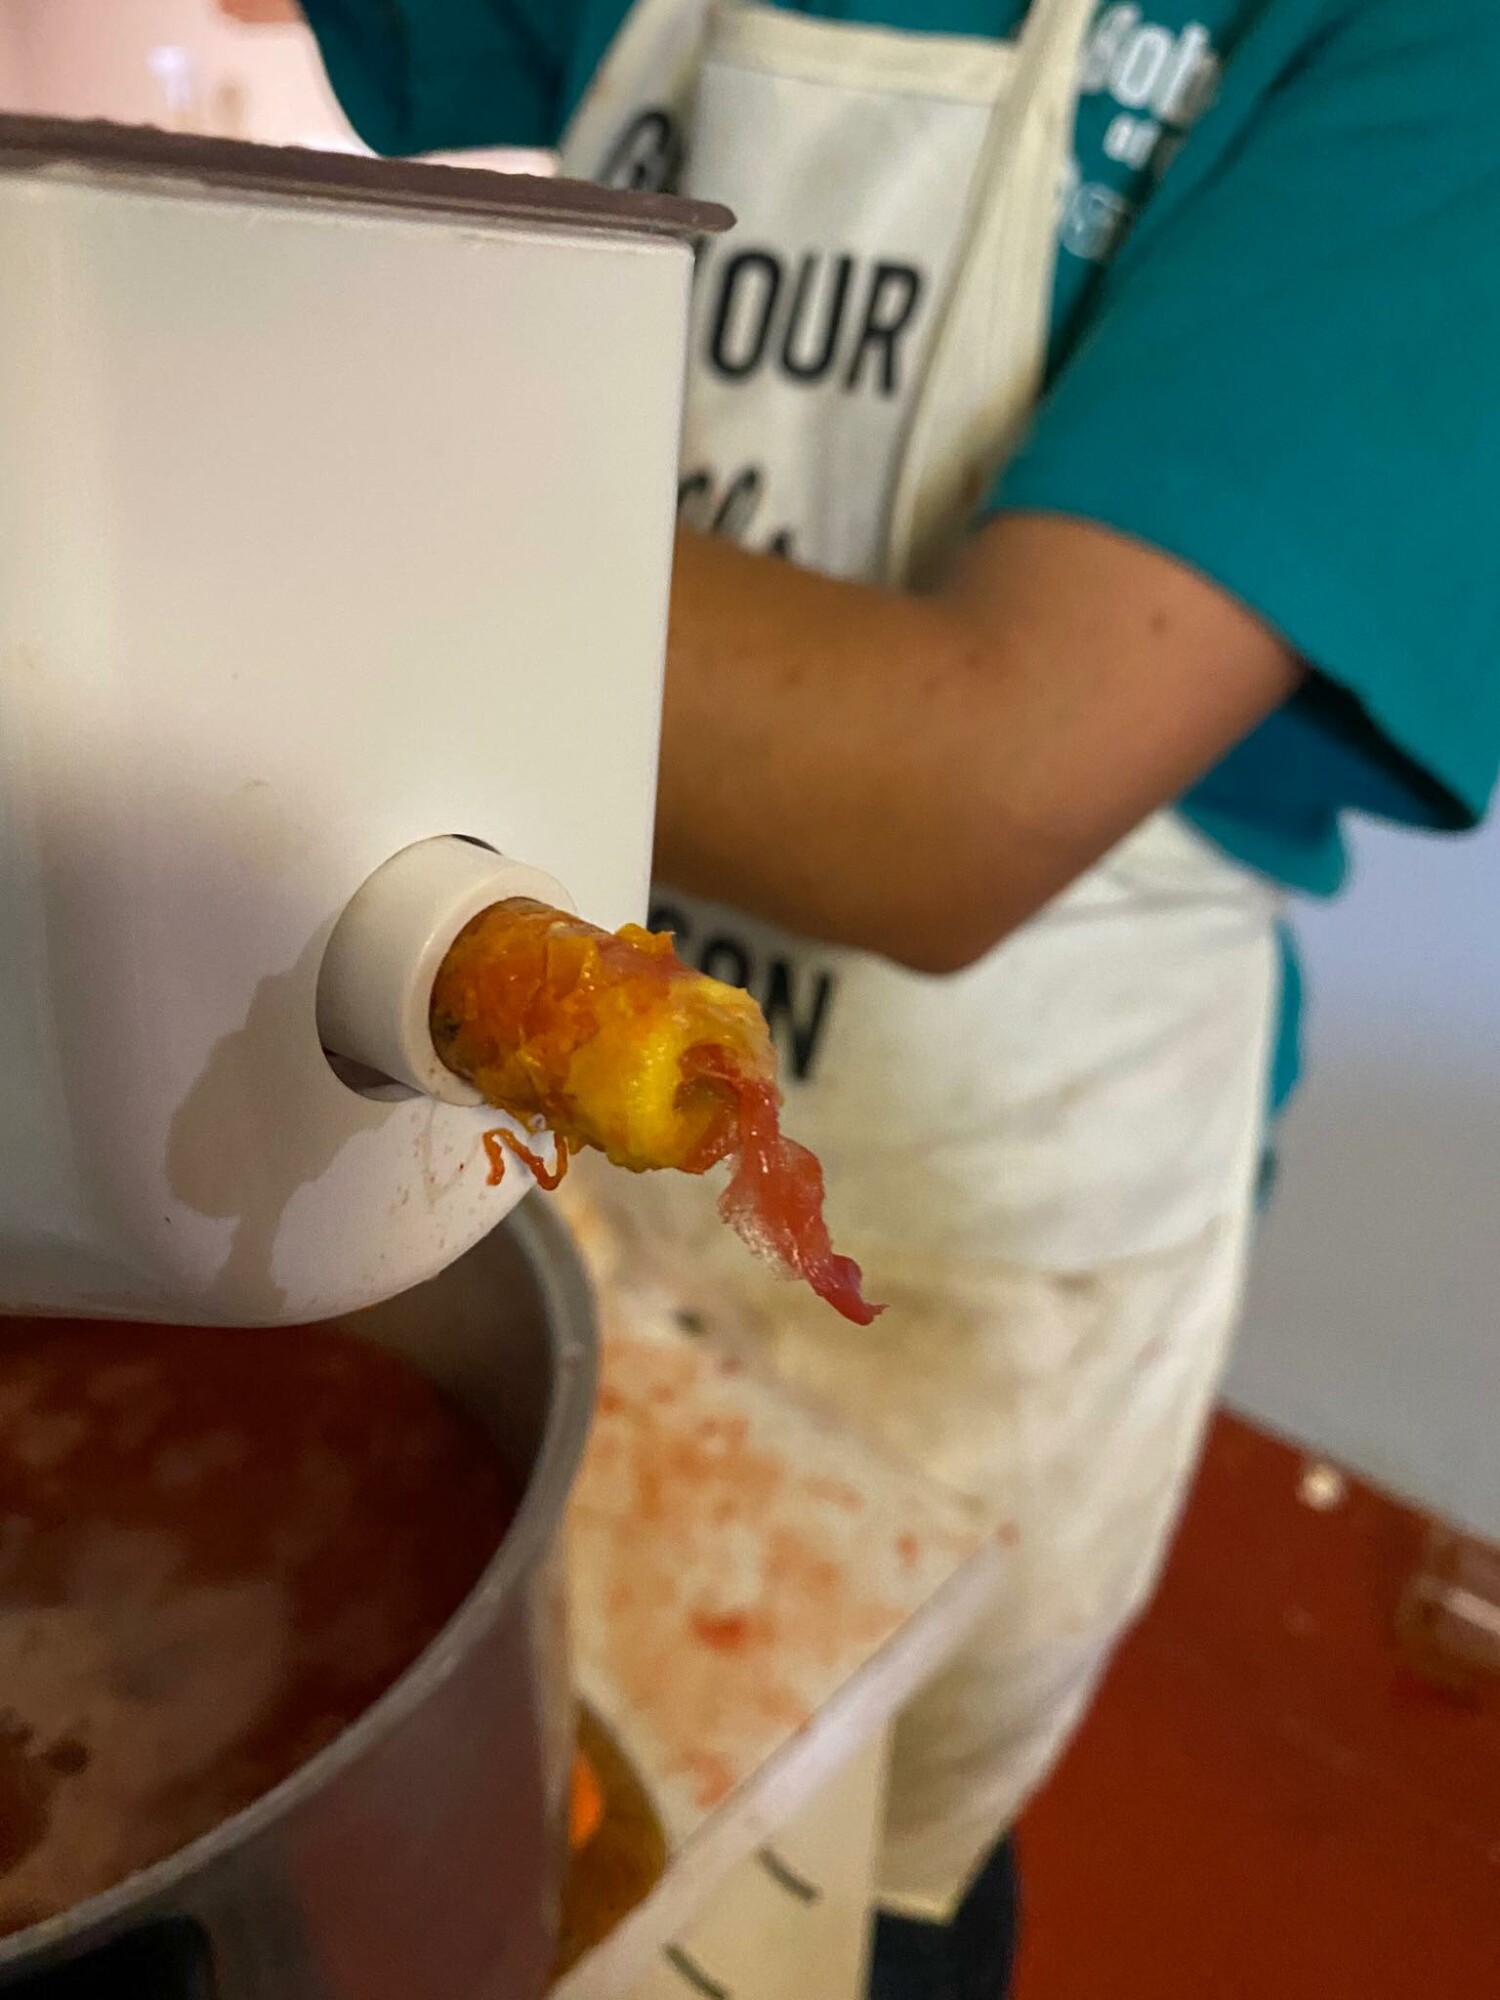
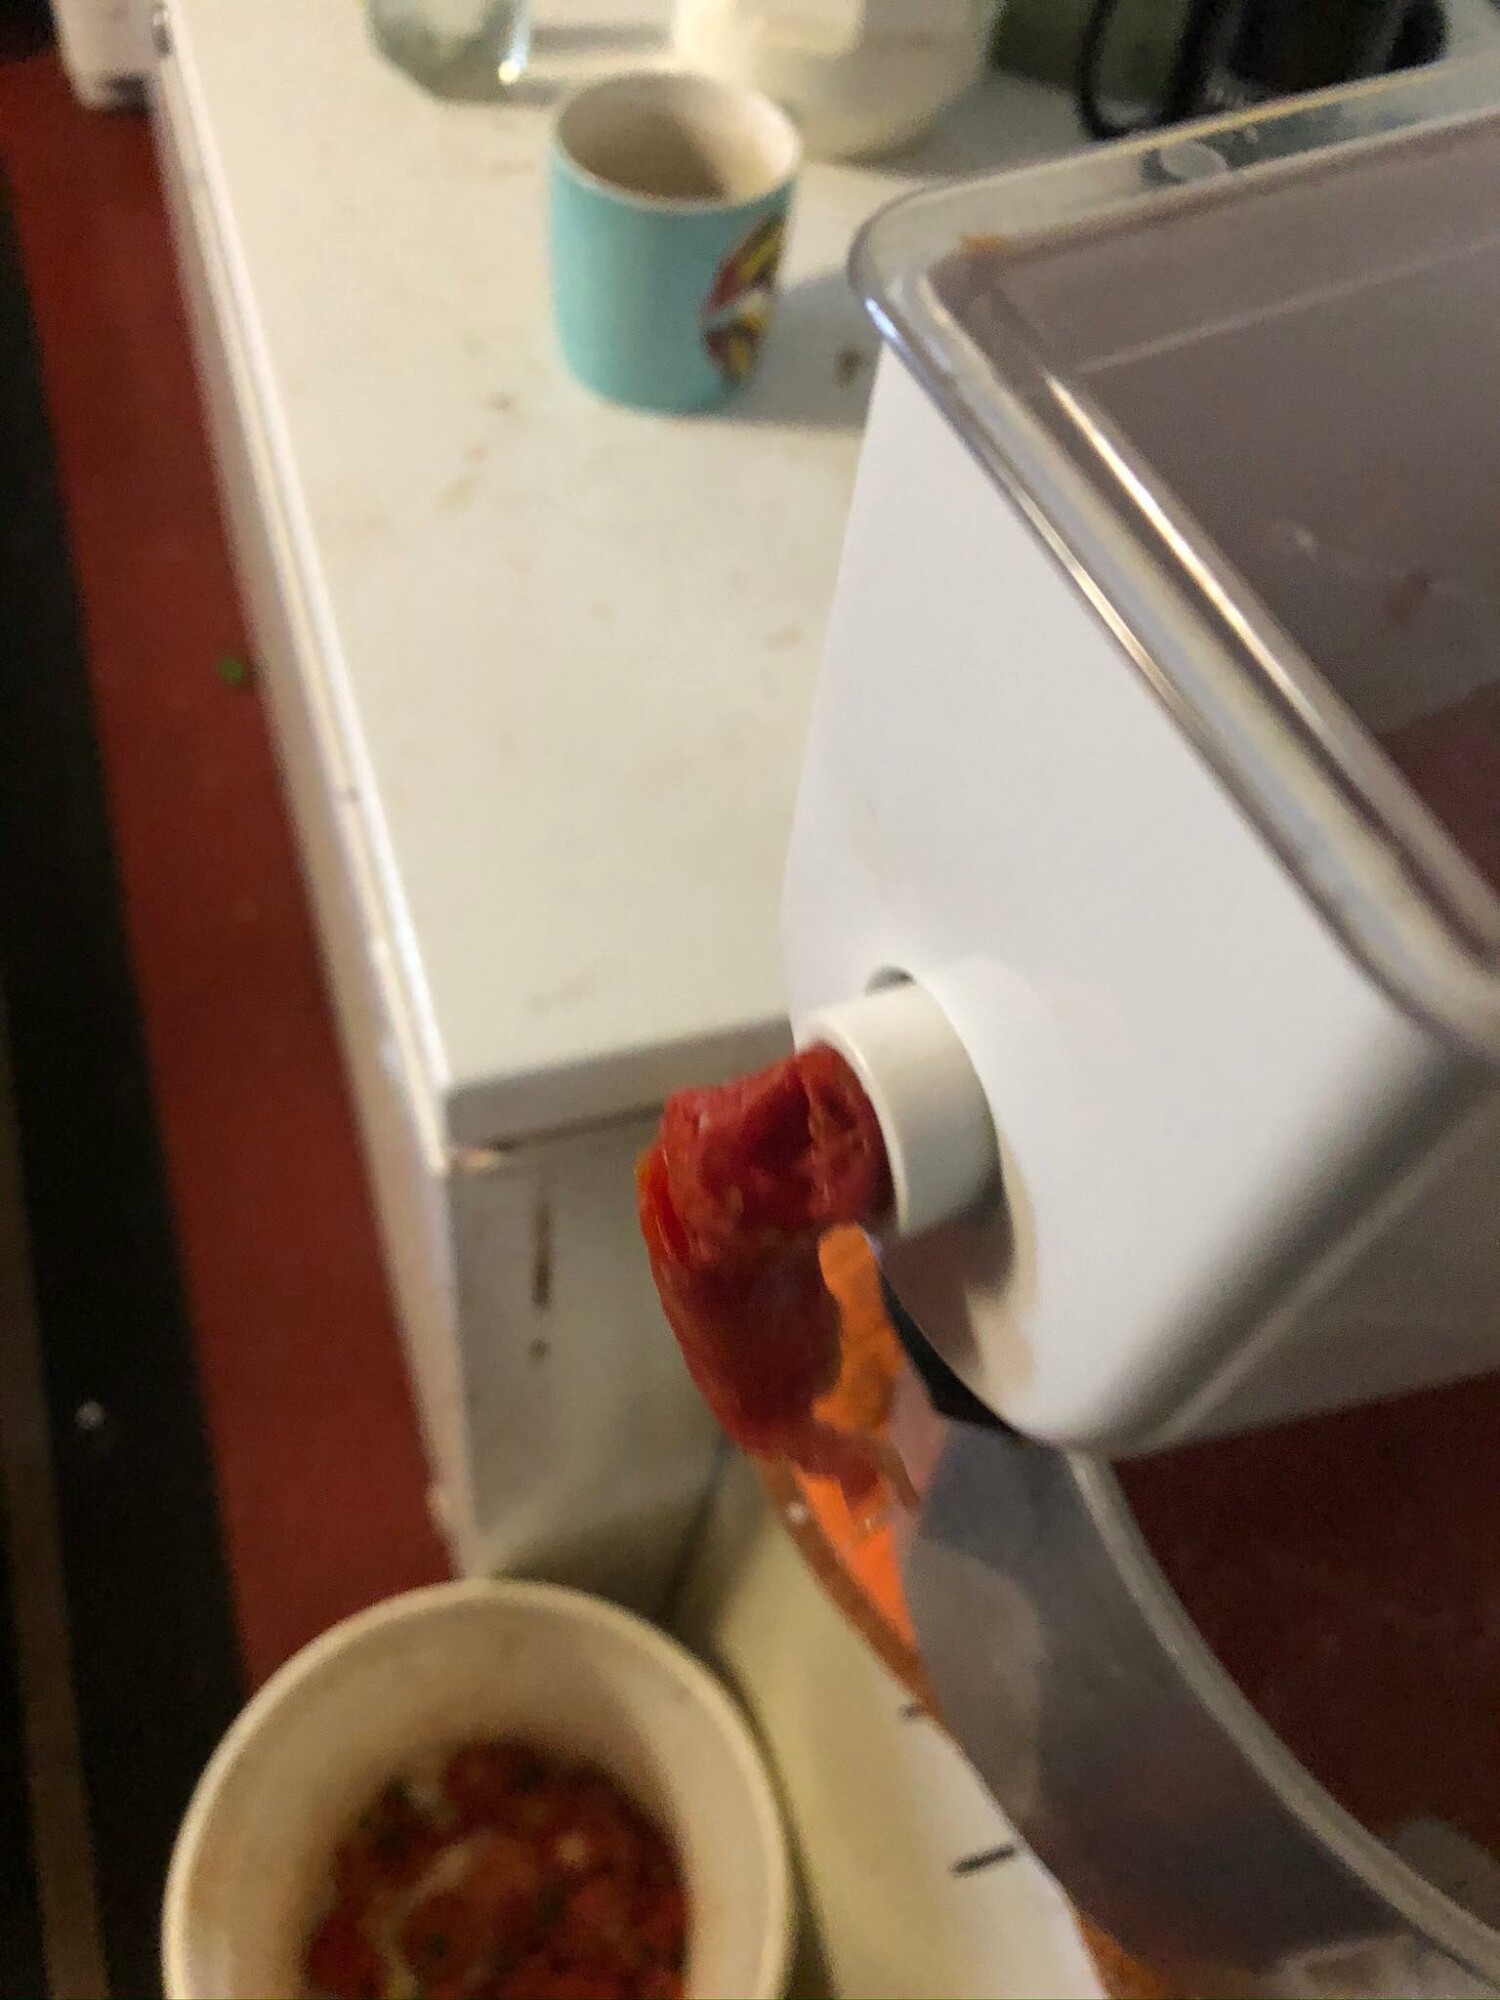
- If the tomatoes are firm, place them in a pot to steam until they soften. Using a strainer can make this easier.
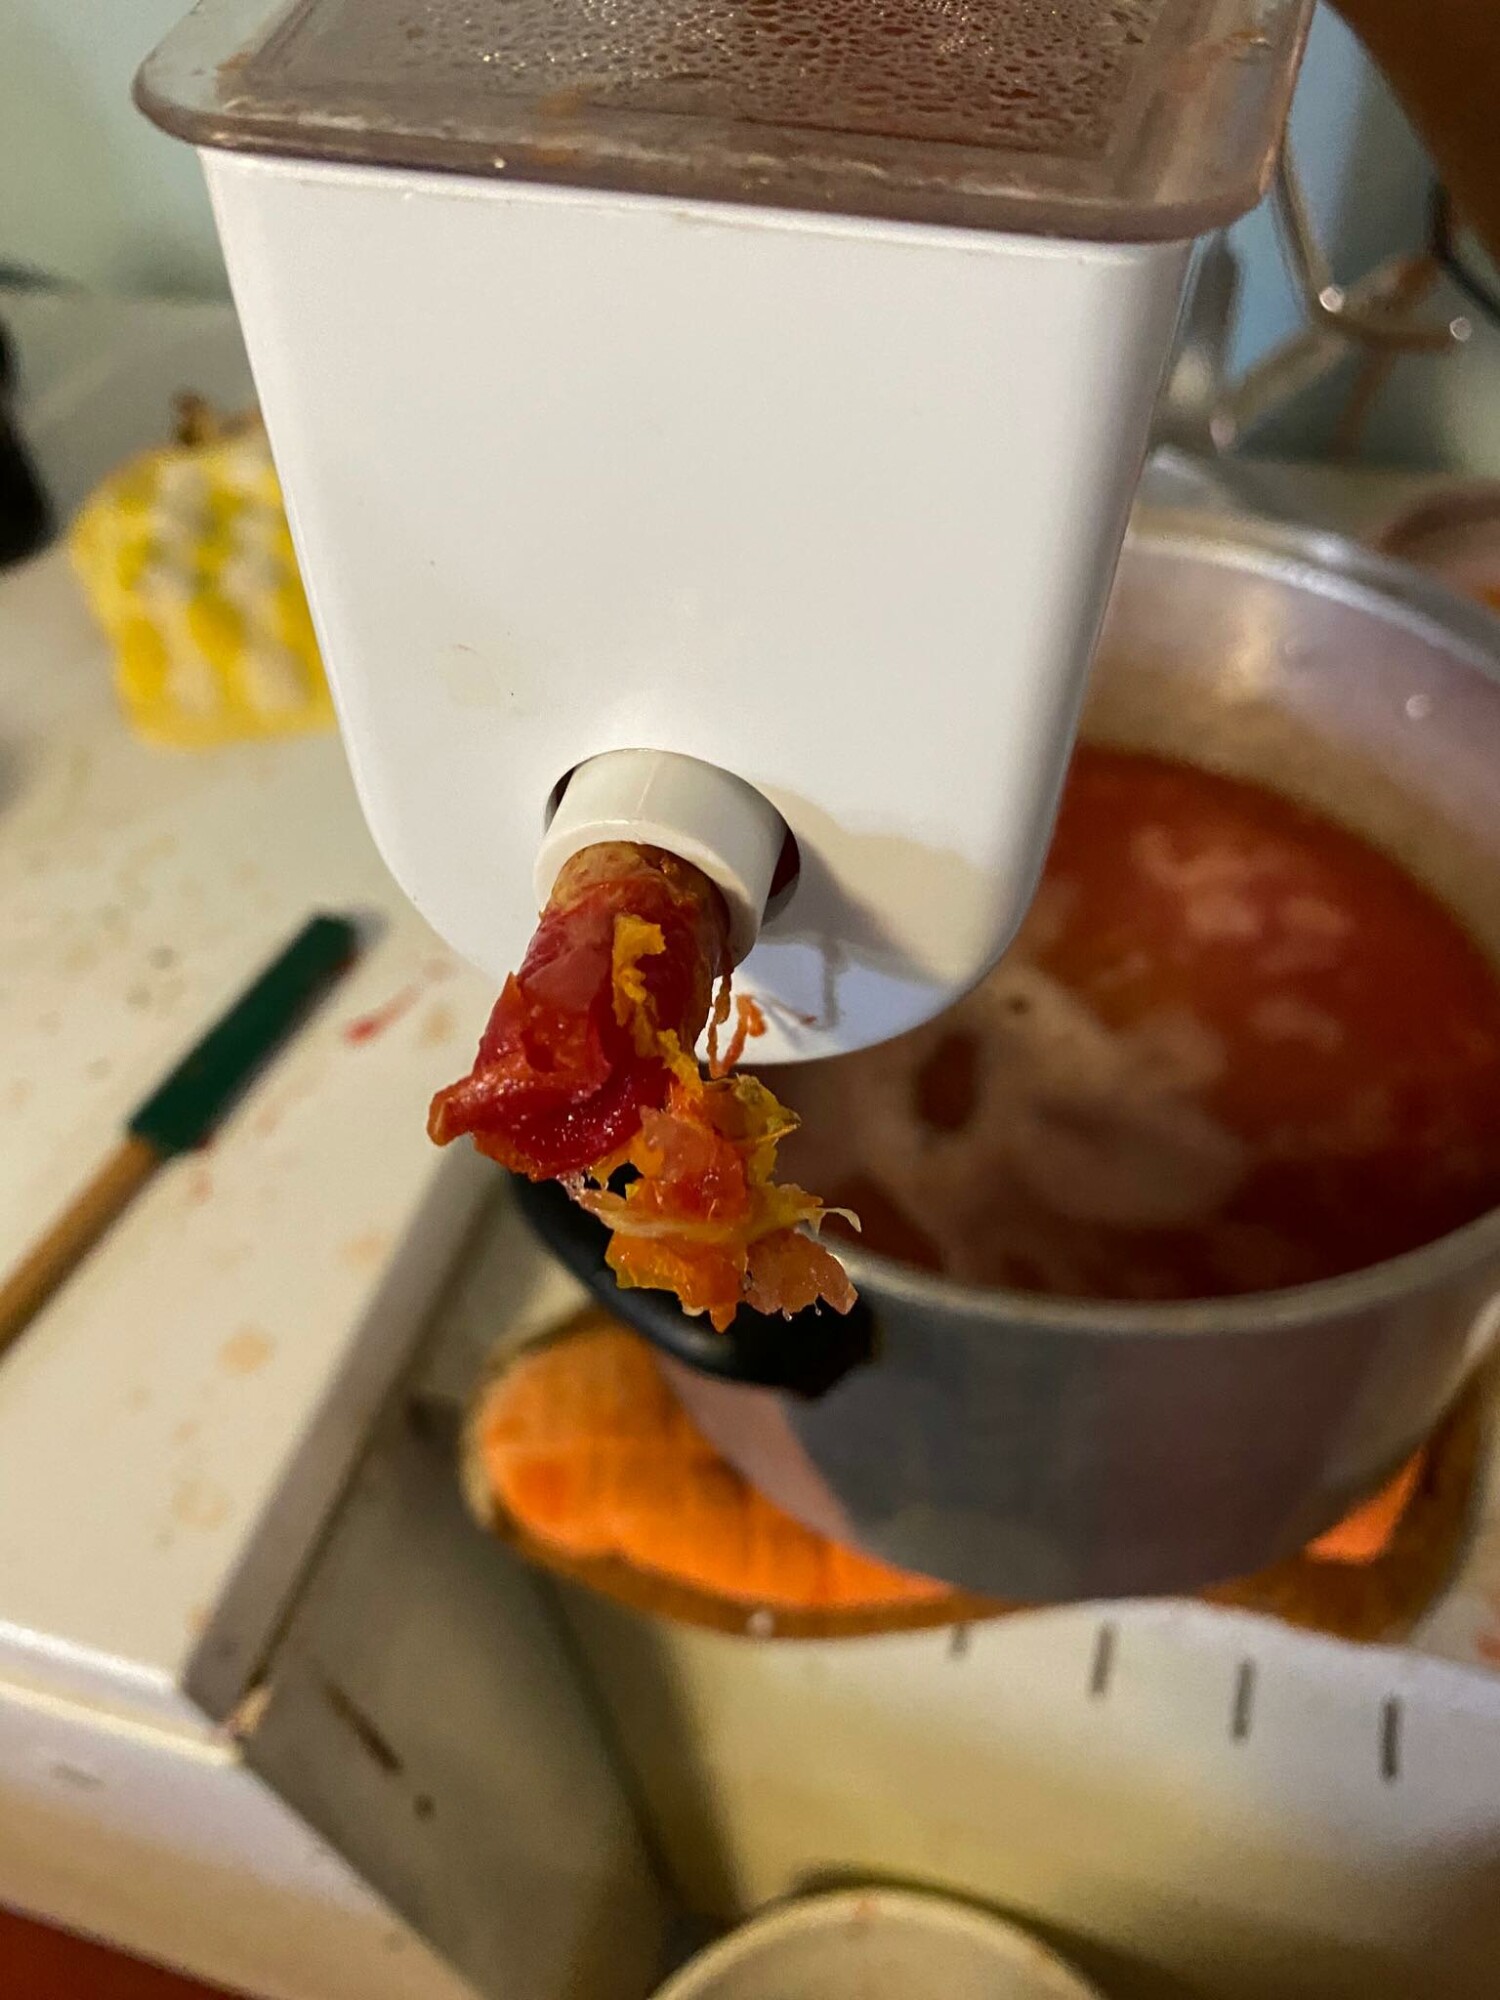
- Run the softened tomatoes through a sieve to separate the juice from the skins and seeds. This will give you a smooth tomato base. Alternatively if you don't care about the skins and seeds, you can use an immersion blender and blend the whole tomatoes. Note you will probably have a few rouge skins if you choose to do this.
- You can dry the sieved skins and seeds down to grind into powder and make tomato paste when needed.
- Pictures 1 & 2 are how the rejects should look. Picture three the tomatoes are a bit firm yet and I’m loosing quite a bit of pulp, not just skin and seed.
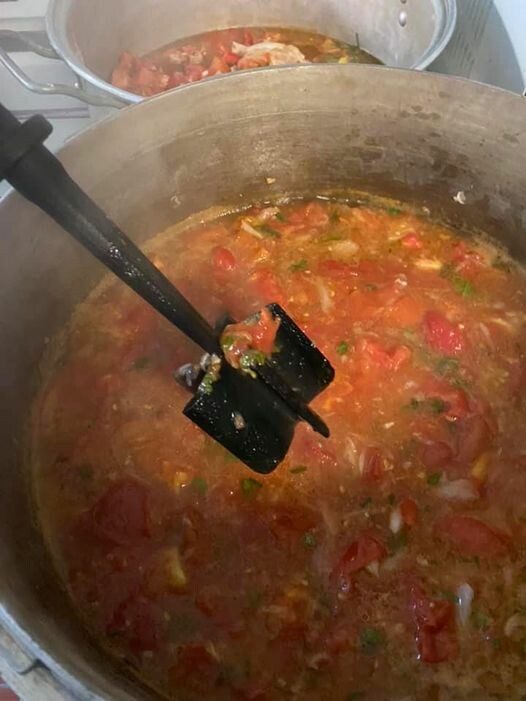
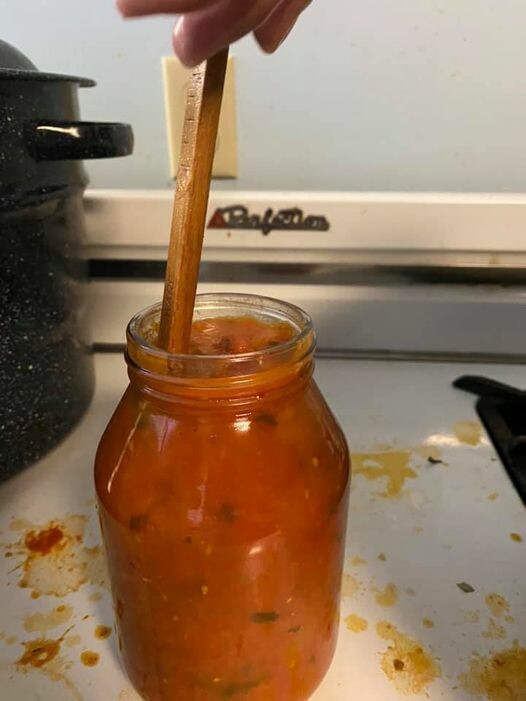
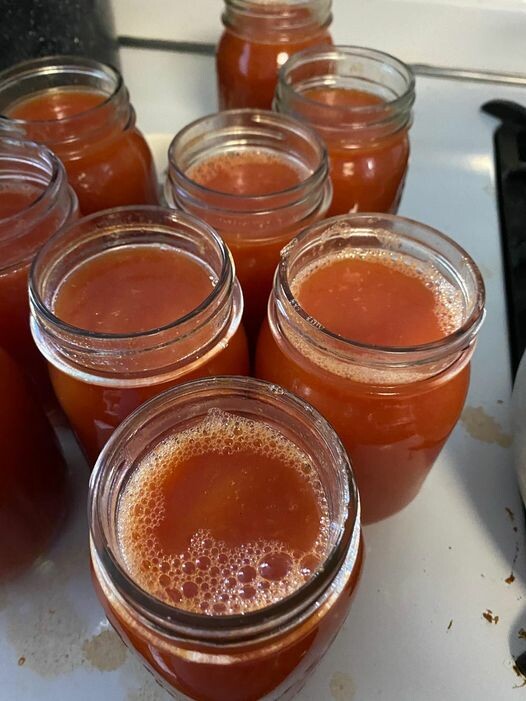
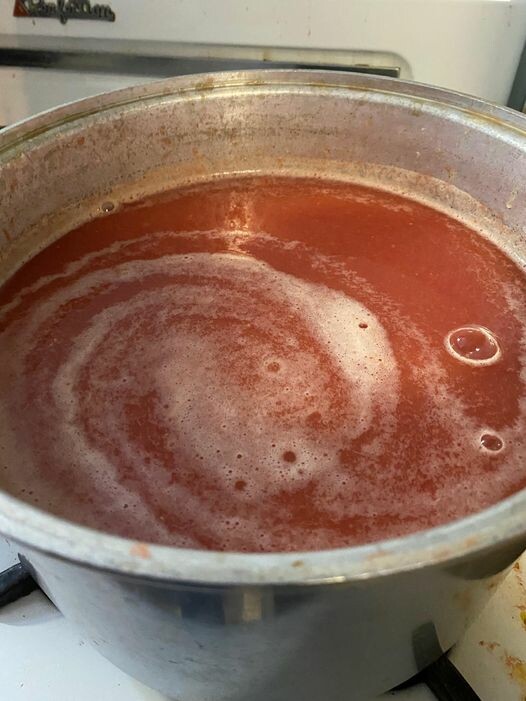
- Allow the tomato juice to cook down to your desired consistency. This could take a while depending on your preference. This is where a crock pot or roaster can come in handy. Using a roaster or crock pot you can walk away and do other things easier. You can also let them cook overnight and can them in the morning.
- Stir occasionally to avoid burning the bottom of the sauce if using a stock pot.
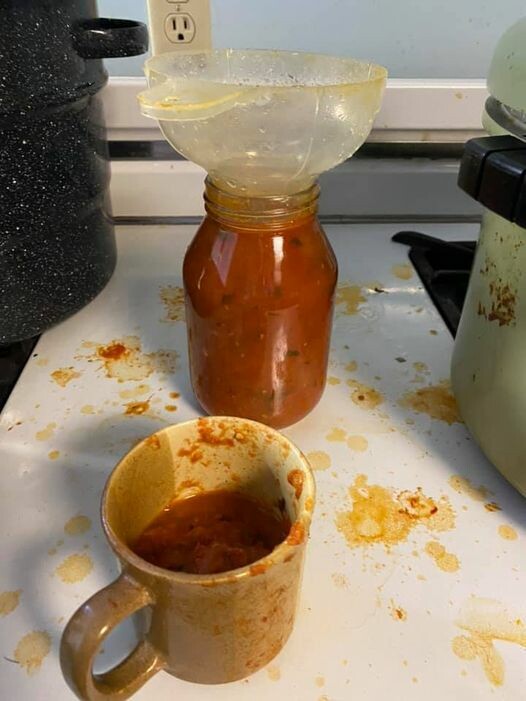
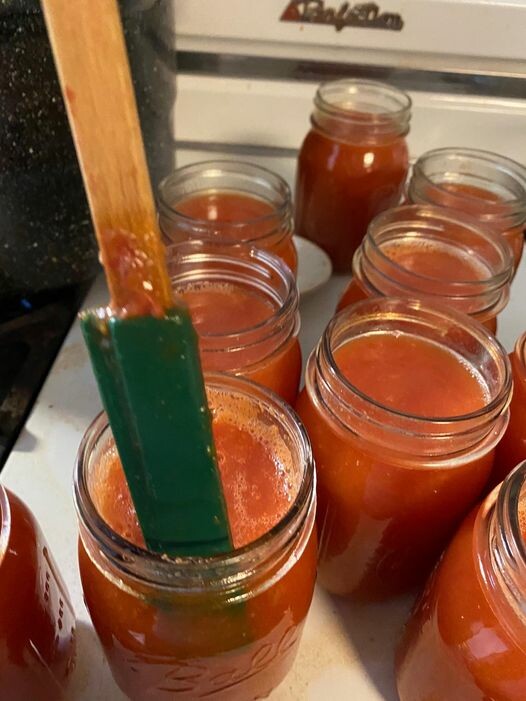
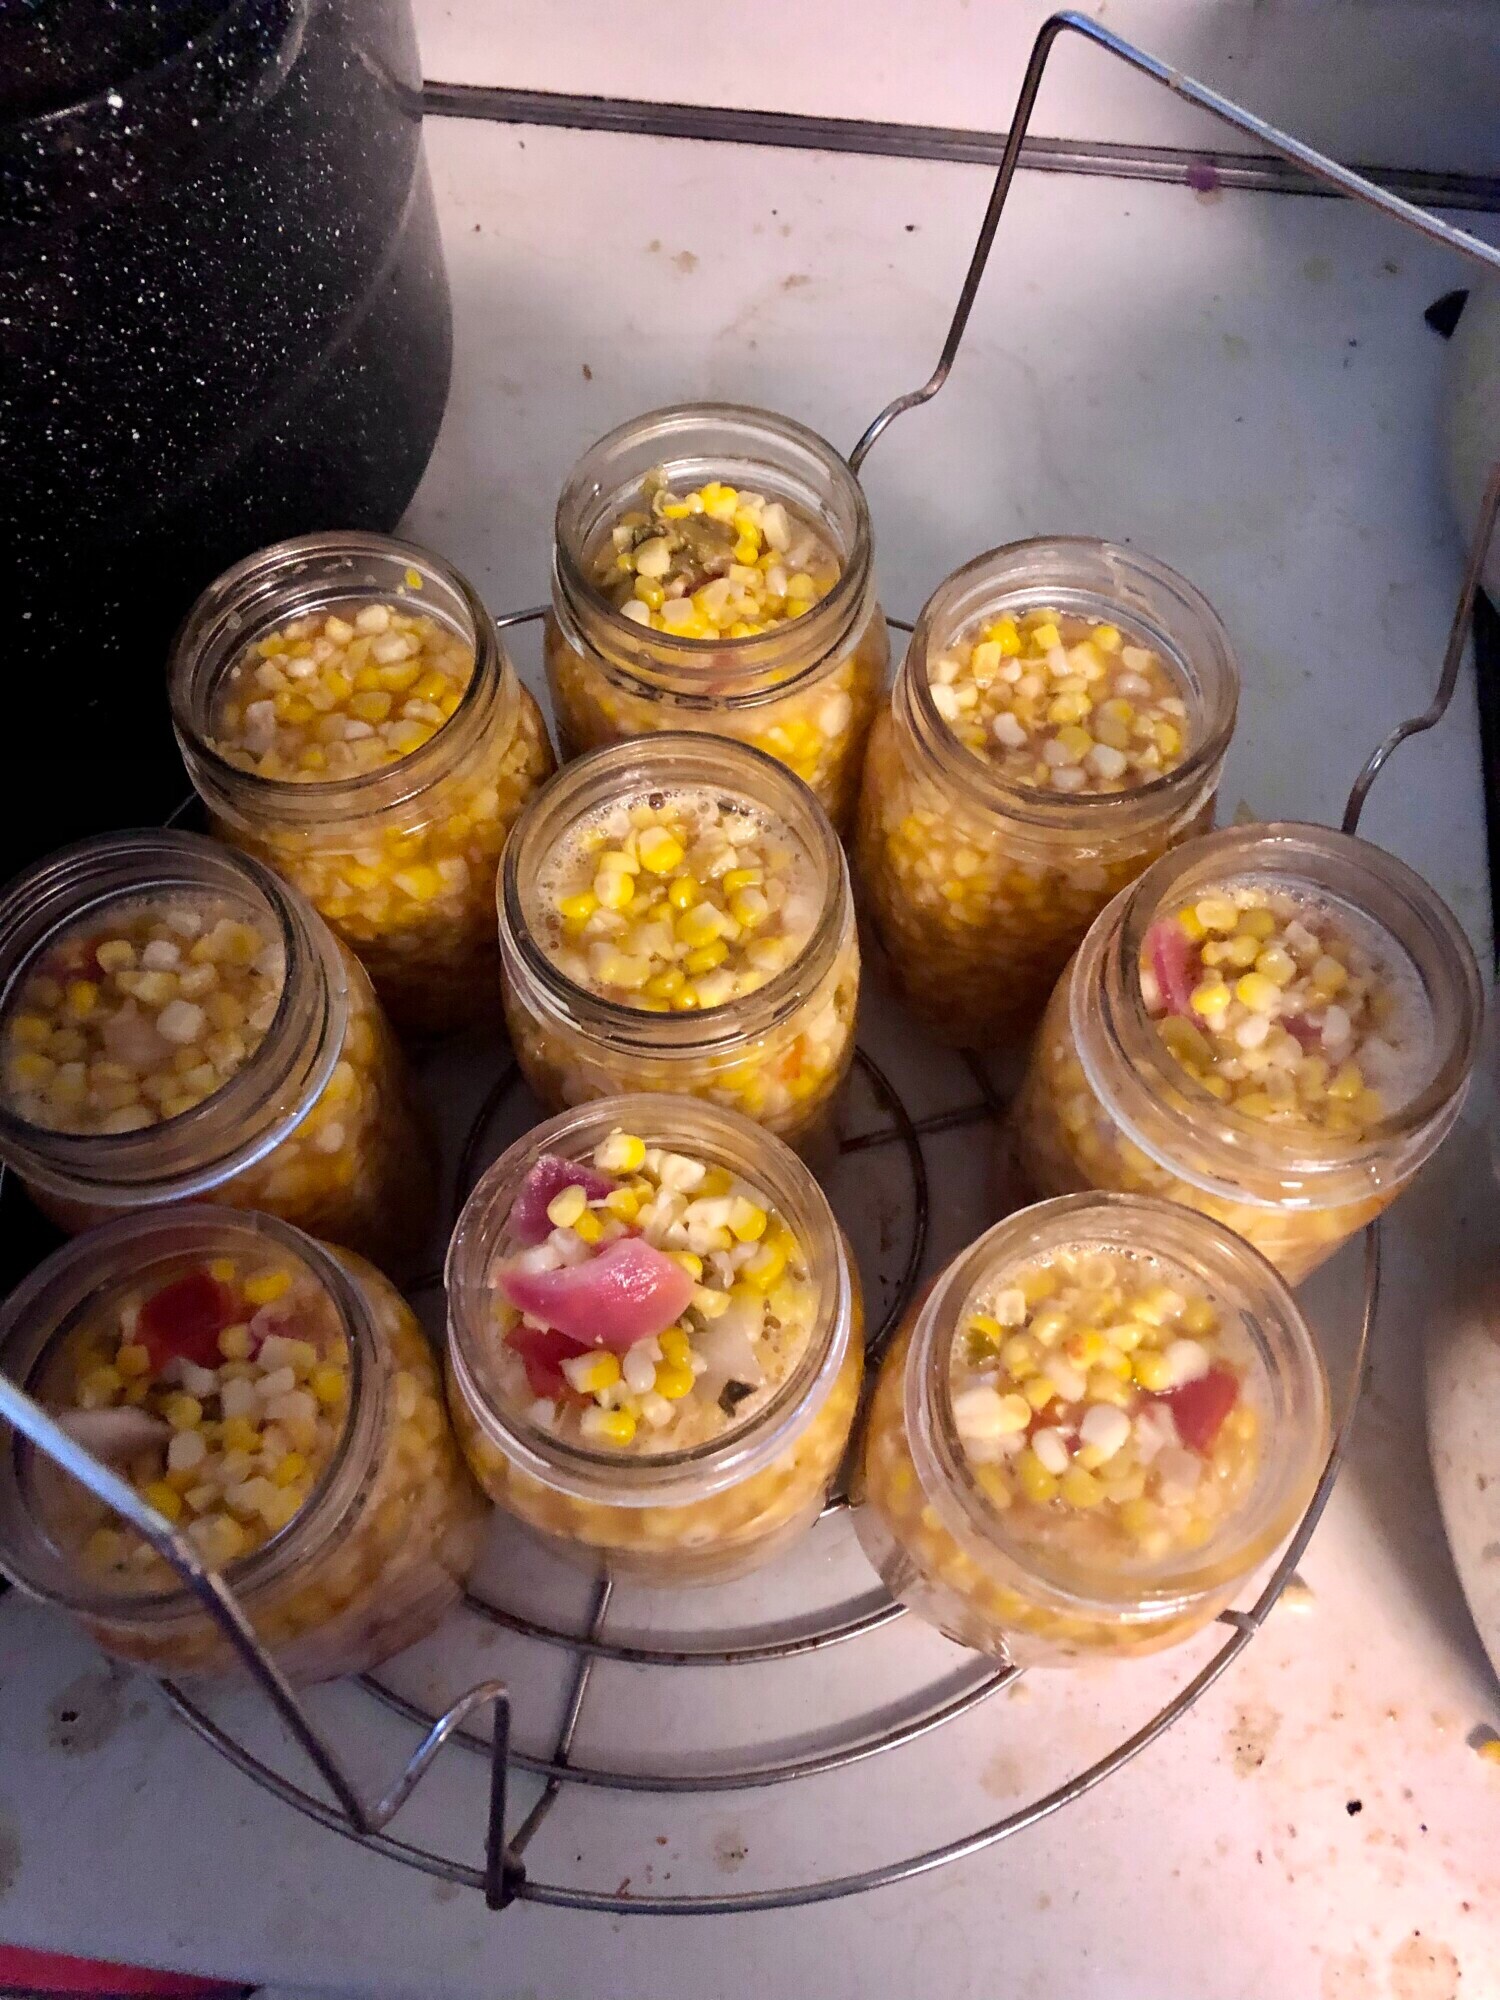
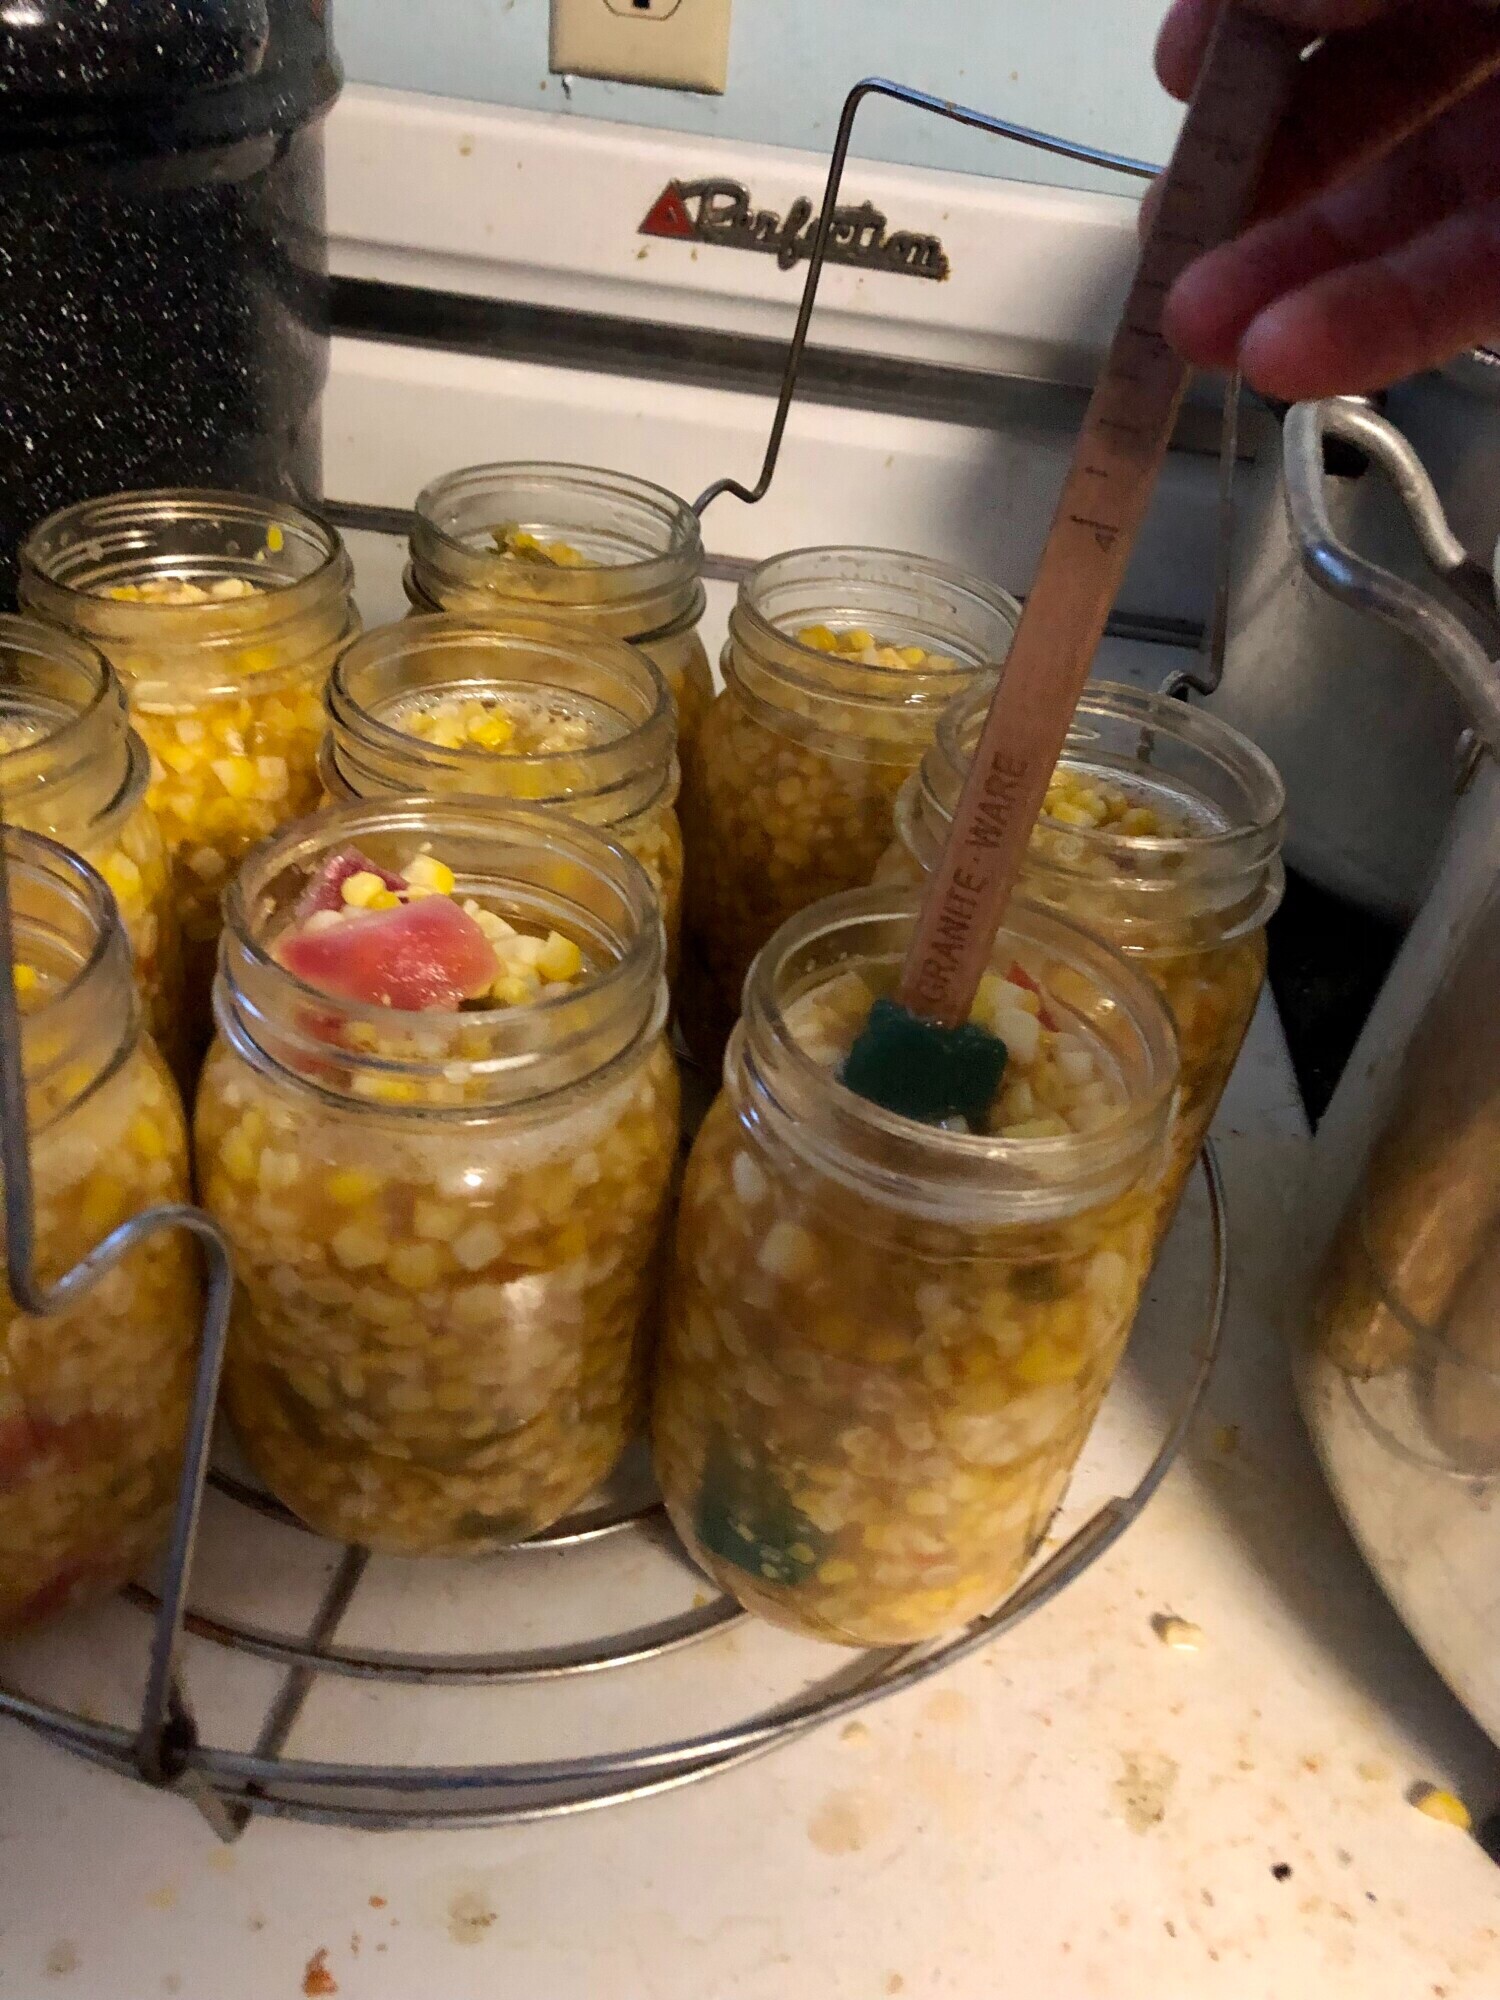
- Fill sterile canning jars with 1/4 teaspoon citric acid or lemon juice per pint of sauce and the hot tomato sauce, leaving about ½ inch of headspace.

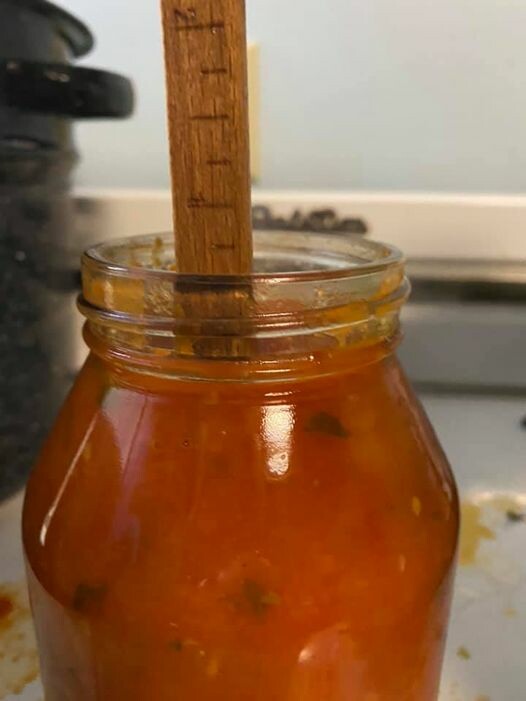
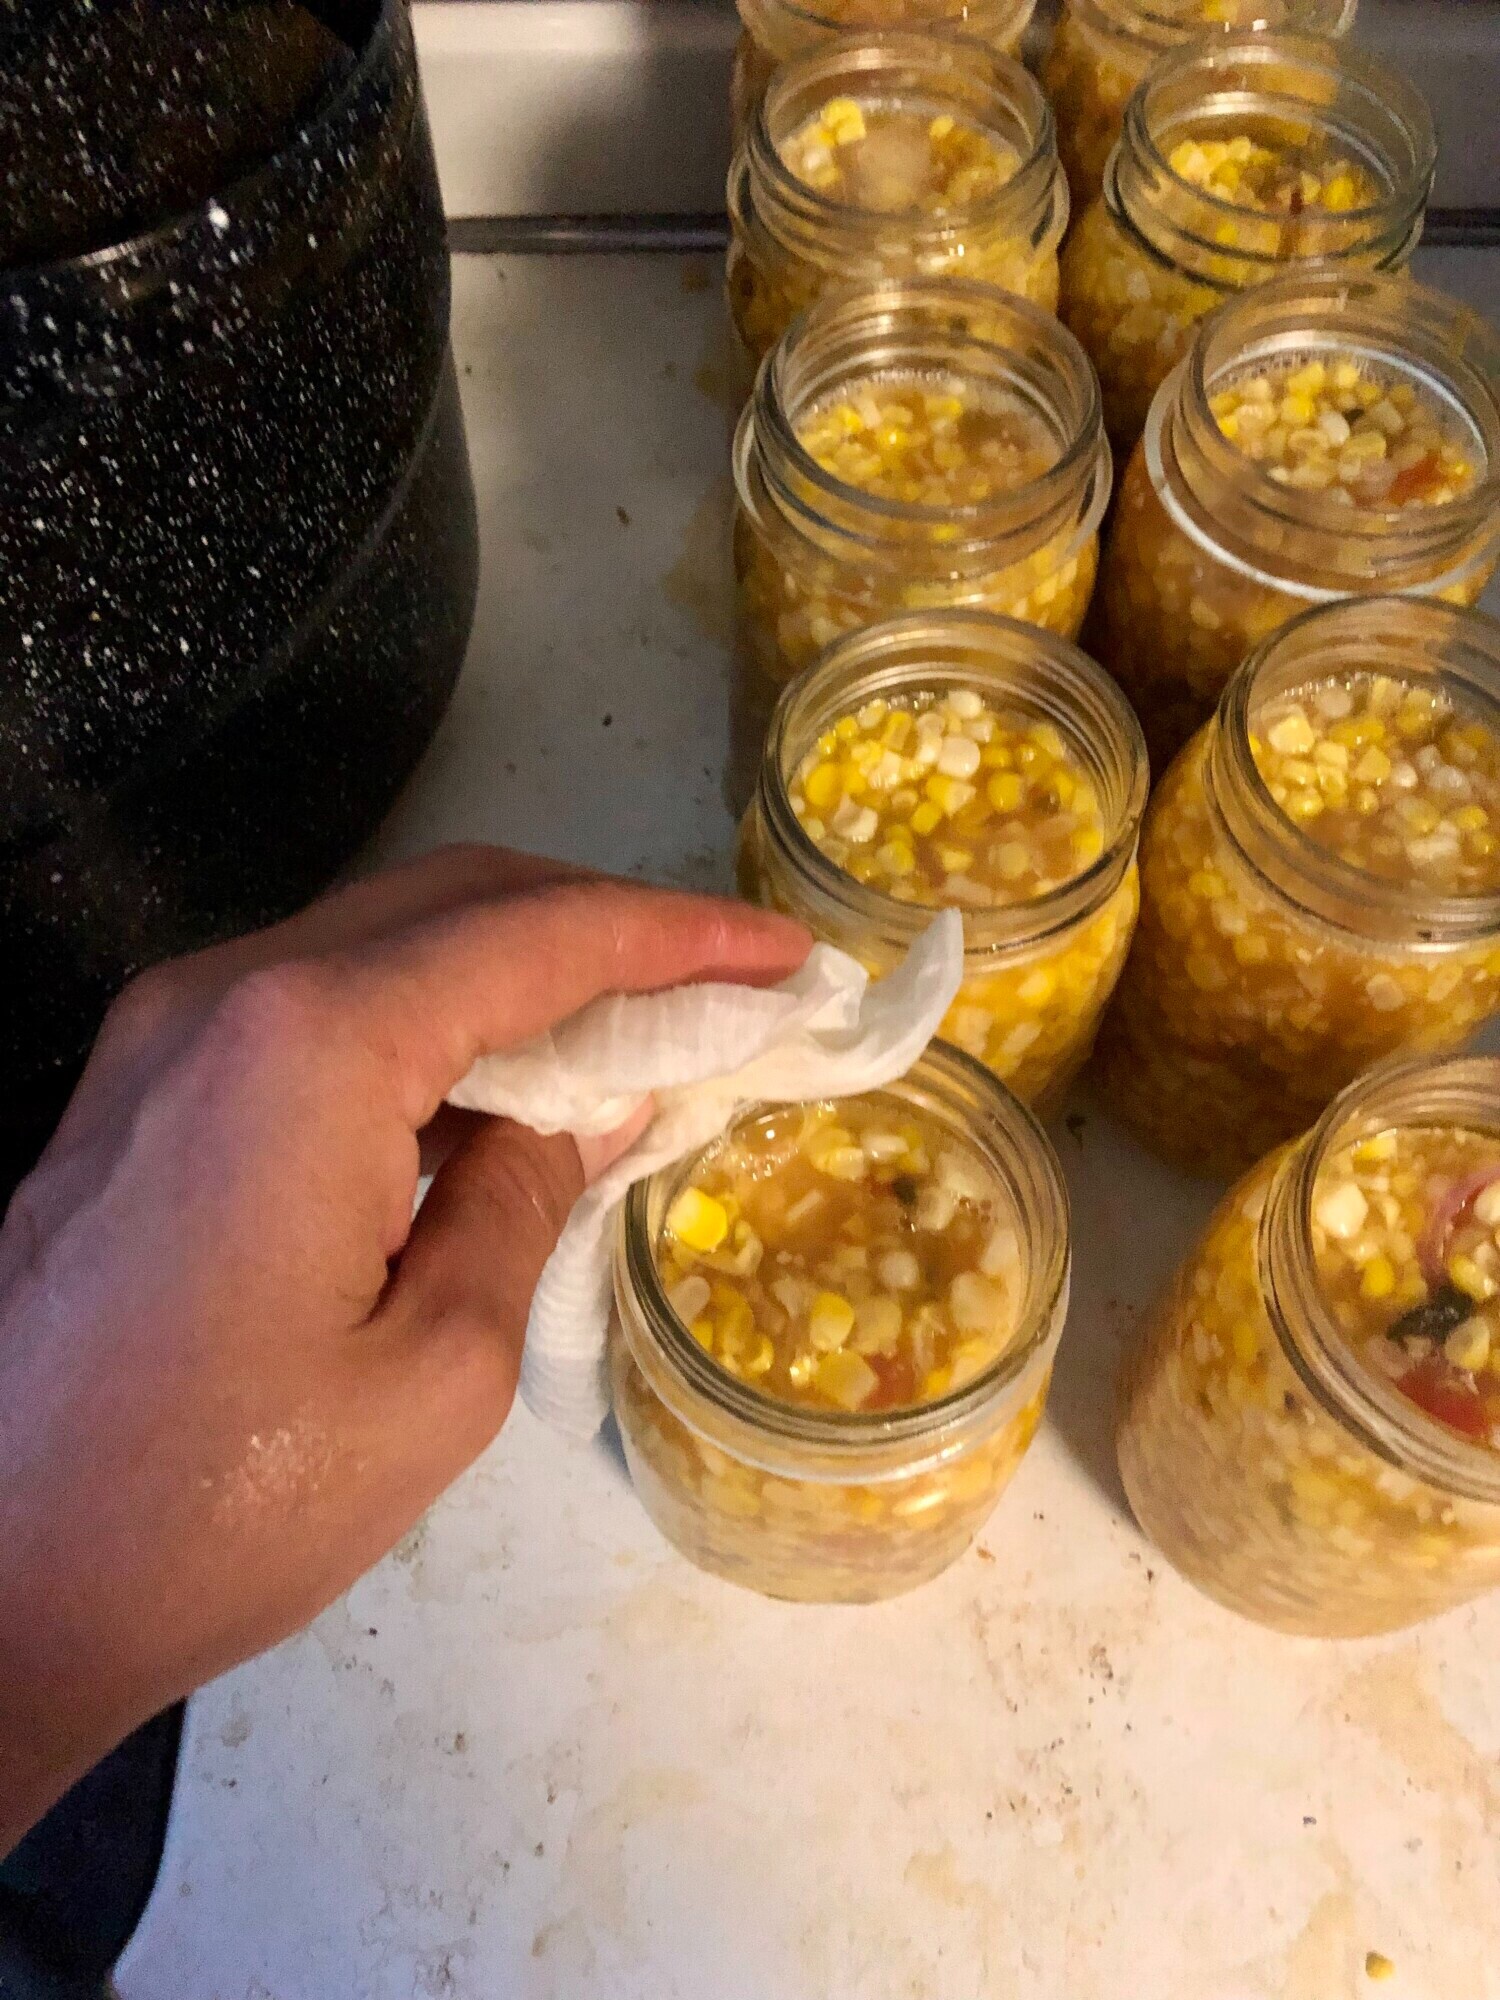
- Use a long spatula or knife to remove air bubbles by running it along the edge of the jar. Wipe the rim clean to ensure a proper seal.
- For one-time-use lids, rinse them in hot water before placing them on the jars and securing them with the rings. Do not over-tighten.
- For reusable lids, follow the manufacturer’s instructions. Tattler reusable canning lids, for example, recommend boiling the seals.
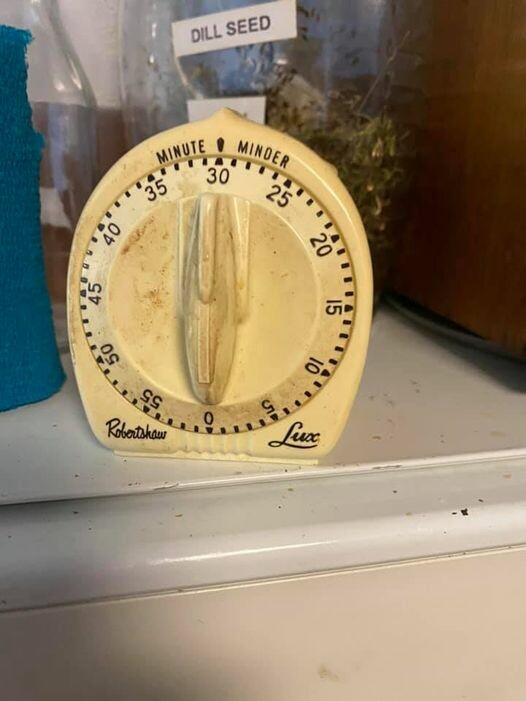
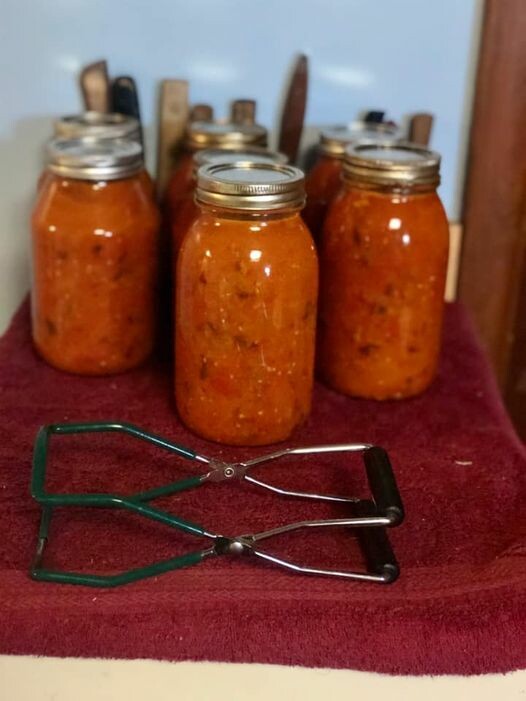
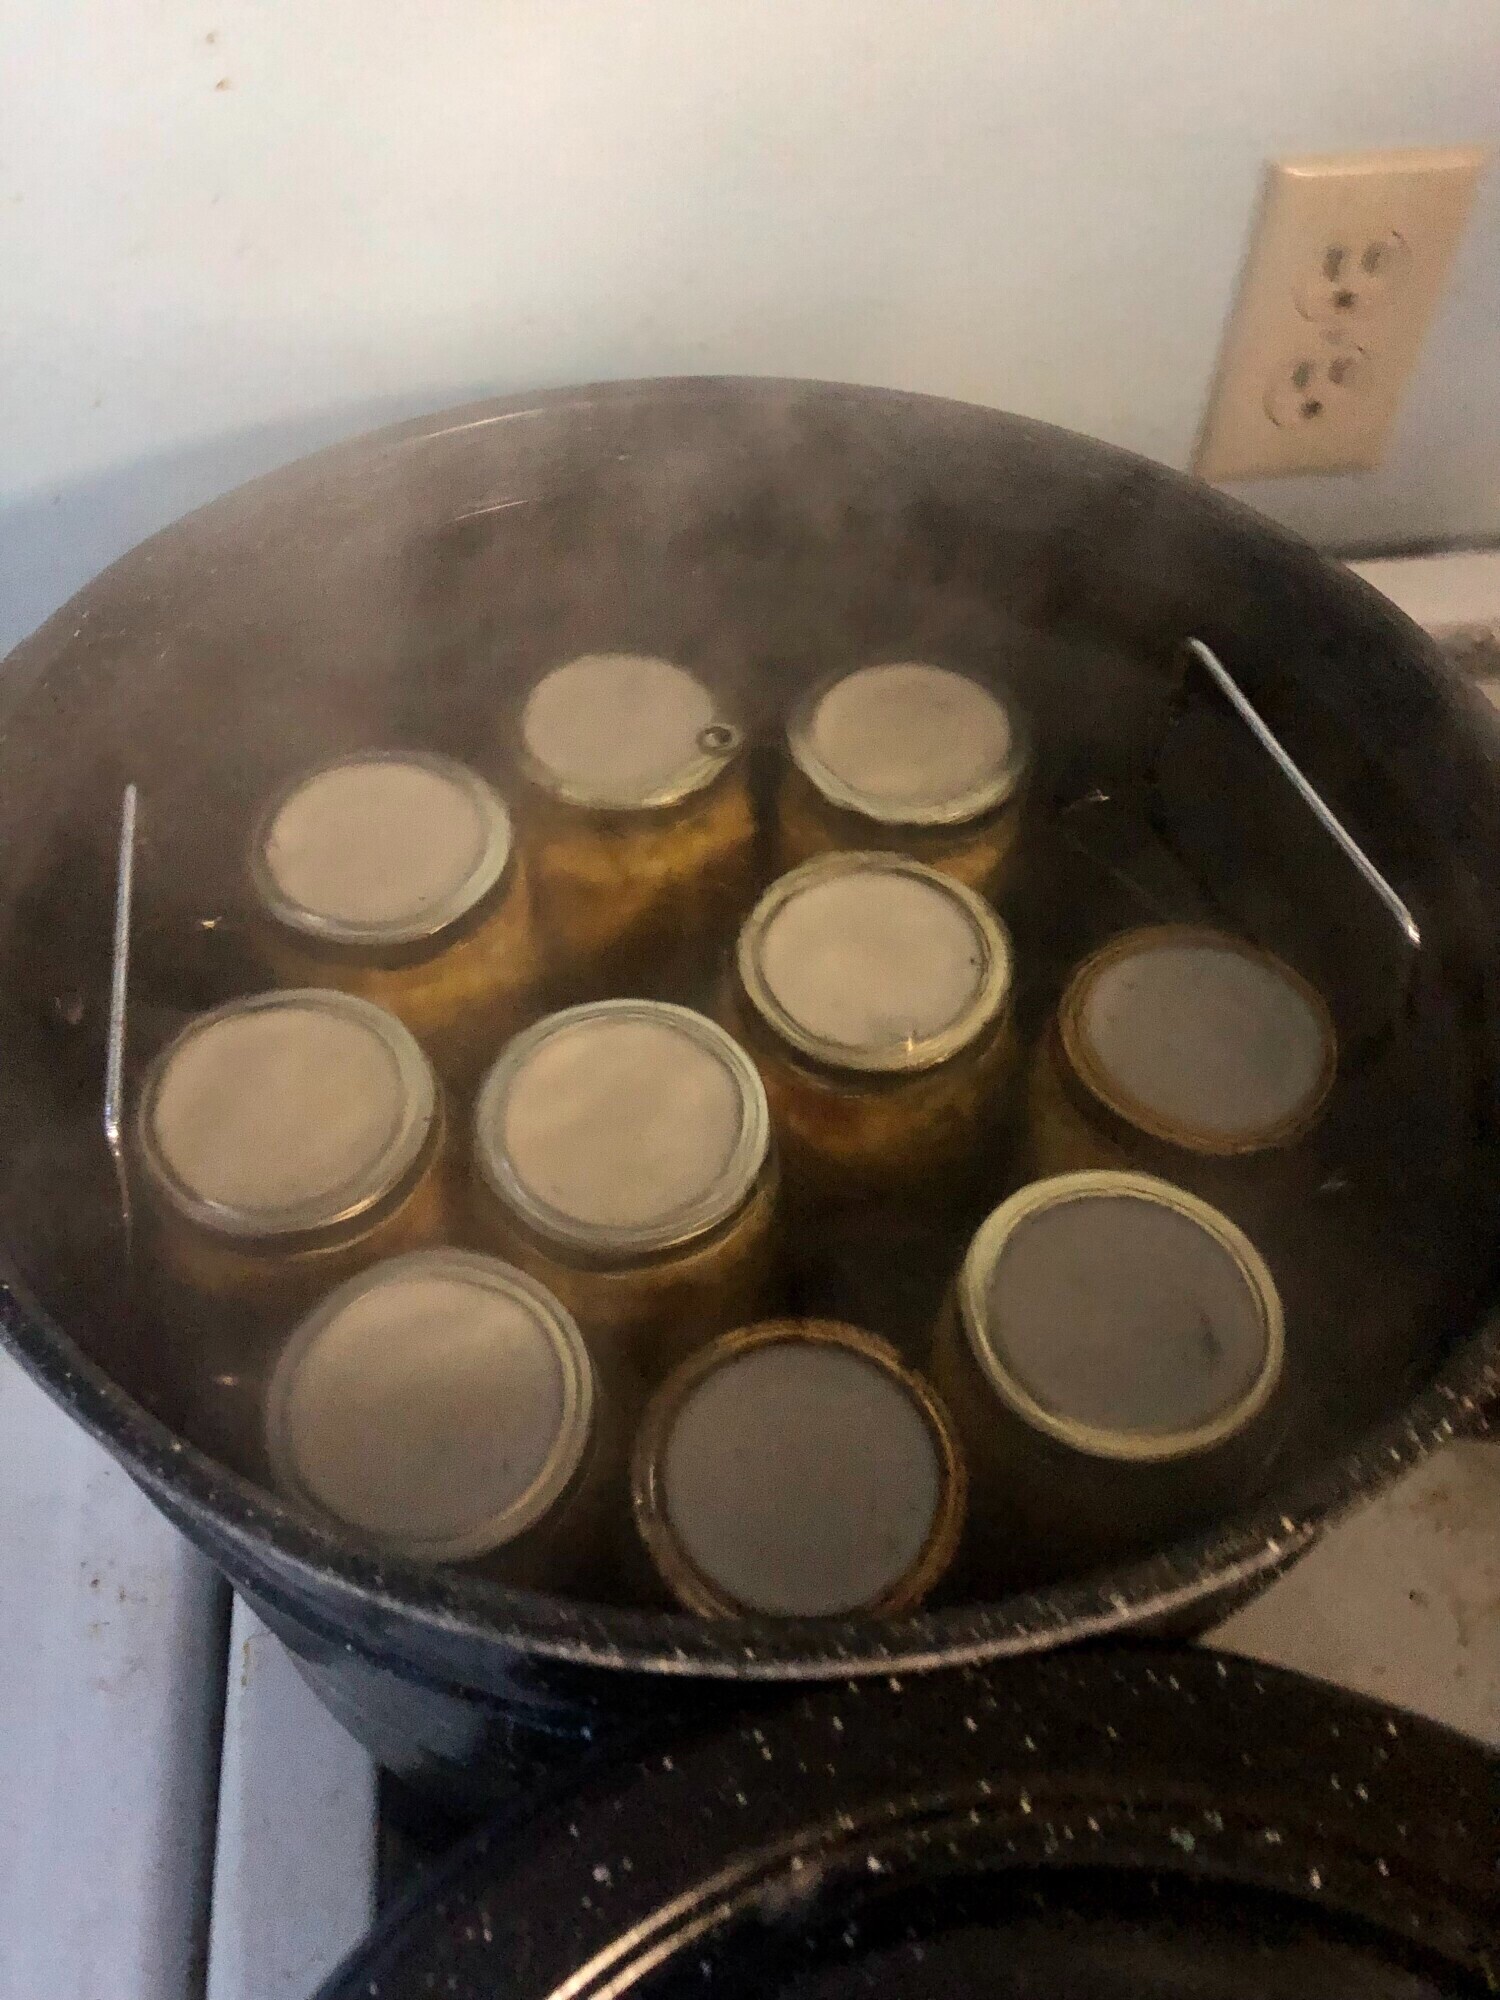
- Place jars in a hot water bath canner. Once the water is boiling, process the jars for 20 minutes.
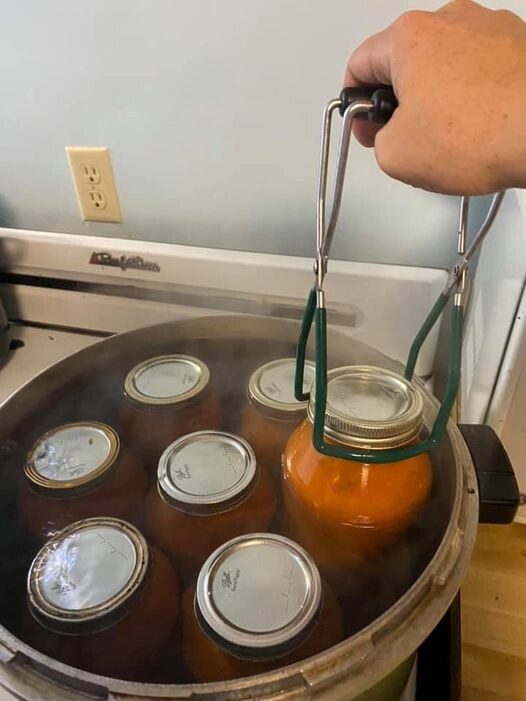
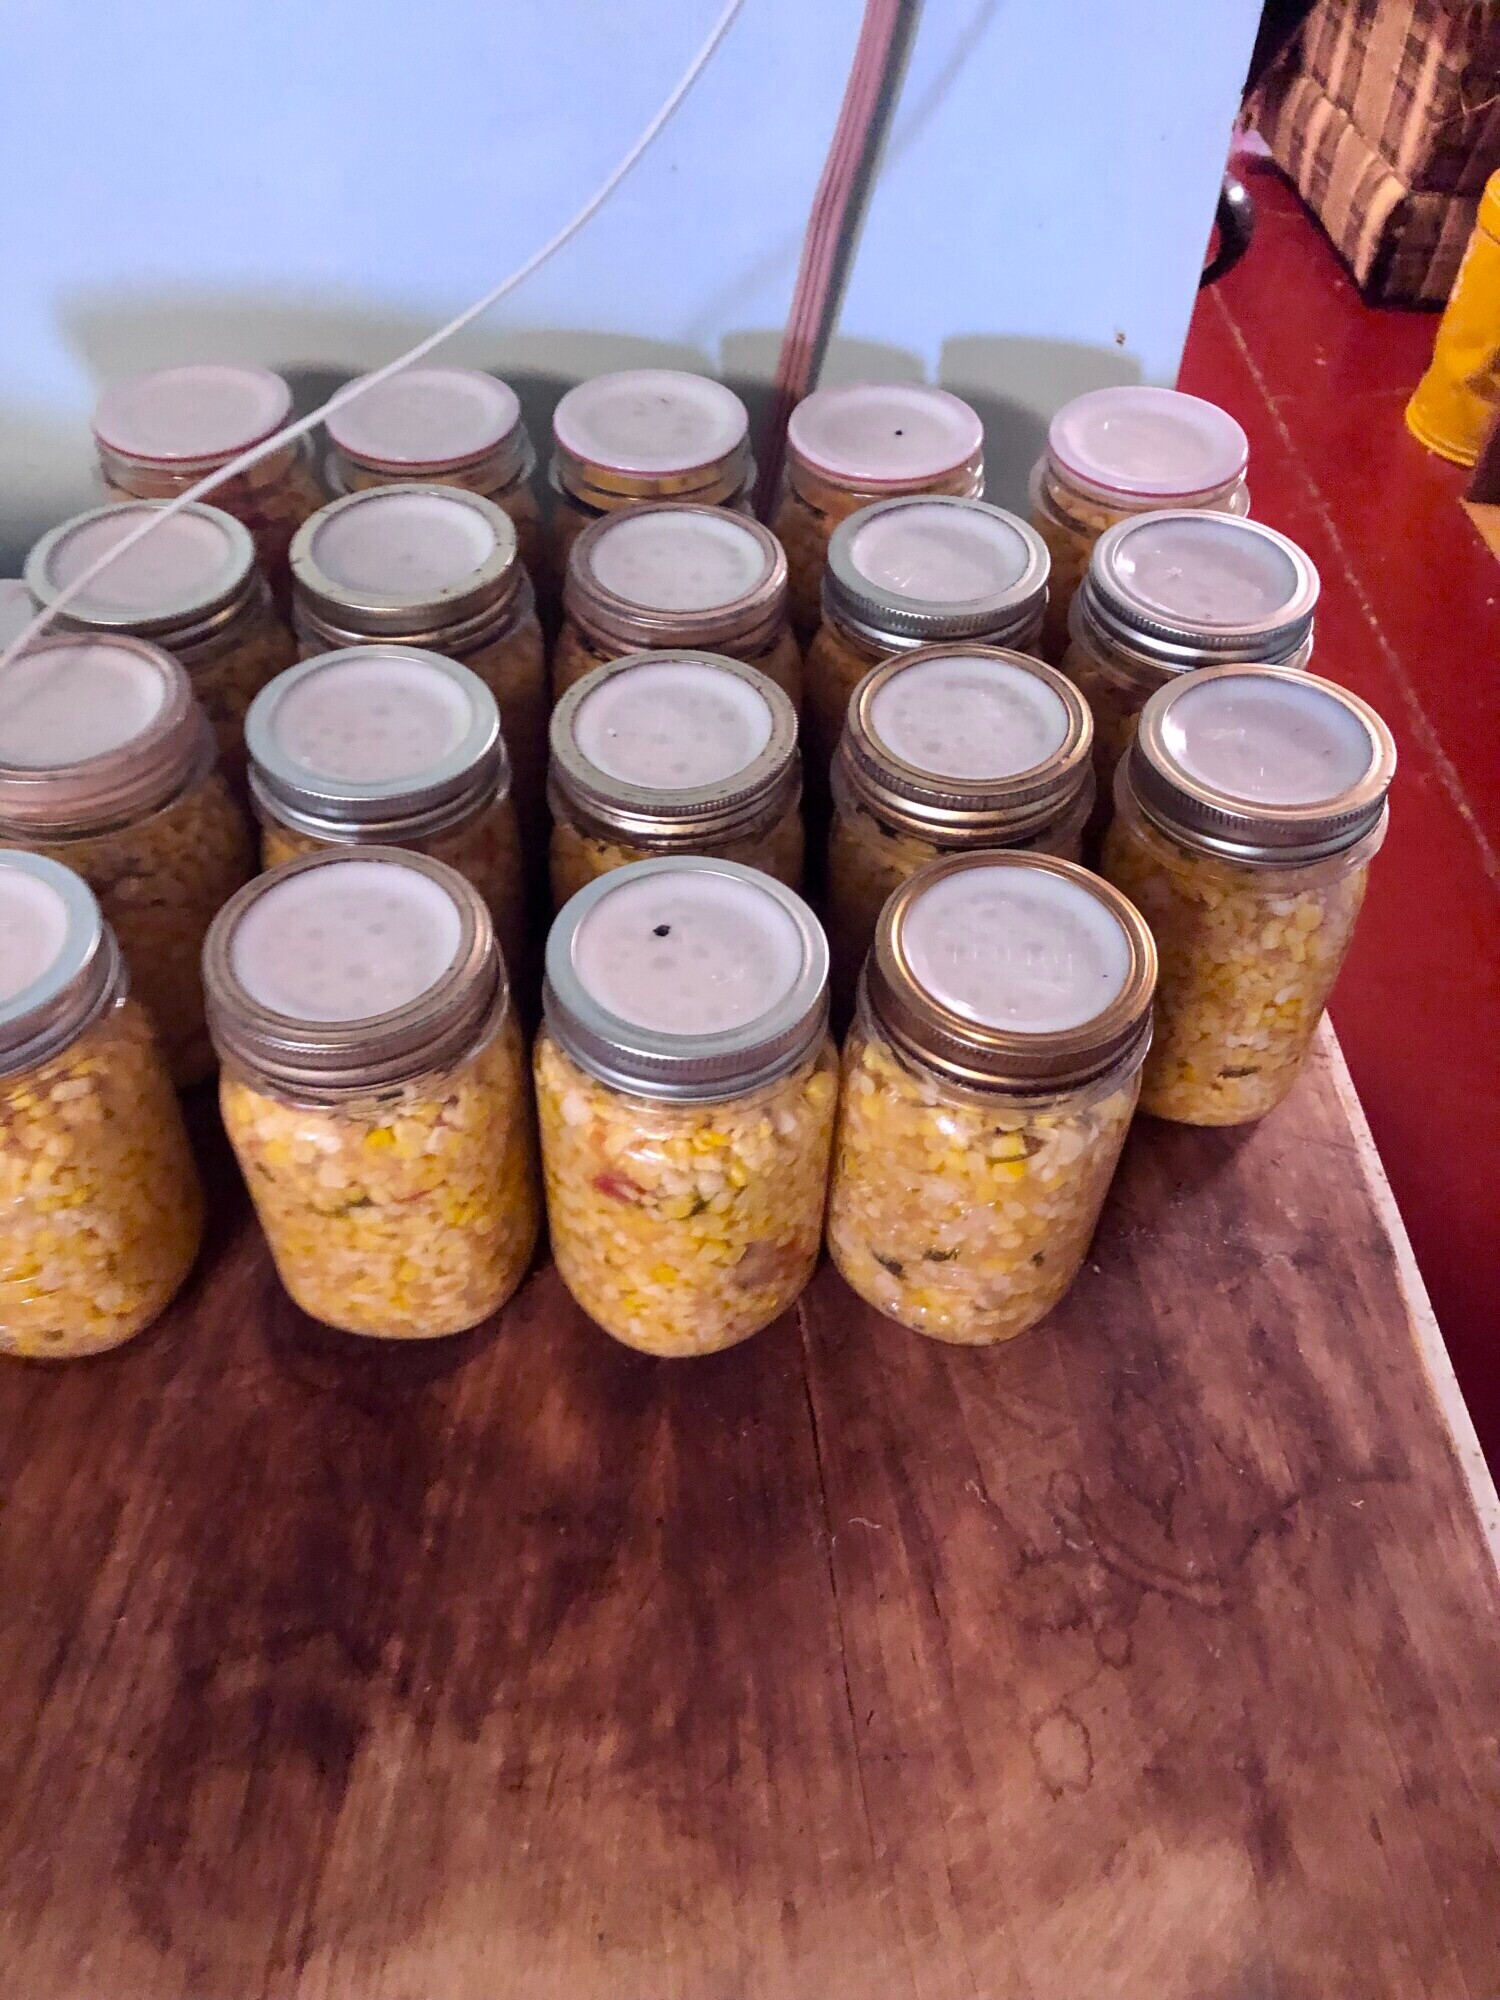
- Remove jars from the canner and allow them to cool overnight. Check the lids to ensure they are sealed.
- For one-time-use lids, the center should be concave and not pop up. For reusable lids, gently lift by the lid to test the seal.
- Use Garden, Ripe Tomatoes to ensure the best flavor.
- Sterilize Jars Properly to prevent contamination.
- Label and Date each jar for easy identification later. You will forget what is in that jar.
- Eco-Friendly: Reduce waste by reusing lids.
- Cost-Effective: Save money in the long run.
- Reliable Seals: Trusted by home canners for their durability.
Join the FREE Community
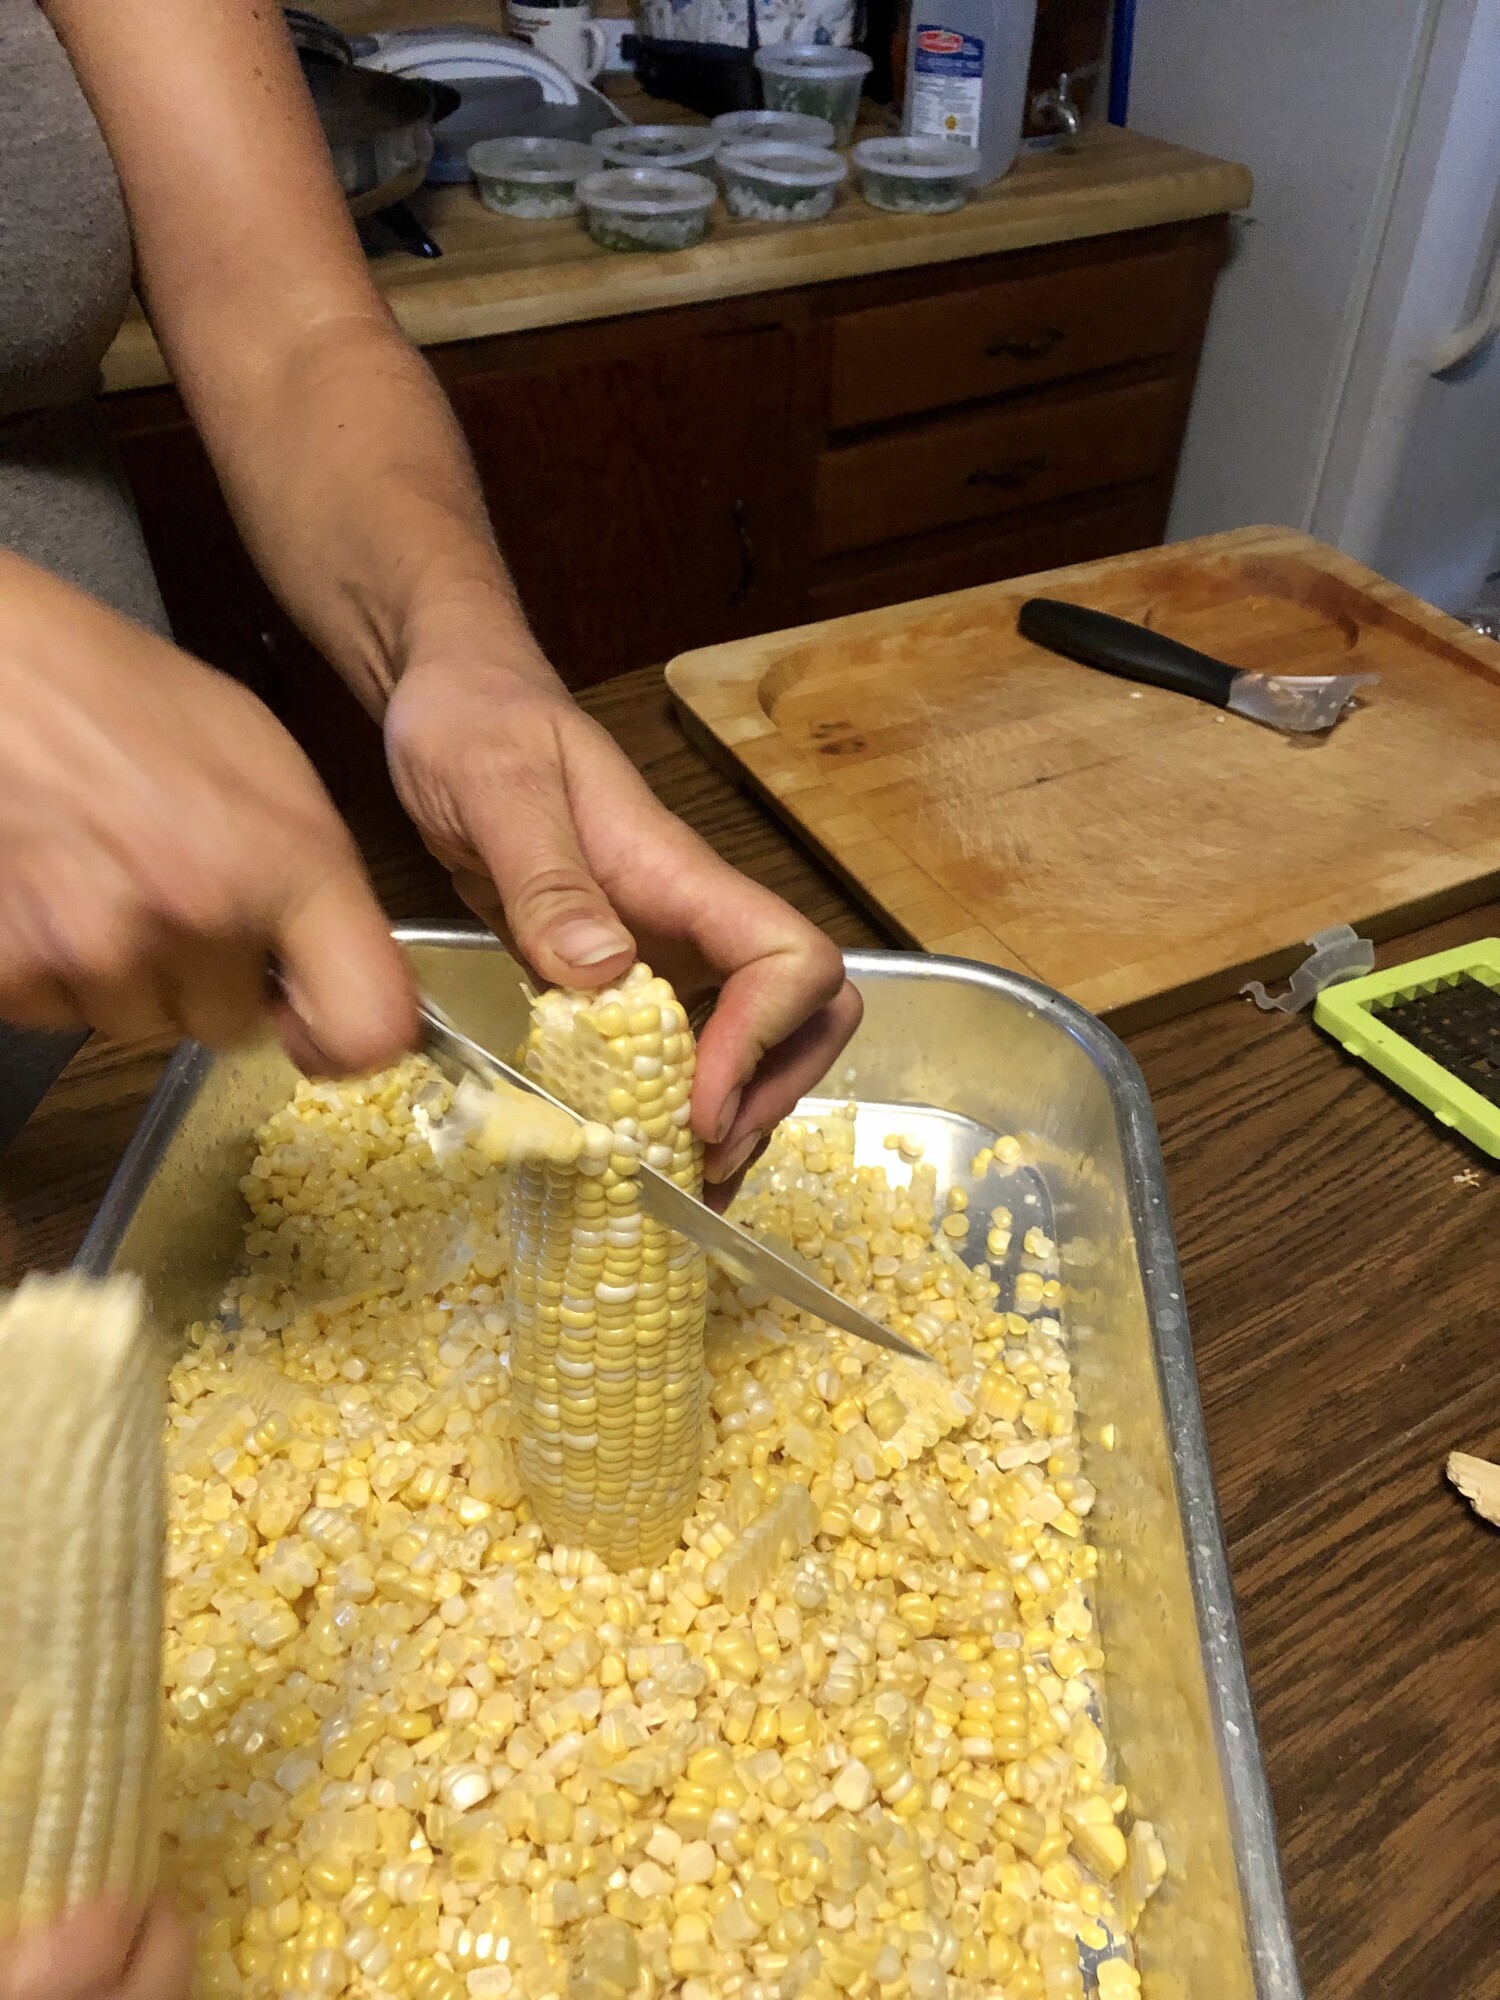
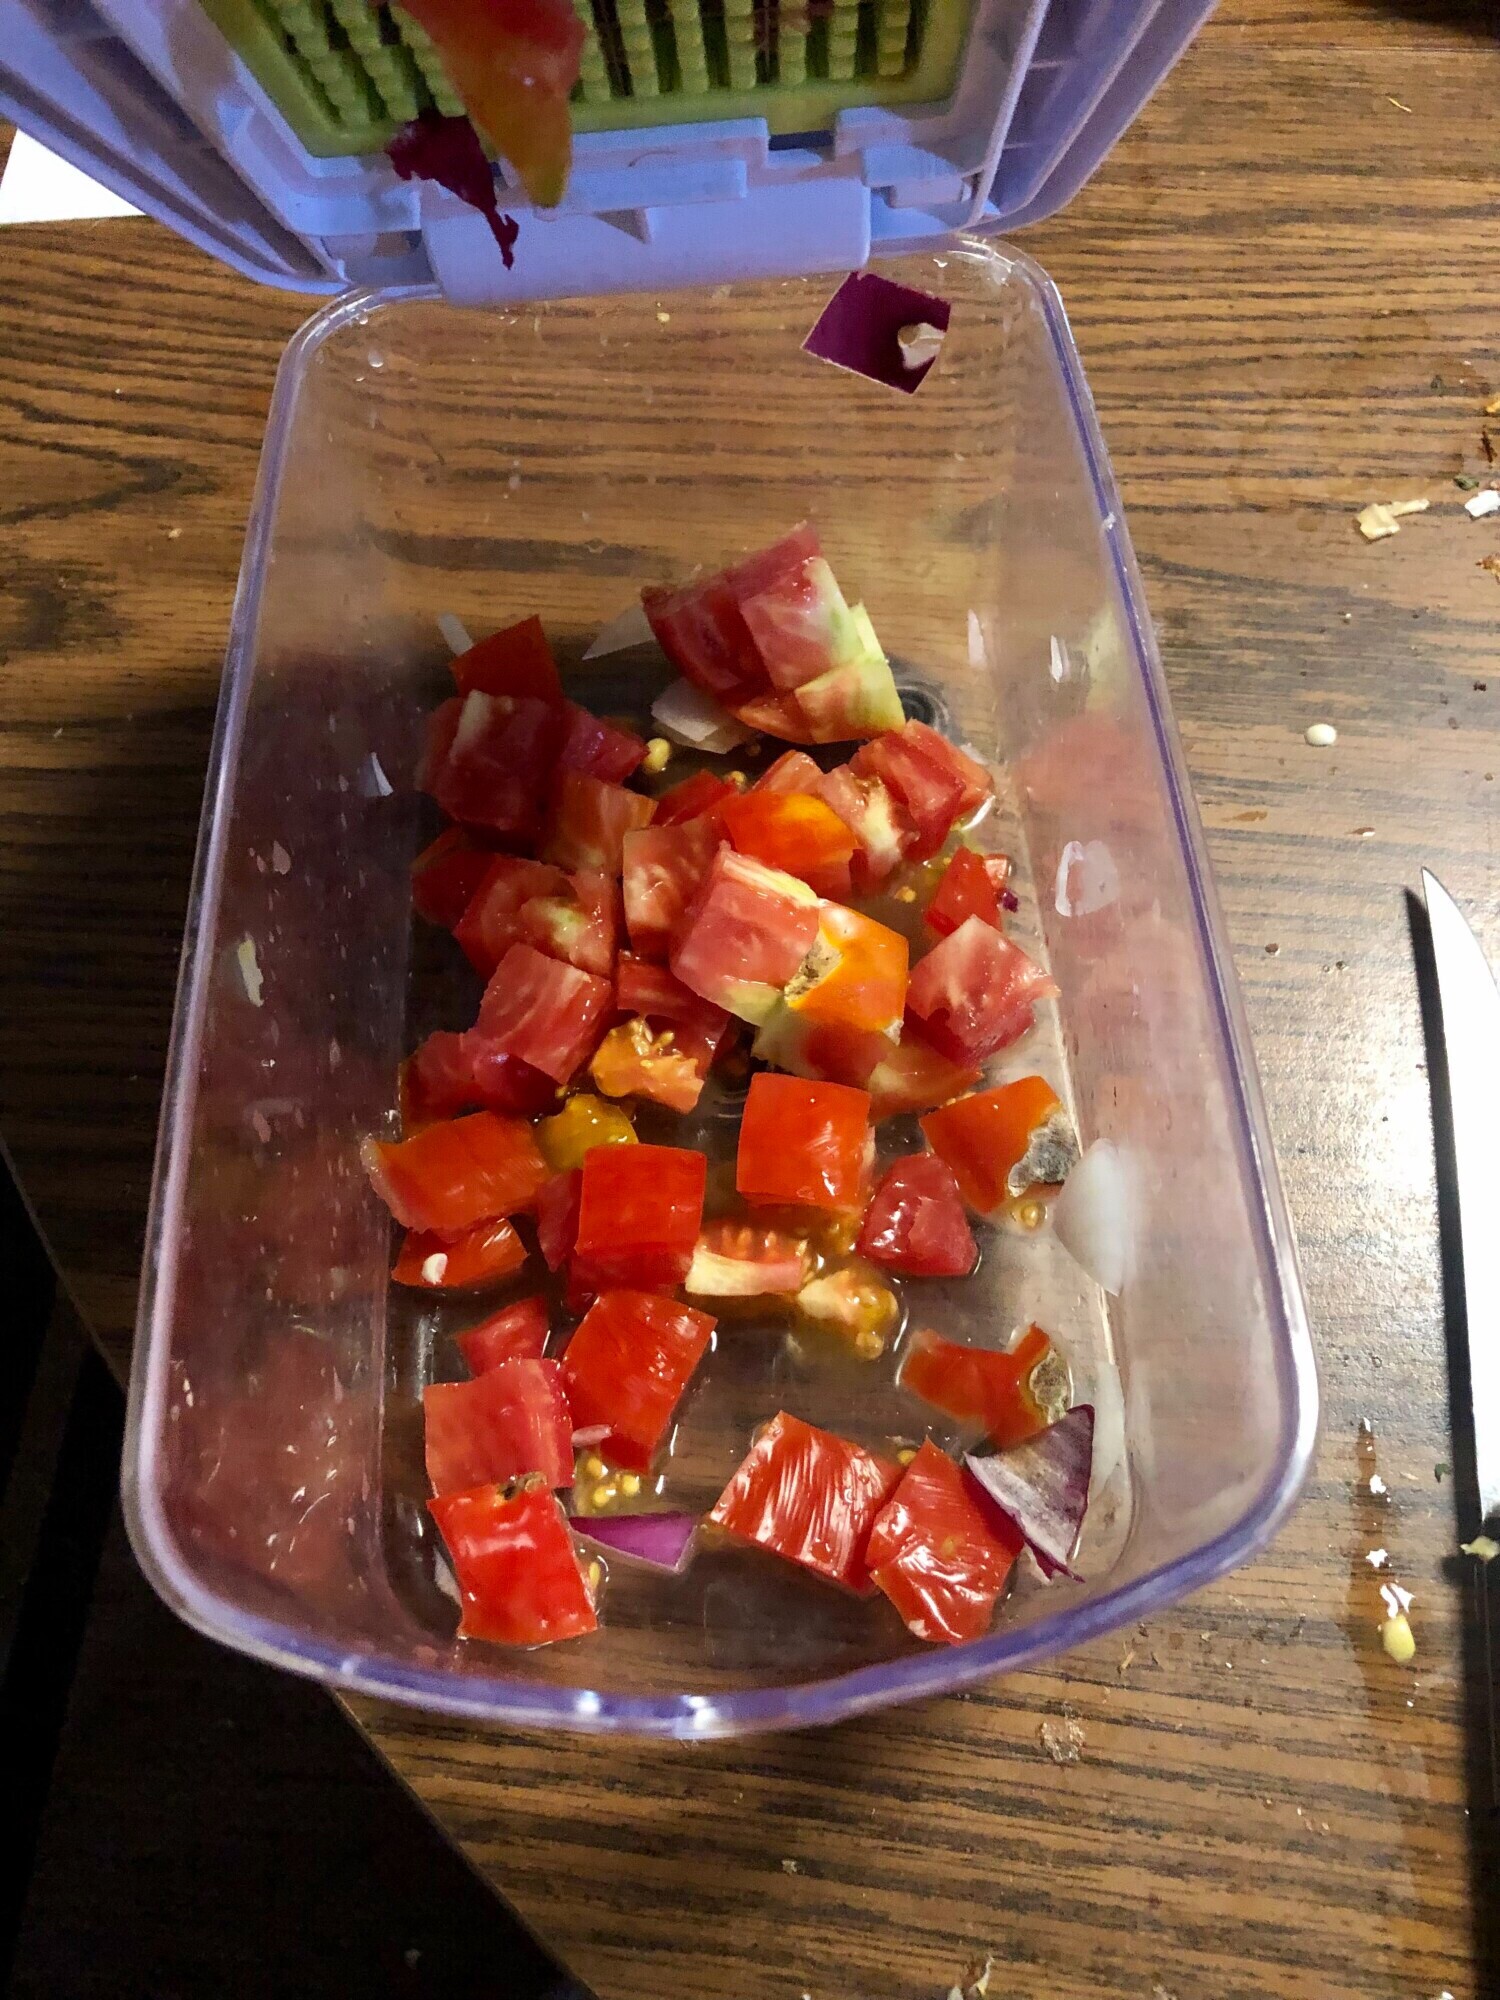
Step 2. Chop 2 pounds (approximately 2 large tomatoes) and add to the stock pot. I like to use this handy dicer I found or a food processor to make the work faster.
Step 5. Bring the stock pot to boil then simmer for 15 minutes.
Wanting a community to lean into? Join the FREE Courageous + Purposeful Mommas group! This community is for the Mommas, mommas to be, in the midst of raising, and kids grown, looking for tips on building your family up and providing for them through natural methods. Tips include: gardening, bulk buying, caning,/preserving, livestock, homesteading, and home remedies. Your family is precious, and this group is to help you gain the knowledge and tools to keep your family well and not reliant on outside professionals. Remedies and tips are easy and simple for the busy momma, time is precious after all, including pregnancy, birth, young kids, and illness. Trust your Momma gut again! This community offers the resources + community you need to help get started on your journey and prepare for whatever future you envision.
Click here to get the stories straight to your email:
For more on wellness tips click here:
For more on homesteading on your budget click here:
For more simple DIY updates click here:

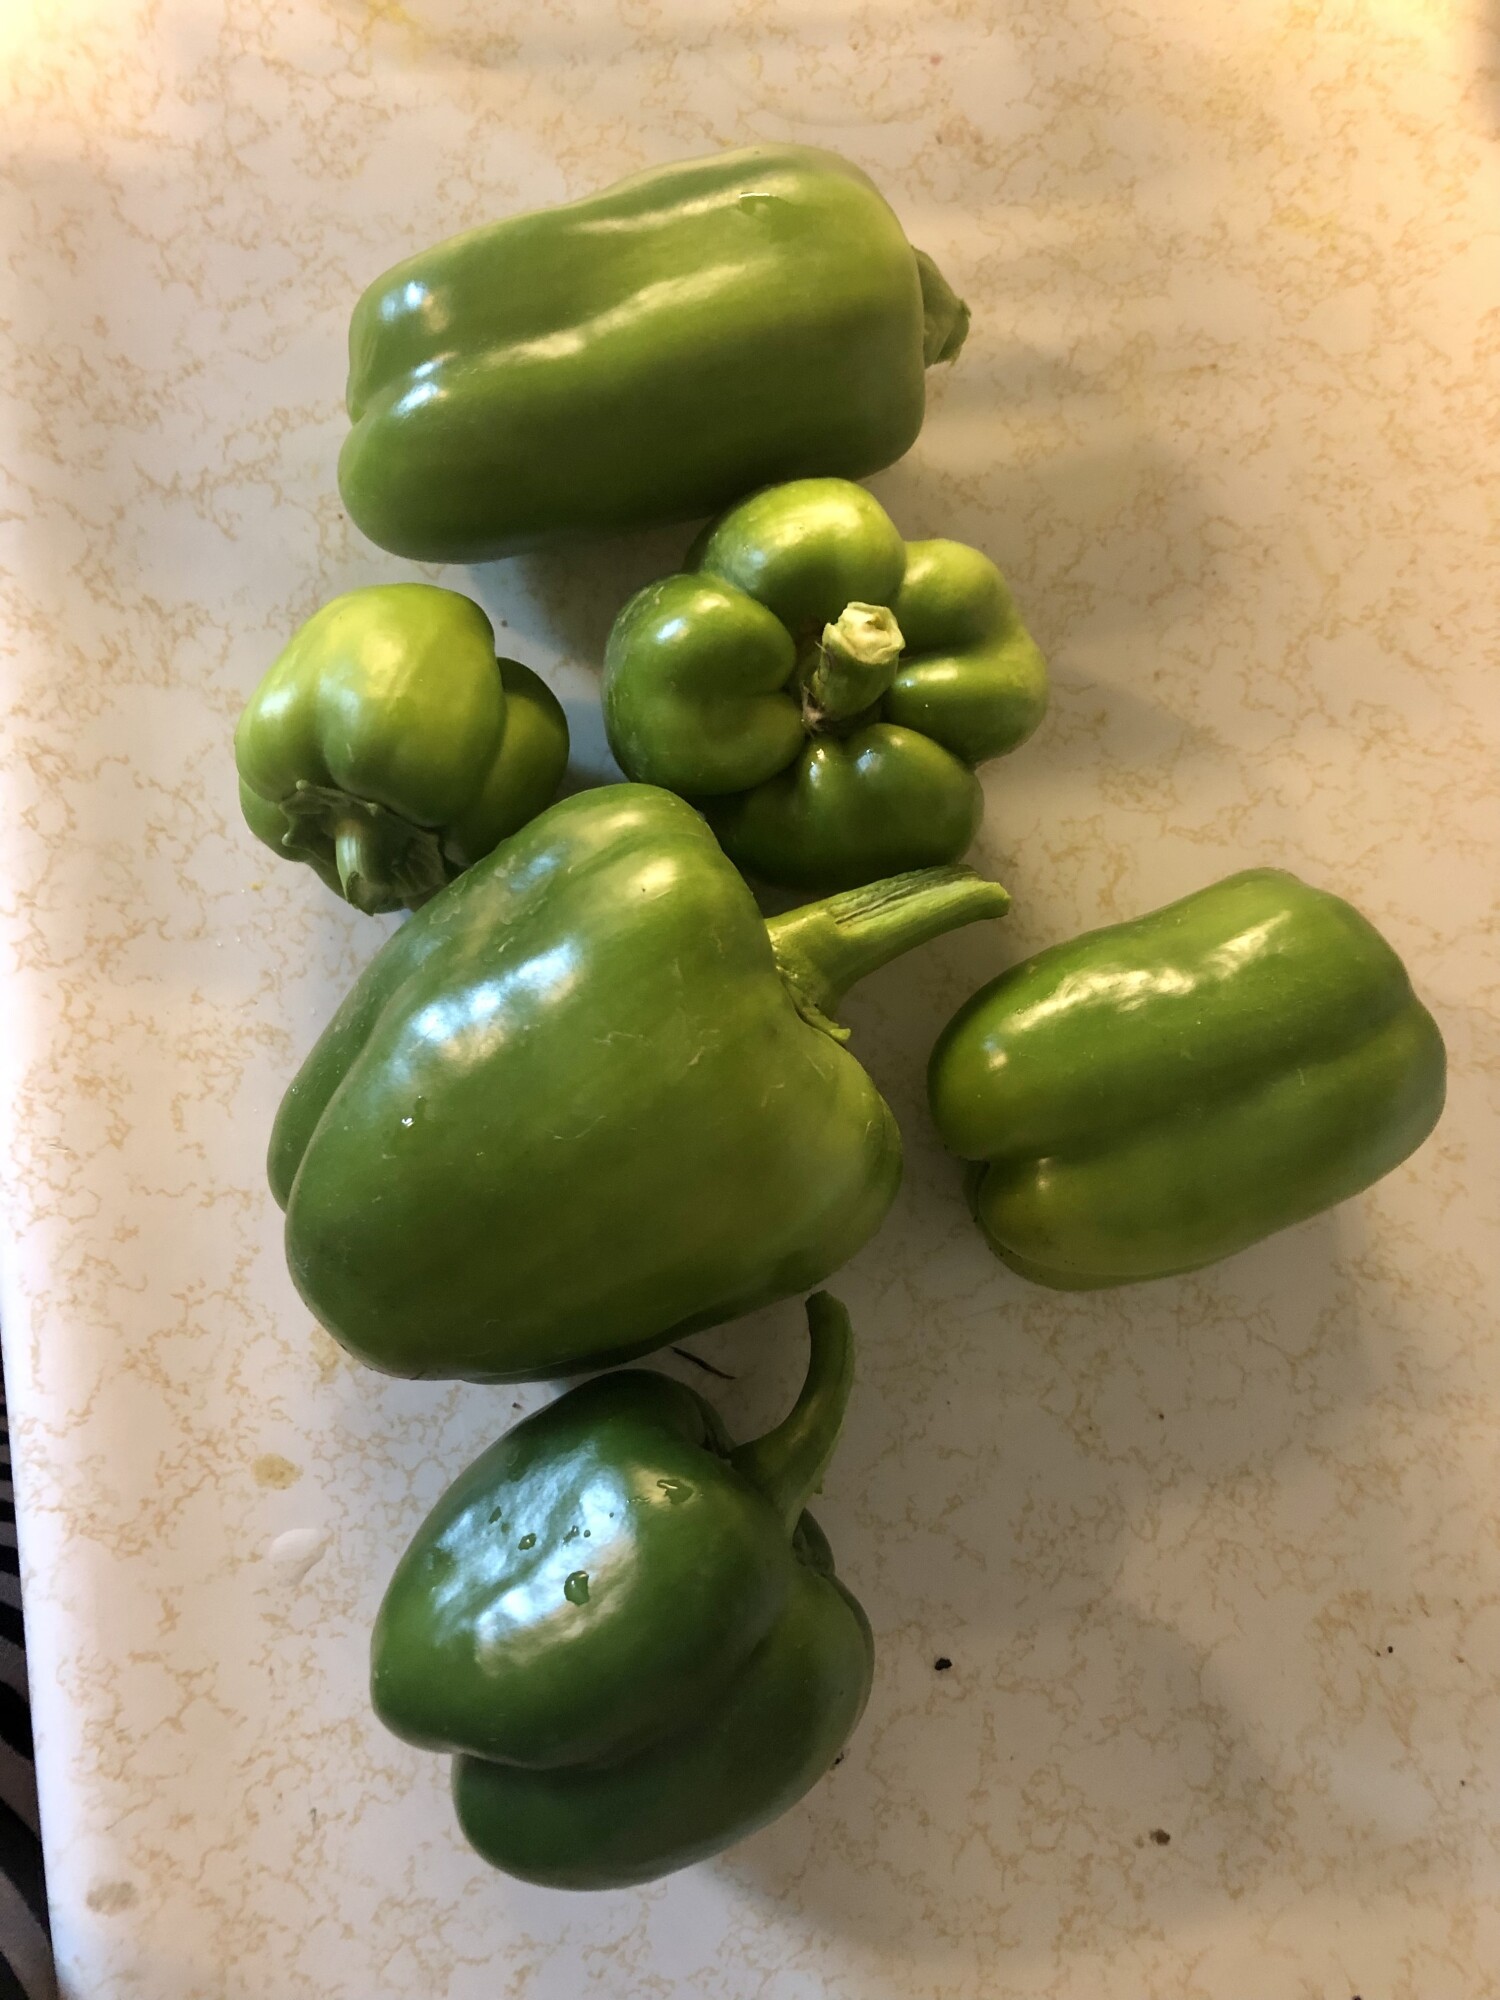
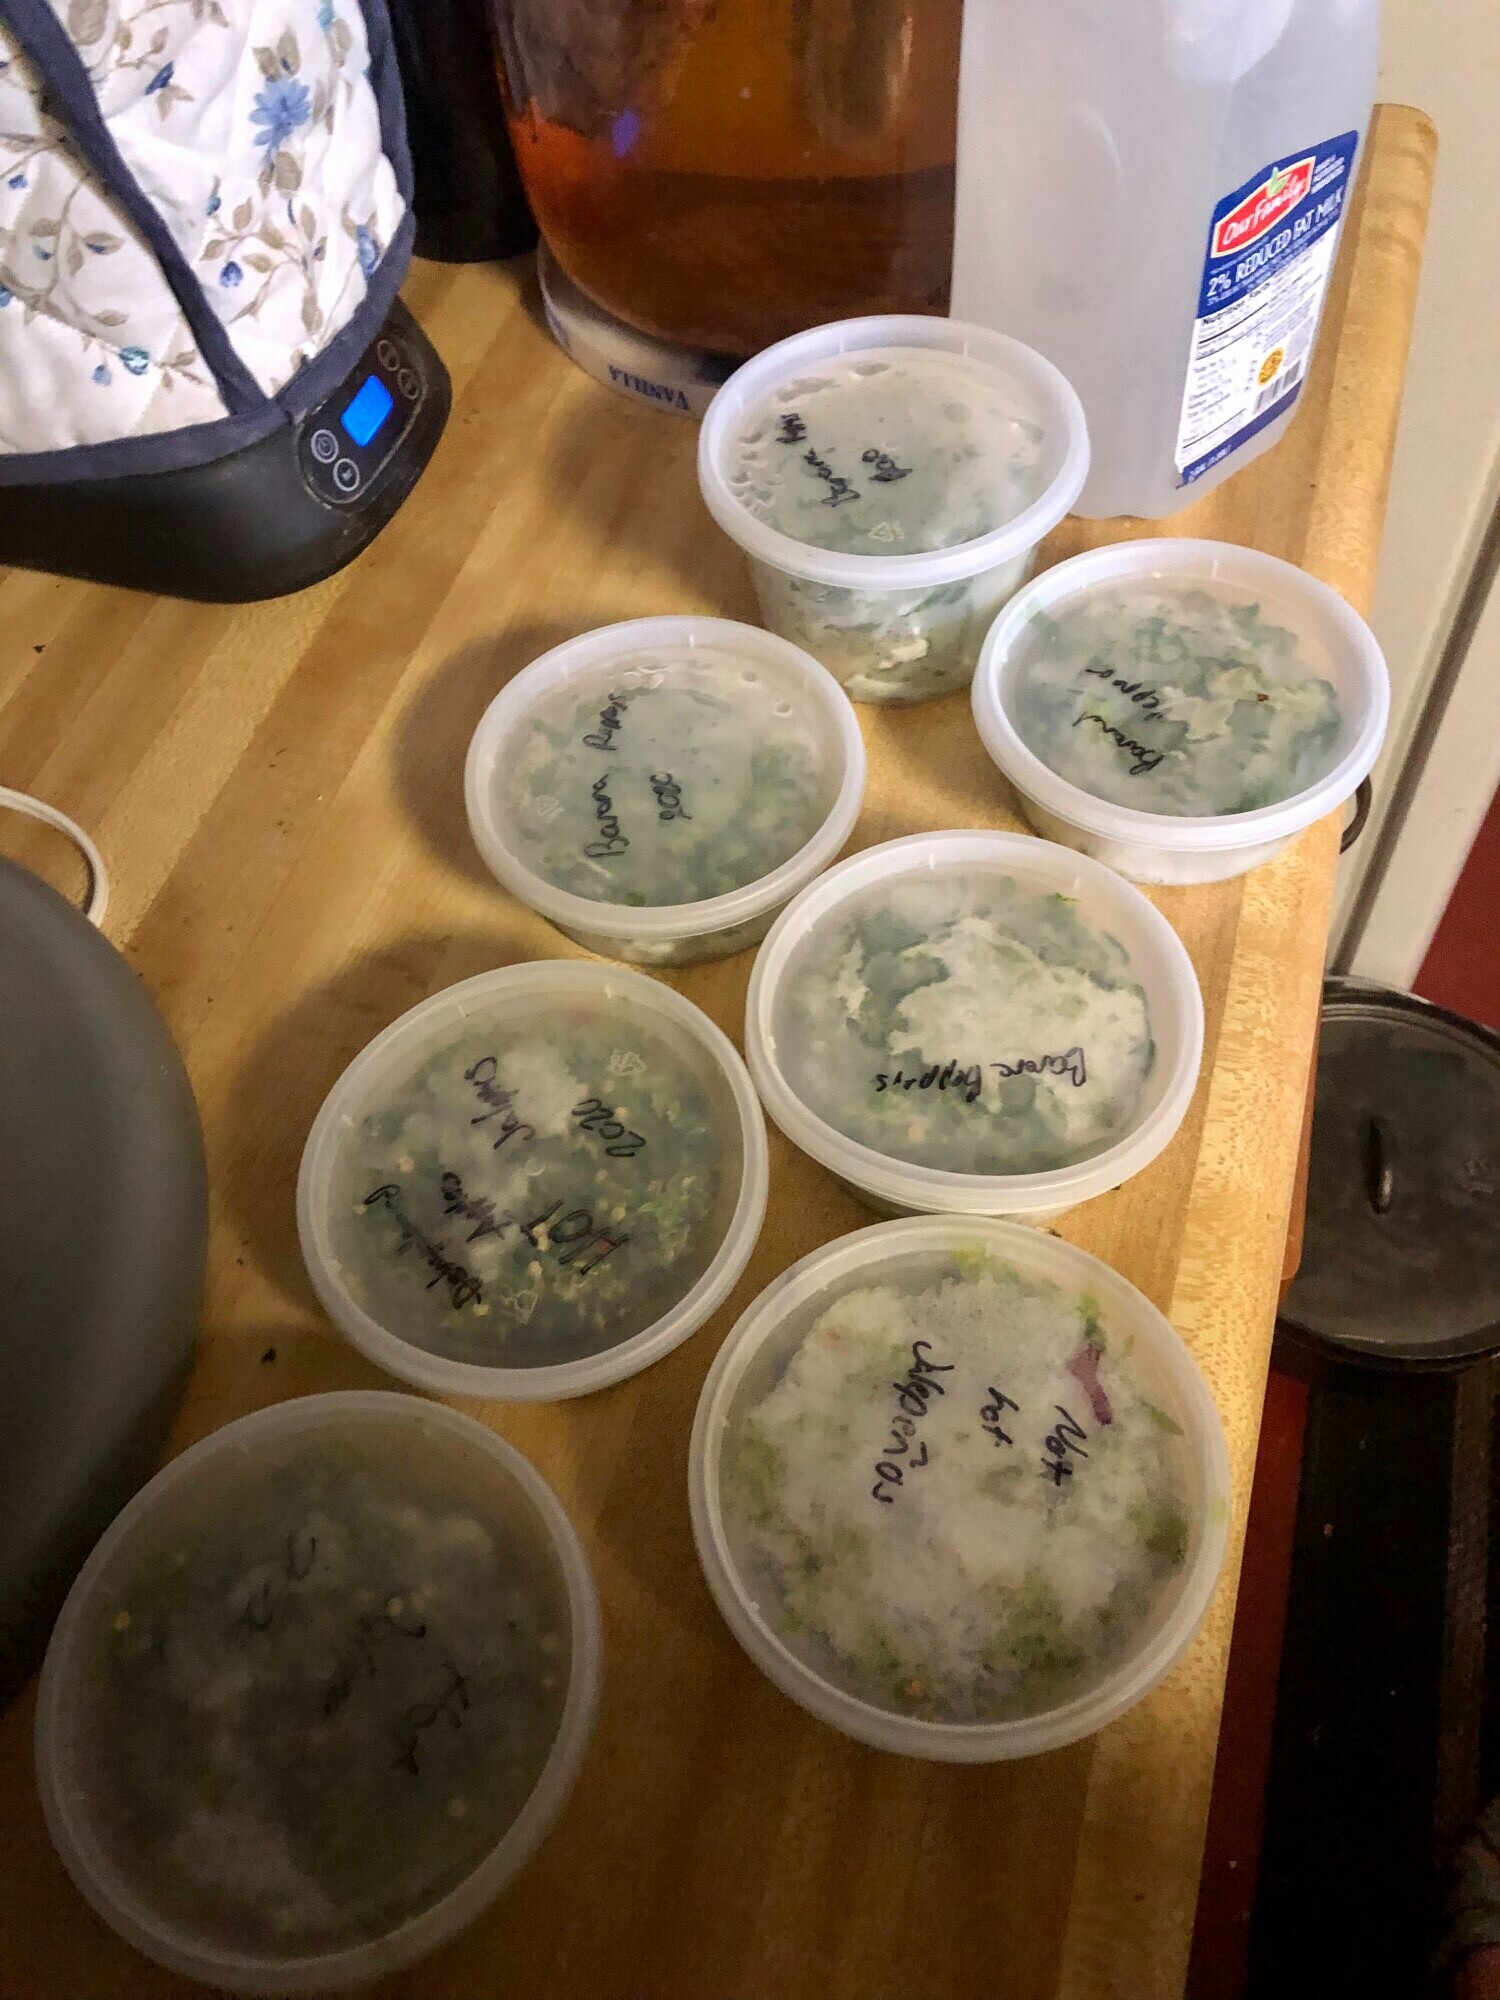
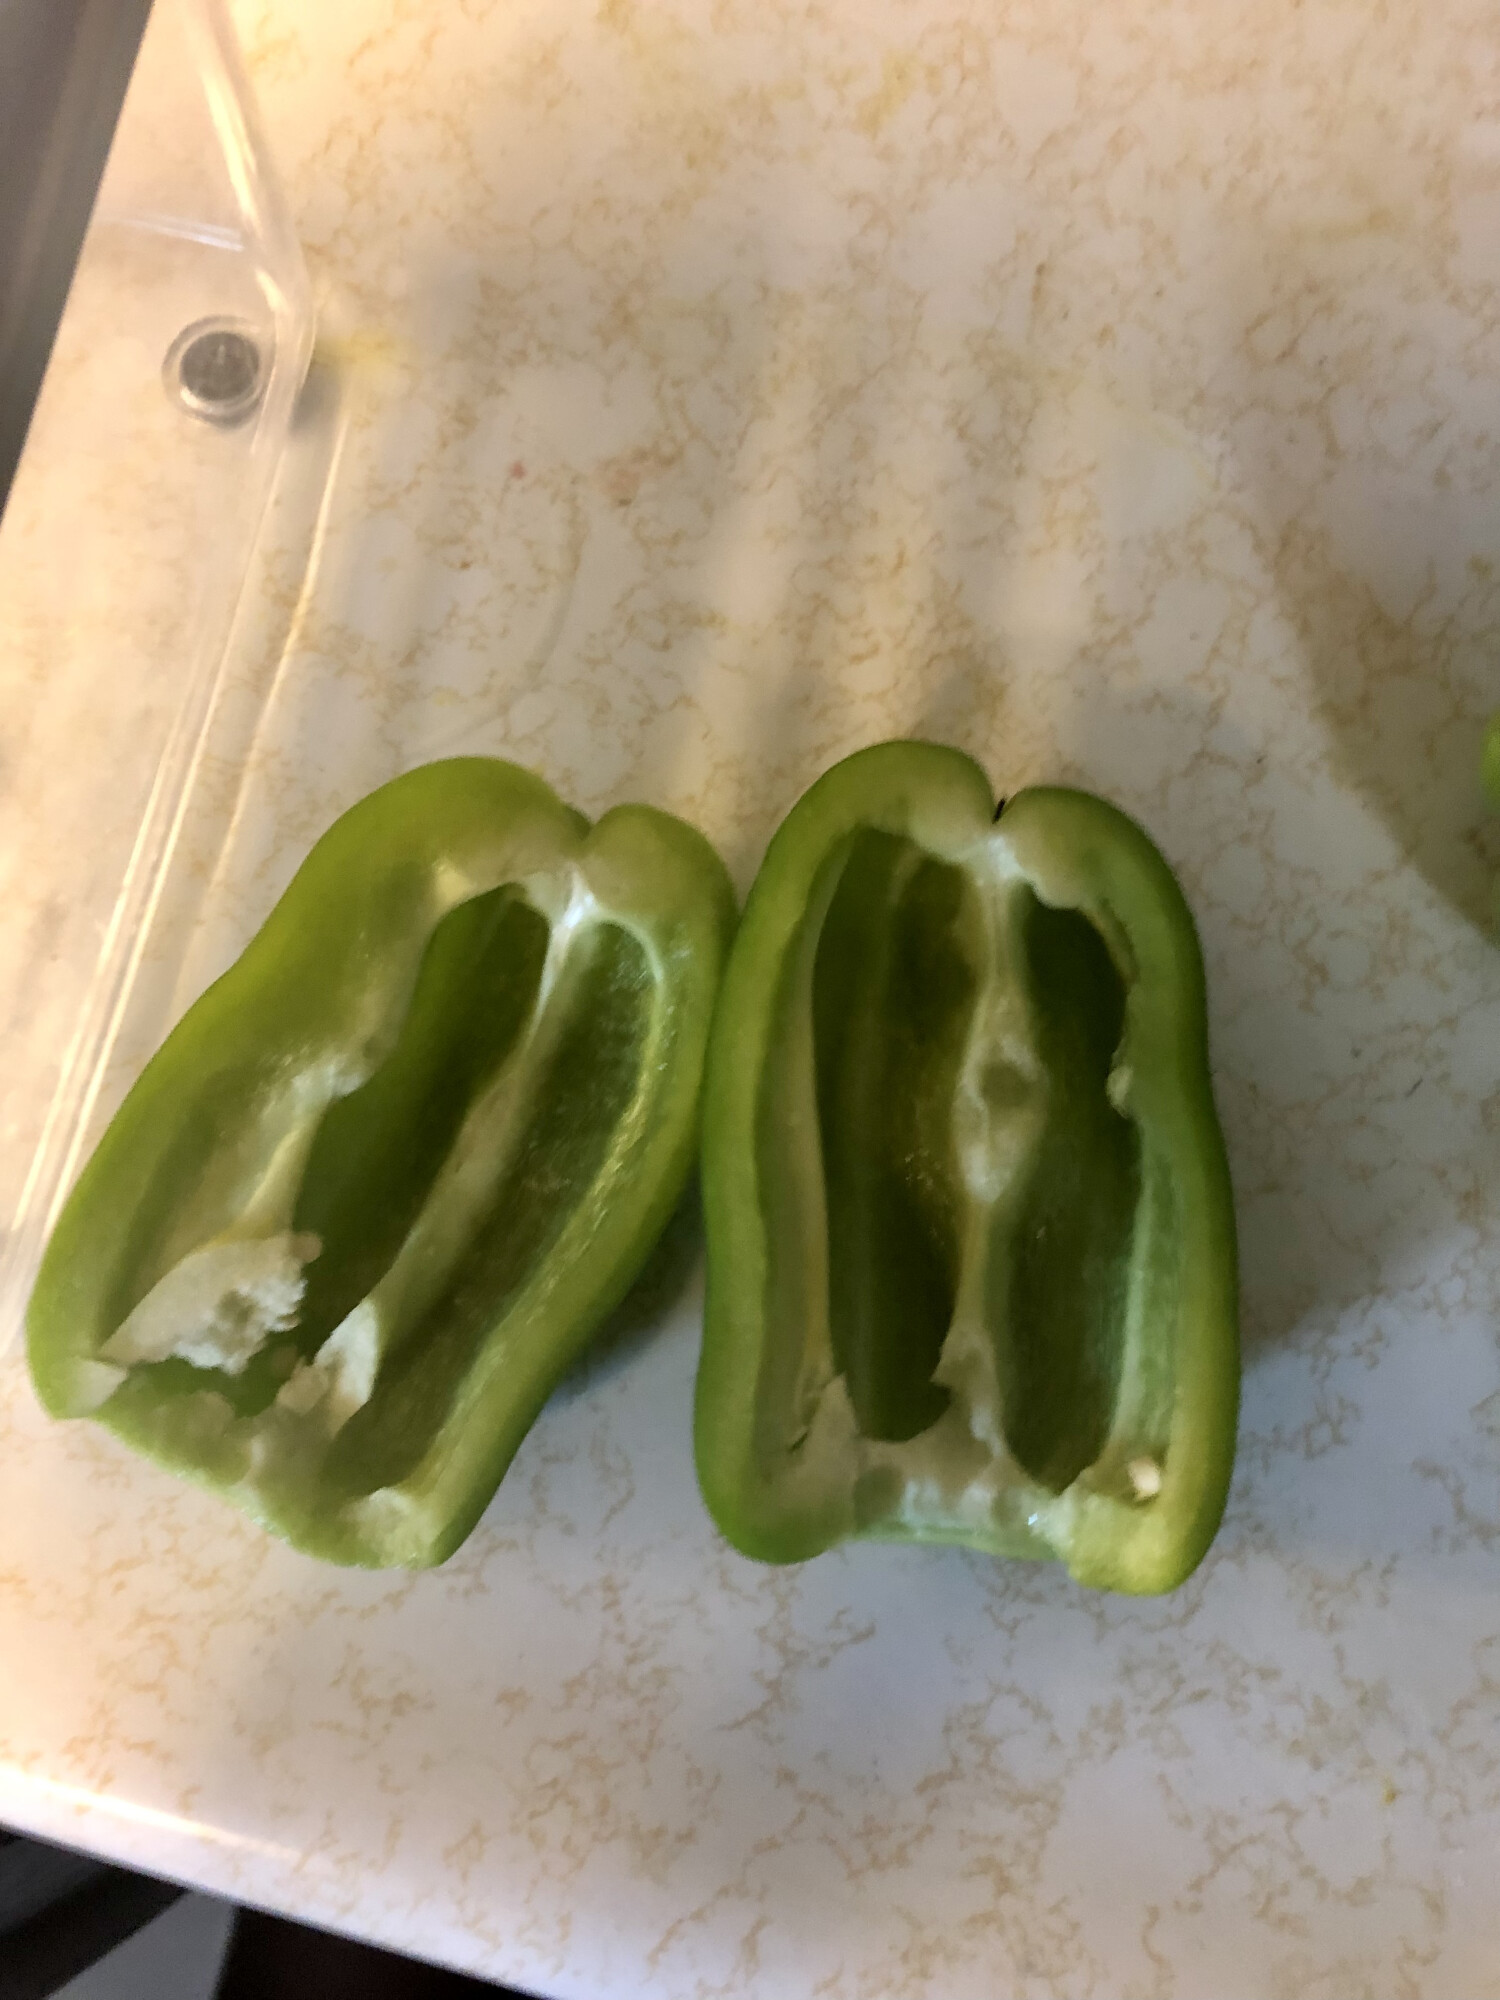
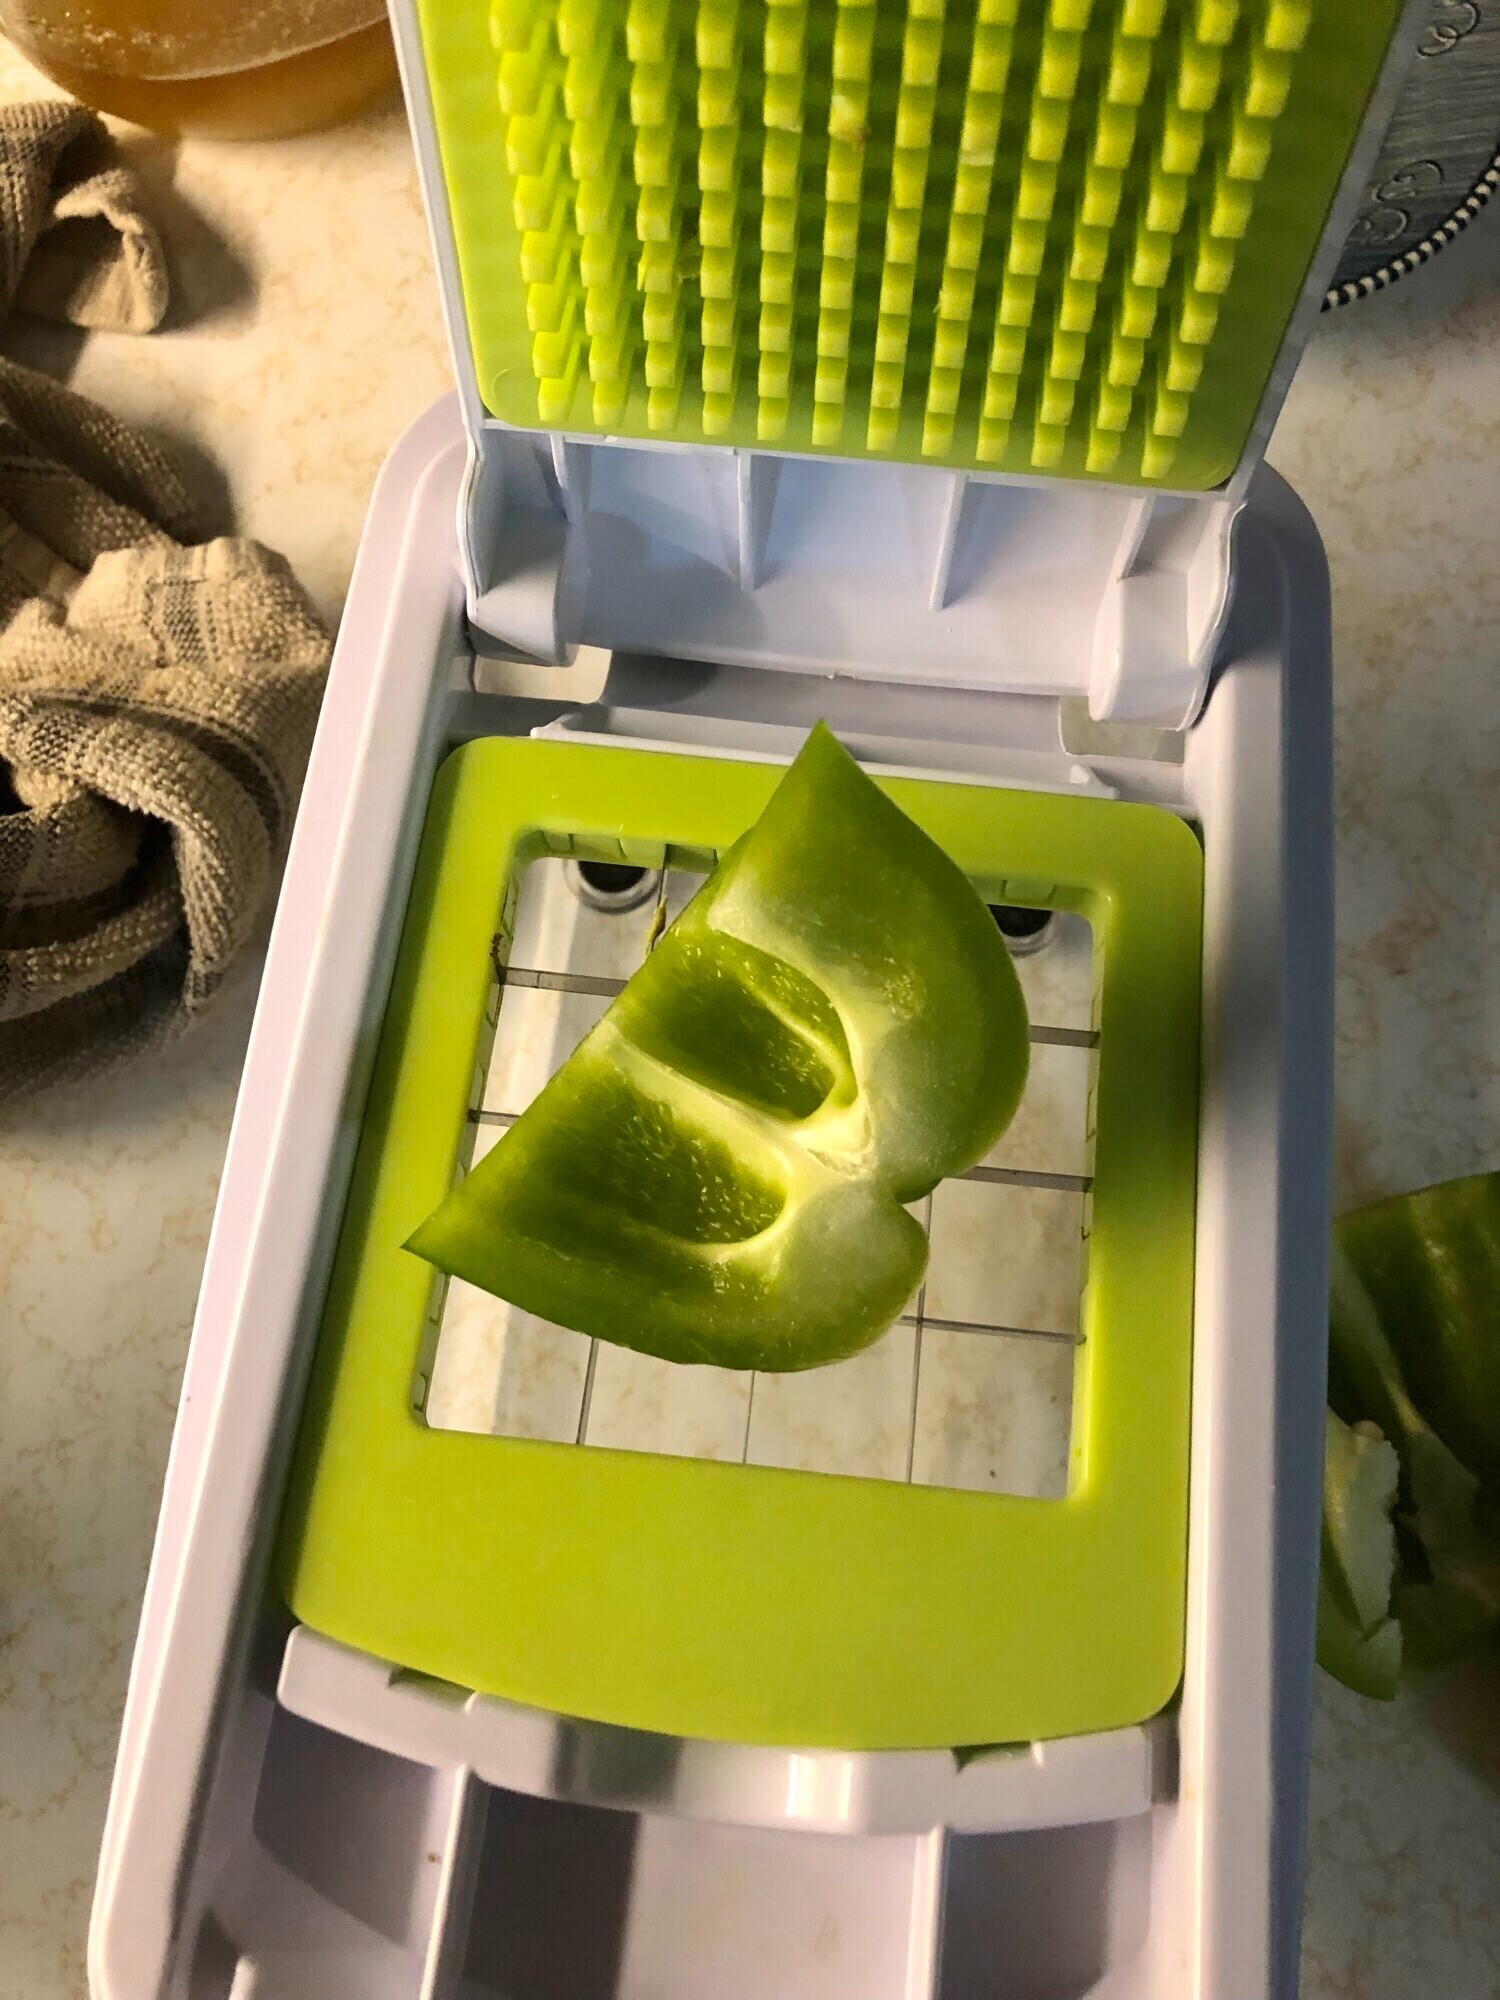
Step 3. Slice the pepper in half and remove the stem, seeds, and any bad spots. For hot peppers I will use for canning recipes later, I leave the seeds and chop them in a food processor.
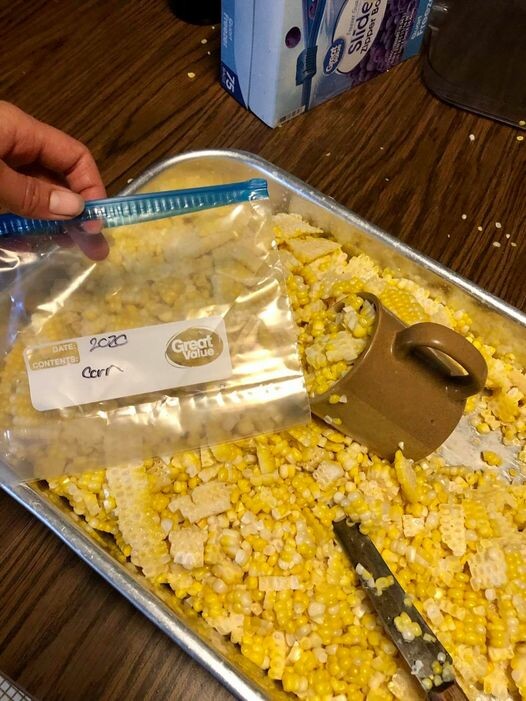
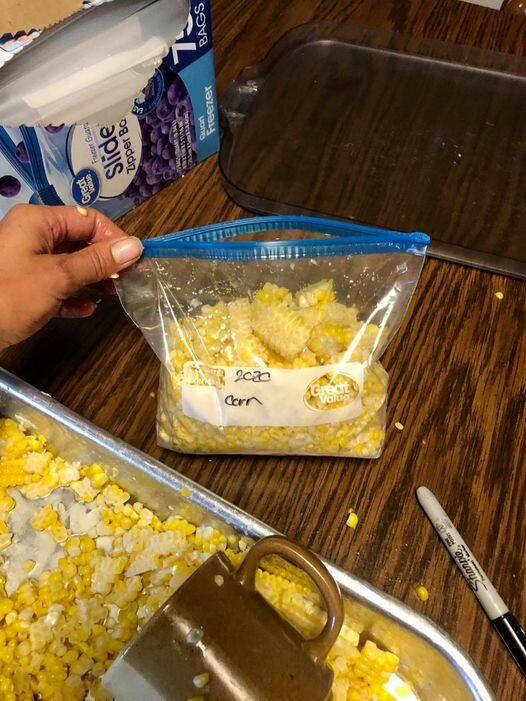
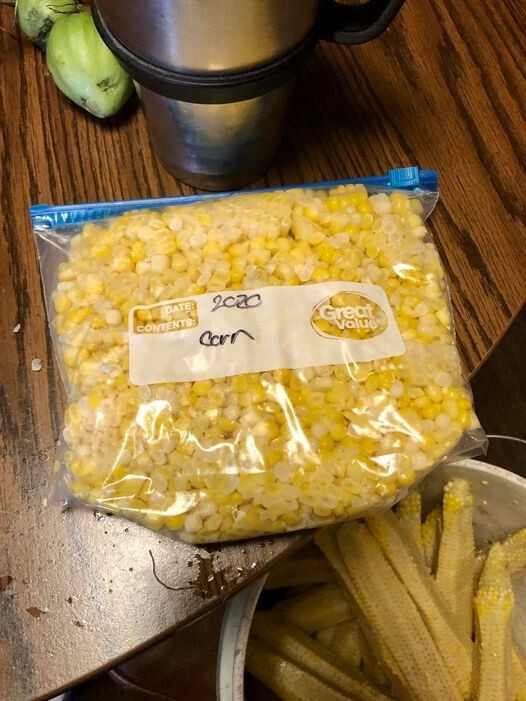
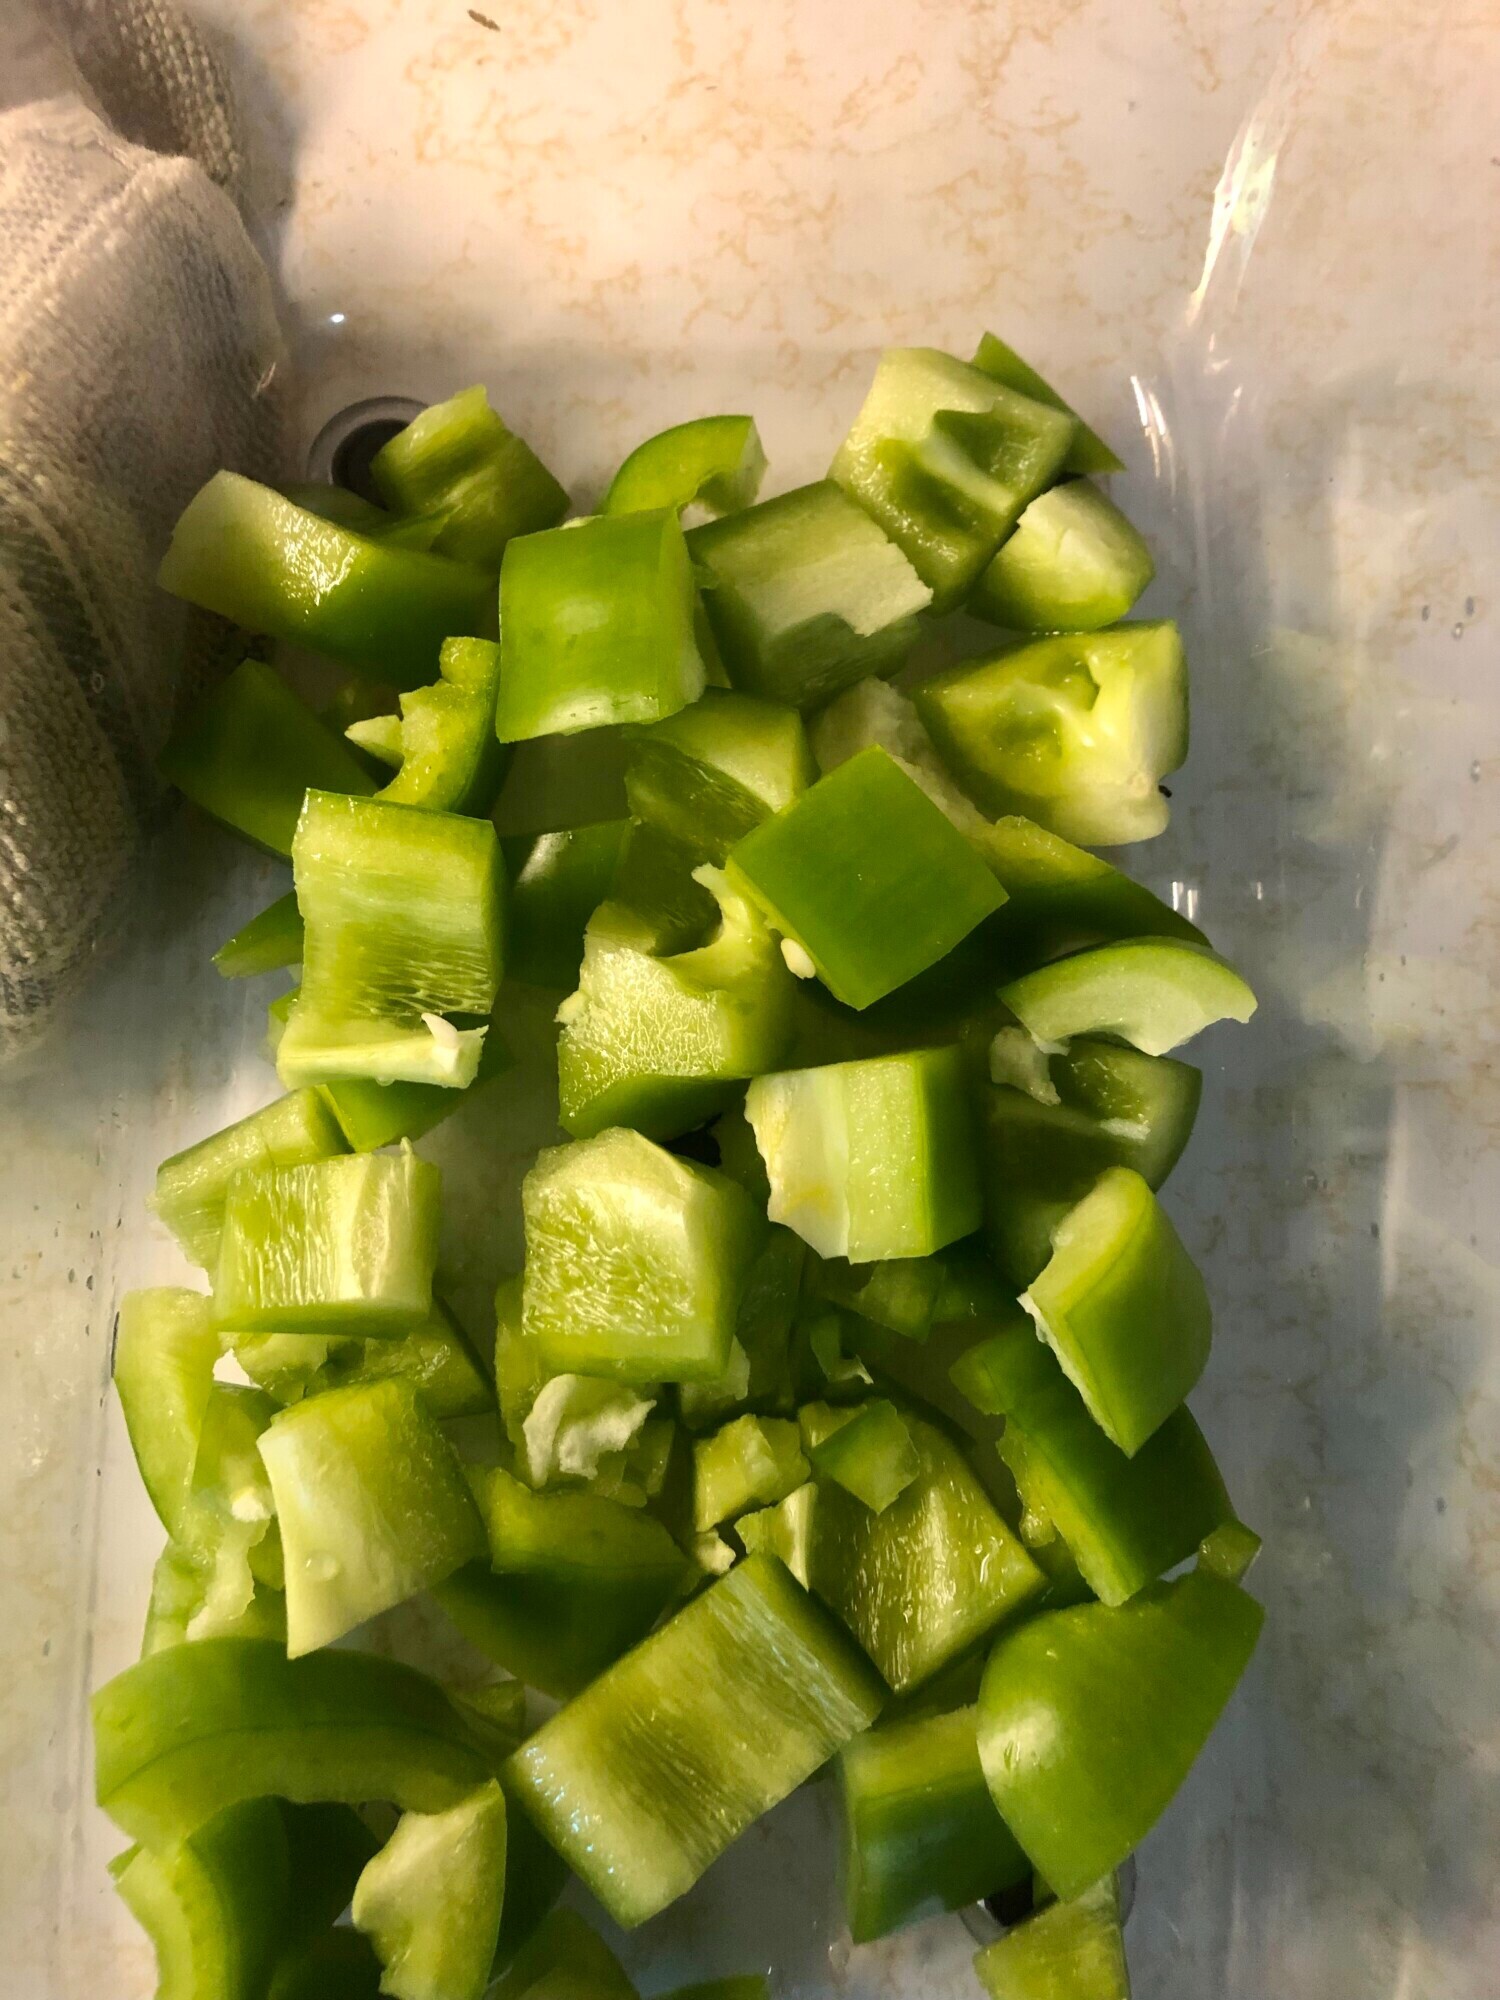
Step 4. Freeze the peppers. Place the peppers in freezer containers filling to the fill line. I used freezer containers last year, and plan to use vacuum bags this year. For the hot peppers, I use containers approximately the size I will need per recipe for simplicity.
Wanting a community to lean into? Join the FREE Courageous + Purposeful Mommas group! This community is for the Mommas, mommas to be, in the midst of raising, and kids grown, looking for tips on building your family up and providing for them through natural methods. Tips include: gardening, bulk buying, caning,/preserving, livestock, homesteading, and home remedies. Your family is precious, and this group is to help you gain the knowledge and tools to keep your family well and not reliant on outside professionals. Remedies and tips are easy and simple for the busy momma, time is precious after all, including pregnancy, birth, young kids, and illness. Trust your Momma gut again! This community offers the resources + community you need to help get started on your journey and prepare for whatever future you envision.
Click here to get the stories straight to your email:
For more on wellness tips click here:
For more on homesteading on your budget click here:
For more simple DIY updates click here: