This post may contain affiliate links, which means that I may receive a commission if you make a purchase using these links, with NO additional cost to you.
Everyone pictures that perfect garden, sunny, vibrant plants, time at ease. Picking the best spot to plant your garden can take some time and consideration. You really don’t want to have to move it later if you find to spot doesn’t work, especially if you have a fence around it. Below I’ll discuses the most important things to consider when picking your garden spot.
The biggest thing to consider is hours of light. Most garden vegetables require at least 8 hours of sunlight. This means planting your garden right under the shade tree may not be the best idea. Can you grow some things there? Yes! Some plants love shade. Some cool season plants can do well on the fringe of the shade tree to help break the heat of the day. Most gardens are in a sunny spot, where little shade reaches.
Another note on sun light to consider. The sun warms the soil temperature. If part of the garden is shaded more than the other, the shaded part will be slightly behind. You can use this to your advantage to either grow cooler season plants there, or extend your harvest, so not all the produce is ready at the same time.
Another consideration is soil type. Different plants prefer different soils. Most of the time a heavy clay is not beneficial to vegetables, and neither is sand. If you have an area that has rich nutritious soil, your garden will do well. Looks can tell you a lot, but the gold standard is a soil test to tell you exactly the mineral levels in your soil.
Shelter can be a good thing for a garden, if it is in the right place. Blocking the wind can keep young tender plants growing. It can also act as an insulator and buffer the slight frost. You don’t want this shelter on the south side though, as it will block most of your sun light. A nice north tree line can server very well.
Water access is huge for gardens. Most vegetable gardens require quite a bit of water, depending on where you live. Having a hydrant close, or easy to run a hose to is critical to keeping your garden watered.
The biggest tip no matter the garden you choose, is to keep it in your line of sight from your house, or wherever you spend a lot of your time. By seeing the garden frequently, it keeps it in the front of your mind, to tend to. Weed, water, and harvest. Gardens placed in the back where there is a lot of room, tend to be forgotten and neglected.
What is the biggest things to consider in planning a garden plot? Amount of sun light, soil type, shelter, water access, and line of sight from the house.
Join the FREE Community
This post may contain affiliate links, which means that I may receive a commission if you make a purchase using these links, with NO additional cost to you.
The biggest mistake I see beginners make when starting their homesteading journey is biting off more than they can chew. Don’t get me wrong, I know how exciting it is and all the things you want to do. But just breath one minute with me.
Start slow. That doesn’t mean only one thing per year, but one or two things at a time. The problem when you start a huge garden, get the chickens, milking goat, sheep, pig, and maybe a calf is you are easily overwhelmed and can get lost. When this happens, you don’t do anything well.
Start with a garden of manageable size, but have space planned to expand. Start with common veggies and herbs your family uses. Plan for growing for your own consumption and some canning. Maybe not a full year’s worth, but a start. Once you feel like you have a good handle on those plants, add more.
Start with one animal. Especially if you don’t have much previous animal experience. Barn cats and a dog is easy and universal care, as far as town vs country care. Chickens/ducks are also fairly easy as far as care and learning goes. Once you feel comfortable with the first animal, then add the next. That can be a couple months after the first animal.
Animals are one that is easy to add multiple per year, depending on the kind and how much self-repopulating you want to do. Birds have a short cycle from birth to reproduction, thus easy to start with. Goats is another popular homesteading animal as they can provide milk, and meat. They do require more care and much better fence. But are easy to add into a homestead.
The biggest take away is don’t get everything right away. Space it out, allowing yourself to adjust to the increase in chores and care. Giving yourself time to learn about each. This will help you to avoid burn out.
Join the FREE Community
This post may contain affiliate links, which means that I may receive a commission if you make a purchase using these links, with NO additional cost to you.
What is a polyculture? It is a term that is becoming more popular in the homesteading circles, but what is it? By definition, a polyculture is “the simultaneous cultivation or exploitation of several crops or kinds of animals.” From Oxford Languages. But what does that really mean?
Polyculture is using plants and or animals that benefit each other and growing them together. In gardening this is often called companion planting. The idea is to create a synergy where everything benefits each other and improve the soil/environment. After a polyculture is established, they should be self-sustaining.
In an orchard, that can be planting smaller plants around the trees to naturally deter pests and attract pollinators. You can also use animals to graze or fertilize the area. Using a polyculture system, you can improve plant health and eliminate pesticide use.
At my home I am in cooperating this concept more and more. My new orchard area is starting as polyculture with plants around the base that attract the pollinators but deter the pests. You also want to make sure the plants are not competing for nutrients but benefiting each other. So having plants that fix nutrients, like nitrogen, that the trees need to produce fruit.
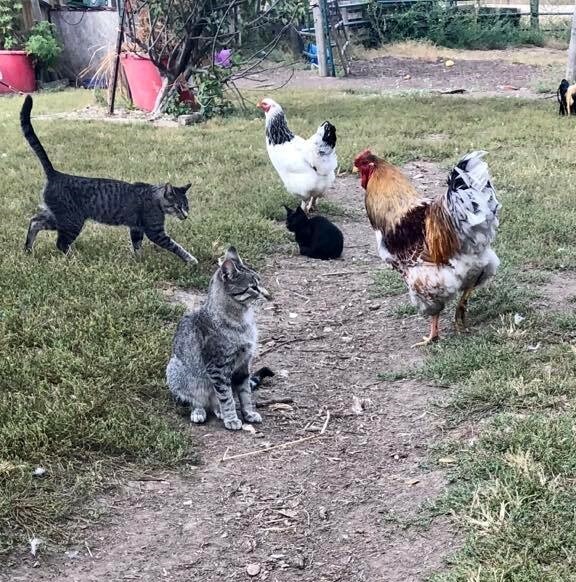
I also allow my chickens, ducks, and geese free range. This does make starting small plants challenging and require extra protection, but they are excellent at consuming the bugs and slugs that harm the plants. They also fertilize at the same time!
Developing a polyculture is not a one-year venture, especially if you are looking at trees. You must have a long-term vision and be willing to work with the area for a couple years before it is ready to self-sustain. After the polyculture is established, you have a very productive garden, with minimal work required.
Join the FREE Community
This post may contain affiliate links, which means that I may receive a commission if you make a purchase using these links, with NO additional cost to you.
My first garden looked vastly different from what it looks like today. It was 2014, we were going between Lincoln for school and our acreage, had the worst of the overgrowth taken care of and a lot of landscaping done the year before. Our garden main is in the foundation of an old house. The previous owner never had luck growing much in there, so they had rocked it. Then it grew up in shrub trees after he died.
My husband took the tractor and pulled out the big trees from the garden area, then buried the rocks. We then scrapped some dirt up from the old feedlot area at the farm. Because of the rabbit population, we also had to put a fence around it but didn’t get installed until 2015. We argued over the size. I wanted a larger fire pit area; he wanted a larger area for the garden. I didn’t plant anything that year, he did. He wanted sweet corn, and I was going between Lincoln and home for school all summer, he was home all summer.
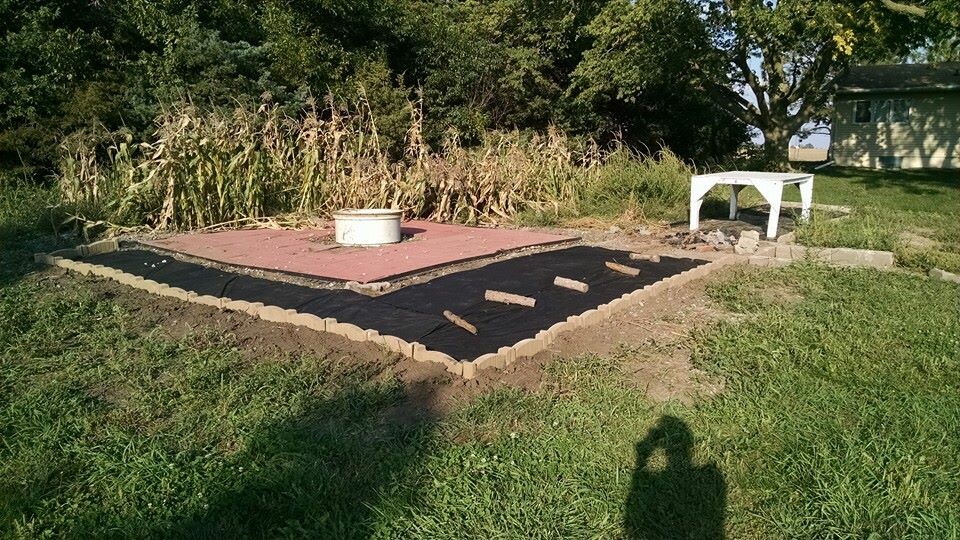
The summer of 2015, I was home and working full time 40 minutes away. I spent a lot of the spring raking the rock to the side or removing it. That year I bought plants and grew a few tomatoes, peppers and cucumber plants that took over. Not impressive looking at all, but hey it was a start and something fun. That fall we fertilized heavy by cleaning out the barn at my in-laws (a lot of horse poop).
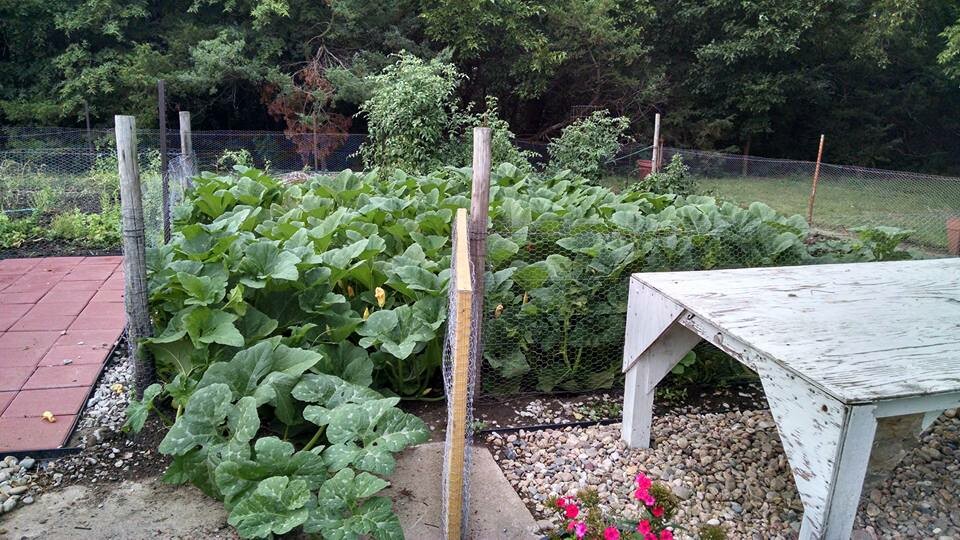
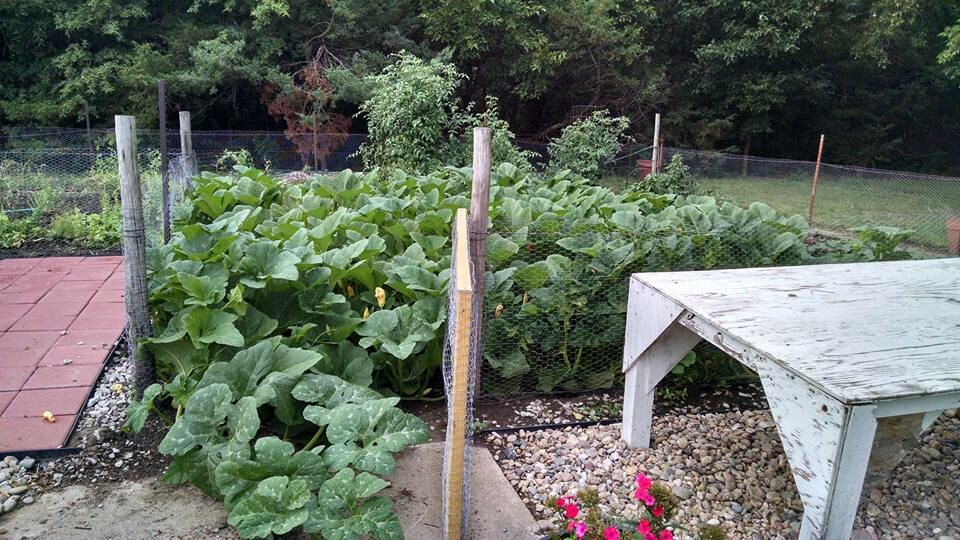
Every year since, the garden has gotten bigger, more diverse, and more productive. I’ve learned and grown in the process. The fire pit has now moved, and the garden has expanded past the main garden to raised beds around the pond and new fire pit area.
The point is I started simple, with very little, and grew from there. If you try to do it all the at once, you will become overwhelmed and stop. Start small, but start somewhere!
Join the FREE Community
This post may contain affiliate links, which means that I may receive a commission if you make a purchase using these links, with NO additional cost to you.
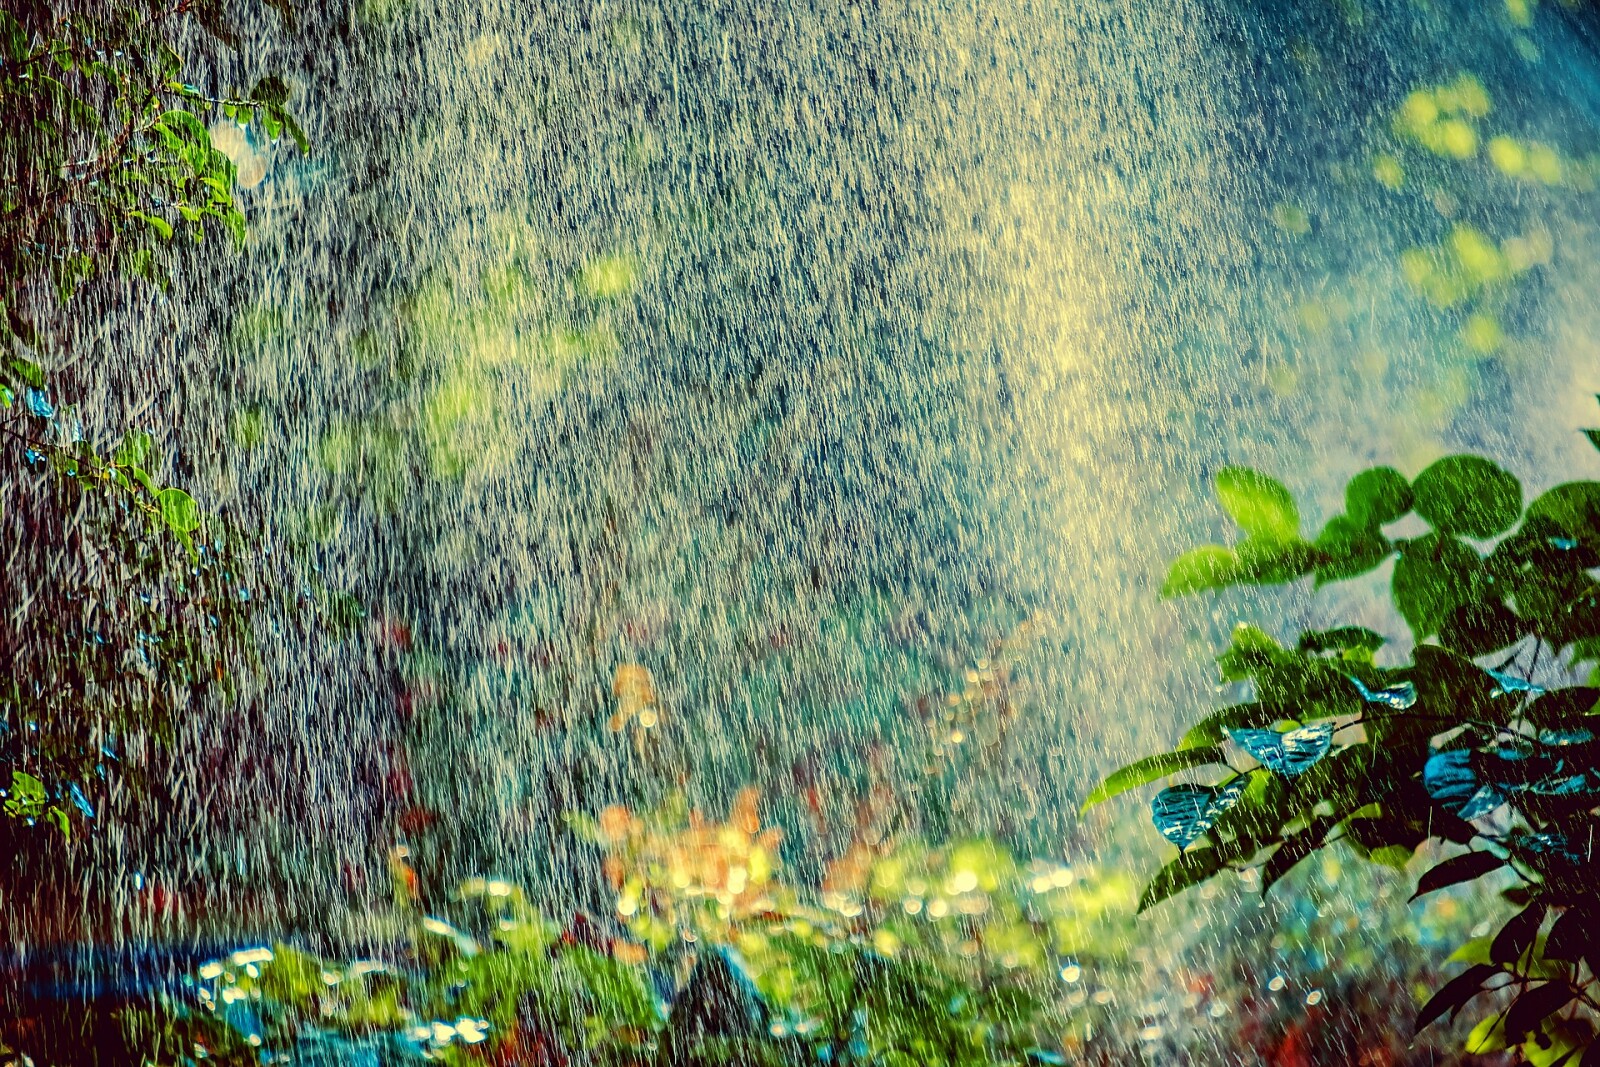
Pretty much every garden will need water at some point. Depending on where you live, how much and how often you will need to water it. As with planting a garden, there are also different watering systems. Each with its own pros and cons. Below I’ll outline the overall common systems. You will have to determine what is best for your garden. At the end you will find what I use.
By far the most common system is the simple sprinkler. Attach a hose and broadcast the water by a sprinkler over an entire area. The advantage of this system is it is simple and cheap to install. Buy the hose and a sprinkler and you can move it wherever you need. The disadvantage is that if you have very dry air, or must pay for your water, this system can use a lot of extra water. You can also have issues with to much moisture and possible mold on plant leaves if you water at the wrong time.
Another popular option is the soaker hose. The advantage of this is the hose is usually inexpensive and keeps the water low to the ground. This means you loose less to evaporation right away. You also keep the water off the leaves eliminating the mold issue. The downside is if you have a large area to cover, it requires a lot of hose.
An increasingly popular system is the drip line. Within this there are several different types, I am only going to discuss the overall. The advantage of the drip line is you can get the water exactly where you need it without wasting any (also not watering unwanted grass or weeds). The disadvantage of this is it can be costly to set up. It also does not move easily to another area.
As you might have guessed, I use a combination! In the main garden area, I use the big sprinkler to cover the large area. To get around the mold issue, I stop watering by noon, so the leaves have time to dry before dusk. In my flower beds away from the main garden, I use soaker hoses. These I leave out year-round and chance the mice eating them. In the new orchard area, we installed a drip line due to the large spread-out area. At the same time, I didn’t want the existing weeds and grass a chance to get extra water and grow. This drip line we have to drain before winter, so it doesn’t crack.
Join the FREE Community
This post may contain affiliate links, which means that I may receive a commission if you make a purchase using these links, with NO additional cost to you.
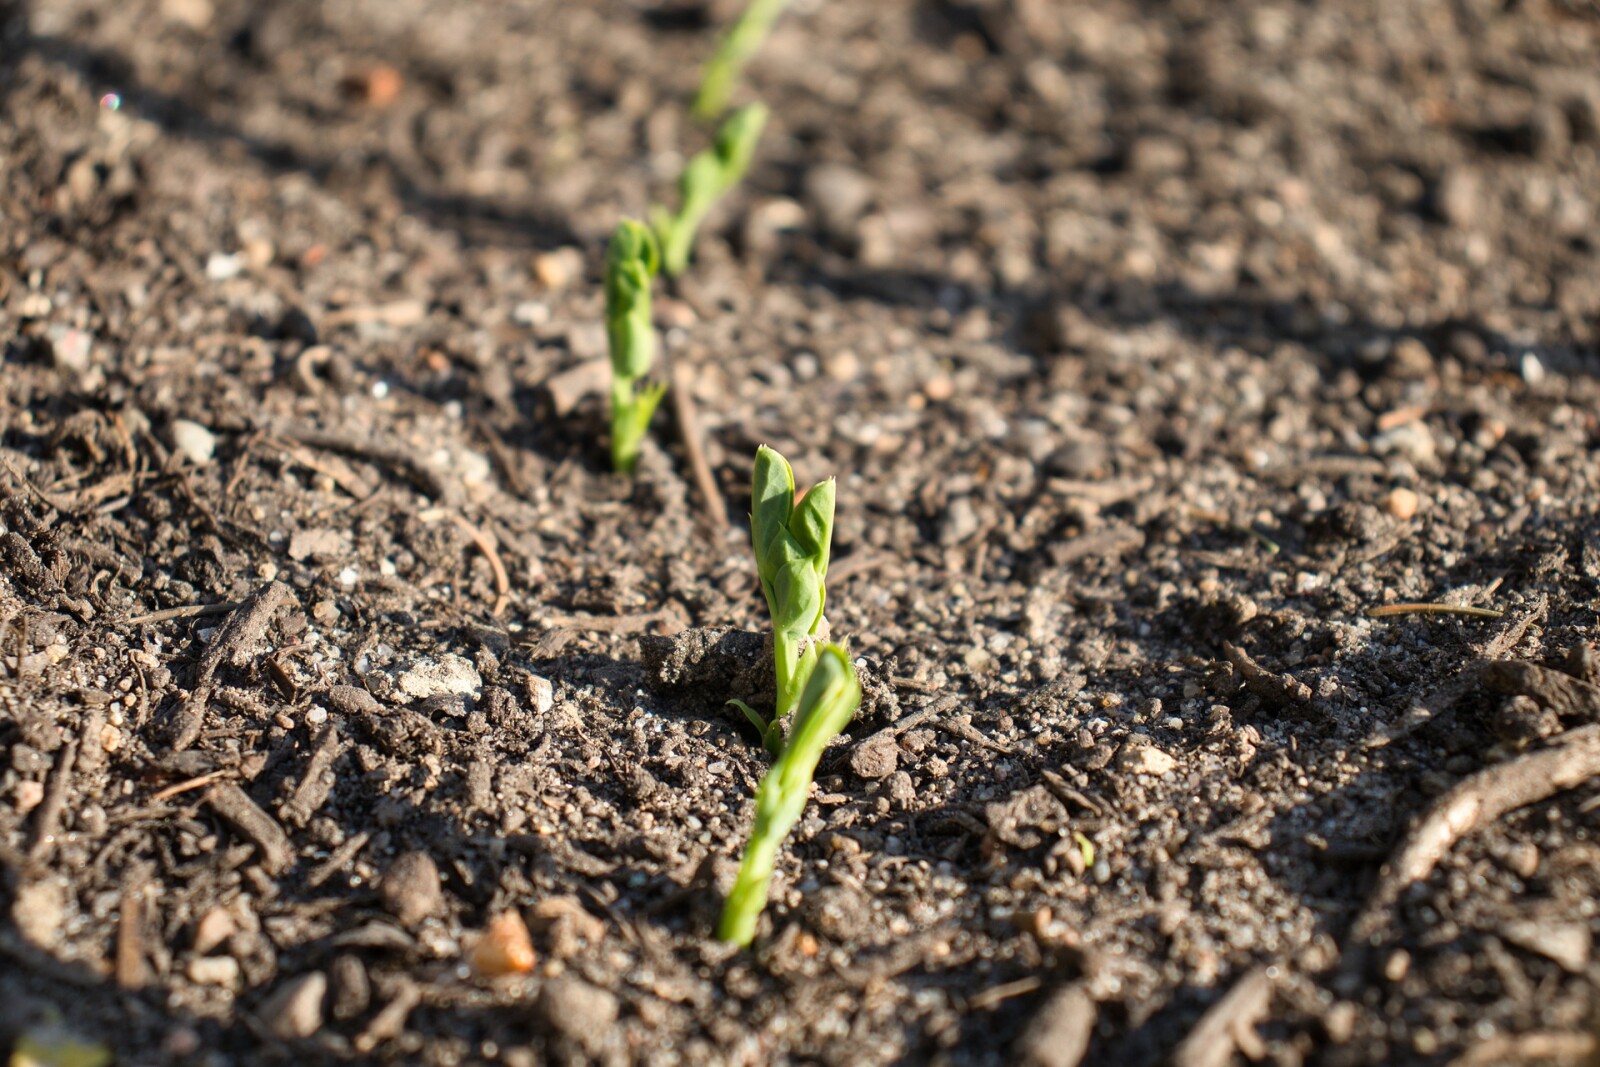
As with anything that hangs around long enough, there has become many different types of gardens for growing your food. Each type comes with its own set of benefits and a few cons. Deciding which type is right for you is up to you. No one system is perfect for everyone no matter what the creators say. I’ll outline the primary ones in the spotlight now.
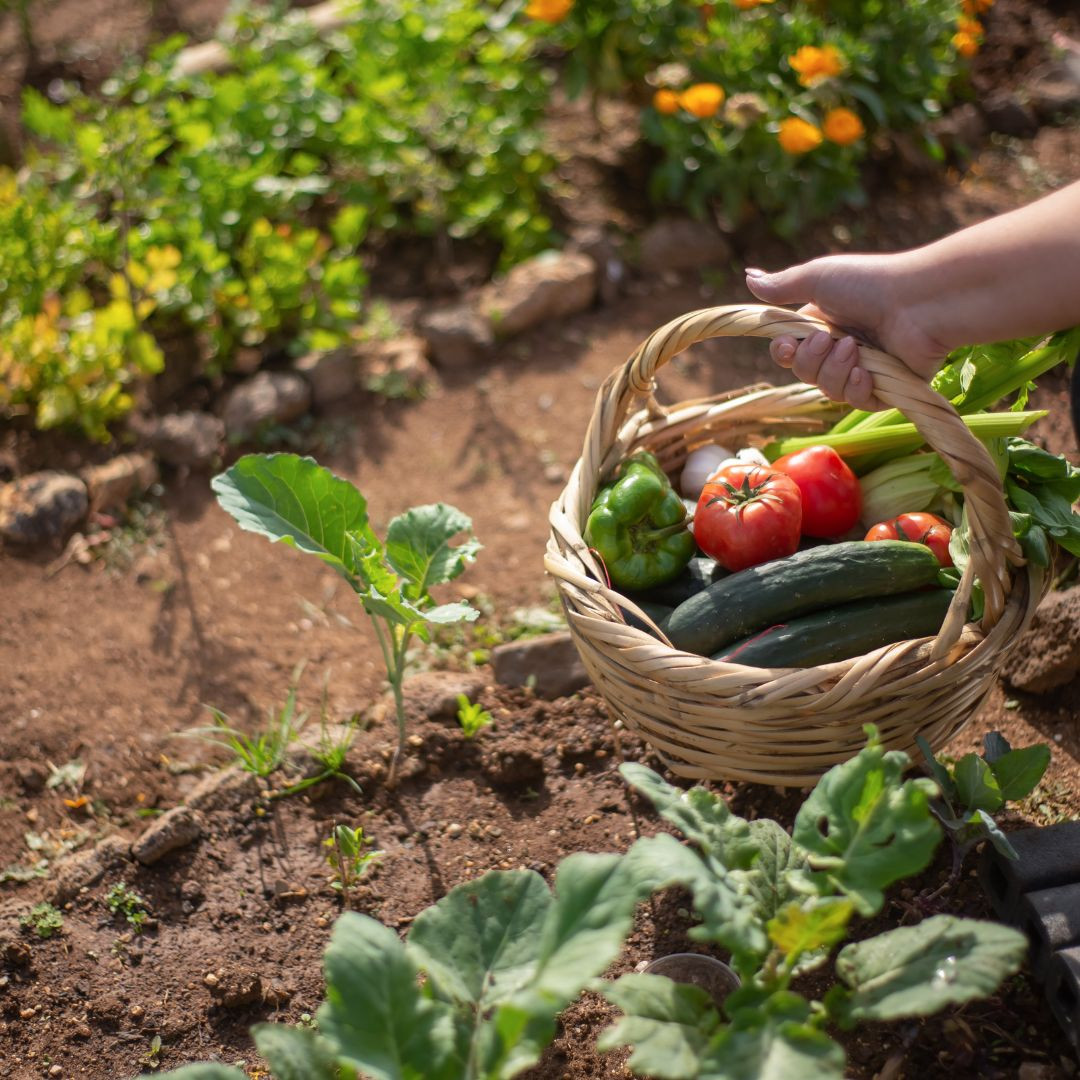
The traditional in ground garden. This one is the one we are probably the most familiar with. Plots of ground tilled up into beautiful soft fluffy dirt every year and planted nicely, long evenly spaced rows. You fertilize in the fall and till everything in the spring, mulching after planting.
The advantage of a traditional garden is it is easy to till. Installing a fence to keep rabbits, chickens, and other animals out is much simpler. If you have a single row, walk behind plow or seeder, the traditional garden is much easier to use it in. You can also use bigger equipment, like a skid steer or small tractor to help in working the soil and fertilizing, as opposed to hand tools.
The downside of a traditional garden is it can take up a lot of space. Even with heavy mulching, there is quit a bit of weeding that must happen throughout the year, especially as the small seedlings work to establish themselves.
Back to Eden utilizes raised beds and a no till strategy. The basic concept is to disturb the soil as little as possible, using layers and digging only what is needed to plant. The layers start with a base blocker, such as newspaper or cardboard. Then the sponge layer, consisting of decomposing leaves, sticks, and such. This is basically to help hold water without drenching the soil. The third layer is the soil. I use some stockpiled soil and half composted manure. The final layer is the mulch, about 4-6 inches deep. Every fall, you fill the beds back up with compost, right on top the old mulch, then add mulch again.
The advantage of this is there is very little weeding all year long. Tilling/working the soil is nonexistent. Planting is easy, you move the mulch a bit and dig a small hole for the plant. The soil doesn’t really compact as you don’t walk on the raised bed soil, so it stays nice and soft.
The disadvantage is for this system to work, you need to be able to mulch it deep every fall and have access to compost to refill the beds as they settle. It is also quit a bit more difficult to keep critters out of the raised beds. Beds also need to be about 12 inches deep to accommodate the layers.
Square foot gardening is another popular strategy now. Like the back to Eden in the raised beds, but the square foot gardening does not have mulch typically. The concept of the square foot gardening is to plant in rich soil, with dense populations, continually throughout the growing season. There is an entire book to this method you can buy on amazon, called The Square Foot Gardening Method.
The advantage to this system is you can grow a lot of food in a very small amount of space. Weeding is very limited as the planted chokes the weeds out before they get ahold. There is no tilling or mulching.
The disadvantage is you must have the exact soil mix for it to work properly. You also must remove the grids every year to refill the beds with seed free compost. This is also harder to keep critters out of.
So, what do I use in my gardens? A mixture of all three! I like the traditional garden for my long rows of beans, carrots, peas, broccoli and such. However, I take the dense planting method from square foot gardening and plant close together. I also mulch deep like in the back to Eden method. I do still till the traditional garden.
I also have expanded using raised beds around the yard and main garden. In this past year I used primarily the Back to Eden method for their creation and planting. This year with the new beds, I’m filling them with the Back to Eden method, but planting more in a square foot gardening strategy. I filled with compost but did not mulch this fall due to my free ranging chickens would have just moved the mulch and dug in the beds. Come spring I will mulch, plant and cage each bed to keep the chickens out.
Join the FREE Community
This post may contain affiliate links, which means that I may receive a commission if you make a purchase using these links, with NO additional cost to you.
Join the FREE Community
This post may contain affiliate links, which means that I may receive a commission if you make a purchase using these links, with NO additional cost to you.
At some point you will injure yourself or get sick. It is part of life. You don’t need to run to the doctor for everything, and you don’t have to run out and buy an over-the-counter salve or medicine. There are several remedies you can grow, forage, and make yourself. This will be a brief overview, as each category could be an entire blog itself. Read all the way to the end for my best owie slave recipe.
First prevention is the best medicine. Feeding your body what it needs to fight off and heal itself before you become symptomatic ill. The best way to do this is to eat good food that nourishes your body. Avoiding processed foods and sugar is the biggest tips. Eating a much of a whole food diet as you can is the next.
Herbals are my next line of defense. This includes essential oils. Essential oils are essentially concentrated versions of the herbs. Quality matters here, especially when using them for medicinal purposes. I use the essential oils to help build and support the body fighting off whatever infection and assist in the healing process. A favorite in our house as well are hot teas. Perfect herbal remedies to sip on when feeling sick.
I buy my essential oils. I do not have the knowledge to properly distill them, so they have the most effectiveness. For my top pick on essential oil company for quality and experience, click here. The herbals for tea are a mix of purchased and home grown. Many herbs I simply do not have the ability to grow. So, I just need an easy button an buy a pre-mixed herbal blend. Top herbs to keep on hand for illness, cinnamon, lemonbalm and lemongrass (bonus these also repel bugs when alive), clove, rosemary, and lemon.
Tinctures I often use in conjunction with herbals. A tincture is a plant soaked in alcohol, then strained off. The benefit to these is they last nearly forever, where a dried herb is only good for 1-2 years. To use the tincture, a small amount of liquid is placed under the tongue and then held there for a few minutes. The herbs that are harder to acquire, or spoil quickly are made into tinctures for long term storage and use.
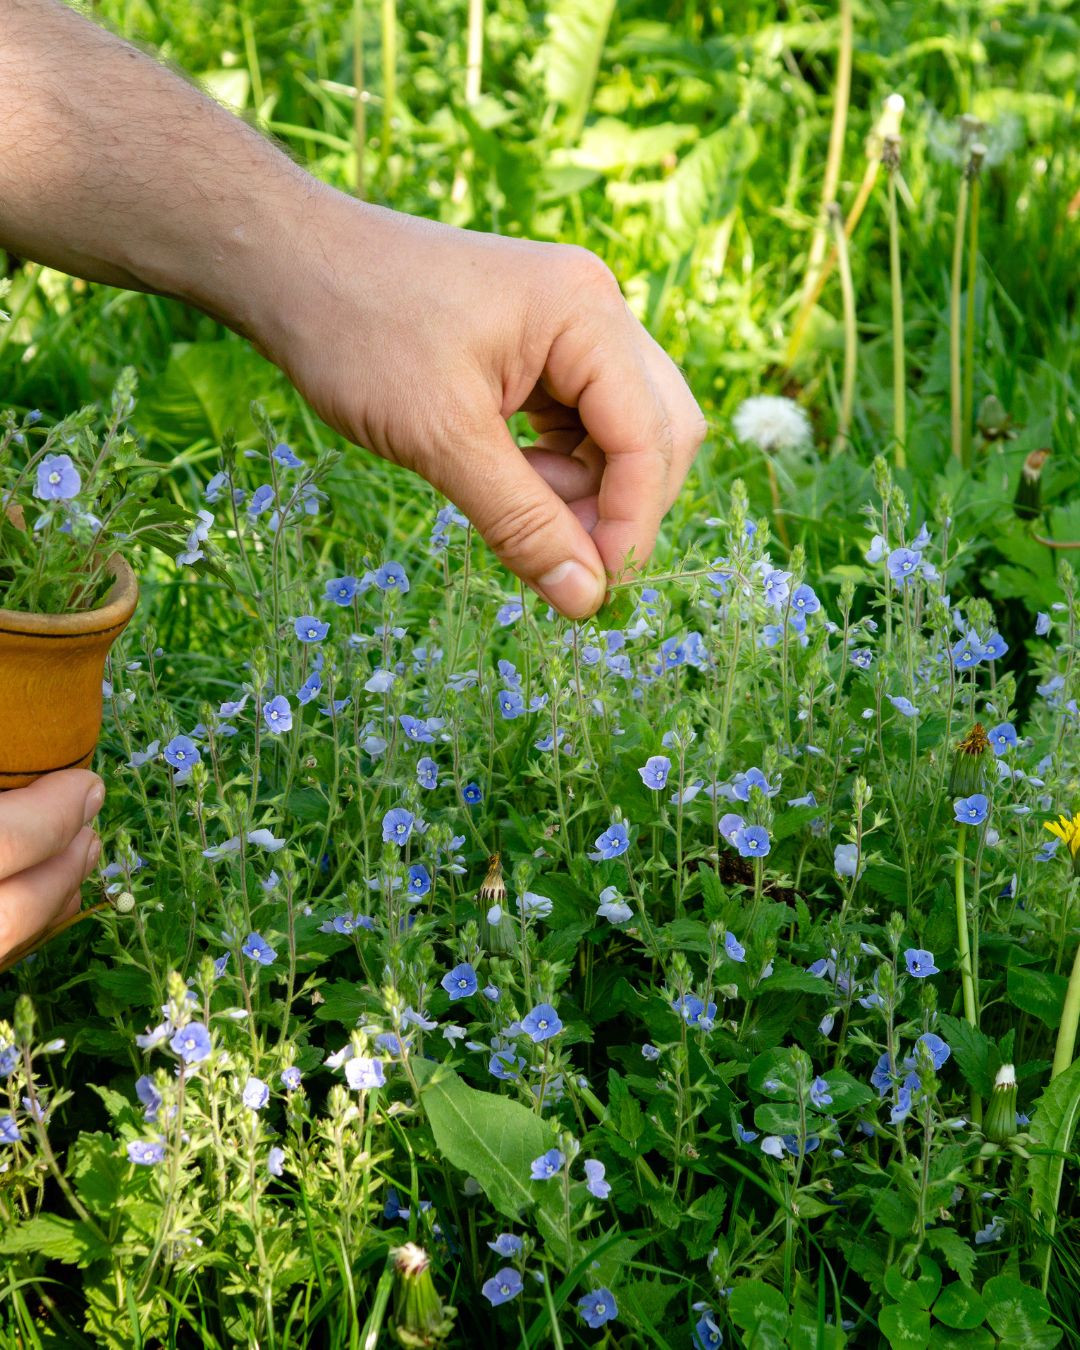
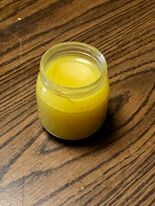
The part I’m sure most of you have been waiting for! My homemade owie salve. I use this salve on all kinds of owies, from cuts, to abrasions, to diaper rashes, to burns (after it has cooled off and the outer skin is healing. The best part is it is easy to make and grow. The two herbs in this salve are Calendula petals and Plantain leaves. You’ll also need olive oil for infusing, and bees wax to make the actual salve.
Step 1: Pick the calendula blossoms and plantain leaves on a warm sunny day (the resin is strongest then). Fill a glass jar with the leaves and blossoms, I like to pick them in about a 1:1 ratio.
Step 2: Fill the jar with olive oil to 1 inch from the top. Run a butter knife around to remove the air bubbles. Place in a sunny spot and let it sit for 3-4 weeks.
Step 3: Strain the oil through cheese cloth and squeeze out into a sauce pan.
Step 4: Warm the oil slightly (DO NOT BOIL). Add most of the grated bees wax to the warmed oil (approximately ¼ c grated beeswax per 1 cup of oil). Stirring to mix.
Step 5: As soon as the wax melts, put 1 Tablespoon of the mix on a plate and into the freezer for 1-2 minutes, until cool.
Step 6: Check for consistency. For a firmer salve, add more bees wax, for a softer salve, add more oil.
Step 7: Put the salve into small jars or tins and allow to cool
Step 8: Once cooled, tighten lids and store in a cool dark place for 1-2 years.
Join the FREE Community
This post may contain affiliate links, which means that I may receive a commission if you make a purchase using these links, with NO additional cost to you.
When your goal is self-sufficiency, you must have food and a way to grow your food. Vegetables and fruits are the biggest, need in the food department. Growing a garden is the best way to solve this problem. Starting an orchard is a good way to get your fruits. Turning the orchard or garden into a polyculture benefits you and the wildlife and plants you are growing.
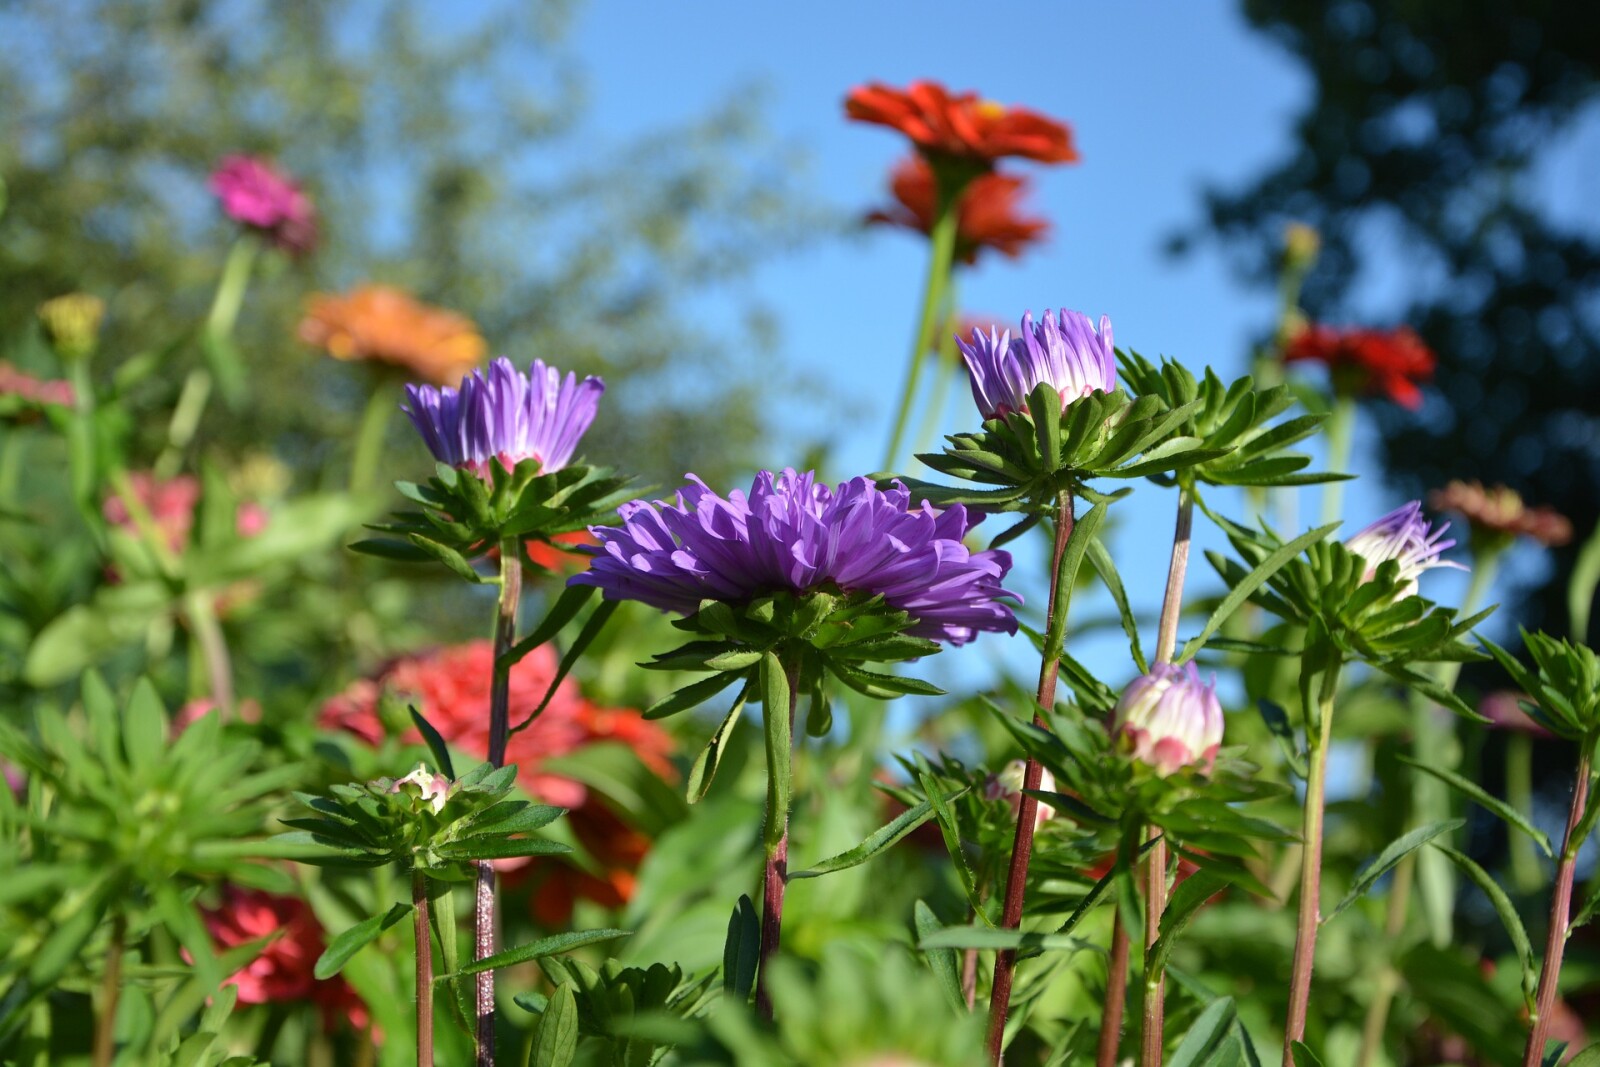
Gardening is fairly straight forward. There an many different methods now, Back to Eden, Square Foot Gardening, traditional row garden, or a mix of them. I used to think that the pretty flowers were not something I should invest in, but as I have learned more about polycultures, I have found they actually have benefits beyond looking good. Many pretty flowers are also pollinator attractors. They smell and look attractive to the bees and butterflies that will also help your garden vegetable plants pollinate better.
Orchards take time to develop. But have the advantage of many years of produce. Turning a small space into a polyculture orchard, with trees, berry bushes, and flowers is an effective way to maximize use of a limited space. Orchards especially benefit from the polyculture planting. By planting perennial companion plants around the trees and bushes, you can deter pests you don’t want, but attract the pollinators you do want.
When growing your garden or orchard it will not benefit you to grow a bunch of food your family will not eat. I like to buy a little of something I’m considering growing before I commit the space and energy into growing it. This allows me to determine if my family will even like or learn to like the food. So grow primarily what you will consume, but give a little space to experiment if you want.
In either an annual garden or orchard, map out where you plan to grow the plants. This helps you organize how to arrange the garden, plant quicker, and keep track of where things are planted when little helpers pull up the tags (not that I would have any experience with that…). The Homesteading Organizer is a perfect place to organize your garden or orchard in a book, you won’t loose the maps either. You can get a peak inside the organizer before you buy it here.
Join the FREE Community
This post may contain affiliate links, which means that I may receive a commission if you make a purchase using these links, with NO additional cost to you.
One of the hard steps in the road to self- sufficiency, is learning to live with less. At least for a while. Less luxuries, less fluff, less stuff. As you move towards being more self-sufficient, things you own need more purpose and use.
Many times, people downsize their home, or move to an acreage. This creates the opportunity to sell excess furniture, clothes, appliances. Selling excess give you the advantage of a little more cash to invest in your new property (animals, garden, orchard, etc.).
This also applies to monthly budget and consumable purchases. Learning to stretch products or make something better and cheaper than you can buy is a good skill to learn. A freezer is well worth the investment as it allows you to buy food in bulk and store it. Learning to can, allows you to preserve your food all year, greatly reducing the winter grocery budget.
Shopping around is also a good tip for stretching your dollar. Small town local is not always more expensive than the big city or Walmart. Watch for sales and buy then. I can usually get vegetables at the local grocery store (town of <500 people) for close to the same price as Walmart, once I factor in the fuel I would burn getting there (45 miles away).
It is well worth it to shop around for all your products: food and home products. Walmart is not always the cheapest. There are many online markets now that have better or as good of prices and ship to you.
Auctions and secondhand stores are also excellent places to find great deals. Items don’t have new. You can find gently used items with a lot of life left for a fraction of the prices. Cast Iron skillets are something I would prefer to buy second hand. They are already well seasoned. Just last year I bought two 8 inch that were in excellent condition for $5 each at a local auction.
Farm equipment and supplies (posts, fence, wood) in general is something that can be found at farm auctions and stored until needed if the price is right. The biggest thing is learning the price new and the value to determine if a purchase is a good deal or not.
Wanting a community to lean into? Join the FREE Courageous + Purposeful Mommas group! This community is for the Mommas, mommas to be, in the midst of raising, and kids grown, looking for tips on building your family up and providing for them through natural methods. Tips include: gardening, bulk buying, caning,/preserving, livestock, homesteading, and home remedies. Your family is precious, and this group is to help you gain the knowledge and tools to keep your family well and not reliant on outside professionals. Remedies and tips are easy and simple for the busy momma, time is precious after all, including pregnancy, birth, young kids, and illness. Trust your Momma gut again! This community offers the resources + community you need to help get started on your journey and prepare for whatever future you envision.
Click here to get the stories straight to your email:
For more on wellness tips click here:
For more on homesteading on your budget click here:
For more simple DIY updates click here:

