Where should I plant my garden?

Where should I plant my garden?

This post may contain affiliate links, which means that I may receive a commission if you make a purchase using these links, with NO additional cost to you. 


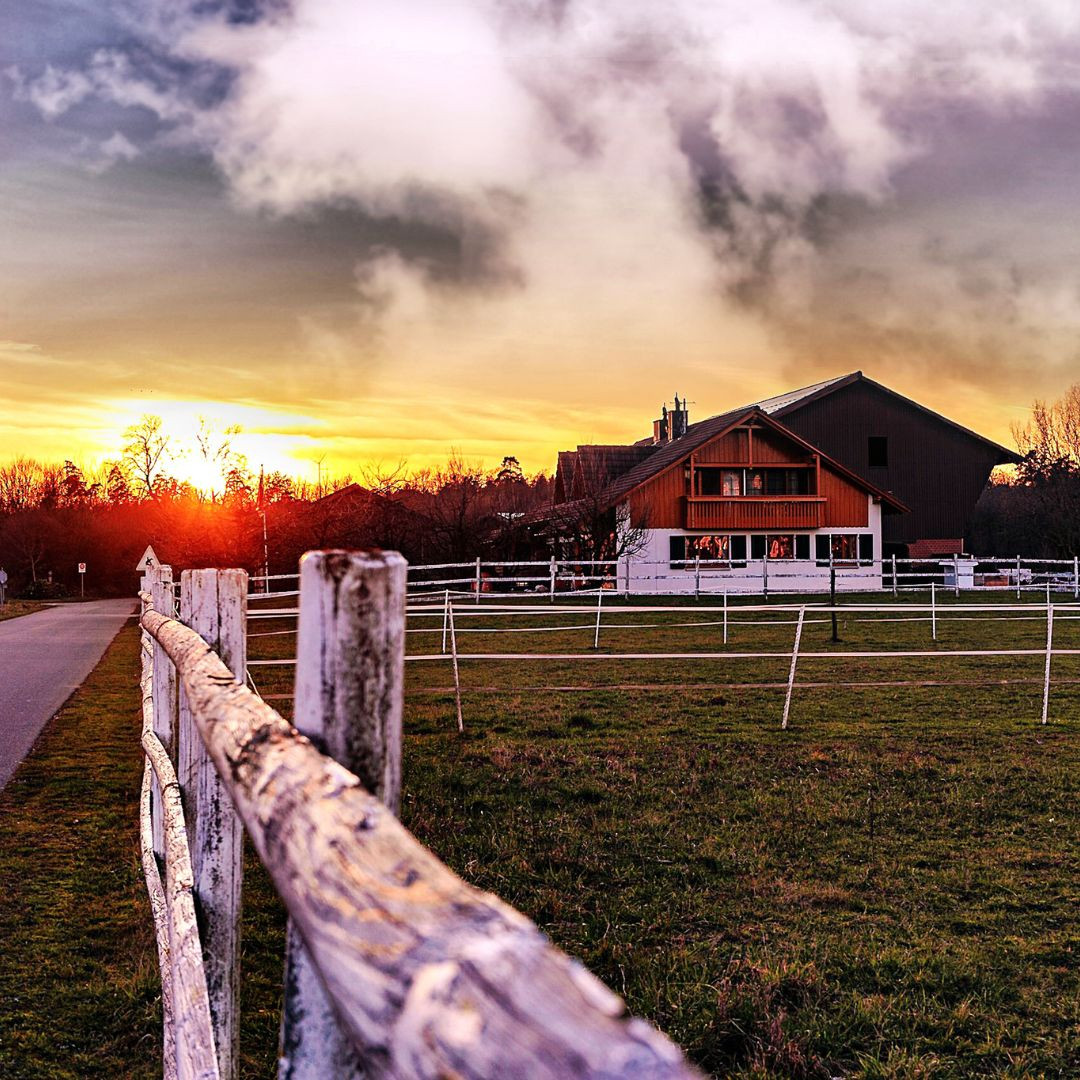
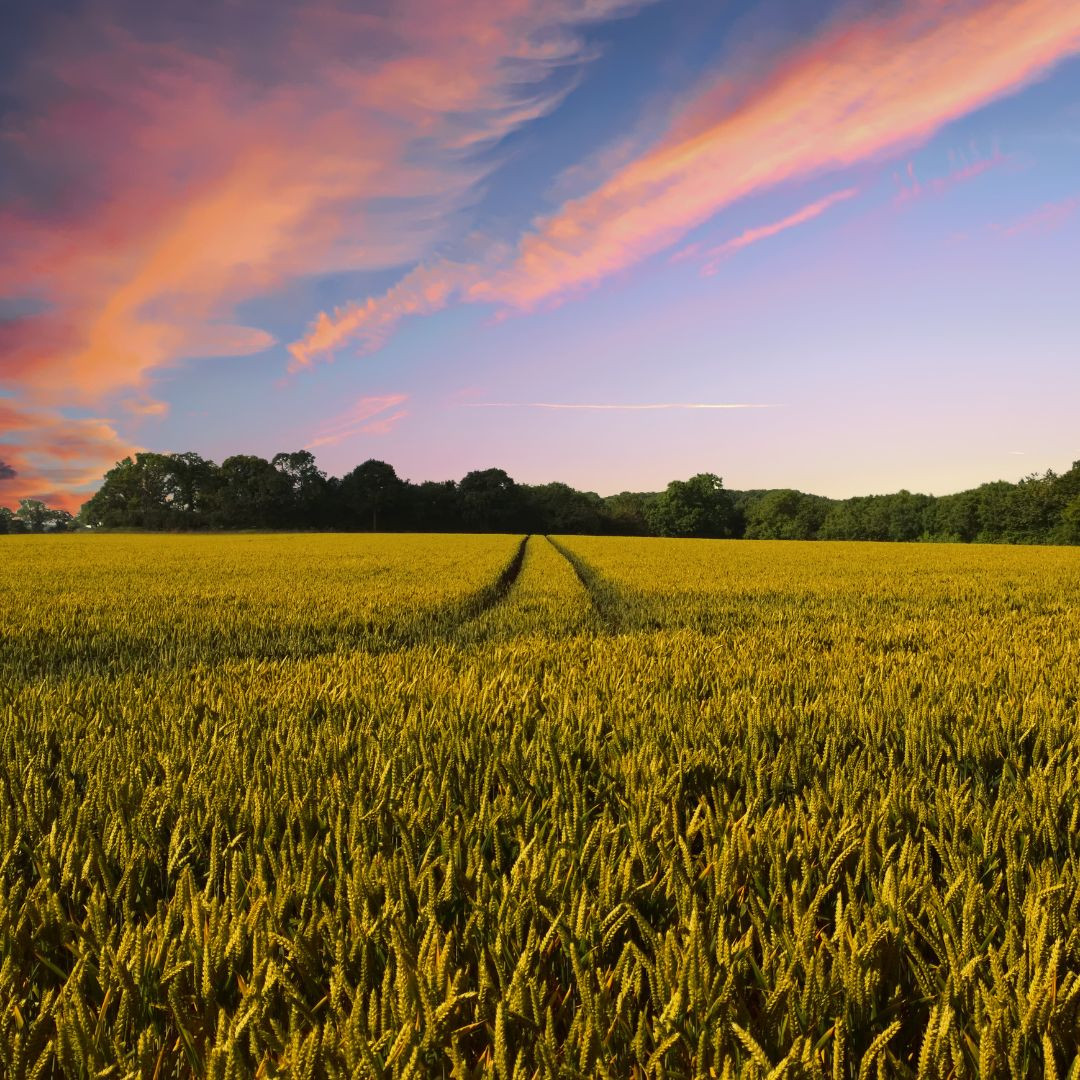
Everyone pictures that perfect garden, sunny, vibrant plants, time at ease. Picking the best spot to plant your garden can take some time and consideration. You really don’t want to have to move it later if you find to spot doesn’t work, especially if you have a fence around it. Below I’ll discuses the most important things to consider when picking your garden spot. 


The biggest thing to consider is hours of light. Most garden vegetables require at least 8 hours of sunlight. This means planting your garden right under the shade tree may not be the best idea. Can you grow some things there? Yes! Some plants love shade. Some cool season plants can do well on the fringe of the shade tree to help break the heat of the day. Most gardens are in a sunny spot, where little shade reaches. 


Another note on sun light to consider. The sun warms the soil temperature. If part of the garden is shaded more than the other, the shaded part will be slightly behind. You can use this to your advantage to either grow cooler season plants there, or extend your harvest, so not all the produce is ready at the same time. 


Another consideration is soil type. Different plants prefer different soils. Most of the time a heavy clay is not beneficial to vegetables, and neither is sand. If you have an area that has rich nutritious soil, your garden will do well. Looks can tell you a lot, but the gold standard is a soil test to tell you exactly the mineral levels in your soil. 


Shelter can be a good thing for a garden, if it is in the right place. Blocking the wind can keep young tender plants growing. It can also act as an insulator and buffer the slight frost. You don’t want this shelter on the south side though, as it will block most of your sun light. A nice north tree line can server very well. 


Water access is huge for gardens. Most vegetable gardens require quite a bit of water, depending on where you live. Having a hydrant close, or easy to run a hose to is critical to keeping your garden watered. 


The biggest tip no matter the garden you choose, is to keep it in your line of sight from your house, or wherever you spend a lot of your time. By seeing the garden frequently, it keeps it in the front of your mind, to tend to. Weed, water, and harvest. Gardens placed in the back where there is a lot of room, tend to be forgotten and neglected.


What is the biggest things to consider in planning a garden plot? Amount of sun light, soil type, shelter, water access, and line of sight from the house. 


As I've grown in  my journey as an entrepreneur, mom, gardener, and livestock owner, I struggled to find a planner that met my needs and kept me organized. So I MADE MY OWN. You can take a look at it on the link blow and buy it on amazon below
Don't want the whole calendar part? I got you! I pulled the gardening and animal care pages out and put them in a book all their own. 

Wanting a community to lean into? Join the FREE Helping Your Family Homestead for Food group! This community is for the Mommas, looking to stay home and raise their kids, but unsure how to keep everyone fed and make ends meet. I share tips from my journey from the office, to half the income and feeding my family from home, while maintaining good nourishing food. Tips include: gardening, bulk buying, caning,/preserving, livestock, homesteading, and home remedies. Your family is precious and this group is to help you gain the knowledge and tools to keep your family well and not reliant on outside professionals. Remedies and tips are easy and simple for the busy momma, time is precious after all, including pregnancy, birth, young kids, and illness. Trust your Momma gut again! This community offers the resources + community you need to help get started on your journey and prepare for whatever future you envision. 
 
Starting to garden doesn't have to be hard! I gathered all the tips I've learned over my gardening learning curve and made them into a simple course to jump start your gardening your life. 

Supporting Your Family Naturally From the Inside Out community!! This community is for the Mommas, looking  to Support Your Family from Nature for Wellness. Tips range from nutrition, herbals, detoxing, natural cleaning, and essential oils. Basically all the things I’ve learned slowly over the past 5+ years if my journey. We have moved off Facebook, so to better serve our community and be able to discuss openly option for providing for your family in the best way possible.
Join the FREE Community

I've had 3 very different pregnancies. After the first traumatic birth, I learned better and how to care for my body naturally and prevent common pregnancy and birth problems before they arise. This quick course will get you the tools you need to have a naturally healthy pregnancy, labor, and delivery. My first pregnancy I had a normal western medicine all the things pregnancy. My second? I flipped to completely natural, no medicine. Bonus: Preventing Preeclampsia Without the Aspirin & Healing from Birth Trauma

Click here to get the stories straight to your email:
 
For more on wellness tips click here:
 
For more on homesteading on your budget click here:
 
For more simple DIY updates click here:


What is a Polyculture?

What is a Polyculture?

This post may contain affiliate links, which means that I may receive a commission if you make a purchase using these links, with NO additional cost to you. 


What is a polyculture? It is a term that is becoming more popular in the homesteading circles, but what is it? By definition, a polyculture is “the simultaneous cultivation or exploitation of several crops or kinds of animals.” From Oxford Languages. But what does that really mean?


Polyculture is using plants and or animals that benefit each other and growing them together. In gardening this is often called companion planting. The idea is to create a synergy where everything benefits each other and improve the soil/environment. After a polyculture is established, they should be self-sustaining.


In an orchard, that can be planting smaller plants around the trees to naturally deter pests and attract pollinators. You can also use animals to graze or fertilize the area. Using a polyculture system, you can improve plant health and eliminate pesticide use. 


At my home I am in cooperating this concept more and more. My new orchard area is starting as polyculture with plants around the base that attract the pollinators but deter the pests. You also want to make sure the plants are not competing for nutrients but benefiting each other. So having plants that fix nutrients, like nitrogen, that the trees need to produce fruit. 


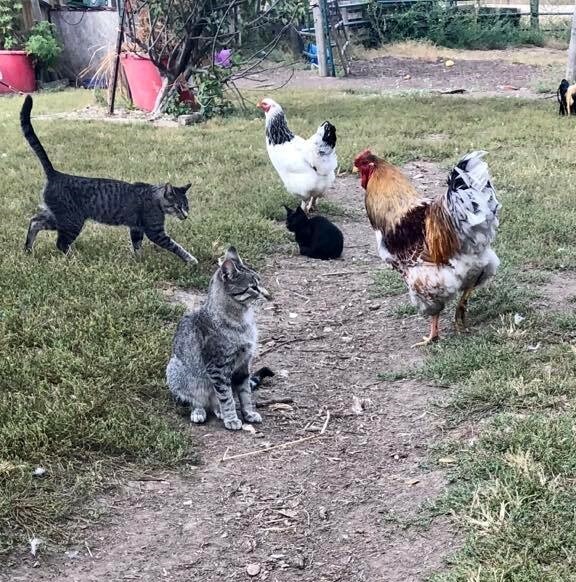
I also allow my chickens, ducks, and geese free range. This does make starting small plants challenging and require extra protection, but they are excellent at consuming the bugs and slugs that harm the plants. They also fertilize at the same time!


Developing a polyculture is not a one-year venture, especially if you are looking at trees. You must have a long-term vision and be willing to work with the area for a couple years before it is ready to self-sustain. After the polyculture is established, you have a very productive garden, with minimal work required. 


As I've grown in  my journey as an entrepreneur, mom, gardener, and livestock owner, I struggled to find a planner that met my needs and kept me organized. So I MADE MY OWN. You can take a look at it on the link blow and buy it on amazon below
Don't want the whole calendar part? I got you! I pulled the gardening and animal care pages out and put them in a book all their own. 

Wanting a community to lean into? Join the FREE Helping Your Family Homestead for Food group! This community is for the Mommas, looking to stay home and raise their kids, but unsure how to keep everyone fed and make ends meet. I share tips from my journey from the office, to half the income and feeding my family from home, while maintaining good nourishing food. Tips include: gardening, bulk buying, caning,/preserving, livestock, homesteading, and home remedies. Your family is precious and this group is to help you gain the knowledge and tools to keep your family well and not reliant on outside professionals. Remedies and tips are easy and simple for the busy momma, time is precious after all, including pregnancy, birth, young kids, and illness. Trust your Momma gut again! This community offers the resources + community you need to help get started on your journey and prepare for whatever future you envision. 
 
Starting to garden doesn't have to be hard! I gathered all the tips I've learned over my gardening learning curve and made them into a simple course to jump start your gardening your life. 

Supporting Your Family Naturally From the Inside Out community!! This community is for the Mommas, looking  to Support Your Family from Nature for Wellness. Tips range from nutrition, herbals, detoxing, natural cleaning, and essential oils. Basically all the things I’ve learned slowly over the past 5+ years if my journey. We have moved off Facebook, so to better serve our community and be able to discuss openly option for providing for your family in the best way possible.
Join the FREE Community

I've had 3 very different pregnancies. After the first traumatic birth, I learned better and how to care for my body naturally and prevent common pregnancy and birth problems before they arise. This quick course will get you the tools you need to have a naturally healthy pregnancy, labor, and delivery. My first pregnancy I had a normal western medicine all the things pregnancy. My second? I flipped to completely natural, no medicine. Bonus: Preventing Preeclampsia Without the Aspirin & Healing from Birth Trauma

Click here to get the stories straight to your email:
 
For more on wellness tips click here:
 
For more on homesteading on your budget click here:
 
For more simple DIY updates click here:


What is the best Watering system?

What is the best Watering system?

This post may contain affiliate links, which means that I may receive a commission if you make a purchase using these links, with NO additional cost to you. 


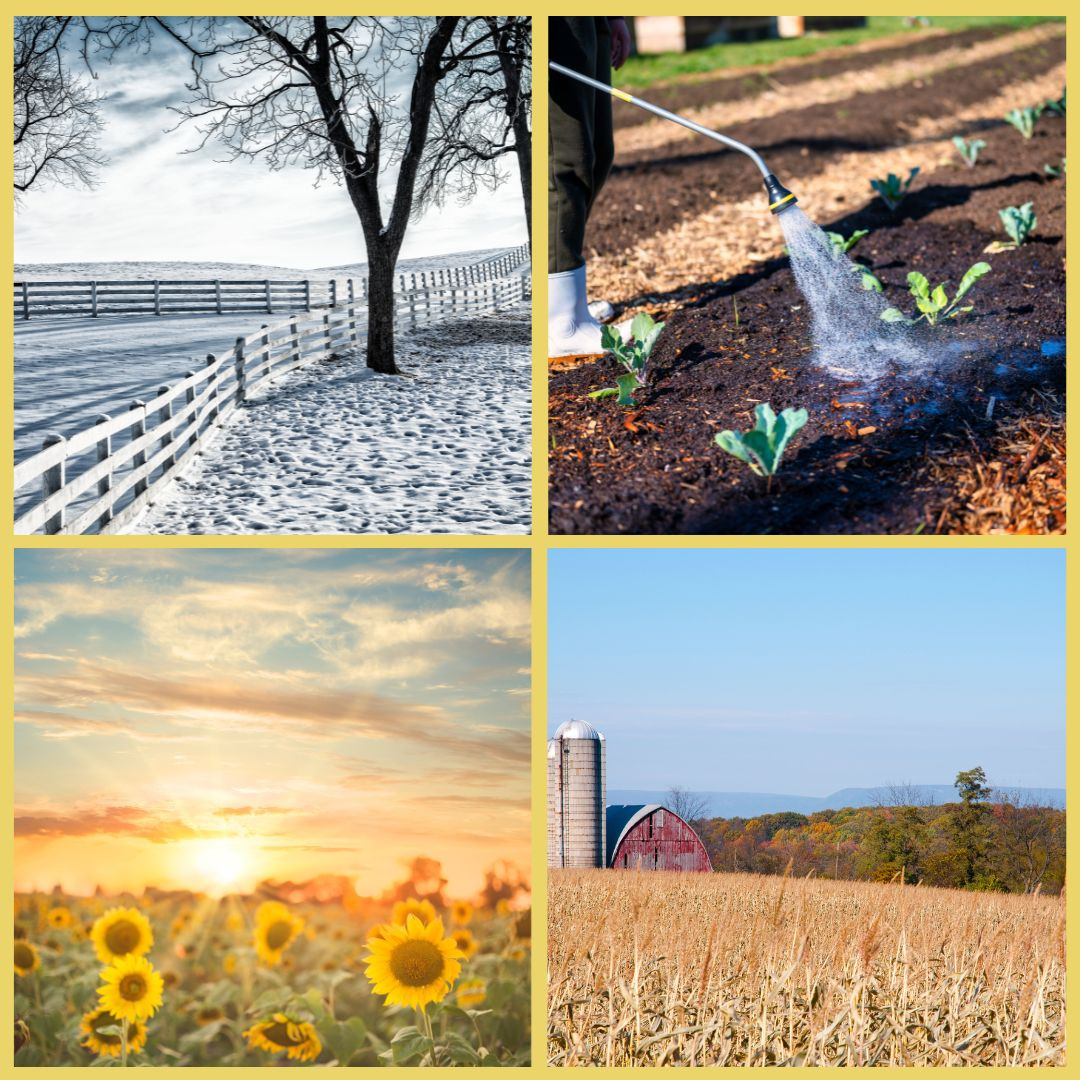
Pretty much every garden will need water at some point. Depending on where you live, how much and how often you will need to water it. As with planting a garden, there are also different watering systems. Each with its own pros and cons. Below I’ll outline the overall common systems. You will have to determine what is best for your garden. At the end you will find what I use. 


By far the most common system is the simple sprinkler. Attach a hose and broadcast the water by a sprinkler over an entire area. The advantage of this system is it is simple and cheap to install. Buy the hose and a sprinkler and you can move it wherever you need. The disadvantage is that if you have very dry air, or must pay for your water, this system can use a lot of extra water. You can also have issues with to much moisture and possible mold on plant leaves if you water at the wrong time. 


Another popular option is the soaker hose. The advantage of this is the hose is usually inexpensive and keeps the water low to the ground. This means you loose less to evaporation right away. You also keep the water off the leaves eliminating the mold issue. The downside is if you have a large area to cover, it requires a lot of hose. 


An increasingly popular system is the drip line. Within this there are several different types, I am only going to discuss the overall. The advantage of the drip line is you can get the water exactly where you need it without wasting any (also not watering unwanted grass or weeds). The disadvantage of this is it can be costly to set up. It also does not move easily to another area. 


As you might have guessed, I use a combination! In the main garden area, I use the big sprinkler to cover the large area. To get around the mold issue, I stop watering by noon, so the leaves have time to dry before dusk. In my flower beds away from the main garden, I use soaker hoses. These I leave out year-round and chance the mice eating them.  In the new orchard area, we installed a drip line due to the large spread-out area. At the same time, I didn’t want the existing weeds and grass a chance to get extra water and grow. This drip line we have to drain before winter, so it doesn’t crack. 


As I've grown in  my journey as an entrepreneur, mom, gardener, and livestock owner, I struggled to find a planner that met my needs and kept me organized. So I MADE MY OWN. You can take a look at it on the link blow and buy it on amazon below
Don't want the whole calendar part? I got you! I pulled the gardening and animal care pages out and put them in a book all their own. 

Wanting a community to lean into? Join the FREE Helping Your Family Homestead for Food group! This community is for the Mommas, looking to stay home and raise their kids, but unsure how to keep everyone fed and make ends meet. I share tips from my journey from the office, to half the income and feeding my family from home, while maintaining good nourishing food. Tips include: gardening, bulk buying, caning,/preserving, livestock, homesteading, and home remedies. Your family is precious and this group is to help you gain the knowledge and tools to keep your family well and not reliant on outside professionals. Remedies and tips are easy and simple for the busy momma, time is precious after all, including pregnancy, birth, young kids, and illness. Trust your Momma gut again! This community offers the resources + community you need to help get started on your journey and prepare for whatever future you envision. 
 
Starting to garden doesn't have to be hard! I gathered all the tips I've learned over my gardening learning curve and made them into a simple course to jump start your gardening your life. 

Supporting Your Family Naturally From the Inside Out community!! This community is for the Mommas, looking  to Support Your Family from Nature for Wellness. Tips range from nutrition, herbals, detoxing, natural cleaning, and essential oils. Basically all the things I’ve learned slowly over the past 5+ years if my journey. We have moved off Facebook, so to better serve our community and be able to discuss openly option for providing for your family in the best way possible.
Join the FREE Community

I've had 3 very different pregnancies. After the first traumatic birth, I learned better and how to care for my body naturally and prevent common pregnancy and birth problems before they arise. This quick course will get you the tools you need to have a naturally healthy pregnancy, labor, and delivery. My first pregnancy I had a normal western medicine all the things pregnancy. My second? I flipped to completely natural, no medicine. Bonus: Preventing Preeclampsia Without the Aspirin & Healing from Birth Trauma

Click here to get the stories straight to your email:
 
For more on wellness tips click here:
 
For more on homesteading on your budget click here:
 
For more simple DIY updates click here:


What are the types of gardens?

What are the types of gardens?

This post may contain affiliate links, which means that I may receive a commission if you make a purchase using these links, with NO additional cost to you. 


As with anything that hangs around long enough, there has become many different types of gardens for growing your food. Each type comes with its own set of benefits and a few cons. Deciding which type is right for you is up to you. No one system is perfect for everyone no matter what the creators say. I’ll outline the primary ones in the spotlight now. 


The traditional in ground garden. This one is the one we are probably the most familiar with. Plots of ground tilled up into beautiful soft fluffy dirt every year and planted nicely, long evenly spaced rows. You fertilize in the fall and till everything in the spring, mulching after planting. 


The advantage of a traditional garden is it is easy to till. Installing a fence to keep rabbits, chickens, and other animals out is much simpler. If you have a single row, walk behind plow or seeder, the traditional garden is much easier to use it in. You can also use bigger equipment, like a skid steer or small tractor to help in working the soil and fertilizing, as opposed to hand tools.


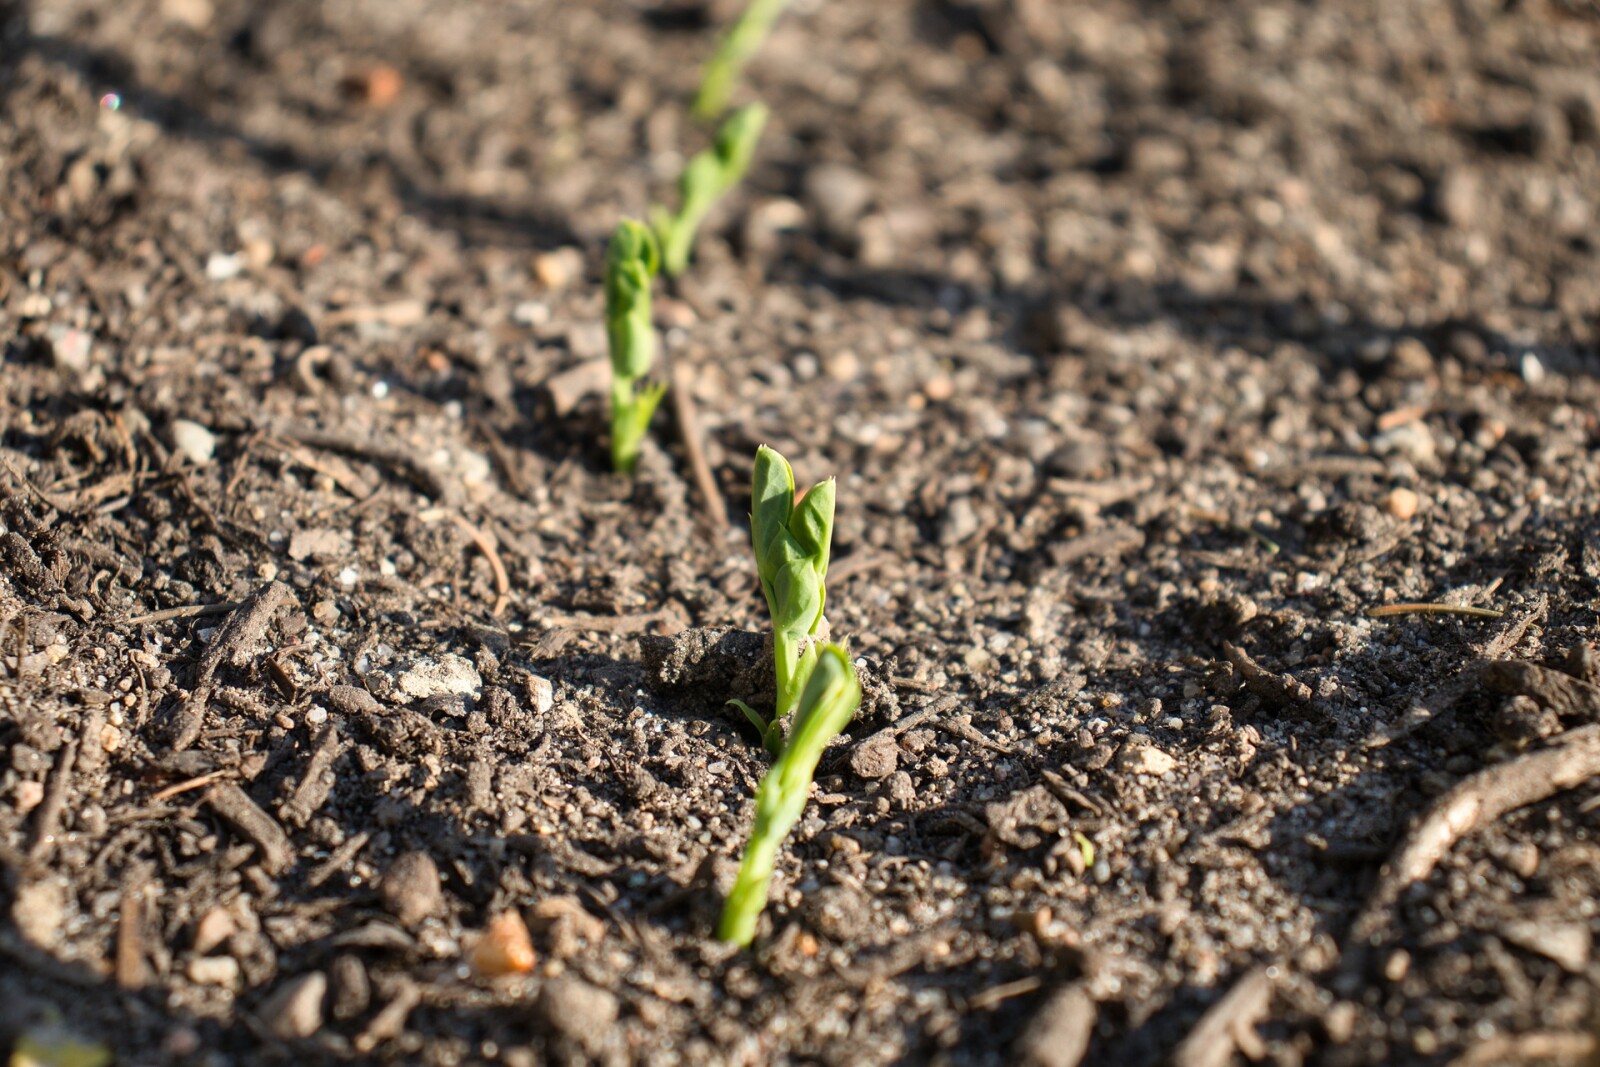
The downside of a traditional garden is it can take up a lot of space. Even with heavy mulching, there is quit a bit of weeding that must happen throughout the year, especially as the small seedlings work to establish themselves. 


Back to Eden utilizes raised beds and a no till strategy. The basic concept is to disturb the soil as little as possible, using layers and digging only what is needed to plant. The layers start with a base blocker, such as newspaper or cardboard. Then the sponge layer, consisting of decomposing leaves, sticks, and such. This is basically to help hold water without drenching the soil. The third layer is the soil. I use some stockpiled soil and half composted manure. The final layer is the mulch, about 4-6 inches deep. Every fall, you fill the beds back up with compost, right on top the old mulch, then add mulch again. 


The advantage of this is there is very little weeding all year long. Tilling/working the soil is nonexistent. Planting is easy, you move the mulch a bit and dig a small hole for the plant. The soil doesn’t really compact as you don’t walk on the raised bed soil, so it stays nice and soft. 


The disadvantage is for this system to work, you need to be able to mulch it deep every fall and have access to compost to refill the beds as they settle. It is also quit a bit more difficult to keep critters out of the raised beds. Beds also need to be about 12 inches deep to accommodate the layers. 


Square foot gardening is another popular strategy now. Like the back to Eden in the raised beds, but the square foot gardening does not have mulch typically. The concept of the square foot gardening is to plant in rich soil, with dense populations, continually throughout the growing season. There is an entire book to this method you can buy on amazon, called The Square Foot Gardening Method. 


The advantage to this system is you can grow a lot of food in a very small amount of space. Weeding is very limited as the planted chokes the weeds out before they get ahold. There is no tilling or mulching. 


The disadvantage is you must have the exact soil mix for it to work properly. You also must remove the grids every year to refill the beds with seed free compost. This is also harder to keep critters out of.


So, what do I use in my gardens? A mixture of all three! I like the traditional garden for my long rows of beans, carrots, peas, broccoli and such. However, I take the dense planting method from square foot gardening and plant close together. I also mulch deep like in the back to Eden method. I do still till the traditional garden. 


I also have expanded using raised beds around the yard and main garden. In this past year I used primarily the Back to Eden method for their creation and planting. This year with the new beds, I’m filling them with the Back to Eden method, but planting more in a square foot gardening strategy. I filled with compost but did not mulch this fall due to my free ranging chickens would have just moved the mulch and dug in the beds. Come spring I will mulch, plant and cage each bed to keep the chickens out. 


As I've grown in  my journey as an entrepreneur, mom, gardener, and livestock owner, I struggled to find a planner that met my needs and kept me organized. So I MADE MY OWN. You can take a look at it on the link blow and buy it on amazon below
Don't want the whole calendar part? I got you! I pulled the gardening and animal care pages out and put them in a book all their own. 

Wanting a community to lean into? Join the FREE Helping Your Family Homestead for Food group! This community is for the Mommas, looking to stay home and raise their kids, but unsure how to keep everyone fed and make ends meet. I share tips from my journey from the office, to half the income and feeding my family from home, while maintaining good nourishing food. Tips include: gardening, bulk buying, caning,/preserving, livestock, homesteading, and home remedies. Your family is precious and this group is to help you gain the knowledge and tools to keep your family well and not reliant on outside professionals. Remedies and tips are easy and simple for the busy momma, time is precious after all, including pregnancy, birth, young kids, and illness. Trust your Momma gut again! This community offers the resources + community you need to help get started on your journey and prepare for whatever future you envision. 
 
Starting to garden doesn't have to be hard! I gathered all the tips I've learned over my gardening learning curve and made them into a simple course to jump start your gardening your life. 

Supporting Your Family Naturally From the Inside Out community!! This community is for the Mommas, looking  to Support Your Family from Nature for Wellness. Tips range from nutrition, herbals, detoxing, natural cleaning, and essential oils. Basically all the things I’ve learned slowly over the past 5+ years if my journey. We have moved off Facebook, so to better serve our community and be able to discuss openly option for providing for your family in the best way possible.
Join the FREE Community

I've had 3 very different pregnancies. After the first traumatic birth, I learned better and how to care for my body naturally and prevent common pregnancy and birth problems before they arise. This quick course will get you the tools you need to have a naturally healthy pregnancy, labor, and delivery. My first pregnancy I had a normal western medicine all the things pregnancy. My second? I flipped to completely natural, no medicine. Bonus: Preventing Preeclampsia Without the Aspirin & Healing from Birth Trauma

Click here to get the stories straight to your email:
 
For more on wellness tips click here:
 
For more on homesteading on your budget click here:
 
For more simple DIY updates click here:


What is the second priority for food?

What is the second priority for food?

This post may contain affiliate links, which means that I may receive a commission if you make a purchase using these links, with NO additional cost to you. 


Last week we talked about the first focus food need in self-sufficiency. You can read that here if you missed it. This week I want to focus on the second primary food need, protein. Your body needs protein. Specifically, it needs the amino acids that make up the protein. 
 
Yes, there are plant sources, like lentils and beans, but many times they are difficult or not reasonable to grow. If you’d prefer to keep a vegetarian diet that is perfectly fine, but make sure you can grow a protein source and enough of it. 
 
No matter how much space you have, or how little, chickens are a good option for protein. Even if you live in town and are just beginning your journey, most towns allow some chickens (check with your city ordinance). 
 
Chickens are good for many reasons. First, they provide eggs from about 5 months on. Some breeds will even lay year-round. Second, once they are done laying eggs, they provided their final protein in the form of meat. You can also use the bones to make chicken bone broth as well. 
 
The third advantage to chickens is bug control. Even if you live in an area, you cannot free range the chickens, you can make movable pens so they can forage and still be protected. Fourth, they provide excellent fertilizer for your garden. Note, chicken poop is very rich in nitrogen and can burn plants if applied to heavy. Always apply in the fall so there is time for it to break down in the soil. 
 
Other good protein sources, if you have a few acres are goats and sheep. Goats are excellent for milk too. With their milk you can drink it, or make soap and lotion out of it. Sheep provide wool in addition to meat. If you are the crafty type and want to learn wool spinning, carding, and knitting. 
 
The most space consuming protein is beef. Depending on if you want to grass finish or grain finish your steer how much space you will need. Grass finished beef requires quite a bit of land and grass/hay. Grain finished, requires quite a bit less land/space. 
 
Dairy is another area you can explore, dairy goats or cows. With dairy goats, make sure you like the taste of the milk, before you invest in raising one. It does taste quite a bit different than cows milk, which many of us are used to. Dairy cows are also an option. While they do need more space, one cow can feed an entire family, providing around 7 gallons of milk a day. Where as goats you would need 7 or 8 goats to get the same amount of milk. 

Whatever protein source you decide on, make sure you are keeping track of expenses vs value of product produced or sold. As good as a protein source it is, if it is costing you more money than it is bringing it, it is not helping you become self-sufficient.  I made a special place in my Homesteading Organizer just for tracking the critter expenses and income. You can check out the Organizer before you buy it here


As I've grown in  my journey as an entrepreneur, mom, gardener, and livestock owner, I struggled to find a planner that met my needs and kept me organized. So I MADE MY OWN. You can take a look at it on the link blow and buy it on amazon below
Don't want the whole calendar part? I got you! I pulled the gardening and animal care pages out and put them in a book all their own. 

Wanting a community to lean into? Join the FREE Helping Your Family Homestead for Food group! This community is for the Mommas, looking to stay home and raise their kids, but unsure how to keep everyone fed and make ends meet. I share tips from my journey from the office, to half the income and feeding my family from home, while maintaining good nourishing food. Tips include: gardening, bulk buying, caning,/preserving, livestock, homesteading, and home remedies. Your family is precious and this group is to help you gain the knowledge and tools to keep your family well and not reliant on outside professionals. Remedies and tips are easy and simple for the busy momma, time is precious after all, including pregnancy, birth, young kids, and illness. Trust your Momma gut again! This community offers the resources + community you need to help get started on your journey and prepare for whatever future you envision. 
 
Starting to garden doesn't have to be hard! I gathered all the tips I've learned over my gardening learning curve and made them into a simple course to jump start your gardening your life. 

Supporting Your Family Naturally From the Inside Out community!! This community is for the Mommas, looking  to Support Your Family from Nature for Wellness. Tips range from nutrition, herbals, detoxing, natural cleaning, and essential oils. Basically all the things I’ve learned slowly over the past 5+ years if my journey. We have moved off Facebook, so to better serve our community and be able to discuss openly option for providing for your family in the best way possible.
Join the FREE Community

I've had 3 very different pregnancies. After the first traumatic birth, I learned better and how to care for my body naturally and prevent common pregnancy and birth problems before they arise. This quick course will get you the tools you need to have a naturally healthy pregnancy, labor, and delivery. My first pregnancy I had a normal western medicine all the things pregnancy. My second? I flipped to completely natural, no medicine. Bonus: Preventing Preeclampsia Without the Aspirin & Healing from Birth Trauma

Click here to get the stories straight to your email:
 
For more on wellness tips click here:
 
For more on homesteading on your budget click here:
 
For more simple DIY updates click here:


What is the first thing to focus on when becoming Self-sufficient?

What is the first thing to focus on when becoming Self-sufficient?


This post may contain affiliate links, which means that I may receive a commission if you make a purchase using these links, with NO additional cost to you. 


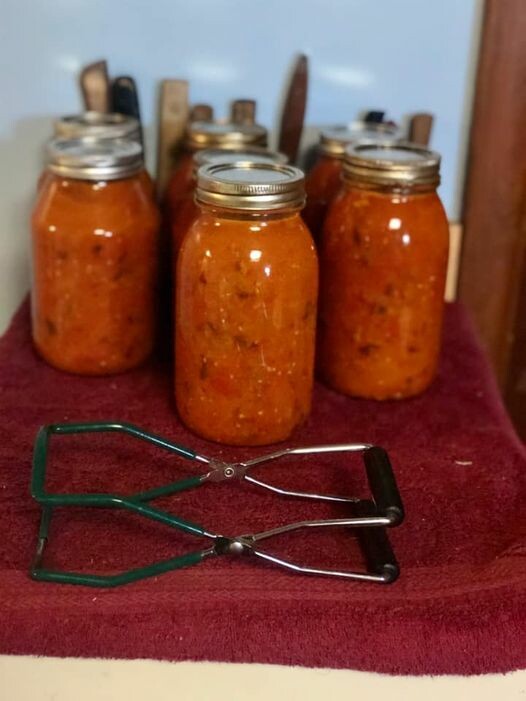
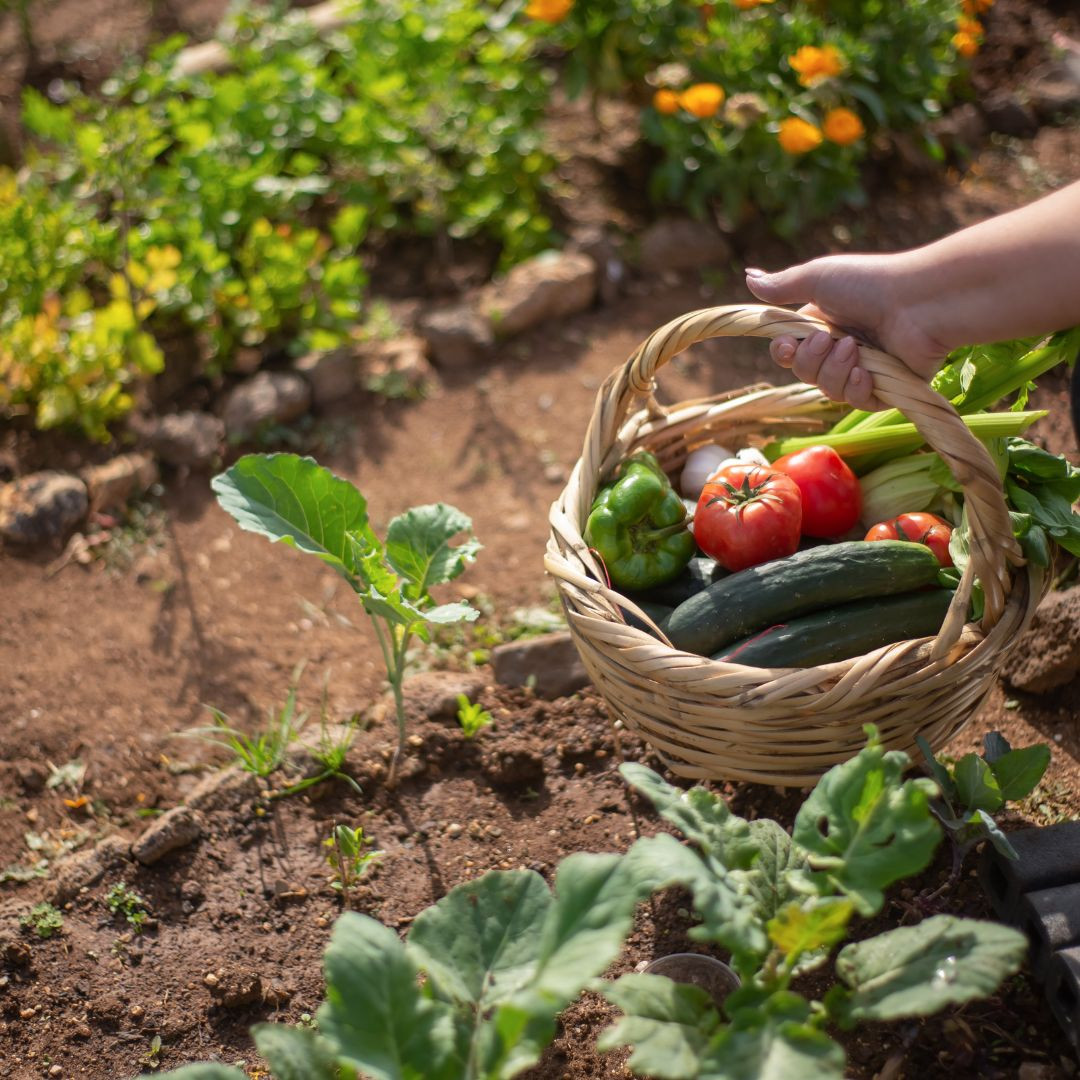
When your goal is self-sufficiency, you must have food and a way to grow your food. Vegetables and fruits are the biggest, need in the food department. Growing a garden is the best way to solve this problem. Starting an orchard is a good way to get your fruits. Turning the orchard or garden into a polyculture benefits you and the wildlife and plants you are growing. 


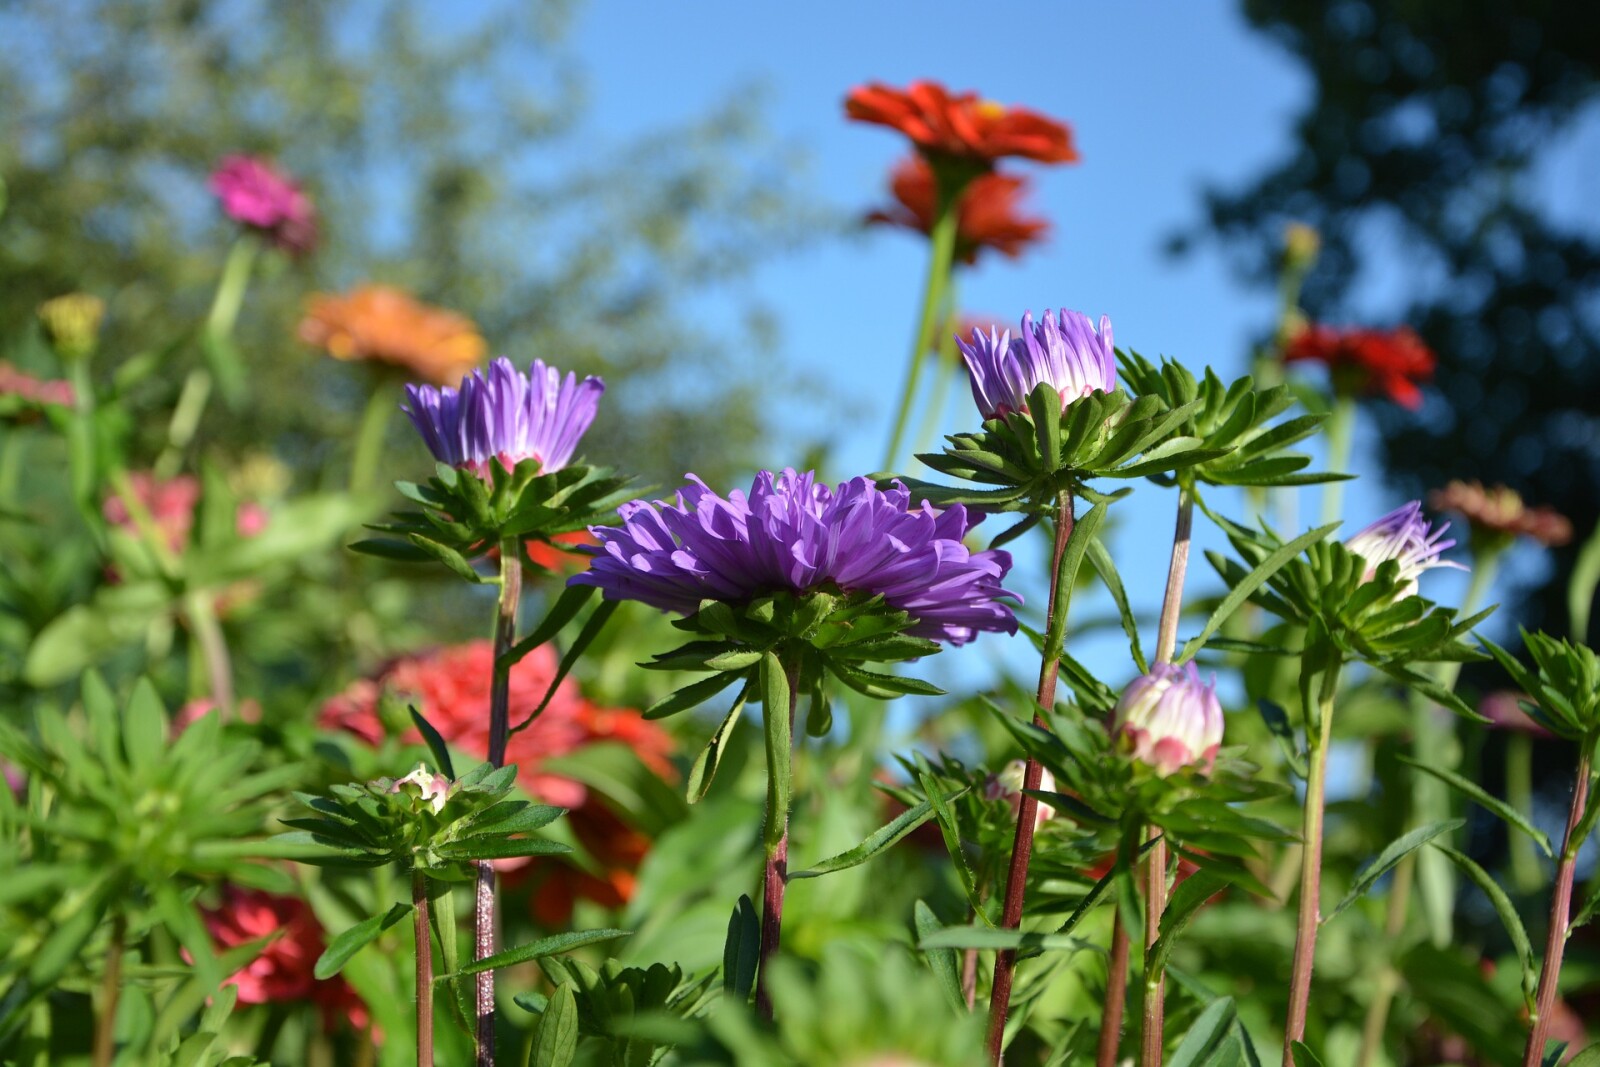
Gardening is fairly straight forward. There an many different methods now, Back to Eden, Square Foot Gardening, traditional row garden, or a mix of them. I used to think that the pretty flowers were not something I should invest in, but as I have learned more about polycultures, I have found they actually have benefits beyond looking good. Many pretty flowers are also pollinator attractors. They smell and look attractive to the bees and butterflies that will also help your garden vegetable plants pollinate better. 


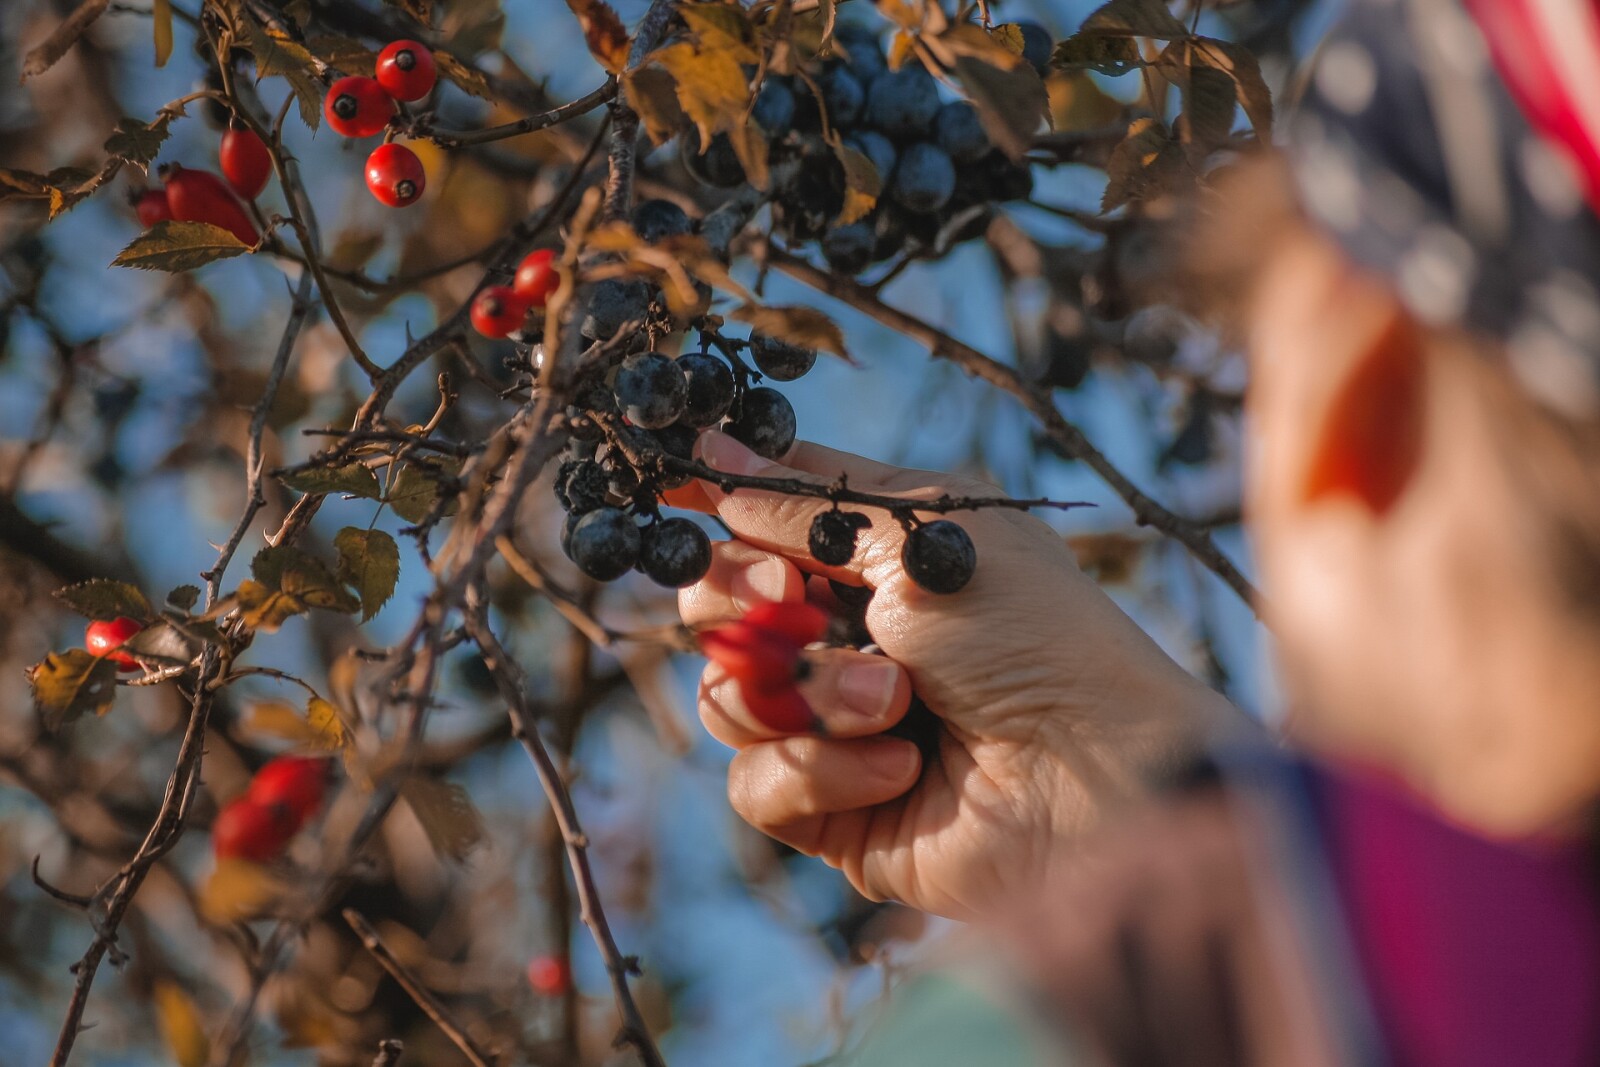
Orchards take time to develop. But have the advantage of many years of produce. Turning a small space into a polyculture orchard, with trees, berry bushes, and flowers is an effective way to maximize use of a limited space. Orchards especially benefit from the polyculture planting. By planting perennial companion plants around the trees and bushes, you can deter pests you don’t want, but attract the pollinators you do want. 


When growing your garden or orchard it will not benefit you to grow a bunch of food your family will not eat. I like to buy a little of something I’m considering growing before I commit the space and energy into growing it. This allows me to determine if my family will even like or learn to like the food. So grow primarily what you will consume, but give a little space to experiment if you want. 


In either an annual garden or orchard, map out where you plan to grow the plants. This helps you organize how to arrange the garden, plant quicker, and keep track of where things are planted when little helpers pull up the tags (not that I would have any experience with that…). The Homesteading Organizer is a perfect place to organize your garden or orchard in a book, you won’t loose the maps either. You can get a peak inside the organizer before you buy it here


Wanting a community to lean into? Join the FREE Helping Your Family Homestead for Food group! This community is for the Mommas, looking to stay home and raise their kids, but unsure how to keep everyone fed and make ends meet. I share tips from my journey from the office, to half the income and feeding my family from home, while maintaining good nourishing food. Tips include: gardening, bulk buying, caning,/preserving, livestock, homesteading, and home remedies. Your family is precious and this group is to help you gain the knowledge and tools to keep your family well and not reliant on outside professionals. Remedies and tips are easy and simple for the busy momma, time is precious after all, including pregnancy, birth, young kids, and illness. Trust your Momma gut again! This community offers the resources + community you need to help get started on your journey and prepare for whatever future you envision. 

As I've grown in  my journey as an entrepreneur, mom, gardener, and livestock owner, I struggled to find a planner that met my needs and kept me organized. So I MADE MY OWN. You can take a look at it on the link blow and buy it on amazon below
Don't want the whole calendar part? I got you! I pulled the gardening and animal care pages out and put them in a book all their own. 

Starting to garden doesn't have to be hard! I gathered all the tips I've learned over my gardening learning curve and made them into a simple course to jump start your gardening your life. 

Supporting Your Family Naturally From the Inside Out community!! This community is for the Mommas, looking  to Support Your Family from Nature for Wellness. Tips range from nutrition, herbals, detoxing, natural cleaning, and essential oils. Basically all the things I’ve learned slowly over the past 5+ years if my journey. We have moved off Facebook, so to better serve our community and be able to discuss openly option for providing for your family in the best way possible.
Join the FREE Community

I've had 3 very different pregnancies. After the first traumatic birth, I learned better and how to care for my body naturally and prevent common pregnancy and birth problems before they arise. This quick course will get you the tools you need to have a naturally healthy pregnancy, labor, and delivery. My first pregnancy I had a normal western medicine all the things pregnancy. My second? I flipped to completely natural, no medicine. Bonus: Preventing Preeclampsia Without the Aspirin & Healing from Birth Trauma

Click here to get the stories straight to your email:
 
For more on wellness tips click here:
 
For more on homesteading on your budget click here:
 
For more simple DIY updates click here:

Fall Garden To Do's

Fall Garden To Do's
This post may contain affiliate links, which means that I may receive a commission if you make a purchase using these links, with NO additional cost to you. 

The air is crisp and cool and the harvest is in. There are still days of nice weather yet to enjoy outside. Fall in the garden is a time of rest and preparation. The ground has produced its bounty for you and is now turning dormant for the winter. But for next year's garden, there are a few things you can do now to care for that soil, so it will continue to produce a bounty for you next year. 

First remove any cages, panels, or supports you placed for the plants over the growing season. For me this looks like tomato cages, cattle panels for the beans, small cages for peppers support. As part of this process, you will be taking down any vines that are still standing and laying them on the ground. 

Next gather your helping hands and start hauling compost. This is for a traditional in-ground garden and any raised bed gardens. I usually shoot for 1-2 inches across the in-ground garden and fill the boxes back up in the raised beds. Different people use different materials for their compost. Horse, sheep/goat, cattle, chicken manure works well and does best if applied in the fall so it can begin to break down over the winter. If you wait until spring the manure can be too rich and burn the plants. In this case you will need to apply extra water. 

If you are refilling raised beds you can go ahead and cover the beds with 4-6 inches of mulch for the next year. This helps the moisture, and reduces the weeds in the beds for next season. Raised beds have the advantage of not needing to be tilled every spring as well, so you can take a step ahead on your spring work here. 

If you are planning on garlic you can plant the cloves in the fall and mulch them with around 6 inches. They do well over winter and can then be harvested early in the summer allowing for a second crop of something else. 

Finally relax! Step back and enjoy what you have accomplished this year. If you took notes throughout the growing season, review them over the winter. What did you plant? How much? What was produced? Was there enough or too much for you to use? Start making your plan for next year and how much you will want to grow. 


Wanting a community to lean into? Join the FREE Courageous + Purposeful Mommas group! This community is for the Mommas, mommas to be, in the midst of raising, and kids grown, looking for tips on building your family up and providing for them through natural methods. Tips include: gardening, bulk buying, caning,/preserving, livestock, homesteading, and home remedies. Your family is precious, and this group is to help you gain the knowledge and tools to keep your family well and not reliant on outside professionals. Remedies and tips are easy and simple for the busy momma, time is precious after all, including pregnancy, birth, young kids, and illness. Trust your Momma gut again! This community offers the resources + community you need to help get started on your journey and prepare for whatever future you envision.

Join the Free Community


Click here to get the stories straight to your email:

Sign up for the Blog


For more on wellness tips click here:

Sign up for Wellness tips


For more on homesteading on your budget click here:

Sign up for Homesteading Tips


For more simple DIY updates click here:

Sign up for easy DIYs 


Storing White Potatoes or Sweet Potatoes at room tempature

Storing White Potatoes or Sweet Potatoes at room tempature
This post may contain affiliate links, which means that I may receive a commission if you make a purchase using these links, with NO additional cost to you. 

I love growing my own food. Part of growing all the food is not only eating it fresh in the summer, but preserving it for winter use. One vegetable we use for cooking throughout the year is potatoes. This storing method can be used for both regular potatoes and sweet potatoes. Note that red skinned white potatoes will not keep as long as brown or yellow skinned potatoes, and thick skinned keeps even longer. So use the red ones first, then the thin skinned, leaving the thick (like russets) for last. 

Storing potatoes for winter actually starts before the harvest. Reduce the water to the potatoes for a couple weeks prior to harvest. This helps the skin to dry and harden which will prevent mold growth later. Wait until the vines start to die back. They will turn speckled yellow before completely drying up. Waiting until this point allows the potato tubers to completely mature prior to harvest. 

Dig the potatoes, being careful to not cut or damage any tubers while digging. Lightly dust the dirt from the potatoes and place them in a shallow open box. 

Curing is next, and the most crucial for long term storage. White potatoes tend to be harvested late in the summer when it is still warm and humid. Sweet potatoes are more towards fall, when temperatures are cooling off. Both need to be cured for 10-14 days in warm temperatures with high humidity. White potatoes' ideal temperature is 65 degrees with 95% humidity, while sweet potatoes are closer to 80-85 degrees with 80% humidity. I cure my white potatoes in my garage, which is a little higher in temperature than ideal, but the humidity is about right. Sweet potatoes I place next to the furnace in boxes covered with a cloth to keep humidity up. 

After the curing period is up you can gently brush any remaining dirt off the potatoes. Dispose of or use quickly any with bad spots, soft spots, green ends, or cuts. Store potatoes in a cool and dry room. An unheated basement room or garage works well for this. But take care to make sure they do not freeze. I have a cellar room that we can close off to keep the heat out of, in our basement that works well. Ideal temperature for storing white potatoes is around 40 degrees, while sweet potatoes can handle a bit warmer at 55 degrees. 


Wanting a community to lean into? Join the FREE Courageous + Purposeful Mommas group! This community is for the Mommas, mommas to be, in the midst of raising, and kids grown, looking for tips on building your family up and providing for them through natural methods. Tips include: gardening, bulk buying, caning,/preserving, livestock, homesteading, and home remedies. Your family is precious, and this group is to help you gain the knowledge and tools to keep your family well and not reliant on outside professionals. Remedies and tips are easy and simple for the busy momma, time is precious after all, including pregnancy, birth, young kids, and illness. Trust your Momma gut again! This community offers the resources + community you need to help get started on your journey and prepare for whatever future you envision.

Join the Free Community


Click here to get the stories straight to your email:

Sign up for the Blog


For more on wellness tips click here:

Sign up for Wellness tips


For more on homesteading on your budget click here:

Sign up for Homesteading Tips


For more simple DIY updates click here:

Sign up for easy DIYs 


Homemade canned Salsa

Homemade canned Salsa
This post may contain affiliate links, which means that I may receive a commission if you make a purchase using these links, with NO additional cost to you. 

I love growing my own food. Part of growing all the food is not only eating it fresh in the summer, but preserving it for winter use. One vegetable we use for several canning recipes is tomatoes. I usually can salsa with many of the tomatoes. Its perfect for that side you forgot you needed to bring, or adding to chops or roasts. Making salsa is a simple process. 

For homemade salsa you will need (this will make approximately 3 quarts)
12 large tomatoes (approximately 1 cup each)
3 large onion
1 c vinegar (I like apple cider vinegar)
1 c Jalapenos chopped
½ c sugar
¼ c salt
¼ c cilantro (to taste)
4 cloves garlic
2 c corn (½ qt frozen)

I usually make 5 times the recipe and make as big of a batch as I can at one time. For the pot pictured the recipe is 3x. The smaller pot in the back will do 2x the recipe. 

You will need the following supplies:
Canning jars
Canning lids
Canning rings
Jar Funnel
Long spatula or knife
Hot water bath
Stock pot (I usually have at least 2)
Immersion blender (for smooth salsa texture)


Step 1. Quarter tomatoes and add all the ingredients to a big stock pot. Sometimes I don’t even quarter them. No need to remove skins or seeds. If you are using frozen tomatoes, just throw them in the pot. They will cook down and chop up as you stir the pot. 

Step 2. Add all the ingredients. As I harvest produce or find ingredients on sale, I will chop them up and freeze them in sizes I will need for the recipes. It makes the process so much faster. I also like to use fresh herbs if I have them on hand at the time (you will need about double the amount using fresh). Chop onions with a food processor saves your eyes and time too. Once everything is in the pot turn the burner on high and stir occasionally. 

Step 3. Stir the sauce and break up the chunks. I like to use my mix and chop for the first part to break up the big chunks. For a smoother sauce, use an immersion blender to blend everything together in the pot. 

Step 4. Once the sauce has boiled down to the correct consistency (this will be based purely on individual preference), pour into your cleaned and sanitized jars (running them through the dishwasher is an easy way to do this).

Step 5. Fill quart jars to ½ inch below the rim. 

Step 6. Run the rubber spatula up and down along the inside of the jar to remove any air bubbles. Add more sauce if needed. Wipe the rim clean. Do NOT forget this step. Jars with bubbles can explode in the water bath. Sauce on the rims will keep the jars from sealing properly. 

Step 7. Lids. Rinse the, one time use, canning lids in hot water. This is new compared to older lids which you needed to boil first. Then set them on the jar and attach the rings down. Do not over tighten the rings, a quick tight twist will do before you burn your fingers on the hot jar. 

If you are using reusable lids you will want to boil the seals and follow the instructions from the manufacturer. I purchased some from Tattler at www.reusablecanninglids.com


Step 8. Fill your spare pot (or now empty pot) half way with hot water and bring to a boil. If you have the stove space you can actually start the pot of water when you start cooking your sauce in the beginning (this also saves time). 

Step 9. Place jars in the pot, and cover with a lid to help it come to a boil quicker.

Step 10. Once boiling, set your timer for 25 minutes, and let it continue to boil (this is called Water Bathing)

Step 11. After the 25 minutes have elapsed, pull the jars out and set them on a doubled over towel on the counter. Listen for a small “pop” of the middle of the lid dropping down. This indicates that the jar is sealed correctly (for one time use lids). Let the jars cool completely. Check seals, remove rings, label, then store in your pantry.

For one time use lids, the bubble should be down and not pop up. For reusable lids, gently pick them up by the lid (it's terrifying the first few times), if the lid holds, the seal is good. 


Wanting a community to lean into? Join the FREE Courageous + Purposeful Mommas group! This community is for the Mommas, mommas to be, in the midst of raising, and kids grown, looking for tips on building your family up and providing for them through natural methods. Tips include: gardening, bulk buying, caning,/preserving, livestock, homesteading, and home remedies. Your family is precious, and this group is to help you gain the knowledge and tools to keep your family well and not reliant on outside professionals. Remedies and tips are easy and simple for the busy momma, time is precious after all, including pregnancy, birth, young kids, and illness. Trust your Momma gut again! This community offers the resources + community you need to help get started on your journey and prepare for whatever future you envision.

Join the Free Community


Click here to get the stories straight to your email:

Sign up for the Blog


For more on wellness tips click here:

Sign up for Wellness tips


For more on homesteading on your budget click here:

Sign up for Homesteading Tips


For more simple DIY updates click here:

Sign up for easy DIYs 


Homemade Canned Spagetti Sauce

Homemade Canned Spagetti Sauce
This post may contain affiliate links, which means that I may receive a commission if you make a purchase using these links, with NO additional cost to you. 

I love growing my own food. Part of growing all the food is not only eating it fresh in the summer, but preserving it for winter use. One vegetable we use for several canning recipes is tomatoes. I usually can spaghetti sauce with many of the tomatoes. It makes for quick meals in the winter months and the kids love it. Making spaghetti sauce is a simple process. 

For homemade spaghetti sauce you will need (this will make approximately 3 quarts)
1 large onion
1 clove garlic
12 large tomatoes (approximately 1 cup each)
6 beef bouillon cubes (or 3 pints beef/bone broth)
4 t basil
2 lg bay leaves
1t salt
1 t oregano
12 oz can tomato paste
Optional mushrooms

I usually 3-5 times the recipe and make as big of a batch as I can at one time. For the pot pictured the recipe is 3x. The smaller pot in the back will do 2x the recipe. 

You will need the following supplies:
Canning jars
Canning lids
Canning rings
Jar Funnel
Long spatula or knife
Hot water bath
Stock pot (I usually have at least 2)
Immersion blender (for smooth sauce texture)


Step 1. Quarter tomatoes and add all the ingredients to a big stock pot. No need to remove skins or seeds. If you are using frozen tomatoes, just throw them in the pot. They will cook down and chop up as you stir the pot. 


Step 2. Add all the ingredients. As I harvest produce or find ingredients on sale, I will chop them up and freeze them in sizes I will need for the recipes. It makes the process so much faster. I also like to use fresh herbs if I have them on hand at the time (you will need about double the amount using fresh). Chop onions with a food processor saves your eyes and time too. Once everything is in the pot turn the burner on high and stir occasionally. 

Step 3. Stir the sauce and break up the chunks. I like to use my mix and chop for the first part to break up the big chunks. For a smoother sauce, use an immersion blender to blend everything together in the pot. 

Step 4. Once the sauce has boiled down to the correct consistency (this will be based purely on individual preference), pour into your cleaned and sanitized jars (running them through the dishwasher is an easy way to do this).

Step 5. Fill jars to ½ inch below the rim. 

Step 6. Run the rubber spatula up and down along the inside of the jar to remove any air bubbles. Add more sauce if needed. Wipe the rim clean. Do NOT forget this step. Jars with bubbles can explode in the water bath. Sauce on the rims will keep the jars from sealing properly. 

Step 7. Lids. Rinse the, one time use, canning lids in hot water. This is new compared to older lids which you needed to boil first. Then set them on the jar and attach the rings down. Do not over tighten the rings, a quick tight twist will do before you burn your fingers on the hot jar. 

If you are using reusable lids you will want to boil the seals and follow the instructions from the manufacturer. I purchased some from Tattler at www.reusablecanninglids.com

Step 8. Fill your spare pot (or now empty pot) half way with hot water and bring to a boil. If you have the stove space you can actually start the pot of water when you start cooking your sauce in the beginning (this also saves time). 

Step 9. Place jars in the pot, and cover with a lid to help it come to a boil quicker.


Step 10. Once boiling, set your timer for 30 minutes, and let it continue to boil (this is called Water Bathing)


Step 11. After the 30 minutes have elapsed, pull the jars out and set them on a doubled over towel on the counter. Listen for a small “pop” of the middle of the lid dropping down. This indicates that the jar is sealed correctly (for one time use lids). Let the jars cool completely. Check seals, remove rings, label, then store in your pantry.

For one time use lids, the bubble should be down and not pop up. For reusable lids, gently pick them up by the lid (it's terrifying the first few times), if the lid holds, the seal is good. 

Wanting a community to lean into? Join the FREE Courageous + Purposeful Mommas group! This community is for the Mommas, mommas to be, in the midst of raising, and kids grown, looking for tips on building your family up and providing for them through natural methods. Tips include: gardening, bulk buying, caning,/preserving, livestock, homesteading, and home remedies. Your family is precious, and this group is to help you gain the knowledge and tools to keep your family well and not reliant on outside professionals. Remedies and tips are easy and simple for the busy momma, time is precious after all, including pregnancy, birth, young kids, and illness. Trust your Momma gut again! This community offers the resources + community you need to help get started on your journey and prepare for whatever future you envision.

Join the Free Community


Click here to get the stories straight to your email:

Sign up for the Blog


For more on wellness tips click here:

Sign up for Wellness tips


For more on homesteading on your budget click here:

Sign up for Homesteading Tips


For more simple DIY updates click here:

Sign up for easy DIYs 


Read Older Updates Read Newer Updates