This post may contain affiliate links, which means that I may receive a commission if you make a purchase using these links, with NO additional cost to you.
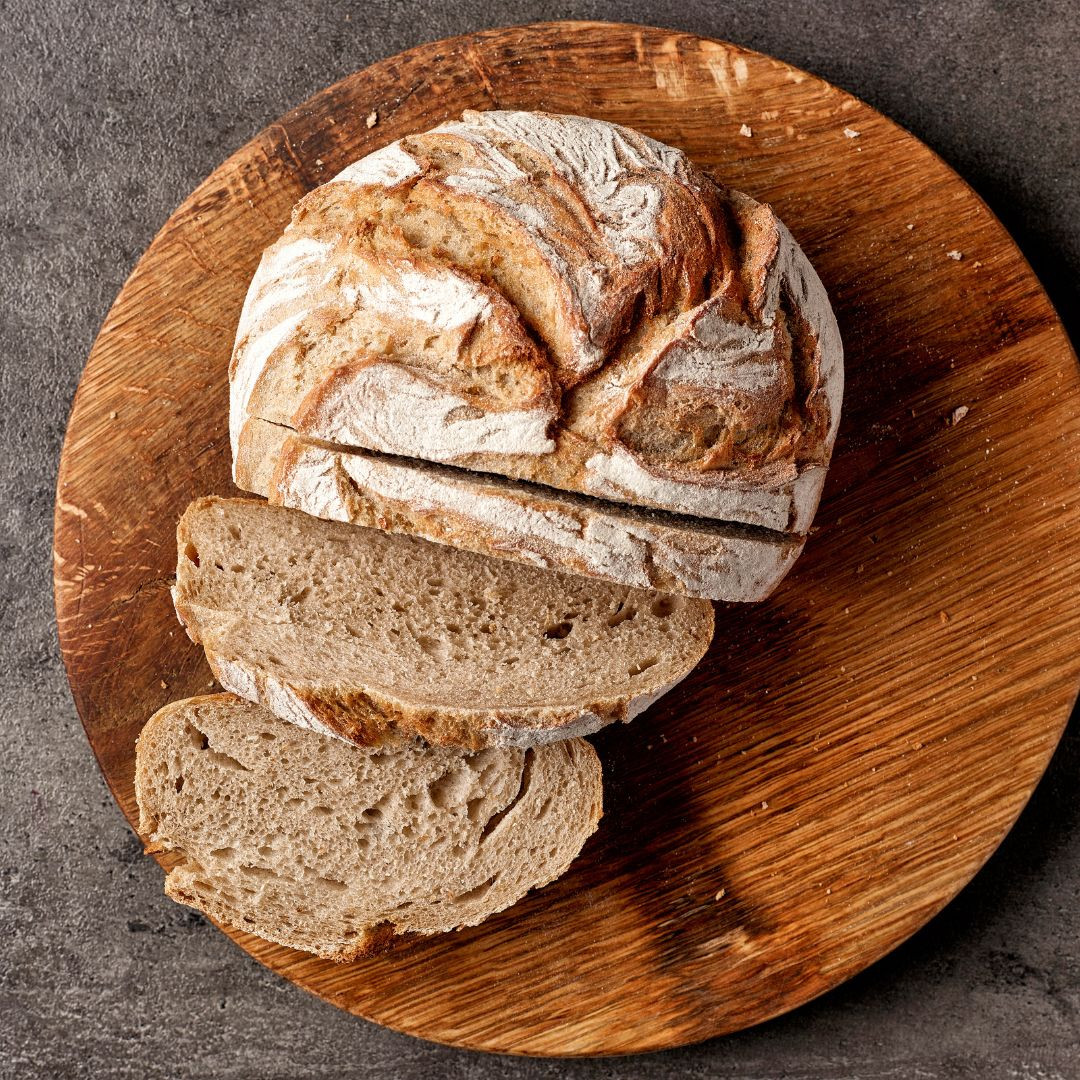
Sourdough is all the rage but making it Gluten free has a special twist. It’s not a one-to-one conversion and takes a little extra care. Below is the classic Gluten Free Sourdough recipe I first learned and then have added modifications to make it work for my home.
Build a levain/preferment. Read two options here, I typically use the jar method.
Ingredients:
- 320g warm filtered water
- 10g psyllium husk
- 15g maple syrup (or honey)
- 150g active gf sourdough starter
- 310g 1:1 gf flour blend
- I use fresh milled flour (oats and brown rice). If doing so, you will need to add starch (like potato starch). The ratio is 1/3 starch, 2/3 grain. For this recipe, it would be 206g milled grain, 103g starch. I buy my grains and starches from Azure Standard.
- 9g sea salt
Prepare your Dough:
- Using a food scale, measure & combine the warm water, psyllium husk & maple syrup in a measuring cup or glass bowl and allow to gel.
- In a large mixing bowl, measure & combine your gluten free flour and sea salt.
- Add your psylium mixture to the flour then mix in your active starter
- Mix dough with a dough whisk, by hand, or in a stand mixer on low until dough comes together. If dough is still wet and sticky, add 1T flour at a time until dough comes together and is smooth.
- Remove dough from bowl and knead on a lightly floured work surface and form into a round or oval shape.
- Lightly flour or line your banneton or proofing bowl with a towel. Transfer your dough to the bowl with the smooth side down and any seams up
- NOTE: If you are using a sandwich loaf pan, place seams down and proof your dough in the pan.
- Cover with a tea towel and proof for 2 1/2 -3 hours at room temperature.
- If your house is cool, place it in the oven with light only on, or on a heating mat on the lowest setting, or a warm vent.
- You can also proof your loaf overnight in the refrigerator, which also helps develop a sourer flavor.
- Check your dough after 2 hours. If your dough has been proofing in the oven, remove it and carefully set aside do not disturb. Allow your dough to continue proofing 30-60 minutes more. Checking every 30 minutes. NOTE: the dough may not “double” while proofing but will.
- WHEN READY TO BAKE Place your dutch oven inside the oven and preheat to 425 degrees (this allows your dutch oven to get up to temperature.
- When your dough is proofed, turn dough out onto a folded section of parchment paper or dough sling from amazon (think of this as a sling that makes it easier to transfer to a hot dutch oven). Score your bread as desired, cutting in at least 1/4-1/2 inch - this allows steam to escape. Without scoring, your loaf will naturally crack.
- Remove hot Dutch oven from oven and carefully lower your dough into the dutch oven, careful not to drop which will deflate your bread and cause gumminess. Replace lid and place in oven.
- Bake for 45-50 minutes. After 45 minutes, remove the lid from the dutch oven Reduce temperature to 400 degrees and continue baking 35-50 minutes until golden brown on top. The exact time will vary depending on your oven and how golden you want your bread. When done, remove Dutch oven from oven and carefully remove loaf, using the sling.
- Allow to cool completely before slicing- this is the hardest part, but worth it for the best texture. After slicing, store in a tea towel, linen bread bag or beeswax wrap on the counter for up to 2 days.
NOTE: you can freeze the loaf whole for later use.
Now enjoy your sourdough bread!
Wanting a community to lean into? Join the FREE Thriving Through Farm Distress: Wife’s Support Network! In our community, we embrace the challenges of farm life and provide a supportive space for wives facing the complexities of managing a family farm. Whether you're navigating financial pressures, day-to-day operations, or seeking ways to create a thriving home, we're here for you. Explore gardening tips for cultivating your own oasis, share insights on animal care, and discover practical family budgeting strategies. Together, let's grow through challenges, flourish authentically, and sow the seeds for a resilient and thriving farm life. Join us on this journey of resilience and abundance!
As I've grown in my journey as an entrepreneur, mom, gardener, and livestock owner, I struggled to find a planner that met my needs and kept me organized. So, I MADE MY OWN. You can look at it on the link below and buy it on amazon below.
Don't want the whole calendar part? I got you! I pulled the gardening and animal care pages out and put them in a book all their own.
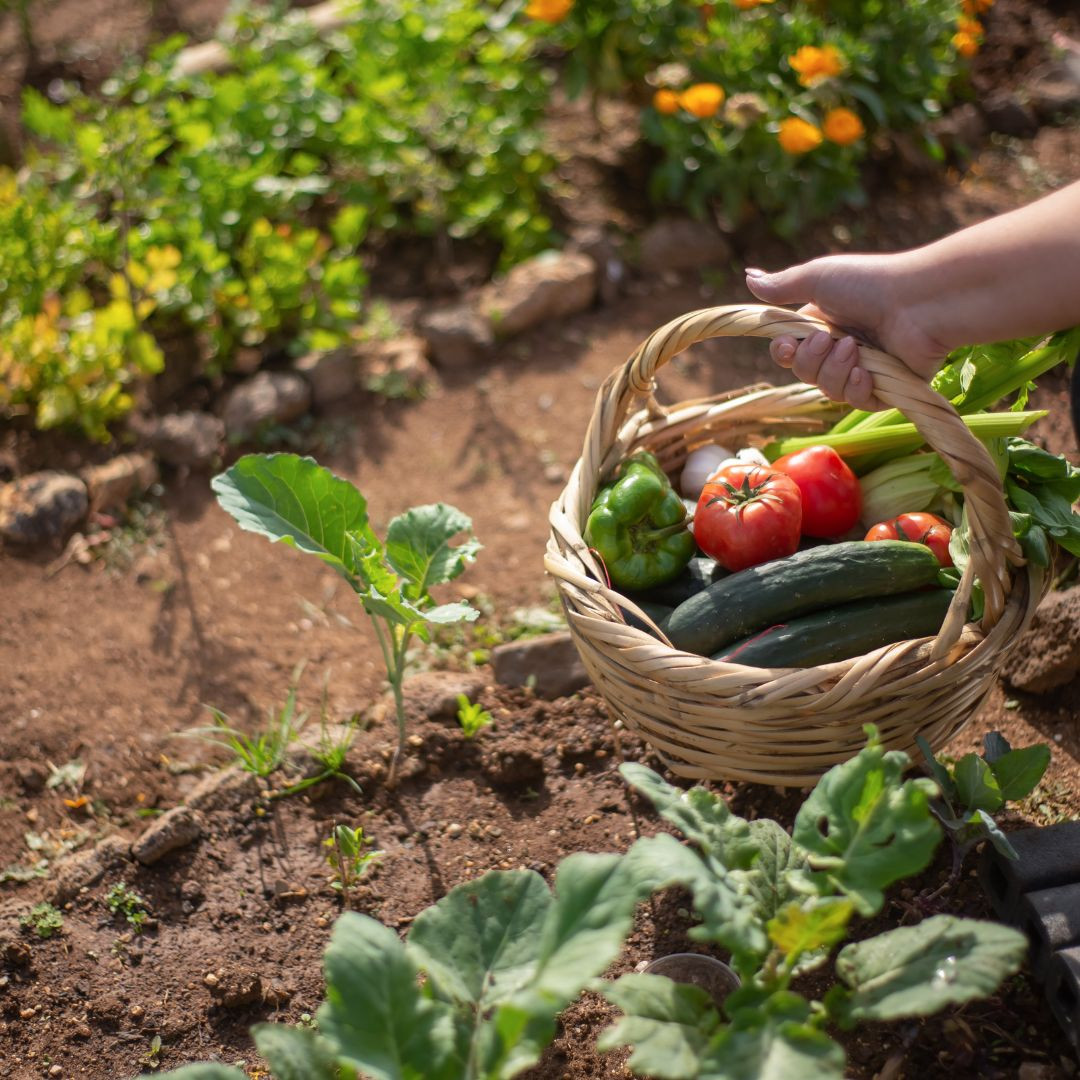
Starting to garden doesn't have to be hard! I gathered all the tips I've learned over my gardening learning curve and made them into a simple course to jump start your gardening your life.
Supporting Your Family Naturally from the Inside Out community!! This community is for Mommas, looking to Support Your Family from Nature for Wellness. Tips range from nutrition, herbals, detoxing, natural cleaning, and essential oils. Basically, all the things I’ve learned slowly over the past 5+ years of my journey. We have moved off Facebook, to better serve our community and be able to discuss openly options for providing for your family in the best way possible.
Join the FREE Community
Join the FREE Community
I've had 3 very different pregnancies. After the first traumatic birth, I learned better and how to care for my body naturally and prevent common pregnancy and birth problems before they arise. This quick course will get you the tools you need to have a naturally healthy pregnancy, labor, and delivery. My first pregnancy I had a normal western medicine all the things pregnancy. My second? I flipped to completely natural, no medicine. Bonus: Preventing Preeclampsia Without the Aspirin & Healing from Birth Trauma


0 Comments