This post may contain affiliate links, which means that I may receive a commission if you make a purchase using these links, with NO additional cost to you.
- Freshness: Enjoy the taste of summer all year long.
- Health: Control over ingredients means no unwanted preservatives or additives.
- Cost-Effective: Save money by using what you grow.
- Canning jars
- Canning lids
- Canning rings
- Jar funnel
- Long spatula or knife
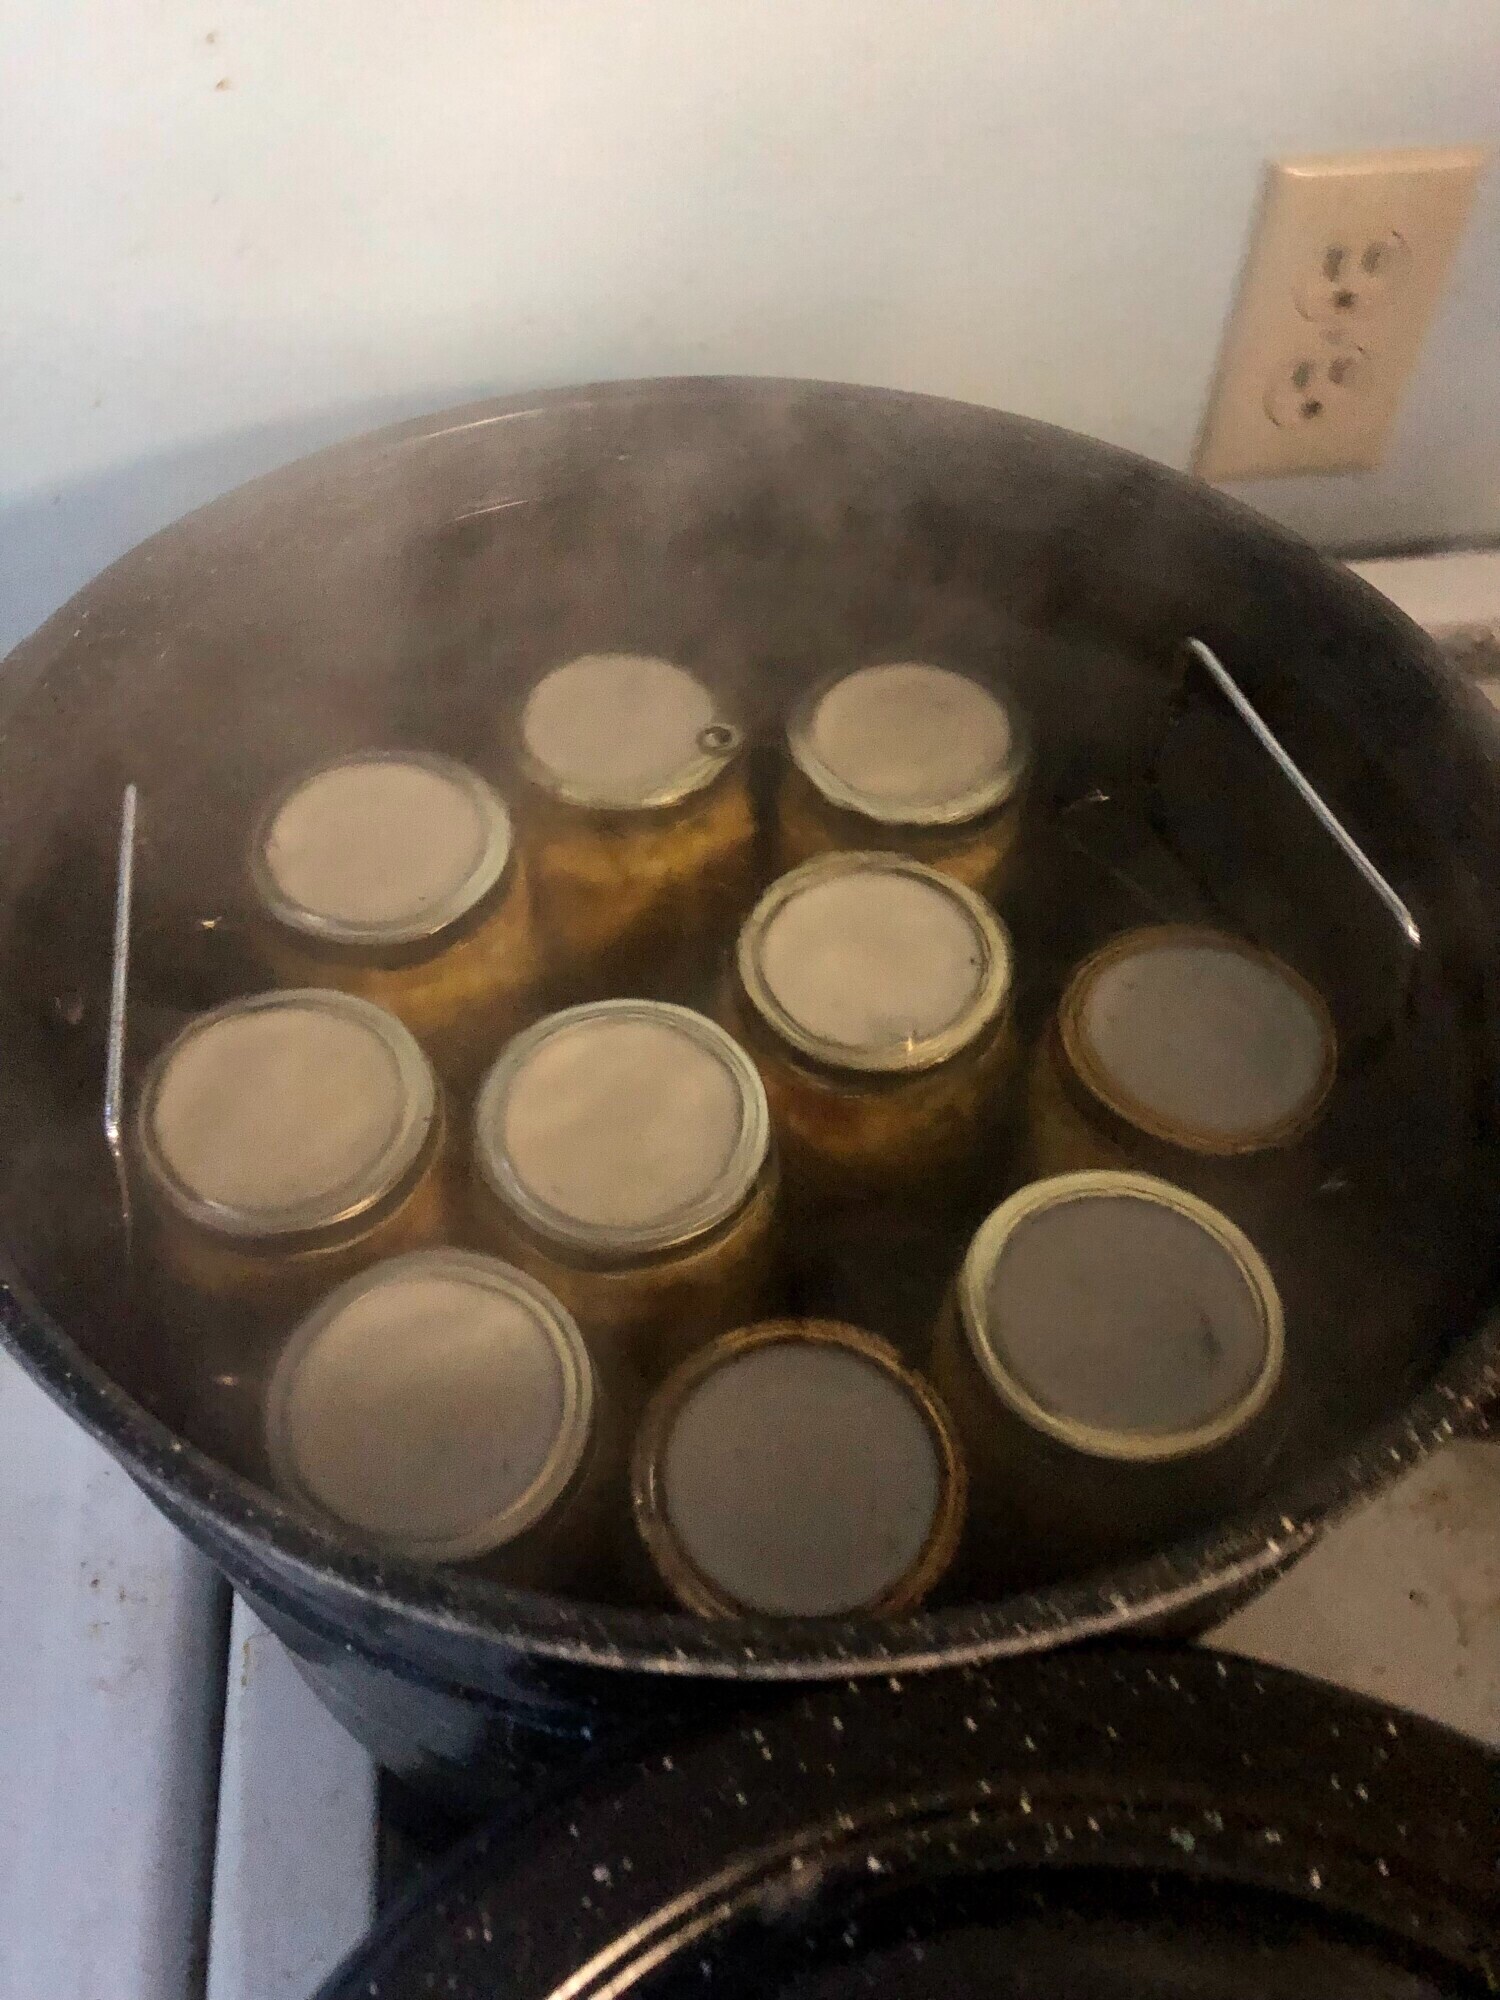
- Hot water bath canner
- Large stock pot or roaster
- Sieve or immersion blender
- Tomatoes
- Citric Acid or Lemon Juice
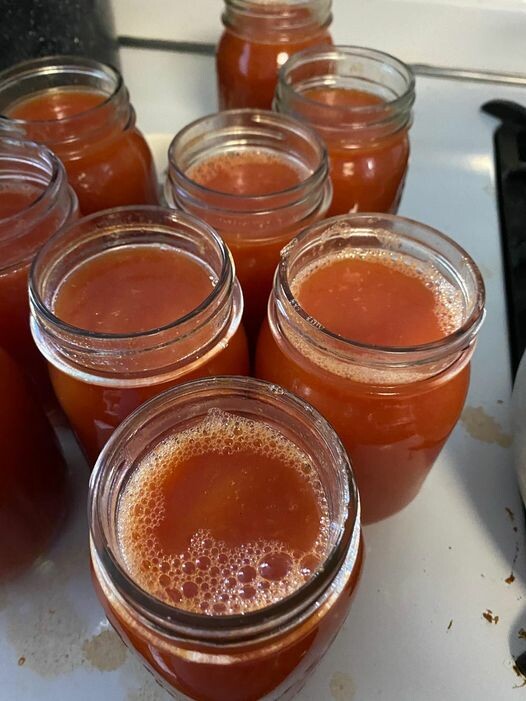
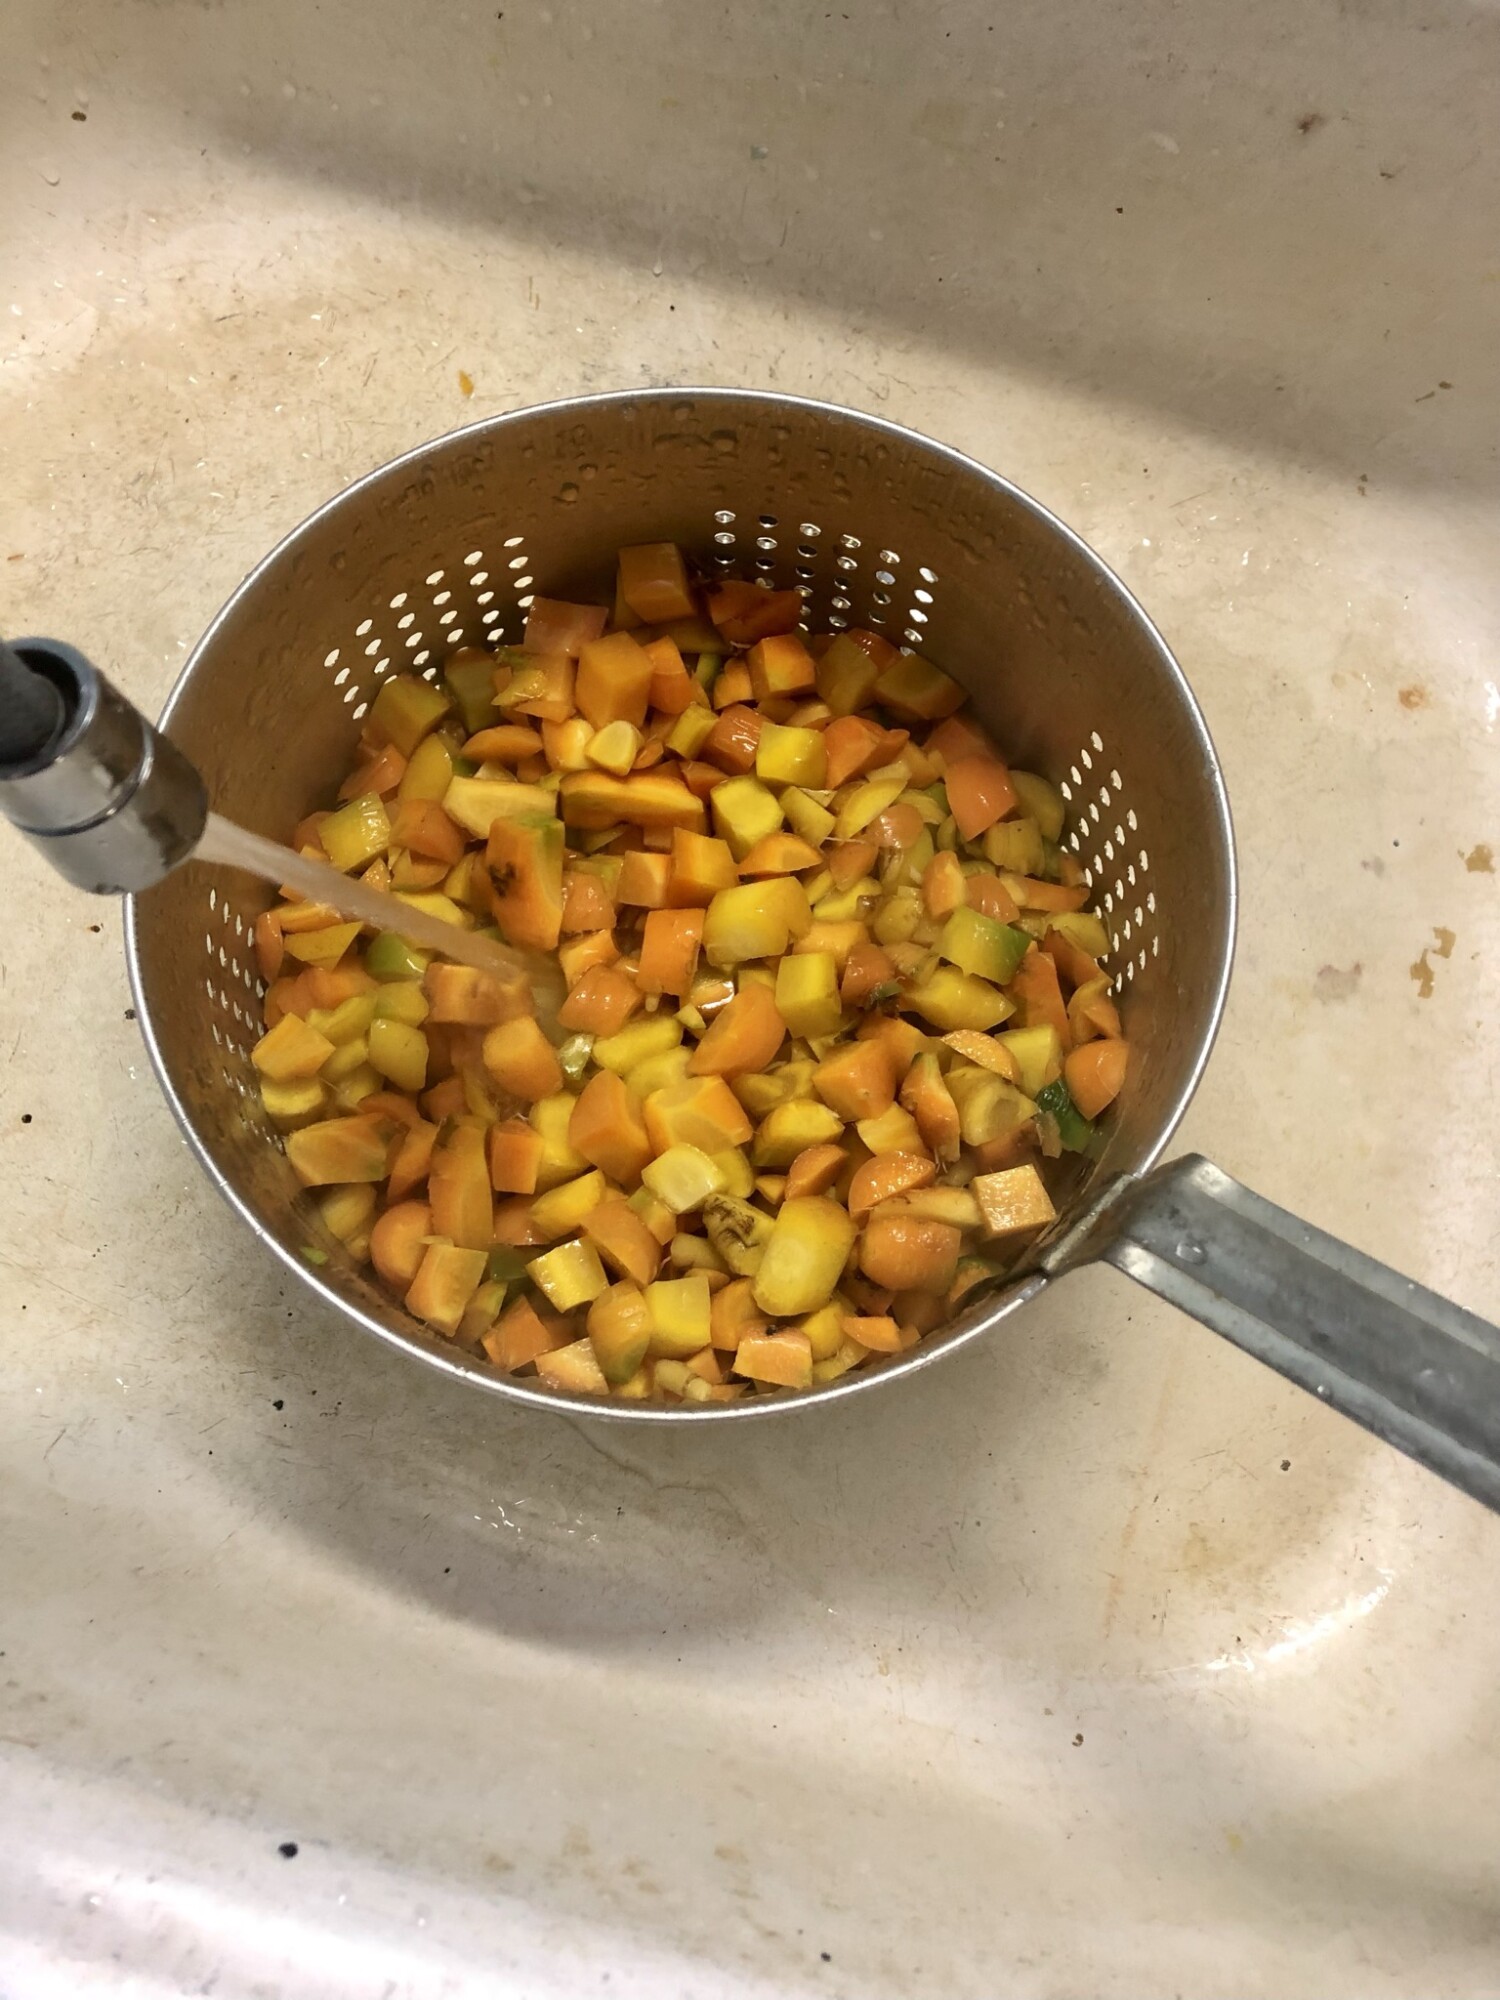
- Harvest Fresh Tomatoes or if you have frozen tomatoes, pull them out of the freezer. This is actually my preferred way as you can drain some of the water off and skip the slicing step.
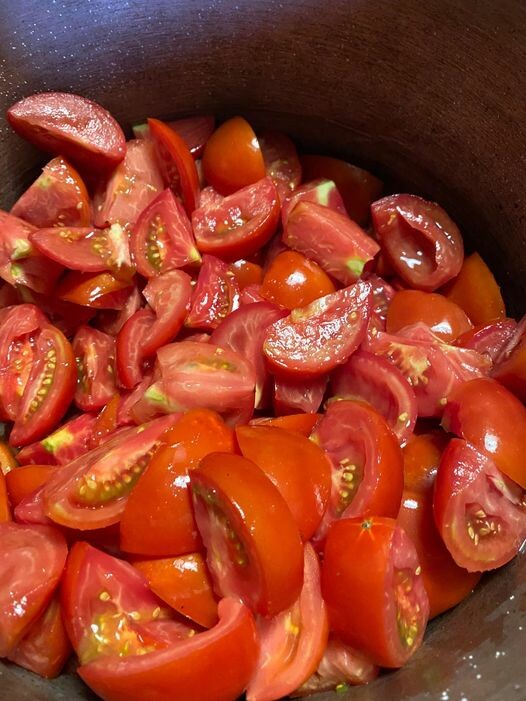
- Slice the Tomatoes into quarters. There's no need to blanch or core them; just toss them into the stock pot.
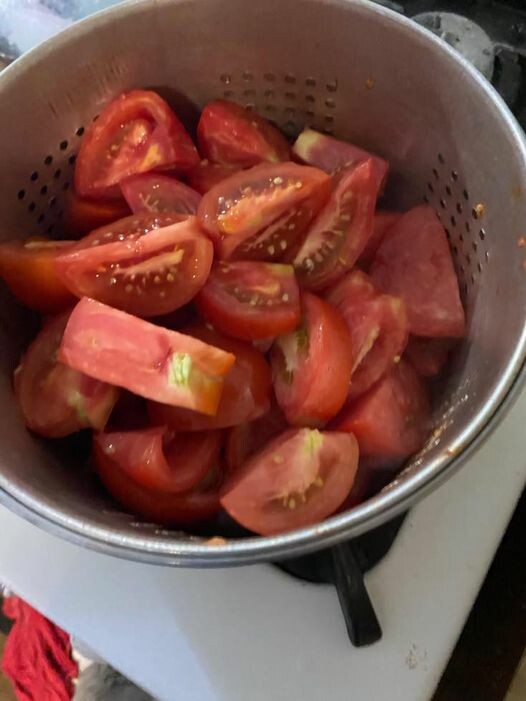
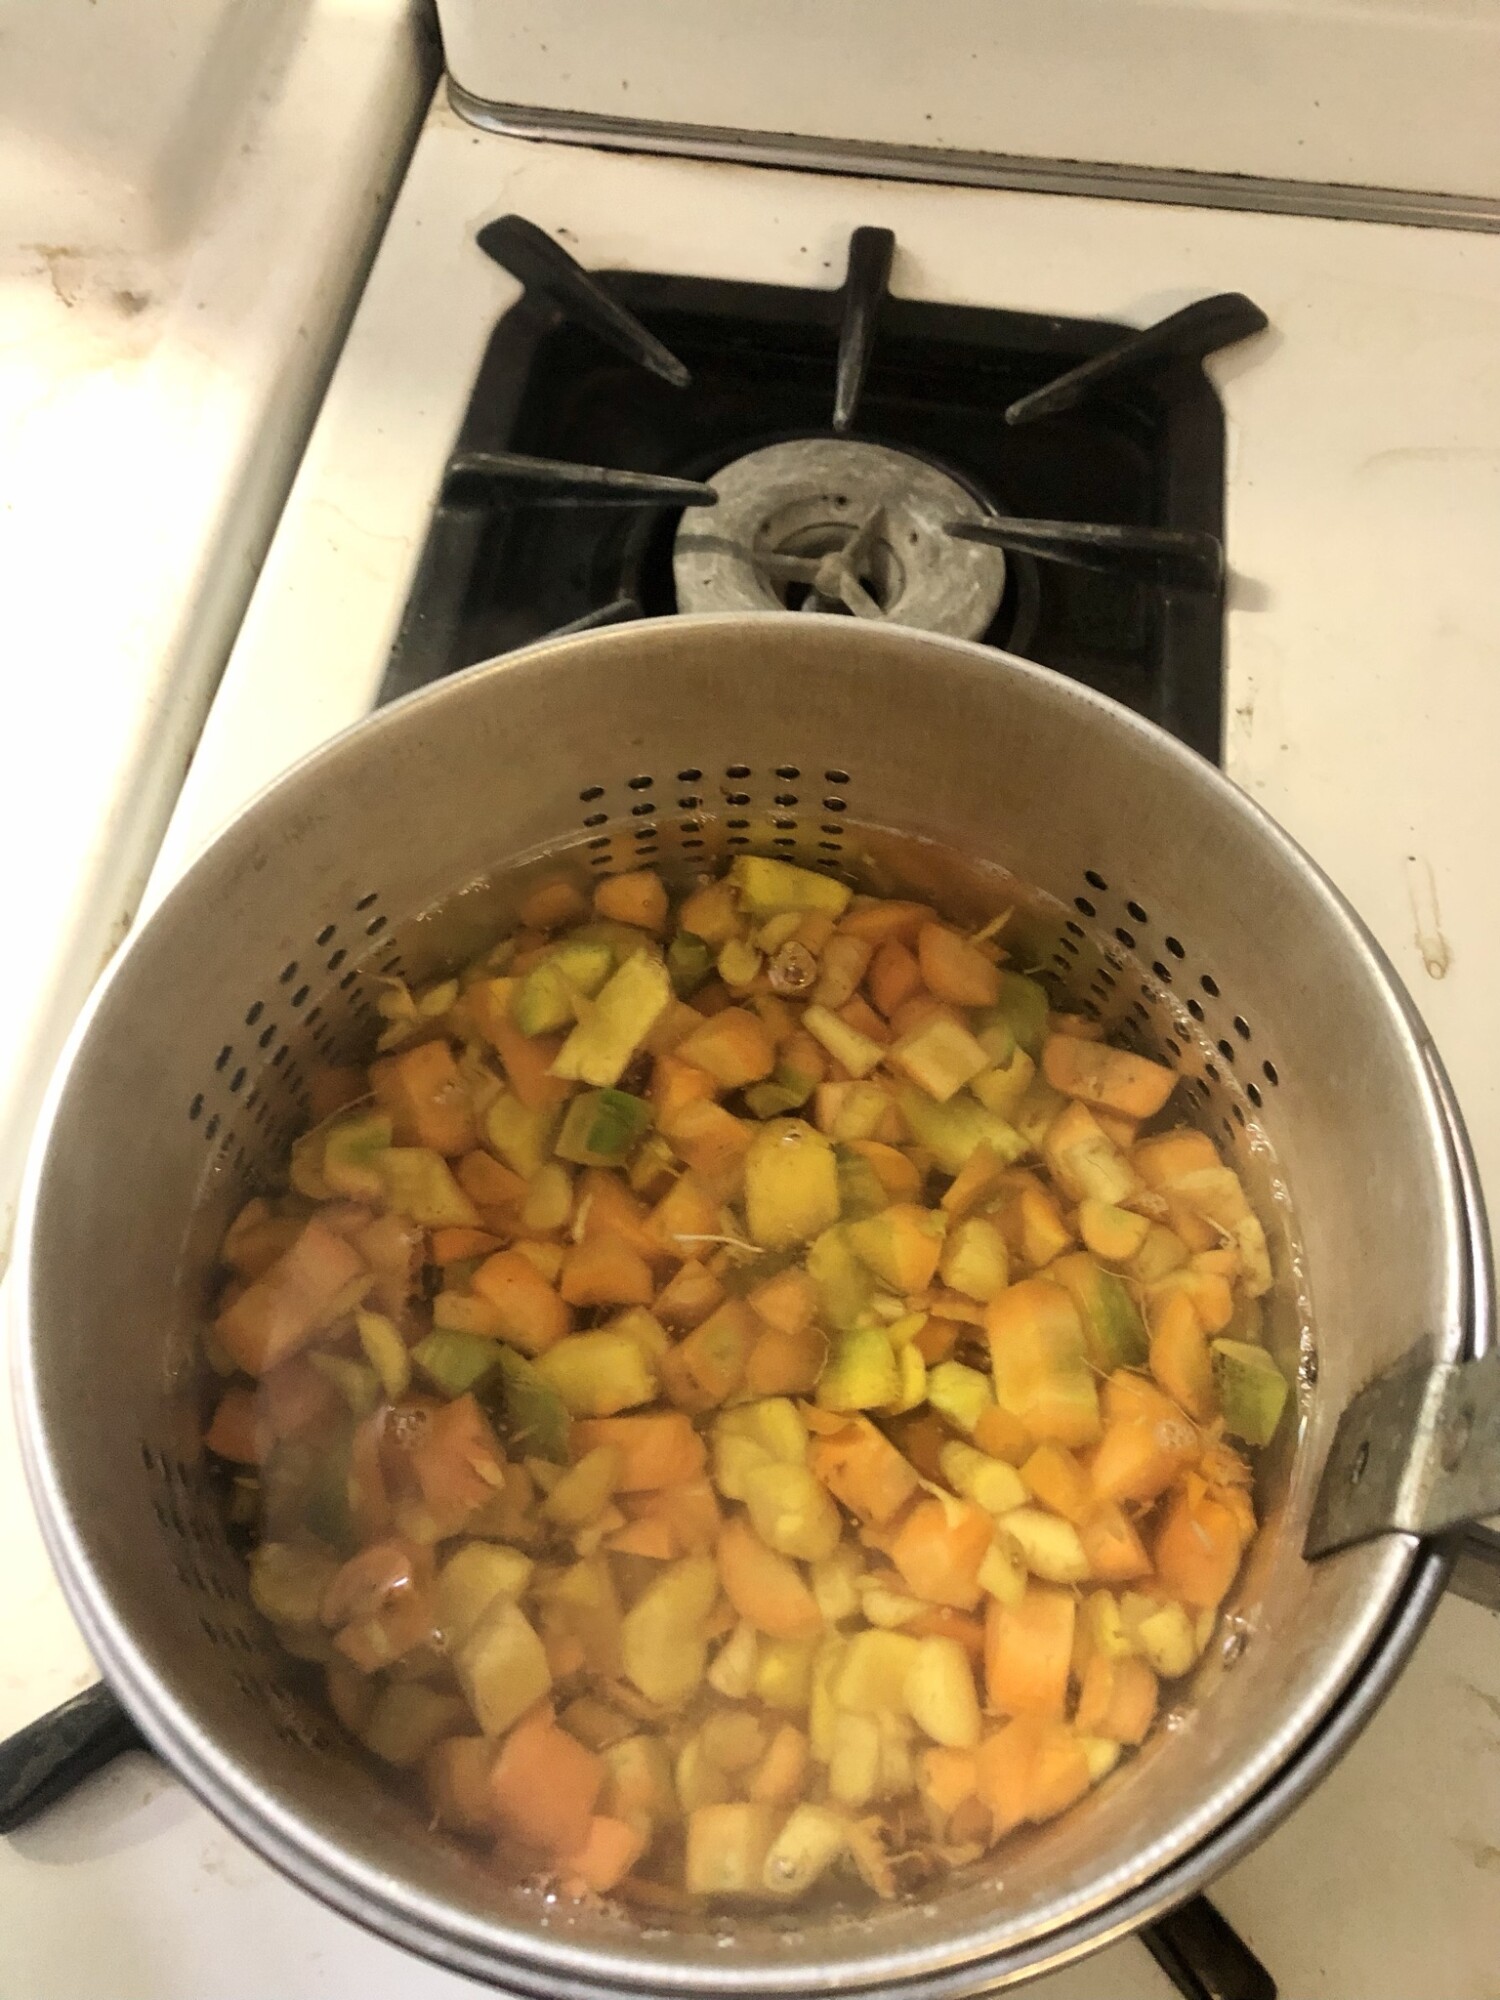
- If the tomatoes are firm, place them in a pot to steam until they soften. Using a strainer can make this easier.
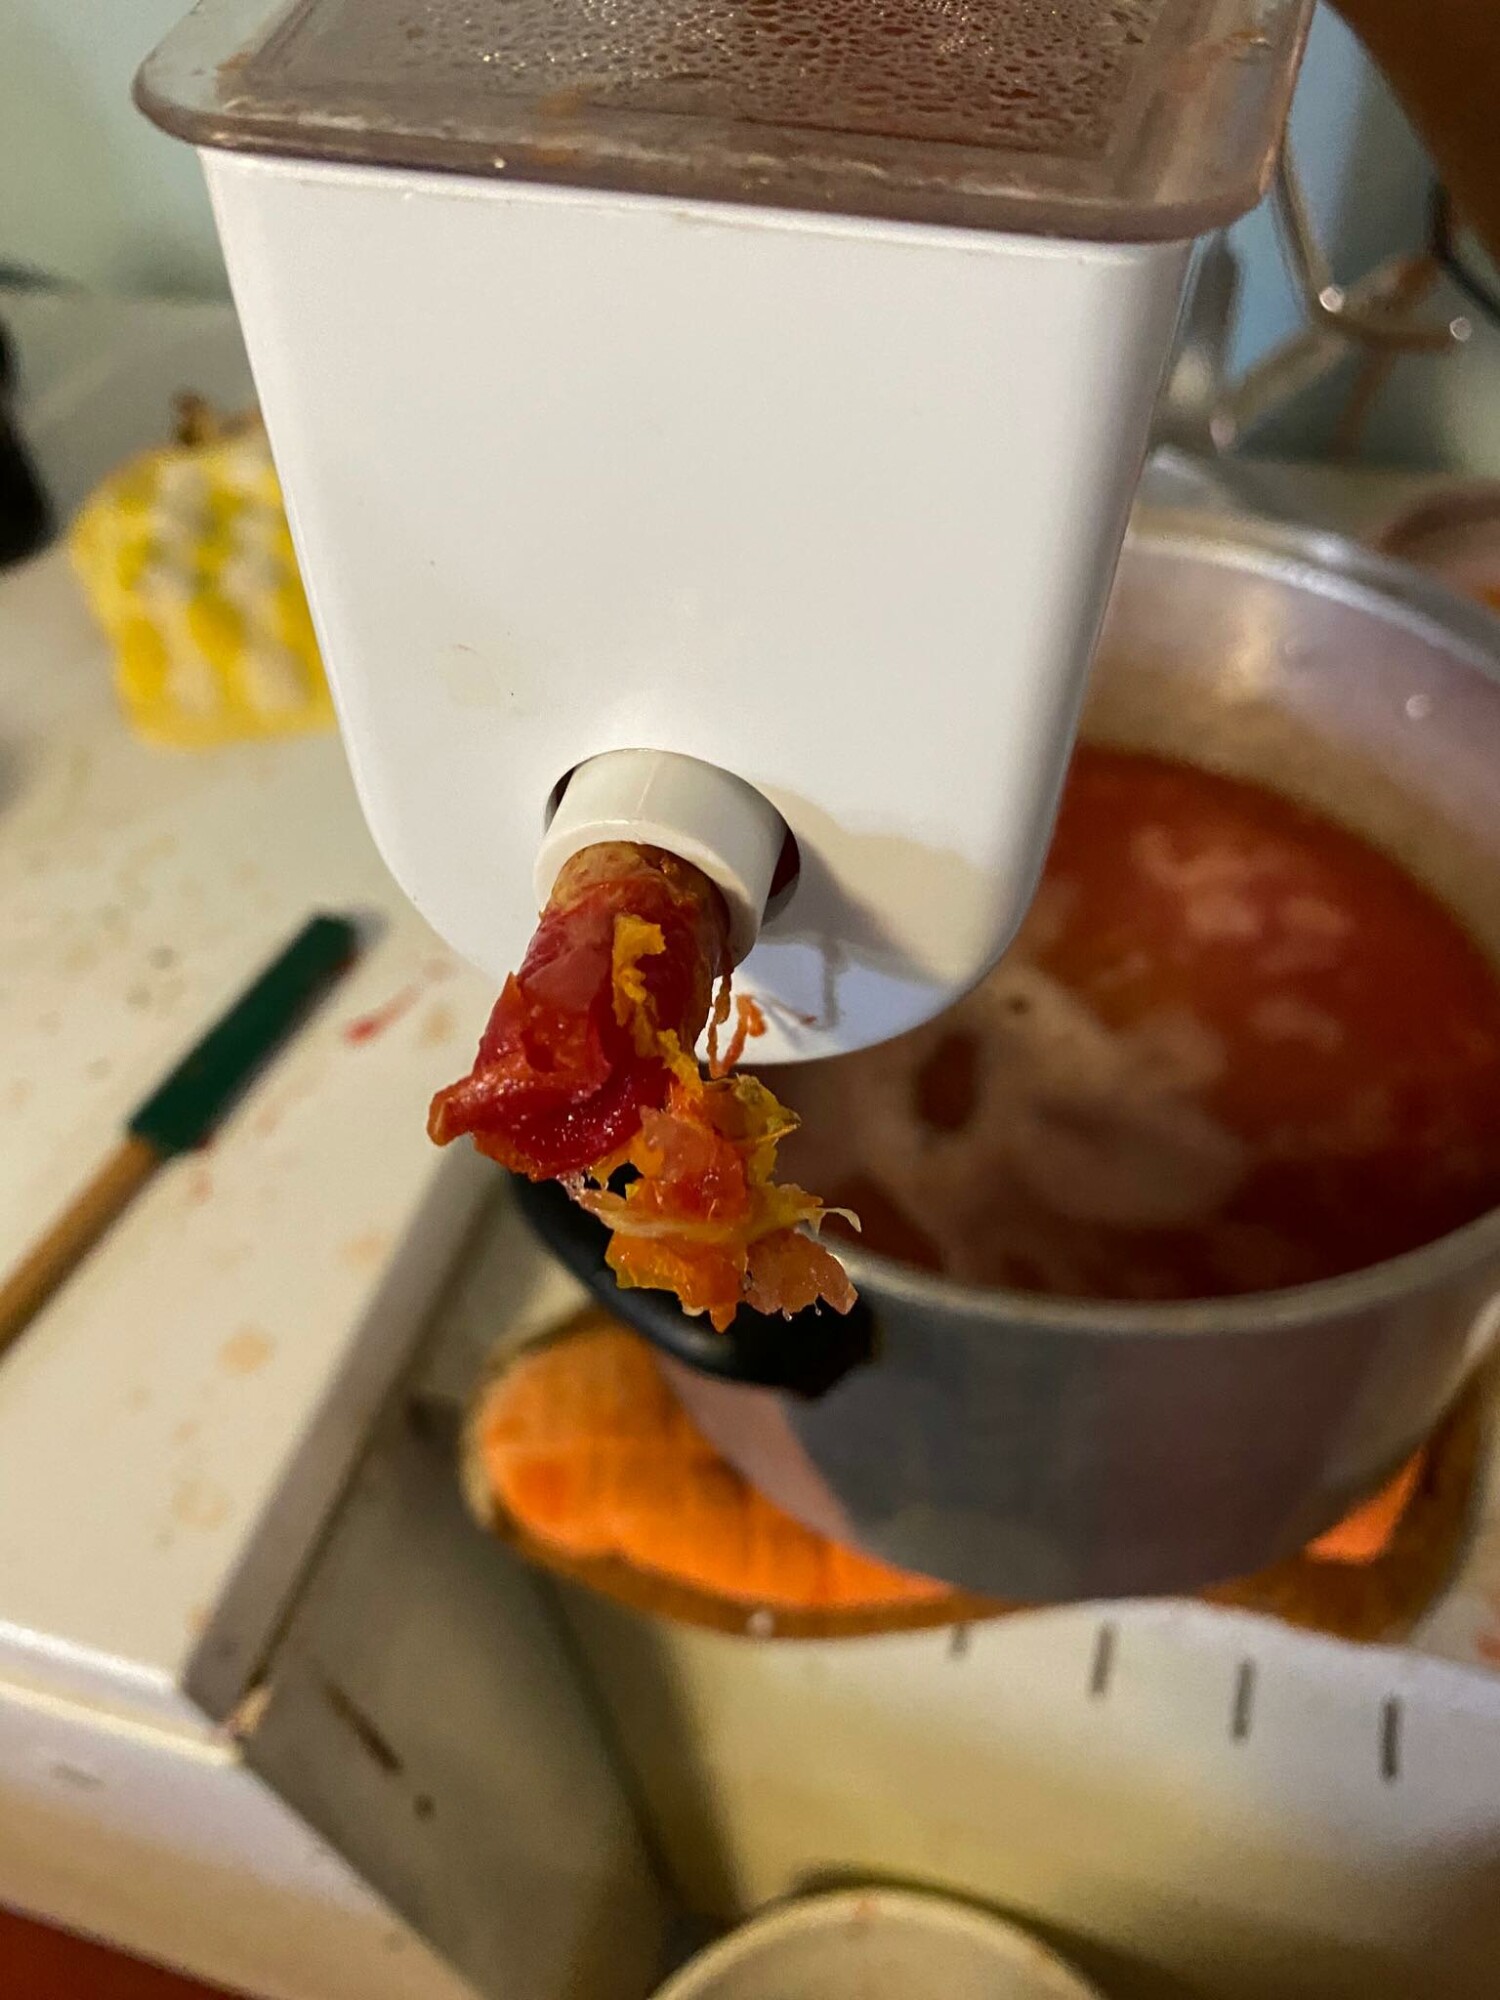
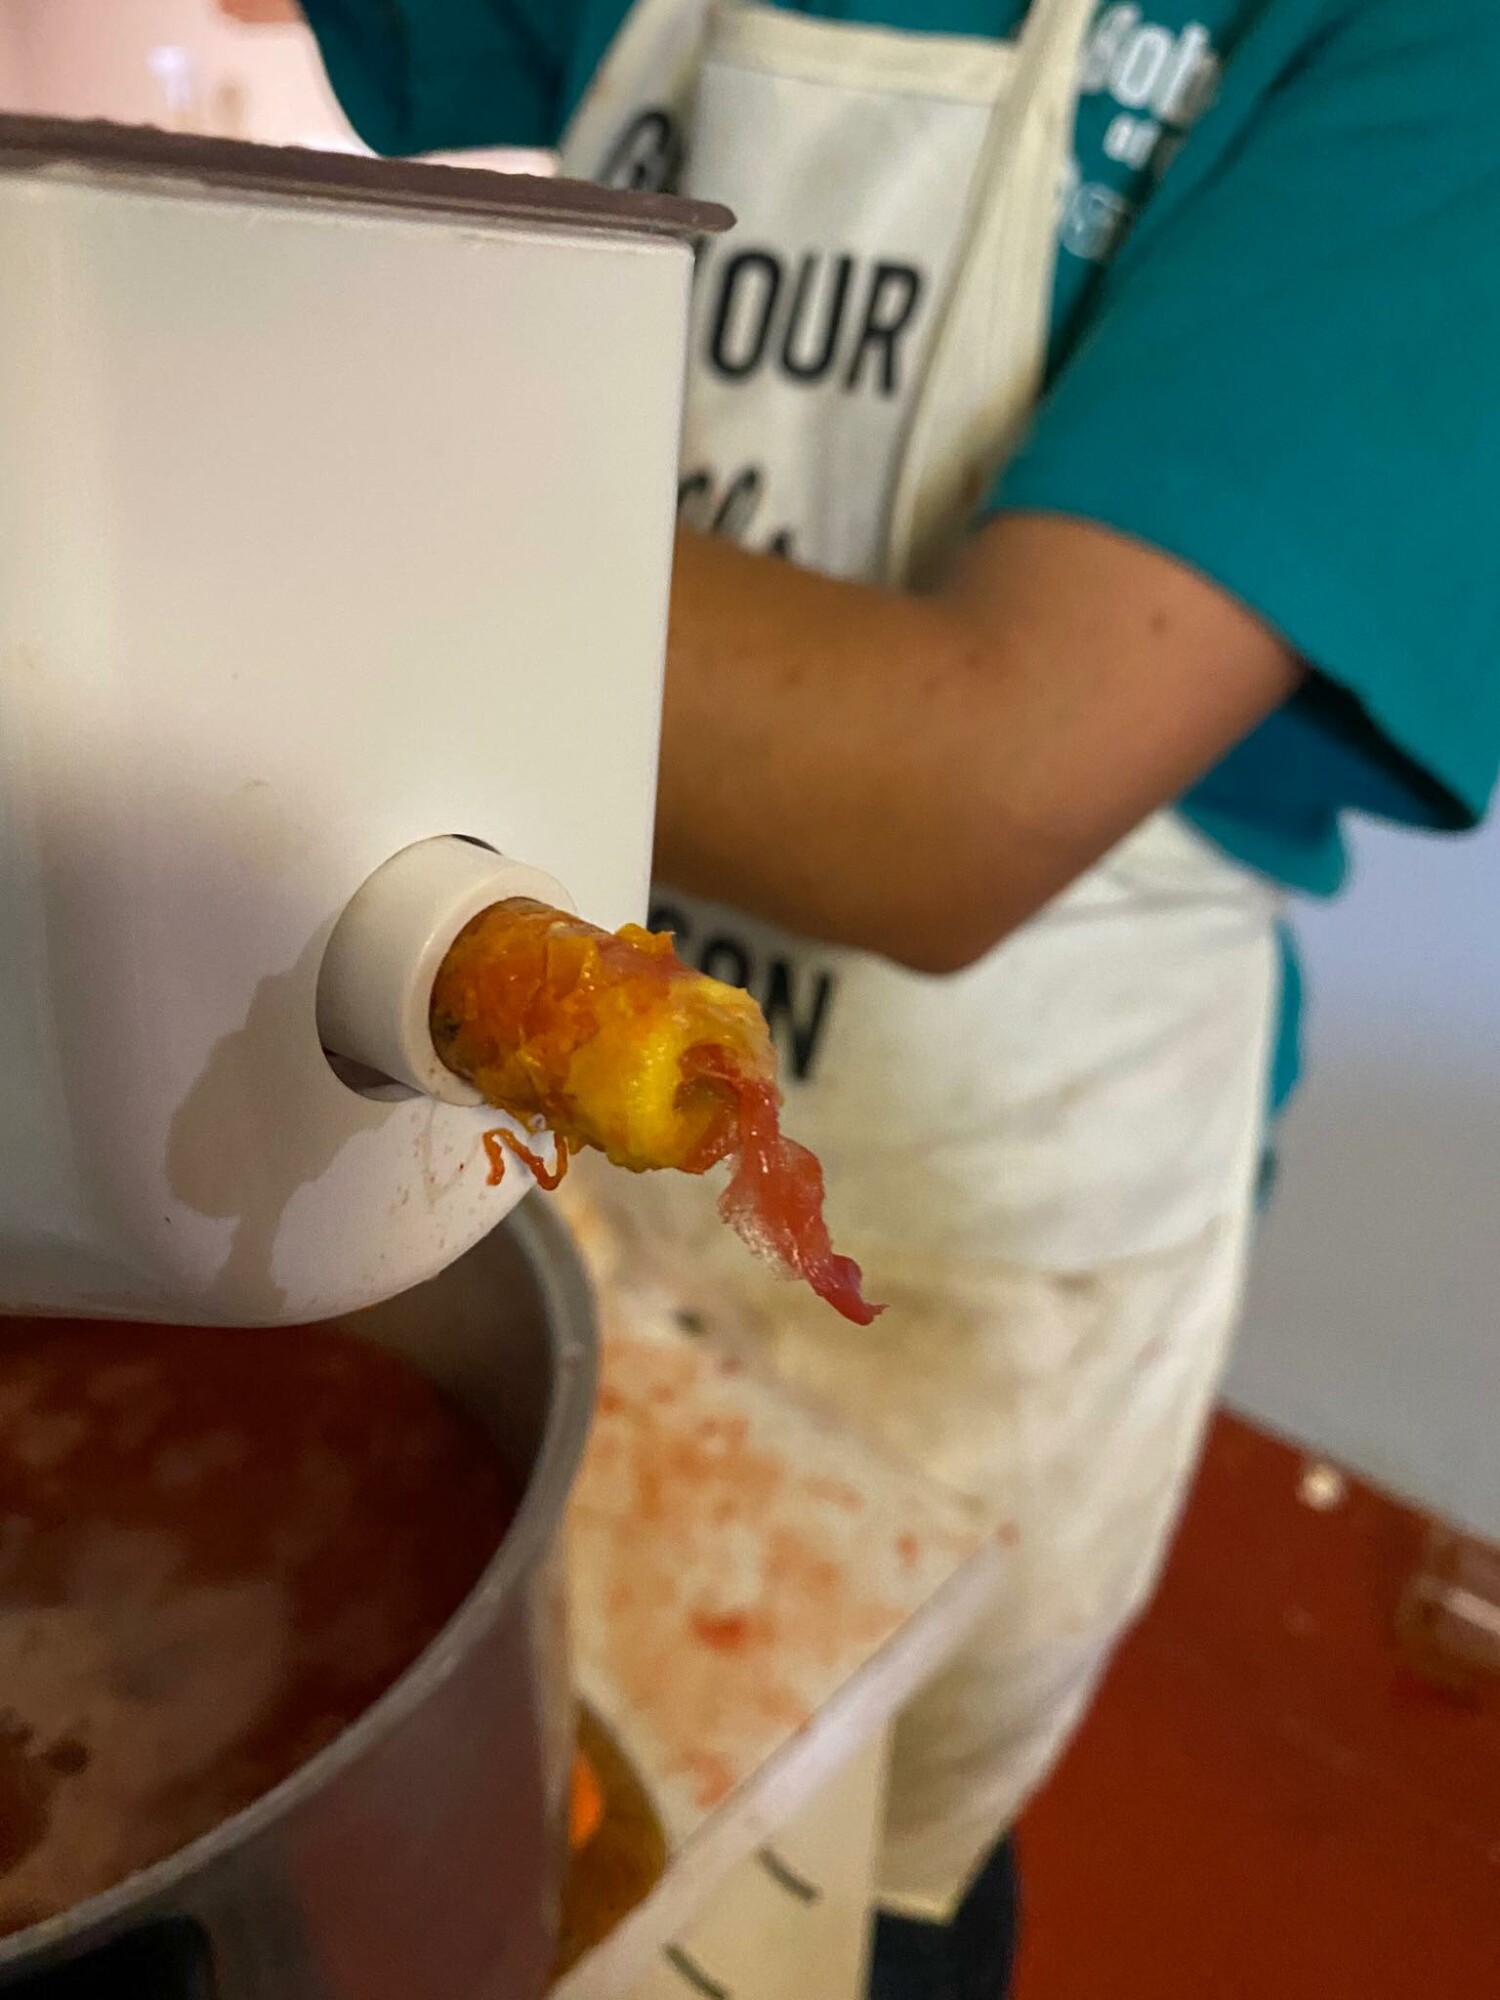
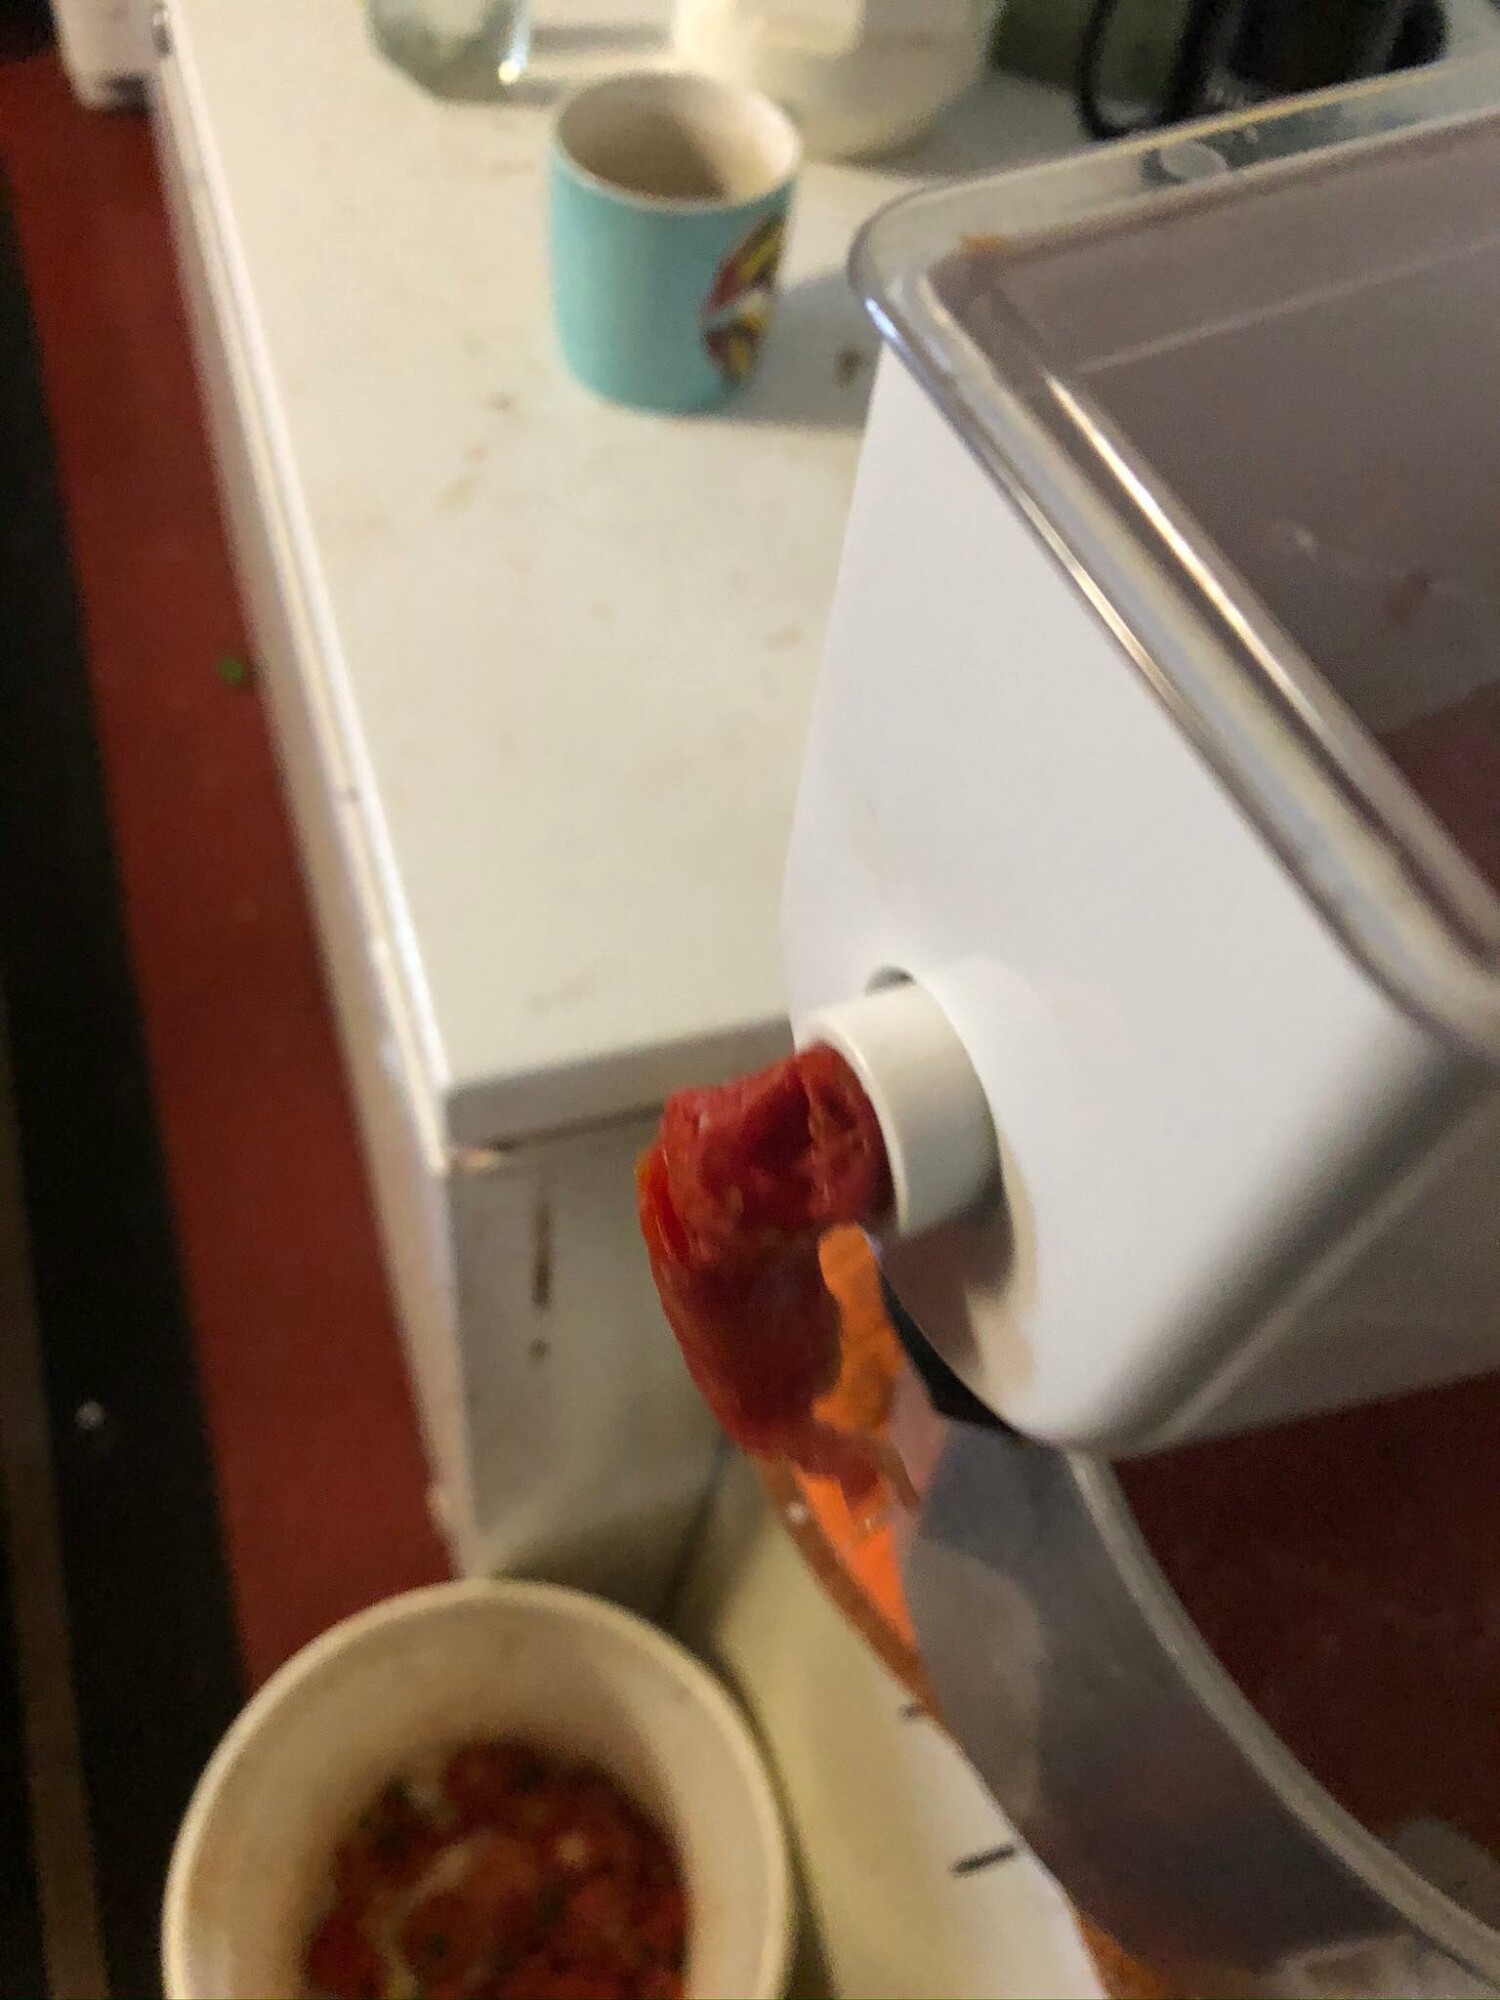
- Run the softened tomatoes through a sieve to separate the juice from the skins and seeds. This will give you a smooth tomato base. Alternatively if you don't care about the skins and seeds, you can use an immersion blender and blend the whole tomatoes. Note you will probably have a few rouge skins if you choose to do this.
- You can dry the sieved skins and seeds down to grind into powder and make tomato paste when needed.
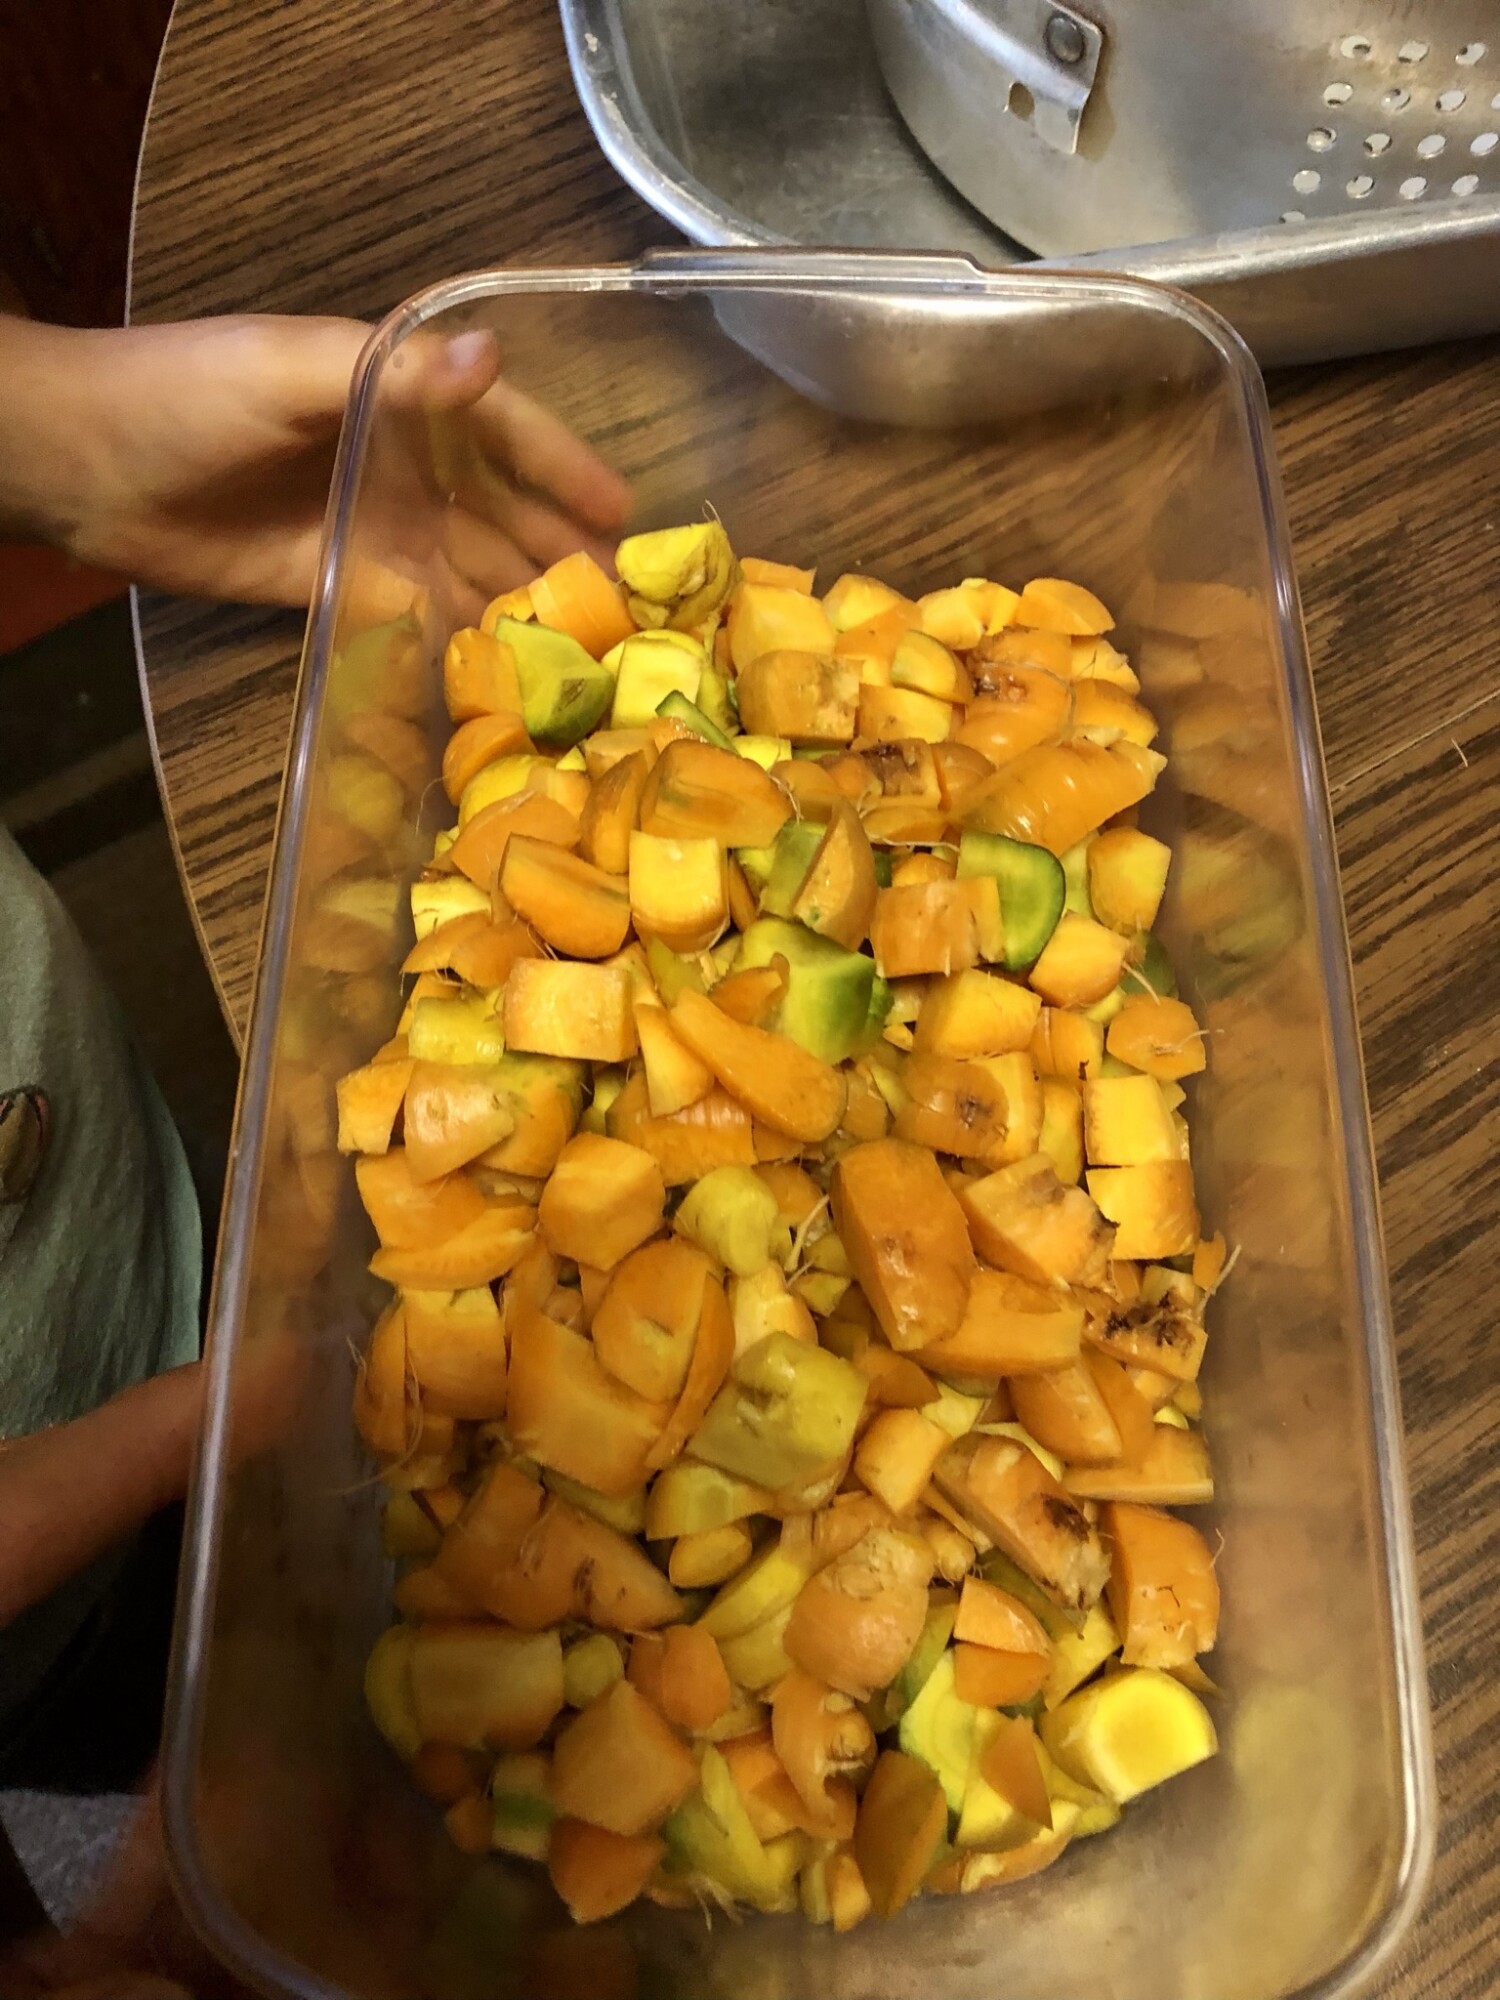
- Pictures 1 & 2 are how the rejects should look. Picture three the tomatoes are a bit firm yet and I’m loosing quite a bit of pulp, not just skin and seed.
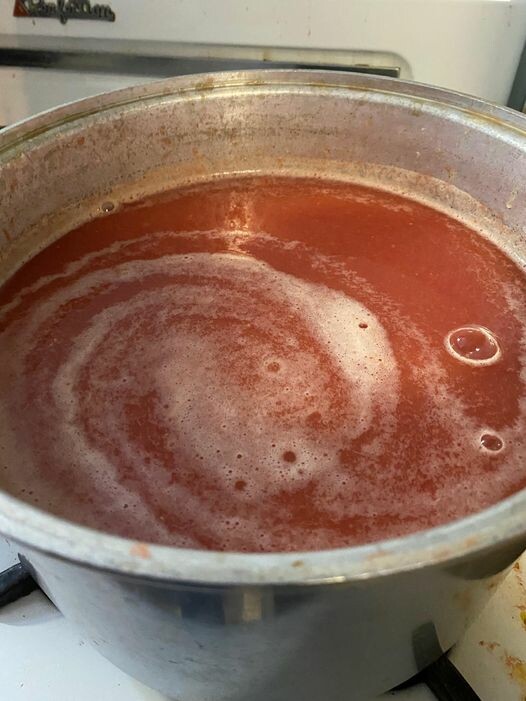
- Allow the tomato juice to cook down to your desired consistency. This could take a while depending on your preference. This is where a crock pot or roaster can come in handy. Using a roaster or crock pot you can walk away and do other things easier. You can also let them cook overnight and can them in the morning.
- Stir occasionally to avoid burning the bottom of the sauce if using a stock pot.
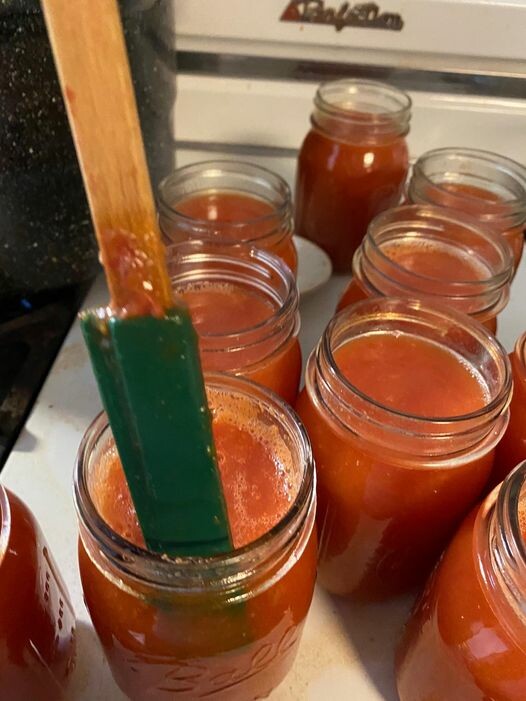
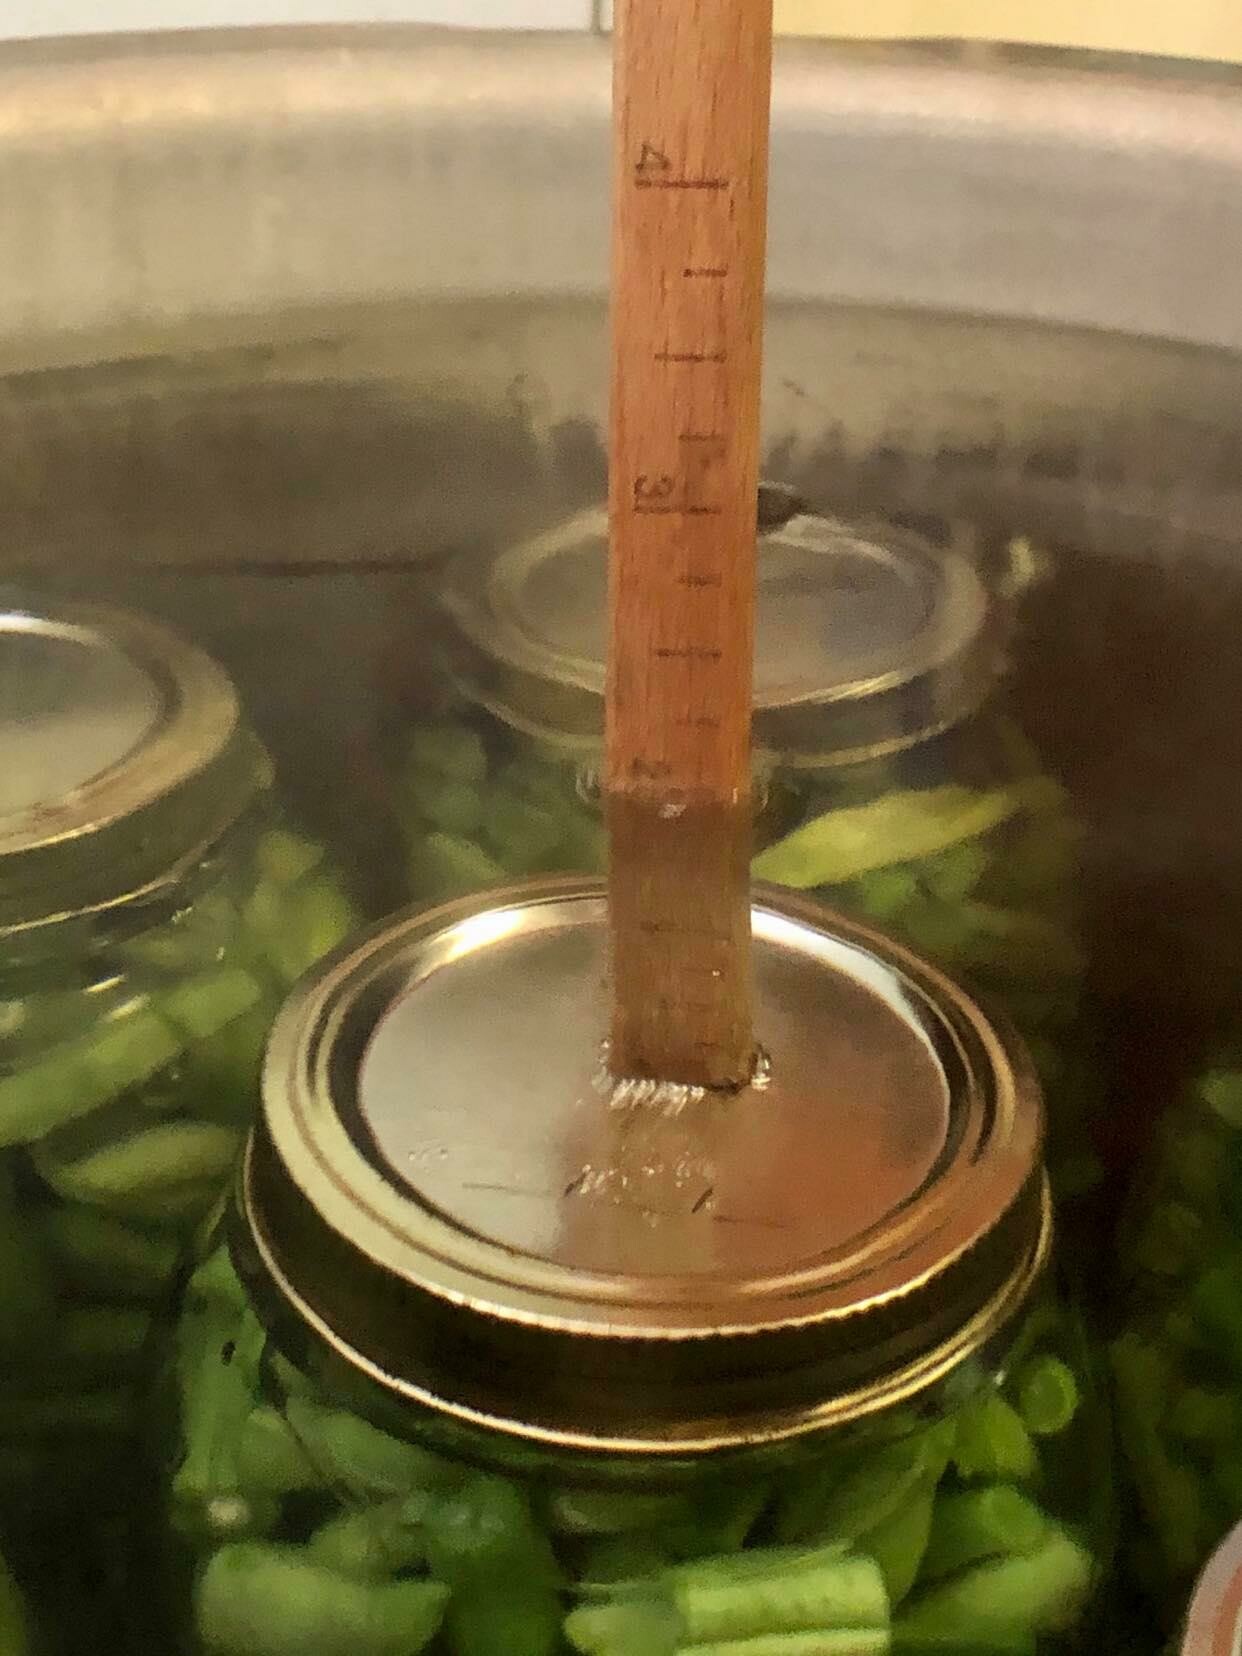
- Fill sterile canning jars with 1/4 teaspoon citric acid or lemon juice per pint of sauce and the hot tomato sauce, leaving about ½ inch of headspace.

- Use a long spatula or knife to remove air bubbles by running it along the edge of the jar. Wipe the rim clean to ensure a proper seal.
- For one-time-use lids, rinse them in hot water before placing them on the jars and securing them with the rings. Do not over-tighten.
- For reusable lids, follow the manufacturer’s instructions. Tattler reusable canning lids, for example, recommend boiling the seals.
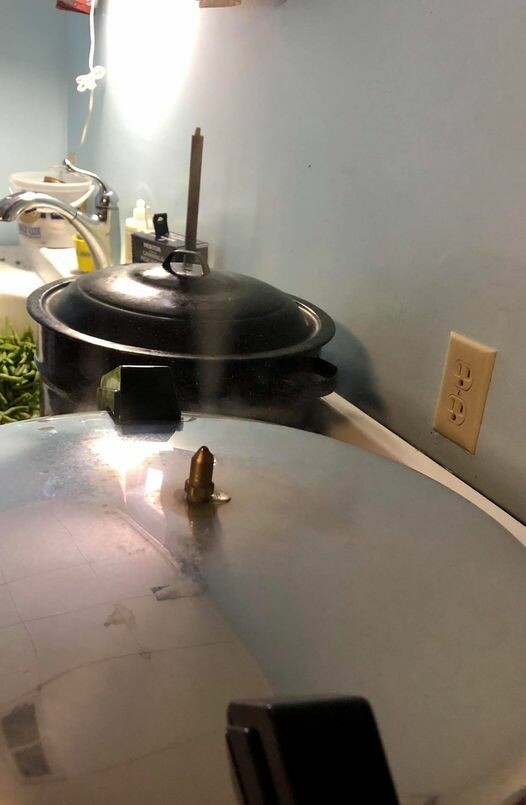
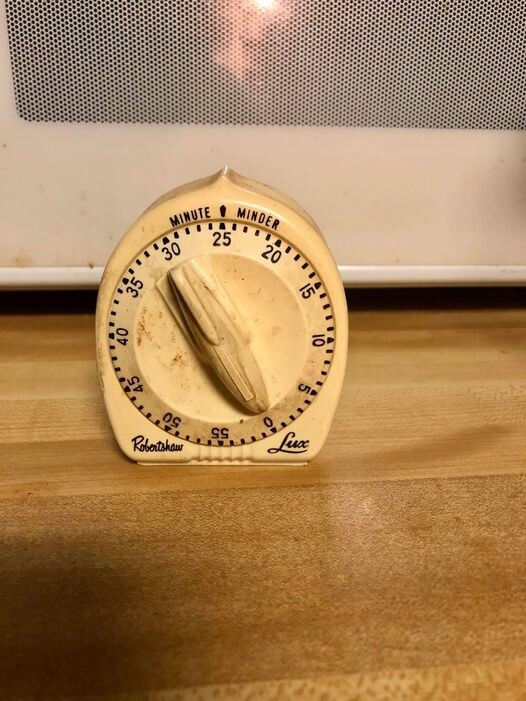
- Place jars in a hot water bath canner. Once the water is boiling, process the jars for 20 minutes.
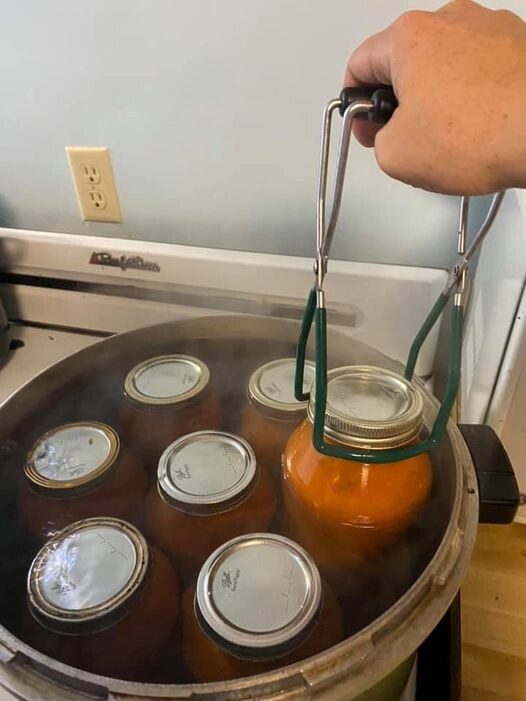
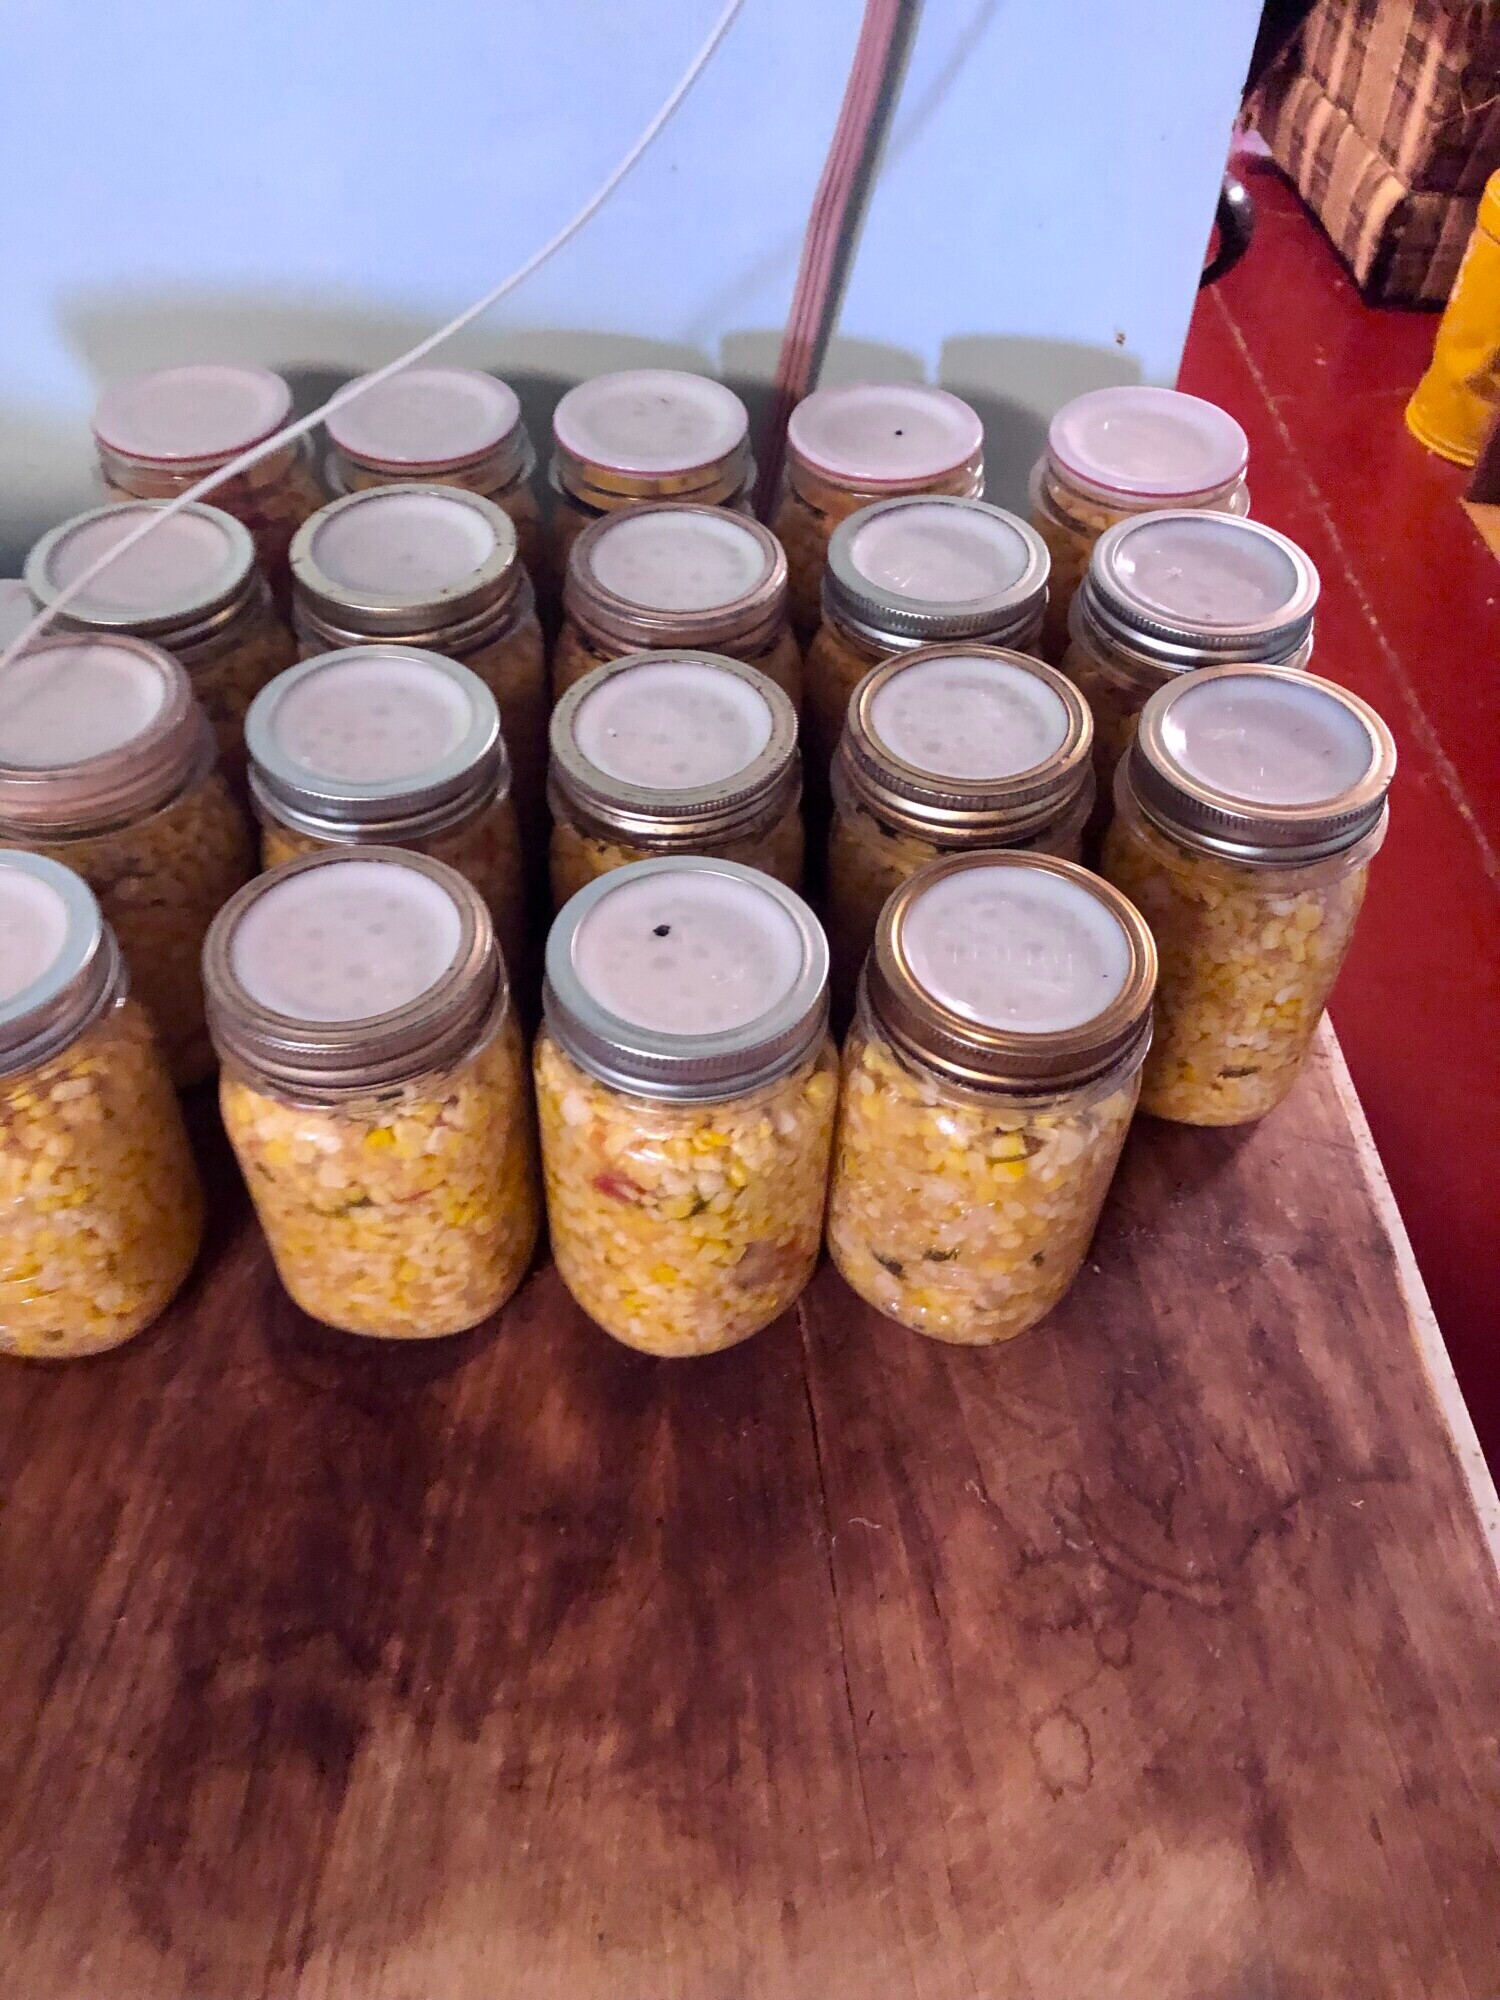
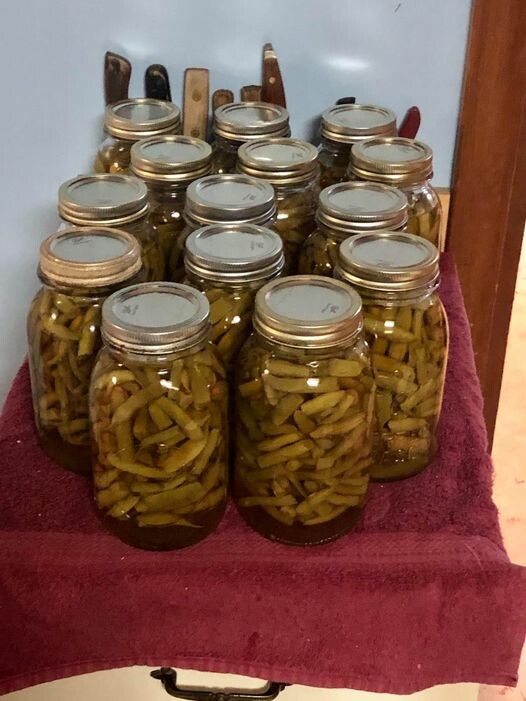
- Remove jars from the canner and allow them to cool overnight. Check the lids to ensure they are sealed.
- For one-time-use lids, the center should be concave and not pop up. For reusable lids, gently lift by the lid to test the seal.
- Use Garden, Ripe Tomatoes to ensure the best flavor.
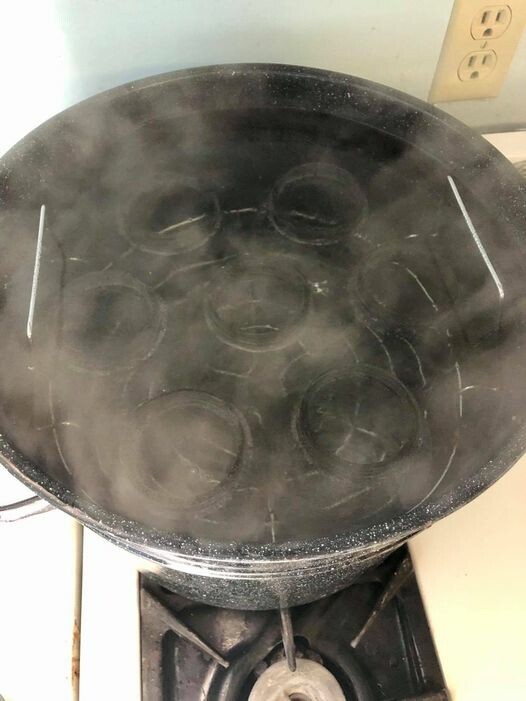
- Sterilize Jars Properly to prevent contamination.
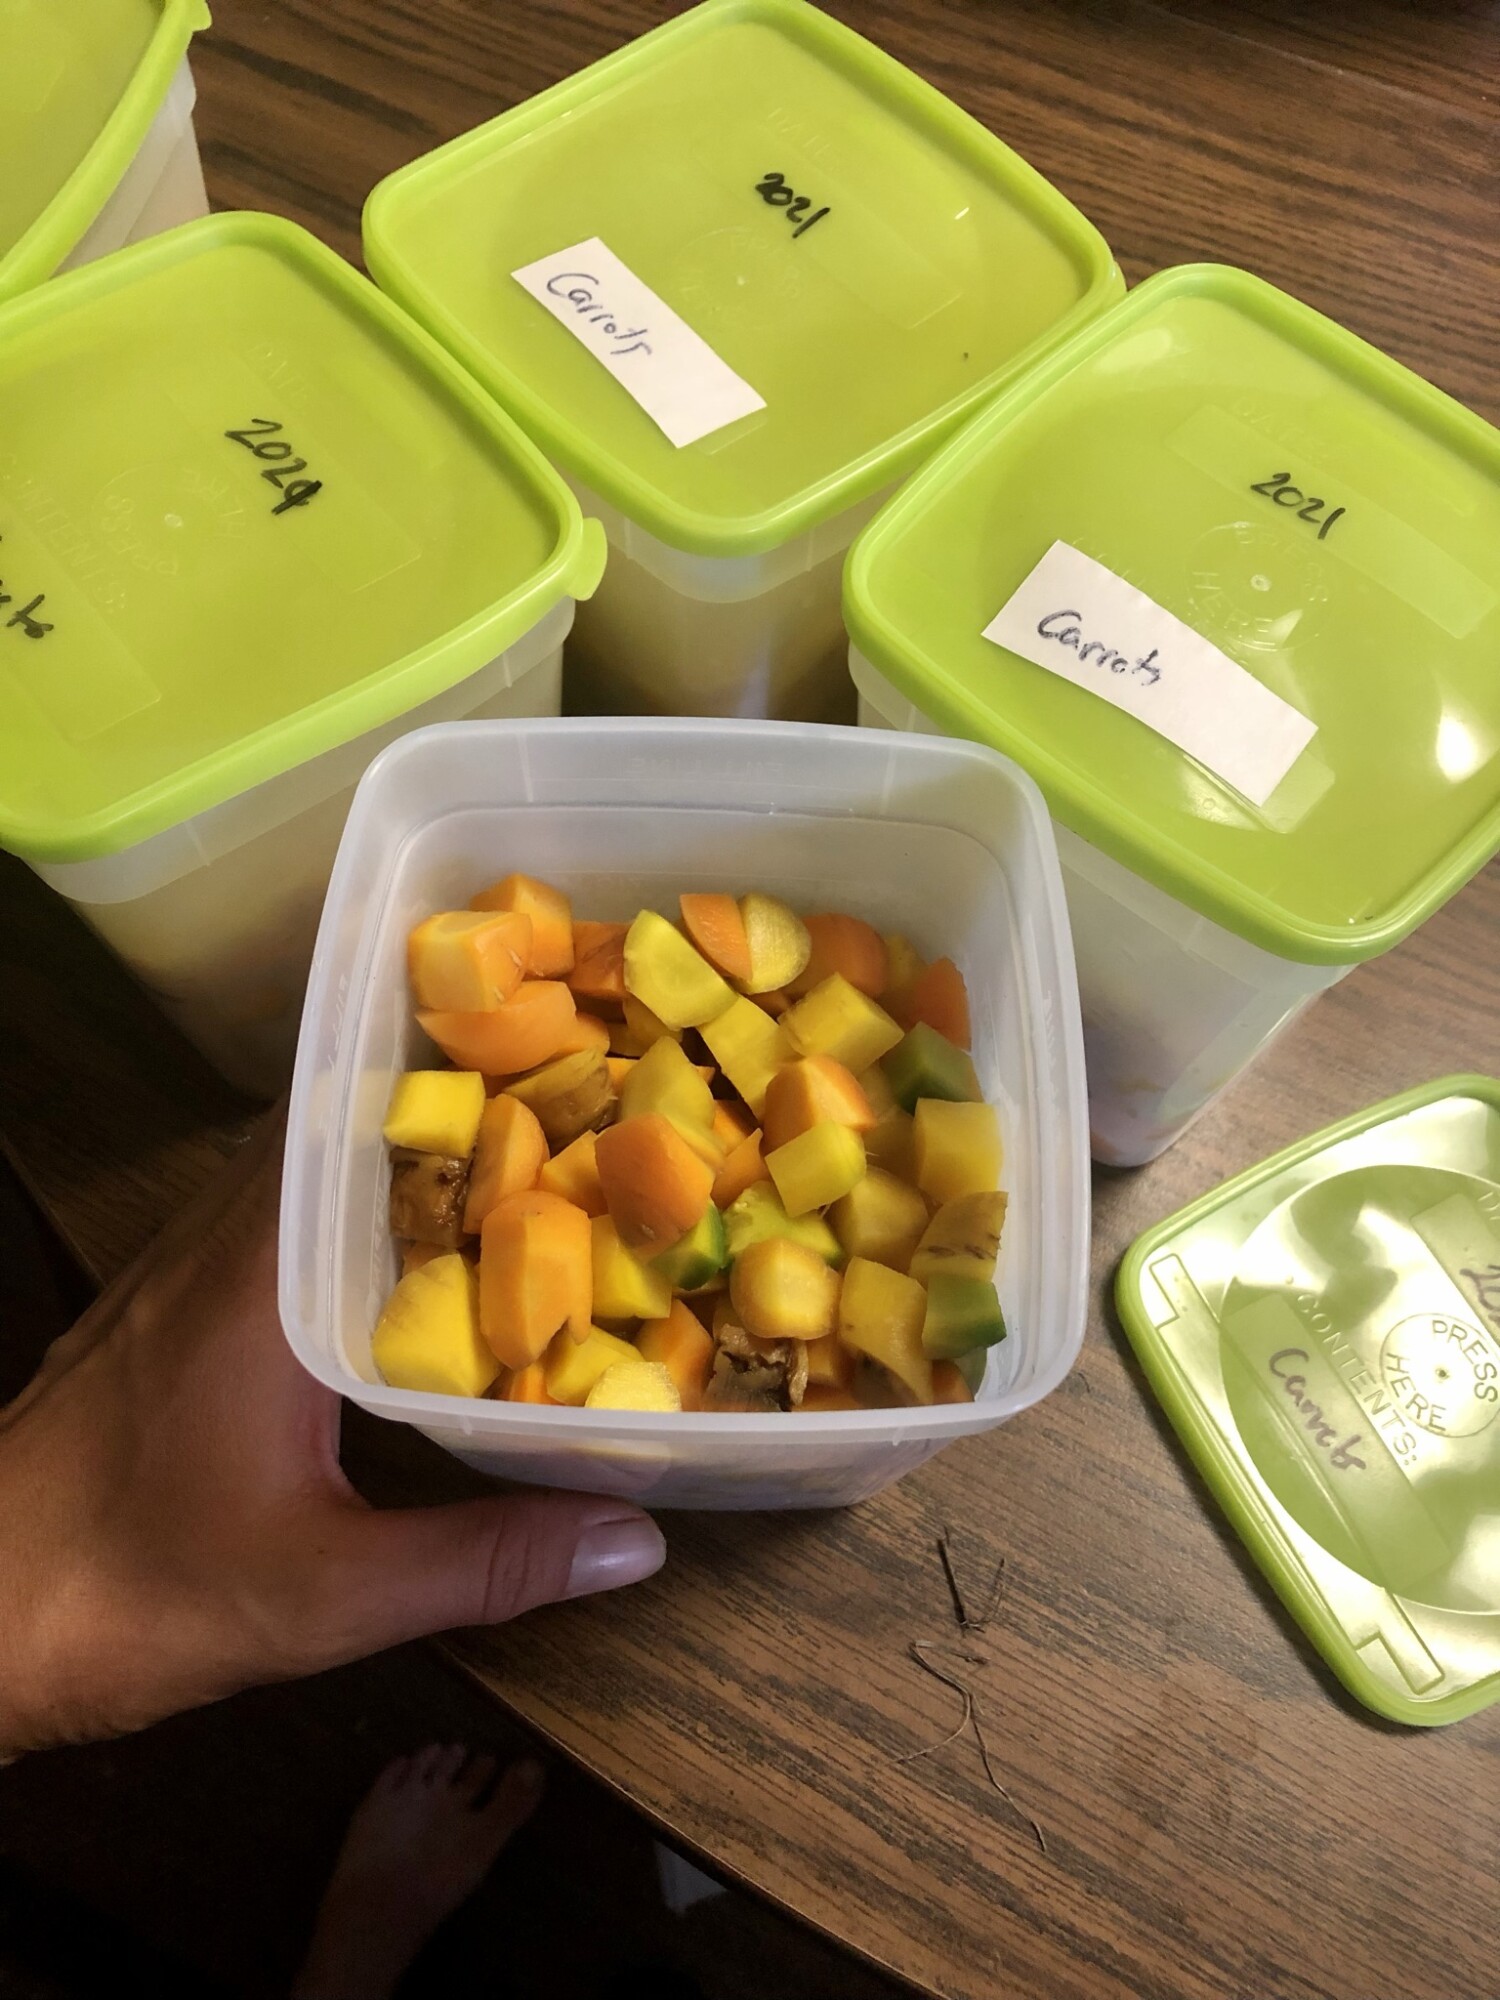
- Label and Date each jar for easy identification later. You will forget what is in that jar.
- Eco-Friendly: Reduce waste by reusing lids.
- Cost-Effective: Save money in the long run.
- Reliable Seals: Trusted by home canners for their durability.
Join the FREE Community
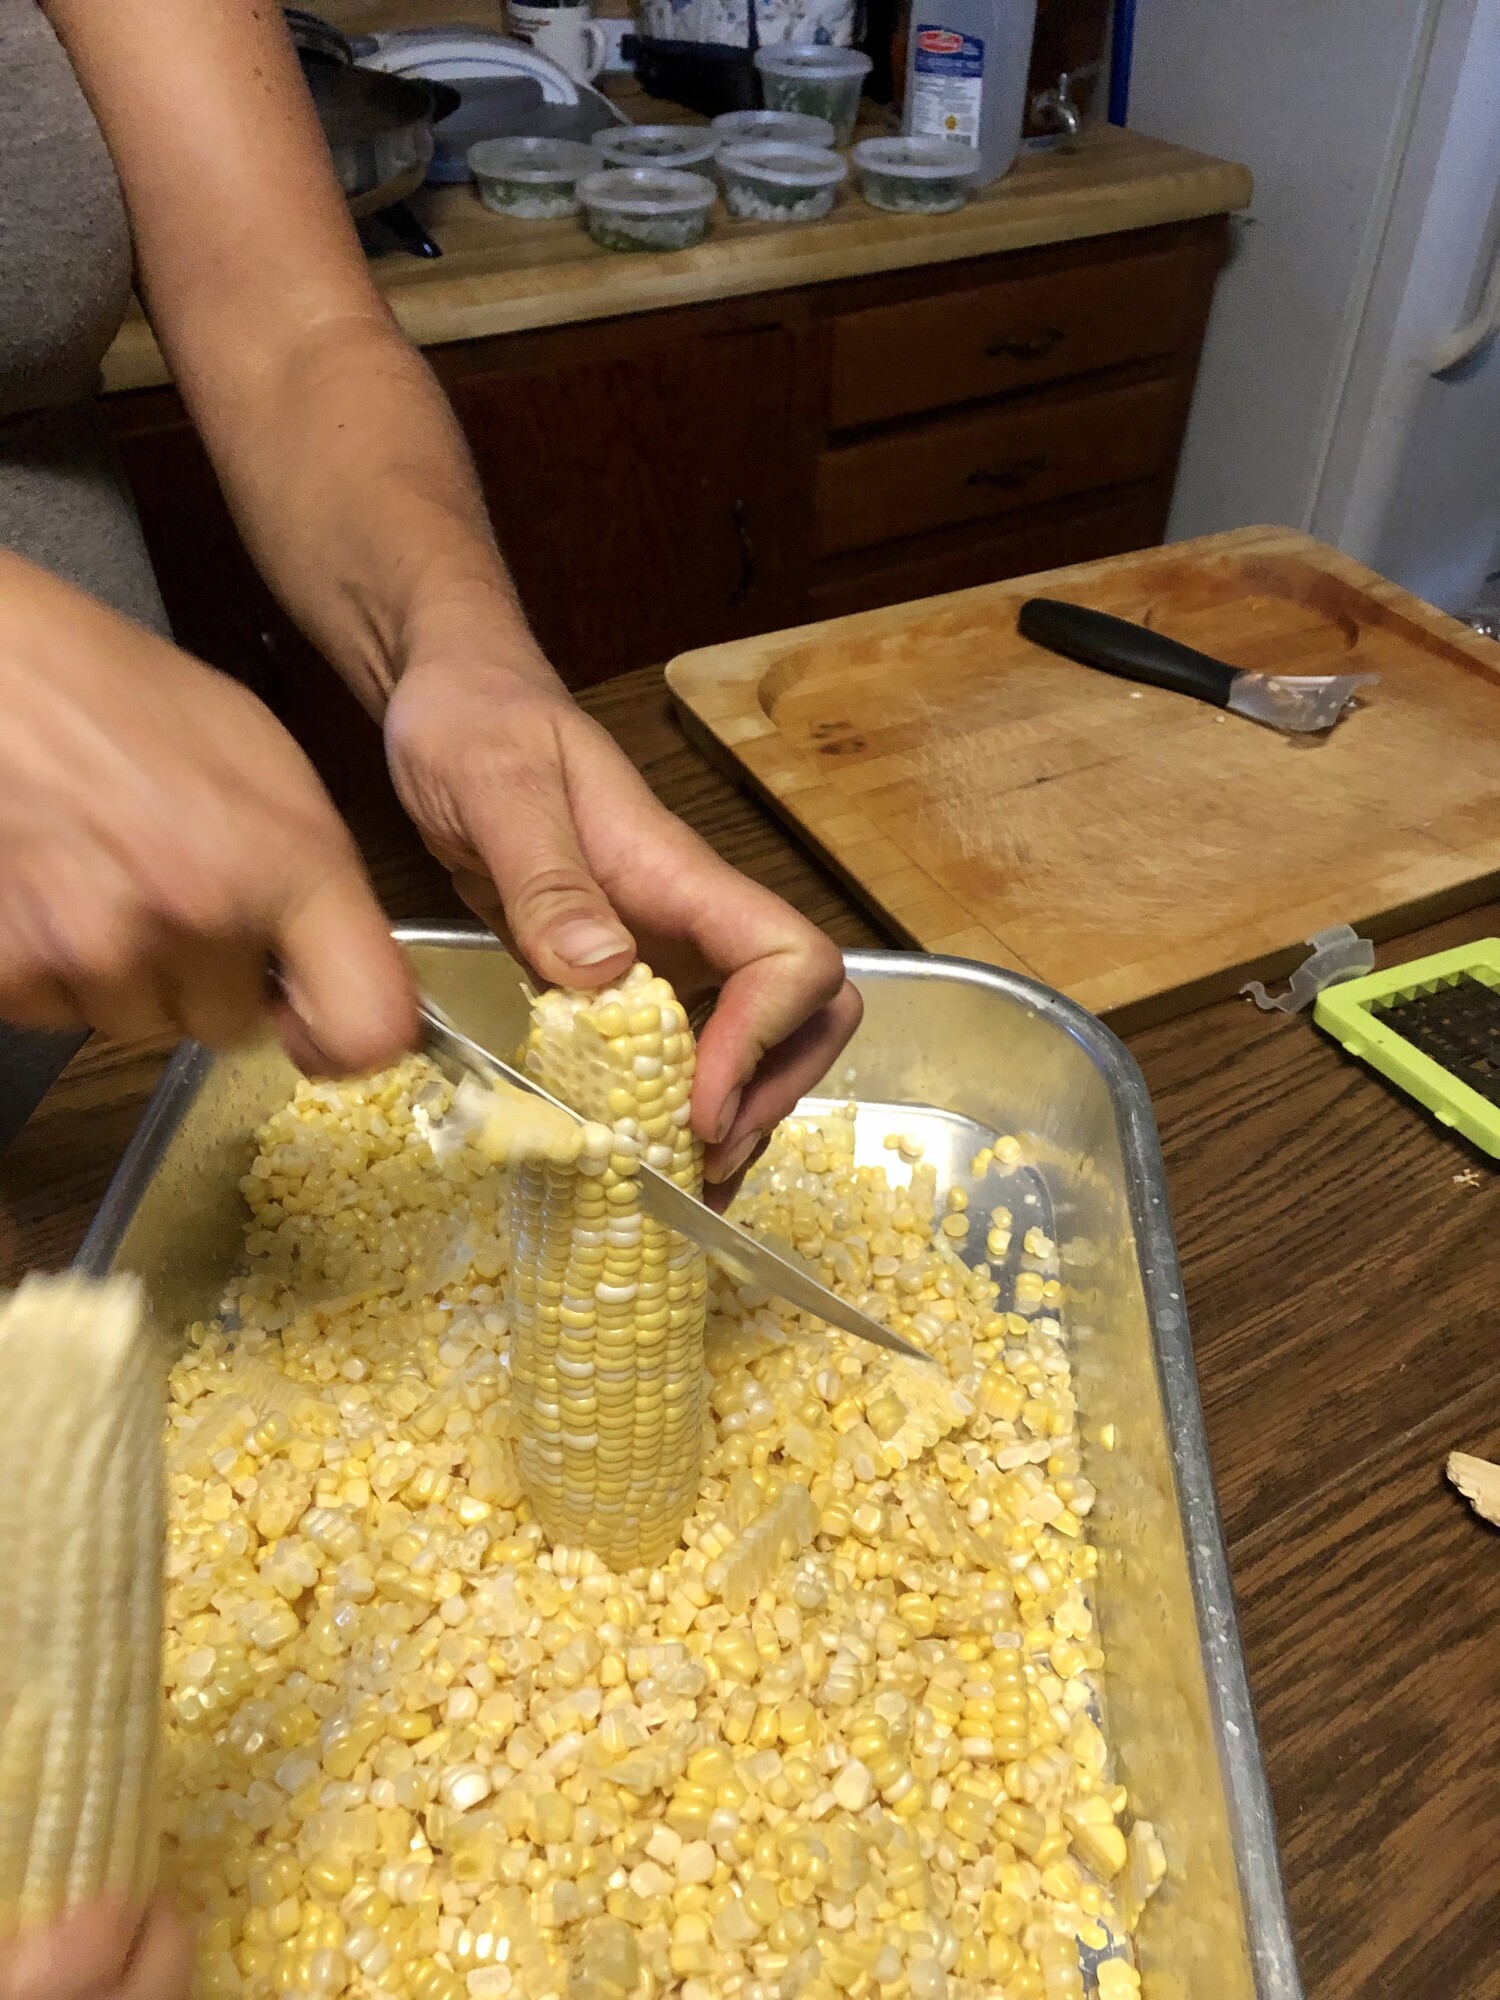
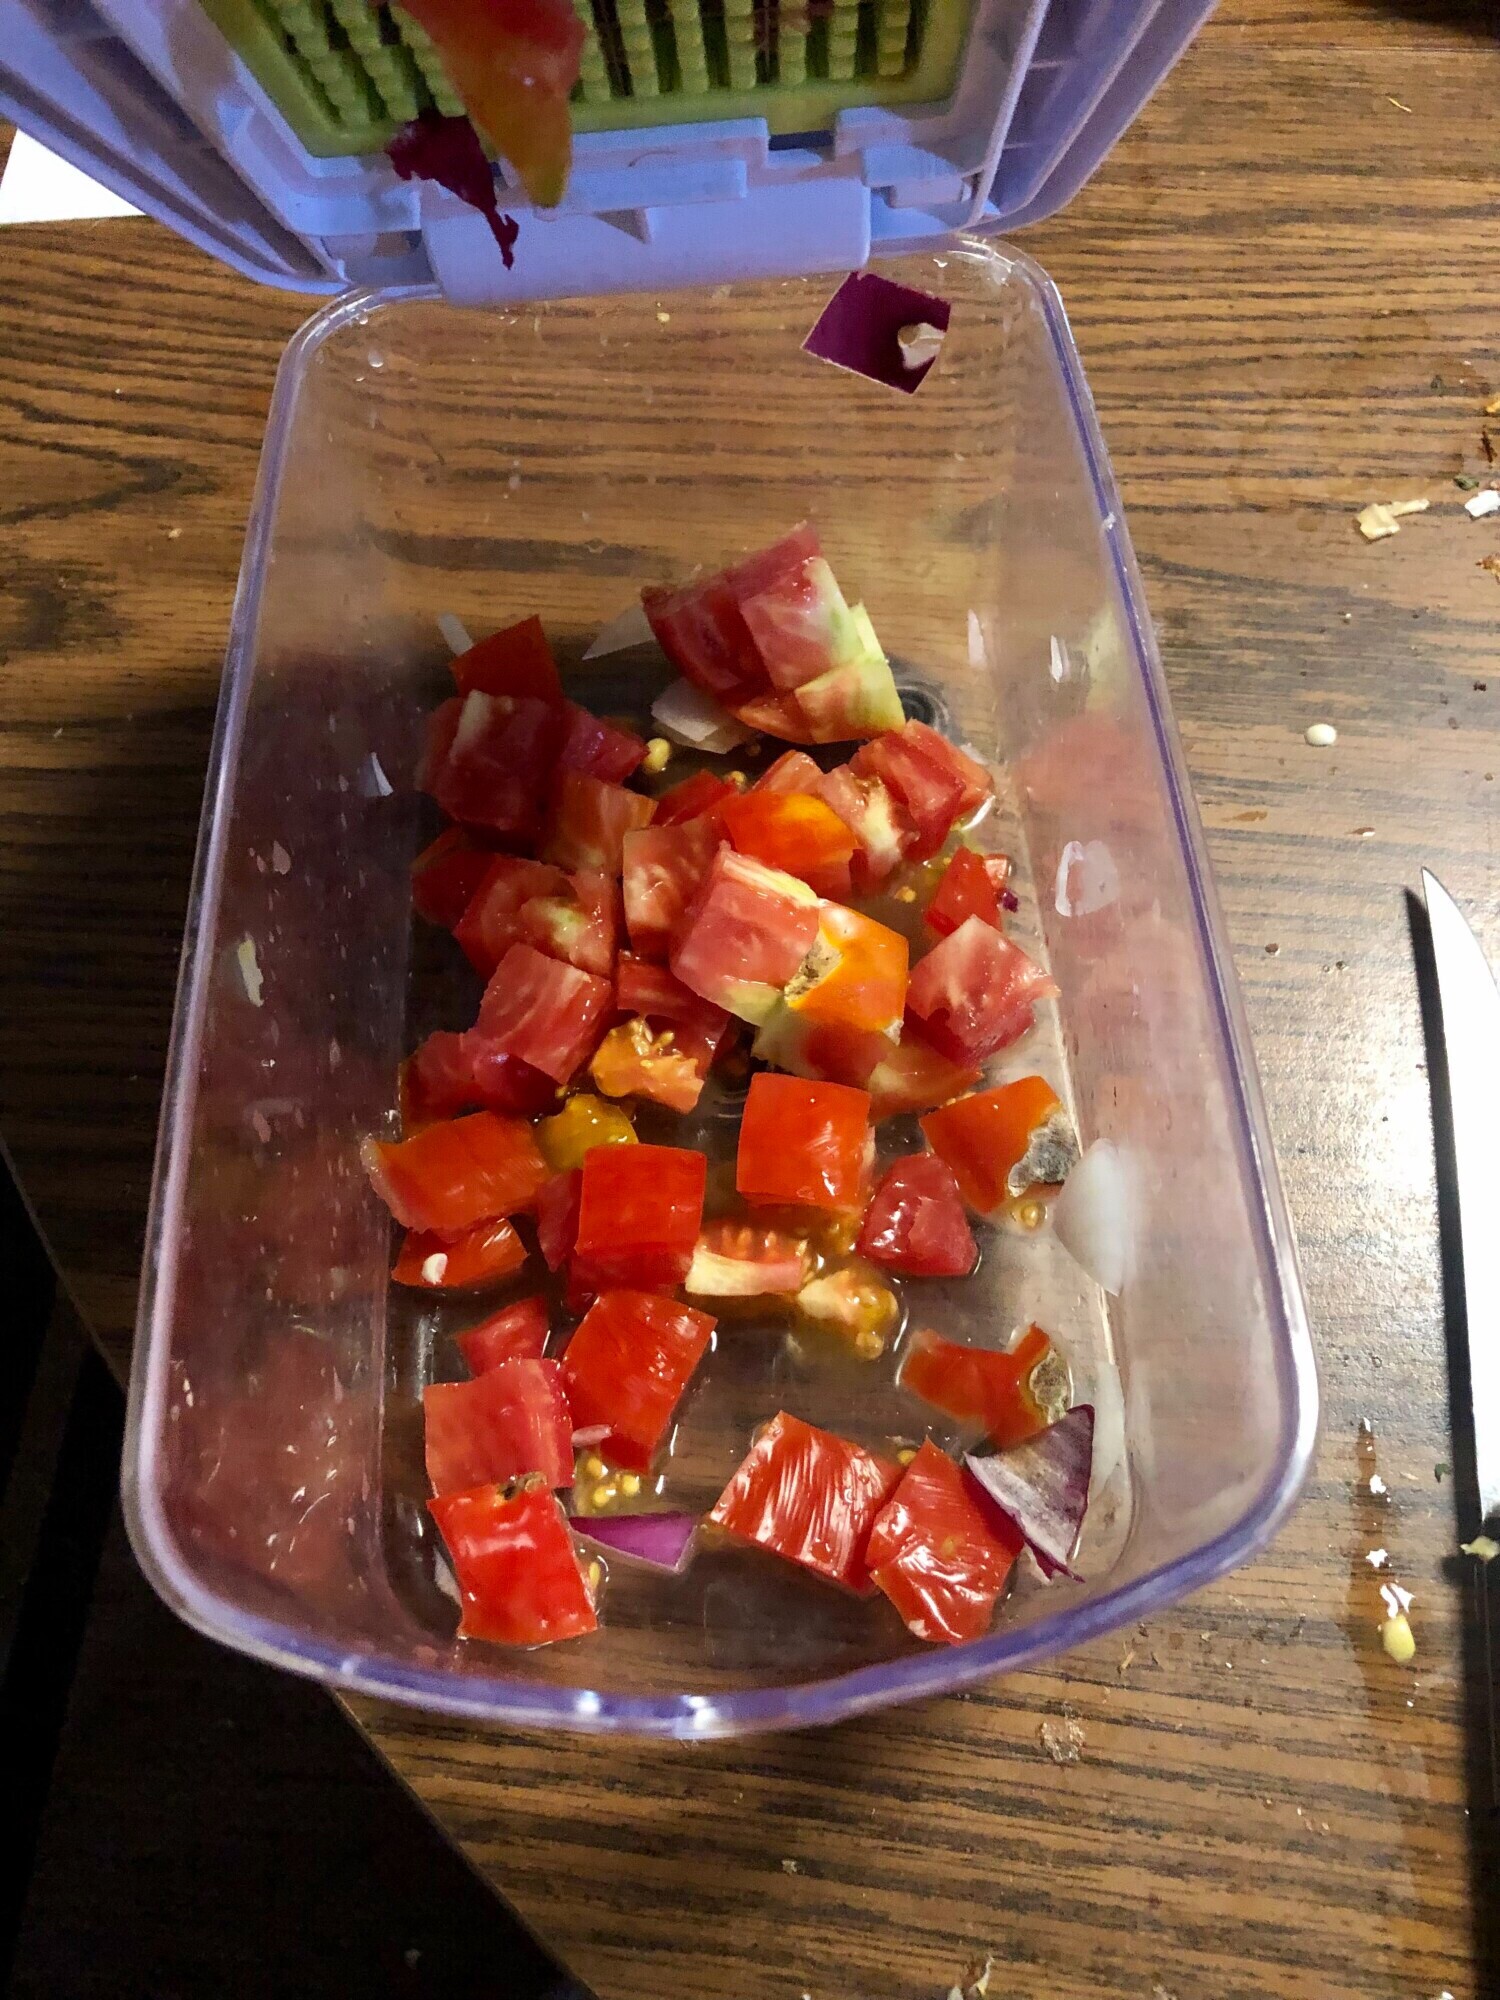
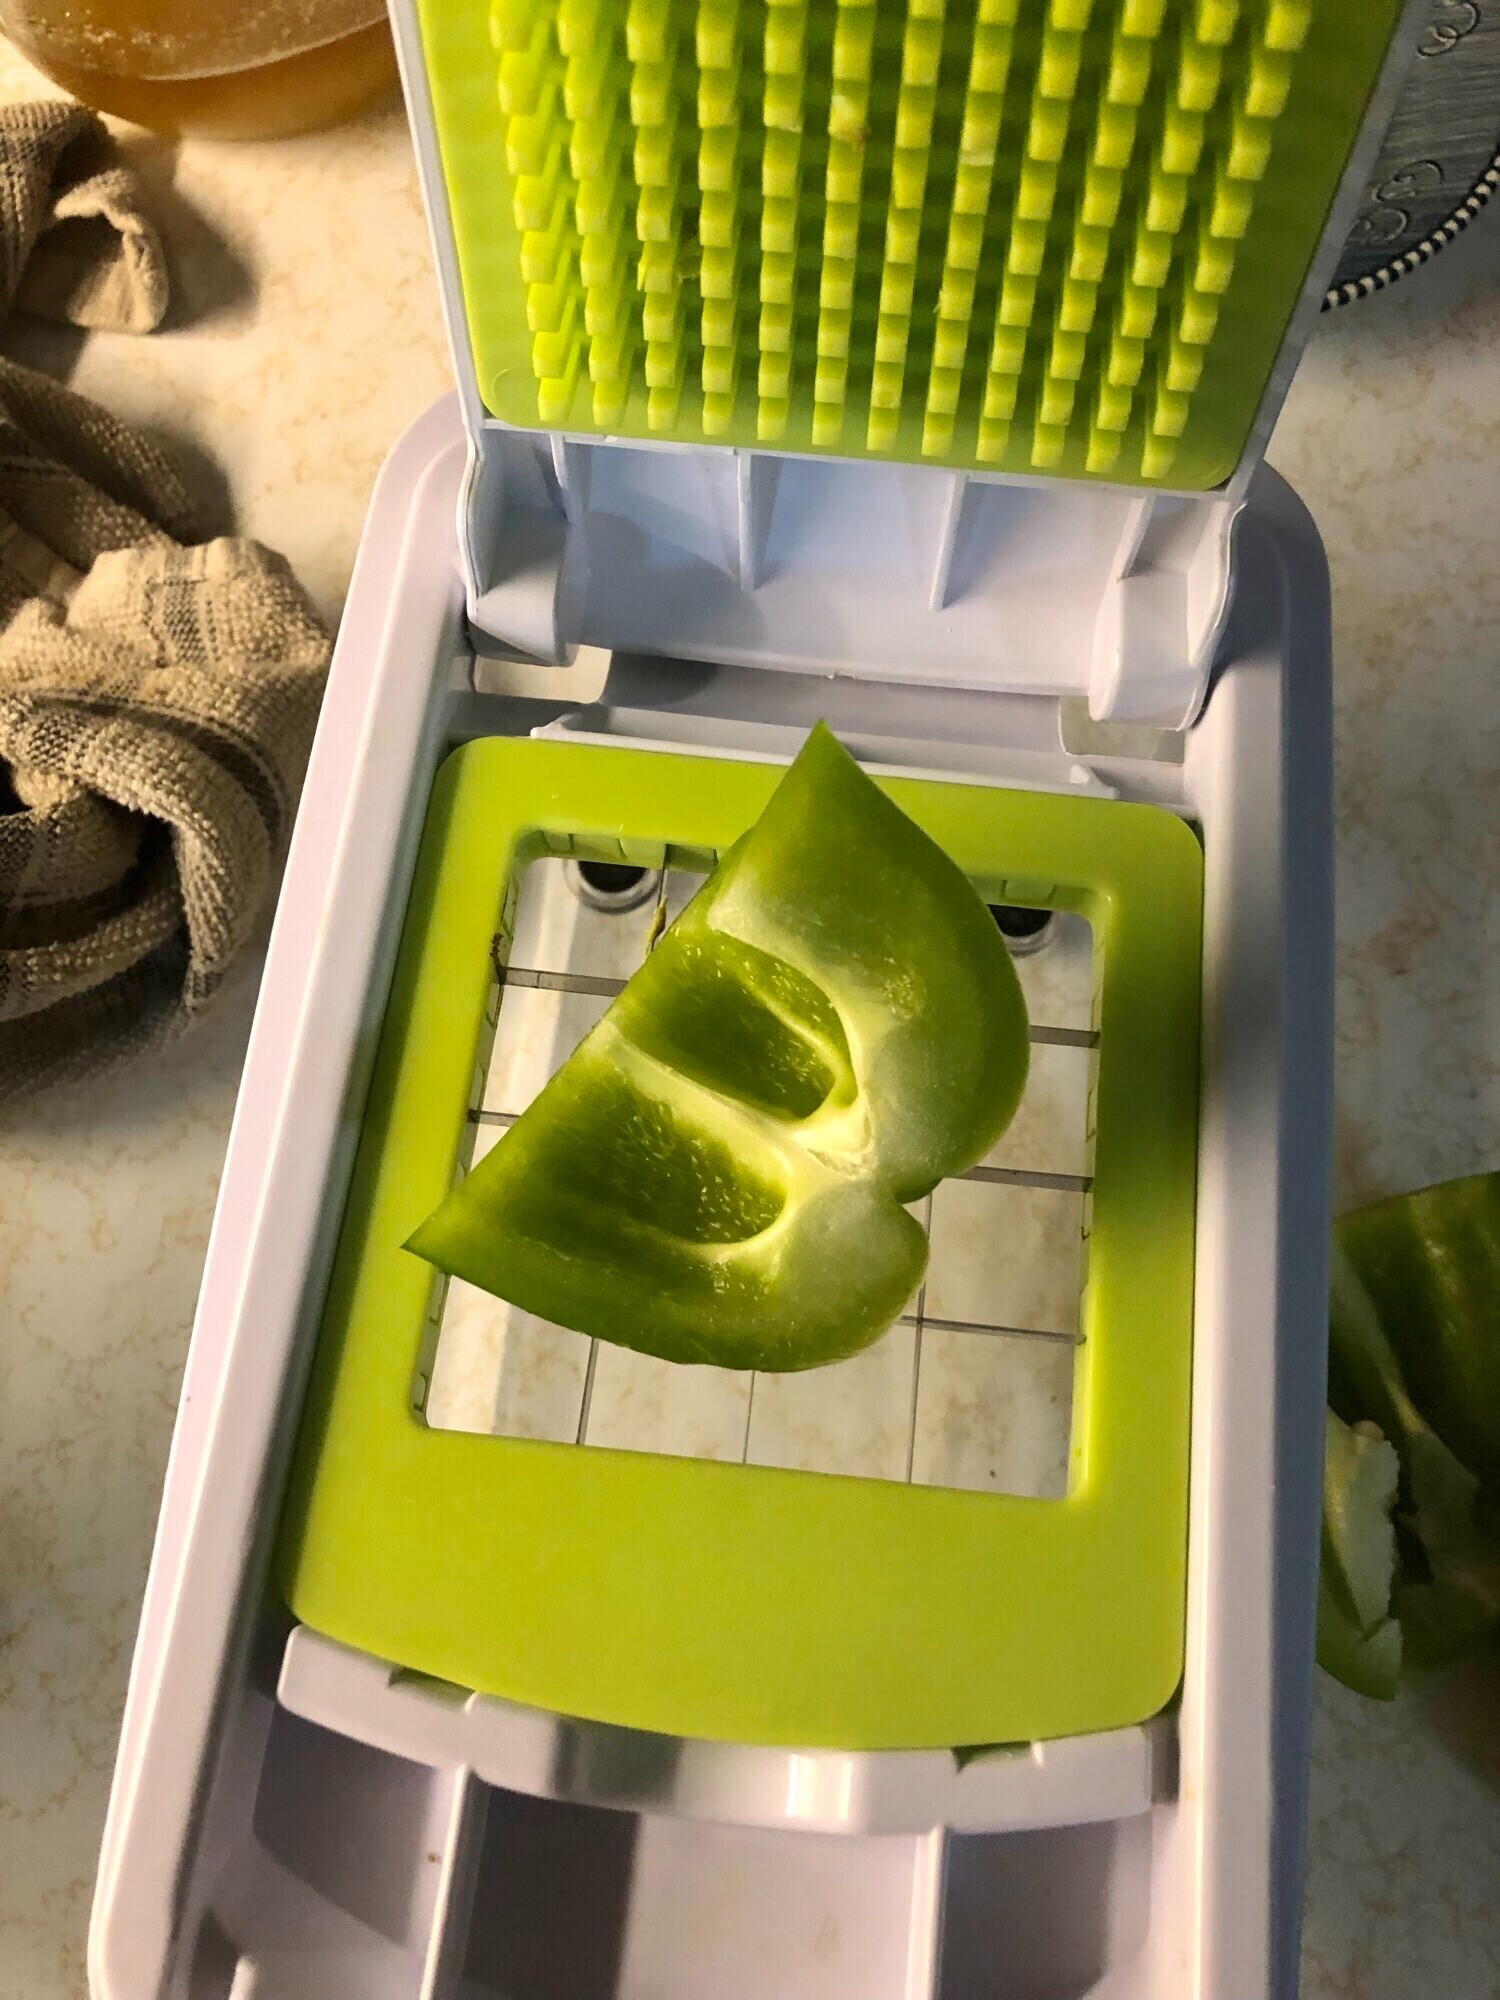
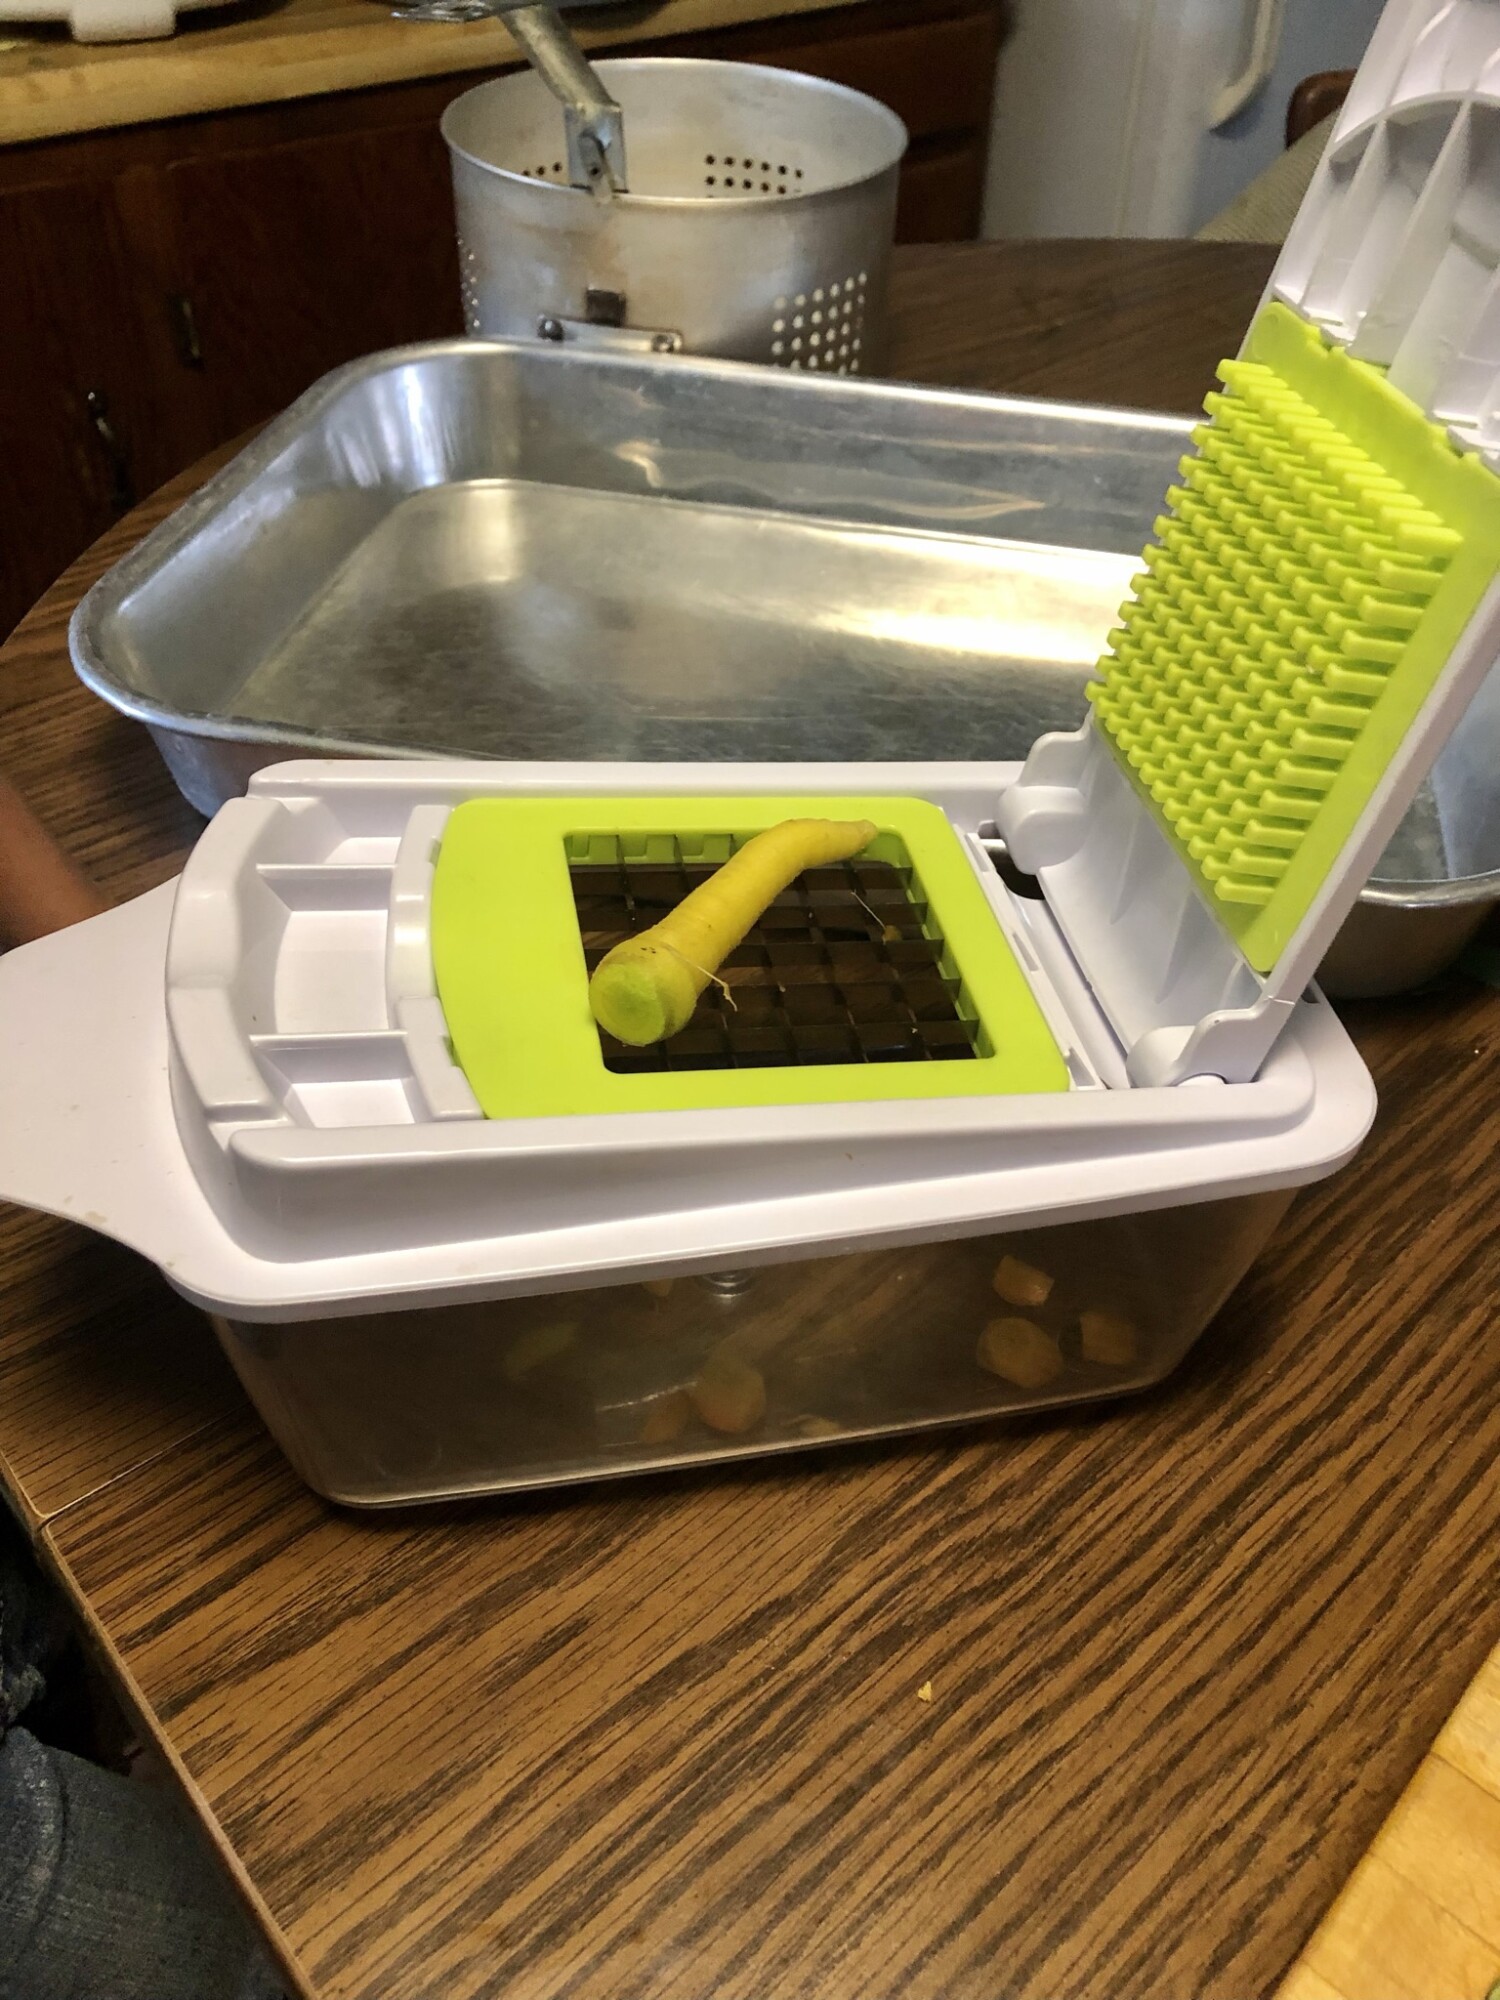
Step 2. Chop 2 pounds (approximately 2 large tomatoes) and add to the stock pot. I like to use this handy dicer I found or a food processor to make the work faster.
Step 5. Bring the stock pot to boil then simmer for 15 minutes.
Wanting a community to lean into? Join the FREE Courageous + Purposeful Mommas group! This community is for the Mommas, mommas to be, in the midst of raising, and kids grown, looking for tips on building your family up and providing for them through natural methods. Tips include: gardening, bulk buying, caning,/preserving, livestock, homesteading, and home remedies. Your family is precious, and this group is to help you gain the knowledge and tools to keep your family well and not reliant on outside professionals. Remedies and tips are easy and simple for the busy momma, time is precious after all, including pregnancy, birth, young kids, and illness. Trust your Momma gut again! This community offers the resources + community you need to help get started on your journey and prepare for whatever future you envision.
Click here to get the stories straight to your email:
For more on wellness tips click here:
For more on homesteading on your budget click here:
For more simple DIY updates click here:

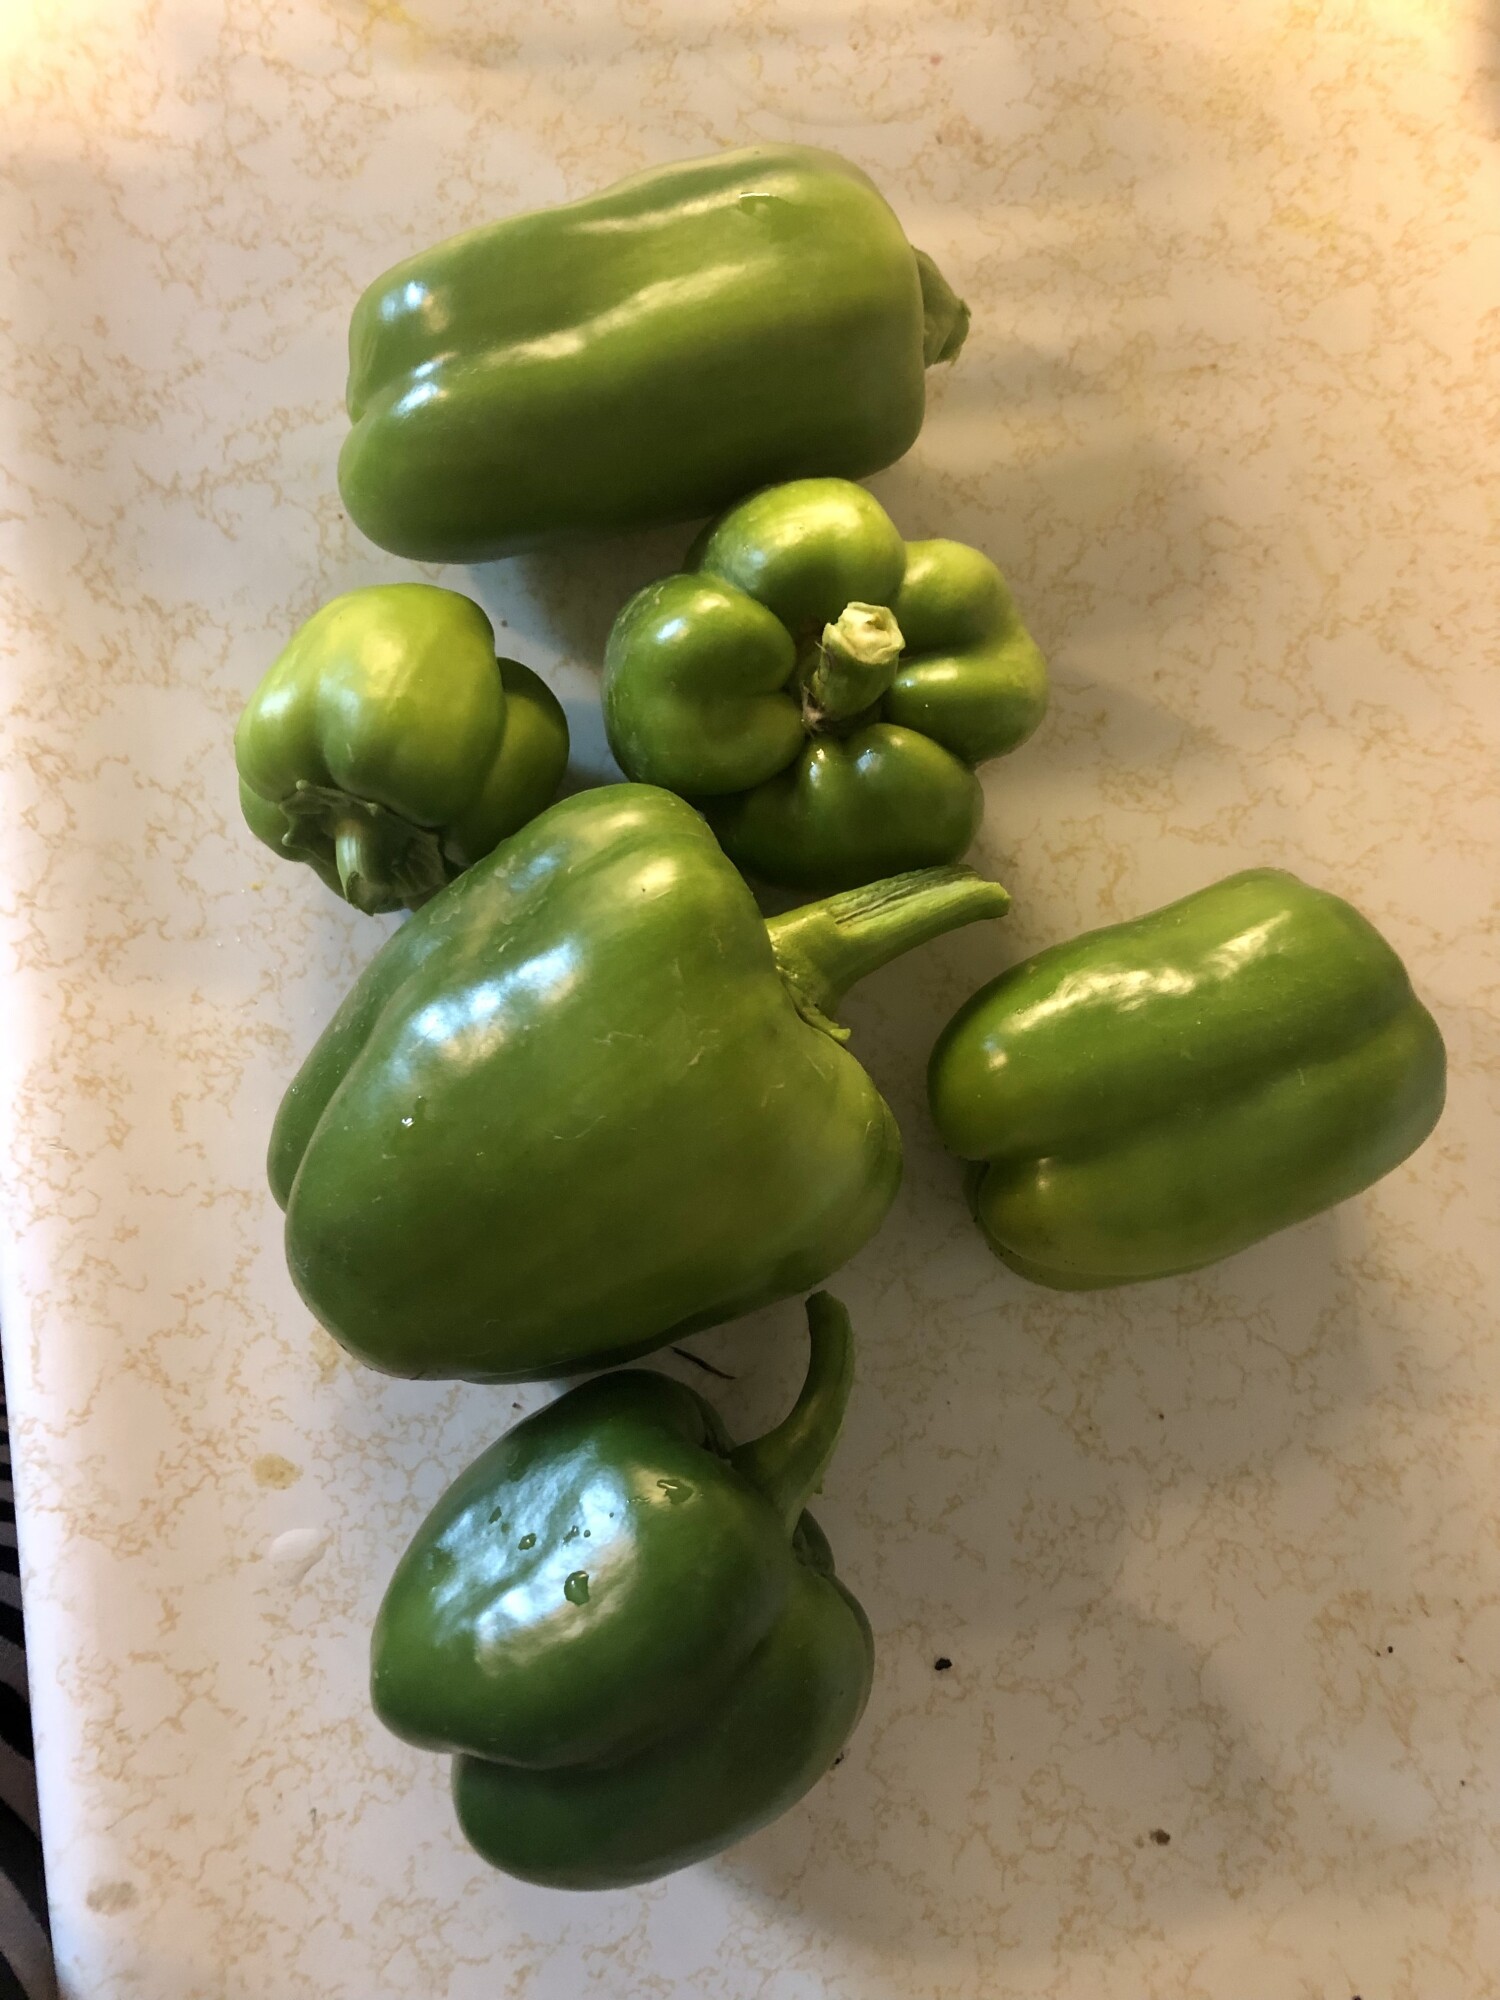
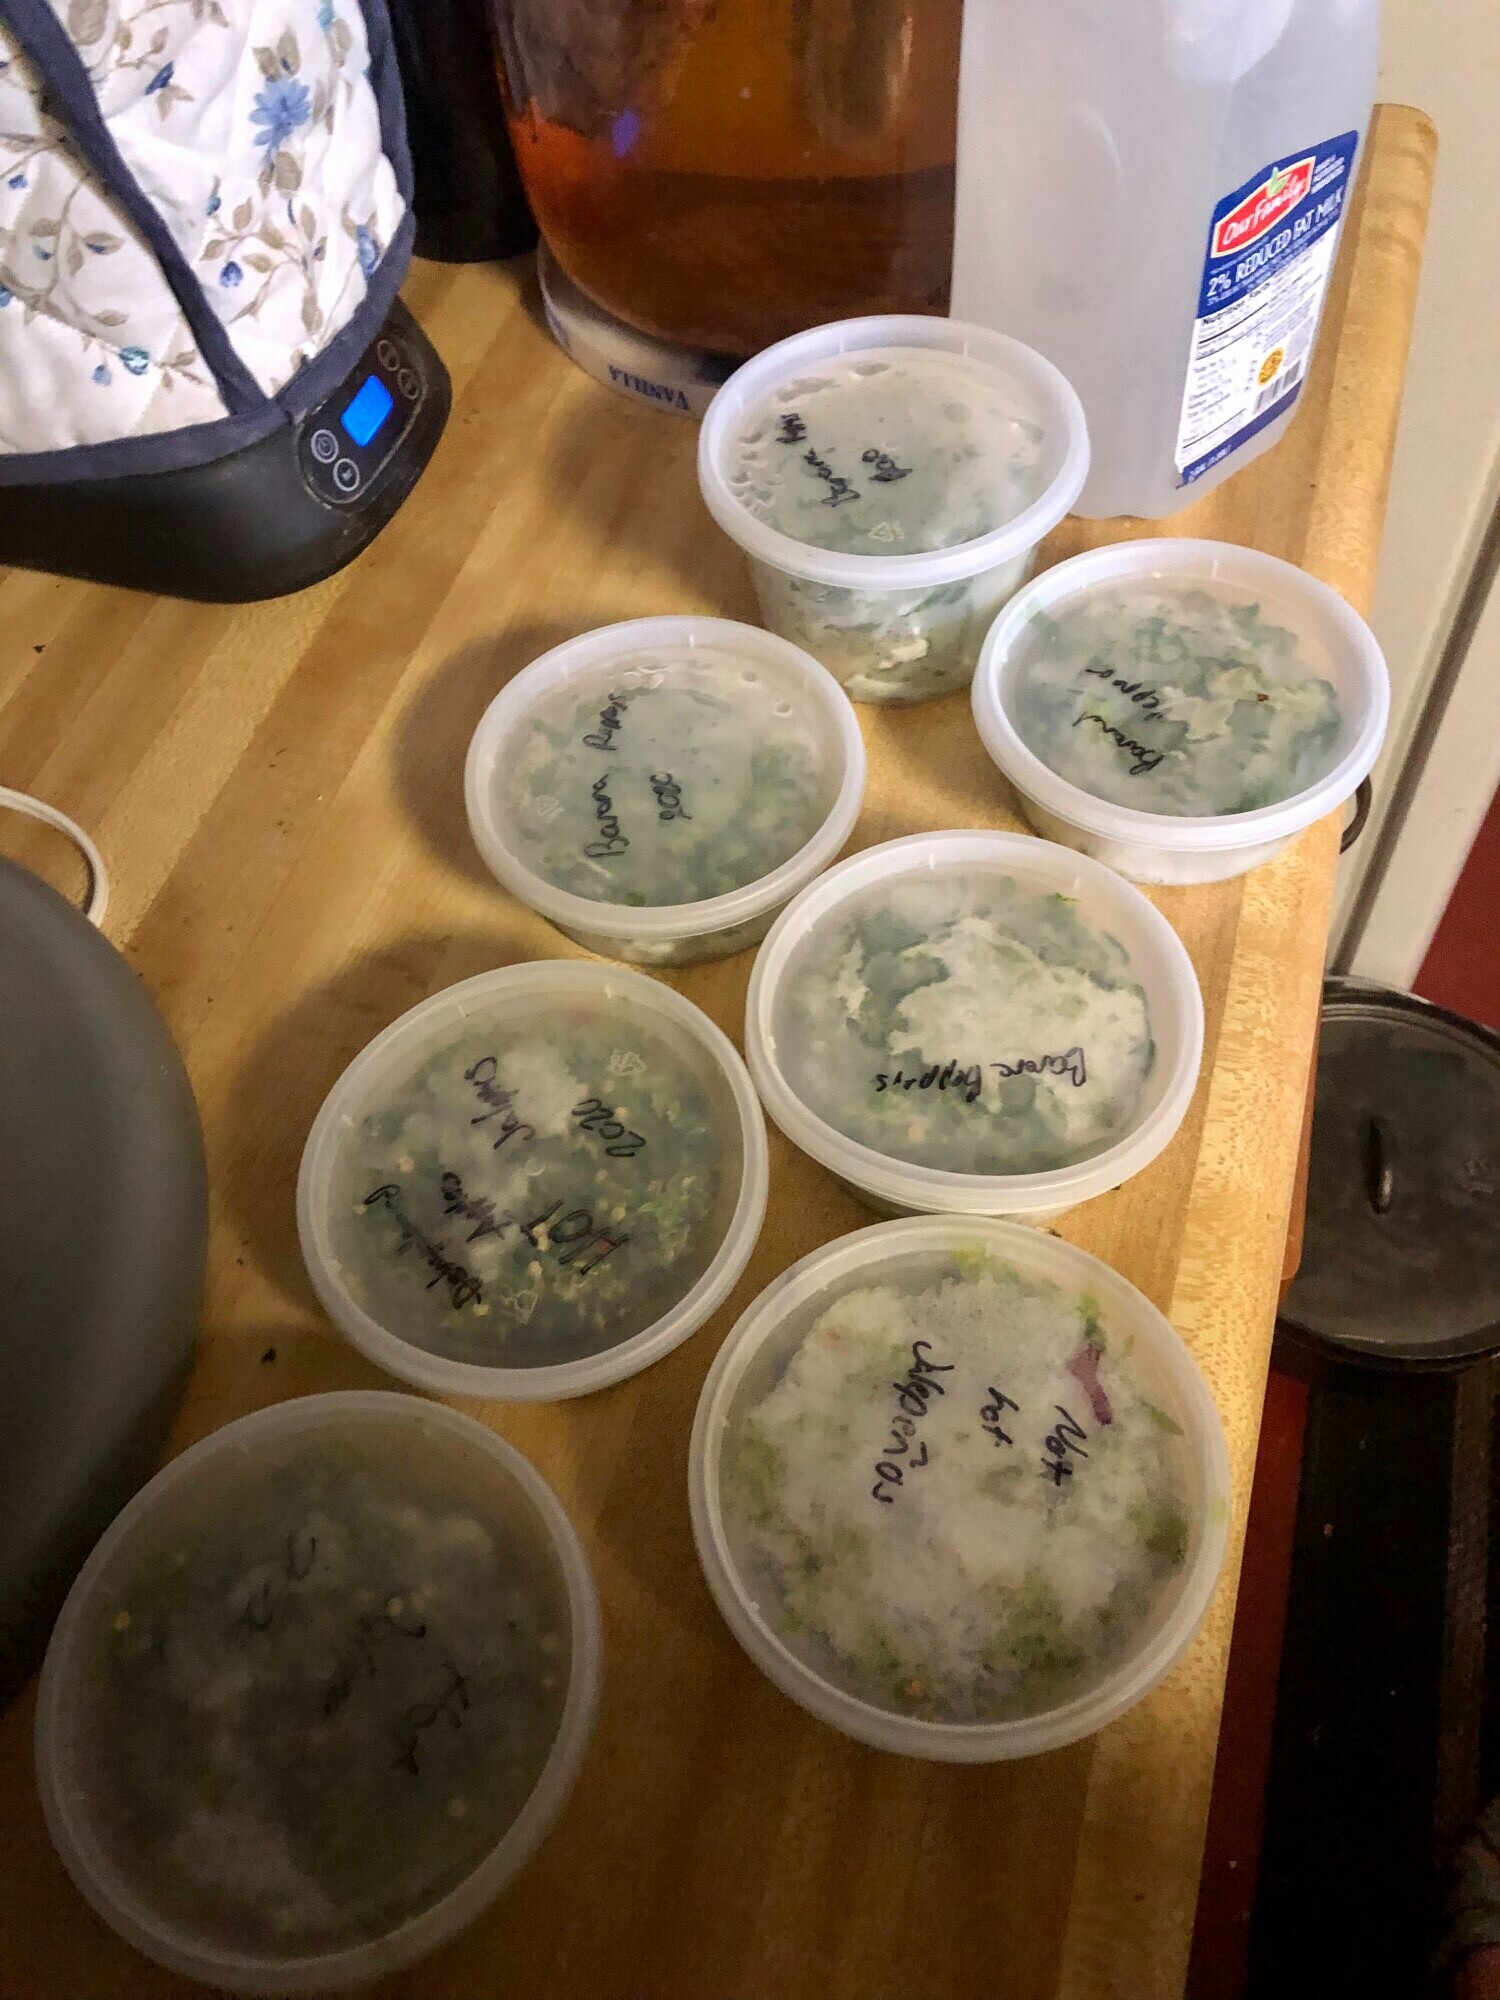
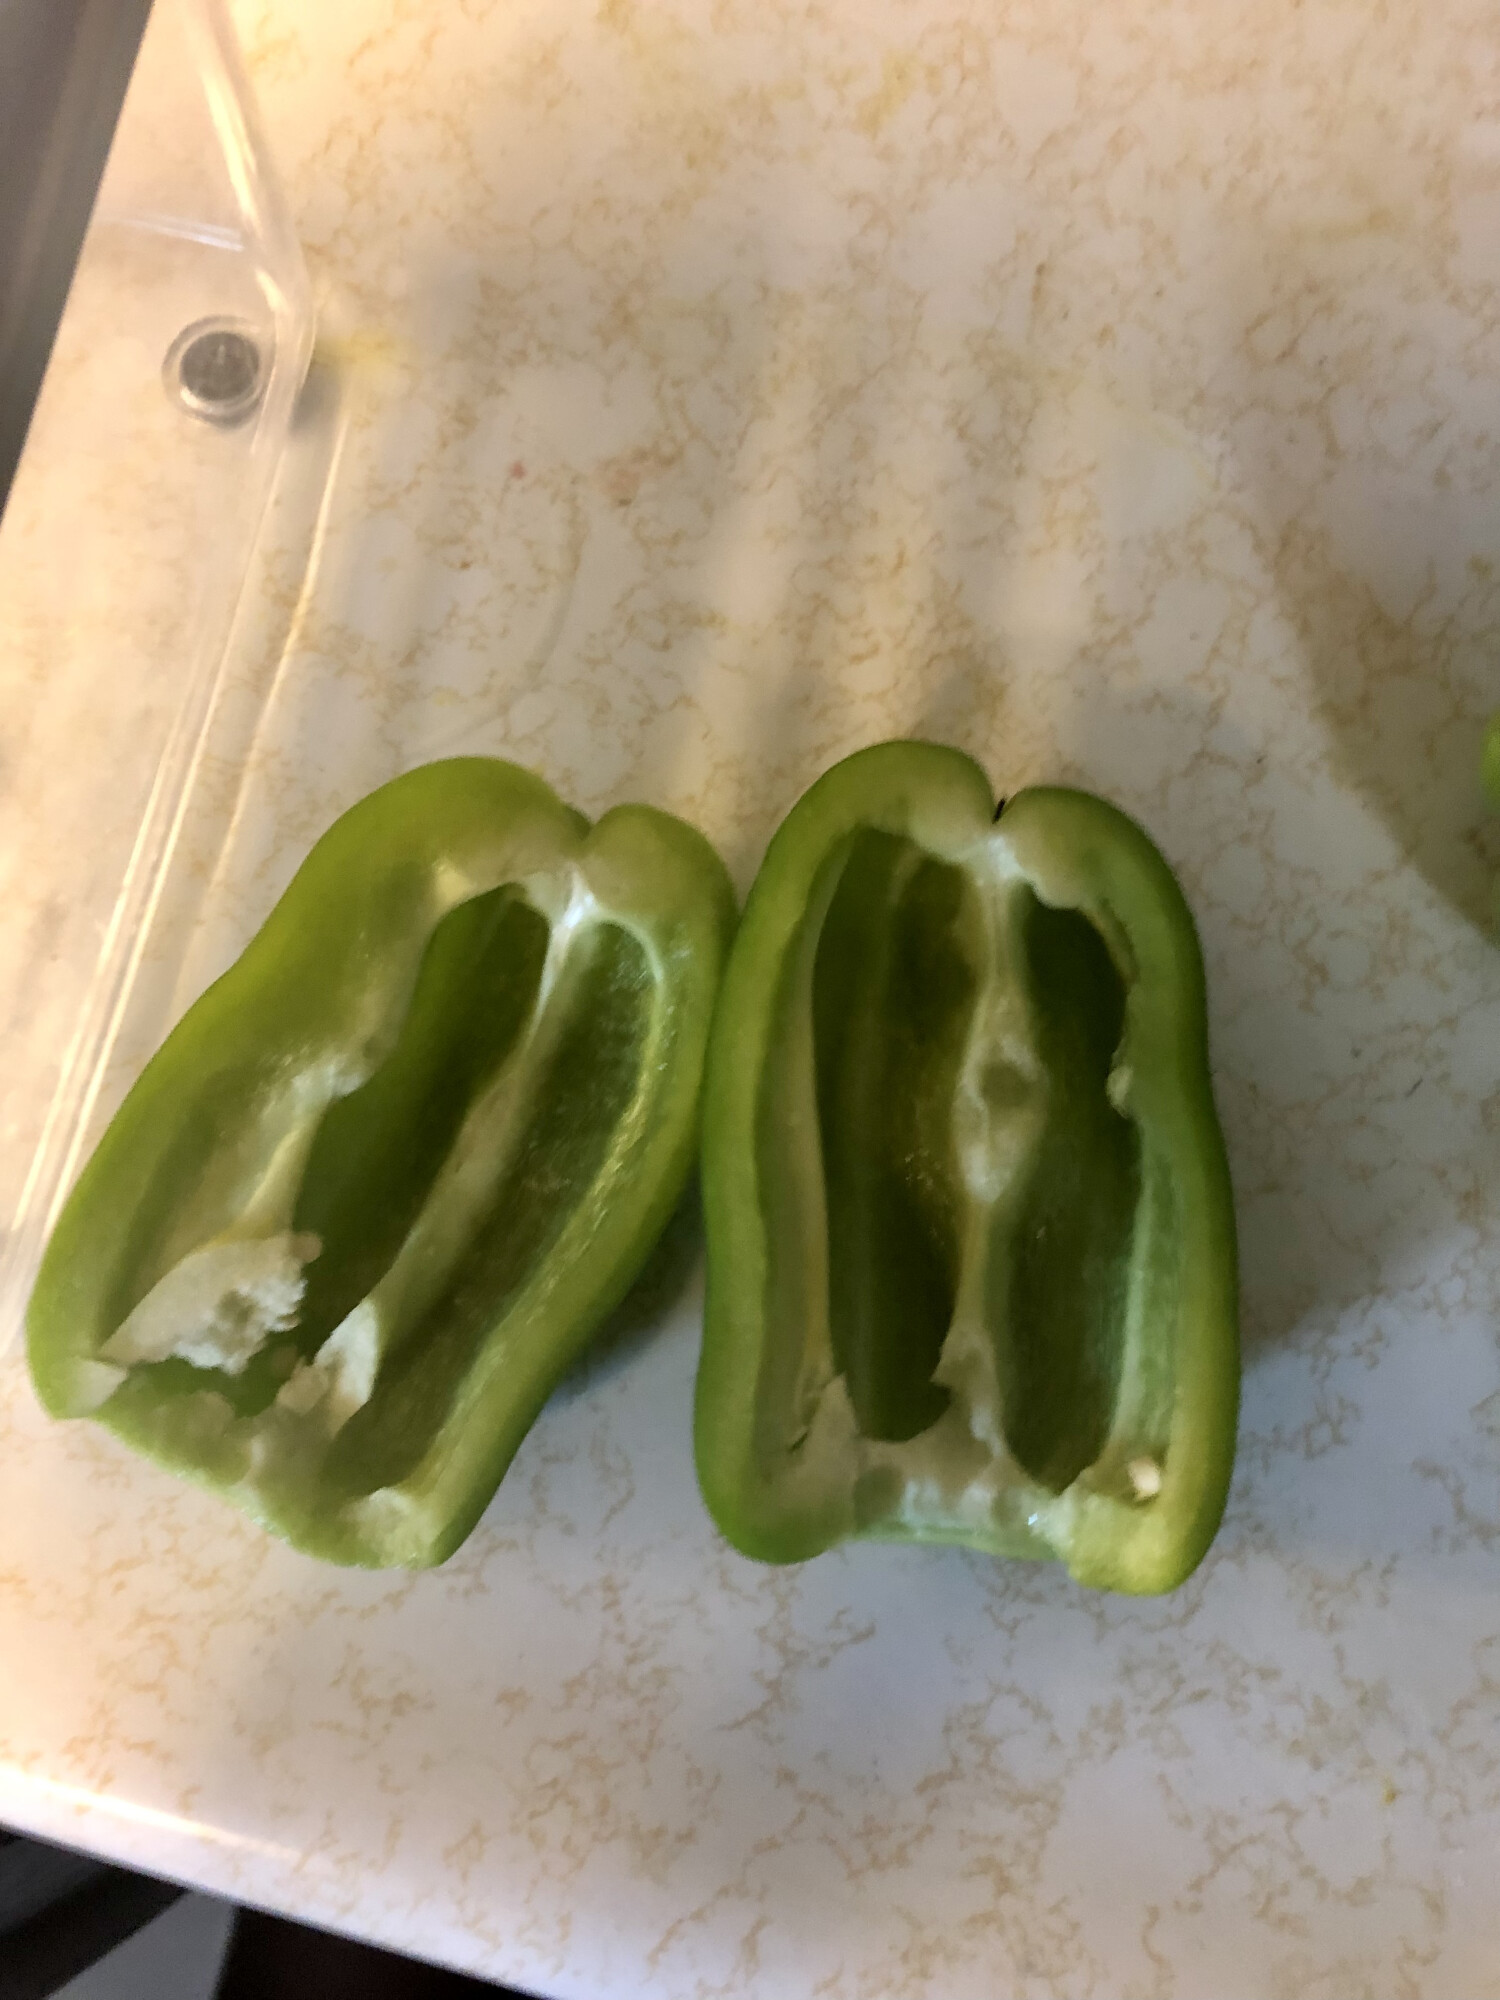
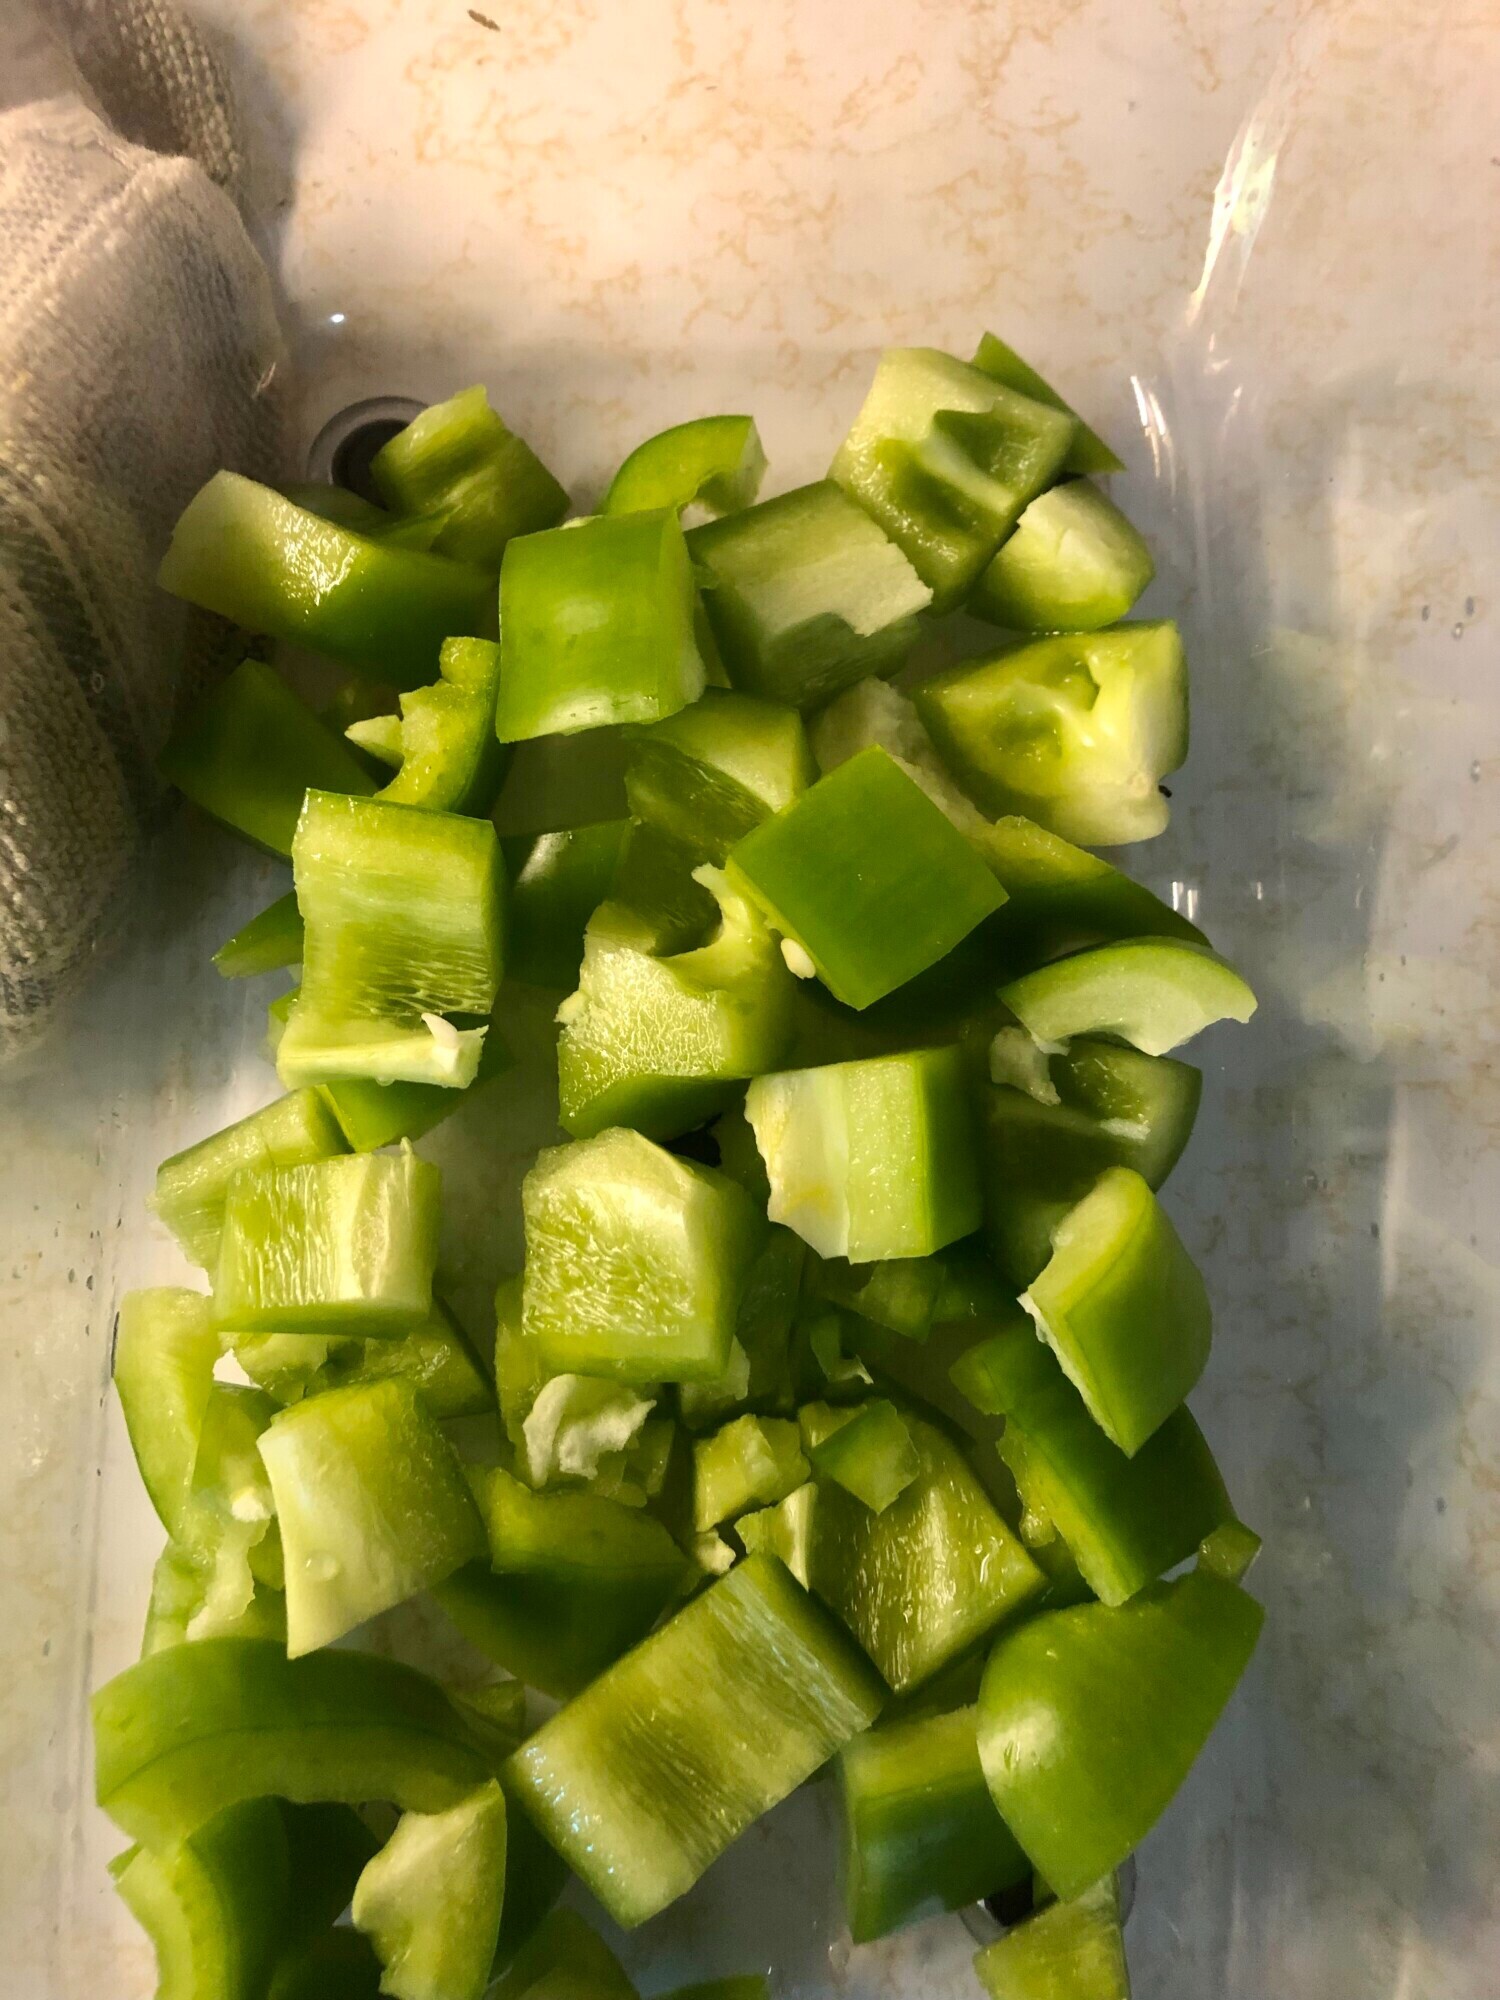
Step 3. Slice the pepper in half and remove the stem, seeds, and any bad spots. For hot peppers I will use for canning recipes later, I leave the seeds and chop them in a food processor.
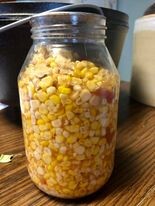
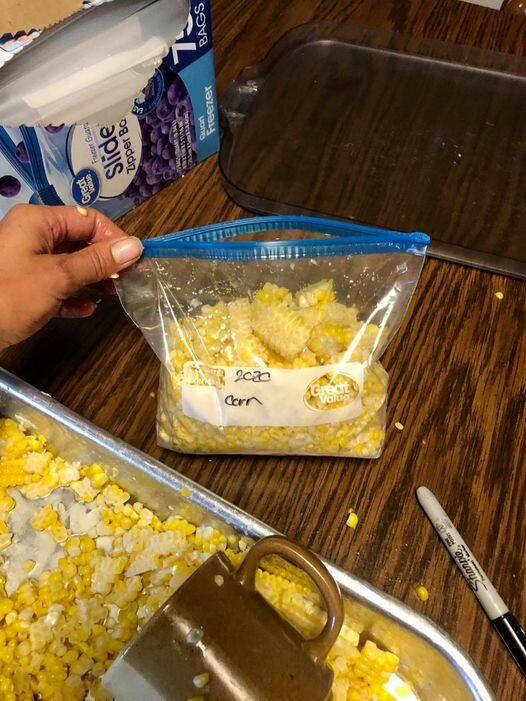
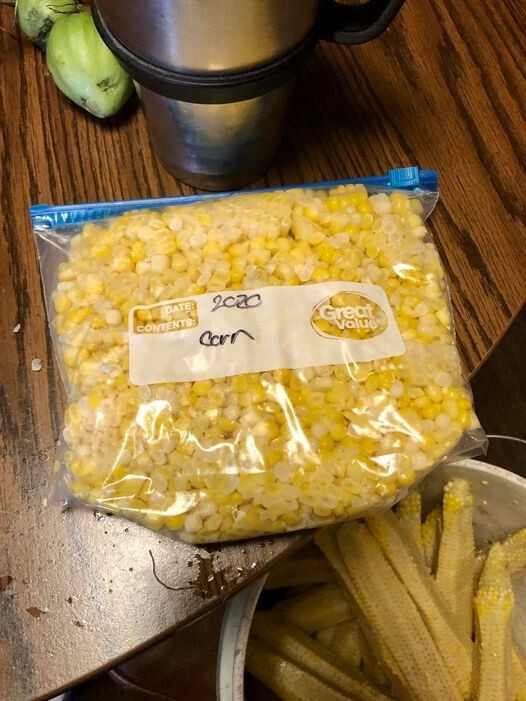
Step 4. Freeze the peppers. Place the peppers in freezer containers filling to the fill line. I used freezer containers last year, and plan to use vacuum bags this year. For the hot peppers, I use containers approximately the size I will need per recipe for simplicity.
Wanting a community to lean into? Join the FREE Courageous + Purposeful Mommas group! This community is for the Mommas, mommas to be, in the midst of raising, and kids grown, looking for tips on building your family up and providing for them through natural methods. Tips include: gardening, bulk buying, caning,/preserving, livestock, homesteading, and home remedies. Your family is precious, and this group is to help you gain the knowledge and tools to keep your family well and not reliant on outside professionals. Remedies and tips are easy and simple for the busy momma, time is precious after all, including pregnancy, birth, young kids, and illness. Trust your Momma gut again! This community offers the resources + community you need to help get started on your journey and prepare for whatever future you envision.
Click here to get the stories straight to your email:
For more on wellness tips click here:
For more on homesteading on your budget click here:
For more simple DIY updates click here:

This post may contain affiliate links, which means that I may receive a commission if you make a purchase using these links, with NO additional cost to you.
What is a fear you carry deep inside? One that not many may know about, but affects many of your everyday decisions? Me? That somehow there won’t be enough, and my family will be left short.
Why does this affect my decisions? Because the last thing I want is for my family to be short somehow. Short of food, finances, or simply time.
So what do I do? First, I try to not let the fear overtake me. I acknowledge that it is there, and then remind myself of all the ways God has continued to provide for us in the past. My heart calms, and I can clearly think towards my next step. I then thank God for His provision and ask that He continue to remind me when that fear comes up again.
This fear has also been a motivator for me. When I started staying home, our income was drastically cut. While we would no longer be paying for daycare or as much in gas, we now had to pay our own insurance and the grocery bill would be increasing. How were we going to offset the cost?
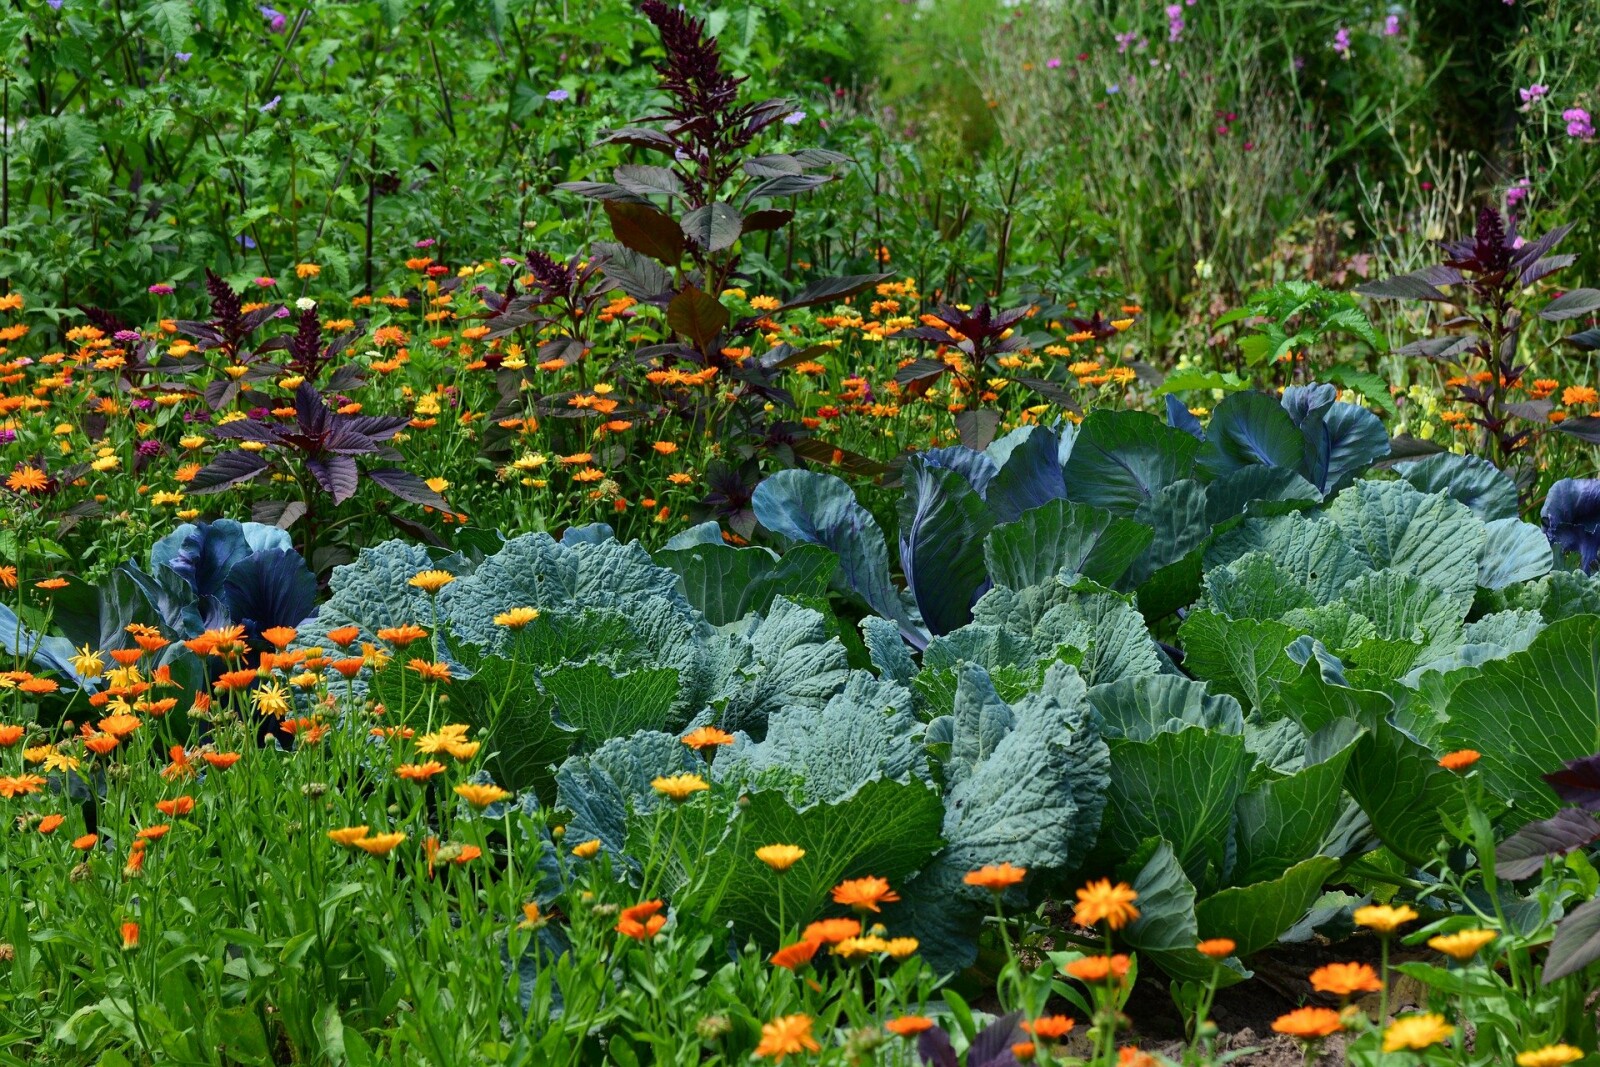
I looked around. We already lived on an acreage. I had gardened some in the past, and was getting pretty good at it. Why not take it to the next level and have the garden provide as much of our food as we could!
And so it began, in more earnest. I planted more of what I knew we would consume and less of the extra stuff. I learned how to preserve our food supply for the winter. I also started learning how to grow more of the vegetables my family liked, so we weren’t buying as much at the store.
The garden is still expanding and growing. I use the winter to learn more about the next vegetable or fruit I want to grow. I take notes and perfect the methods for our farm. I’m playing with double cropping and starting a permaculture orchard now.
What started as a fear of not being able to buy enough groceries, has turned into a huge garden with the potential to meet 80% (currently around 50%) of our family’s veggie and fruit needs when it is all mature. All this from not giving into the fear, but stepping back and looking for the opportunity in the fear.
Wanting a community to lean into? Join the FREE Courageous + Purposeful Mommas group! This community is for the Mommas, mommas to be, in the midst of raising, and kids grown, looking for tips on building your family up and providing for them through natural methods. Tips include: gardening, bulk buying, caning,/preserving, livestock, homesteading, and home remedies. Your family is precious, and this group is to help you gain the knowledge and tools to keep your family well and not reliant on outside professionals. Remedies and tips are easy and simple for the busy momma, time is precious after all, including pregnancy, birth, young kids, and illness. Trust your Momma gut again! This community offers the resources + community you need to help get started on your journey and prepare for whatever future you envision.
Click here to get the stories straight to your email:
For more on wellness tips click here:
For more on homesteading on your budget click here:
For more simple DIY updates click here:
This post may contain affiliate links, which means that I may receive a commission if you make a purchase using these links, with NO additional cost to you.
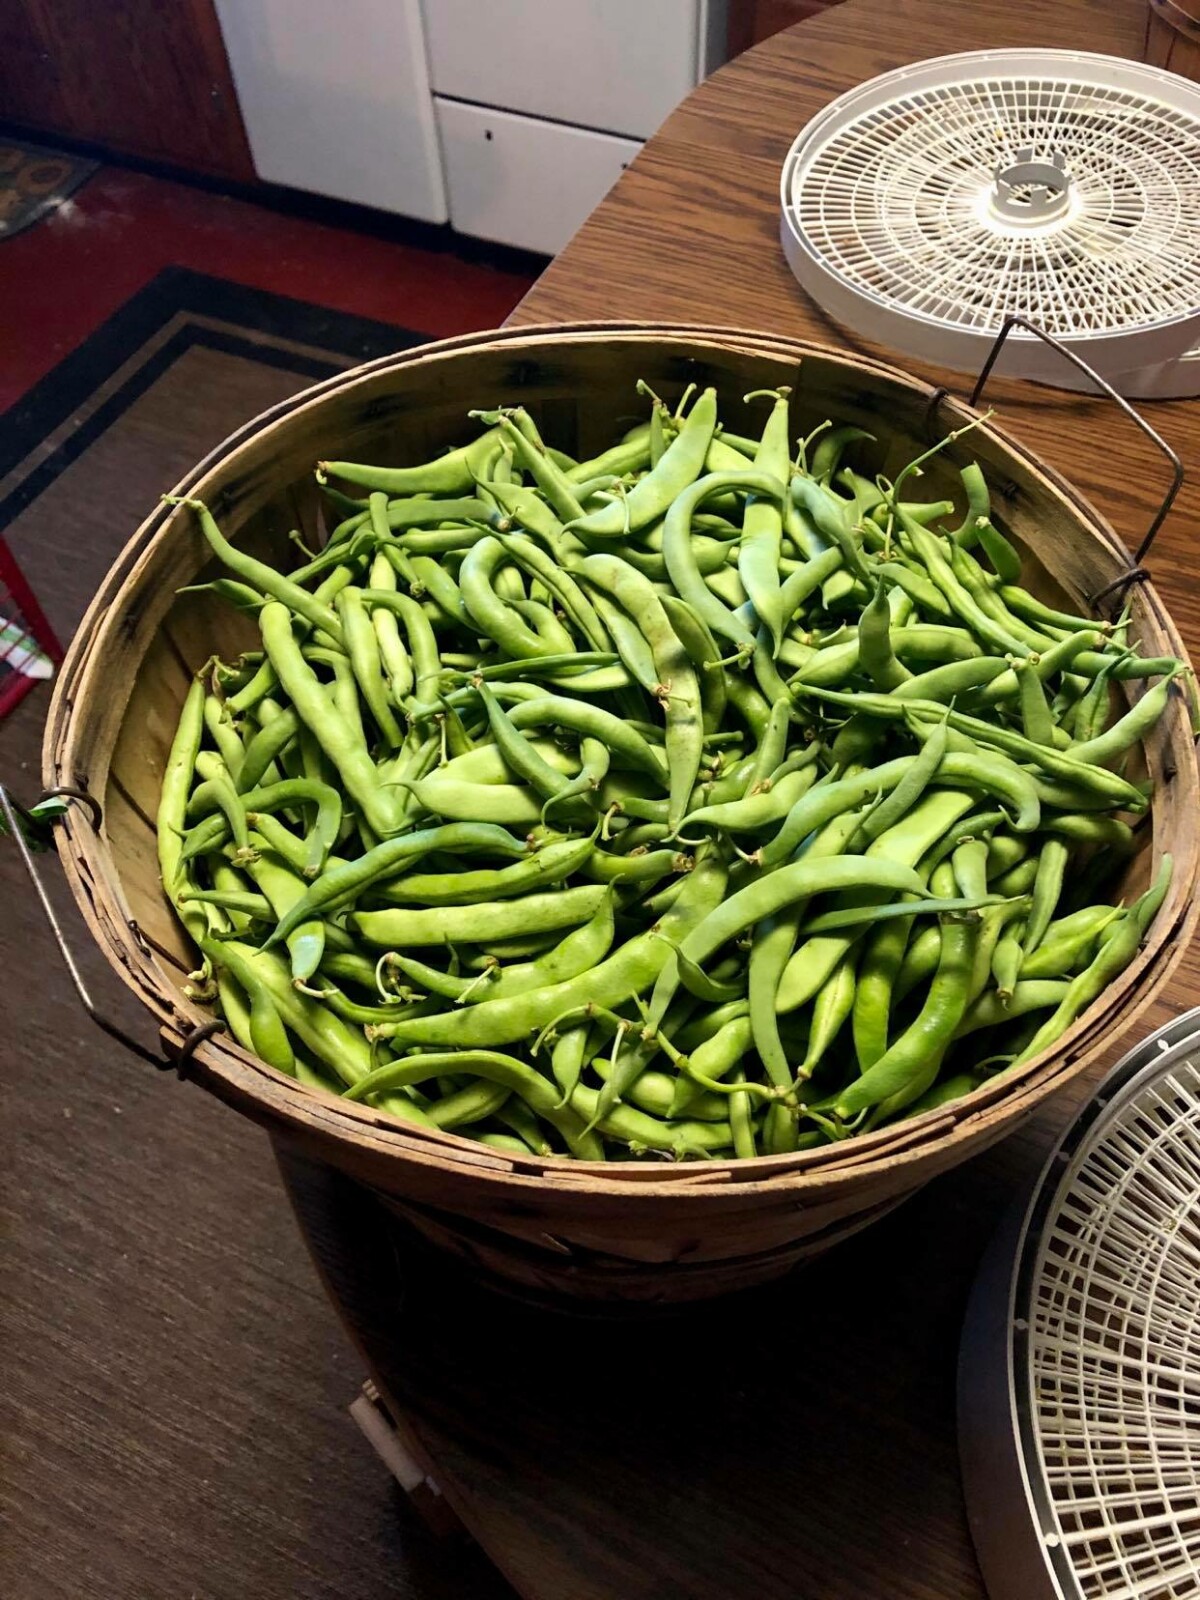
We are in the heart of gardening season in Nebraska. Plants are up, cool seasons done, most of the weeding is done, and the fruit of the labor is starting to show. It is honestly the best time. Water the garden and pick the produce and enjoy! The early hard work of establishing plants is done and the bulk of harvest is yet to come.
I’m often asked when people see or hear about my gardens: “How do you get it all done?” The short answer, ‘Little by little.” I started small with my garden, a few simple easy to grow plants and have expanded from there. Every year my garden has grown a bit, with more plants, more variety, and more space. Along the way I learned a few things that help cut down on the amount of work over the summer.
#1 Mulch. Not just the 1-2 inches of mulch or dusting like you do when planting grass, but deep mulch. Like 4-6 inches of mulch. Why that deep? Not only does it help the moisture stay in the soil better, it blocks much of the weed growth. Will you still have to weed? Yes, but much less. Who has time to spend all day weeding anyway?
#2 Tackle small parts at a time. This one hit hard this year. I would look at everything that needed done, planted, weeded, prepped, watered, and simply become overwhelmed. Once I reminded myself to tackle small chunks at a time, it made the job more do-able and less stressful. I divide the garden into sections for planting, weeding and watering and stick with the smaller parts. I am more likely to finish one section before it gets too hot or the kids need me that way.
#3 Try one new thing at a time. This is huge for beginners. I started with a sweet corn patch my hubby planted, some pumpkins and cucumbers that took over, and maybe a tomato plant and pepper. I cannot even count how many plants I have now without walking around the gardens. Each year I added one or two varieties to try. Became good with those and added more. I also started with small patches to experiment with so space isn't wasted.
#4 Companion plant. This took me a few years to catch on to. It actually started by accident, when I couldn’t fit all my tomatoes in one spot in the garden. The results were worth repeating year after year! There was less bug damage to the overall crop when plants were mixed together. This year I took a spin on it and planted my tomatoes all in beds together, but planted basil around them. Basil tends to repel the bugs attracted to the tomatoes and I wanted more basil. It was a win-win. Check out the list of friend/foe plants I made earlier for more details.
What are some lessons you’ve learned from your hobbies that others would benefit from?
Wanting a community to lean into? Join the FREE Courageous + Purposeful Mommas group! This community is for the Mommas, mommas to be, in the midst of raising, and kids grown, looking for tips on building your family up and providing for them through natural methods. Tips include: gardening, bulk buying, caning,/preserving, livestock, homesteading, and home remedies. Your family is precious, and this group is to help you gain the knowledge and tools to keep your family well and not reliant on outside professionals. Remedies and tips are easy and simple for the busy momma, time is precious after all, including pregnancy, birth, young kids, and illness. Trust your Momma gut again! This community offers the resources + community you need to help get started on your journey and prepare for whatever future you envision.
Click here to get the stories straight to your email:
For more on wellness tips click here:
For more on homesteading on your budget click here:
For more simple DIY updates click here:
This post may contain affiliate links, which means that I may receive a commission if you make a purchase using these links, with NO additional cost to you.
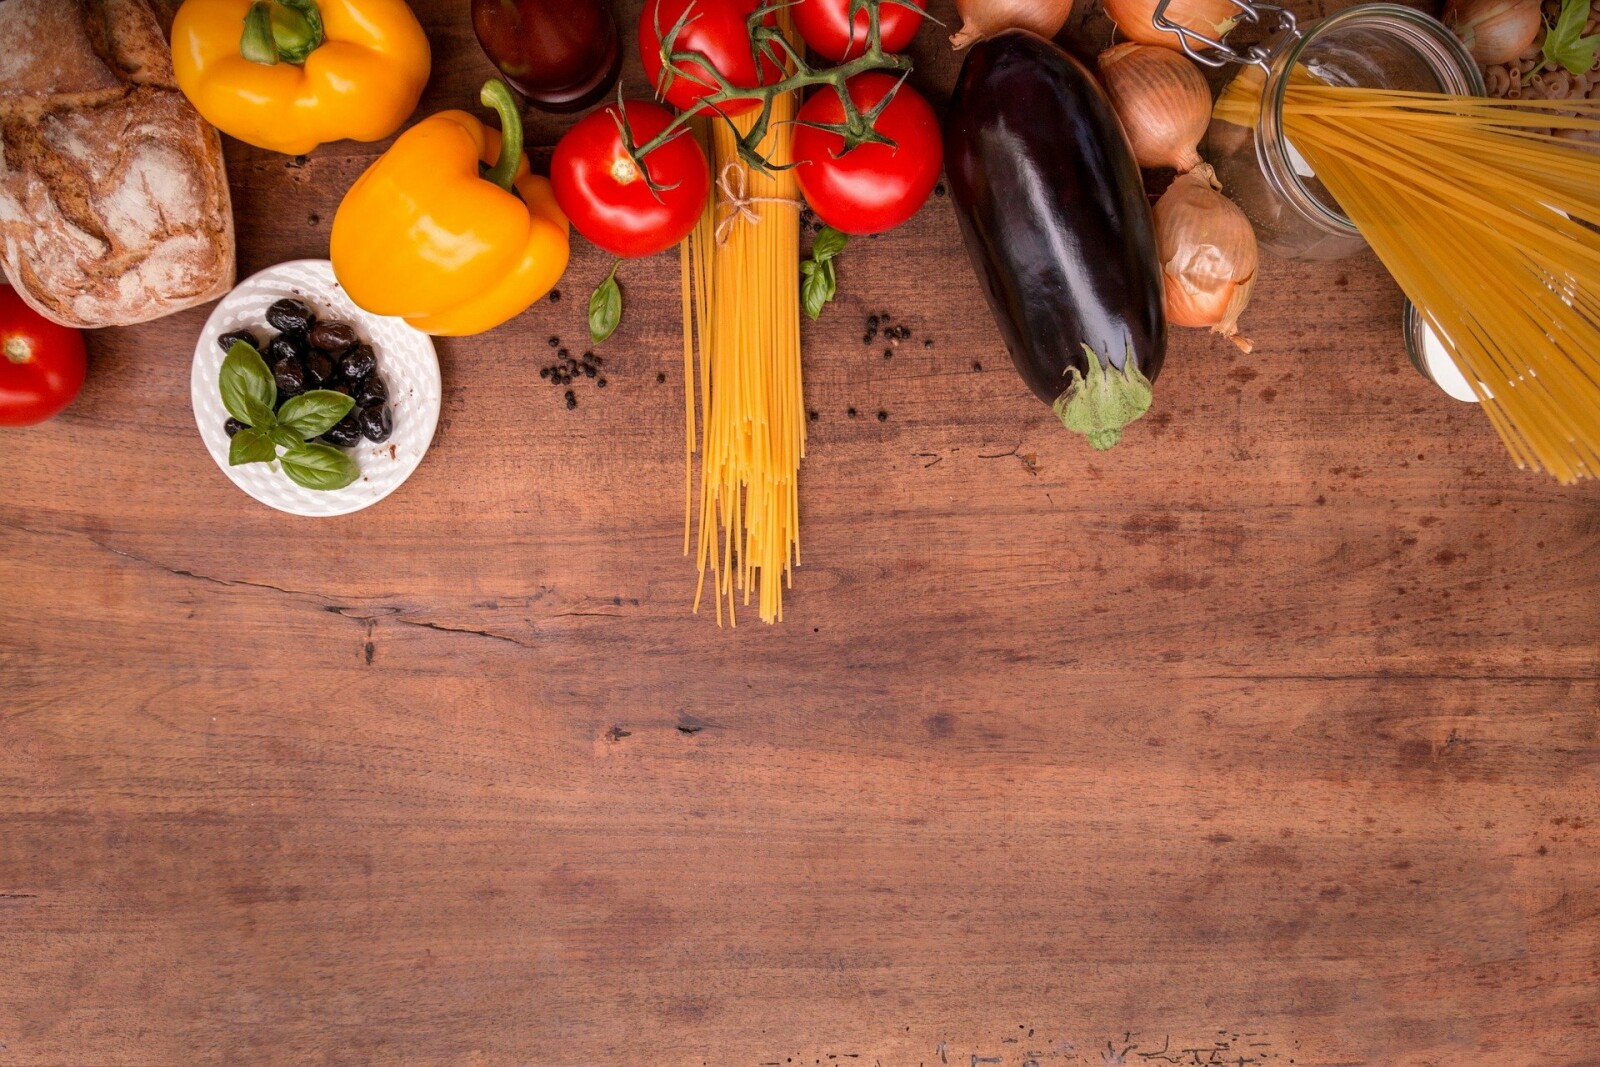
As mommas, typically we are also incharge of the food in our home. Although sometimes this is the dad’s responsibility. Cooking has generally been my job, even when I was working away from home. Part of that is being married to a farmer. He comes home when the work is done or it is dark.
One of my hardest week to week decisions is what to cook when. I have a few quick meals for when we’ve stayed outside too long, but those get old in a hurry if I don’t mix it up. So how do I mix it up and still keep everything spinning? Meal plan. Now how do you do that?
The best way I’ve found for me so far is a white board, cook books, and an inventory list (in my head usually or written), and 30 minutes. I’ve found the white board works great, because it is quick to look at and I can erase as I go or leave it there for next week if I didn’t actually make it. My meal plans are usually more like guides for the week so I have an idea what to make before everyone is hangry and we are eating rice again.
Step 1. Take inventory of what you have in the pantry, keep it in your head, or write it down on a running list.
Step 2. Grab your white board or planner (whatever to write your meals on), grocery list, cook books, and timer.
Step 3. Set your timer for 30 minutes, it's a mental game that helps to keep you focused.
Step 4. Open your cookbooks and start looking for recipes that stick out or sound good to you. Look at the ingredients. Make sure you have what you need or will be able to go to the store before you cook it. Anything you will need to buy, write on your grocery list. Write the recipe name on your meal plan with the page number.
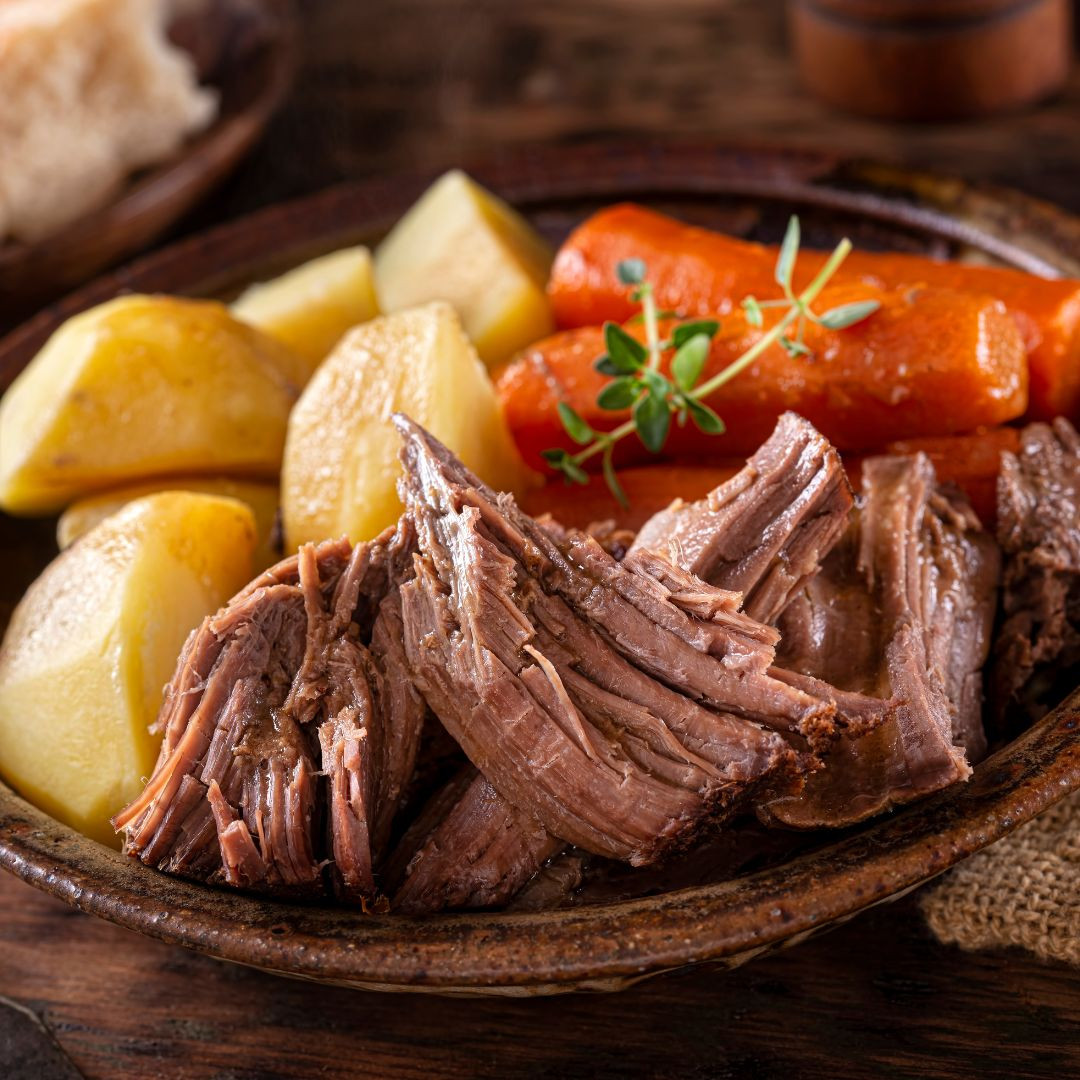
I like to cook once and reuse it if I can. Depending on the day and recipe whether that is supper or lunch meal. I then use the leftovers to make into other food, or add together for another meal.
Simple and done for the week. The biggest help meal planning is to me is that I don’t have to think about what to cook when the time comes. I have my list and I can pull the meat the night before, so it speeds the cooking process up a bit.
Wanting a community to lean into? Join the FREE Courageous + Purposeful Mommas group! This community is for the Mommas, mommas to be, in the midst of raising, and kids grown, looking for tips on building your family up and providing for them through natural methods. Tips include: gardening, bulk buying, caning,/preserving, livestock, homesteading, and home remedies. Your family is precious, and this group is to help you gain the knowledge and tools to keep your family well and not reliant on outside professionals. Remedies and tips are easy and simple for the busy momma, time is precious after all, including pregnancy, birth, young kids, and illness. Trust your Momma gut again! This community offers the resources + community you need to help get started on your journey and prepare for whatever future you envision.
Click here to get the stories straight to your email:
For more on wellness tips click here:
For more on homesteading on your budget click here:
For more simple DIY updates click here:

This post may contain affiliate links, which means that I may receive a commission if you make a purchase using these links, with NO additional cost to you.
Many people are seeking better health, but where do you start? What is the best way to improve your overall health and energy? Simple answer, the food you eat. The complex answer, eating your nutrients from food sources that your body can easily digest and absorb. How do you even start!?! Let me guide you through three simple and easy steps.
First, eliminate the processed food as much as you can from your diet. Processed foods are void of many essential vitamins and minerals your body needs. They are also heavy with preservatives which are difficult for your body to break down and eliminate.
How do you eliminate the processed foods? Shop the outside of the grocery aisles more than the inside. The outside aisles are primarily the fresh and frozen foods. When you do shop the inner aisles, look for simple ingredients. Packages with 5 or less familiar ingredients, and no dyes. If you come across an ingredient you are unfamiliar with, google it.
Second, eliminate refined sugars. Yes that means the cookies. It is ok to have an occasional treat, but sugar feeds inflammation and yeast in your body. By eliminating sugars for a few months, you will starve the yeast and allow your good gut bacteria to repopulate and better digest your food.
How do you know if you have an overgrowth of yeast? An overgrowth of yeast in your mouth, called thrush, shows up as white, bumpy patches on the tongue, inner cheeks, gums, tonsils or throat. You maybe extremely tired and crave sugar/carbs. Recurring urinary or genital infections is another symptom. You could have digestive issues, such as constipation, diarrhea, nausea, gas, cramps and bloating. This is caused by the bacteria imbalance in your gut. Chronic sinus infections that don’t get better with antibiotics or last longer than one month, is another sign. Fungal infections on the skin and nails, such as athlete's foot, ringworm, toenail fungus, rash in warm moist areas, such as the armpits and groin. Yeast overgrowth also causes inflammation in the body, which can lead to joint pain and decreased immune system function.
Third, eat more vegetables. Fresh is best, but frozen works, canned is the next option. Canned is not as good, because some of the nutrients are lost, during the high processing temperatures. Fresh is preferred because these vitamins and minerals are left intact and not denatured. They also are more likely to have active enzymes to help break them down during digestion.
How do I afford more vegetables?!?! Not everyone can grow a huge garden with vegetables for the year. However, everyone can look for the sales. Buy fresh when you can. Farmers market season is coming soon. Visit one and buy fresh. If someone is willing to do a bulk deal take them up on it. Bring it home and freeze what you won't eat in time. Watch local grocery store ads. Fresh and frozen vegetables go on sale occasionally. Stock up when they do. A freezer is an investment, but pays for itself quickly when you can buy large quantities and keep them on hand.
Have more questions on improving your health? Contact me and let's chat!
Wanting a community to lean into? Join the FREE Courageous + Purposeful Mommas group! This community is for the Mommas, mommas to be, in the midst of raising, and kids grown, looking for tips on building your family up and providing for them through natural methods. Tips include: gardening, bulk buying, caning,/preserving, livestock, homesteading, and home remedies. Your family is precious, and this group is to help you gain the knowledge and tools to keep your family well and not reliant on outside professionals. Remedies and tips are easy and simple for the busy momma, time is precious after all, including pregnancy, birth, young kids, and illness. Trust your Momma gut again! This community offers the resources + community you need to help get started on your journey and prepare for whatever future you envision.
Click here to get the stories straight to your email:
For more on wellness tips click here:
For more on homesteading on your budget click here:
For more simple DIY updates click here: