Simple clarity of beef labels from every store

Simple clarity of beef labels from every store
This post may contain affiliate links, which means that I may receive a commission if you make a purchase using these links, with NO additional cost to you. 
 
A trip through the grocery store can be so confusing! So many labels anymore, on everything, but what do those labels really mean? Is the product really better or safer if it has a particular label? The next few weeks I’m going to go over the different labels found in the store and break them down for you. 
 
Keep in mind any extra label requires extra documentation. This translates into an increased cost for the consumer. I highly recommend finding a local producer for whatever you wish to buy and ask questions. Find one that aligns with your values and purchase directly from them if possible. First up, Meat.
 
Grass-fed – This is primarily a beef or lamb label. It means the animal has not been fed grain or grain byproducts and had continuous access to pasture during growing season. They are permitted to consume hay during the months grass is not growing (winter). This label is a challenge for many producers as the amount of grass (and land) required to raise such an animal is high. Is it more nutritious than grain finished? Debatable, that discussion is for another time. The fatty acid profile of the meat is changed, which does give the meat a different flavor. 
 
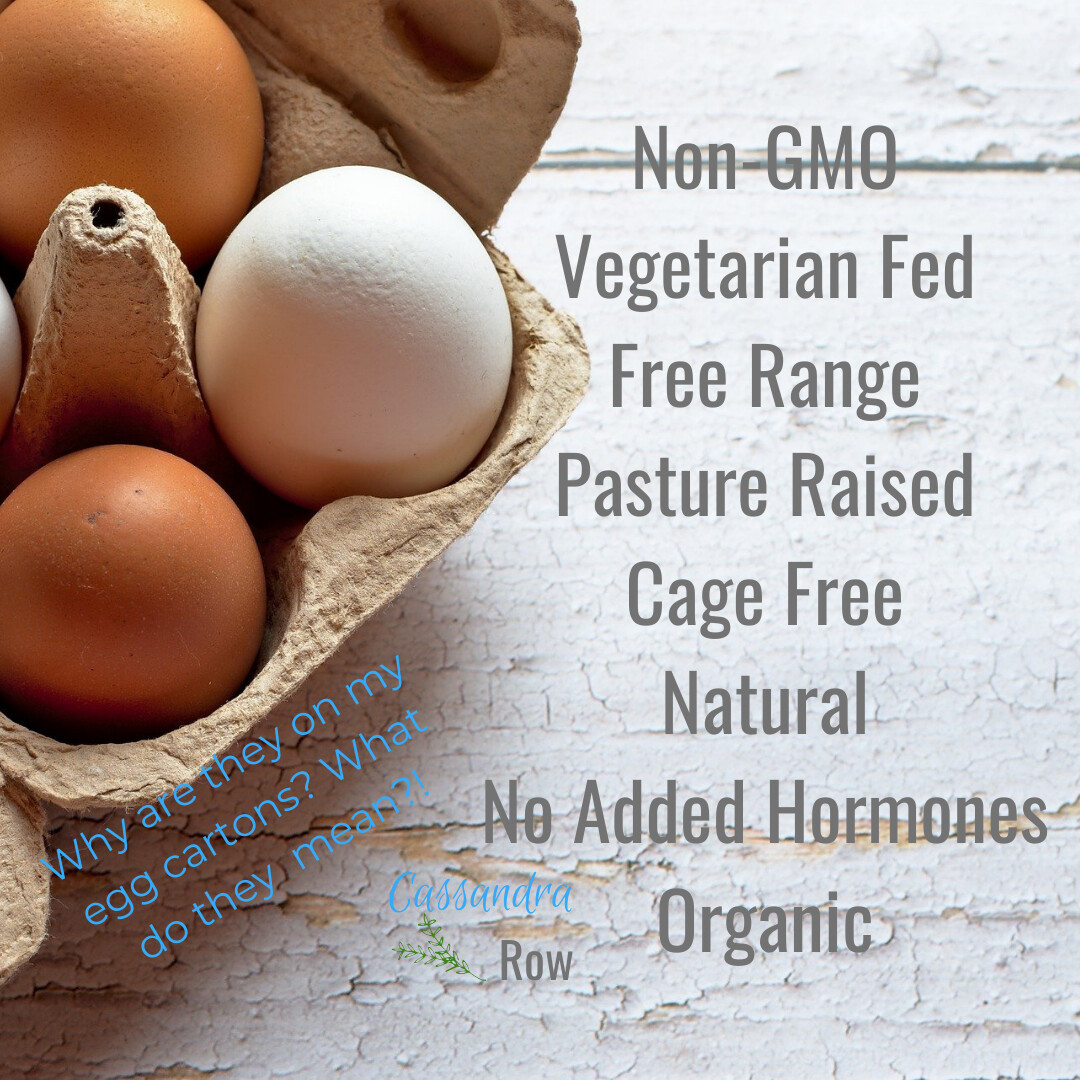
Natural – This label means the food product is minimally processed, and contains no preservatives, or artificial ingredients. Most meats are sold this way, whether the label says it or not. It is mostly a marketing tool. As always you can read the labels to tell for sure if anything is added to the meat. 
 
No Antibiotics – This label requires extra documentation that the animal has never been given antibiotics, ever. If an animal gets sick and needs antibiotics, they are kicked off the program. Again, this label you will pay a premium for, because many producers are not willing to do the extra paperwork and keeping all calves 100% healthy is difficult (kind of like keeping kids healthy). 
 
No Hormones or No Hormones Added – This label means the animal has not been given growth hormones (implants) and the producer must submit the extra paperwork. All meat has hormones naturally. Some producers give an implant to help promote more muscle growth. Are there differences in the end product? Some, but it is a very small amount. Again, a discussion for another time. 
 
Organic – Means no growth hormones, antibiotics, genetically modified (GM) crops, or animal by-products were fed ever. So basically, the No Antibiotic label + the No Hormones Added label + only non-GM feeds. These are most likely your highest priced meats in the store. Why? Sourcing and cost of the feed is expensive. Plus, the documentation required to sell the animals as such. Many producers are not willing to do the extra paperwork, for such a small increase in profit. 
 
Again, if you really want to know about your meat, find a producer that matches your values and buy directly from them. Many producers are doing direct sales now and can be found online. Our family has started selling both locally and online. You can find our farm at www.76cattlecompany.com


Wanting a community to lean into? Join the FREE Courageous + Purposeful Mommas group! This community is for the Mommas, mommas to be, in the midst of raising, and kids grown, looking for tips on building your family up and providing for them through natural methods. Tips include: gardening, bulk buying, caning,/preserving, livestock, homesteading, and home remedies. Your family is precious, and this group is to help you gain the knowledge and tools to keep your family well and not reliant on outside professionals. Remedies and tips are easy and simple for the busy momma, time is precious after all, including pregnancy, birth, young kids, and illness. Trust your Momma gut again! This community offers the resources + community you need to help get started on your journey and prepare for whatever future you envision.
 
Click here to get the stories straight to your email:
 
For more on wellness tips click here:
 
For more on homesteading on your budget click here:
 
For more simple DIY updates click here:
Is Gardening Good for You?

Is Gardening Good for You?

This post may contain affiliate links, which means that I may receive a commission if you make a purchase using these links, with NO additional cost to you. 


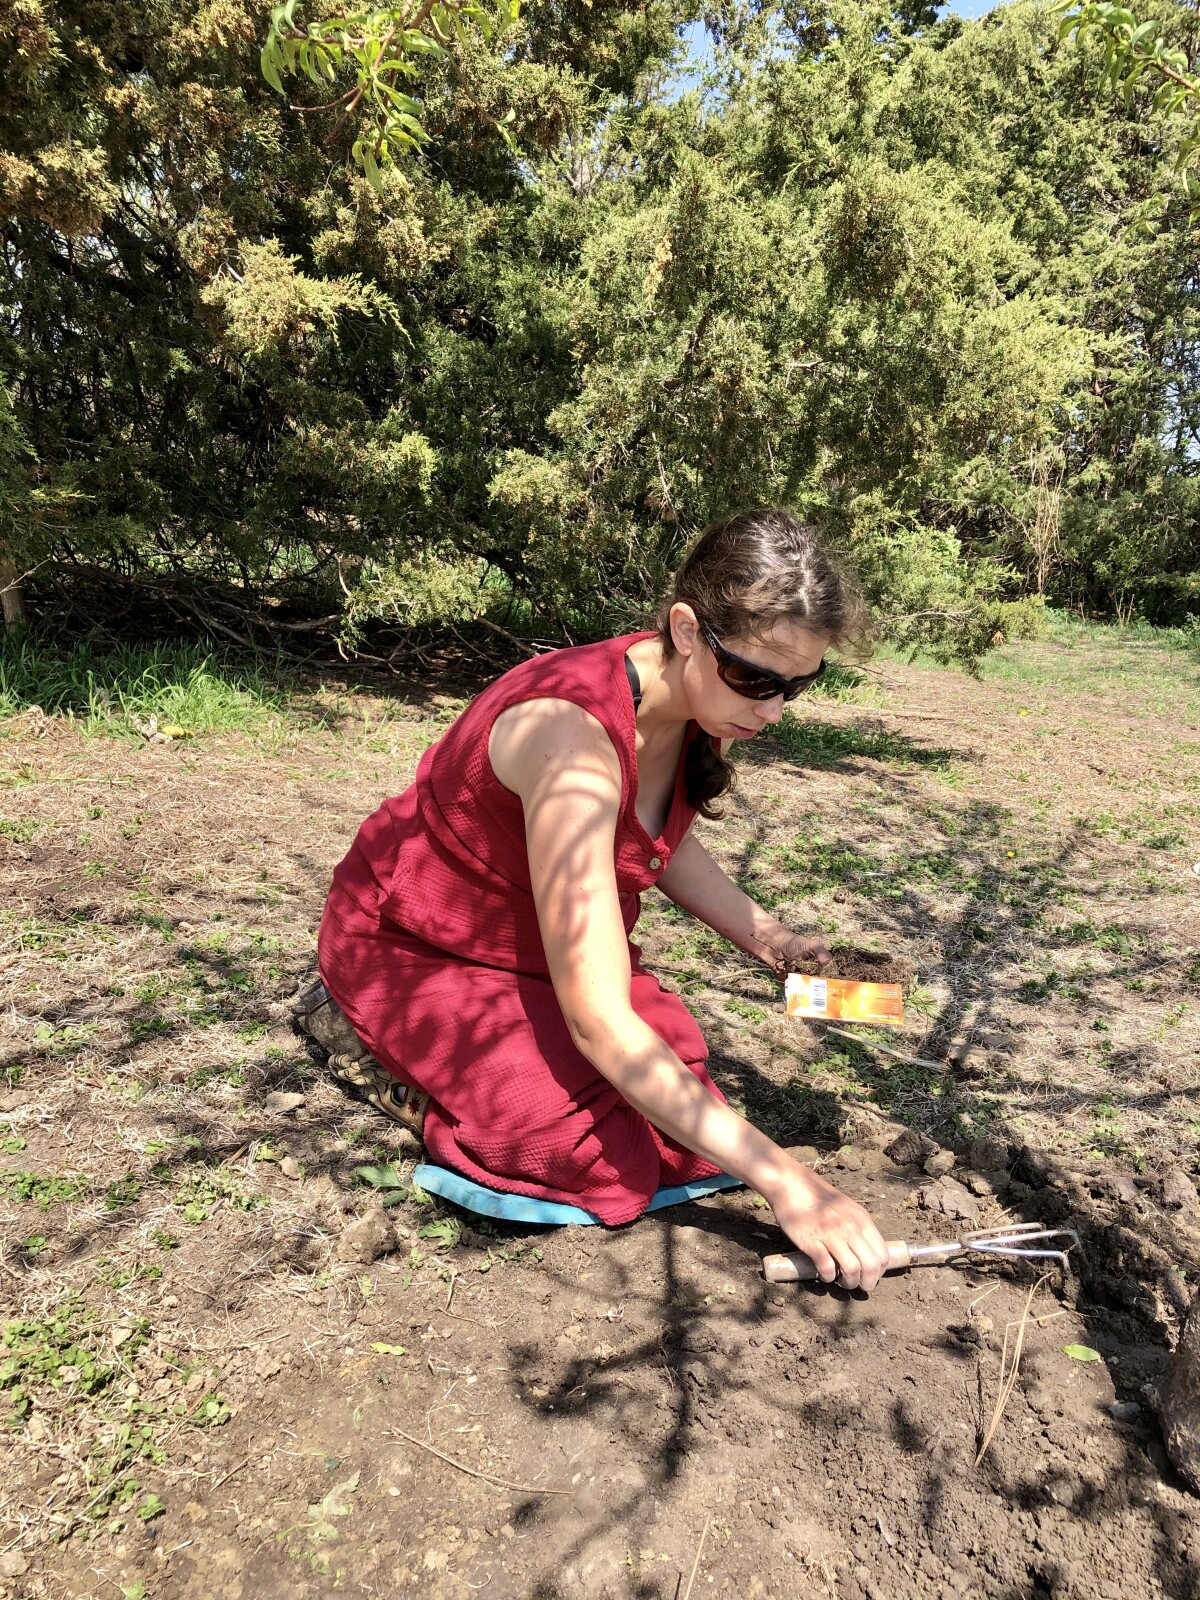
Gardening has many benefits. You can grow your own food, have control over how it is grown, receive excellent nutrition, and experience the stress relief a garden can give you. Being in nature, digging in the dirt, breathing in the fresh smells, gives your body and mind a chance to unwind and ground. 


Wait what is this thing about grounding? It is electrically reconnecting you to the earth. Our bodies tend to build up positive charge, especially under stress. The surface of the earth is negatively charged. By something as simple as walking barefoot, or digging in the dirt, you allow your body the opportunity to return to neutral charge by letting go of the positive electrical charge. Gardening is an excellent way to ground, while still accomplishing something for the type A personality.


Gardening is also a whole-body work out. Lifting baskets of produce, pulling weeds, digging holes, reaching for produce, pushing a wheelbarrow, are all activities that engage muscles throughout the body to accomplish the task. When you add general yard work, like pruning, or tree trimming, you have more specific exercises that work more of the upper body. Exercise releases endorphins that make us feel good. So, gardening can give you an exercise induced endorphin rush. 


The act of growing something from plant to maturing fruit, gives you a sense of accomplishment. Even growing something simple like a pot of herbs, which you can harvest quickly and continually, can produce this feeling. This has a positive affect on your mental health, by giving you a reward. 


So, gardening can improve your health emotionally by allowing you to ground yourself, physically through exercise, and mentally through giving you the sense of accomplishment. That is not even mentioning all the nutritional benefits from having truly fresh food. 


As I've grown in  my journey as an entrepreneur, mom, gardener, and livestock owner, I struggled to find a planner that met my needs and kept me organized. So I MADE MY OWN. You can take a look at it on the link blow and buy it on amazon below
Don't want the whole calendar part? I got you! I pulled the gardening and animal care pages out and put them in a book all their own. 

Wanting a community to lean into? Join the FREE Helping Your Family Homestead for Food group! This community is for the Mommas, looking to stay home and raise their kids, but unsure how to keep everyone fed and make ends meet. I share tips from my journey from the office, to half the income and feeding my family from home, while maintaining good nourishing food. Tips include: gardening, bulk buying, caning,/preserving, livestock, homesteading, and home remedies. Your family is precious and this group is to help you gain the knowledge and tools to keep your family well and not reliant on outside professionals. Remedies and tips are easy and simple for the busy momma, time is precious after all, including pregnancy, birth, young kids, and illness. Trust your Momma gut again! This community offers the resources + community you need to help get started on your journey and prepare for whatever future you envision. 
 
Starting to garden doesn't have to be hard! I gathered all the tips I've learned over my gardening learning curve and made them into a simple course to jump start your gardening your life. 

Supporting Your Family Naturally From the Inside Out community!! This community is for the Mommas, looking  to Support Your Family from Nature for Wellness. Tips range from nutrition, herbals, detoxing, natural cleaning, and essential oils. Basically all the things I’ve learned slowly over the past 5+ years if my journey. We have moved off Facebook, so to better serve our community and be able to discuss openly option for providing for your family in the best way possible.
Join the FREE Community

I've had 3 very different pregnancies. After the first traumatic birth, I learned better and how to care for my body naturally and prevent common pregnancy and birth problems before they arise. This quick course will get you the tools you need to have a naturally healthy pregnancy, labor, and delivery. My first pregnancy I had a normal western medicine all the things pregnancy. My second? I flipped to completely natural, no medicine. Bonus: Preventing Preeclampsia Without the Aspirin & Healing from Birth Trauma

Click here to get the stories straight to your email:
 
For more on wellness tips click here:
 
For more on homesteading on your budget click here:
 
For more simple DIY updates click here:


What are some home remedies for homesteaders?

What are some home remedies for homesteaders?

This post may contain affiliate links, which means that I may receive a commission if you make a purchase using these links, with NO additional cost to you. 


At some point you will injure yourself or get sick. It is part of life. You don’t need to run to the doctor for everything, and you don’t have to run out and buy an over-the-counter salve or medicine. There are several remedies you can grow, forage, and make yourself. This will be a brief overview, as each category could be an entire blog itself.  Read all the way to the end for my best owie slave recipe. 


First prevention is the best medicine. Feeding your body what it needs to fight off and heal itself before you become symptomatic ill. The best way to do this is to eat good food that nourishes your body. Avoiding processed foods and sugar is the biggest tips. Eating a much of a whole food diet as you can is the next. 


Herbals are my next line of defense. This includes essential oils. Essential oils are essentially concentrated versions of the herbs. Quality matters here, especially when using them for medicinal purposes. I use the essential oils to help build and support the body fighting off whatever infection and assist in the healing process. A favorite in our house as well are hot teas. Perfect herbal remedies to sip on when feeling sick. 


I buy my essential oils. I do not have the knowledge to properly distill them, so they have the most effectiveness. For my top pick on essential oil company for quality and experience, click here. The herbals for tea are a mix of purchased and home grown. Many herbs I simply do not have the ability to grow. So, I just need an easy button an buy a pre-mixed herbal blend.  Top herbs to keep on hand for illness, cinnamon, lemonbalm and lemongrass (bonus these also repel bugs when alive), clove, rosemary, and lemon. 


Tinctures I often use in conjunction with herbals. A tincture is a plant soaked in alcohol, then strained off. The benefit to these is they last nearly forever, where a dried herb is only good for 1-2 years. To use the tincture, a small amount of liquid is placed under the tongue and then held there for a few minutes. The herbs that are harder to acquire, or spoil quickly are made into tinctures for long term storage and use. 


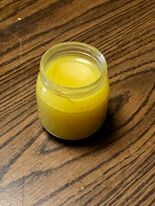
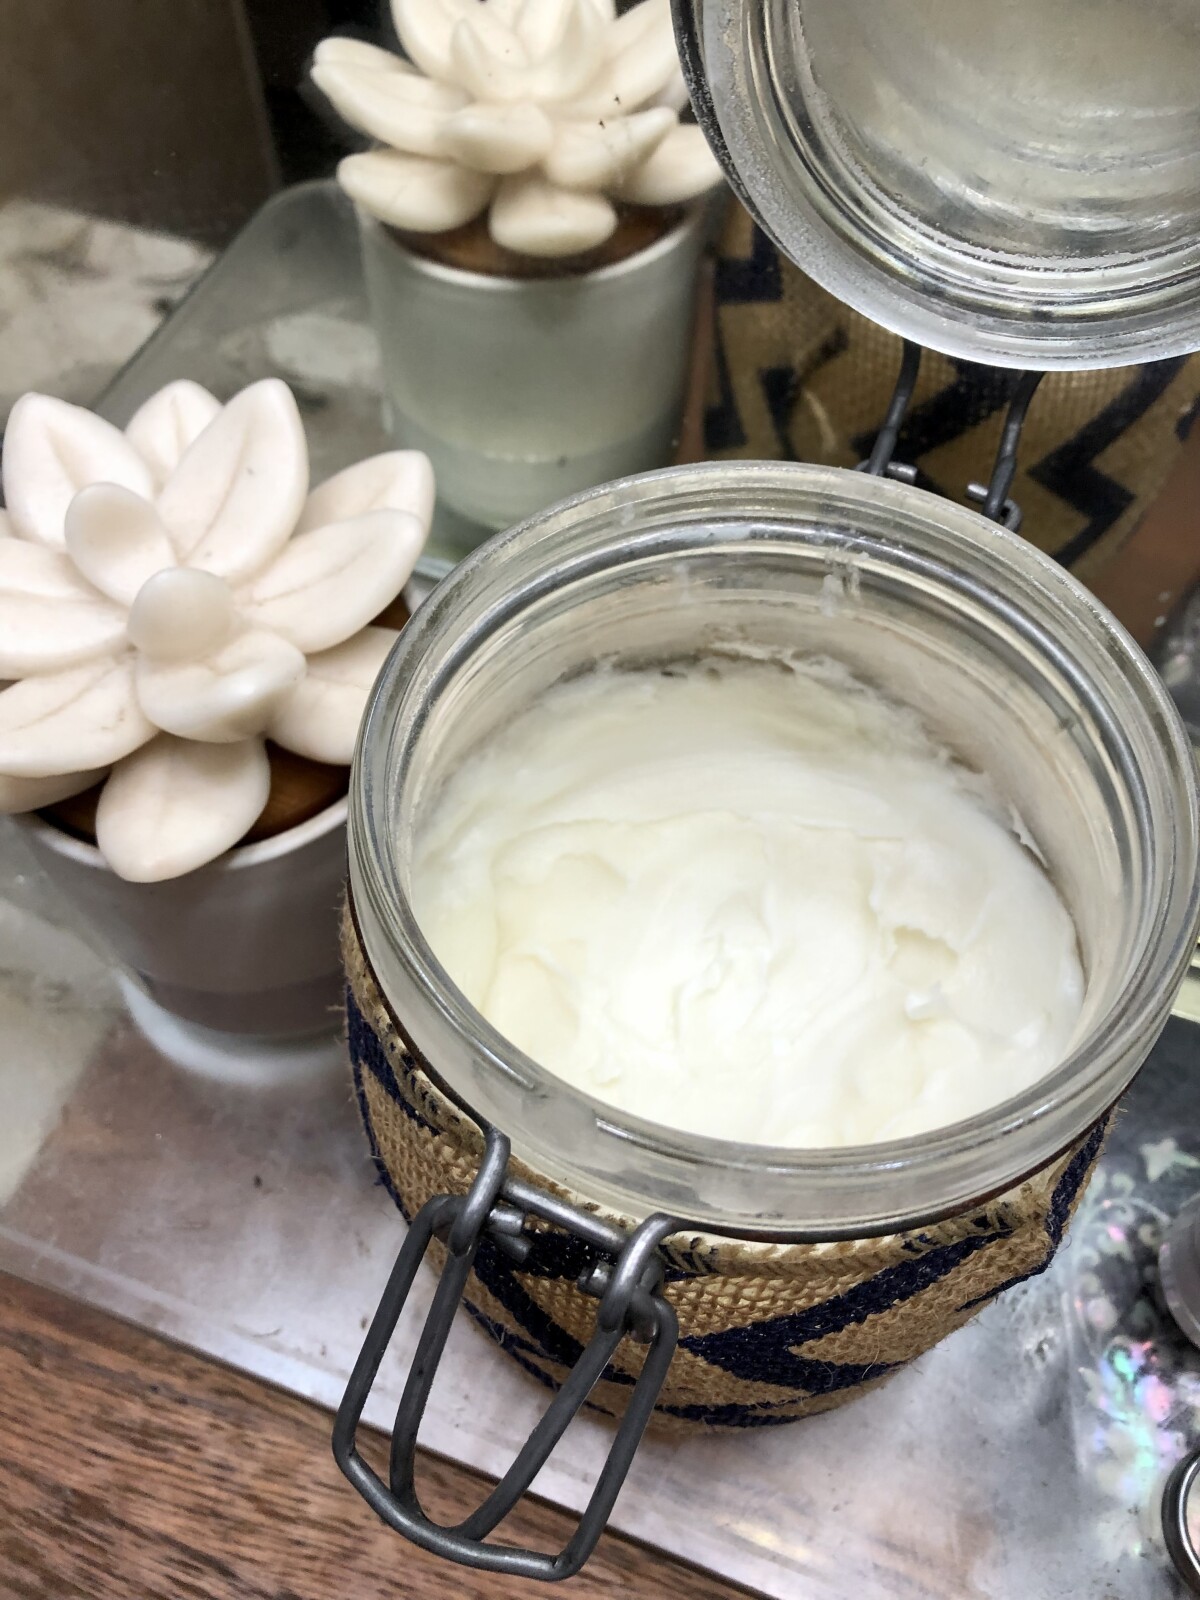
The part I’m sure most of you have been waiting for! My homemade owie salve. I use this salve on all kinds of owies, from cuts, to abrasions, to diaper rashes, to burns (after it has cooled off and the outer skin is healing. The best part is it is easy to make and grow. The two herbs in this salve are Calendula petals and Plantain leaves. You’ll also need olive oil for infusing, and bees wax to make the actual salve. 


Step 1: Pick the calendula blossoms and plantain leaves on a warm sunny day (the resin is strongest then). Fill a glass jar with the leaves and blossoms, I like to pick them in about a 1:1 ratio. 


Step 2: Fill the jar with olive oil to 1 inch from the top. Run a butter knife around to remove the air bubbles. Place in a sunny spot and let it sit for 3-4 weeks. 


Step 3: Strain the oil through cheese cloth and squeeze out into a sauce pan. 


Step 4: Warm the oil slightly (DO NOT BOIL). Add most of the grated bees wax to the warmed oil (approximately ¼ c grated beeswax per 1 cup of oil). Stirring to mix. 


Step 5: As soon as the wax melts, put 1 Tablespoon of the mix on a plate and into the freezer for 1-2 minutes, until cool. 


Step 6: Check for consistency. For a firmer salve, add more bees wax, for a softer salve, add more oil. 


Step 7: Put the salve into small jars or tins and allow to cool


Step 8: Once cooled, tighten lids and store in a cool dark place for 1-2 years.  


Wanting a community to lean into? Join the FREE Helping Your Family Homestead for Food group! This community is for the Mommas, looking to stay home and raise their kids, but unsure how to keep everyone fed and make ends meet. I share tips from my journey from the office, to half the income and feeding my family from home, while maintaining good nourishing food. Tips include: gardening, bulk buying, caning,/preserving, livestock, homesteading, and home remedies. Your family is precious and this group is to help you gain the knowledge and tools to keep your family well and not reliant on outside professionals. Remedies and tips are easy and simple for the busy momma, time is precious after all, including pregnancy, birth, young kids, and illness. Trust your Momma gut again! This community offers the resources + community you need to help get started on your journey and prepare for whatever future you envision. 

As I've grown in  my journey as an entrepreneur, mom, gardener, and livestock owner, I struggled to find a planner that met my needs and kept me organized. So I MADE MY OWN. You can take a look at it on the link blow and buy it on amazon below
Don't want the whole calendar part? I got you! I pulled the gardening and animal care pages out and put them in a book all their own. 

Starting to garden doesn't have to be hard! I gathered all the tips I've learned over my gardening learning curve and made them into a simple course to jump start your gardening your life. 

Supporting Your Family Naturally From the Inside Out community!! This community is for the Mommas, looking  to Support Your Family from Nature for Wellness. Tips range from nutrition, herbals, detoxing, natural cleaning, and essential oils. Basically all the things I’ve learned slowly over the past 5+ years if my journey. We have moved off Facebook, so to better serve our community and be able to discuss openly option for providing for your family in the best way possible.
Join the FREE Community

I've had 3 very different pregnancies. After the first traumatic birth, I learned better and how to care for my body naturally and prevent common pregnancy and birth problems before they arise. This quick course will get you the tools you need to have a naturally healthy pregnancy, labor, and delivery. My first pregnancy I had a normal western medicine all the things pregnancy. My second? I flipped to completely natural, no medicine. Bonus: Preventing Preeclampsia Without the Aspirin & Healing from Birth Trauma

Click here to get the stories straight to your email:
 
For more on wellness tips click here:
 
For more on homesteading on your budget click here:
 
For more simple DIY updates click here:



Homemade Canned Spagetti Sauce

Homemade Canned Spagetti Sauce
This post may contain affiliate links, which means that I may receive a commission if you make a purchase using these links, with NO additional cost to you. 

I love growing my own food. Part of growing all the food is not only eating it fresh in the summer, but preserving it for winter use. One vegetable we use for several canning recipes is tomatoes. I usually can spaghetti sauce with many of the tomatoes. It makes for quick meals in the winter months and the kids love it. Making spaghetti sauce is a simple process. 

For homemade spaghetti sauce you will need (this will make approximately 3 quarts)
1 large onion
1 clove garlic
12 large tomatoes (approximately 1 cup each)
6 beef bouillon cubes (or 3 pints beef/bone broth)
4 t basil
2 lg bay leaves
1t salt
1 t oregano
12 oz can tomato paste
Optional mushrooms

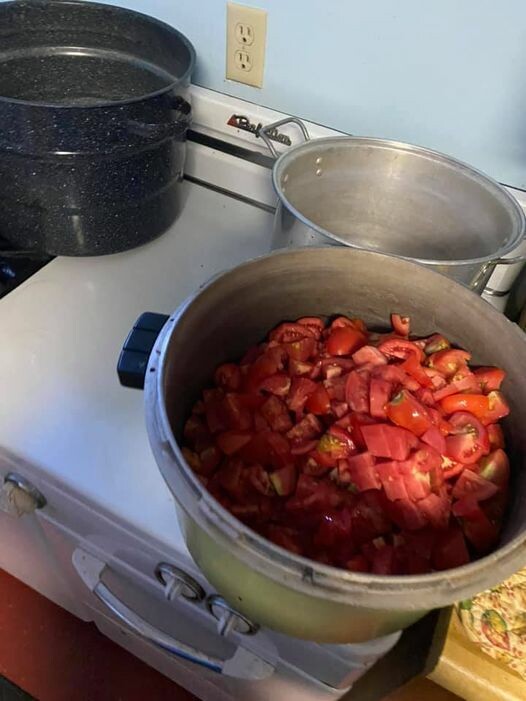
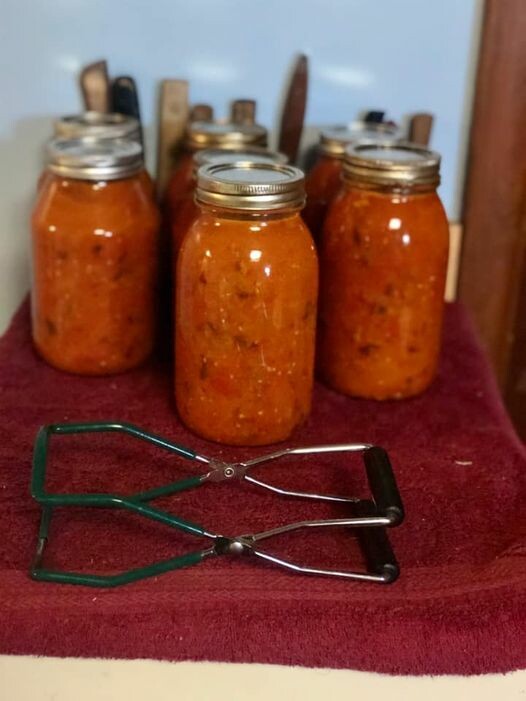
I usually 3-5 times the recipe and make as big of a batch as I can at one time. For the pot pictured the recipe is 3x. The smaller pot in the back will do 2x the recipe. 

You will need the following supplies:
Canning jars
Canning lids
Canning rings
Jar Funnel
Long spatula or knife
Hot water bath
Stock pot (I usually have at least 2)
Immersion blender (for smooth sauce texture)


Step 1. Quarter tomatoes and add all the ingredients to a big stock pot. No need to remove skins or seeds. If you are using frozen tomatoes, just throw them in the pot. They will cook down and chop up as you stir the pot. 


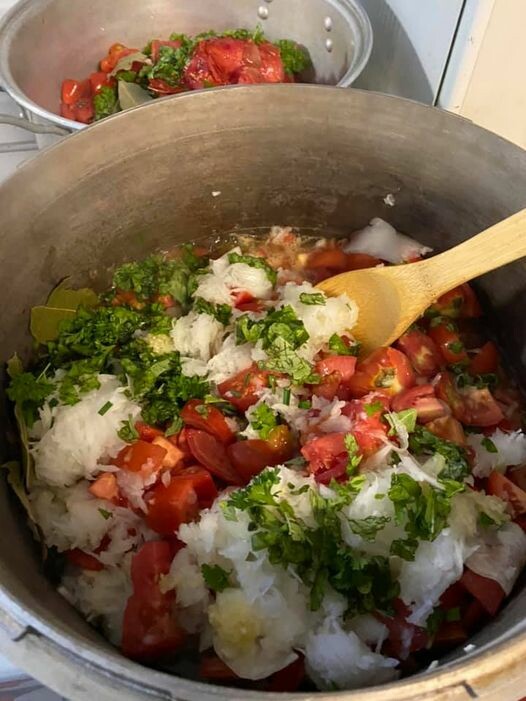
Step 2. Add all the ingredients. As I harvest produce or find ingredients on sale, I will chop them up and freeze them in sizes I will need for the recipes. It makes the process so much faster. I also like to use fresh herbs if I have them on hand at the time (you will need about double the amount using fresh). Chop onions with a food processor saves your eyes and time too. Once everything is in the pot turn the burner on high and stir occasionally. 

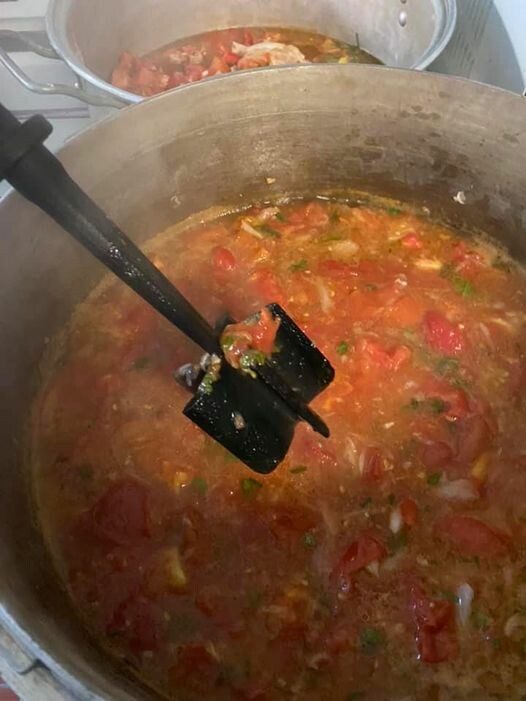
Step 3. Stir the sauce and break up the chunks. I like to use my mix and chop for the first part to break up the big chunks. For a smoother sauce, use an immersion blender to blend everything together in the pot. 

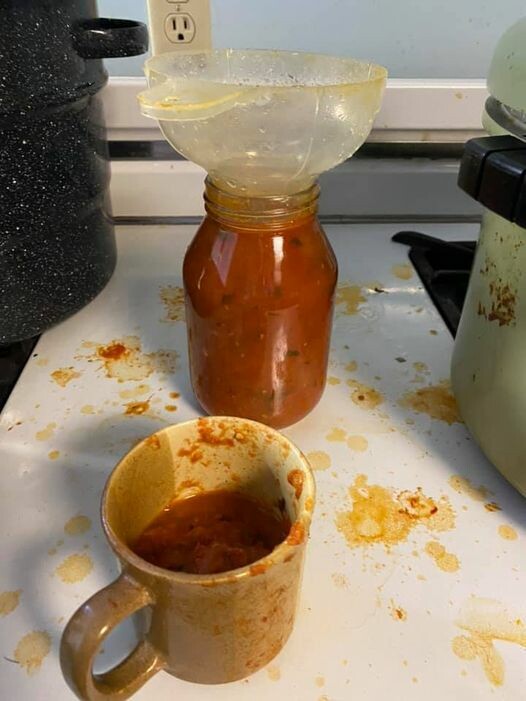
Step 4. Once the sauce has boiled down to the correct consistency (this will be based purely on individual preference), pour into your cleaned and sanitized jars (running them through the dishwasher is an easy way to do this).

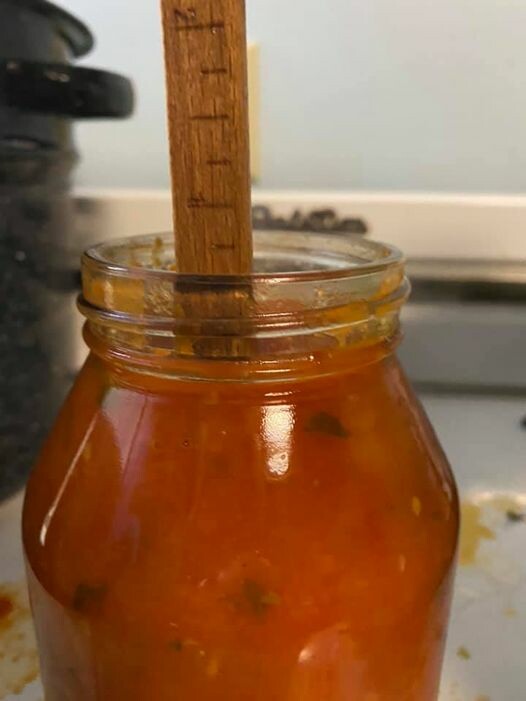
Step 5. Fill jars to ½ inch below the rim. 

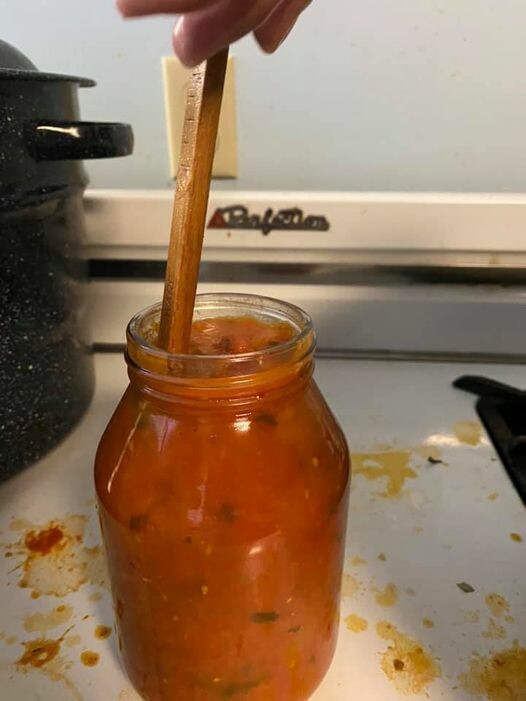
Step 6. Run the rubber spatula up and down along the inside of the jar to remove any air bubbles. Add more sauce if needed. Wipe the rim clean. Do NOT forget this step. Jars with bubbles can explode in the water bath. Sauce on the rims will keep the jars from sealing properly. 

Step 7. Lids. Rinse the, one time use, canning lids in hot water. This is new compared to older lids which you needed to boil first. Then set them on the jar and attach the rings down. Do not over tighten the rings, a quick tight twist will do before you burn your fingers on the hot jar. 

If you are using reusable lids you will want to boil the seals and follow the instructions from the manufacturer. I purchased some from Tattler at www.reusablecanninglids.com

Step 8. Fill your spare pot (or now empty pot) half way with hot water and bring to a boil. If you have the stove space you can actually start the pot of water when you start cooking your sauce in the beginning (this also saves time). 

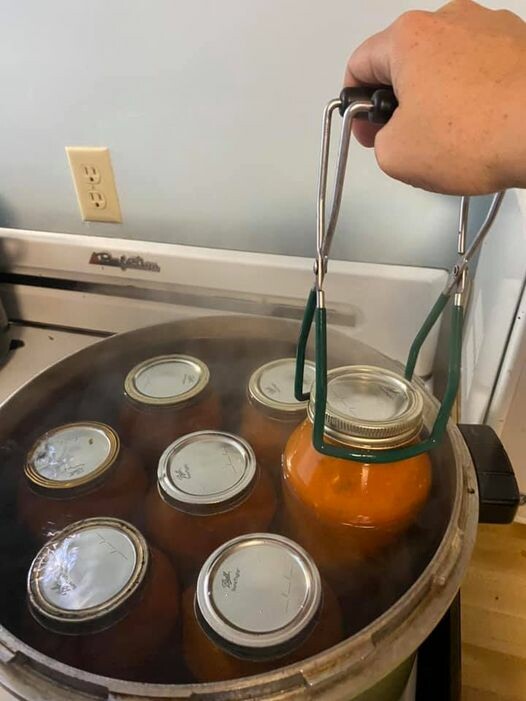
Step 9. Place jars in the pot, and cover with a lid to help it come to a boil quicker.


Step 10. Once boiling, set your timer for 30 minutes, and let it continue to boil (this is called Water Bathing)


Step 11. After the 30 minutes have elapsed, pull the jars out and set them on a doubled over towel on the counter. Listen for a small “pop” of the middle of the lid dropping down. This indicates that the jar is sealed correctly (for one time use lids). Let the jars cool completely. Check seals, remove rings, label, then store in your pantry.

For one time use lids, the bubble should be down and not pop up. For reusable lids, gently pick them up by the lid (it's terrifying the first few times), if the lid holds, the seal is good. 

Wanting a community to lean into? Join the FREE Courageous + Purposeful Mommas group! This community is for the Mommas, mommas to be, in the midst of raising, and kids grown, looking for tips on building your family up and providing for them through natural methods. Tips include: gardening, bulk buying, caning,/preserving, livestock, homesteading, and home remedies. Your family is precious, and this group is to help you gain the knowledge and tools to keep your family well and not reliant on outside professionals. Remedies and tips are easy and simple for the busy momma, time is precious after all, including pregnancy, birth, young kids, and illness. Trust your Momma gut again! This community offers the resources + community you need to help get started on your journey and prepare for whatever future you envision.

Join the Free Community


Click here to get the stories straight to your email:

Sign up for the Blog


For more on wellness tips click here:

Sign up for Wellness tips


For more on homesteading on your budget click here:

Sign up for Homesteading Tips


For more simple DIY updates click here:

Sign up for easy DIYs 


How to dehydrate apples

How to dehydrate apples
This post may contain affiliate links, which means that I may receive a commission if you make a purchase using these links, with NO additional cost to you. 

I love growing my own food. Part of growing all the food is not only eating it fresh in the summer, but preserving it for winter use. When we moved to our property, we bought 2 apple trees.  A favorite snack for the winter time is dehydrated apple slices. It is fairly simple and an easy snack when apples are no longer ripe or you're traveling!

You will need:
Core/slicer/peeler (you can use a cutting board and knife, but this tool makes the process so much faster).
Citric Acid/lemon juice (optional)
Apples

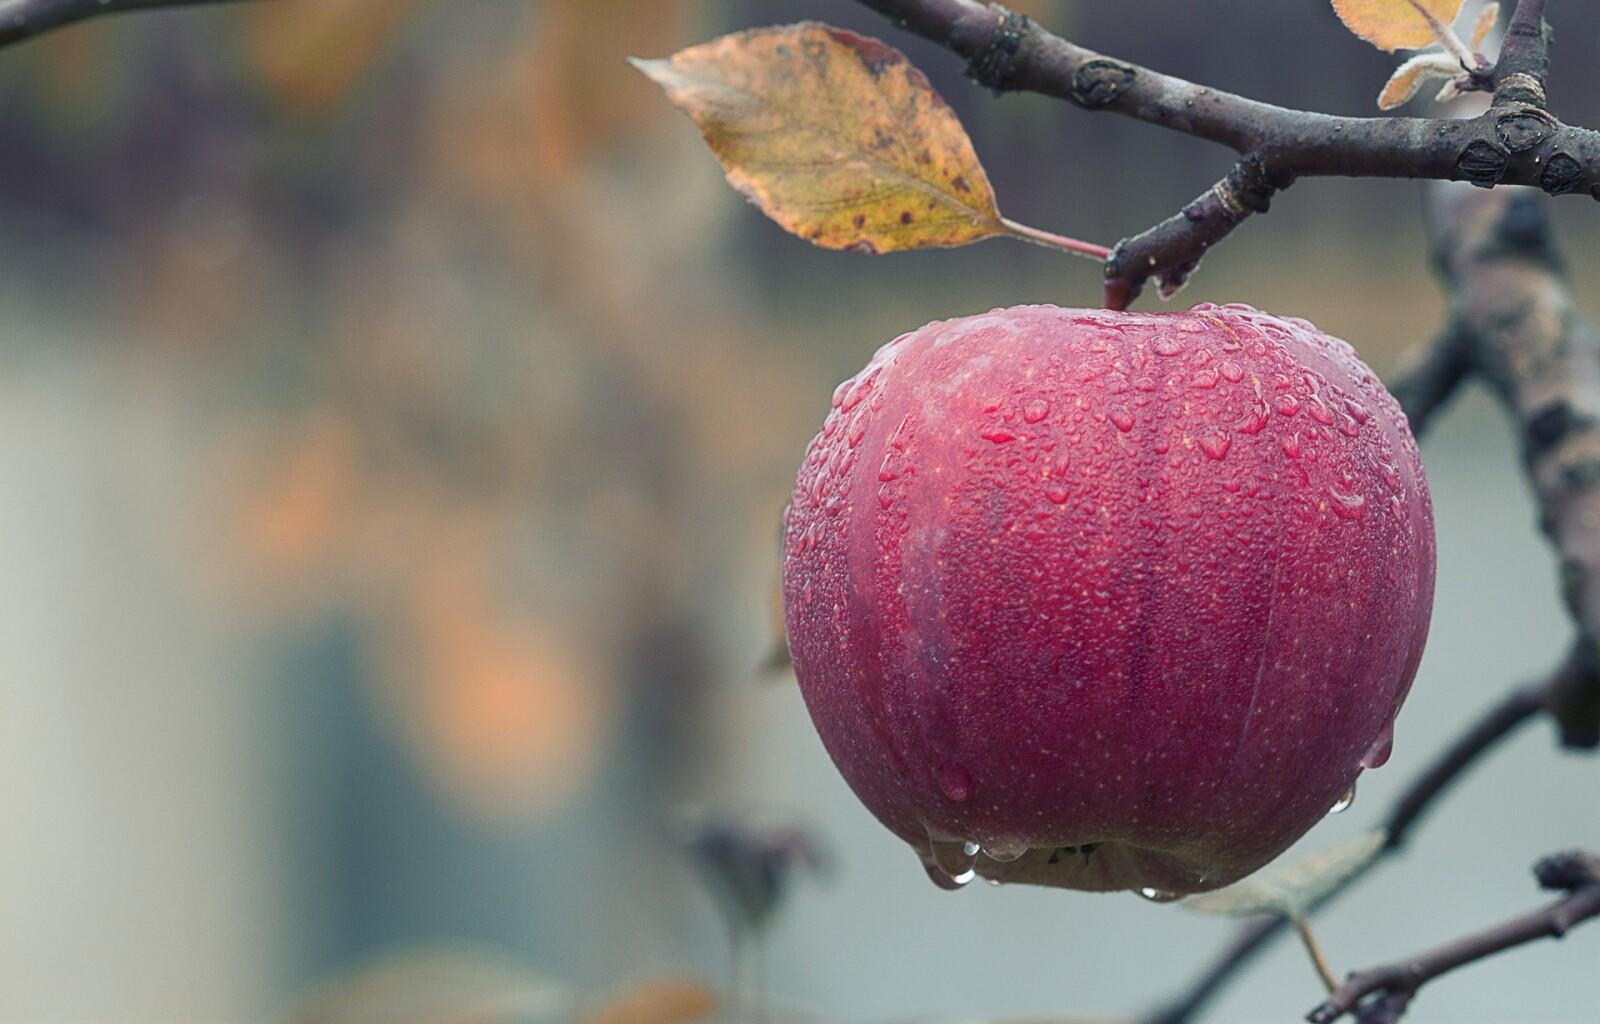
Step 1: Pick the apples just as they are ripening on the tree. This saves bruising when they fall off, and allows you to get the apples instead of the squirrels eating them all half way. Take them to a cool dark area and lay them out. I usually use an old sheet or boxes in the basement. Check on them every few days for those that are ripe. 

Step 2: Once 6-12 are ripe that you (haven’t eaten), gently wash them up in the sink removing any bad spots.

Step 3: Using the core/slicer spin the apples through the blade. I will often leave the peel on the apples. 

Step 4: If you don’t want the apple to brown, dip them in citric acid/lemon juice. I don’t mind them browning a bit, so I skip this part.

Step 5: Lay the sliced apples out on a dehydrating tray. You can buy add on trays for most dehydrators so you can do more at once. 

Step 6: Once all the trays are full, put the lid on the dehydrator and set the temperature for 135 degrees F.

Step 7: My apples usually take around 12-24 hours depending on how thick I sliced them. If you start it at night, check them in the morning and adjust depending on how they look. I typically leave a little juice in mine as they are easier for small kids to chew that way. 

Step 8: Remove apples from the dehydrator and place in freezer containers. Label and freeze. I do this because I leave some juice in them and then they last for an entire year without molding. 


Wanting a community to lean into? Join the FREE Courageous + Purposeful Mommas group! This community is for the Mommas, mommas to be, in the midst of raising, and kids grown, looking for tips on building your family up and providing for them through natural methods. Tips include: gardening, bulk buying, caning,/preserving, livestock, homesteading, and home remedies. Your family is precious, and this group is to help you gain the knowledge and tools to keep your family well and not reliant on outside professionals. Remedies and tips are easy and simple for the busy momma, time is precious after all, including pregnancy, birth, young kids, and illness. Trust your Momma gut again! This community offers the resources + community you need to help get started on your journey and prepare for whatever future you envision.

Join the Free Community


Click here to get the stories straight to your email:

Sign up for the Blog


For more on wellness tips click here:

Sign up for Wellness tips


For more on homesteading on your budget click here:

Sign up for Homesteading Tips


For more simple DIY updates click here:

Sign up for easy DIYs 


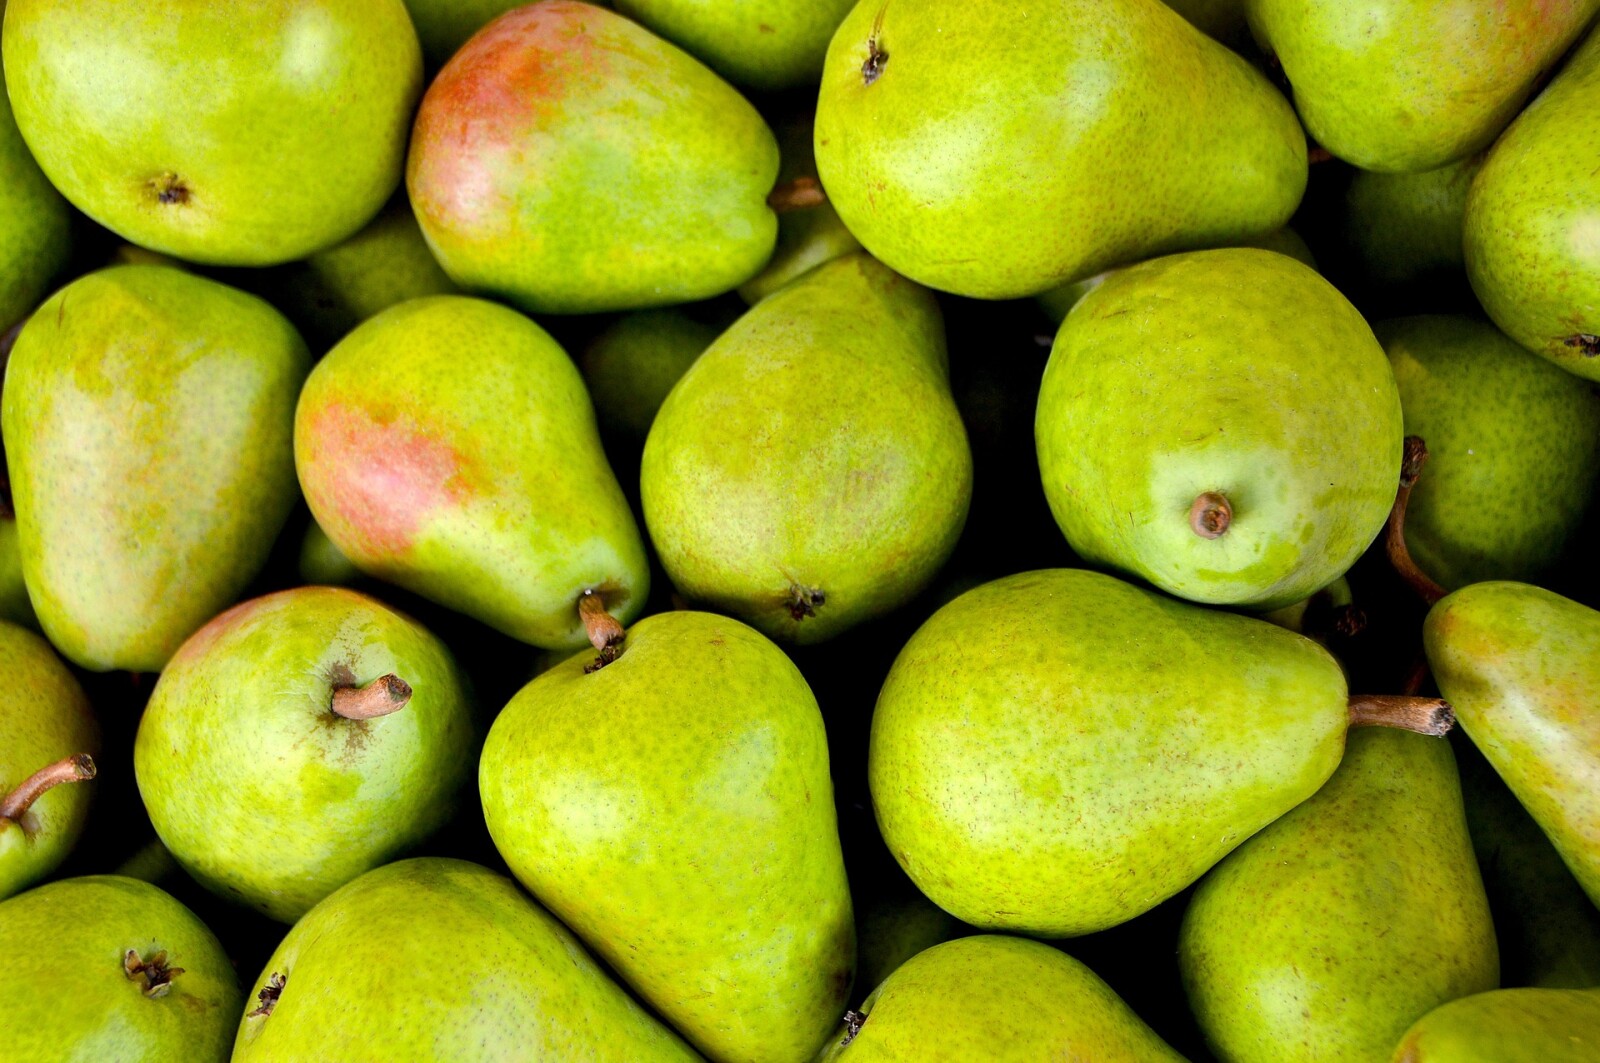
How to dehydrate pears

How to dehydrate pears
This post may contain affiliate links, which means that I may receive a commission if you make a purchase using these links, with NO additional cost to you. 

I love growing my own food. Part of growing all the food is not only eating it fresh in the summer, but preserving it for winter use. We were blessed with 2 pear trees on our property when we moved. You’d better believe I figured out how to use them! A favorite snack for the winter time is dehydrated pear slices. It is fairly simple and an easy snack when pears are no longer ripe!

You will need:
Cutting board and knife (works best. I’ve tried a slicer, but the pears are usually too soft).
Citric Acid/lemon juice (optional)
Pears

Step 1: Pick the pears while they are still green on the tree. This saves bruising when they fall off, and allows you to get the pears instead of the squirrels eating them all half way. Take them to a cool dark area and lay them out. I usually use an old sheet or boxes in the basement. Check on them every few days for those that are ripe. Mine turn from green to slightly yellow. 

Step 2: Once 6-12 are ripe that you (haven’t eaten), gently wash them up in the sink removing any bad spots.

Step 3: Slice the pears thin and even. I don’t take the time to peel the pears, but you can if you don’t like them.

Step 4: If you don’t want the pears to brown, dip them in citric acid/lemon juice. I don’t mind them browning a bit, so I skip this part.

Step 5: Lay the sliced pears out on a dehydrating tray. You can buy add on trays for most dehydrators so you can do more at once. 

Step 6: Once all the trays are full, put the lid on the dehydrator and set the temperature for 135 degrees F.

Step 7: My pears usually take around 12-24 hours depending on how thick I sliced them. If you start it at night, check them in the morning and adjust depending on how they look. I typically leave a little juice in mine as they are easier for small kids to chew that way. 

Step 8: Remove pears from the dehydrator and place in freezer containers. Label and freeze. I do this because I leave some juice in them and then they last for an entire year without molding. 


Wanting a community to lean into? Join the FREE Courageous + Purposeful Mommas group! This community is for the Mommas, mommas to be, in the midst of raising, and kids grown, looking for tips on building your family up and providing for them through natural methods. Tips include: gardening, bulk buying, caning,/preserving, livestock, homesteading, and home remedies. Your family is precious, and this group is to help you gain the knowledge and tools to keep your family well and not reliant on outside professionals. Remedies and tips are easy and simple for the busy momma, time is precious after all, including pregnancy, birth, young kids, and illness. Trust your Momma gut again! This community offers the resources + community you need to help get started on your journey and prepare for whatever future you envision.

Join the Free Community


Click here to get the stories straight to your email:

Sign up for the Blog


For more on wellness tips click here:

Sign up for Wellness tips


For more on homesteading on your budget click here:

Sign up for Homesteading Tips


For more simple DIY updates click here:

Sign up for easy DIYs 


How to Can Green Beans

How to Can Green Beans
This post may contain affiliate links, which means that I may receive a commission if you make a purchase using these links, with NO additional cost to you. 

I love growing my own food. Part of growing all the food is not only eating it fresh in the summer, but preserving it for winter use. One vegetable we eat a lot of is green beans. While actual processing time takes a bit, it is a simple process. 

You will need:
Canning jars
Canning lids
Canning rings
Canning salt
Green Beans

Step 1. Pick the beans from the garden when they are the approximate diameter you want, and are plump and juicy. Length really doesn't matter here, as you will be shortening them later.
If you come across some that look to have little juice and can see the seeds just leave them on the plant. At the end of the season, just when the plant is drying up, go back and pick them. You can use the seeds for next year's crop.

Step 2. Sterilize the jars. Get your water on and jars in and let them boil. Usually by the time I have a pile of beans big enough for all the jars, the jars are sterile and ready to pack. I also start my water on and started heating in the pressure canner at this time too so it is hot and ready for jars as soon as they are packed. Step 2 and 3 are usually happening at the same time for efficiency. 
Step 3. Clean and snap the beans. I usually dump the beans in my sink, rinsing the ones that need it, and snap them onto the counter. It is beneficial if you have a lot to can, to snap them sitting down into a clean bucket or basket.
You are snapping the beans to about 1 inch pieces. To 'snap' the beans simply break them in pieces with your fingers, no knife required.
Step 4. Salt the jars. Remove the sterile jar from the water and carefully dump the water out.

For a quart Jar you need to add 1 Tablespoon of canning salt to the jar. I put it in the bottom right away so I don't forget. Make sure it is canning salt and not table salt. There is a difference!
Step 5. Pack the beans. Pack the beans in the jar to 1 inch from the top. Then add HOT (like near boiling) water to 1 inch from the top.
Step 6. De-Bubble. This step is very important!
Slide a long spatula along the edge of the jar 2-3 times to remove any trapped air bubbles.
If an air bubble is trapped and not removed your jar could explode in the canner.

Step 7. Lids. Rinse the, one time use, canning lids in hot water. This is new compared to older lids which you needed to boil first. Then set them on the jar and attach the rings down as tight as you can. 

If you are using reusable lids you will want to boil the seals and follow the instructions from the manufacturer. I purchased some from Tattler at www.reusablecanninglids.com

If the jar is too hot to grab you can use a lid tighter as shown to help.


Step 8. Into the pressure canner. Using jar lifters pick the jars up and place them in the hot water in the pressure canner.
Once all the jars are in, make sure your water is 2 inches above the jar lids. 
Step 9. Close the canner and wait. The hard part is done. Now the waiting.
Seal up the canner and turn your heat on high. Wait until you see steam coming from the vent as shown.
Step 10 Adjust the pressure and wait some more. Adjust the pressure to 11 pounds and wait for the canner to reach pressure. In a weighted canner you will hear it. It's loud and sounds like water is on somewhere in your house.
My weight is in 5 pound increments. Always adjust higher rather than lower. Thus mine is set at 15 instead of 10.

Step 11. Set the timer and wait again. Once the canner is to pressure set the timer for 25 minutes for quart jars.
After the timer goes off, turn off your heat and let the canner depressurize. You can use a hot pad and take the weight off. It will be very hot. The canner will easily open once it is depressurized. You should NOT have to force it open. 

If you have another batch to do, start packing the jars now and about the time you're done the canner will be ready to open.

Step 12. Remove the jars and let them cool. Using the jar lifters, carefully lift the jars out of the hot water and place them someplace safe to cool. I use a towel doubled up.
At this point I usually walk away until the next morning. Check the lids by pressing in the center. If a lid pops back up, it is not sealed. Easiest solution? Put it in the fridge and use it within a week. Label the jars and store them away for later use!


Wanting a community to lean into? Join the FREE Courageous + Purposeful Mommas group! This community is for the Mommas, mommas to be, in the midst of raising, and kids grown, looking for tips on building your family up and providing for them through natural methods. Tips include: gardening, bulk buying, caning,/preserving, livestock, homesteading, and home remedies. Your family is precious, and this group is to help you gain the knowledge and tools to keep your family well and not reliant on outside professionals. Remedies and tips are easy and simple for the busy momma, time is precious after all, including pregnancy, birth, young kids, and illness. Trust your Momma gut again! This community offers the resources + community you need to help get started on your journey and prepare for whatever future you envision.

Join the Free Community


Click here to get the stories straight to your email:

Sign up for the Blog


For more on wellness tips click here:

Sign up for Wellness tips


For more on homesteading on your budget click here:

Sign up for Homesteading Tips


For more simple DIY updates click here:

Sign up for easy DIYs 


How to meal prep for busy seasons in 4 easy steps

How to meal prep for busy seasons in 4 easy steps
This post may contain affiliate links, which means that I may receive a commission if you make a purchase using these links, with NO additional cost to you. 

We all have busy seasons in our life. Sometimes we can know the seasons are coming up and plan accordingly. For us every fall is busier, as it is harvest time which means late nights, early-morning‘s, and many meals in the field. This fall is looking to be even busier as we prepare to welcome another child into our family.

So how do you prepare to feed your family healthy meals when you know you’re going to be busy or unable to cook? Short answer, you meal plan and prepare meals in advance that can be thrown into the oven or crock pot easily. How do you do that?
First start months in advance. It is recommended that freezer meals are good in the freezer for up to three months. So start three months ahead. 

Second, open your cookbooks and start listing the recipes that you could easily freeze. And most casseroles can easily be frozen for later use. Crock pot meals are easy to throw together in a freezer bag then dump in the crock-pot when ready too. 

Now that you have your list as you plan your meals over the next few months simply put 1 to 2 a week from your list on your menu. When you go to make them for your family that week, simply double the recipe. One you will put in a pan to make that night, the other you will put it in a freezer pan.  I like to use the disposable 9X13 pans for our family freezer meals. 

Once the meal in the freezer pan has cooled, wrap it in  plastic, followed by foil. Label with the meal, how long to cook it, at what temperature, and when it was made. Please note if it is frozen it will take about twice as long to cook compared to if it was thawed. 

I like to make a list of my freezer meals so I don’t have to dig through the freezer as much to find the meal I’m looking for. And then we can cross off once we’ve eaten it, keeping track of what is left easier.


Wanting a community to lean into? Join the FREE Courageous + Purposeful Mommas group! This community is for the Mommas, mommas to be, in the midst of raising, and kids grown, looking for tips on building your family up and providing for them through natural methods. Tips include: gardening, bulk buying, caning,/preserving, livestock, homesteading, and home remedies. Your family is precious, and this group is to help you gain the knowledge and tools to keep your family well and not reliant on outside professionals. Remedies and tips are easy and simple for the busy momma, time is precious after all, including pregnancy, birth, young kids, and illness. Trust your Momma gut again! This community offers the resources + community you need to help get started on your journey and prepare for whatever future you envision.

Join the Free Community


Click here to get the stories straight to your email:

Sign up for the Blog


For more on wellness tips click here:

Sign up for Wellness tips


For more on homesteading on your budget click here:

Sign up for Homesteading Tips


For more simple DIY updates click here:
Sign up for easy DIYs 


How do you provide the best for your family

How do you provide the best for your family
This post may contain affiliate links, which means that I may receive a commission if you make a purchase using these links, with NO additional cost to you. 

Part of being a parent, whether that is mom or dad, is providing for your family. When kids are involved, the momma bear mentality tends to come out. Why? Because mom’s innately want what is best for their kids. They have the natural drive to protect their kids. That drive to provide the best for their kids, motivates many of their decisions. 

How does that look in our house? I am constantly researching, looking into products to make sure they are actually safe for my kids. Is that bath soap non toxic or is it potentially harming my baby? Is the food I am introducing building their body up, or causing damage to their gut? Many of these research dives have been set off by a question from a friend, an article I read, or a challenge we’ve come up against. 

I have learned to dig into a product before I buy, because the last thing I want is my kids exposed to more toxins in our home. I have hormonal challenges, I want to avoid those challenges for my kids by not flooding their body with products that disrupt their hormones. 

I have learned to carefully select foods that build their guts up, after my son was challenged with food allergies. I have learned the importance of gut health and caring for the gut first to prevent illness and disease. I have learned how I store my food can contaminate it and decrease its nutritional value. 

The regulatory agencies and big companies don’t necessarily have our health in mind when they market products. As a consumer, you have to dig in an analyze ingredients of products, then make the decision if that product is actually safe. Fun fact, In Europe, more than 1,300 chemicals are banned from use in lotions, soaps, toothpaste, cosmetics, and other personal care products. Contrast that to in the United States where just 11 are banned.  Why the difference! Because the regulatory agencies function on different principles. 

I want to provide the best I can for my family. What do you want?


Wanting a community to lean into? Join the FREE Courageous + Purposeful Mommas group! This community is for the Mommas, mommas to be, in the midst of raising, and kids grown, looking for tips on building your family up and providing for them through natural methods. Tips include: gardening, bulk buying, caning,/preserving, livestock, homesteading, and home remedies. Your family is precious, and this group is to help you gain the knowledge and tools to keep your family well and not reliant on outside professionals. Remedies and tips are easy and simple for the busy momma, time is precious after all, including pregnancy, birth, young kids, and illness. Trust your Momma gut again! This community offers the resources + community you need to help get started on your journey and prepare for whatever future you envision.

Join the Free Community


Click here to get the stories straight to your email:

Sign up for the Blog


For more on wellness tips click here:

Sign up for Wellness tips


For more on homesteading on your budget click here:

Sign up for Homesteading Tips


For more simple DIY updates click here:
Sign up for easy DIYs 


Using fear for opportunity

Using fear for opportunity

This post may contain affiliate links, which means that I may receive a commission if you make a purchase using these links, with NO additional cost to you. 


What is a fear you carry deep inside? One that not many may know about, but affects many of your everyday decisions? Me? That somehow there won’t be enough, and my family will be left short. 


Why does this affect my decisions? Because the last thing I want is for my family to be short somehow. Short of food, finances, or simply time. 


So what do I do? First, I try to not let the fear overtake me. I acknowledge that it is there, and then remind myself of all the ways God has continued to provide for us in the past. My heart calms, and I can clearly think towards my next step. I then thank God for His provision and ask that He continue to remind me when that fear comes up again. 


This fear has also been a motivator for me. When I started staying home, our income was drastically cut. While we would no longer be paying for daycare or as much in gas, we now had to pay our own insurance and the grocery bill would be increasing. How were we going to offset the cost?


I looked around. We already lived on an acreage. I had gardened some in the past, and was getting pretty good at it. Why not take it to the next level and have the garden provide as much of our food as we could! 


And so it began, in more earnest. I planted more of what I knew we would consume and less of the extra stuff. I learned how to preserve our food supply for the winter. I also started learning how to grow more of the vegetables my family liked, so we weren’t buying as much at the store. 


The garden is still expanding and growing. I use the winter to learn more about the next vegetable or fruit I want to grow. I take notes and perfect the methods for our farm. I’m playing with double cropping and starting a permaculture orchard now. 


What started as a fear of not being able to buy enough groceries, has turned into a huge garden with the potential to meet 80% (currently around 50%) of our family’s veggie and fruit needs when it is all mature. All this from not giving into the fear, but stepping back and looking for the opportunity in the fear. 


Wanting a community to lean into? Join the FREE Courageous + Purposeful Mommas group! This community is for the Mommas, mommas to be, in the midst of raising, and kids grown, looking for tips on building your family up and providing for them through natural methods. Tips include: gardening, bulk buying, caning,/preserving, livestock, homesteading, and home remedies. Your family is precious, and this group is to help you gain the knowledge and tools to keep your family well and not reliant on outside professionals. Remedies and tips are easy and simple for the busy momma, time is precious after all, including pregnancy, birth, young kids, and illness. Trust your Momma gut again! This community offers the resources + community you need to help get started on your journey and prepare for whatever future you envision.

Join the Free Community


Click here to get the stories straight to your email:

Sign up for the Blog


For more on wellness tips click here:

Sign up for Wellness tips


For more on homesteading on your budget click here:

Sign up for Homesteading Tips


For more simple DIY updates click here:

Sign up for easy DIYs 


Read Older Updates Read Newer Updates