This post may contain affiliate links, which means that I may receive a commission if you make a purchase using these links, with NO additional cost to you.
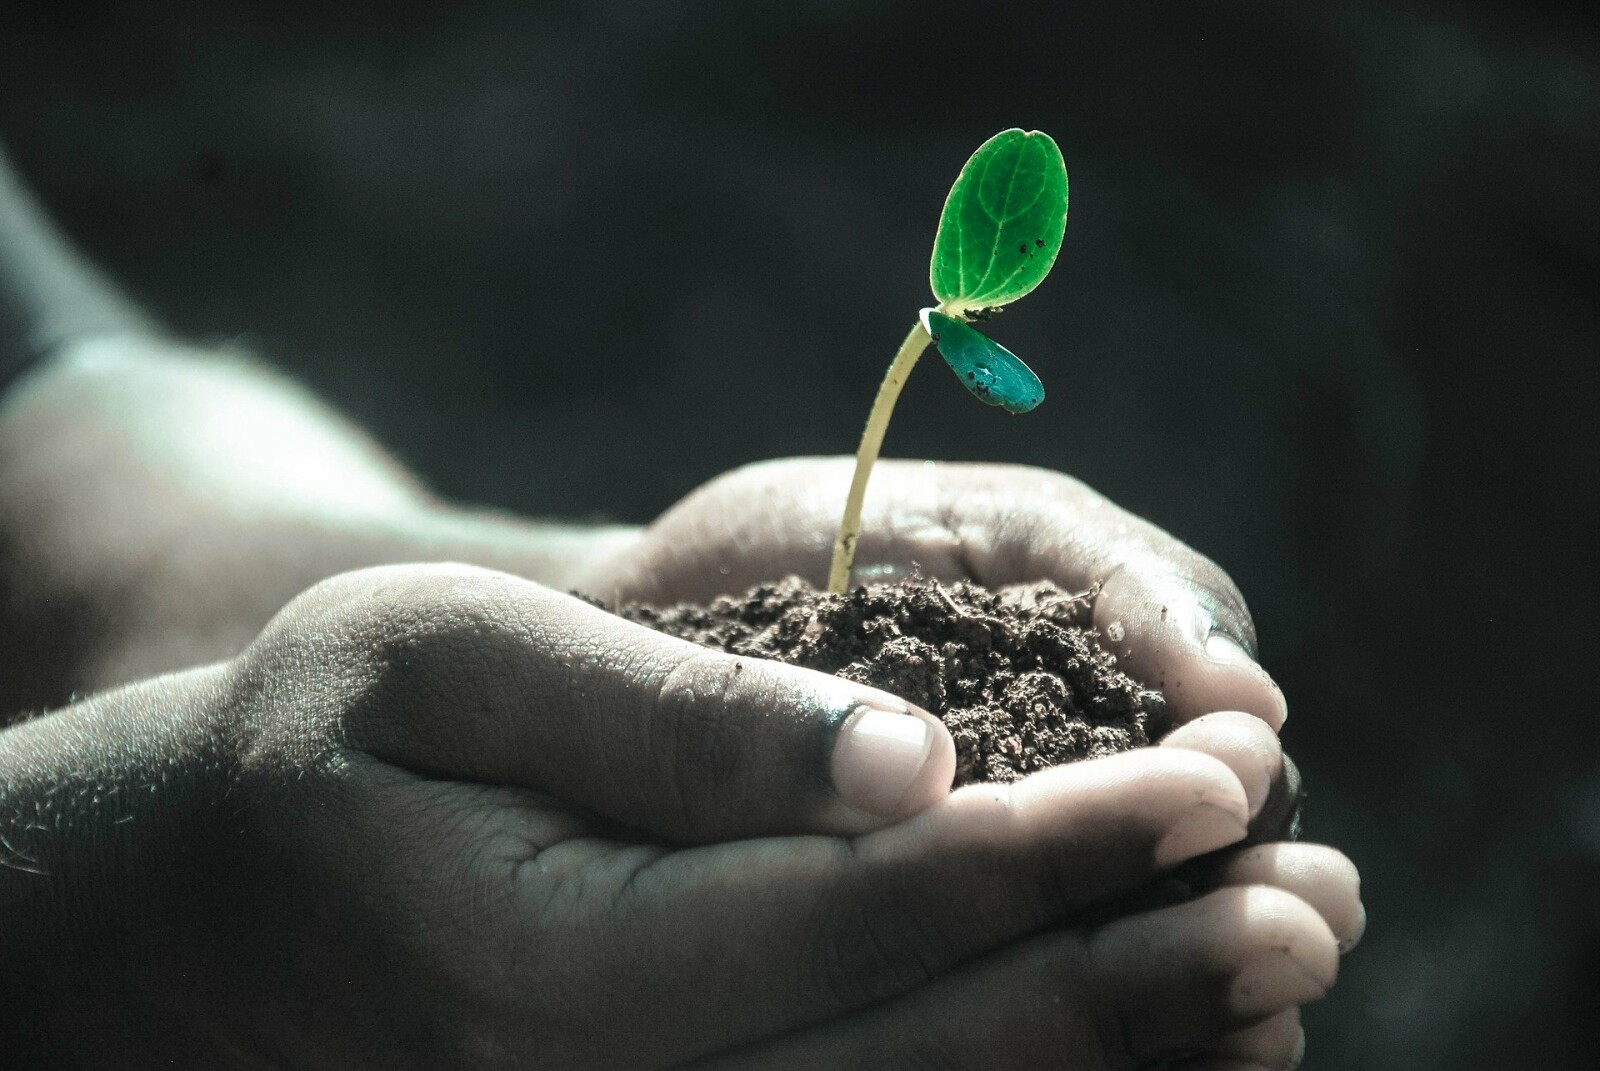
Tough question, but one most of us will face at some point. Something we loved doing must be put on hold for a time, sometimes known, sometimes unknown. Hobbies or passions are held or altered for different reasons: life circumstance, health, finances.
When this happens there usually is a process of grieving. You deny that you really have to give that hobby up and find ways to still include it. Then you have feelings of anger or frustration that you just can’t make the hobby work. You might try bargaining for time, money, health, to get just a bit more of that passion. Then you fall into a bit of a depression as you long to do what you used to love. Finally you accept that maybe one day you will be able to do your passion again.
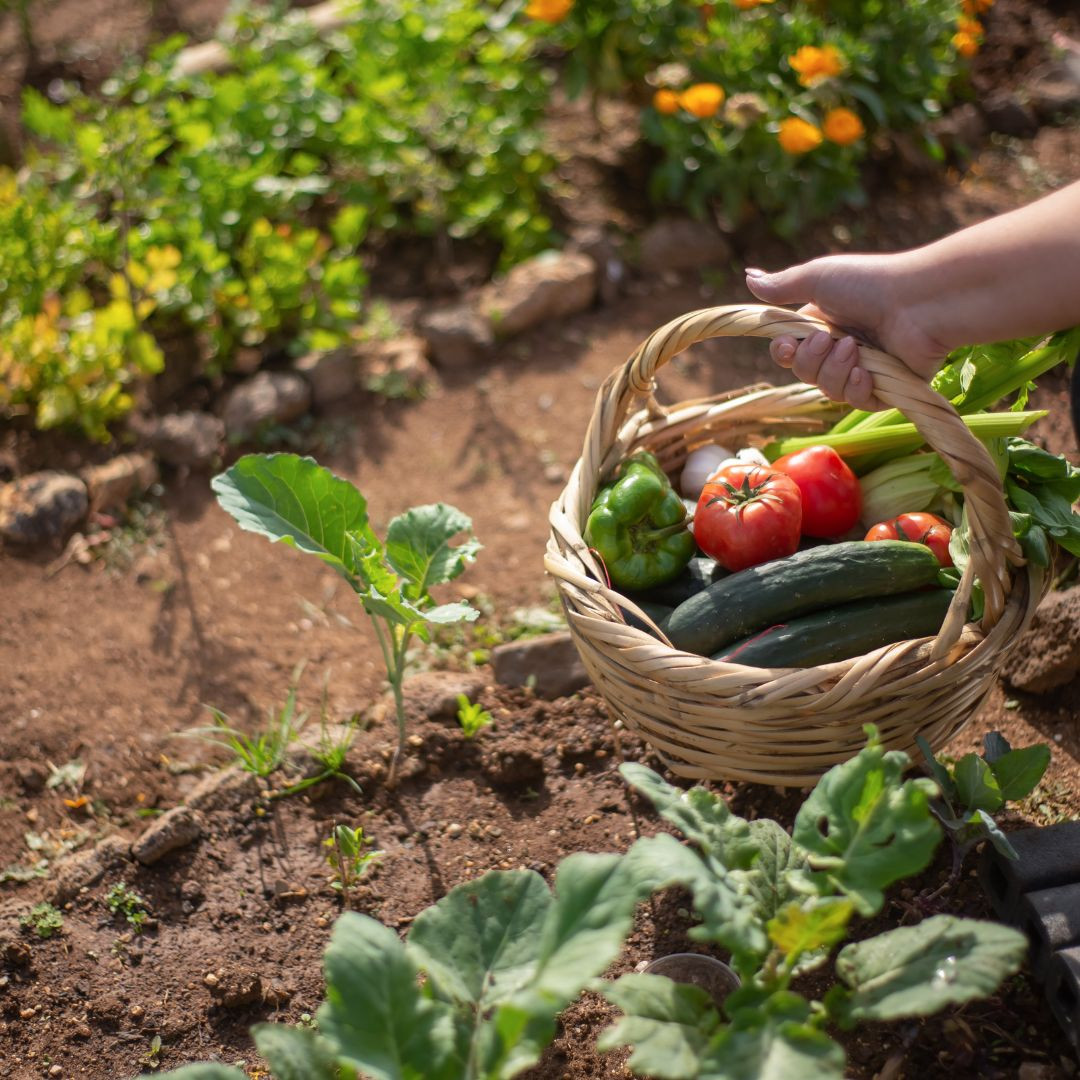
Feeling like my passions are being taken away has happened to me recently. I am a strong willed, independent, woman. I love riding horses, and being in my gardens. With the addition of each child my time riding has decreased, but I am ok with that as I still have them and have continued to care for them. My garden has increased as our family has increased, filling much of my used to be riding time, because it is something else I enjoy and the kids can do it with me.
Late this winter however, I saw both of these hobbies start to be limited and felt them being taken away. I had started bleeding heavily during pregnancy and found I had a large subchorionic hematoma. I was put on activity and weight restrictions of 10 pounds, until the bleeding stopped. This made it impossible to feed hay to my horses, help my kids ride, or start yard prep for the garden. At first I was ok, ‘it’ll only be a couple weeks, then I can resume’ (denial). But the two weeks turned into a month and still no end in sight. In total I bled 7 weeks. Even after it was done, I was still advised to keep the lifting light and limit activity so nothing would reinjure.
I was angry. Angry there was no clear reason or answer to why. Angry I couldn’t take care of my portion of the chores, upset I was having to rely on everyone else to feed hay, get feed, pour the feed into the cans, and do the heavy lifting in the gardens.
I then went through a bit of depression as I realized all the things I might not be able to do this summer. Planting was going to be difficult, weeding, mulching. Planting the bushes was out of the question. Clean up in the wind break was on hold. My plants I started suffered, as I didn’t care for them like they needed.
Only recently have I been able to accept that I will not return to full normal activity until months after delivery. That has been helped by being surrounded by friends and family that are willing and able to step in and help, with the chores I cannot do (thank you to my husband, who does the bulk now with his own cattle chores). Friends who come out and help with the big garden days (Nicole and Andrew) and get the digging, mulching, weeding done.
Is it still hard? Yes. I want to do so much and don’t like relying on others to have to help me all the time. I have accepted that some things just won’t happen this year, but there is next year. I also know this is not forever and one day I’ll be back to full speed. But that buggy horse is sounding really good right now….
Wanting a community to lean into? Join the FREE Courageous + Purposeful Mommas group! This community is for the Mommas, mommas to be, in the midst of raising, and kids grown, looking for tips on building your family up and providing for them through natural methods. Tips include: gardening, bulk buying, caning,/preserving, livestock, homesteading, and home remedies. Your family is precious, and this group is to help you gain the knowledge and tools to keep your family well and not reliant on outside professionals. Remedies and tips are easy and simple for the busy momma, time is precious after all, including pregnancy, birth, young kids, and illness. Trust your Momma gut again! This community offers the resources + community you need to help get started on your journey and prepare for whatever future you envision.
Click here to get the stories straight to your email:
For more on wellness tips click here:
For more on homesteading on your budget click here:
For more simple DIY updates click here:
This post may contain affiliate links, which means that I may receive a commission if you make a purchase using these links, with NO additional cost to you.
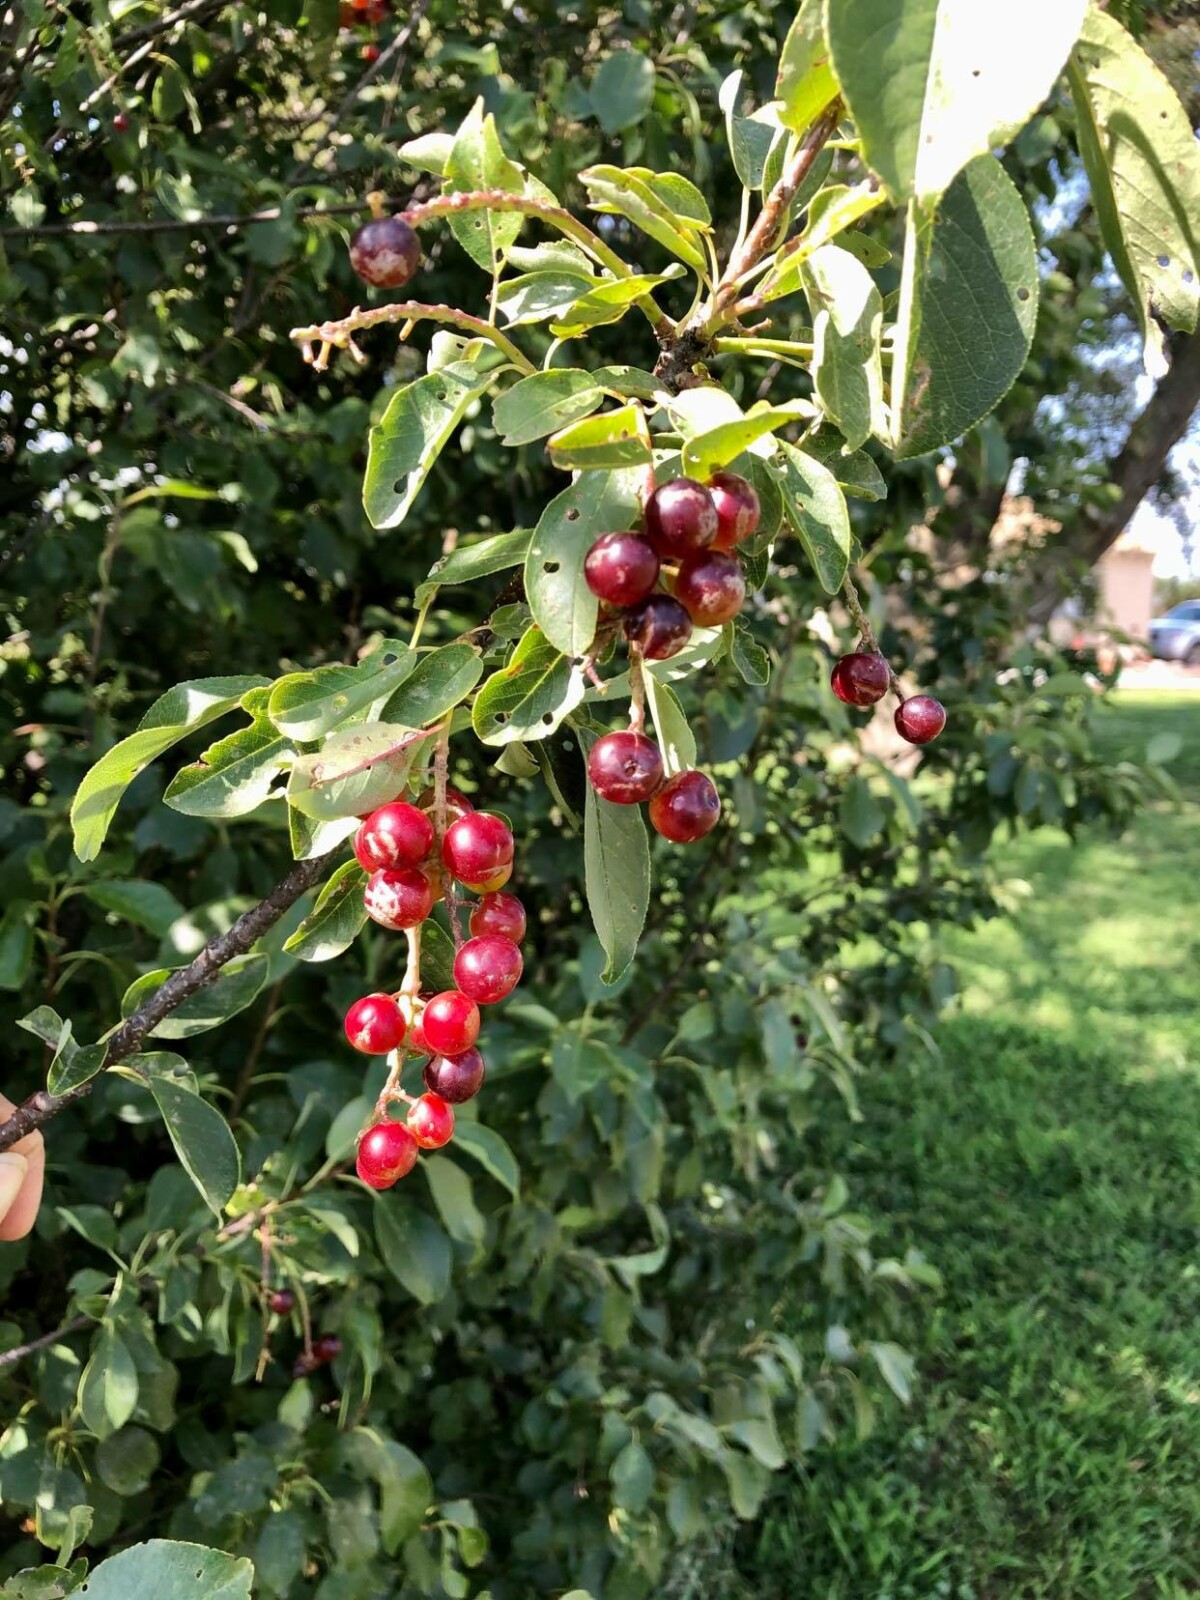
The other day my beautiful mother-in-law messaged me to see if I wanted any of her chokecherries. Of course! Now what do I use them for that my kids would actually eat? How about syrup?! The mulberry syrup went over well, and was now gone, may as well try it. Recipe at the bottom.
Turns out the frost killed most of the chokecherry blossoms, so there wasn’t much, but there was enough for me to experiment with. Ivalee, James and I set out one afternoon to go pick what was there. She was actually all over the picking until the easy low ones were gone, then climbing the fence was way more fun. We did manage to get an ice cream bucket full. Which was around 8 cups. They then sat on the counter overnight until I could deal with them in the morning.
The next morning, I was in a hurry, so I dumped the bucket into the pot and added the water. No, I didn’t wash them, or sort the leaves out first. I stirred the berries around a bit and like magic the leaves and steams floated to the top! I scooped them out and let the cooking begin! The recipe I was following said to strain the juice off and and reboil the seeds and pulp to get more juice. I did not have that kind of time. But I got to thinking about my favorite red juice. It is actually a puree, so you receive the benefits from the entire berry. Why not with chokecherries?
After straining as much juice as I could through the cheese cloth (and spilling some all over the stove, the lighter on my gas stove still hasn’t recovered), I dumped the pulp and pits into the blender. Looking back, I should have done half at a time. The full amount was a little much for my blender. Once everything was blended smooth, I added it back to the juice. Heated it back up and added the sugar, orange and lemon. You can use real orange and/or lemon juice, but I didn't have any, so I used the oils I did have. Let everything cook and then pour into jars and process! I ended up with 7 pints of deliciousness. You definitely need to shake before using, but it tastes amazing!
Recipe
Equal parts chokecherries, water, sugar (example: 4 c chokecherries, 4 c water, 4 c sugar)
1-2 drops Orange essential oil (to taste)
1-2 drops Lemon essential oil (to taste)
Add chokecherries and water into a pan. Bring to boil, cover, and simmer for 30 minutes
Strain juice through cheesecloth and squeeze as much out as you can.
Blend up pulp and pits in blender
Re-strain through cheesecloth
Add sugar and orange and lemon
Stir occasionally over medium heat for 20-30 min
Pour into hot sterilized jars and process for 10 minutes
Shake before use and enjoy!
Wanting a community to lean into? Join the FREE Courageous + Purposeful Mommas group! This community is for the Mommas, mommas to be, in the midst of raising, and kids grown, looking for tips on building your family up and providing for them through natural methods. Tips include: gardening, bulk buying, caning,/preserving, livestock, homesteading, and home remedies. Your family is precious, and this group is to help you gain the knowledge and tools to keep your family well and not reliant on outside professionals. Remedies and tips are easy and simple for the busy momma, time is precious after all, including pregnancy, birth, young kids, and illness. Trust your Momma gut again! This community offers the resources + community you need to help get started on your journey and prepare for whatever future you envision.
Click here to get the stories straight to your email:
For more on wellness tips click here:
For more on homesteading on your budget click here:
For more simple DIY updates click here:
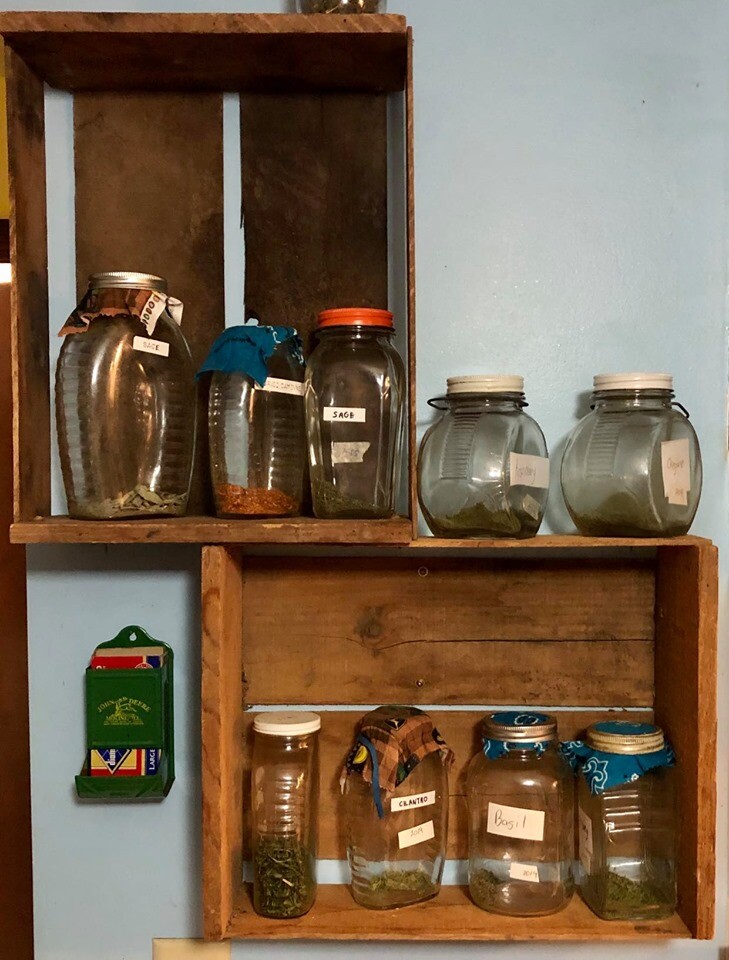
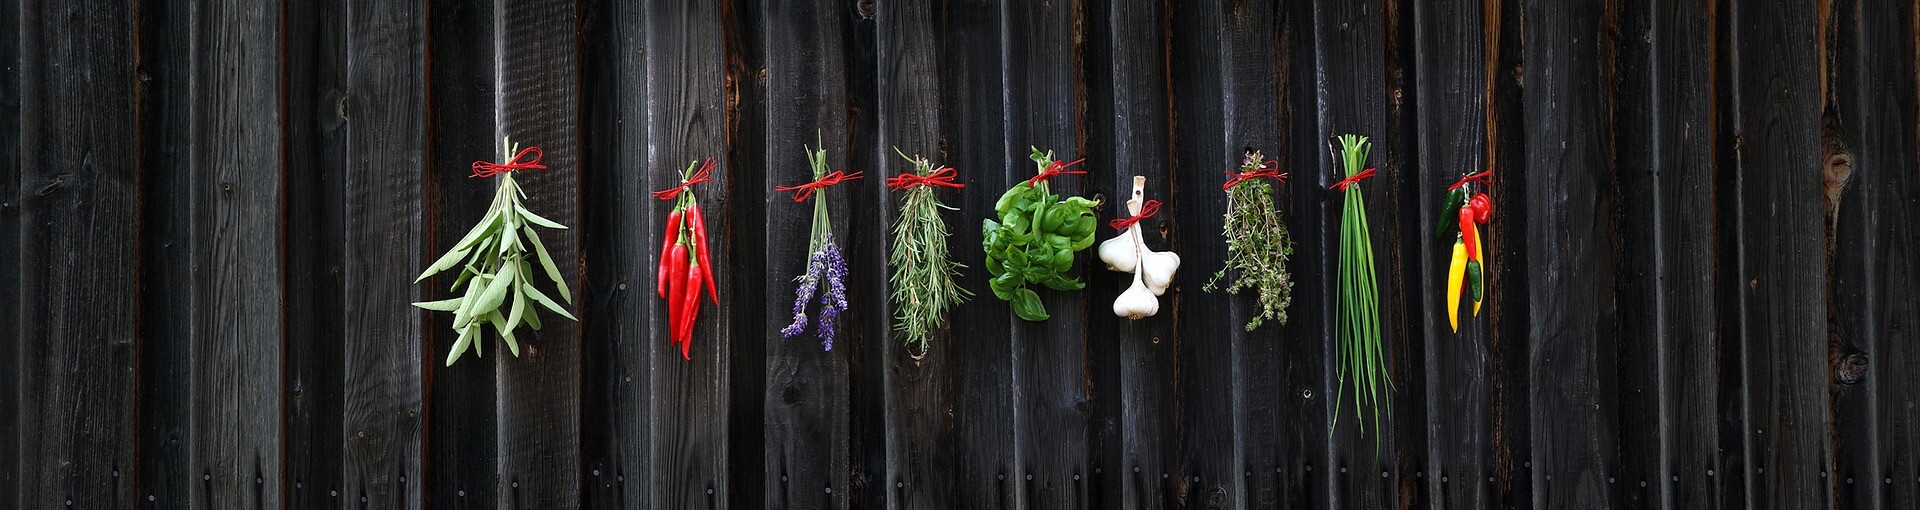
- Prepare Your Herbs:
- Wash and pat dry your herbs.
- For larger herbs like chives and basil, cut them into smaller pieces to ensure even drying.
- Set Up the Dehydrator:
- Place the herbs on the dehydrator trays. For smaller trays, I like to add a fine mess screen and the solid tray on the very bottom tray.
- Set the dehydrator to 95 degrees Fahrenheit.
- Drying Process:
- Leave the herbs to dry for at least 12 hours.
- Check if they're dry to the touch. If not, give them more time.
- Grind and Store:
- Once dry, grind the herbs using a coffee grinder or blender.
- If the hers seem a little damp, I’ll dry them another couple hours ground.
- Store them in airtight glass jars to keep them fresh.
- Retains Flavor and Scent:
- Time-Saving:
- Versatility:
- Use clean, dry glass jars with solid lids.
- Label each jar with the herb's name and the date it was dried.
- Store the jars in a cool, dark place to keep the herbs fresh for longer.
Join the FREE Community
This post may contain affiliate links, which means that I may receive a commission if you make a purchase using these links, with no additional cost to you.
Wanting a community to lean into? Join the FREE Courageous + Purposeful Mommas group! This community is for the Mommas, mommas to be, in the midst of raising, and kids grown, looking for tips on building your family up and providing for them through natural methods. Tips include: gardening, bulk buying, caning,/preserving, livestock, homesteading, and home remedies. Your family is precious, and this group is to help you gain the knowledge and tools to keep your family well and not reliant on outside professionals. Remedies and tips are easy and simple for the busy momma, time is precious after all, including pregnancy, birth, young kids, and illness. Trust your Momma gut again! This community offers the resources + community you need to help get started on your journey and prepare for whatever future you envision.
Click here to get the stories straight to your email:
For more on wellness tips click here:
For more on homesteading on your budget click here:
For more simple DIY updates click here:

This post may contain affiliate links, which means that I may receive a commission if you make a purchase using these links, with no additional cost to you.
If you like to have as many plants as possible it is important to plan out where you will plant everything in your garden. I have found that if I space the bigger plants, like the tomatoes, out amongst the other plants the bugs are not as bad. If I don’t map the garden out before, I found that I run out of space or forget something.
Some plants give off a strong fragrance that bugs don’t like. Use this to your advantage to keep the bugs in the garden away. I plant marigolds all around the boarder of my garden and have seen reduction in the bug issues I had on my plants. Onions and garlic are also pest repellents.
If you’re going to have both green sweet peppers and hot peppers, make sure they are not next to each other. They will cross pollinate and your hot peppers will not be hot. In general, the dryer, the hotter the peppers will be. For this reason, I tend to plant my hot peppers on the edge of the garden. They catch water, but not as much as the center of the garden. I also plant the sweet peppers and hot peppers at least halfway across the garden from each other.
Keep in mind that some plants do well together, while others work against each other. Below is a nice graph I found that has friend and foe plants. You can pair cool season with warm season as well. For example, broccoli will be done early, pair it something that likes the hot like peppers or cabbage and you have doubled your space without adding area! Another tip is to make plants that can climb, like cucumber, climb. Add a fence or old panel for heavy plants like cucumbers, squash, or pumpkins or you can purchase a trellis. I actually take the pumpkins and squash to the irrigation engines or centers and plant them there for weed control!
Friend | Foe | Friend | Foe | Friend | Foe | ||
Beans | Corn | Onions | |||||
Beets | Garlic | Beans | Tomatoes | Beets | Beans | ||
Broccoli | Onions | Cucumbers | Broccoli | Peas | |||
Cabbage | Peppers | Lettuce | Cabbage | Sage | |||
Carrots | Sunflowers | Melons | Carrots | ||||
Cauliflower | Peas | Lettuce | |||||
Eggplant | Potatoes | Peppers | |||||
Peas | Squash | Potatoes | |||||
Potatoes | Sunflowers | Spinach | |||||
Radishes | Tomatoes | ||||||
Squash | |||||||
Strawberries | |||||||
Summer savory | |||||||
Tomatoes | |||||||
Friend | Foe | Friend | Foe | Friend | Foe | ||
Cucumbers | Peppers | Radishes | |||||
Beans | Aromatic herbs | Basil | Beans | Basil | Beans | ||
Cabbage | Melons | Coriander | Kohlrabi | Coriander | Kohlrabi | ||
Cauliflower | Potatoes | Onions | Onions | ||||
Corn | Spinach | Spinach | |||||
Lettuce | Tomatoes | Tomatoes | |||||
Peas | |||||||
Radishes | |||||||
Sunflowers | |||||||
Friend | Foe | Friend | Foe | Friend | Foe | ||
Cabbage | Lettuce | Tomatoes | |||||
Beans | Broccoli | Asparagus | Broccoli | Asparagus | Broccoli | ||
Celery | Cauliflower | Beets | Basil | Brussels sprouts | |||
Cucumbers | Strawberries | Brussels sprouts | Beans | Cabbage | |||
Dill | Tomatoes | Cabbage | Borage | Cauliflower | |||
Kale | Carrots | Carrots | Corn | ||||
Lettuce | Corn | Celery | Kale | ||||
Onions | Cucumbers | Dill | Potatoes | ||||
Potatoes | Eggplants | Lettuce | |||||
Sage | Onions | Melons | |||||
Spinach | Peas | Onions | |||||
Thyme | Potatoes | Parsley | |||||
Radishes | Peppers | ||||||
Friend | Foe | Spinach | Radishes | ||||
Carrots | Strawberries | Spinach | |||||
Beans | Anise | Sunflowers | Thyme | ||||
Lettuce | Dill | Tomatoes | |||||
Onions | Parsley | ||||||
Peas | |||||||
Radishes | |||||||
Rosemary | |||||||
Sage | |||||||
Tomatoes | |||||||
Wanting a community to lean into? Join the FREE Courageous + Purposeful Mommas group! This community is for the Mommas, mommas to be, in the midst of raising, and kids grown, looking for tips on building your family up and providing for them through natural methods. Tips include: gardening, bulk buying, caning,/preserving, livestock, homesteading, and home remedies. Your family is precious, and this group is to help you gain the knowledge and tools to keep your family well and not reliant on outside professionals. Remedies and tips are easy and simple for the busy momma, time is precious after all, including pregnancy, birth, young kids, and illness. Trust your Momma gut again! This community offers the resources + community you need to help get started on your journey and prepare for whatever future you envision.
Click here to get the stories straight to your email:
For more on wellness tips click here:
For more on homesteading on your budget click here:
For more simple DIY updates click here:
This post may contain affiliate links, which means that I may receive a commission if you make a purchase using these links, with NO additional cost to you.
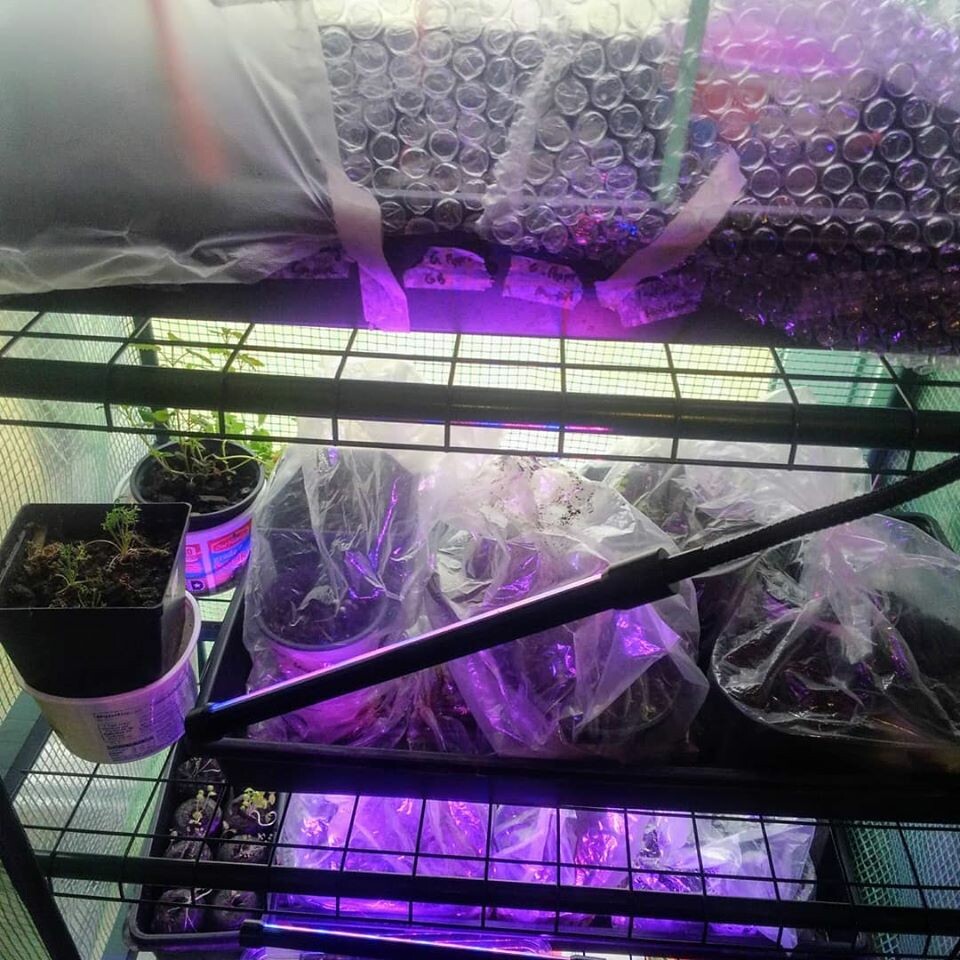
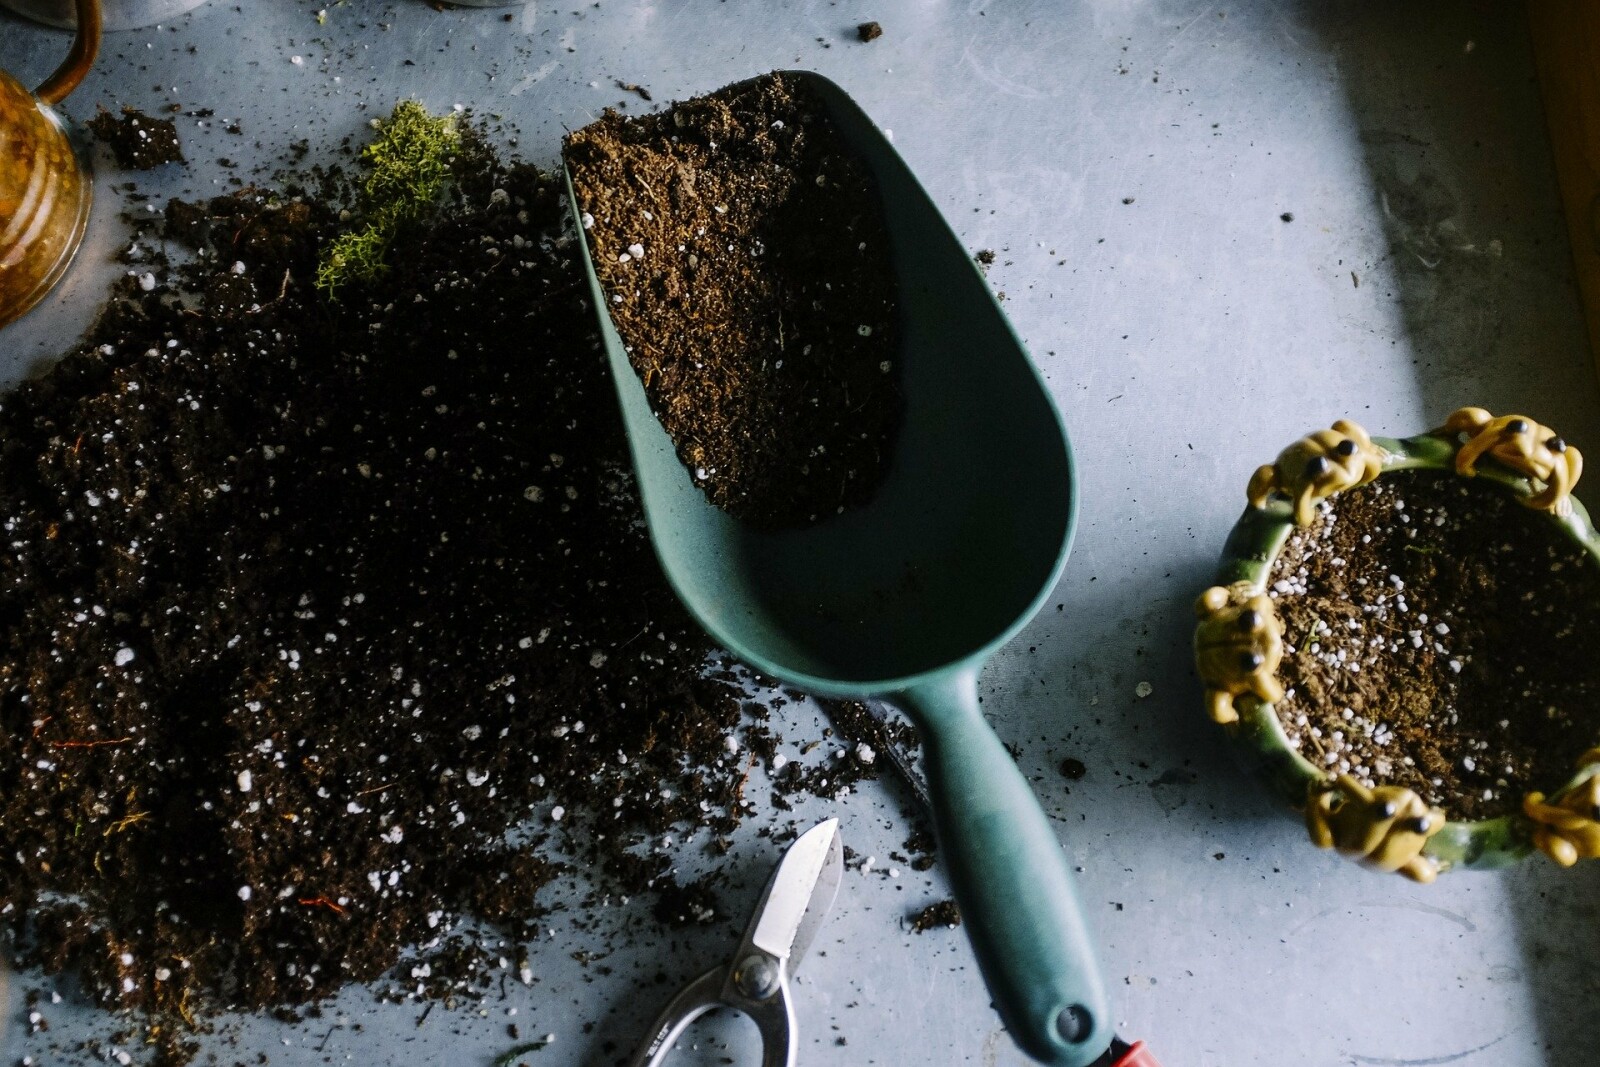
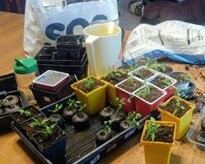
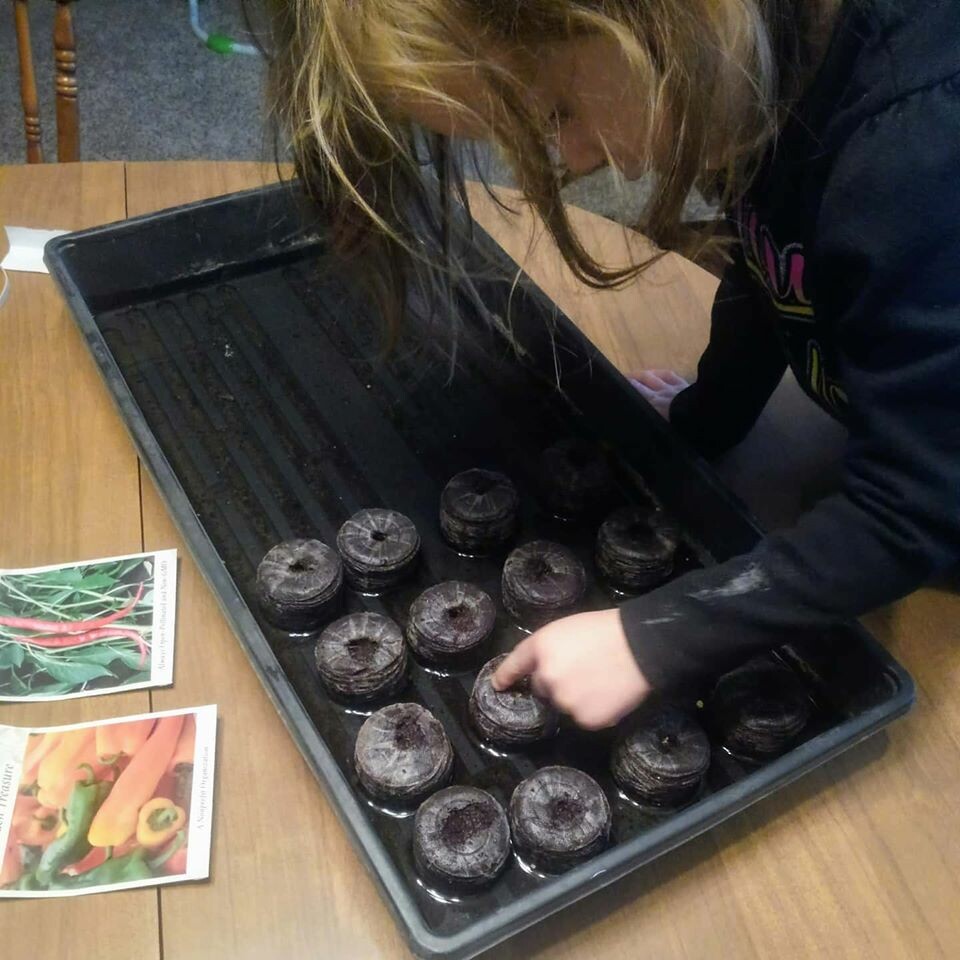 I use these handy seed pods to start my plants and simple grow trays. Just add water over the pods and let them expand, then plant your seeds. I use saran wrap to drape loosely over the tray to keep the humidity up. As the plants grow, I’ll use straws or spoons to prop the cover up for a few weeks before taking it off. This method works well if you don’t have a green house as well, because the plastic acts much like a mini greenhouse. To increase soil temperature early, you can buy a heat mat especially for seeds. I used a heat pad on a timer to experiment with at first, and plan on purchasing a grow mat for next year.
 Wanting a community to lean into? Join the FREE Courageous + Purposeful Mommas group! This community is for the Mommas, mommas to be, in the midst of raising, and kids grown, looking for tips on building your family up and providing for them through natural methods. Tips include: gardening, bulk buying, caning,/preserving, livestock, homesteading, and home remedies. Your family is precious, and this group is to help you gain the knowledge and tools to keep your family well and not reliant on outside professionals. Remedies and tips are easy and simple for the busy momma, time is precious after all, including pregnancy, birth, young kids, and illness. Trust your Momma gut again! This community offers the resources + community you need to help get started on your journey and prepare for whatever future you envision.
Click here to get the stories straight to your email:
For more on wellness tips click here:
For more on homesteading on your budget click here:
For more simple DIY updates click here:
This post may contain affiliate links, which means that I may receive a commission if you make a purchase using these links, with NO additional cost to you.
Wanting a community to lean into? Join the FREE Courageous + Purposeful Mommas group! This community is for the Mommas, mommas to be, in the midst of raising, and kids grown, looking for tips on building your family up and providing for them through natural methods. Tips include: gardening, bulk buying, caning,/preserving, livestock, homesteading, and home remedies. Your family is precious, and this group is to help you gain the knowledge and tools to keep your family well and not reliant on outside professionals. Remedies and tips are easy and simple for the busy momma, time is precious after all, including pregnancy, birth, young kids, and illness. Trust your Momma gut again! This community offers the resources + community you need to help get started on your journey and prepare for whatever future you envision.
Click here to get the stories straight to your email:
For more on wellness tips click here:
For more on homesteading on your budget click here:
For more simple DIY updates click here:
This post may contain affiliate links, which means that I may receive a commission if you make a purchase using these links, with NO additional cost to you.
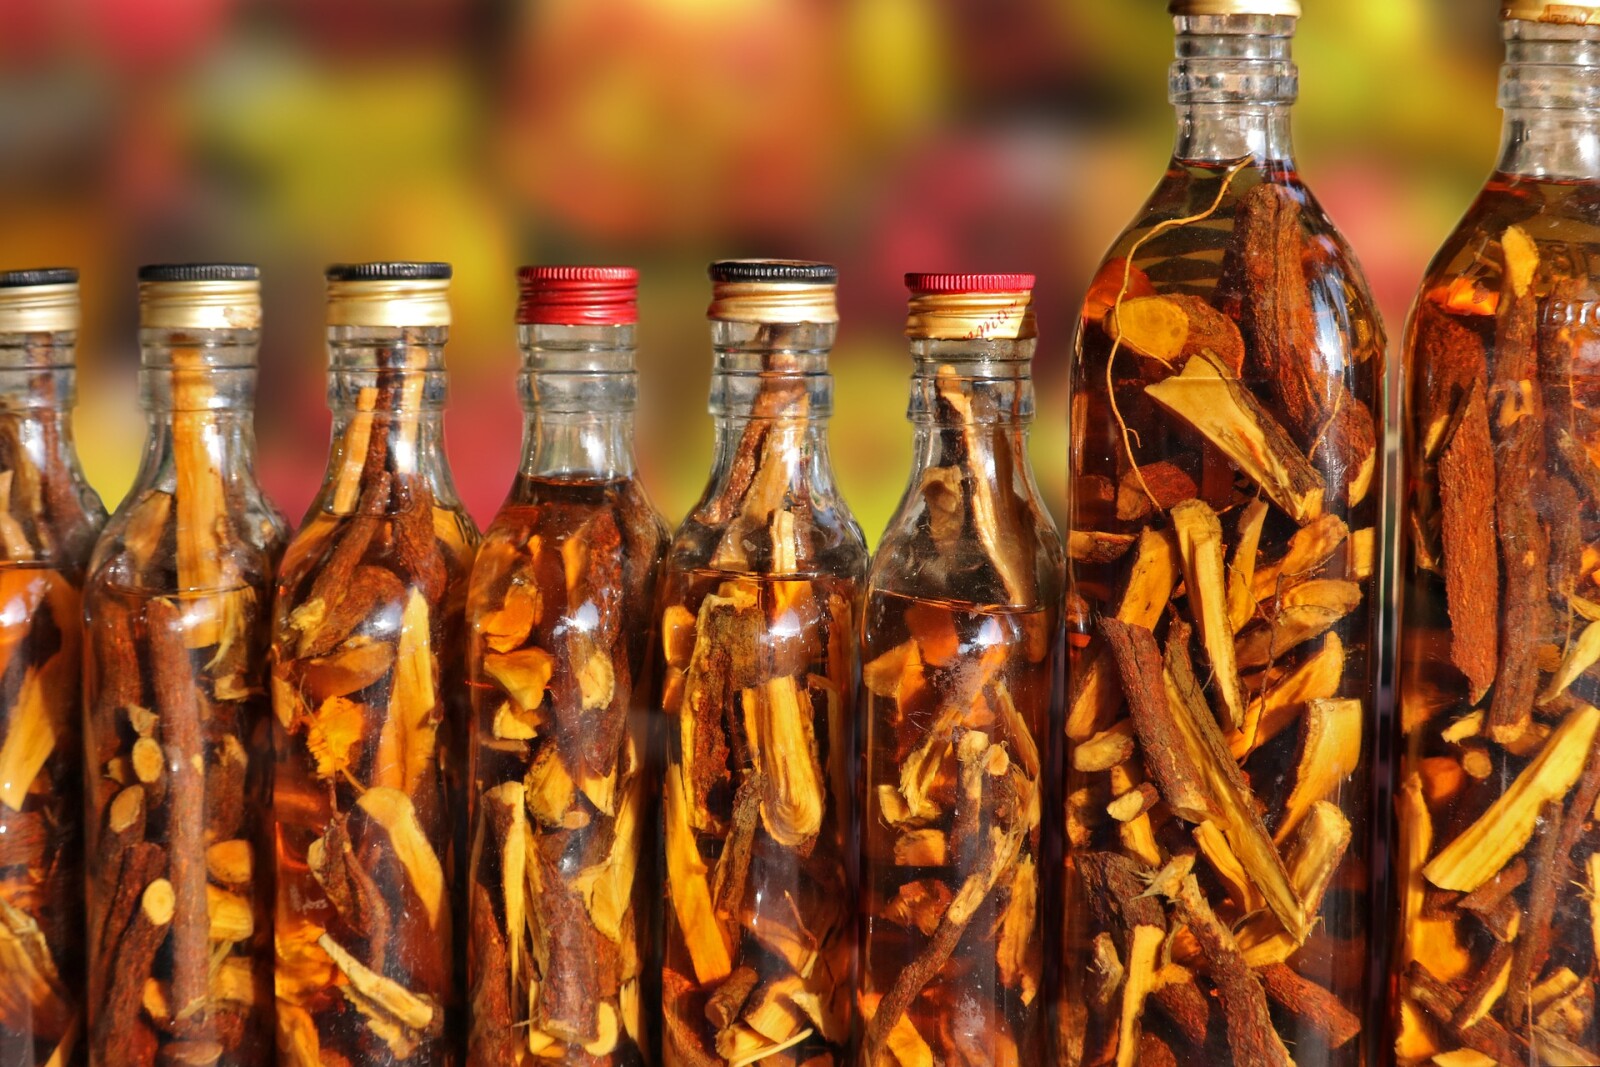
- Tinctures are made with alcohol. This is a great way to store the plants for medicinal user, as it keeps for several years when stored in a cool dark place. The concentrated liquid is also easier to get children to take when needed.
- Glycerites are made with glycerin. These only store about a year but are sweeter than a tincture. So, children may take it easier.
- Vinegar is great for making a oxymel, which is a probiotic. You can take these as is or add them as a dressing to salad or seasoning to vegetables.
- Honey infusion is perfect for a little sweet treat that is also beneficial to your health. Raw local honey has great benefits anyway. Infuse with something like elderflower and you have an immune boosting treat!
- Oil is the best to use when making the extract into a salve. Olive oil is the preferred oil for most skin care salve.
Wanting a community to lean into? Join the FREE Courageous + Purposeful Mommas group! This community is for the Mommas, mommas to be, in the midst of raising, and kids grown, looking for tips on building your family up and providing for them through natural methods. Tips include: gardening, bulk buying, caning,/preserving, livestock, homesteading, and home remedies. Your family is precious, and this group is to help you gain the knowledge and tools to keep your family well and not reliant on outside professionals. Remedies and tips are easy and simple for the busy momma, time is precious after all, including pregnancy, birth, young kids, and illness. Trust your Momma gut again! This community offers the resources + community you need to help get started on your journey and prepare for whatever future you envision.
Click here to get the stories straight to your email:
For more on wellness tips click here:
For more on homesteading on your budget click here:
For more simple DIY updates click here:

This post may contain affiliate links, which means that I may receive a commission if you make a purchase using these links, with NO additional cost to you.
Wanting a community to lean into? Join the FREE Courageous + Purposeful Mommas group! This community is for the Mommas, mommas to be, in the midst of raising, and kids grown, looking for tips on building your family up and providing for them through natural methods. Tips include: gardening, bulk buying, caning,/preserving, livestock, homesteading, and home remedies. Your family is precious, and this group is to help you gain the knowledge and tools to keep your family well and not reliant on outside professionals. Remedies and tips are easy and simple for the busy momma, time is precious after all, including pregnancy, birth, young kids, and illness. Trust your Momma gut again! This community offers the resources + community you need to help get started on your journey and prepare for whatever future you envision.
Click here to get the stories straight to your email:
For more on wellness tips click here:
For more on homesteading on your budget click here:
For more simple DIY updates click here: