This post may contain affiliate links, which means that I may receive a commission if you make a purchase using these links, with NO additional cost to you.
As with anything that hangs around long enough, there has become many different types of gardens for growing your food. Each type comes with its own set of benefits and a few cons. Deciding which type is right for you is up to you. No one system is perfect for everyone no matter what the creators say. I’ll outline the primary ones in the spotlight now.
The traditional in ground garden. This one is the one we are probably the most familiar with. Plots of ground tilled up into beautiful soft fluffy dirt every year and planted nicely, long evenly spaced rows. You fertilize in the fall and till everything in the spring, mulching after planting.
The advantage of a traditional garden is it is easy to till. Installing a fence to keep rabbits, chickens, and other animals out is much simpler. If you have a single row, walk behind plow or seeder, the traditional garden is much easier to use it in. You can also use bigger equipment, like a skid steer or small tractor to help in working the soil and fertilizing, as opposed to hand tools.
The downside of a traditional garden is it can take up a lot of space. Even with heavy mulching, there is quit a bit of weeding that must happen throughout the year, especially as the small seedlings work to establish themselves.
Back to Eden utilizes raised beds and a no till strategy. The basic concept is to disturb the soil as little as possible, using layers and digging only what is needed to plant. The layers start with a base blocker, such as newspaper or cardboard. Then the sponge layer, consisting of decomposing leaves, sticks, and such. This is basically to help hold water without drenching the soil. The third layer is the soil. I use some stockpiled soil and half composted manure. The final layer is the mulch, about 4-6 inches deep. Every fall, you fill the beds back up with compost, right on top the old mulch, then add mulch again.
The advantage of this is there is very little weeding all year long. Tilling/working the soil is nonexistent. Planting is easy, you move the mulch a bit and dig a small hole for the plant. The soil doesn’t really compact as you don’t walk on the raised bed soil, so it stays nice and soft.
The disadvantage is for this system to work, you need to be able to mulch it deep every fall and have access to compost to refill the beds as they settle. It is also quit a bit more difficult to keep critters out of the raised beds. Beds also need to be about 12 inches deep to accommodate the layers.
Square foot gardening is another popular strategy now. Like the back to Eden in the raised beds, but the square foot gardening does not have mulch typically. The concept of the square foot gardening is to plant in rich soil, with dense populations, continually throughout the growing season. There is an entire book to this method you can buy on amazon, called The Square Foot Gardening Method.
The advantage to this system is you can grow a lot of food in a very small amount of space. Weeding is very limited as the planted chokes the weeds out before they get ahold. There is no tilling or mulching.
The disadvantage is you must have the exact soil mix for it to work properly. You also must remove the grids every year to refill the beds with seed free compost. This is also harder to keep critters out of.
So, what do I use in my gardens? A mixture of all three! I like the traditional garden for my long rows of beans, carrots, peas, broccoli and such. However, I take the dense planting method from square foot gardening and plant close together. I also mulch deep like in the back to Eden method. I do still till the traditional garden.
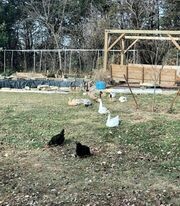
I also have expanded using raised beds around the yard and main garden. In this past year I used primarily the Back to Eden method for their creation and planting. This year with the new beds, I’m filling them with the Back to Eden method, but planting more in a square foot gardening strategy. I filled with compost but did not mulch this fall due to my free ranging chickens would have just moved the mulch and dug in the beds. Come spring I will mulch, plant and cage each bed to keep the chickens out.
Join the FREE Community
This post may contain affiliate links, which means that I may receive a commission if you make a purchase using these links, with NO additional cost to you.
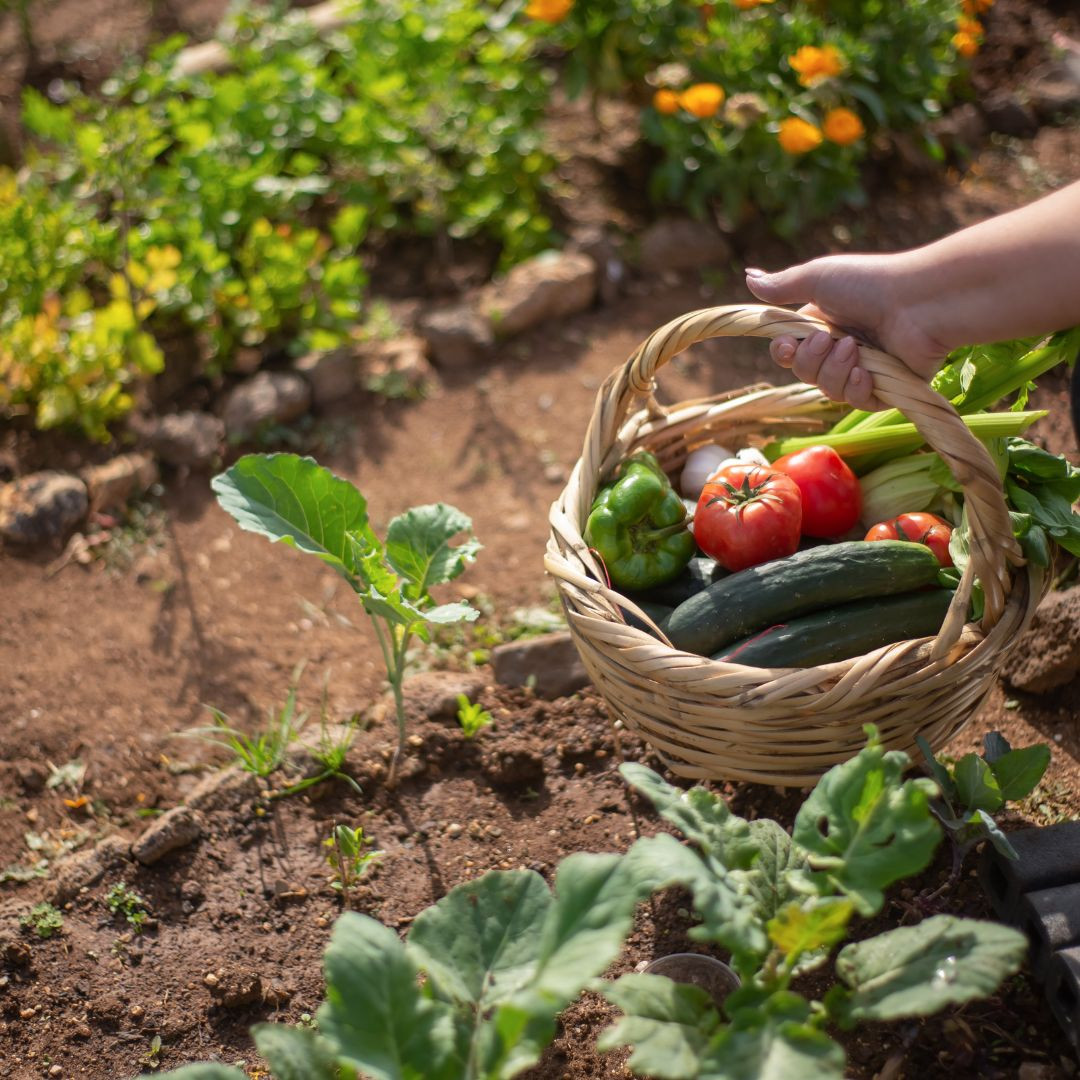
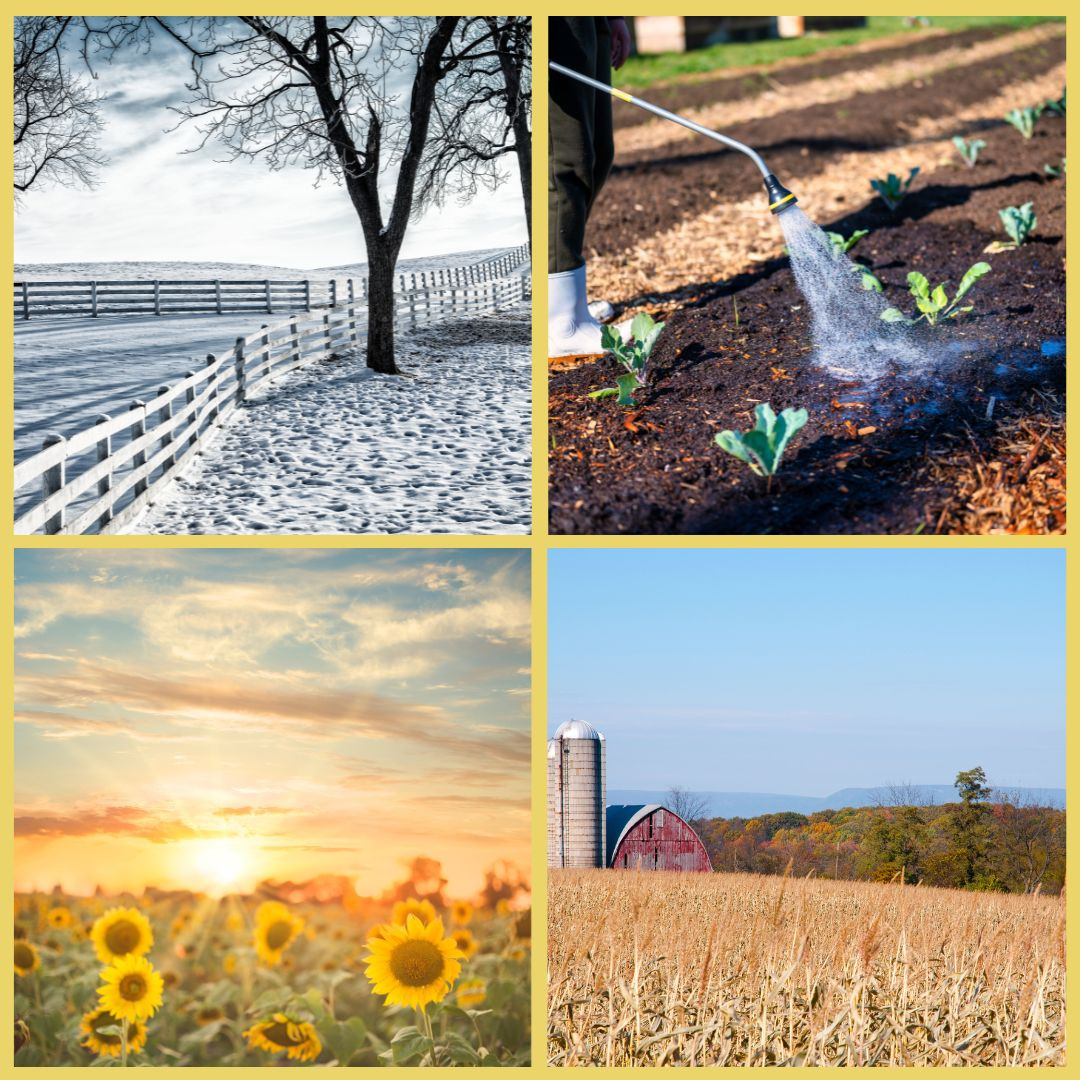
When your goal is self-sufficiency, you must have food and a way to grow your food. Vegetables and fruits are the biggest, need in the food department. Growing a garden is the best way to solve this problem. Starting an orchard is a good way to get your fruits. Turning the orchard or garden into a polyculture benefits you and the wildlife and plants you are growing.
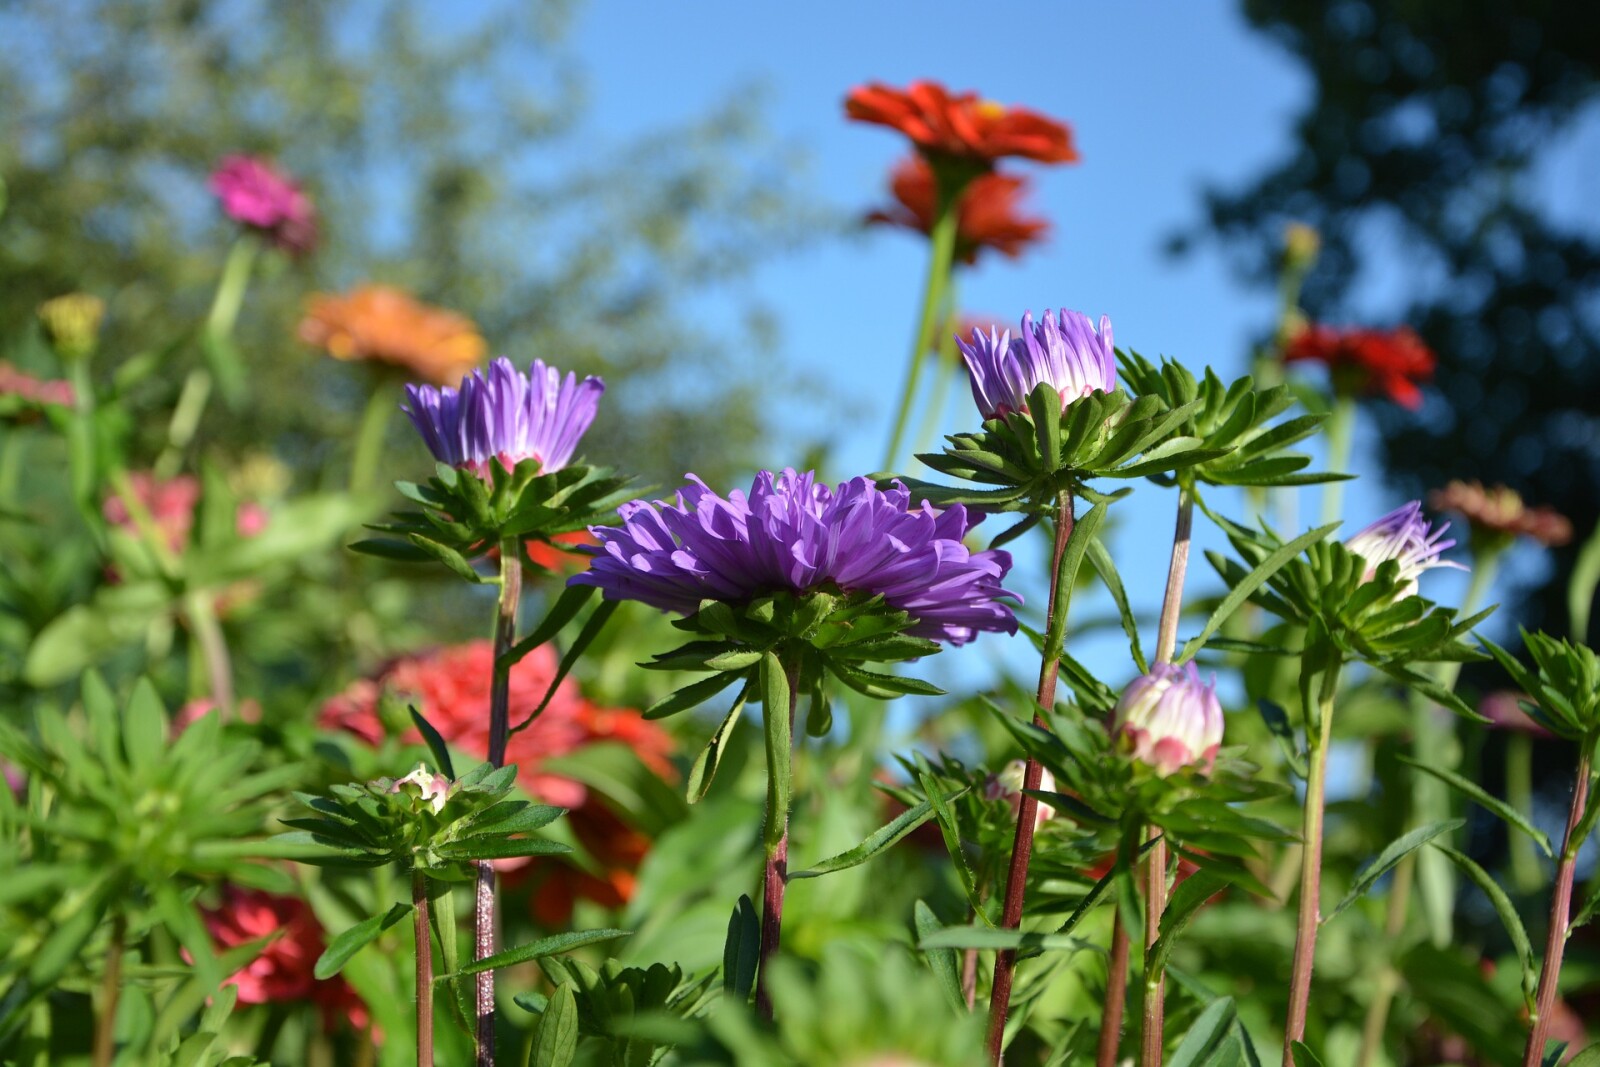
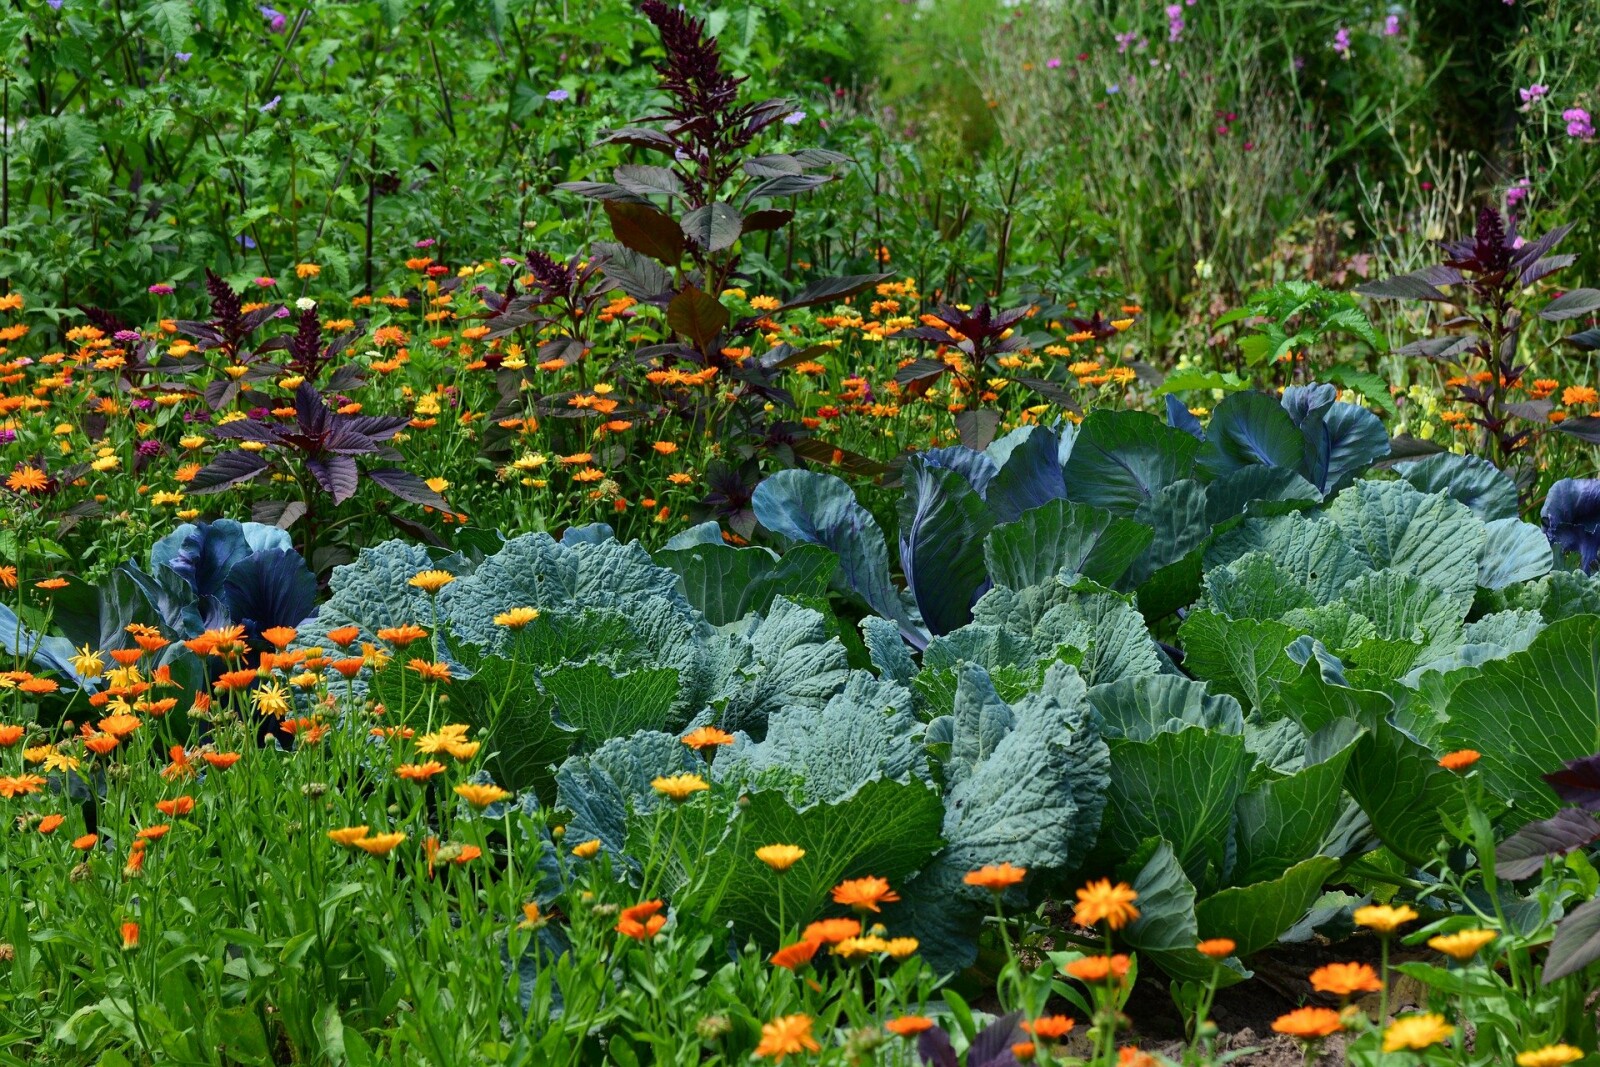
Gardening is fairly straight forward. There an many different methods now, Back to Eden, Square Foot Gardening, traditional row garden, or a mix of them. I used to think that the pretty flowers were not something I should invest in, but as I have learned more about polycultures, I have found they actually have benefits beyond looking good. Many pretty flowers are also pollinator attractors. They smell and look attractive to the bees and butterflies that will also help your garden vegetable plants pollinate better.
Orchards take time to develop. But have the advantage of many years of produce. Turning a small space into a polyculture orchard, with trees, berry bushes, and flowers is an effective way to maximize use of a limited space. Orchards especially benefit from the polyculture planting. By planting perennial companion plants around the trees and bushes, you can deter pests you don’t want, but attract the pollinators you do want.
When growing your garden or orchard it will not benefit you to grow a bunch of food your family will not eat. I like to buy a little of something I’m considering growing before I commit the space and energy into growing it. This allows me to determine if my family will even like or learn to like the food. So grow primarily what you will consume, but give a little space to experiment if you want.
In either an annual garden or orchard, map out where you plan to grow the plants. This helps you organize how to arrange the garden, plant quicker, and keep track of where things are planted when little helpers pull up the tags (not that I would have any experience with that…). The Homesteading Organizer is a perfect place to organize your garden or orchard in a book, you won’t loose the maps either. You can get a peak inside the organizer before you buy it here.
Join the FREE Community
This post may contain affiliate links, which means that I may receive a commission if you make a purchase using these links, with NO additional cost to you.
You want to be self-sufficient. Where do you start?
When I left my job after my son was born, we were faced with the decision on how to feed our family and pay our other expenses on half the income. Granted, we no longer had the large expense of daycare, but we had the added expense of health insurance.
What did we do? No, my husband didn’t pick up a second job, and I didn’t pick up a part time job from home. I tried a few side gigs, but none of them brought in significant income.
The first thing we did was to look closely at our expenses and see where we were spending our money. What were our fixed every month expenses? What were our variable expenses? How could we best manage and keep ourselves on track? We switched to the cash envelope system for our variable expenses, groceries, eating out, etc.
The second thing we did was to see where we could minimize our expenses. We canceled several subscriptions. Evaluated if the services we had was worth the money, and canceled anything that was not, including all TV services. Yes we had antenna, maybe 2 channels if the weather was good.
Once we had a good grasp on our expenses, we looked at where the big categories were that we needed to manage better. How could we minimize those? One big one for most people is the grocery category. Food is necessary for life, but how could we continue to have good quality food, while minimizing the cost? Garden!
Ever since we were married, we have had a garden of some sorts. However, up until that point, it was more of a small hobby. Now it was a serious source of food. Eventually this garden will supply most of our vegetable and fruits.
The other component of food necessary is protein. We raised cattle and sheep, so beef and lamb are readily available for us. Most people don’t have the space to raise a steer or lamb. However, chickens do not require much space and produce an excellent protein source. Eggs! Bonus is most towns allow some chickens. Second bonus is they are great bug control and love kitchen scraps.
Where are you to start your journey? Go through the same process and see what comes at the top of your category list. What can you do to bring it down? If you need help figuring it out, reach out! I’m here to help you succeed.
Wanting a community to lean into? Join the FREE Courageous + Purposeful Mommas group! This community is for the Mommas, mommas to be, in the midst of raising, and kids grown, looking for tips on building your family up and providing for them through natural methods. Tips include: gardening, bulk buying, caning,/preserving, livestock, homesteading, and home remedies. Your family is precious, and this group is to help you gain the knowledge and tools to keep your family well and not reliant on outside professionals. Remedies and tips are easy and simple for the busy momma, time is precious after all, including pregnancy, birth, young kids, and illness. Trust your Momma gut again! This community offers the resources + community you need to help get started on your journey and prepare for whatever future you envision.
Click here to get the stories straight to your email:
For more on wellness tips click here:
For more on homesteading on your budget click here:
For more simple DIY updates click here:

Join the FREE Community

Wanting a community to lean into? Join the FREE Courageous + Purposeful Mommas group! This community is for the Mommas, mommas to be, in the midst of raising, and kids grown, looking for tips on building your family up and providing for them through natural methods. Tips include: gardening, bulk buying, caning,/preserving, livestock, homesteading, and home remedies. Your family is precious, and this group is to help you gain the knowledge and tools to keep your family well and not reliant on outside professionals. Remedies and tips are easy and simple for the busy momma, time is precious after all, including pregnancy, birth, young kids, and illness. Trust your Momma gut again! This community offers the resources + community you need to help get started on your journey and prepare for whatever future you envision.
Click here to get the stories straight to your email:
For more on wellness tips click here:
For more on homesteading on your budget click here:
For more simple DIY updates click here:

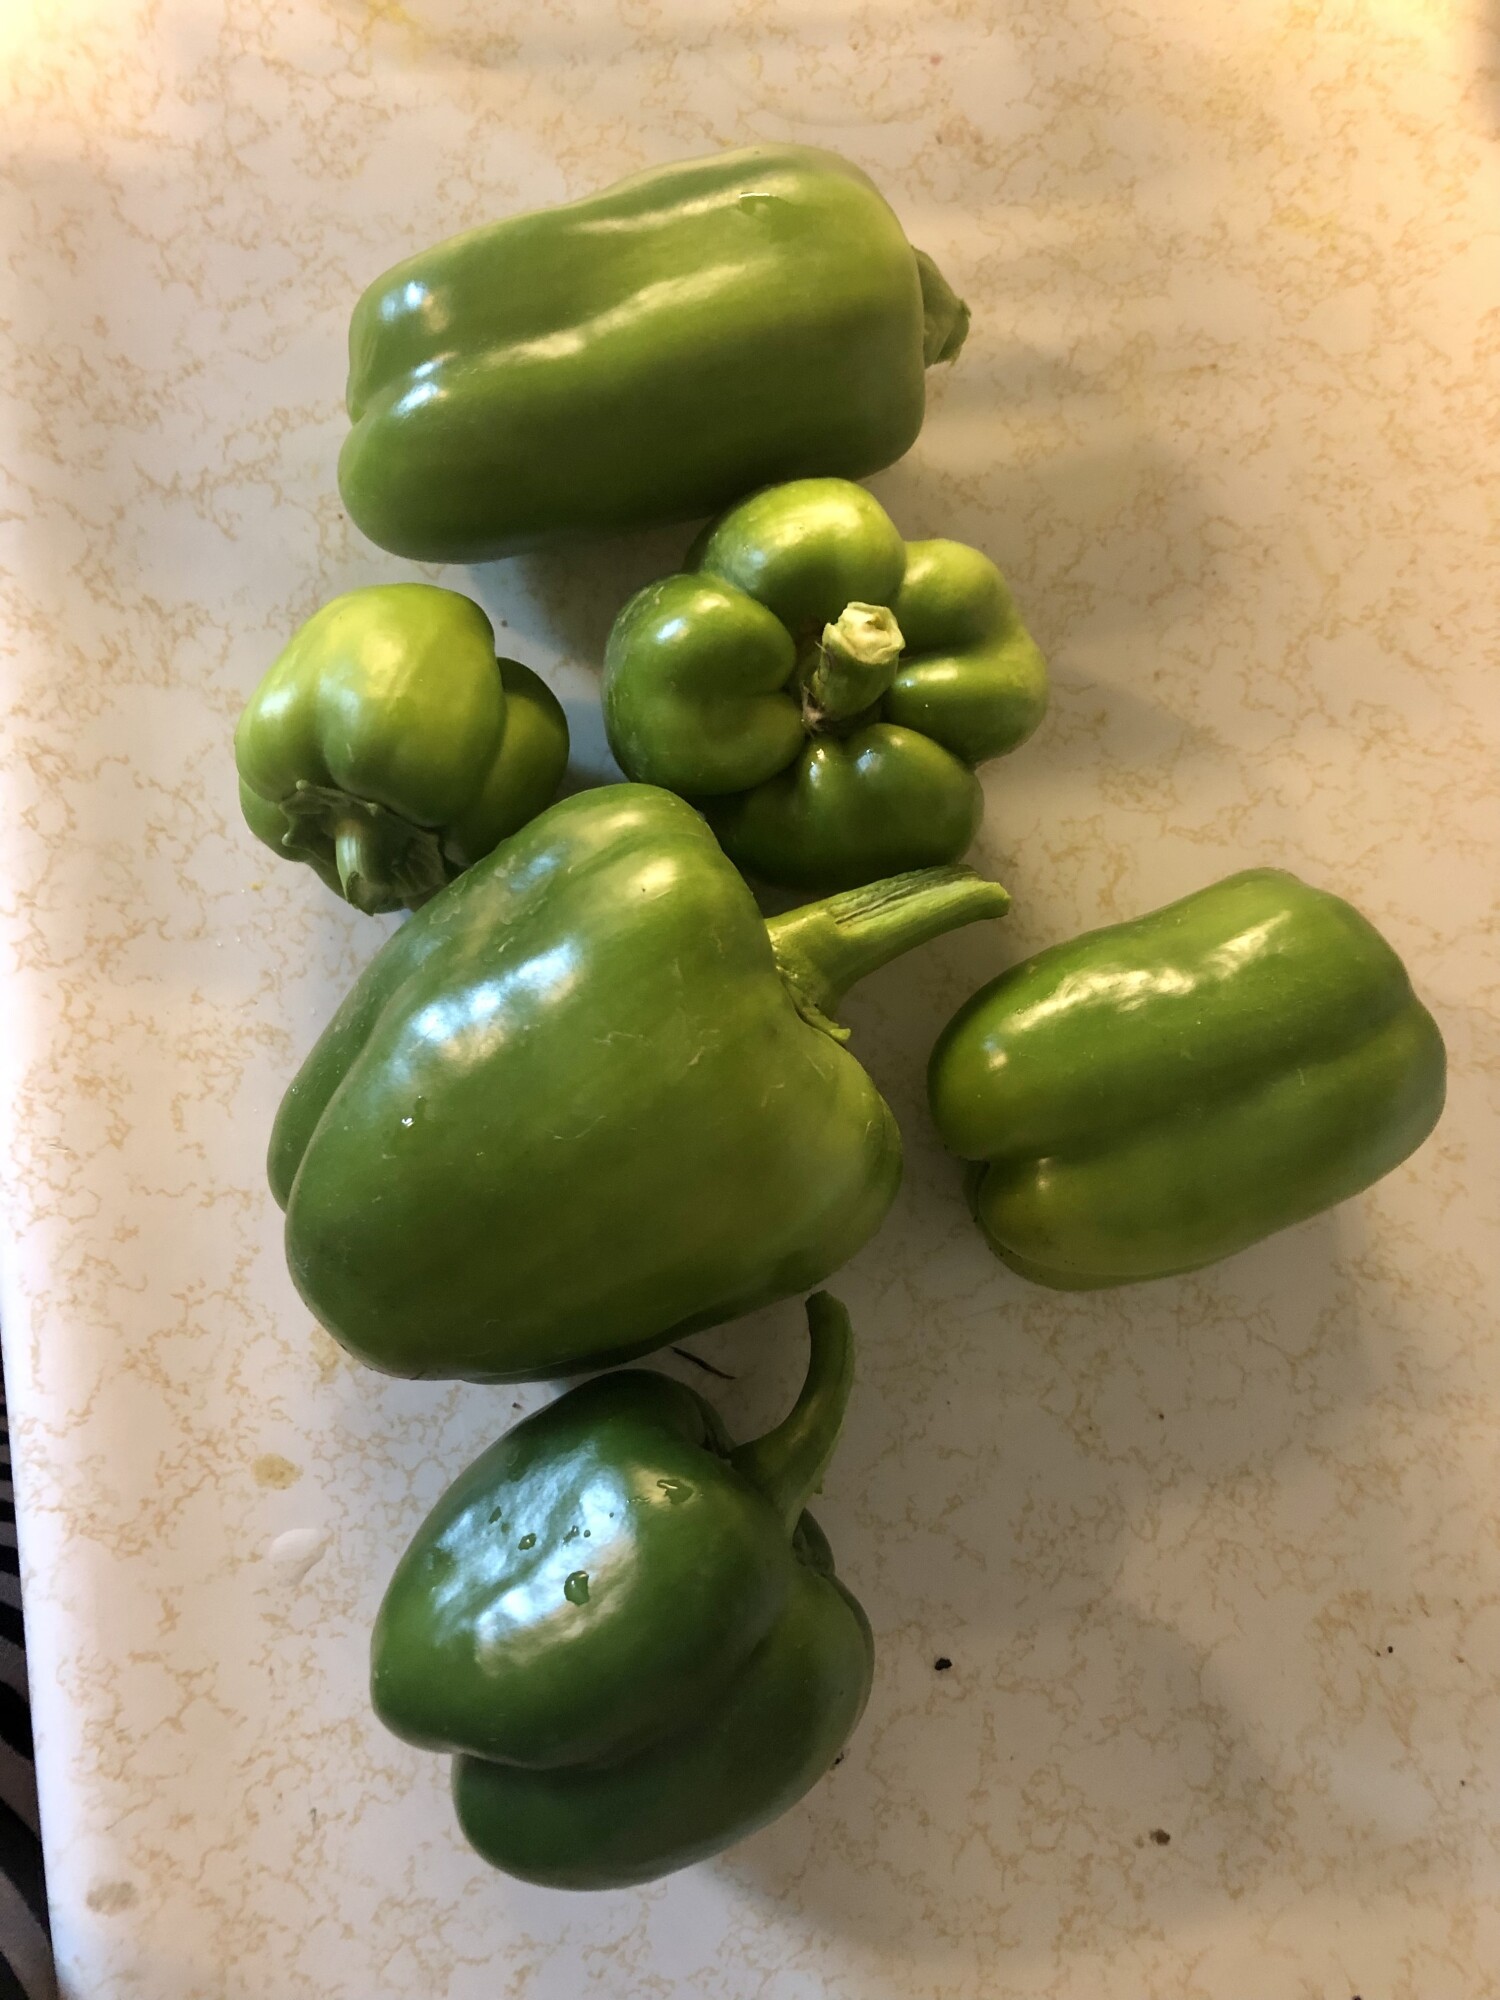
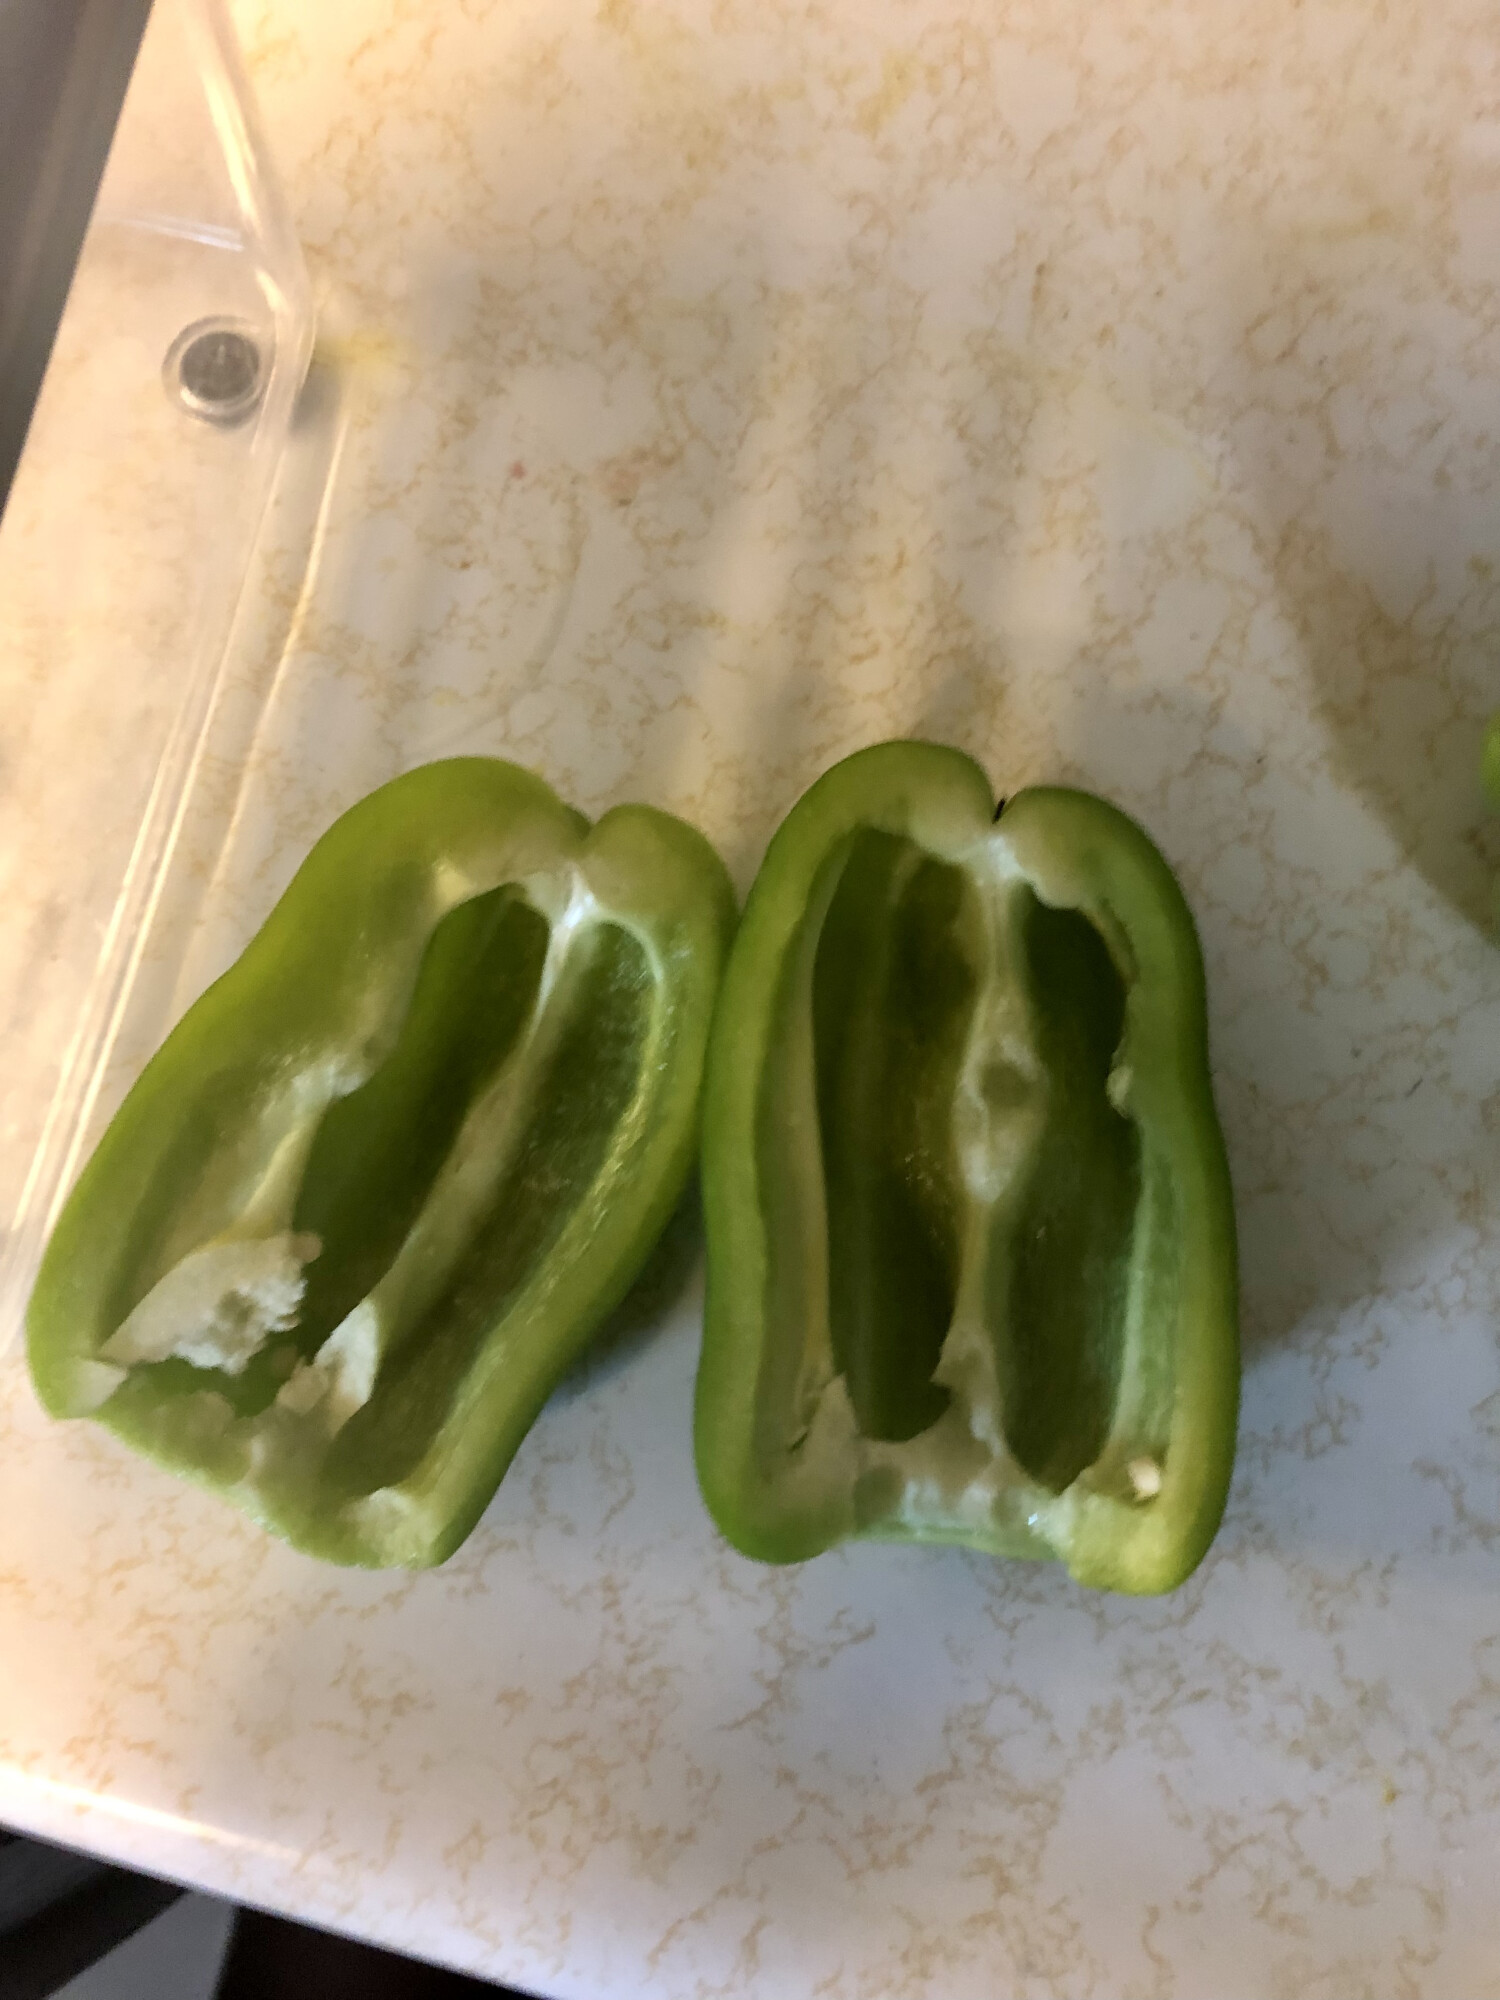
Step 3. Slice the pepper in half and remove the stem, seeds, and any bad spots. For hot peppers I will use for canning recipes later, I leave the seeds and chop them in a food processor.
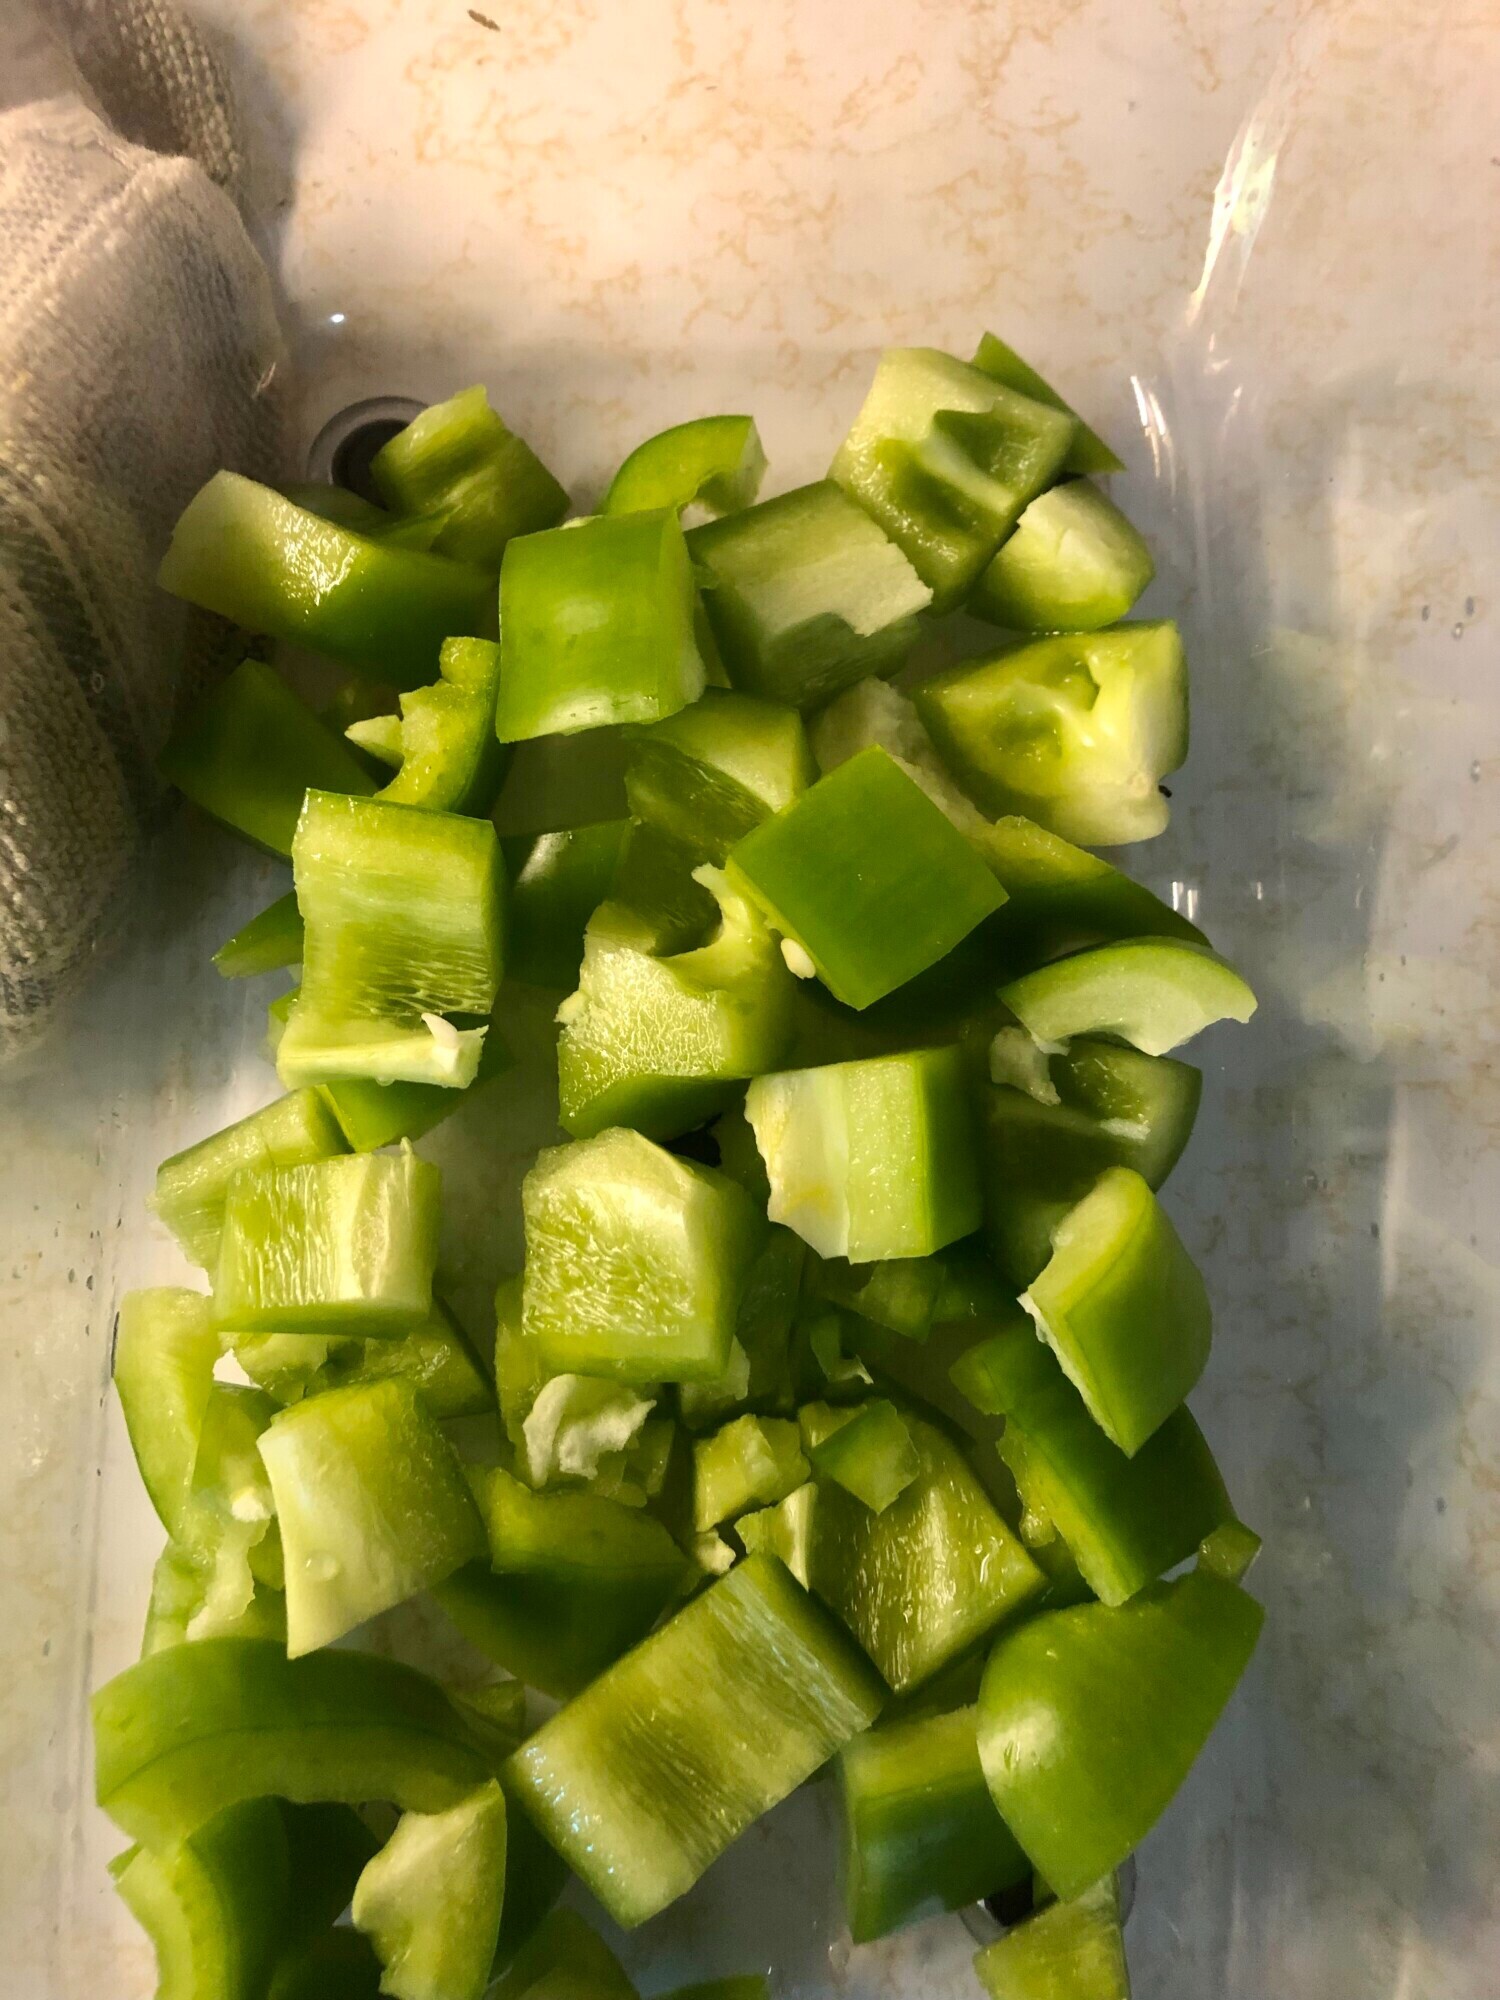
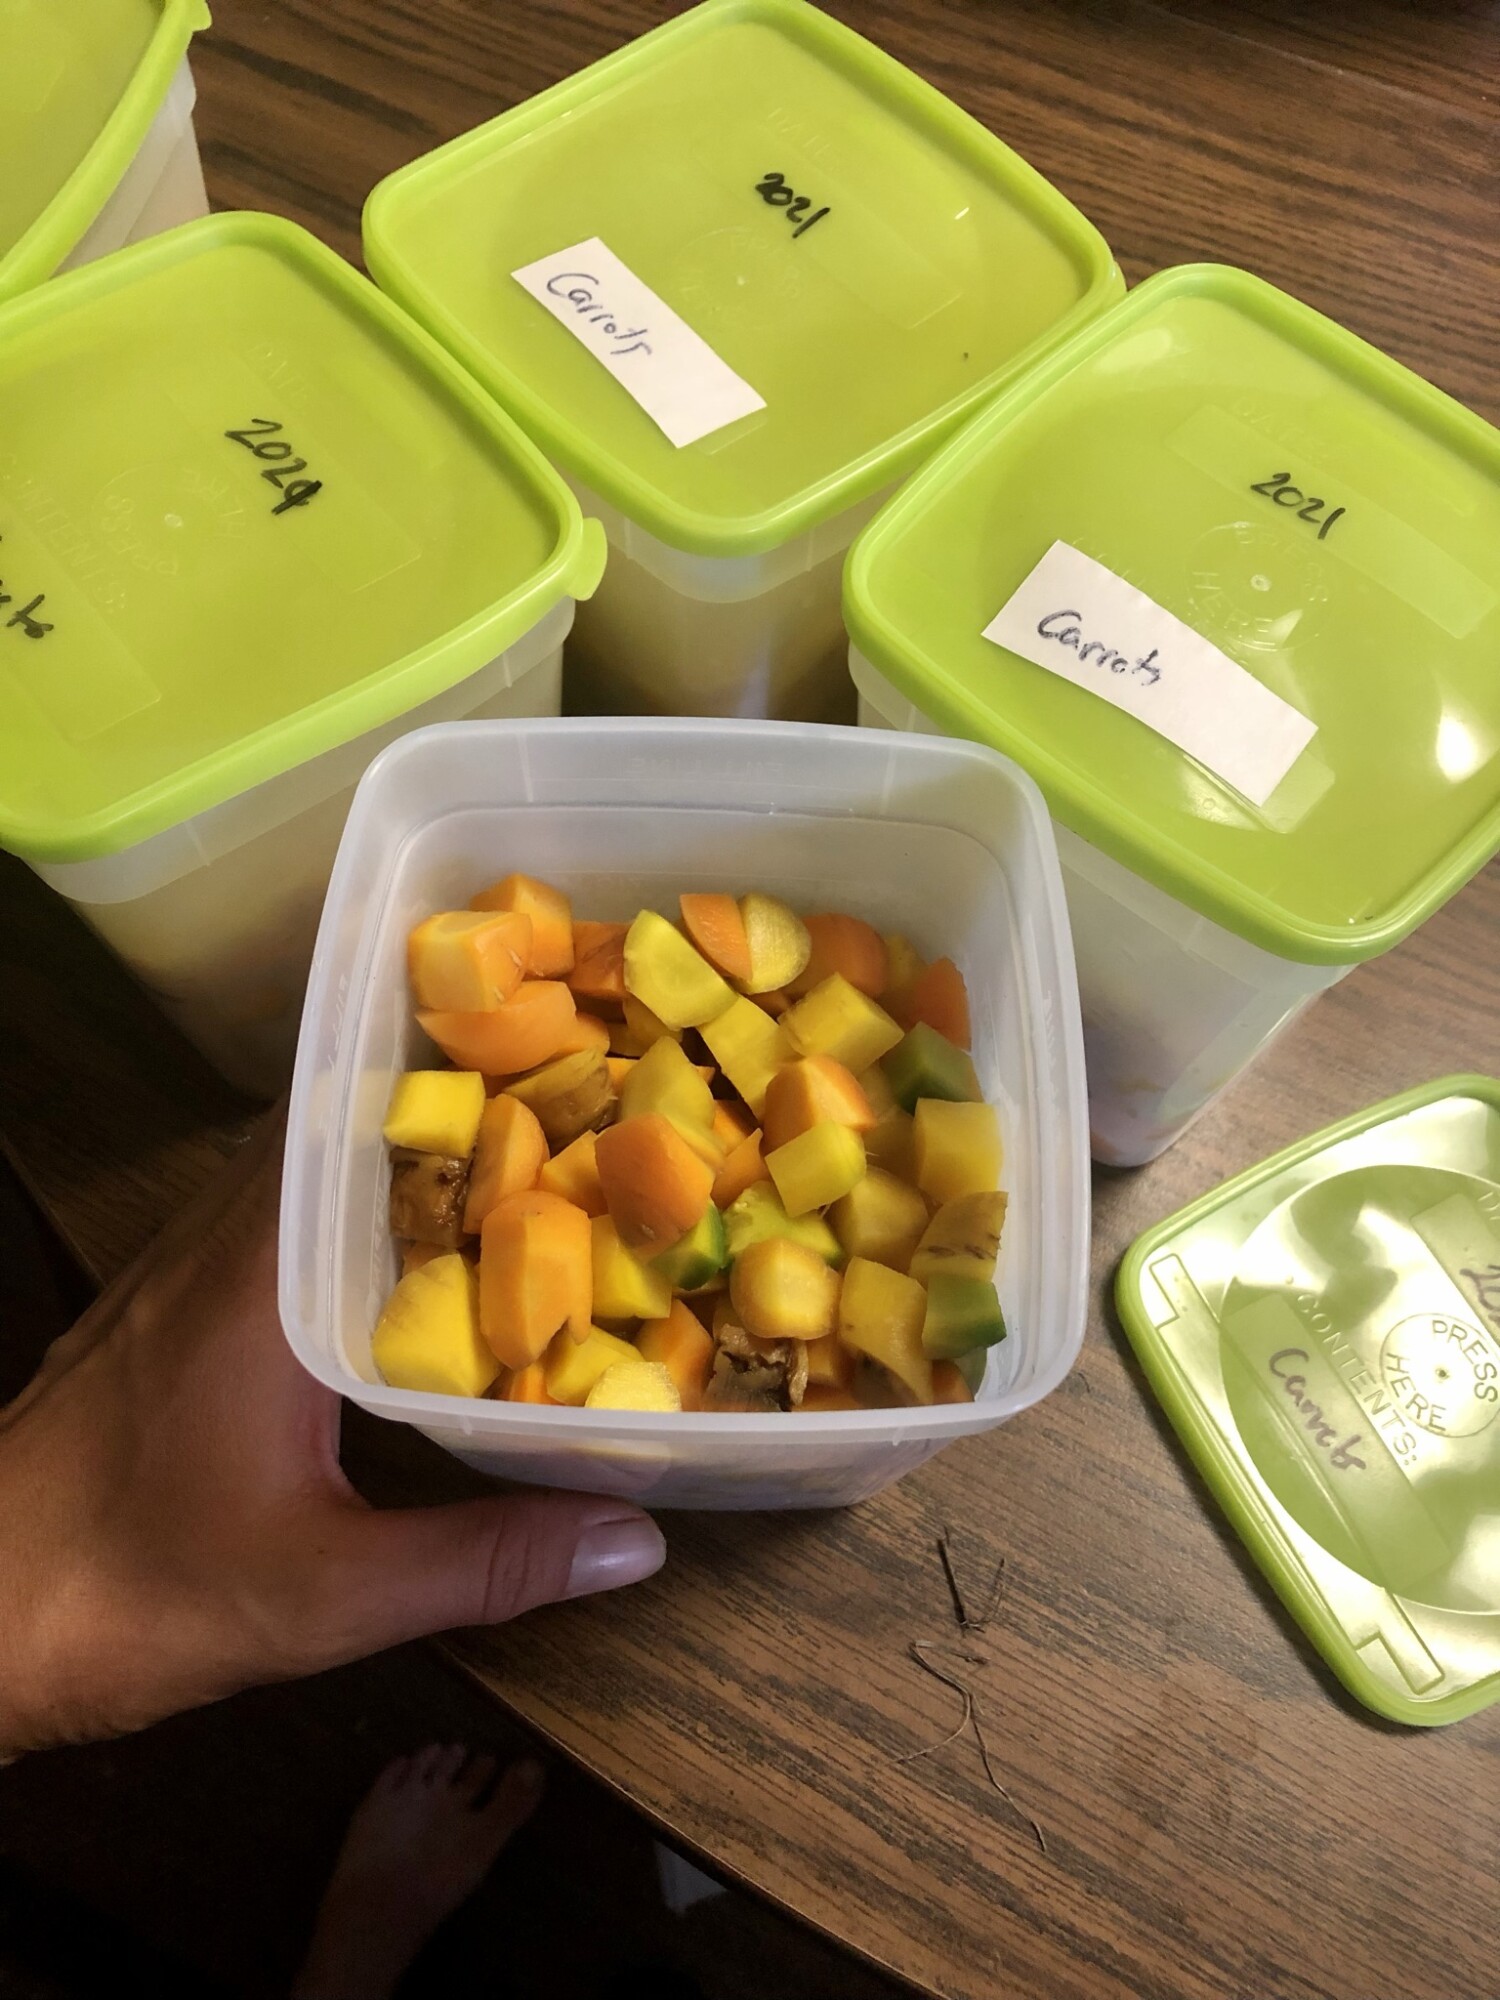
Step 4. Freeze the peppers. Place the peppers in freezer containers filling to the fill line. I used freezer containers last year, and plan to use vacuum bags this year. For the hot peppers, I use containers approximately the size I will need per recipe for simplicity.
Wanting a community to lean into? Join the FREE Courageous + Purposeful Mommas group! This community is for the Mommas, mommas to be, in the midst of raising, and kids grown, looking for tips on building your family up and providing for them through natural methods. Tips include: gardening, bulk buying, caning,/preserving, livestock, homesteading, and home remedies. Your family is precious, and this group is to help you gain the knowledge and tools to keep your family well and not reliant on outside professionals. Remedies and tips are easy and simple for the busy momma, time is precious after all, including pregnancy, birth, young kids, and illness. Trust your Momma gut again! This community offers the resources + community you need to help get started on your journey and prepare for whatever future you envision.
Click here to get the stories straight to your email:
For more on wellness tips click here:
For more on homesteading on your budget click here:
For more simple DIY updates click here:

This post may contain affiliate links, which means that I may receive a commission if you make a purchase using these links, with NO additional cost to you.
What is a fear you carry deep inside? One that not many may know about, but affects many of your everyday decisions? Me? That somehow there won’t be enough, and my family will be left short.
Why does this affect my decisions? Because the last thing I want is for my family to be short somehow. Short of food, finances, or simply time.
So what do I do? First, I try to not let the fear overtake me. I acknowledge that it is there, and then remind myself of all the ways God has continued to provide for us in the past. My heart calms, and I can clearly think towards my next step. I then thank God for His provision and ask that He continue to remind me when that fear comes up again.
This fear has also been a motivator for me. When I started staying home, our income was drastically cut. While we would no longer be paying for daycare or as much in gas, we now had to pay our own insurance and the grocery bill would be increasing. How were we going to offset the cost?
I looked around. We already lived on an acreage. I had gardened some in the past, and was getting pretty good at it. Why not take it to the next level and have the garden provide as much of our food as we could!
And so it began, in more earnest. I planted more of what I knew we would consume and less of the extra stuff. I learned how to preserve our food supply for the winter. I also started learning how to grow more of the vegetables my family liked, so we weren’t buying as much at the store.
The garden is still expanding and growing. I use the winter to learn more about the next vegetable or fruit I want to grow. I take notes and perfect the methods for our farm. I’m playing with double cropping and starting a permaculture orchard now.
What started as a fear of not being able to buy enough groceries, has turned into a huge garden with the potential to meet 80% (currently around 50%) of our family’s veggie and fruit needs when it is all mature. All this from not giving into the fear, but stepping back and looking for the opportunity in the fear.
Wanting a community to lean into? Join the FREE Courageous + Purposeful Mommas group! This community is for the Mommas, mommas to be, in the midst of raising, and kids grown, looking for tips on building your family up and providing for them through natural methods. Tips include: gardening, bulk buying, caning,/preserving, livestock, homesteading, and home remedies. Your family is precious, and this group is to help you gain the knowledge and tools to keep your family well and not reliant on outside professionals. Remedies and tips are easy and simple for the busy momma, time is precious after all, including pregnancy, birth, young kids, and illness. Trust your Momma gut again! This community offers the resources + community you need to help get started on your journey and prepare for whatever future you envision.
Click here to get the stories straight to your email:
For more on wellness tips click here:
For more on homesteading on your budget click here:
For more simple DIY updates click here:
This post may contain affiliate links, which means that I may receive a commission if you make a purchase using these links, with NO additional cost to you.
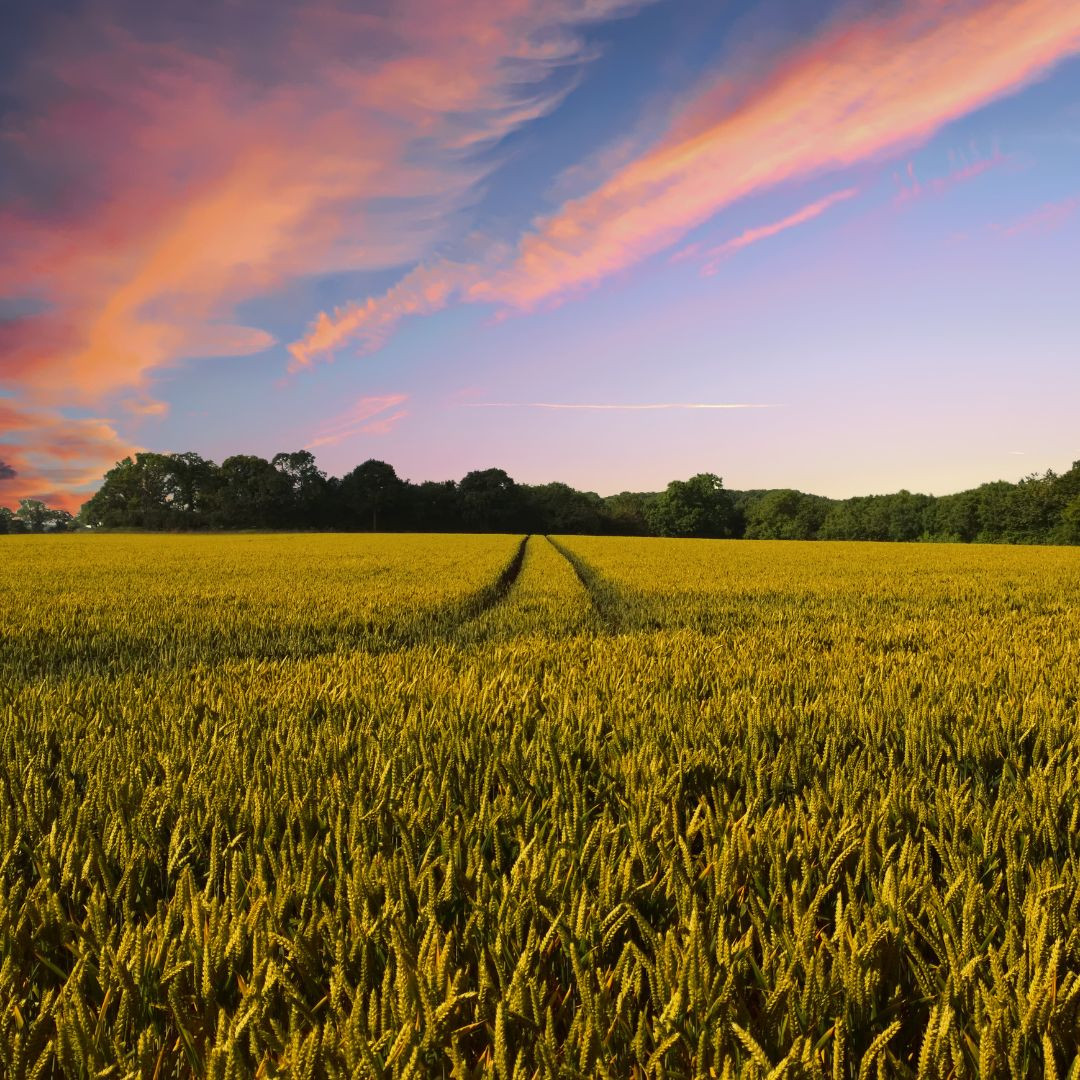
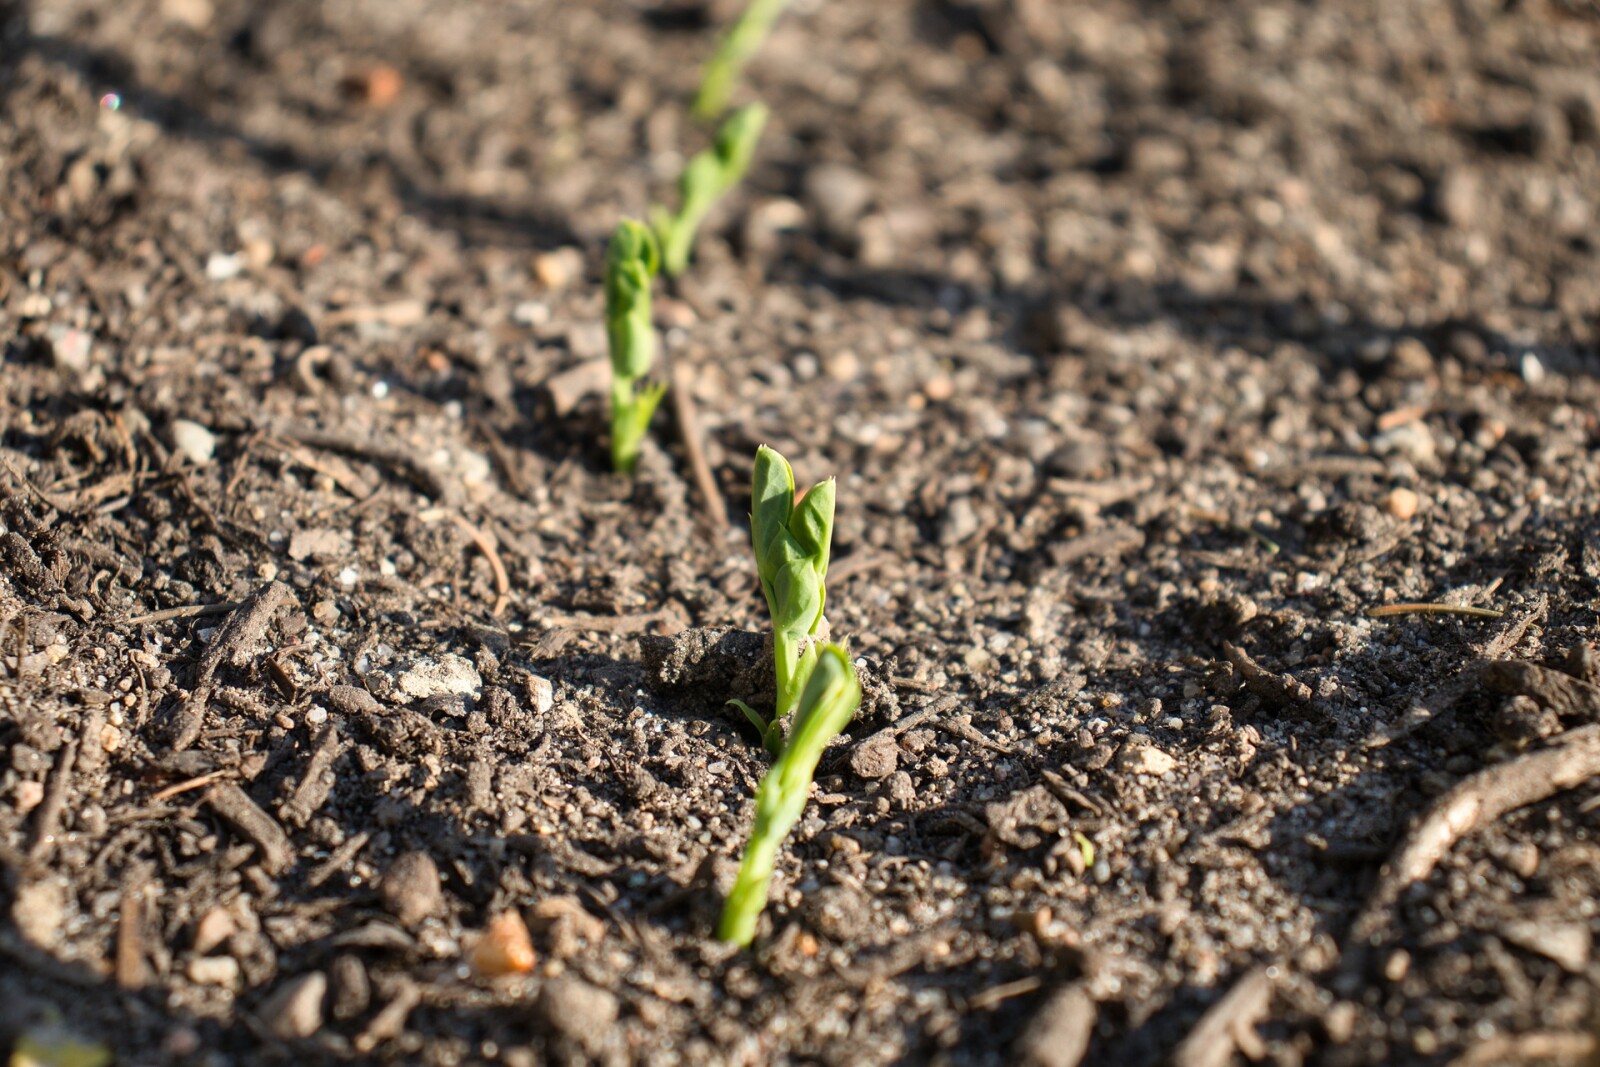
We are in the heart of gardening season in Nebraska. Plants are up, cool seasons done, most of the weeding is done, and the fruit of the labor is starting to show. It is honestly the best time. Water the garden and pick the produce and enjoy! The early hard work of establishing plants is done and the bulk of harvest is yet to come.
I’m often asked when people see or hear about my gardens: “How do you get it all done?” The short answer, ‘Little by little.” I started small with my garden, a few simple easy to grow plants and have expanded from there. Every year my garden has grown a bit, with more plants, more variety, and more space. Along the way I learned a few things that help cut down on the amount of work over the summer.
#1 Mulch. Not just the 1-2 inches of mulch or dusting like you do when planting grass, but deep mulch. Like 4-6 inches of mulch. Why that deep? Not only does it help the moisture stay in the soil better, it blocks much of the weed growth. Will you still have to weed? Yes, but much less. Who has time to spend all day weeding anyway?
#2 Tackle small parts at a time. This one hit hard this year. I would look at everything that needed done, planted, weeded, prepped, watered, and simply become overwhelmed. Once I reminded myself to tackle small chunks at a time, it made the job more do-able and less stressful. I divide the garden into sections for planting, weeding and watering and stick with the smaller parts. I am more likely to finish one section before it gets too hot or the kids need me that way.
#3 Try one new thing at a time. This is huge for beginners. I started with a sweet corn patch my hubby planted, some pumpkins and cucumbers that took over, and maybe a tomato plant and pepper. I cannot even count how many plants I have now without walking around the gardens. Each year I added one or two varieties to try. Became good with those and added more. I also started with small patches to experiment with so space isn't wasted.
#4 Companion plant. This took me a few years to catch on to. It actually started by accident, when I couldn’t fit all my tomatoes in one spot in the garden. The results were worth repeating year after year! There was less bug damage to the overall crop when plants were mixed together. This year I took a spin on it and planted my tomatoes all in beds together, but planted basil around them. Basil tends to repel the bugs attracted to the tomatoes and I wanted more basil. It was a win-win. Check out the list of friend/foe plants I made earlier for more details.
What are some lessons you’ve learned from your hobbies that others would benefit from?
Wanting a community to lean into? Join the FREE Courageous + Purposeful Mommas group! This community is for the Mommas, mommas to be, in the midst of raising, and kids grown, looking for tips on building your family up and providing for them through natural methods. Tips include: gardening, bulk buying, caning,/preserving, livestock, homesteading, and home remedies. Your family is precious, and this group is to help you gain the knowledge and tools to keep your family well and not reliant on outside professionals. Remedies and tips are easy and simple for the busy momma, time is precious after all, including pregnancy, birth, young kids, and illness. Trust your Momma gut again! This community offers the resources + community you need to help get started on your journey and prepare for whatever future you envision.
Click here to get the stories straight to your email:
For more on wellness tips click here:
For more on homesteading on your budget click here:
For more simple DIY updates click here: