This post may contain affiliate links, which means that I may receive a commission if you make a purchase using these links, with NO additional cost to you.
What is a fear you carry deep inside? One that not many may know about, but affects many of your everyday decisions? Me? That somehow there won’t be enough, and my family will be left short.
Why does this affect my decisions? Because the last thing I want is for my family to be short somehow. Short of food, finances, or simply time.
So what do I do? First, I try to not let the fear overtake me. I acknowledge that it is there, and then remind myself of all the ways God has continued to provide for us in the past. My heart calms, and I can clearly think towards my next step. I then thank God for His provision and ask that He continue to remind me when that fear comes up again.
This fear has also been a motivator for me. When I started staying home, our income was drastically cut. While we would no longer be paying for daycare or as much in gas, we now had to pay our own insurance and the grocery bill would be increasing. How were we going to offset the cost?
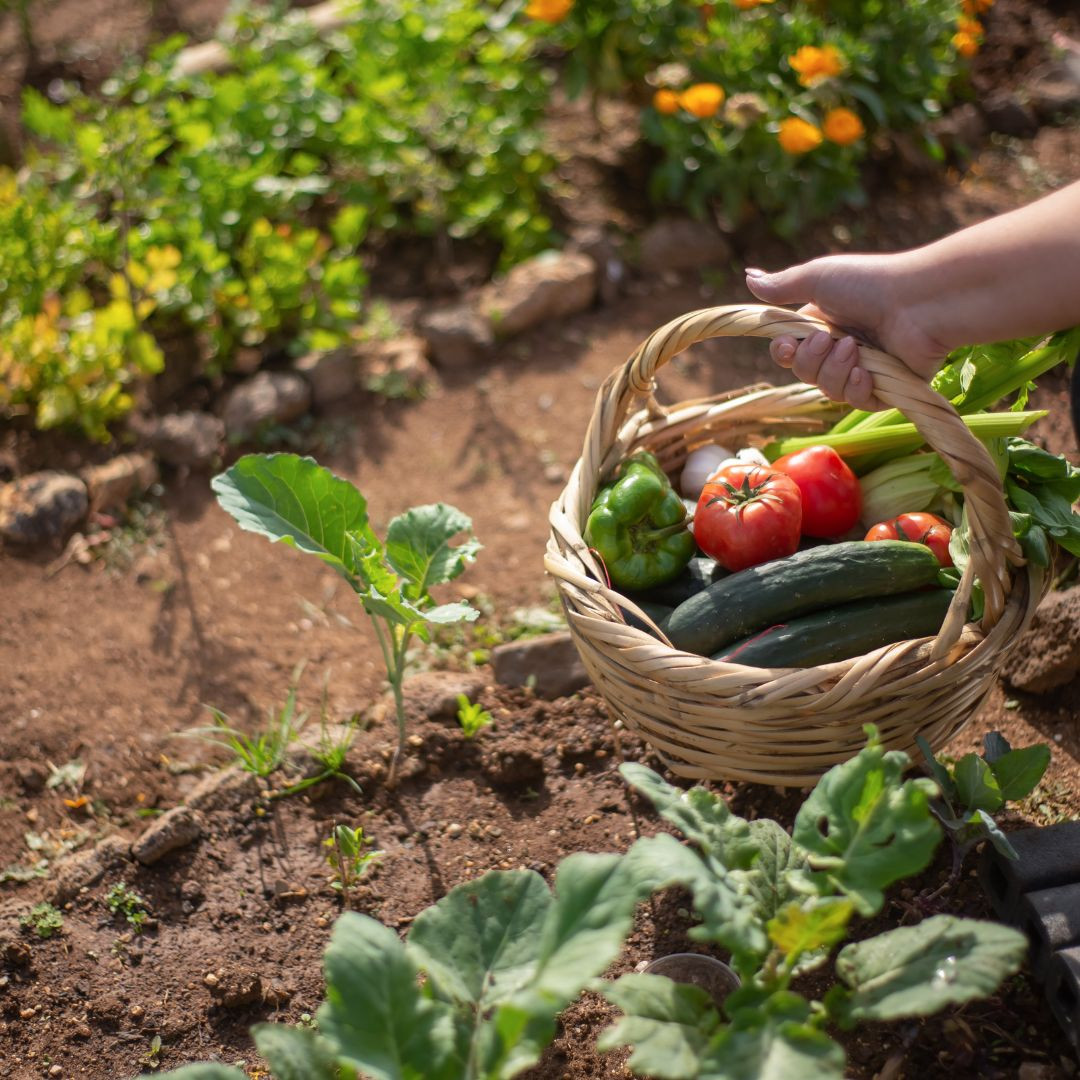
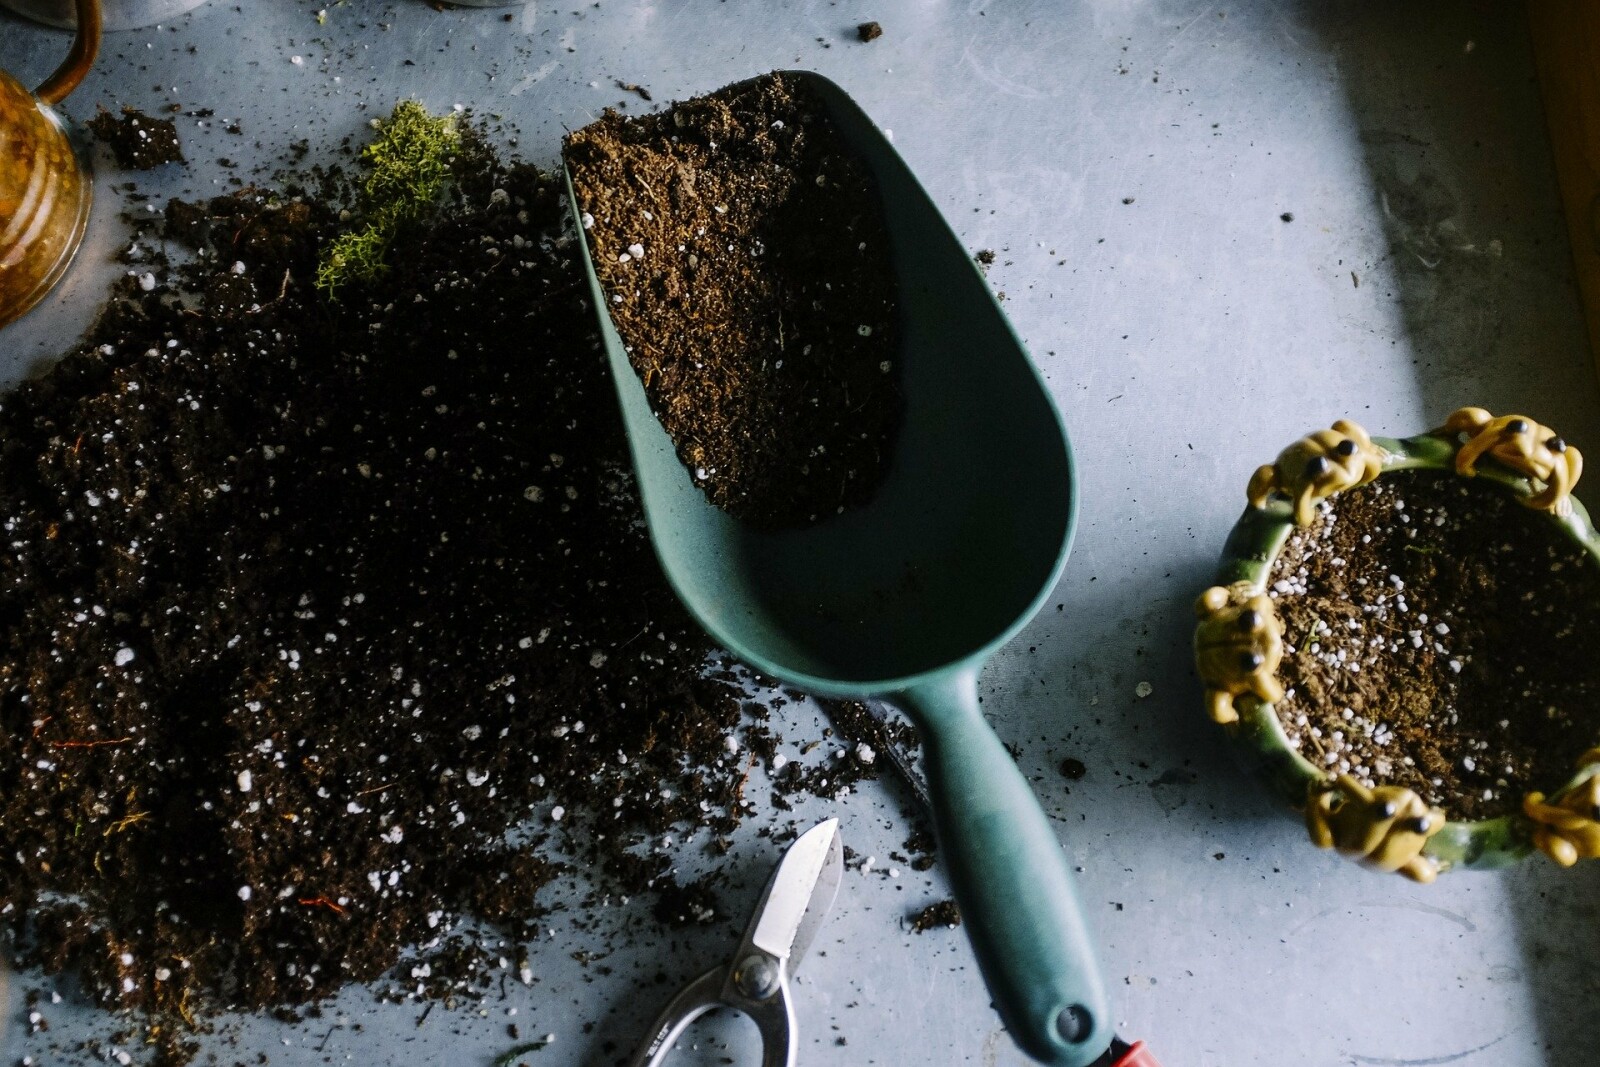
I looked around. We already lived on an acreage. I had gardened some in the past, and was getting pretty good at it. Why not take it to the next level and have the garden provide as much of our food as we could!
And so it began, in more earnest. I planted more of what I knew we would consume and less of the extra stuff. I learned how to preserve our food supply for the winter. I also started learning how to grow more of the vegetables my family liked, so we weren’t buying as much at the store.
The garden is still expanding and growing. I use the winter to learn more about the next vegetable or fruit I want to grow. I take notes and perfect the methods for our farm. I’m playing with double cropping and starting a permaculture orchard now.
What started as a fear of not being able to buy enough groceries, has turned into a huge garden with the potential to meet 80% (currently around 50%) of our family’s veggie and fruit needs when it is all mature. All this from not giving into the fear, but stepping back and looking for the opportunity in the fear.
Wanting a community to lean into? Join the FREE Courageous + Purposeful Mommas group! This community is for the Mommas, mommas to be, in the midst of raising, and kids grown, looking for tips on building your family up and providing for them through natural methods. Tips include: gardening, bulk buying, caning,/preserving, livestock, homesteading, and home remedies. Your family is precious, and this group is to help you gain the knowledge and tools to keep your family well and not reliant on outside professionals. Remedies and tips are easy and simple for the busy momma, time is precious after all, including pregnancy, birth, young kids, and illness. Trust your Momma gut again! This community offers the resources + community you need to help get started on your journey and prepare for whatever future you envision.
Click here to get the stories straight to your email:
For more on wellness tips click here:
For more on homesteading on your budget click here:
For more simple DIY updates click here:
This post may contain affiliate links, which means that I may receive a commission if you make a purchase using these links, with NO additional cost to you.
We are in the heart of gardening season in Nebraska. Plants are up, cool seasons done, most of the weeding is done, and the fruit of the labor is starting to show. It is honestly the best time. Water the garden and pick the produce and enjoy! The early hard work of establishing plants is done and the bulk of harvest is yet to come.
I’m often asked when people see or hear about my gardens: “How do you get it all done?” The short answer, ‘Little by little.” I started small with my garden, a few simple easy to grow plants and have expanded from there. Every year my garden has grown a bit, with more plants, more variety, and more space. Along the way I learned a few things that help cut down on the amount of work over the summer.
#1 Mulch. Not just the 1-2 inches of mulch or dusting like you do when planting grass, but deep mulch. Like 4-6 inches of mulch. Why that deep? Not only does it help the moisture stay in the soil better, it blocks much of the weed growth. Will you still have to weed? Yes, but much less. Who has time to spend all day weeding anyway?
#2 Tackle small parts at a time. This one hit hard this year. I would look at everything that needed done, planted, weeded, prepped, watered, and simply become overwhelmed. Once I reminded myself to tackle small chunks at a time, it made the job more do-able and less stressful. I divide the garden into sections for planting, weeding and watering and stick with the smaller parts. I am more likely to finish one section before it gets too hot or the kids need me that way.
#3 Try one new thing at a time. This is huge for beginners. I started with a sweet corn patch my hubby planted, some pumpkins and cucumbers that took over, and maybe a tomato plant and pepper. I cannot even count how many plants I have now without walking around the gardens. Each year I added one or two varieties to try. Became good with those and added more. I also started with small patches to experiment with so space isn't wasted.
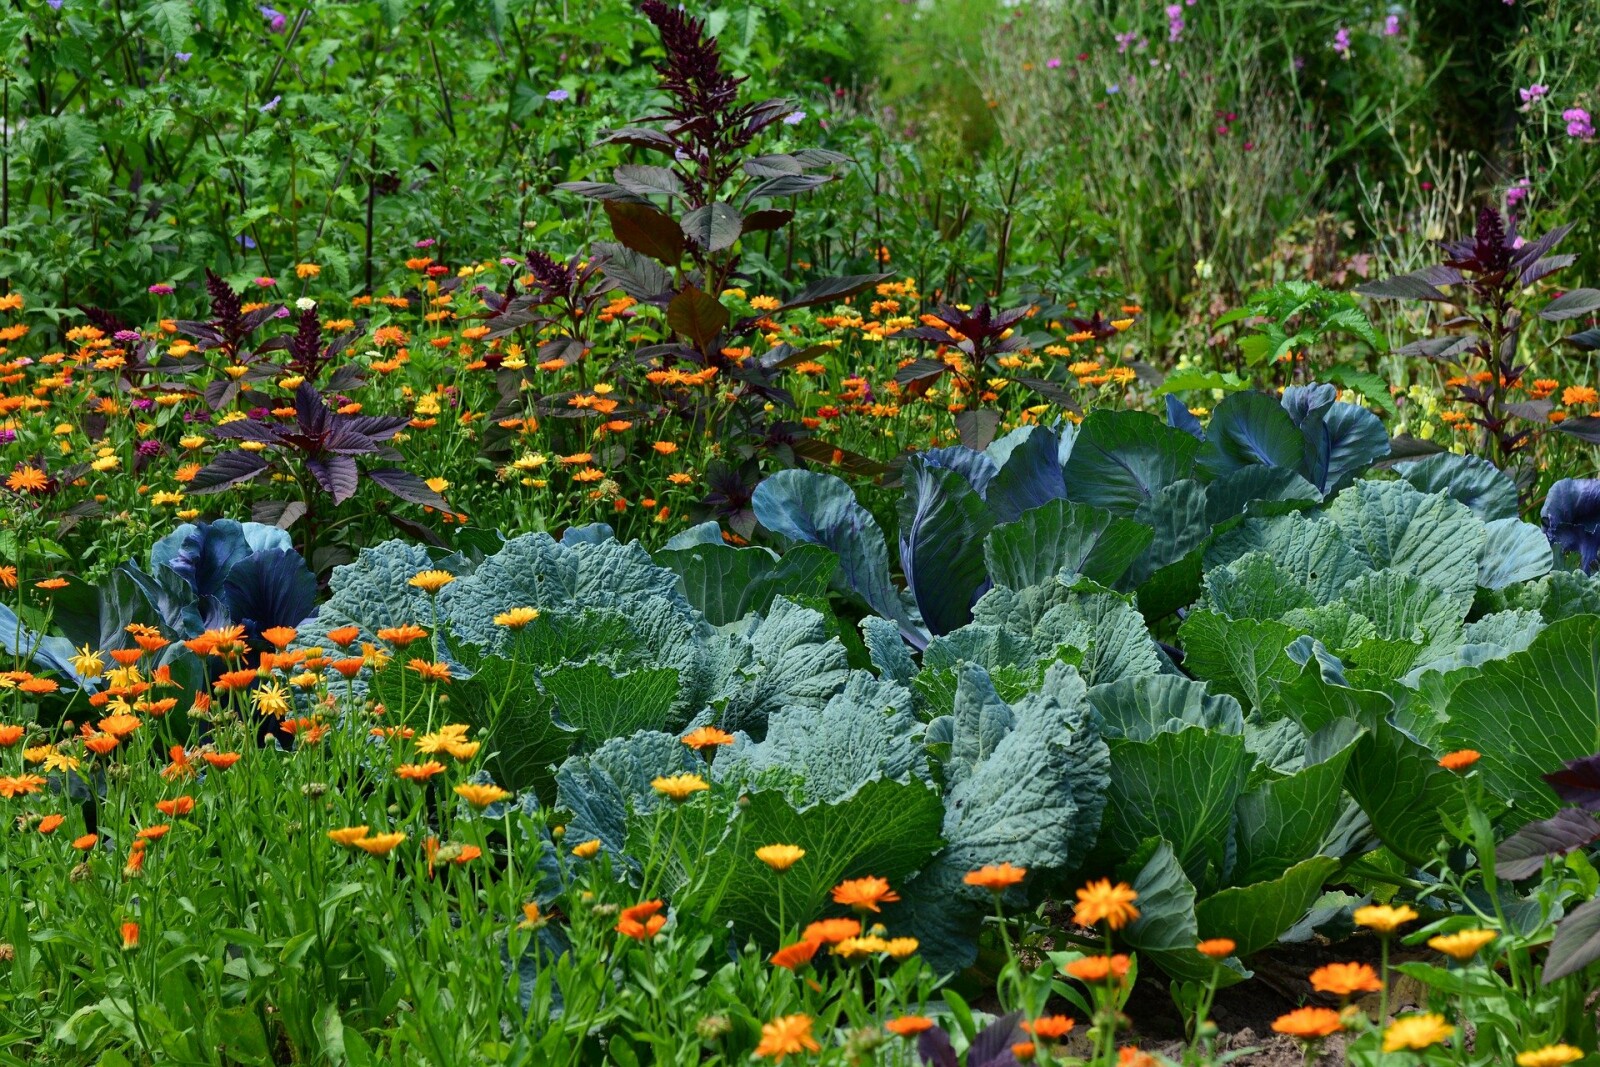
#4 Companion plant. This took me a few years to catch on to. It actually started by accident, when I couldn’t fit all my tomatoes in one spot in the garden. The results were worth repeating year after year! There was less bug damage to the overall crop when plants were mixed together. This year I took a spin on it and planted my tomatoes all in beds together, but planted basil around them. Basil tends to repel the bugs attracted to the tomatoes and I wanted more basil. It was a win-win. Check out the list of friend/foe plants I made earlier for more details.
What are some lessons you’ve learned from your hobbies that others would benefit from?
Wanting a community to lean into? Join the FREE Courageous + Purposeful Mommas group! This community is for the Mommas, mommas to be, in the midst of raising, and kids grown, looking for tips on building your family up and providing for them through natural methods. Tips include: gardening, bulk buying, caning,/preserving, livestock, homesteading, and home remedies. Your family is precious, and this group is to help you gain the knowledge and tools to keep your family well and not reliant on outside professionals. Remedies and tips are easy and simple for the busy momma, time is precious after all, including pregnancy, birth, young kids, and illness. Trust your Momma gut again! This community offers the resources + community you need to help get started on your journey and prepare for whatever future you envision.
Click here to get the stories straight to your email:
For more on wellness tips click here:
For more on homesteading on your budget click here:
For more simple DIY updates click here:
This post may contain affiliate links, which means that I may receive a commission if you make a purchase using these links, with NO additional cost to you.
Wait what?!? That was my reaction at first, but having an abundance of cucumbers, I decided to try it. Besides if they were good, it would be a good way to make them last over the winter. I already had pickles and relish left from last year to get me through this year, so I needed something else.
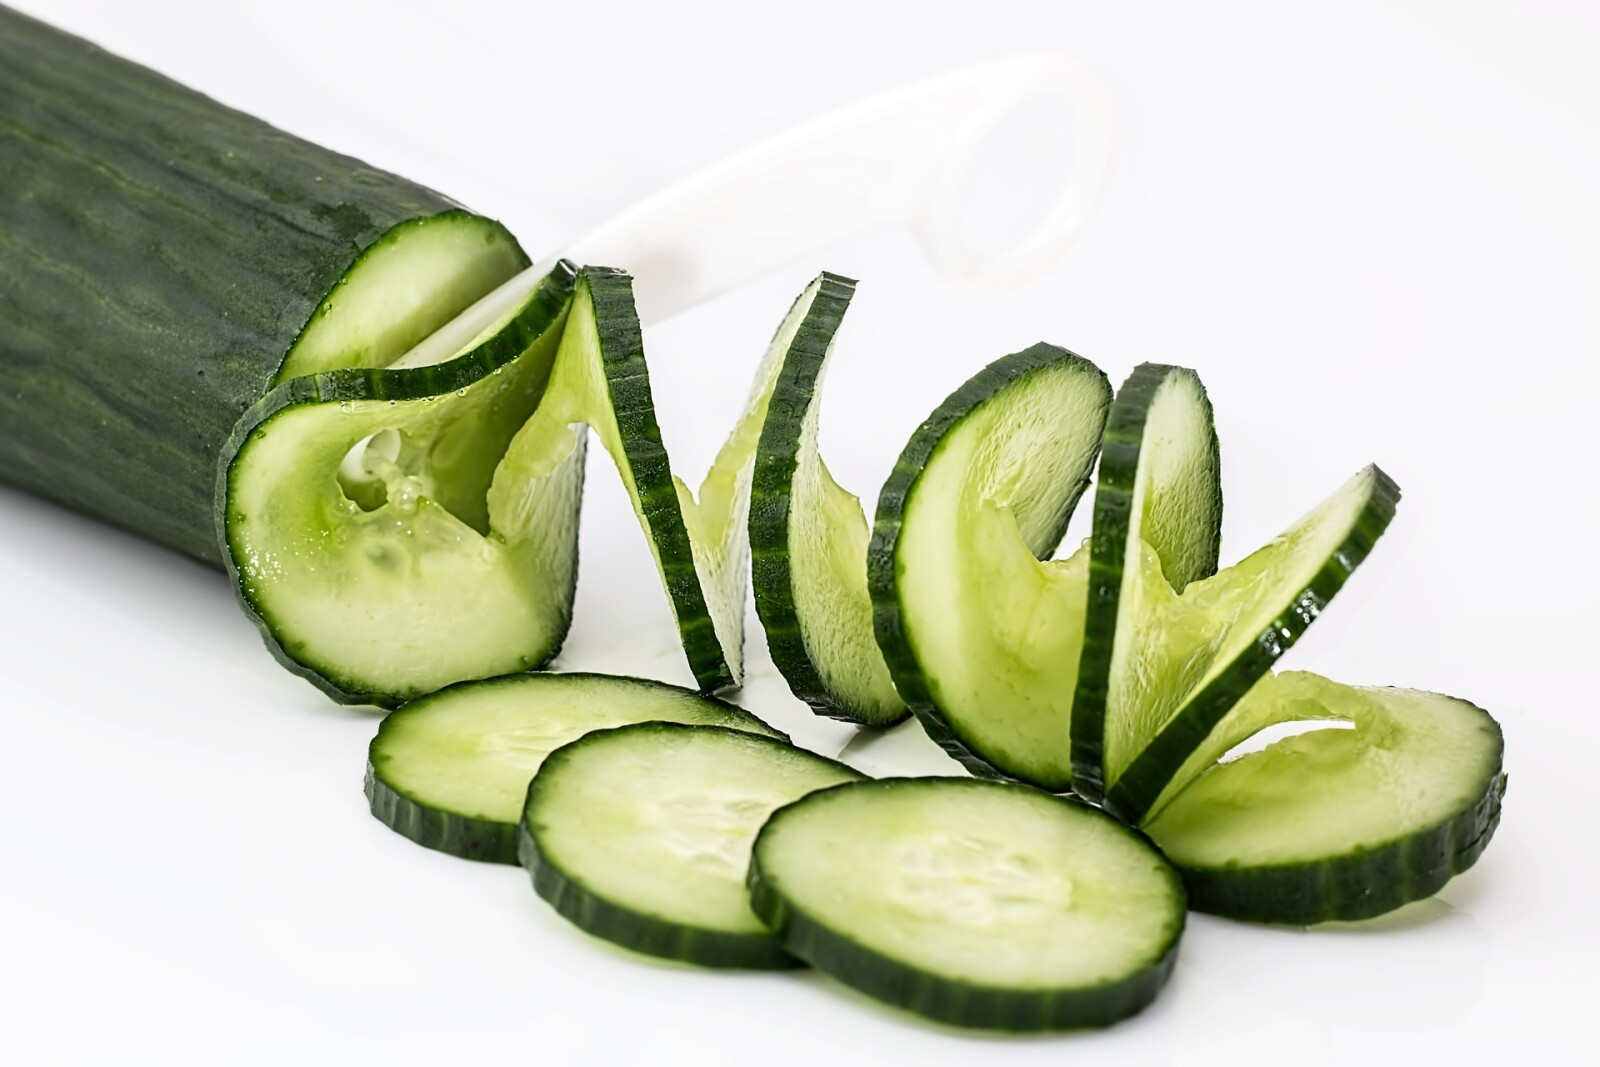
I started with a very small batch, there was no point in having a bunch if they weren’t any good. The first batch I did through one of those old cheese graters. This sliced the cucumbers very thin, but still took quite a bit of time and I got many partial pieces, instead of round slices. After they dehydrated overnight we tasted them. They were dissolve on your tongue thin, but tasted good. So I tried round two filling the entire dehydrator.
In my quest for quick easy cutting I remembered my food processor! I had to cut the cucumbers in half to fit, but cutting part went way faster, and more uniform in shape and thickness. I still tossed them in the oil and salt mixture as the recipe directed. The results of round 2 were mixed. They still tasted good, but they were too thin for a good chip
Round three, I went back to the good old knife. While the cutting part took longer, and the thickness was not exactly uniform. I filled the dehydrator as full as I could. I also tried brushing the oil salt mix on the slices instead of tossing them. You know to save a dish to wash. These turned out good! They were the proper thickness for a chip and tasted good. I tend to not like a lot of salt, so the one side was perfect for me. My kids liked the chips as well, but they love cucumbers straight out of the garden too.
Recipe
Cucumbers sliced thin
1 T Olive oil
½ t Sea Salt
2 t apple cider vinegar (if you want salt vinegar chips)
1. Lay cucumbers on dehydrator trays.
2. Mix olive oil, sea salt, and vinegar (if desired)
3. Brush onto the cucumbers
4. Dehydrate at 135 degrees F for 10-12 hours until crispy
5. Cool and eat or place in containers for storage.
Wanting a community to lean into? Join the FREE Courageous + Purposeful Mommas group! This community is for the Mommas, mommas to be, in the midst of raising, and kids grown, looking for tips on building your family up and providing for them through natural methods. Tips include: gardening, bulk buying, caning,/preserving, livestock, homesteading, and home remedies. Your family is precious, and this group is to help you gain the knowledge and tools to keep your family well and not reliant on outside professionals. Remedies and tips are easy and simple for the busy momma, time is precious after all, including pregnancy, birth, young kids, and illness. Trust your Momma gut again! This community offers the resources + community you need to help get started on your journey and prepare for whatever future you envision.
Click here to get the stories straight to your email:
For more on wellness tips click here:
For more on homesteading on your budget click here:
For more simple DIY updates click here:
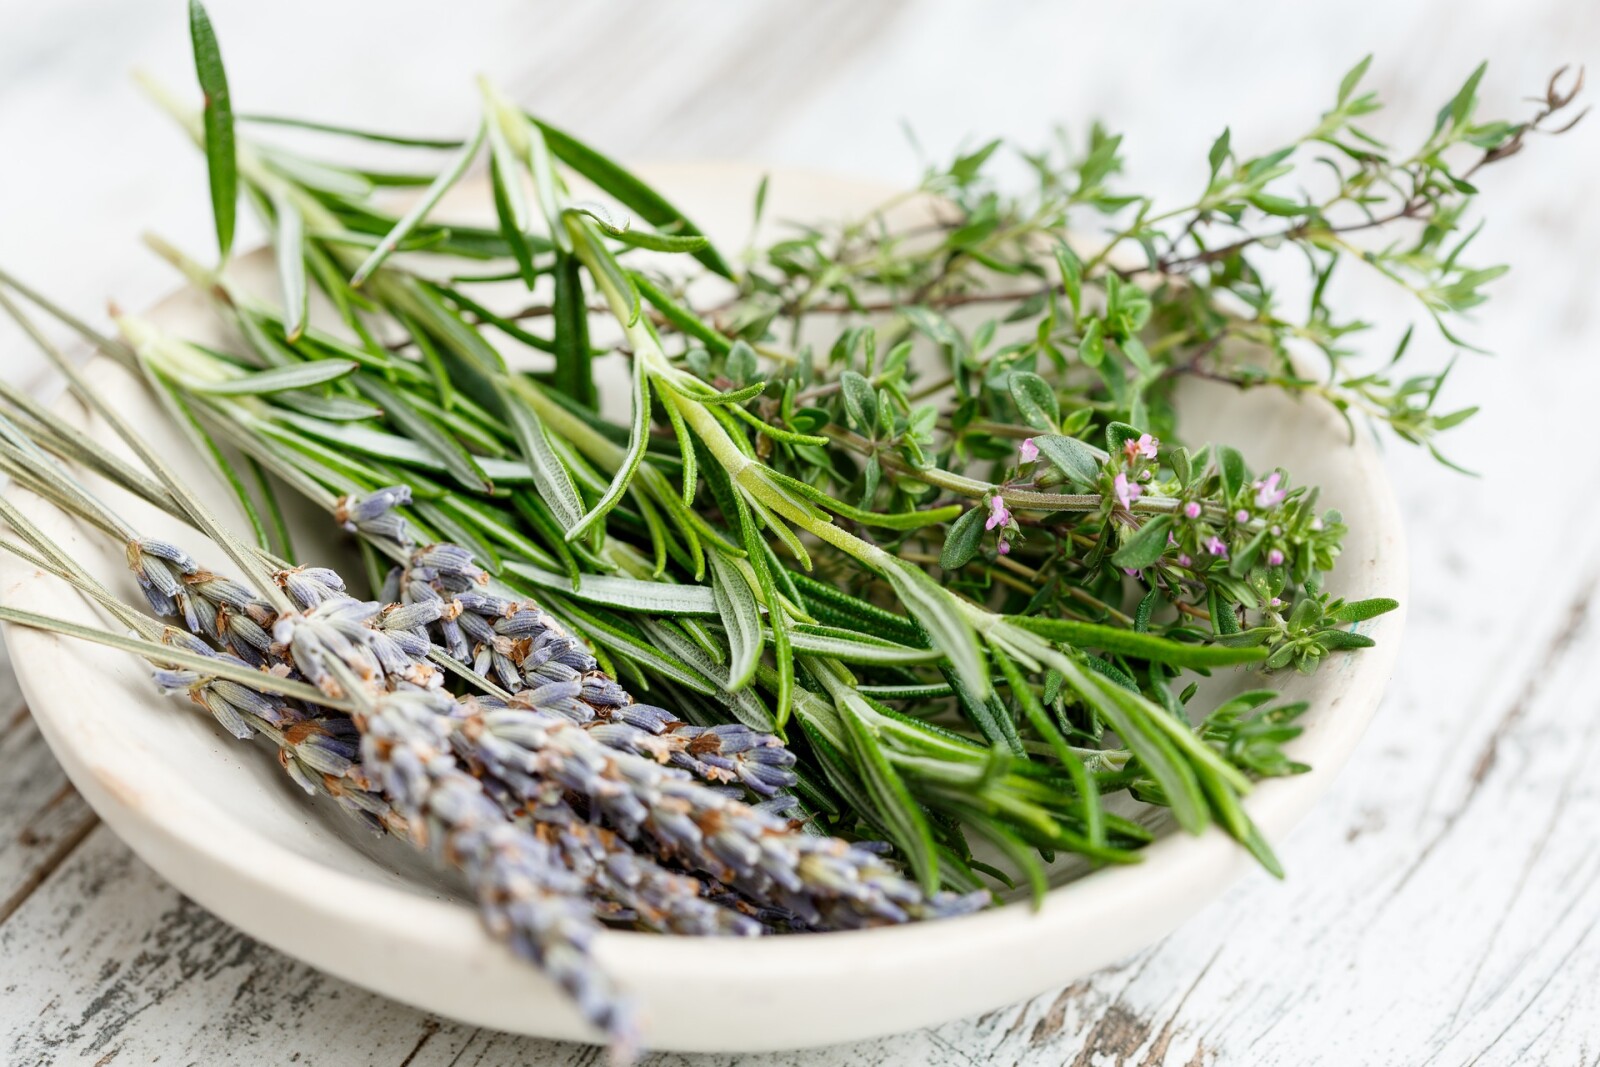
- Prepare Your Herbs:
- Wash and pat dry your herbs.
- For larger herbs like chives and basil, cut them into smaller pieces to ensure even drying.
- Set Up the Dehydrator:
- Place the herbs on the dehydrator trays. For smaller trays, I like to add a fine mess screen and the solid tray on the very bottom tray.
- Set the dehydrator to 95 degrees Fahrenheit.
- Drying Process:
- Leave the herbs to dry for at least 12 hours.
- Check if they're dry to the touch. If not, give them more time.
- Grind and Store:
- Once dry, grind the herbs using a coffee grinder or blender.
- If the hers seem a little damp, I’ll dry them another couple hours ground.
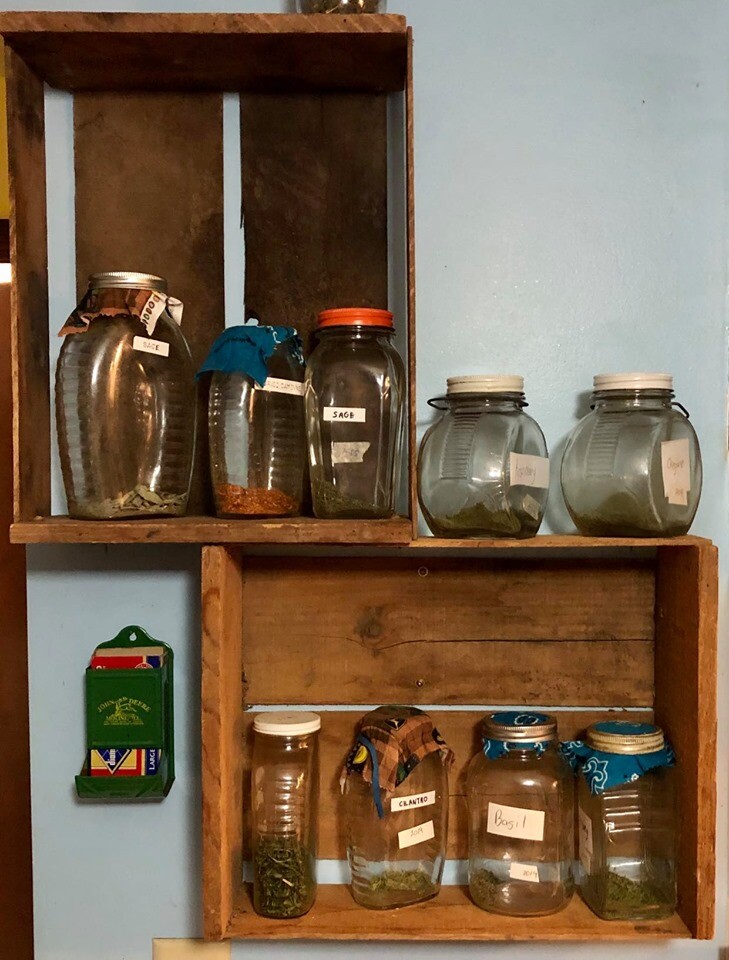
- Store them in airtight glass jars to keep them fresh.
- Retains Flavor and Scent:
- Time-Saving:
- Versatility:
- Use clean, dry glass jars with solid lids.
- Label each jar with the herb's name and the date it was dried.
- Store the jars in a cool, dark place to keep the herbs fresh for longer.
Join the FREE Community
This post may contain affiliate links, which means that I may receive a commission if you make a purchase using these links, with no additional cost to you.
Wanting a community to lean into? Join the FREE Courageous + Purposeful Mommas group! This community is for the Mommas, mommas to be, in the midst of raising, and kids grown, looking for tips on building your family up and providing for them through natural methods. Tips include: gardening, bulk buying, caning,/preserving, livestock, homesteading, and home remedies. Your family is precious, and this group is to help you gain the knowledge and tools to keep your family well and not reliant on outside professionals. Remedies and tips are easy and simple for the busy momma, time is precious after all, including pregnancy, birth, young kids, and illness. Trust your Momma gut again! This community offers the resources + community you need to help get started on your journey and prepare for whatever future you envision.
Click here to get the stories straight to your email:
For more on wellness tips click here:
For more on homesteading on your budget click here:
For more simple DIY updates click here:

This post may contain affiliate links, which means that I may receive a commission if you make a purchase using these links, with no additional cost to you.
If you like to have as many plants as possible it is important to plan out where you will plant everything in your garden. I have found that if I space the bigger plants, like the tomatoes, out amongst the other plants the bugs are not as bad. If I don’t map the garden out before, I found that I run out of space or forget something.
Some plants give off a strong fragrance that bugs don’t like. Use this to your advantage to keep the bugs in the garden away. I plant marigolds all around the boarder of my garden and have seen reduction in the bug issues I had on my plants. Onions and garlic are also pest repellents.
If you’re going to have both green sweet peppers and hot peppers, make sure they are not next to each other. They will cross pollinate and your hot peppers will not be hot. In general, the dryer, the hotter the peppers will be. For this reason, I tend to plant my hot peppers on the edge of the garden. They catch water, but not as much as the center of the garden. I also plant the sweet peppers and hot peppers at least halfway across the garden from each other.
Keep in mind that some plants do well together, while others work against each other. Below is a nice graph I found that has friend and foe plants. You can pair cool season with warm season as well. For example, broccoli will be done early, pair it something that likes the hot like peppers or cabbage and you have doubled your space without adding area! Another tip is to make plants that can climb, like cucumber, climb. Add a fence or old panel for heavy plants like cucumbers, squash, or pumpkins or you can purchase a trellis. I actually take the pumpkins and squash to the irrigation engines or centers and plant them there for weed control!
Friend | Foe | Friend | Foe | Friend | Foe | ||
Beans | Corn | Onions | |||||
Beets | Garlic | Beans | Tomatoes | Beets | Beans | ||
Broccoli | Onions | Cucumbers | Broccoli | Peas | |||
Cabbage | Peppers | Lettuce | Cabbage | Sage | |||
Carrots | Sunflowers | Melons | Carrots | ||||
Cauliflower | Peas | Lettuce | |||||
Eggplant | Potatoes | Peppers | |||||
Peas | Squash | Potatoes | |||||
Potatoes | Sunflowers | Spinach | |||||
Radishes | Tomatoes | ||||||
Squash | |||||||
Strawberries | |||||||
Summer savory | |||||||
Tomatoes | |||||||
Friend | Foe | Friend | Foe | Friend | Foe | ||
Cucumbers | Peppers | Radishes | |||||
Beans | Aromatic herbs | Basil | Beans | Basil | Beans | ||
Cabbage | Melons | Coriander | Kohlrabi | Coriander | Kohlrabi | ||
Cauliflower | Potatoes | Onions | Onions | ||||
Corn | Spinach | Spinach | |||||
Lettuce | Tomatoes | Tomatoes | |||||
Peas | |||||||
Radishes | |||||||
Sunflowers | |||||||
Friend | Foe | Friend | Foe | Friend | Foe | ||
Cabbage | Lettuce | Tomatoes | |||||
Beans | Broccoli | Asparagus | Broccoli | Asparagus | Broccoli | ||
Celery | Cauliflower | Beets | Basil | Brussels sprouts | |||
Cucumbers | Strawberries | Brussels sprouts | Beans | Cabbage | |||
Dill | Tomatoes | Cabbage | Borage | Cauliflower | |||
Kale | Carrots | Carrots | Corn | ||||
Lettuce | Corn | Celery | Kale | ||||
Onions | Cucumbers | Dill | Potatoes | ||||
Potatoes | Eggplants | Lettuce | |||||
Sage | Onions | Melons | |||||
Spinach | Peas | Onions | |||||
Thyme | Potatoes | Parsley | |||||
Radishes | Peppers | ||||||
Friend | Foe | Spinach | Radishes | ||||
Carrots | Strawberries | Spinach | |||||
Beans | Anise | Sunflowers | Thyme | ||||
Lettuce | Dill | Tomatoes | |||||
Onions | Parsley | ||||||
Peas | |||||||
Radishes | |||||||
Rosemary | |||||||
Sage | |||||||
Tomatoes | |||||||
Wanting a community to lean into? Join the FREE Courageous + Purposeful Mommas group! This community is for the Mommas, mommas to be, in the midst of raising, and kids grown, looking for tips on building your family up and providing for them through natural methods. Tips include: gardening, bulk buying, caning,/preserving, livestock, homesteading, and home remedies. Your family is precious, and this group is to help you gain the knowledge and tools to keep your family well and not reliant on outside professionals. Remedies and tips are easy and simple for the busy momma, time is precious after all, including pregnancy, birth, young kids, and illness. Trust your Momma gut again! This community offers the resources + community you need to help get started on your journey and prepare for whatever future you envision.
Click here to get the stories straight to your email:
For more on wellness tips click here:
For more on homesteading on your budget click here:
For more simple DIY updates click here:
This post may contain affiliate links, which means that I may receive a commission if you make a purchase using these links, with NO additional cost to you.
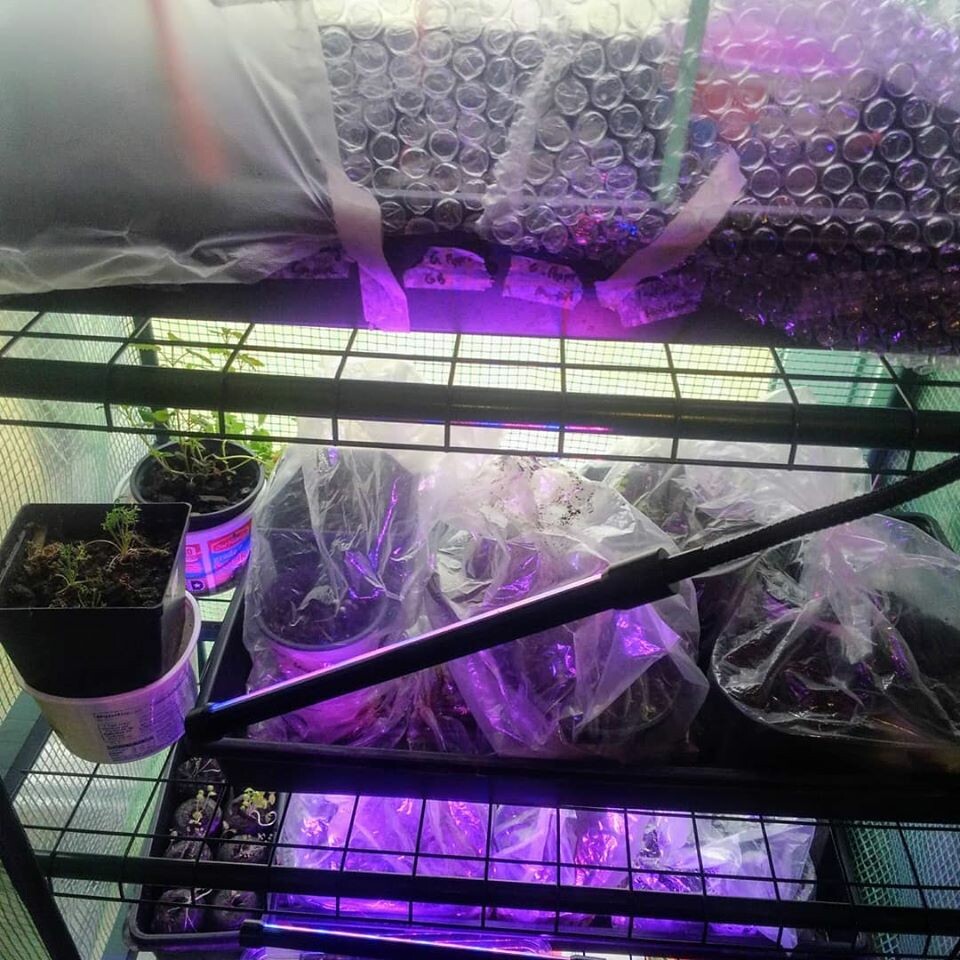
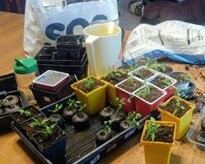
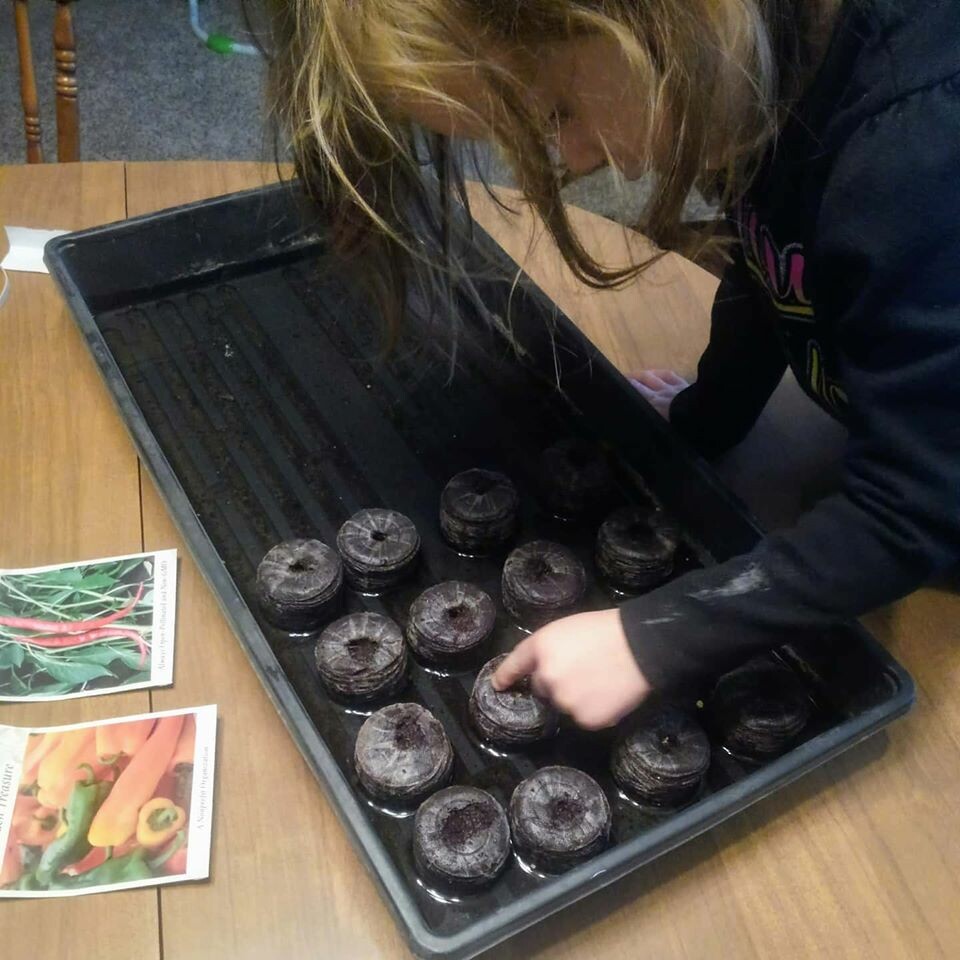 I use these handy seed pods to start my plants and simple grow trays. Just add water over the pods and let them expand, then plant your seeds. I use saran wrap to drape loosely over the tray to keep the humidity up. As the plants grow, I’ll use straws or spoons to prop the cover up for a few weeks before taking it off. This method works well if you don’t have a green house as well, because the plastic acts much like a mini greenhouse. To increase soil temperature early, you can buy a heat mat especially for seeds. I used a heat pad on a timer to experiment with at first, and plan on purchasing a grow mat for next year.
 Wanting a community to lean into? Join the FREE Courageous + Purposeful Mommas group! This community is for the Mommas, mommas to be, in the midst of raising, and kids grown, looking for tips on building your family up and providing for them through natural methods. Tips include: gardening, bulk buying, caning,/preserving, livestock, homesteading, and home remedies. Your family is precious, and this group is to help you gain the knowledge and tools to keep your family well and not reliant on outside professionals. Remedies and tips are easy and simple for the busy momma, time is precious after all, including pregnancy, birth, young kids, and illness. Trust your Momma gut again! This community offers the resources + community you need to help get started on your journey and prepare for whatever future you envision.
Click here to get the stories straight to your email:
For more on wellness tips click here:
For more on homesteading on your budget click here:
For more simple DIY updates click here:
This post may contain affiliate links, which means that I may receive a commission if you make a purchase using these links, with NO additional cost to you.
Wanting a community to lean into? Join the FREE Courageous + Purposeful Mommas group! This community is for the Mommas, mommas to be, in the midst of raising, and kids grown, looking for tips on building your family up and providing for them through natural methods. Tips include: gardening, bulk buying, caning,/preserving, livestock, homesteading, and home remedies. Your family is precious, and this group is to help you gain the knowledge and tools to keep your family well and not reliant on outside professionals. Remedies and tips are easy and simple for the busy momma, time is precious after all, including pregnancy, birth, young kids, and illness. Trust your Momma gut again! This community offers the resources + community you need to help get started on your journey and prepare for whatever future you envision.
Click here to get the stories straight to your email:
For more on wellness tips click here:
For more on homesteading on your budget click here:
For more simple DIY updates click here:
This post may contain affiliate links, which means that I may receive a commission if you make a purchase using these links, with NO additional cost to you.
Wanting a community to lean into? Join the FREE Courageous + Purposeful Mommas group! This community is for the Mommas, mommas to be, in the midst of raising, and kids grown, looking for tips on building your family up and providing for them through natural methods. Tips include: gardening, bulk buying, caning,/preserving, livestock, homesteading, and home remedies. Your family is precious, and this group is to help you gain the knowledge and tools to keep your family well and not reliant on outside professionals. Remedies and tips are easy and simple for the busy momma, time is precious after all, including pregnancy, birth, young kids, and illness. Trust your Momma gut again! This community offers the resources + community you need to help get started on your journey and prepare for whatever future you envision.
Click here to get the stories straight to your email:
For more on wellness tips click here:
For more on homesteading on your budget click here:
For more simple DIY updates click here: