Wanting a community to lean into? Join the FREE Courageous + Purposeful Mommas group! This community is for the Mommas, mommas to be, in the midst of raising, and kids grown, looking for tips on building your family up and providing for them through natural methods. Tips include: gardening, bulk buying, caning,/preserving, livestock, homesteading, and home remedies. Your family is precious, and this group is to help you gain the knowledge and tools to keep your family well and not reliant on outside professionals. Remedies and tips are easy and simple for the busy momma, time is precious after all, including pregnancy, birth, young kids, and illness. Trust your Momma gut again! This community offers the resources + community you need to help get started on your journey and prepare for whatever future you envision.
Click here to get the stories straight to your email:
For more on wellness tips click here:
For more on homesteading on your budget click here:
For more simple DIY updates click here:
This post may contain affiliate links, which means that I may receive a commission if you make a purchase using these links, with NO additional cost to you.
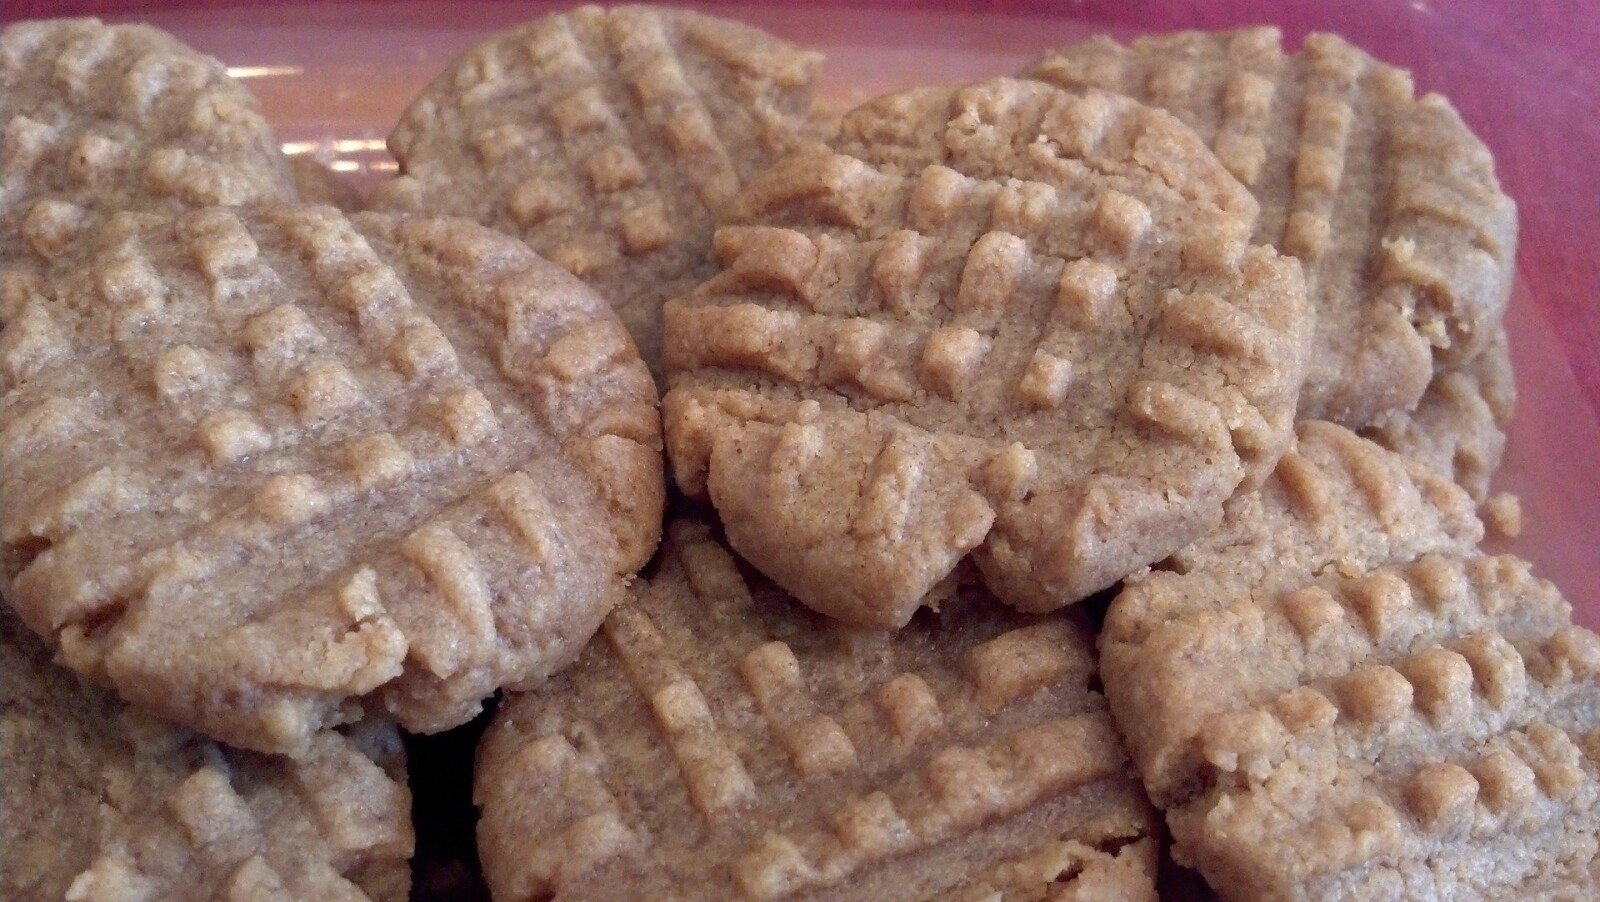
Sometimes you just want something sweet right? I personally love cookie dough. It is my weakness. Peanut butter chocolate chip? I’ll eat the whole bowl if I’m not careful. I have been dairy and gluten free for a year now, and good cookies are difficult to come by. So when a friend shared their favorite flourless peanut butter cookie recipe with me, you bet I tried it!
I waited until after the kids were in bed (they did not need that sugar anyway). Then mixed up a batch and actually baked ,most of them to see how they would hold up. Of course I sampled the dough, because how else are you going to make sure they taste ok? As with most peanut butter cookie recipes, it made a small batch, and that is ok, because my husband and I ate them all before the next morning. The cookies tasted fantastic, and held together!
Later, I started to make small personal sized batches of this, mostly for portion control for myself. Take one scoop of peanut butter, sugar (approximately the same amount as the peanut butter), and a splash of pure vanilla extract and mix it all together. Then add a handful of chocolate chips and mix once more. You can use coconut palm sugar instead of regular sugar for a healthier option. You can also adjust the sugar amount down, so it is not as sweet.
Peanut Butter Chocolate Chip Cookies- Gluten and dairy free
1 cup peanut butter
1 cup sugar
1 t pure vanilla extract
1 large egg beaten
1 cup allergen free chocolate chips
Preheat the oven to 350 degrees F.
Mix ingredients together and spoon onto a cookie sheet. Flatten slightly with a fork.
Bake for 10 minutes, until the edges are golden
Personal Size Peanut Butter Dough
Equal parts peanut butter and sugar (or drizzle honey instead)
Splash of vanilla extract
Handful of allergen free chocolate chips.
Mix together and enjoy!
Wanting a community to lean into? Join the FREE Courageous + Purposeful Mommas group! This community is for the Mommas, mommas to be, in the midst of raising, and kids grown, looking for tips on building your family up and providing for them through natural methods. Tips include: gardening, bulk buying, caning,/preserving, livestock, homesteading, and home remedies. Your family is precious, and this group is to help you gain the knowledge and tools to keep your family well and not reliant on outside professionals. Remedies and tips are easy and simple for the busy momma, time is precious after all, including pregnancy, birth, young kids, and illness. Trust your Momma gut again! This community offers the resources + community you need to help get started on your journey and prepare for whatever future you envision.
Click here to get the stories straight to your email:
For more on wellness tips click here:
For more on homesteading on your budget click here:
For more simple DIY updates click here:

This post may contain affiliate links, which means that I may receive a commission if you make a purchase using these links, with NO additional cost to you.
With winter rolling in early this year, I found myself wanting some hot chocolate after a blustery morning feeding all the animals. The kids 3 and 1 were all in favor of this idea to warm up. The problem? My 1 year old and I cannot have dairy and the only mix in the house had dairy.
I could have made a batch on the stove like my mom used to do, but we did not need that much hot chocolate. So I started digging through my recipes to see if I could find one that I could alter. I found 2 buried in the recipe box. One for actual hot chocolate mix, the other to make stove top hot chocolate. The hot chocolate mix had way too much dairy to try and substitute out. The stove top hot chocolate however was simple and did not contain dairy until you made it.
So I got busy and mixed it up, 6 parts sugar to 1 part cocoa powder. I added cinnamon and nutmeg, because I love them in hot chocolate. You could use coconut palm sugar if you wanted to make it healthier, but I did not have any on hand. I found one of my old swing top glass jars and started filling sugar, then cocoa, then the cinnamon and nutmeg. I filled the container until it was ¾ full and then closed the lid and shook it, to mix everything together.
I then heated a bit of almond milk and vanilla in a pan on the stove while the water kettle heated. Hindsight I could have heated everything together. The key is to have equal parts milk (or alternative) and water. Heat the milk until hot, but not boiling, stirring often, so the bottom does not burn or scald. I took 2 mugs and placed 1 T in each mug, then filled the mugs with the warm milk and water. Mix them well and done!
The 3 year old loved it right away. The 1.5 year old kept licking it like a dog, until he figured out how to drink it. He also loved it and barely let me drink any.
Hot Chocolate Mix - Dairy Free
6 Scoops sugar (can use coconut sugar or alternative if you desire)
1 Scoop Cocoa powder
Dash of cinnamon
Dash of Nutmeg
Fill an airtight container in layers, in the order given. When the container is ¾ full, tighten the lid and shake to mix.
To make the hot chocolate:
½ c water, ½ c milk alternative, 1 t vanilla
Heat milk alternative, vanilla, and water. Do NOT boil
Add 1 T of Coco mix.
Stir well and ENJOY!
Wanting a community to lean into? Join the FREE Courageous + Purposeful Mommas group! This community is for the Mommas, mommas to be, in the midst of raising, and kids grown, looking for tips on building your family up and providing for them through natural methods. Tips include: gardening, bulk buying, caning,/preserving, livestock, homesteading, and home remedies. Your family is precious, and this group is to help you gain the knowledge and tools to keep your family well and not reliant on outside professionals. Remedies and tips are easy and simple for the busy momma, time is precious after all, including pregnancy, birth, young kids, and illness. Trust your Momma gut again! This community offers the resources + community you need to help get started on your journey and prepare for whatever future you envision.
Click here to get the stories straight to your email:
For more on wellness tips click here:
For more on homesteading on your budget click here:
For more simple DIY updates click here:
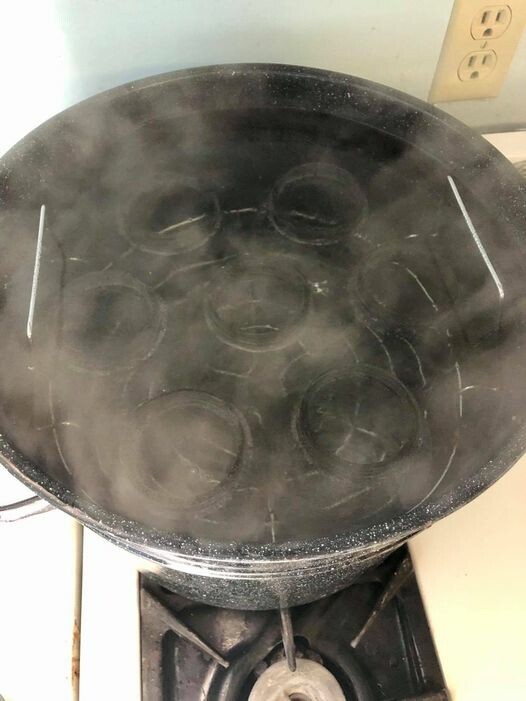
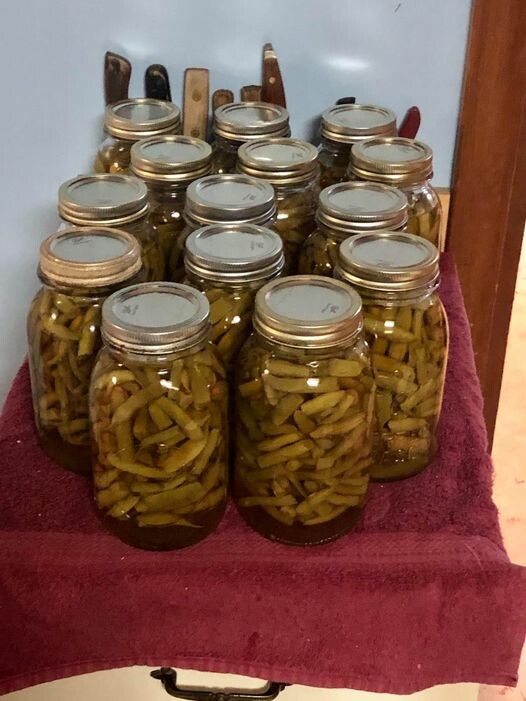
This post may contain affiliate links, which means that I may receive a commission if you make a purchase using these links, with NO additional cost to you.
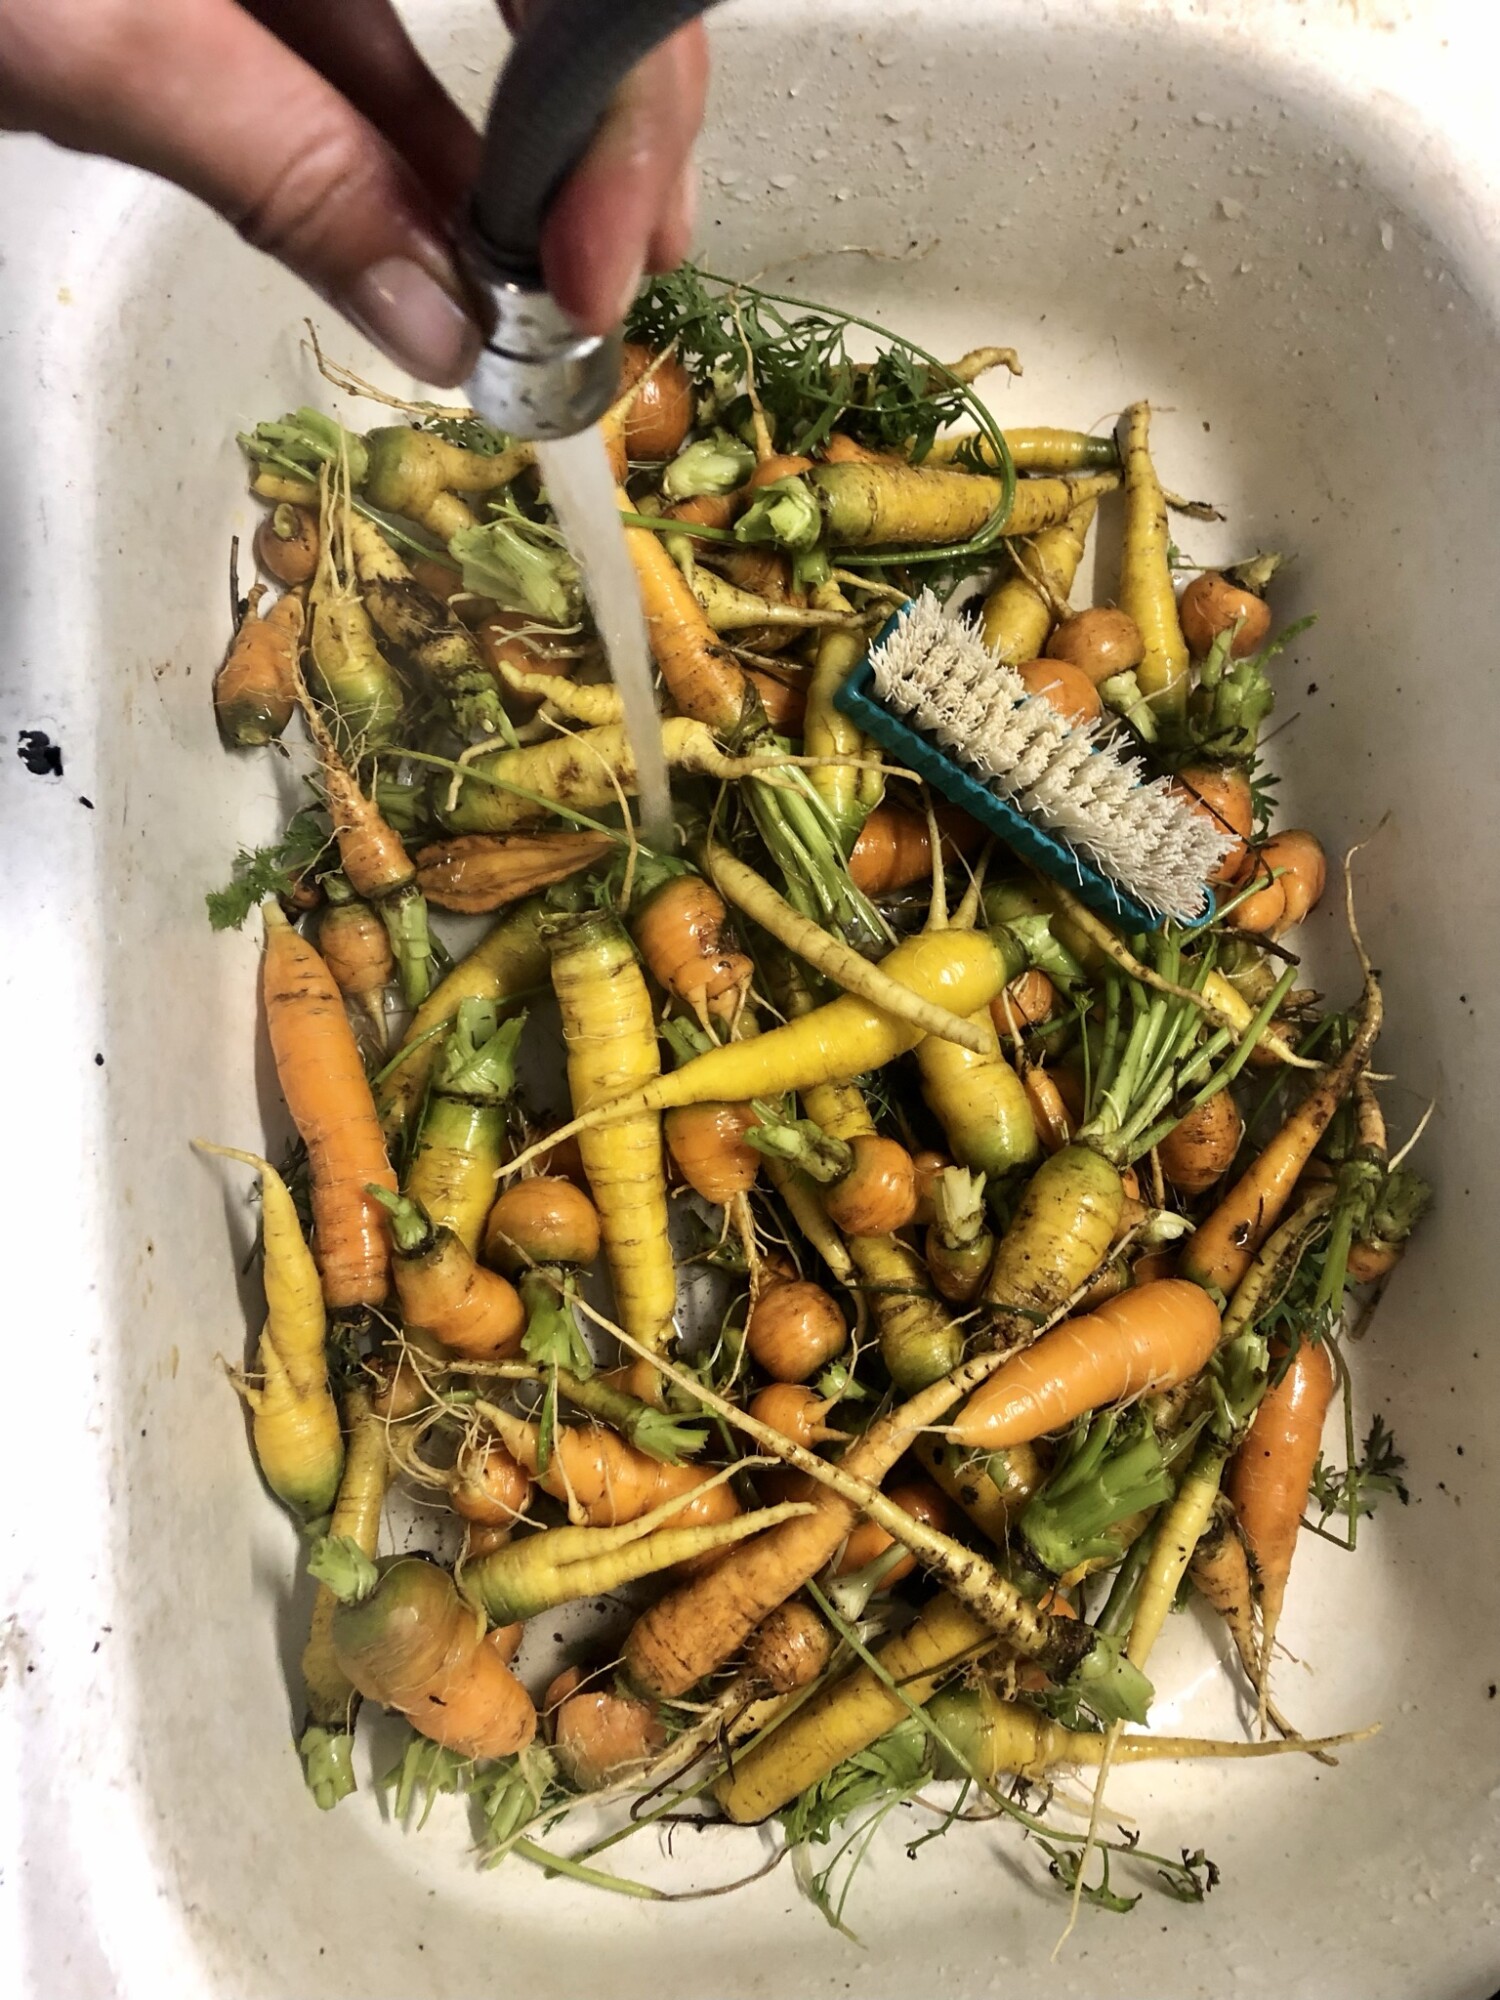
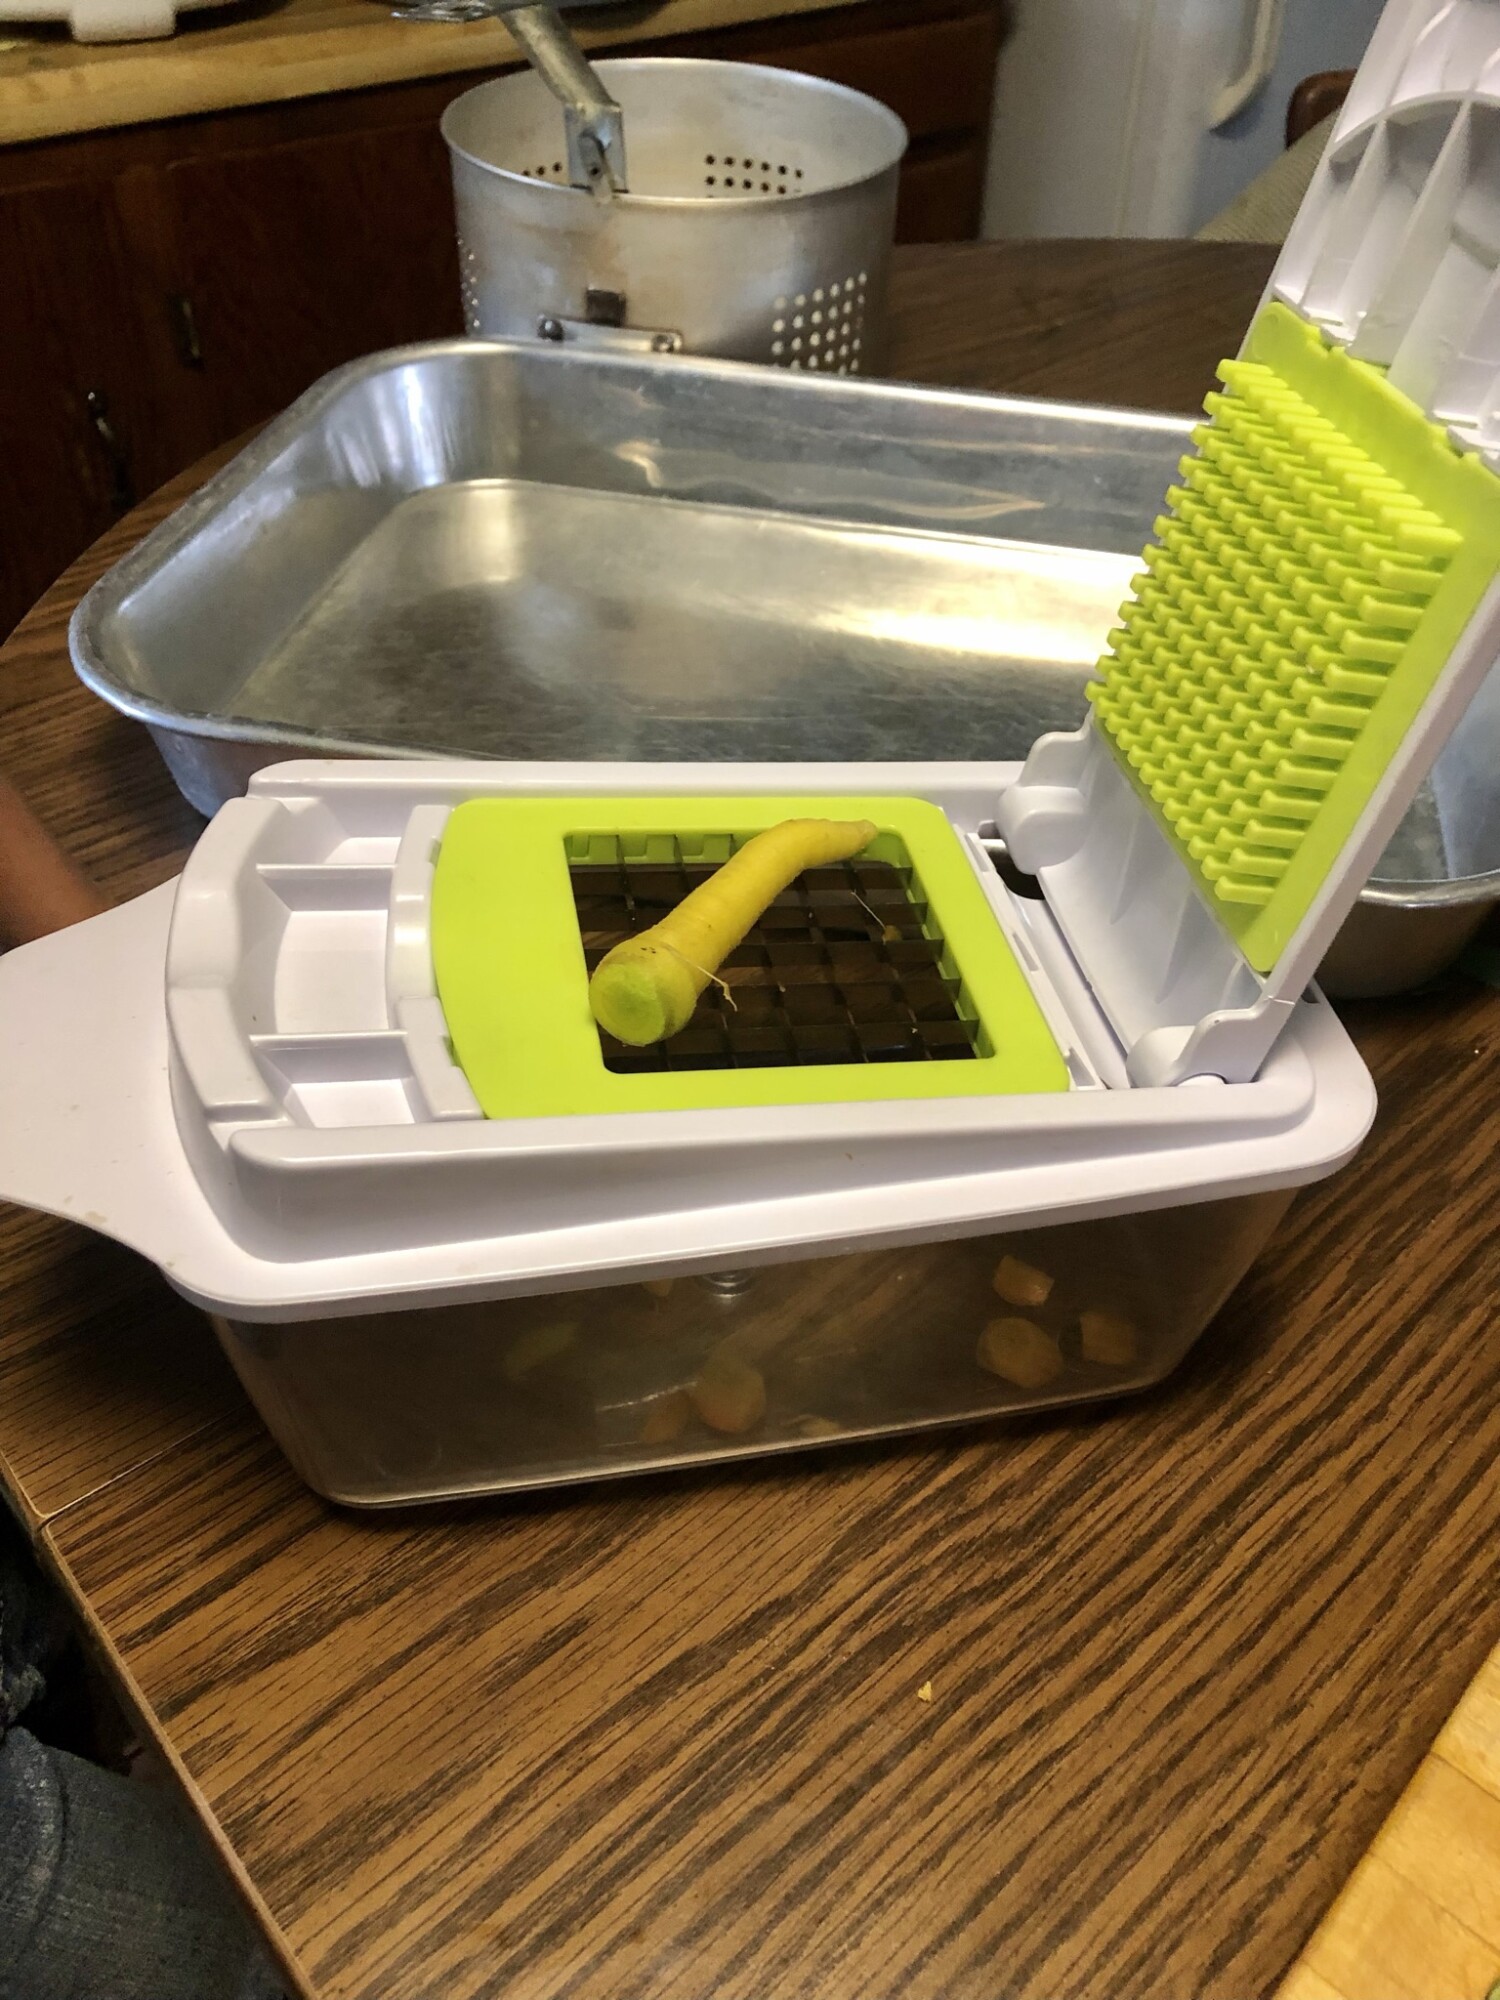
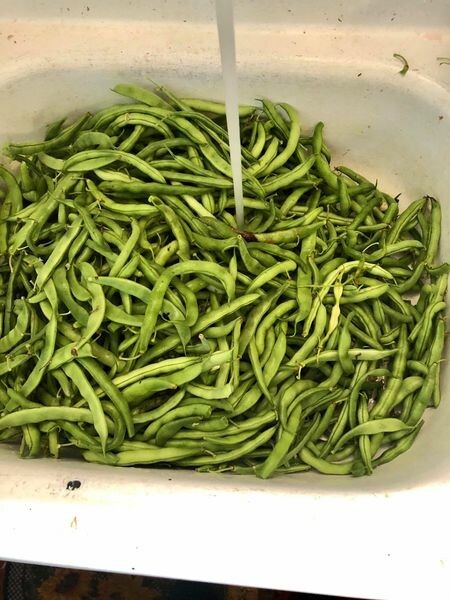
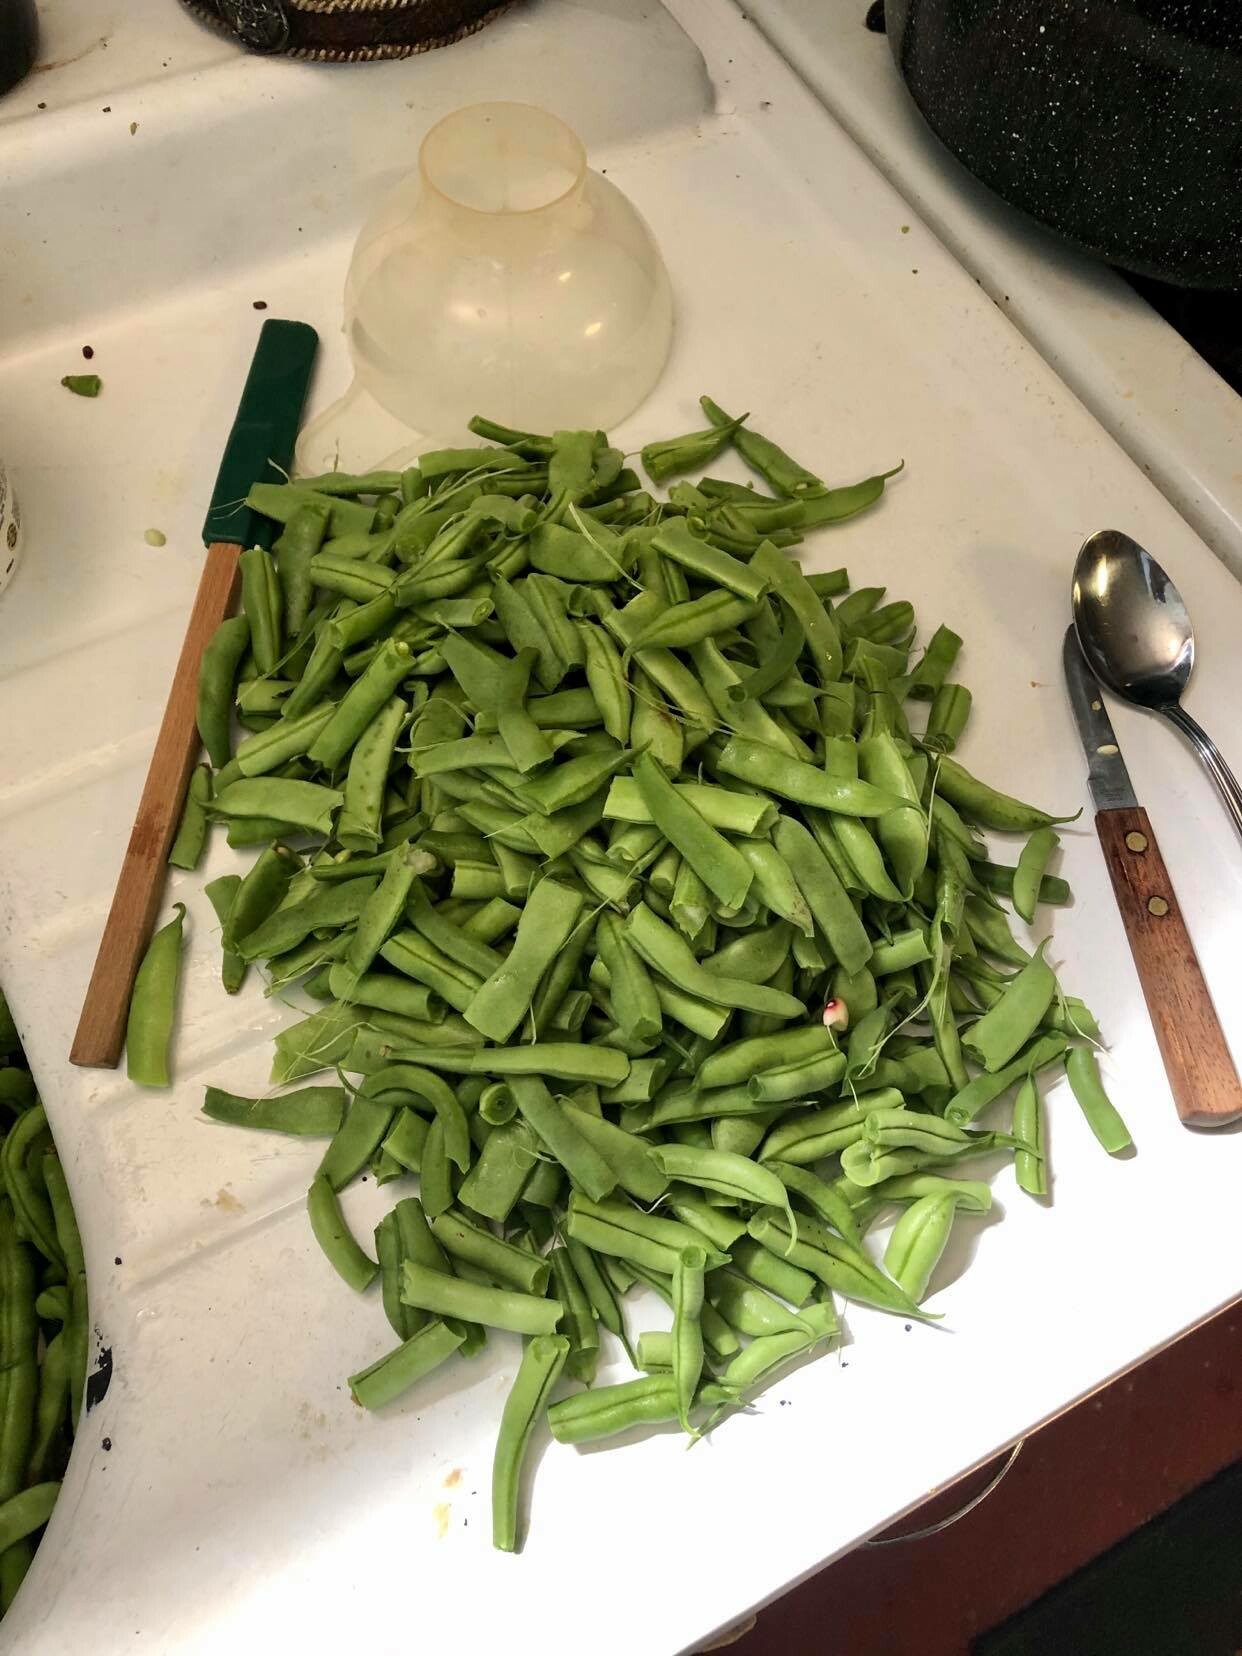
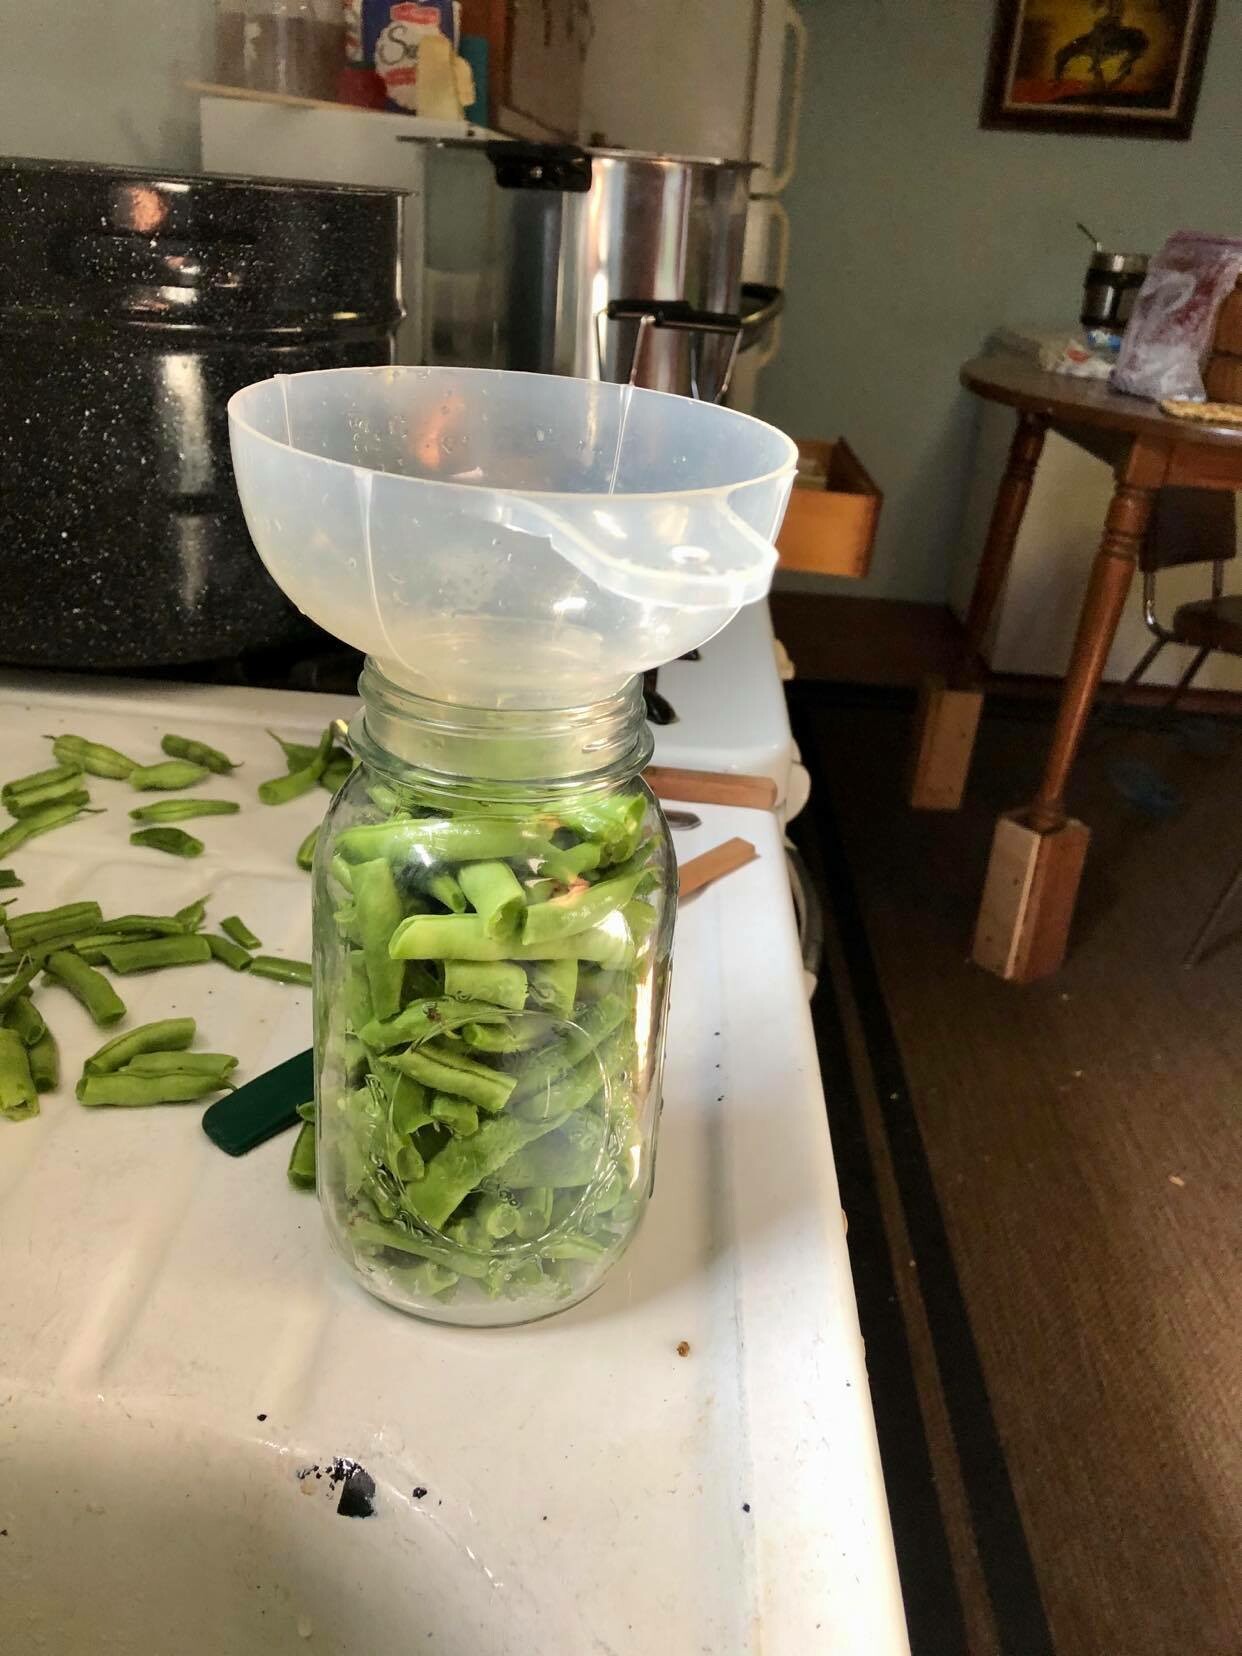
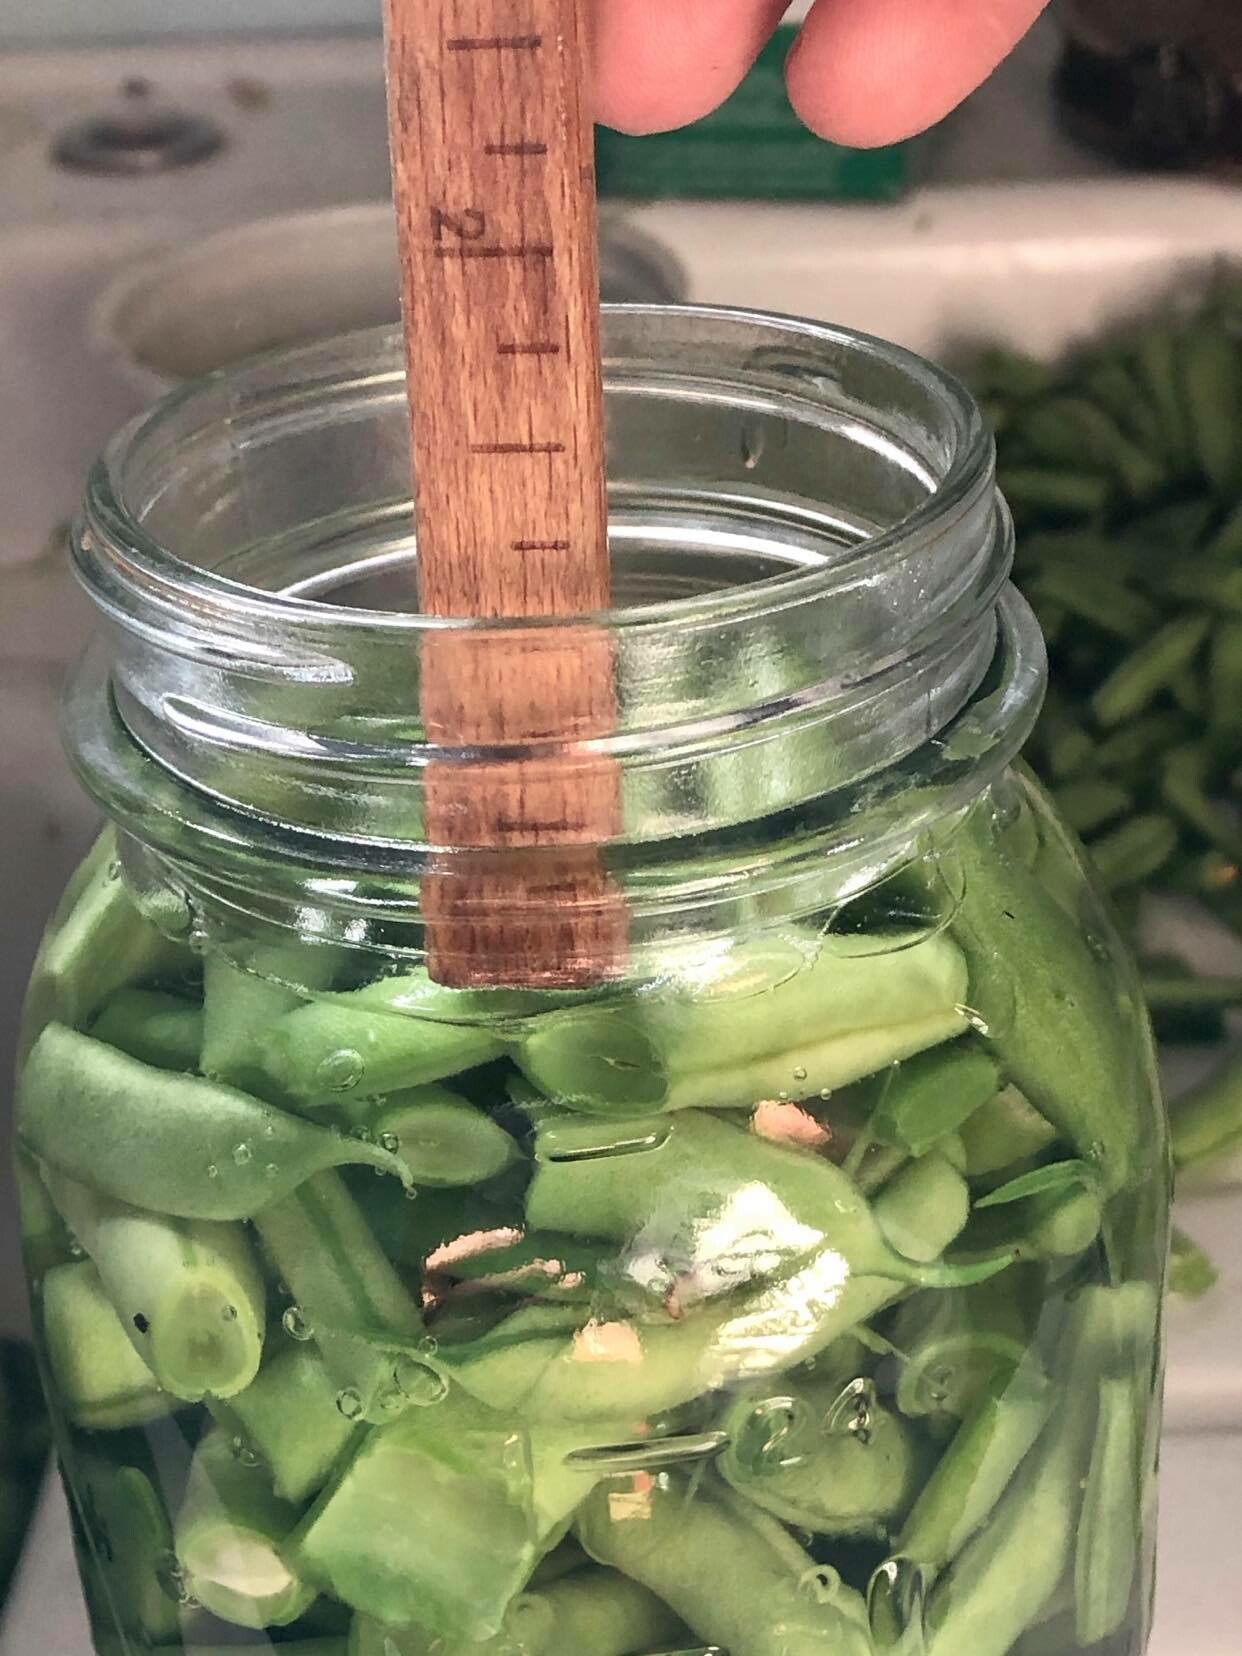
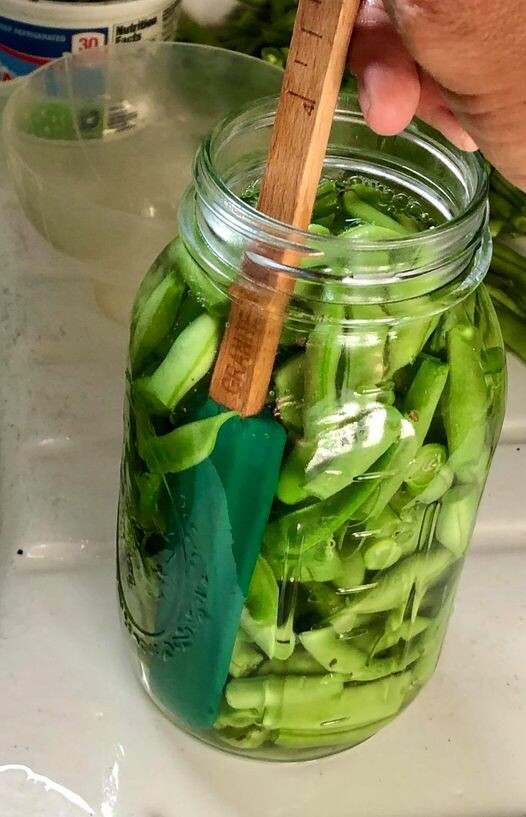
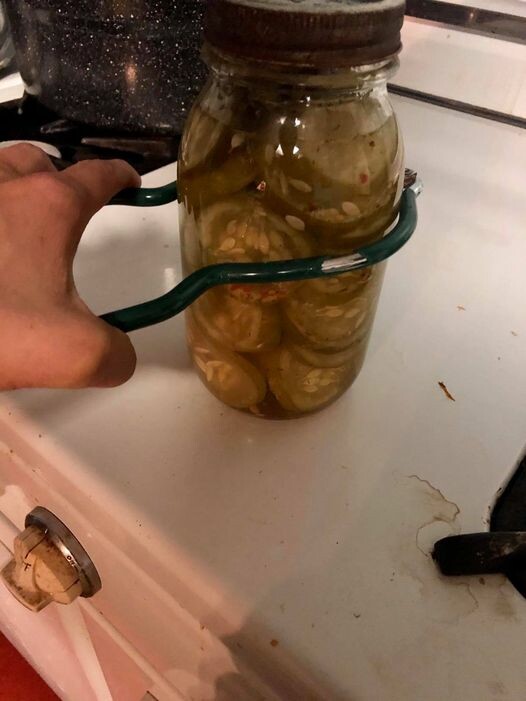
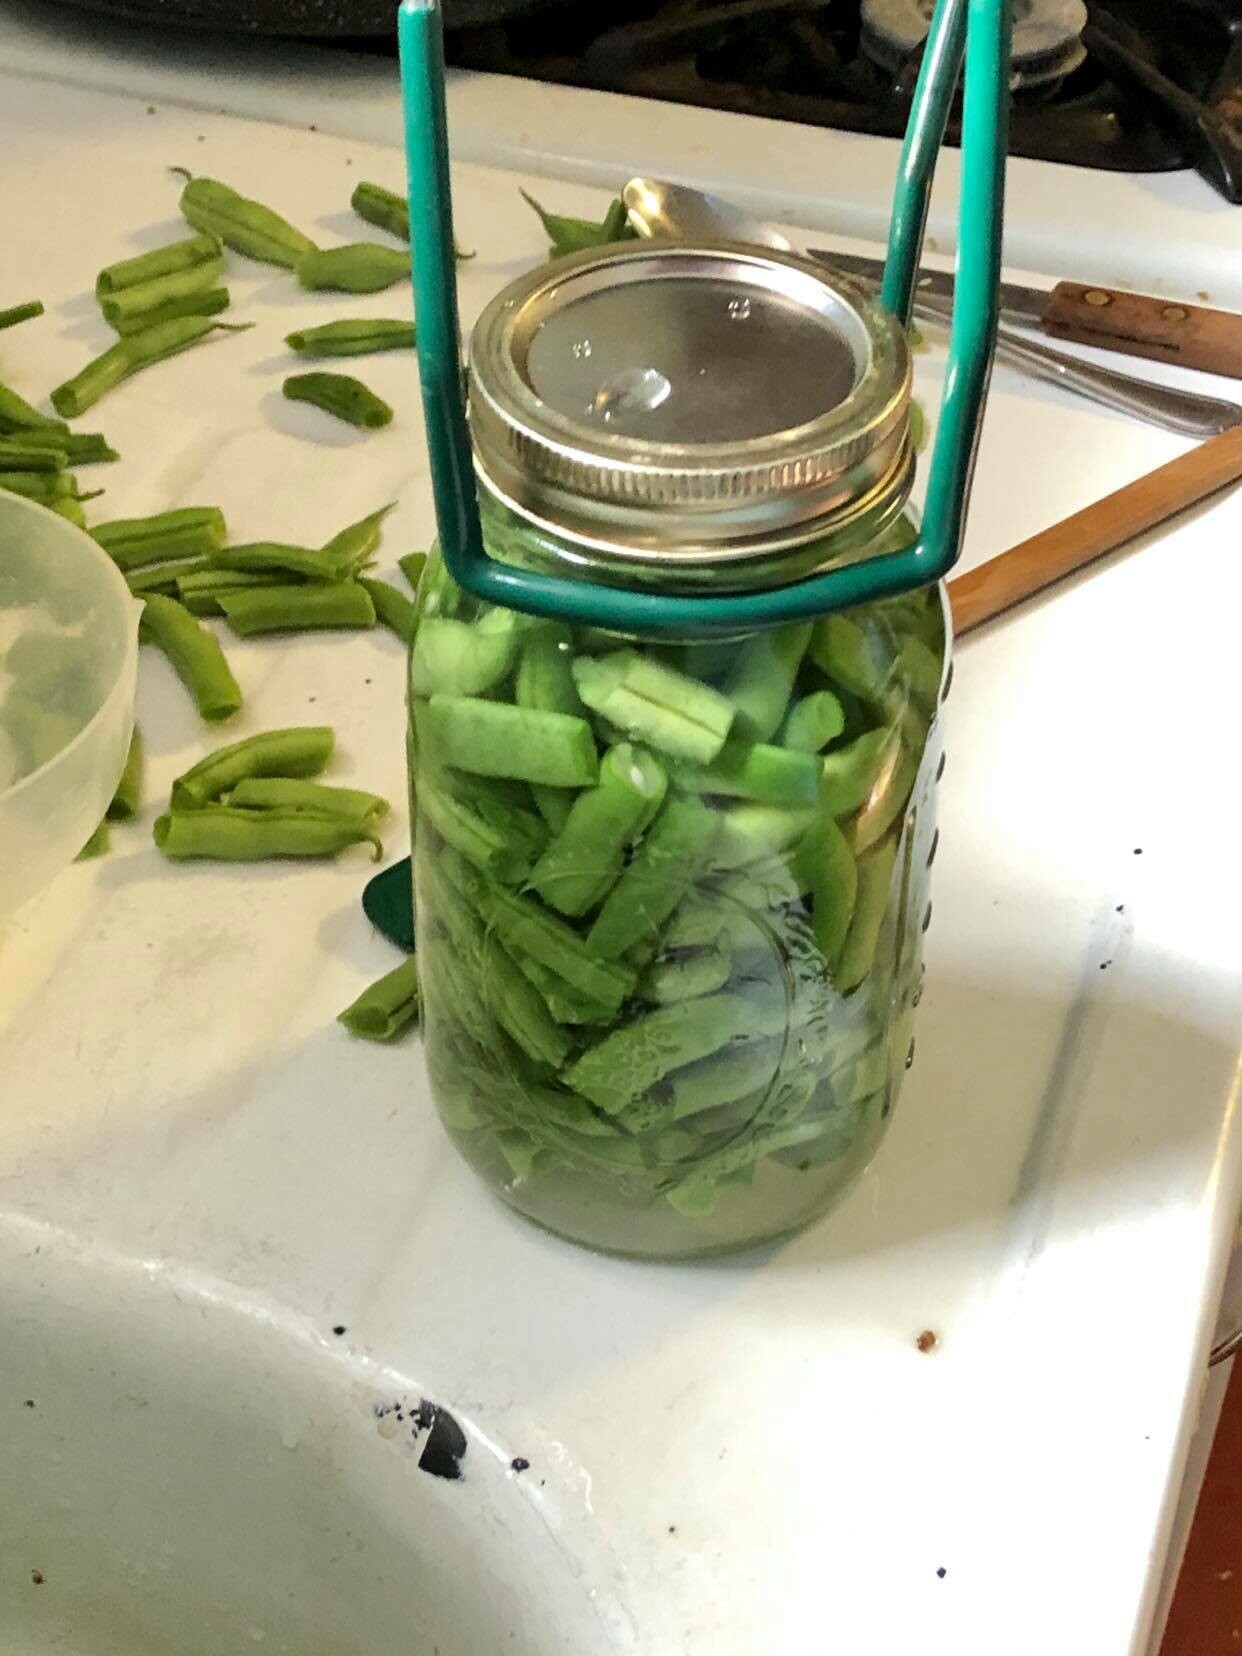
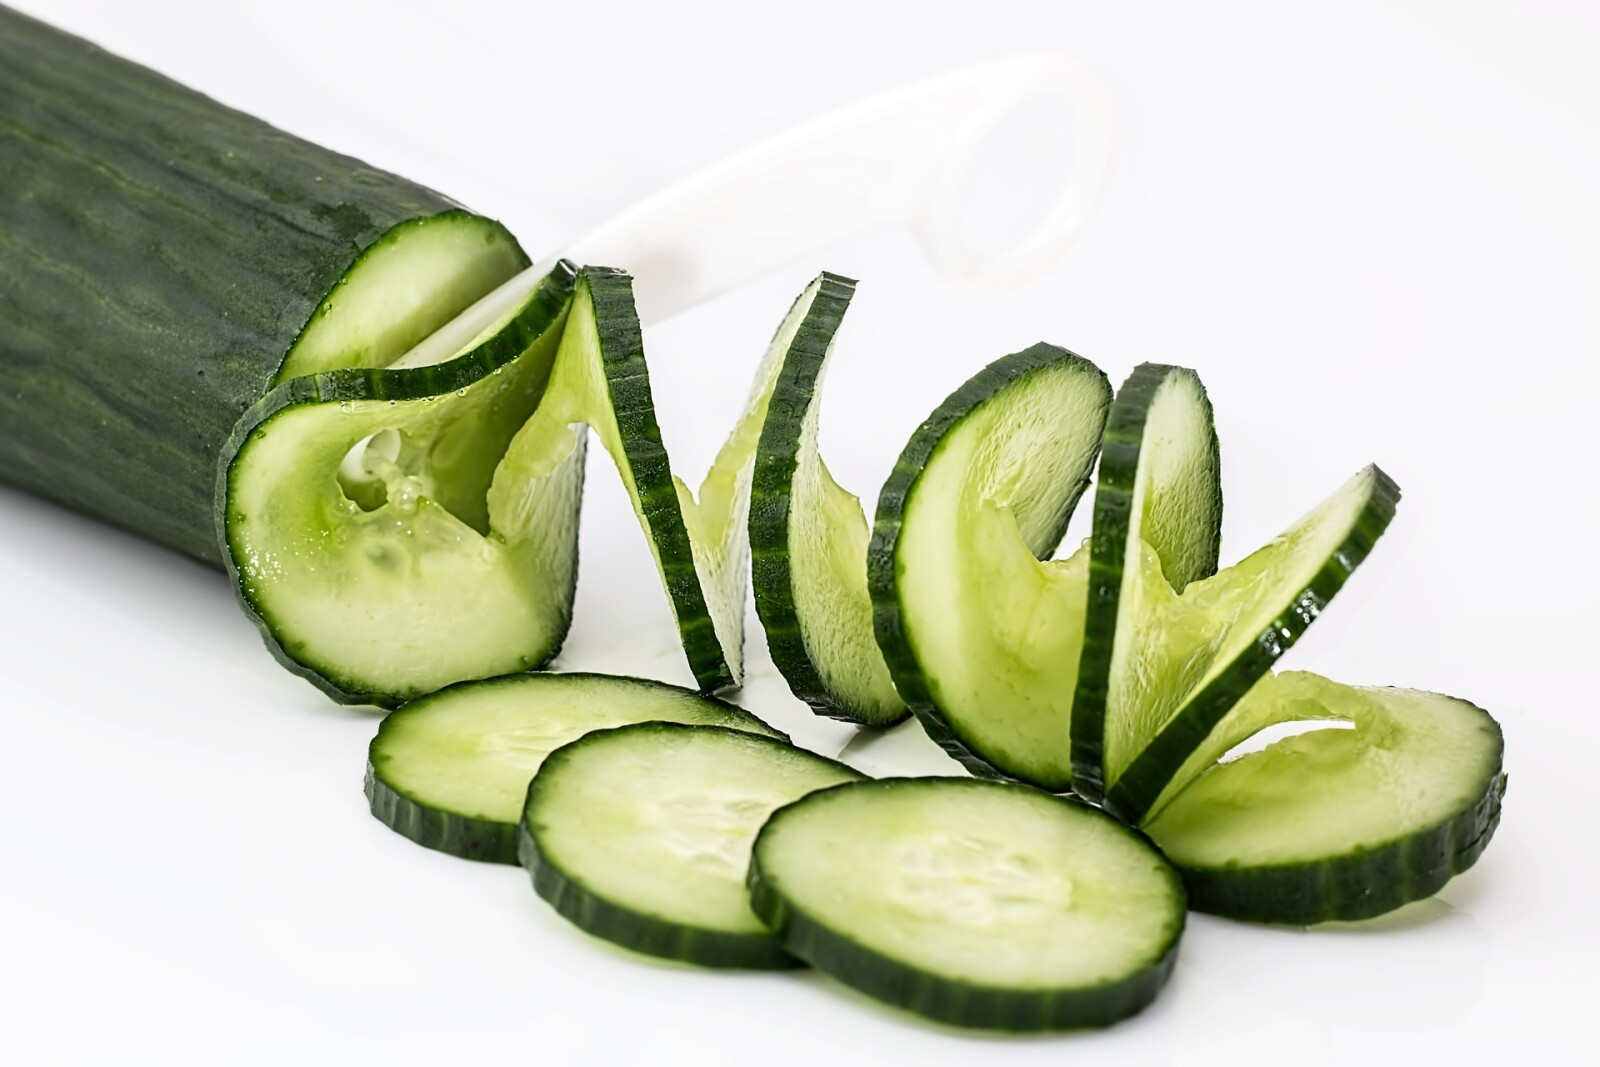
Wait what?!? That was my reaction at first, but having an abundance of cucumbers, I decided to try it. Besides if they were good, it would be a good way to make them last over the winter. I already had pickles and relish left from last year to get me through this year, so I needed something else.
I started with a very small batch, there was no point in having a bunch if they weren’t any good. The first batch I did through one of those old cheese graters. This sliced the cucumbers very thin, but still took quite a bit of time and I got many partial pieces, instead of round slices. After they dehydrated overnight we tasted them. They were dissolve on your tongue thin, but tasted good. So I tried round two filling the entire dehydrator.
In my quest for quick easy cutting I remembered my food processor! I had to cut the cucumbers in half to fit, but cutting part went way faster, and more uniform in shape and thickness. I still tossed them in the oil and salt mixture as the recipe directed. The results of round 2 were mixed. They still tasted good, but they were too thin for a good chip
Round three, I went back to the good old knife. While the cutting part took longer, and the thickness was not exactly uniform. I filled the dehydrator as full as I could. I also tried brushing the oil salt mix on the slices instead of tossing them. You know to save a dish to wash. These turned out good! They were the proper thickness for a chip and tasted good. I tend to not like a lot of salt, so the one side was perfect for me. My kids liked the chips as well, but they love cucumbers straight out of the garden too.
Recipe
Cucumbers sliced thin
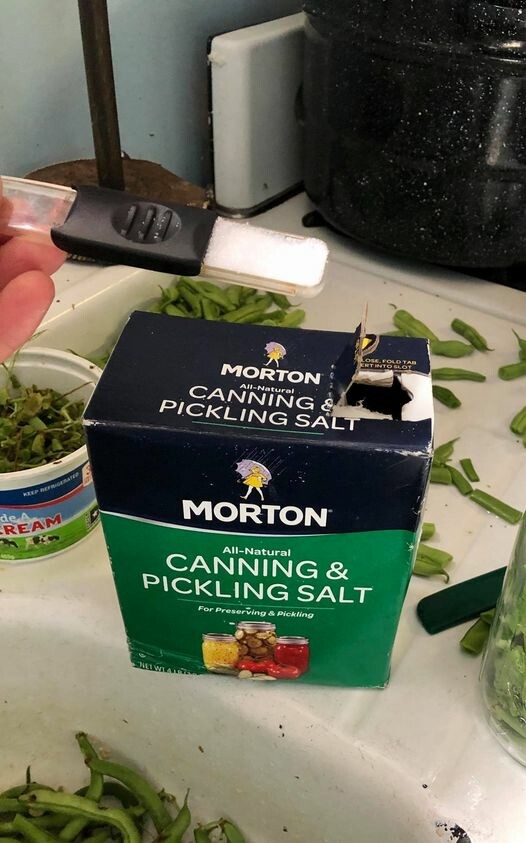
1 T Olive oil
½ t Sea Salt
2 t apple cider vinegar (if you want salt vinegar chips)
1. Lay cucumbers on dehydrator trays.
2. Mix olive oil, sea salt, and vinegar (if desired)
3. Brush onto the cucumbers
4. Dehydrate at 135 degrees F for 10-12 hours until crispy
5. Cool and eat or place in containers for storage.
Wanting a community to lean into? Join the FREE Courageous + Purposeful Mommas group! This community is for the Mommas, mommas to be, in the midst of raising, and kids grown, looking for tips on building your family up and providing for them through natural methods. Tips include: gardening, bulk buying, caning,/preserving, livestock, homesteading, and home remedies. Your family is precious, and this group is to help you gain the knowledge and tools to keep your family well and not reliant on outside professionals. Remedies and tips are easy and simple for the busy momma, time is precious after all, including pregnancy, birth, young kids, and illness. Trust your Momma gut again! This community offers the resources + community you need to help get started on your journey and prepare for whatever future you envision.
Click here to get the stories straight to your email:
For more on wellness tips click here:
For more on homesteading on your budget click here:
For more simple DIY updates click here:
This post may contain affiliate links, which means that I may receive a commission if you make a purchase using these links, with NO additional cost to you.
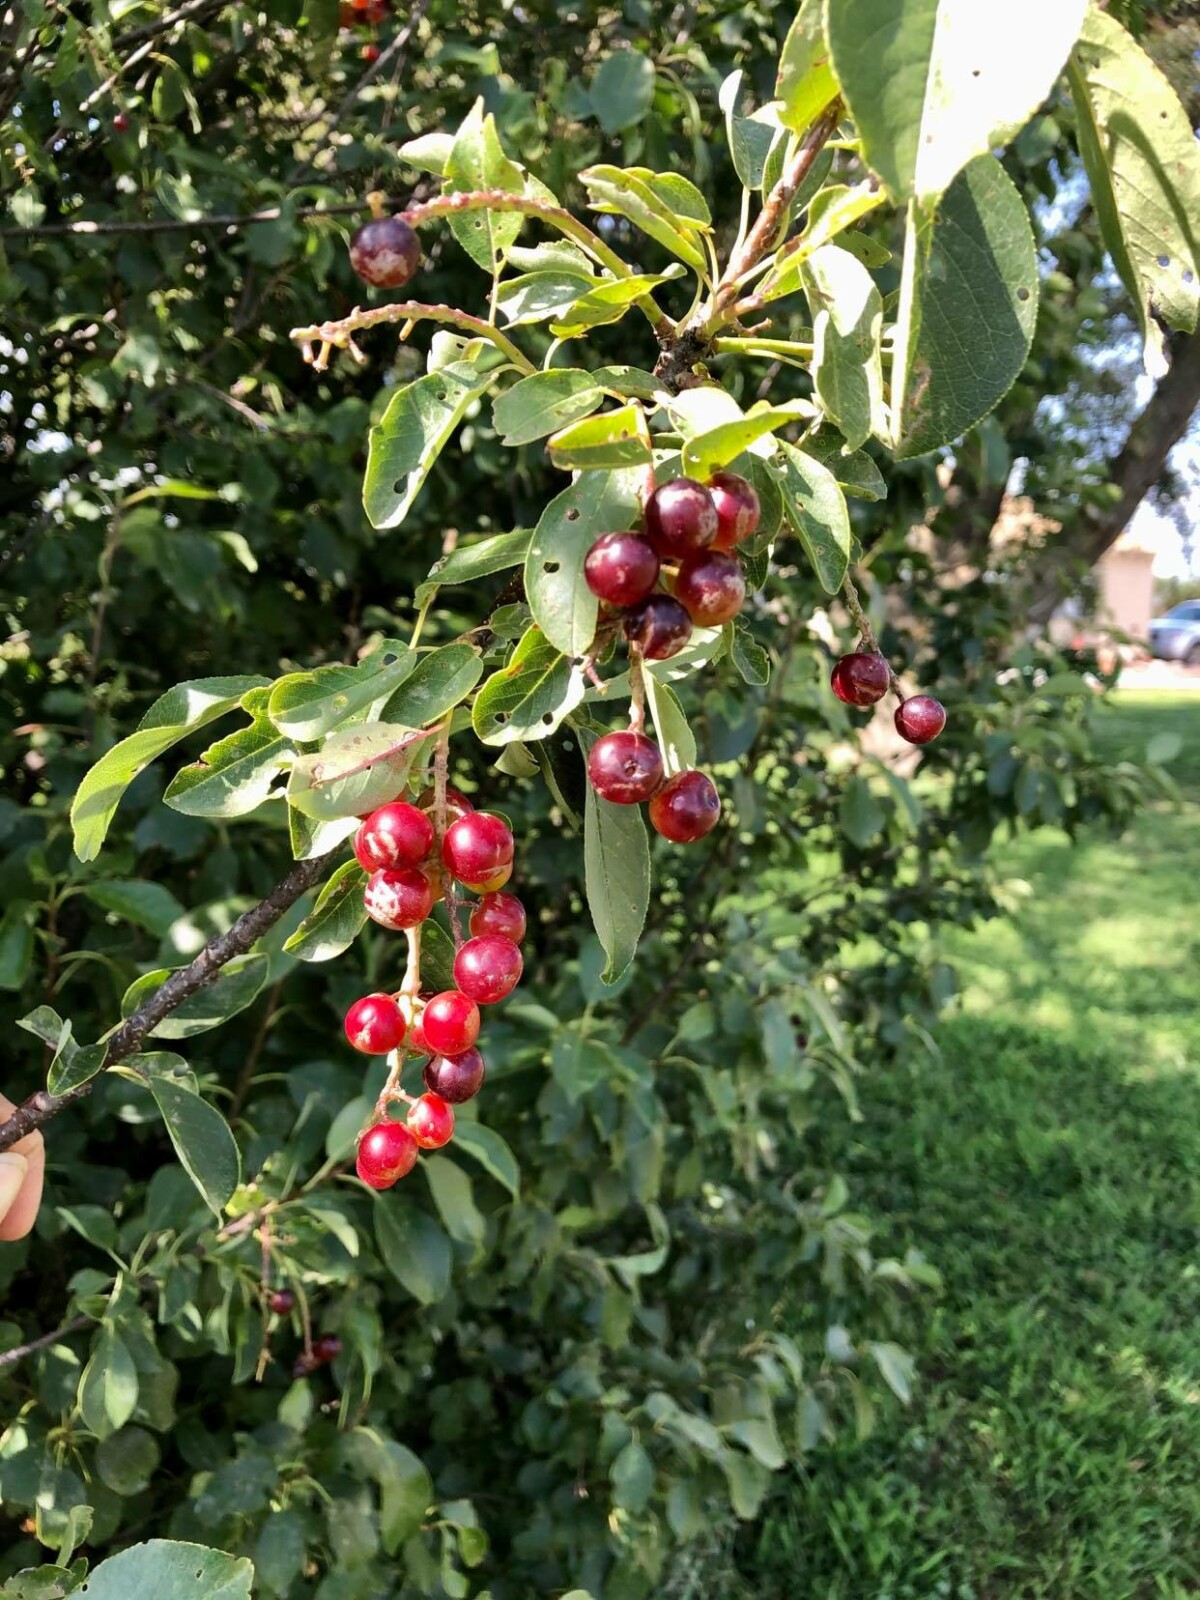
The other day my beautiful mother-in-law messaged me to see if I wanted any of her chokecherries. Of course! Now what do I use them for that my kids would actually eat? How about syrup?! The mulberry syrup went over well, and was now gone, may as well try it. Recipe at the bottom.
Turns out the frost killed most of the chokecherry blossoms, so there wasn’t much, but there was enough for me to experiment with. Ivalee, James and I set out one afternoon to go pick what was there. She was actually all over the picking until the easy low ones were gone, then climbing the fence was way more fun. We did manage to get an ice cream bucket full. Which was around 8 cups. They then sat on the counter overnight until I could deal with them in the morning.
The next morning, I was in a hurry, so I dumped the bucket into the pot and added the water. No, I didn’t wash them, or sort the leaves out first. I stirred the berries around a bit and like magic the leaves and steams floated to the top! I scooped them out and let the cooking begin! The recipe I was following said to strain the juice off and and reboil the seeds and pulp to get more juice. I did not have that kind of time. But I got to thinking about my favorite red juice. It is actually a puree, so you receive the benefits from the entire berry. Why not with chokecherries?
After straining as much juice as I could through the cheese cloth (and spilling some all over the stove, the lighter on my gas stove still hasn’t recovered), I dumped the pulp and pits into the blender. Looking back, I should have done half at a time. The full amount was a little much for my blender. Once everything was blended smooth, I added it back to the juice. Heated it back up and added the sugar, orange and lemon. You can use real orange and/or lemon juice, but I didn't have any, so I used the oils I did have. Let everything cook and then pour into jars and process! I ended up with 7 pints of deliciousness. You definitely need to shake before using, but it tastes amazing!
Recipe
Equal parts chokecherries, water, sugar (example: 4 c chokecherries, 4 c water, 4 c sugar)
1-2 drops Orange essential oil (to taste)
1-2 drops Lemon essential oil (to taste)
Add chokecherries and water into a pan. Bring to boil, cover, and simmer for 30 minutes
Strain juice through cheesecloth and squeeze as much out as you can.
Blend up pulp and pits in blender
Re-strain through cheesecloth
Add sugar and orange and lemon
Stir occasionally over medium heat for 20-30 min
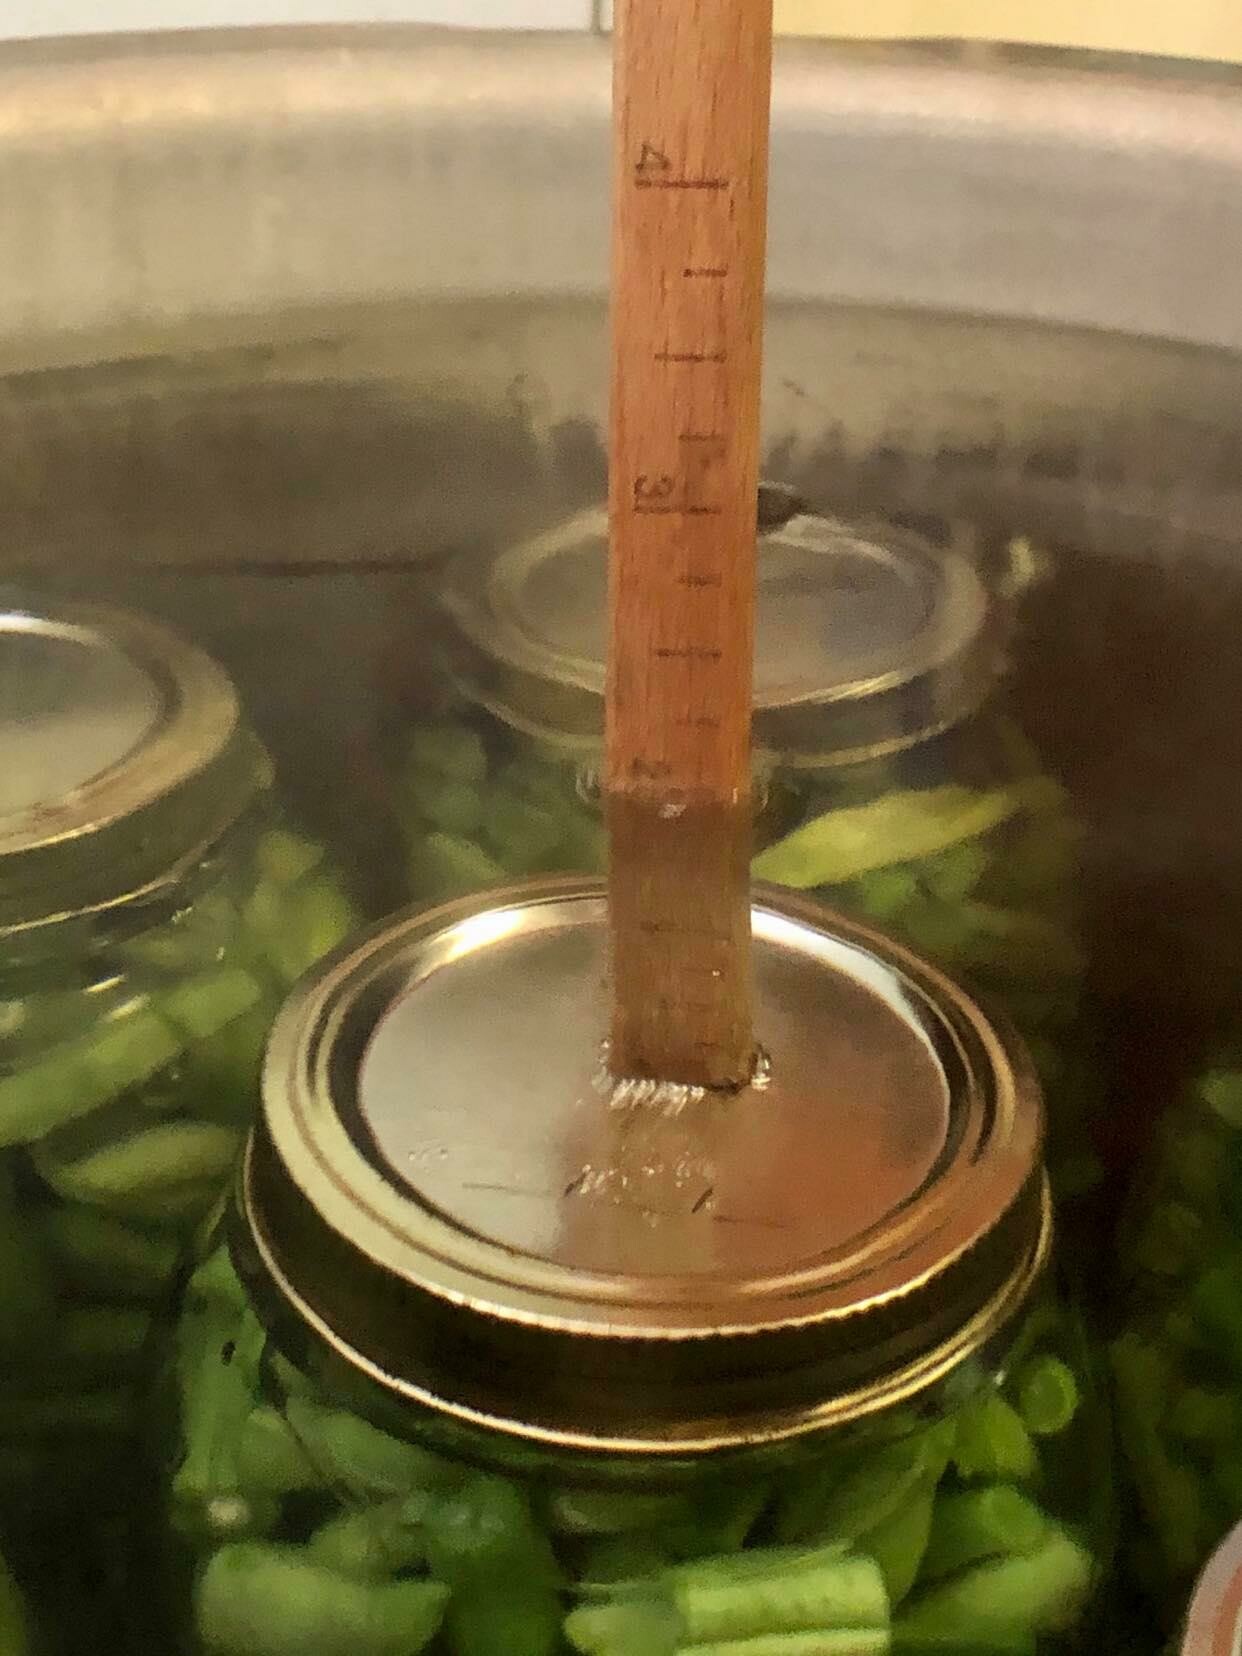
Pour into hot sterilized jars and process for 10 minutes
Shake before use and enjoy!
Wanting a community to lean into? Join the FREE Courageous + Purposeful Mommas group! This community is for the Mommas, mommas to be, in the midst of raising, and kids grown, looking for tips on building your family up and providing for them through natural methods. Tips include: gardening, bulk buying, caning,/preserving, livestock, homesteading, and home remedies. Your family is precious, and this group is to help you gain the knowledge and tools to keep your family well and not reliant on outside professionals. Remedies and tips are easy and simple for the busy momma, time is precious after all, including pregnancy, birth, young kids, and illness. Trust your Momma gut again! This community offers the resources + community you need to help get started on your journey and prepare for whatever future you envision.
Click here to get the stories straight to your email:
For more on wellness tips click here:
For more on homesteading on your budget click here:
For more simple DIY updates click here:
This post may contain affiliate links, which means that I may receive a commission if you make a purchase using these links, with NO additional cost to you.
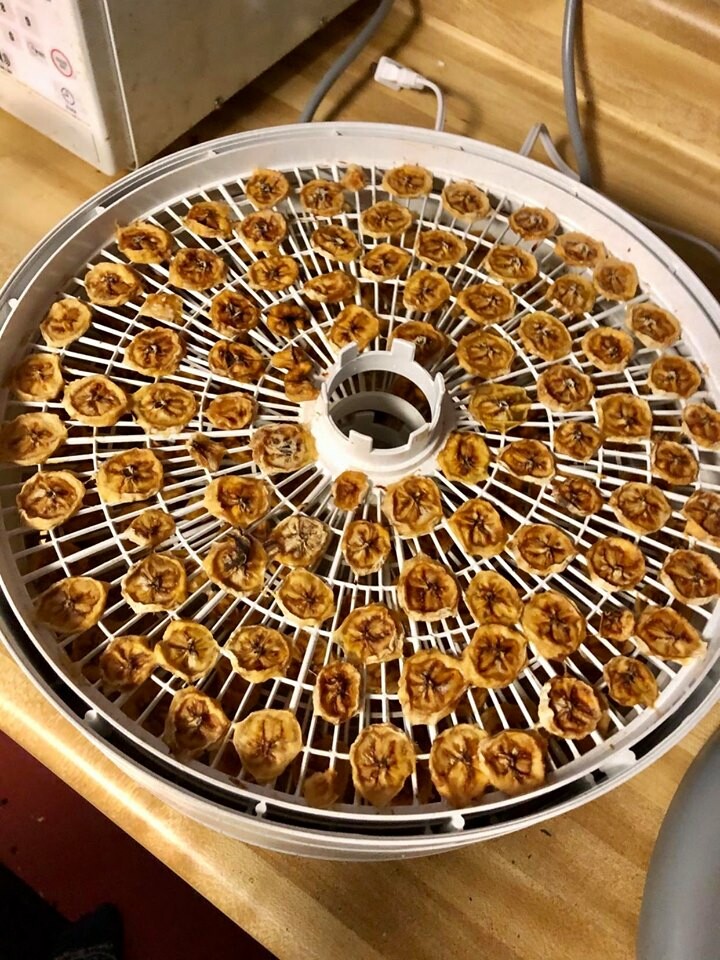
My kids love fruit! And I love that they love it. But when you are on the go, some fruits just don’t travel well. Many of the favorite fruits are also harder to find in the winter. My solution? Dehydrated fruit!
Last winter I was buying some dehydrated fruits to try them out. Thinking that I was getting great healthy snacks that weren’t loaded with sugar. I got bananas, pineapple, kiwi, and mango at first. Then I read the labels. Every one of them had a sugar coating and some kind of dye. Lesson learned: read the labels very carefully before buying. I did find a few brands that were actually just the fruit and do get those for the occasional treat. You can buy the pineapple here.
Bananas proved a little harder to find without the extra sugar. So I decided to make my own, since my kids like them so much. The riper the banana the sweater they are. Bananas actually have quite a bit of fructose (fruit sugar) naturally. What I found is the over ripe bananas actually make really good chips, because they are so sweet. Bonus? You can usually buy them half price. They cut up really nicely as long as they aren't bruised or complete mush. If you don’t want them to brown you will need to dip them in a citric acid or lemon juice. I personally don’t mind, so I sip that step and cut them straight onto the dehydrator. I have found I can get around 3 bananas per tray, depending on how thick I cut them.
How simple is this little treat? Buy overripe bananas, purchase only enough to fill the dehydrator. They tend to go bad very quickly. Cut the bananas thinly onto the dehydrating trays. Once full, turn the dehydrator on 135 degrees and walk away for at least 24 hours. Let the bananas cool once dry and pack into freezer containers. I leave mine a little chewy, so I put them in the freezer for storage. I personally love these reusable containers.
Banana Chips
Over ripe bananas
Citric acid or lemon juice (optional)
Thinly slice bananas onto tray
Turn dehydrator on 135 degrees for 24 hours
Check bananas for dryness
Store in freezer safe containers
Wanting a community to lean into? Join the FREE Courageous + Purposeful Mommas group! This community is for the Mommas, mommas to be, in the midst of raising, and kids grown, looking for tips on building your family up and providing for them through natural methods. Tips include: gardening, bulk buying, caning,/preserving, livestock, homesteading, and home remedies. Your family is precious, and this group is to help you gain the knowledge and tools to keep your family well and not reliant on outside professionals. Remedies and tips are easy and simple for the busy momma, time is precious after all, including pregnancy, birth, young kids, and illness. Trust your Momma gut again! This community offers the resources + community you need to help get started on your journey and prepare for whatever future you envision.
Click here to get the stories straight to your email:
For more on wellness tips click here:
For more on homesteading on your budget click here:
For more simple DIY updates click here:
This post may contain affiliate links, which means that I may receive a commission if you make a purchase using these links, with no additional cost to you.
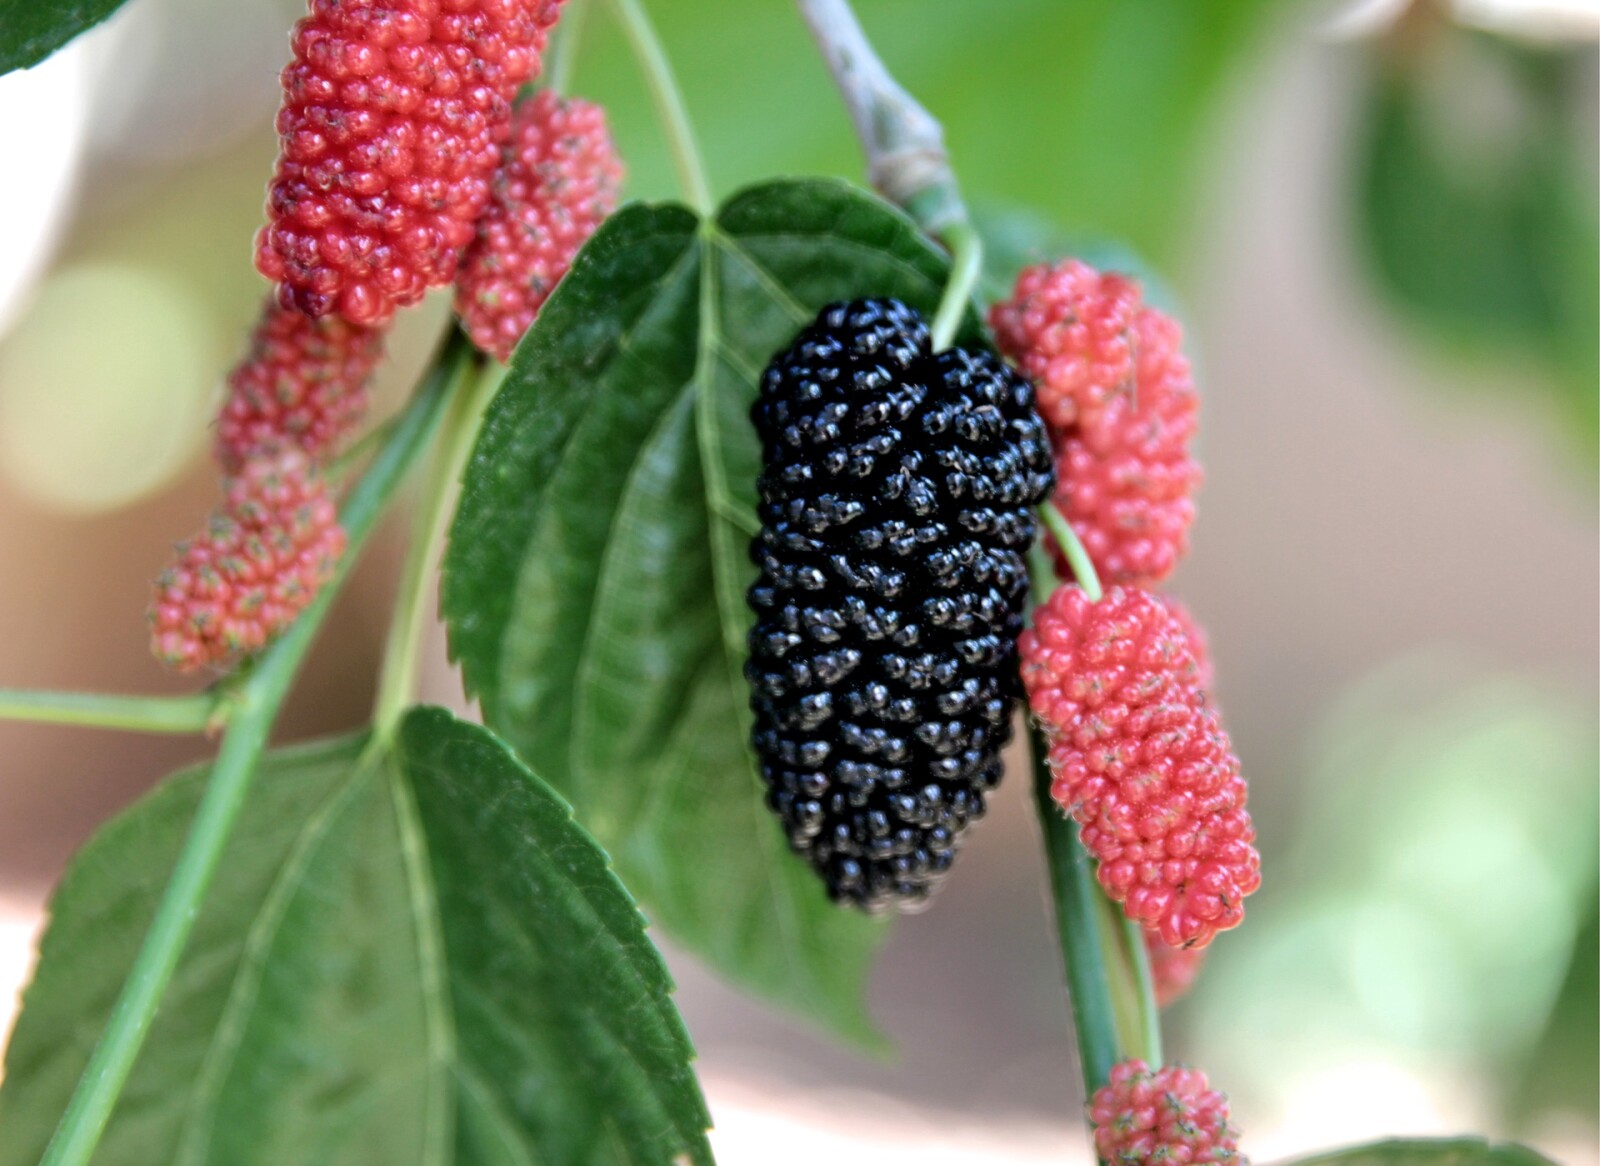
So one of my Facebook friends, Lisa, had a post about this delicious sounding mulberry syrup. I had some mulberry trees in my yard I wanted to do something with, but did not have the ambition for jam or jelly. I asked my friend for the recipe. What was even better, was it was so simple! Recipe is at the bottom :)
I called up my friend Nicole, to share my idea! Of course she was in. Two mom’s, 6 kids under 5, shouldn’t be too hard right? Go ahead and laugh now, it’s ok. Thankfully we didn’t have to go anywhere other than my yard.
So we set out one Thursday morning, with kids cranky and colander in tow. The first tree was already past and the birds had taken most of it. The good thing with mulberries is where there is one, there is probably more. So we headed into the windbreak. Sure enough we found one along the back side of the trees. Kids taking turns with the colander, me in a tree, Nicole picking what she could from the ground and catching what I threw down. Kids snacking on the pickings, winning, and seeing what they could find on the ground.
Once we got about 2 cups worth we called it good and headed back to the house. Neither of us do winning kids well. The kids got to playing and we headed to the kitchen. Remember the simple I like? Blender, pan, cheesecloth, and a jar was all we needed. We didn’t wash the berries, because we knew what had been on them. If you are gathering wild, I recommend washing them with Fruit and Veggie Soak. Pat them dry then blend them up. Squeeze through a cheesecloth, or mesh strainer, into a pan. Add sugar, boil and jar. We were done in under 30 minutes in the kitchen!
Later that week my sisters visited and we cooked up pancakes and sampled it. It was delicious! Kids approved too! It keeps in the fridge for two months without canning too!
Recipe:
2 cups mulberries
¾ cup of sugar
Blend mulberries in a blender
Strain through cheesecloth into a pan
Add sugar and bring to boil
Turn off heat and Jar (makes ~1 8oz jar)
Wanting a community to lean into? Join the FREE Courageous + Purposeful Mommas group! This community is for the Mommas, mommas to be, in the midst of raising, and kids grown, looking for tips on building your family up and providing for them through natural methods. Tips include: gardening, bulk buying, caning,/preserving, livestock, homesteading, and home remedies. Your family is precious, and this group is to help you gain the knowledge and tools to keep your family well and not reliant on outside professionals. Remedies and tips are easy and simple for the busy momma, time is precious after all, including pregnancy, birth, young kids, and illness. Trust your Momma gut again! This community offers the resources + community you need to help get started on your journey and prepare for whatever future you envision.
Click here to get the stories straight to your email:
For more on wellness tips click here:
For more on homesteading on your budget click here:
For more simple DIY updates click here:
This post may contain affiliate links, which means that I may receive a commission if you make a purchase using these links, with no additional cost to you.
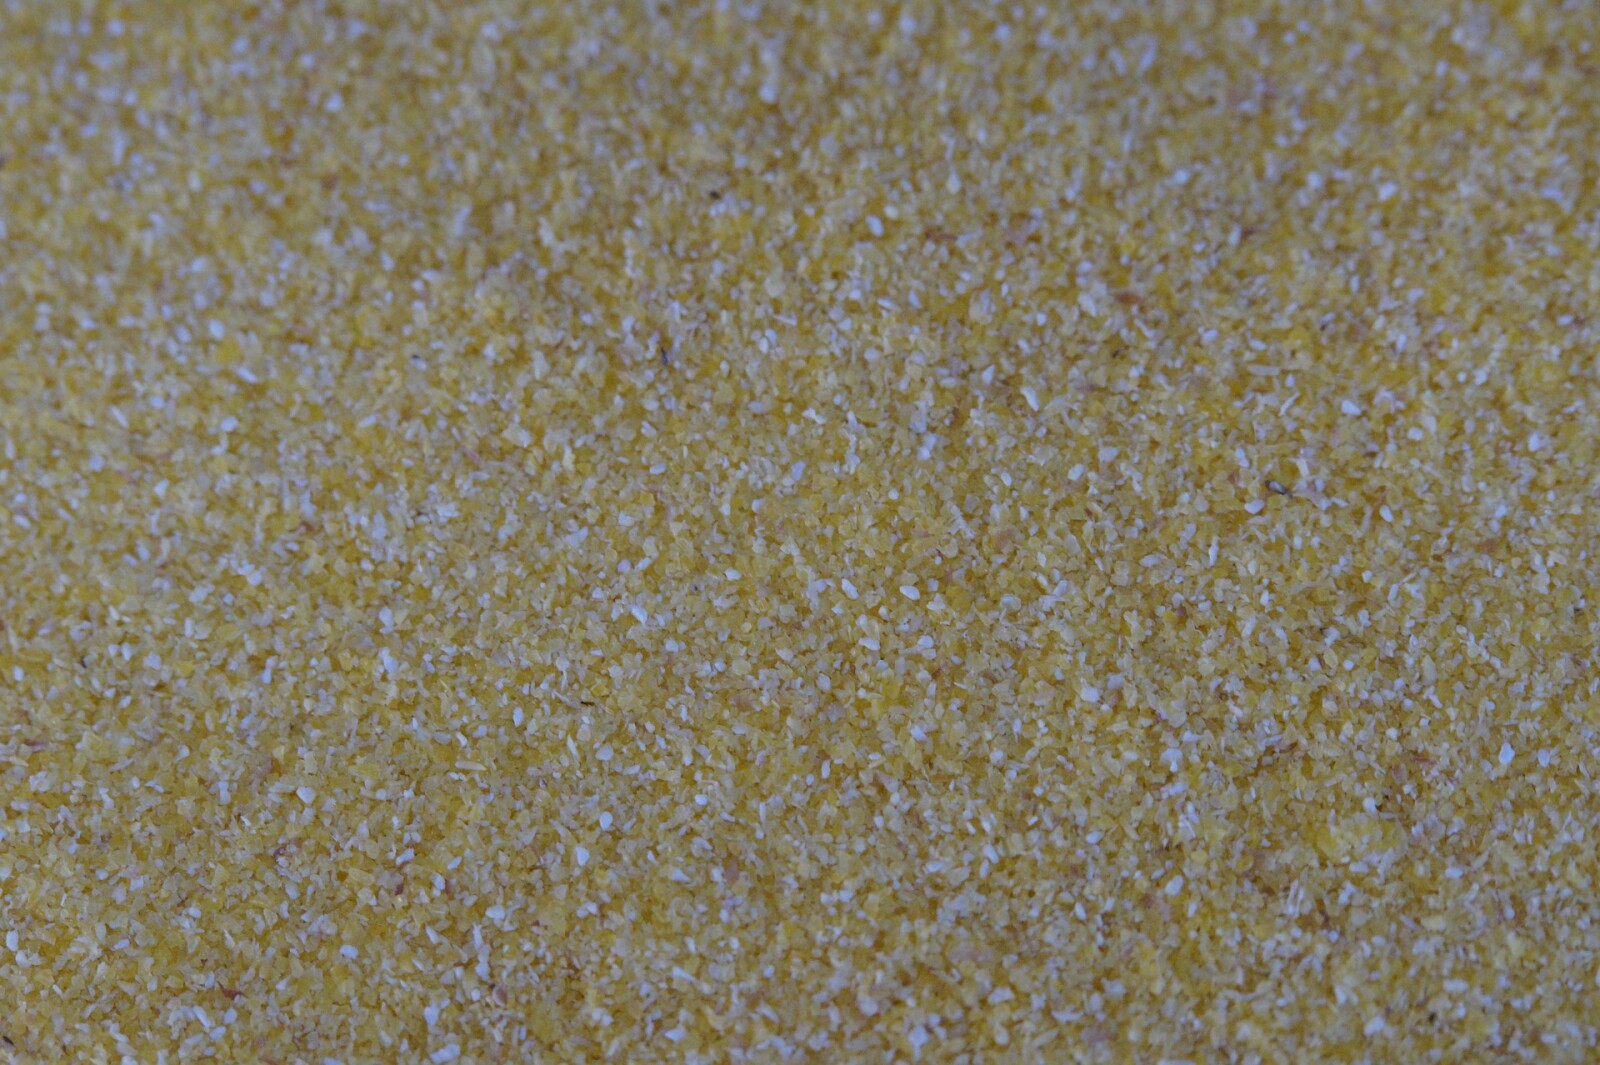
When looking through the Encyclopedia of Country Living, I found guidelines for making your own chick feed. I decided to try my hand at making my own feed since we have an old grain grinder in the garage. The basics to a chick diet are finely ground corn, oats, and wheat, a protein source, and greens. Their diet needs to be 20% protein. Protein can come from fish meal, meat meal, small portion of canned cat food, chopped hard-boiled or scrambled eggs, clabbered milk, yogurt, cottage cheese, or bugs, or a combination of. The more variety the better. Greens, such as alfalfa meal or leaves, clover lettuce, dandelion, cress, chives, grass, spinach, finely chopped weeds, supply many of their vitamins like Vitamin A. Young chicks need ground eggshells or oyster shells for calcium, unless there is another source of calcium. Chicks can become picky about what they eat so keep it changing if you can.
Basics: 2 parts grain, 1 part protein, 1 part greens.
I picked up a bag of oats when we picked out the chicks. We had plenty of corn for the cows, and we had left over milk replacer from calves and lambs. For the first batch, I chose the milk replacer to fill the calcium and vitamin source. There weren't a whole bunch of chicks the first time, so I wanted something easy. I ground the oats and corn as fine as I could. I ground in large batches and measured out what I needed. I then did 2 parts grain to 1 part milk replacer. I would then bring in some weeds and shred them into the feed tray. As soon as the days were warm enough and the chicks moving good, I opened the chick door to the outdoor pen. I also started only refilling their feed at night to train them to come in at dusk.
As the chicks became about a month old, I coarsely ground the grain, and mixed in fine ground eggshells for calcium, reducing the milk replacer to ½ part. They were also out eating bugs and weeds at that point, so I did not feed as much protein.
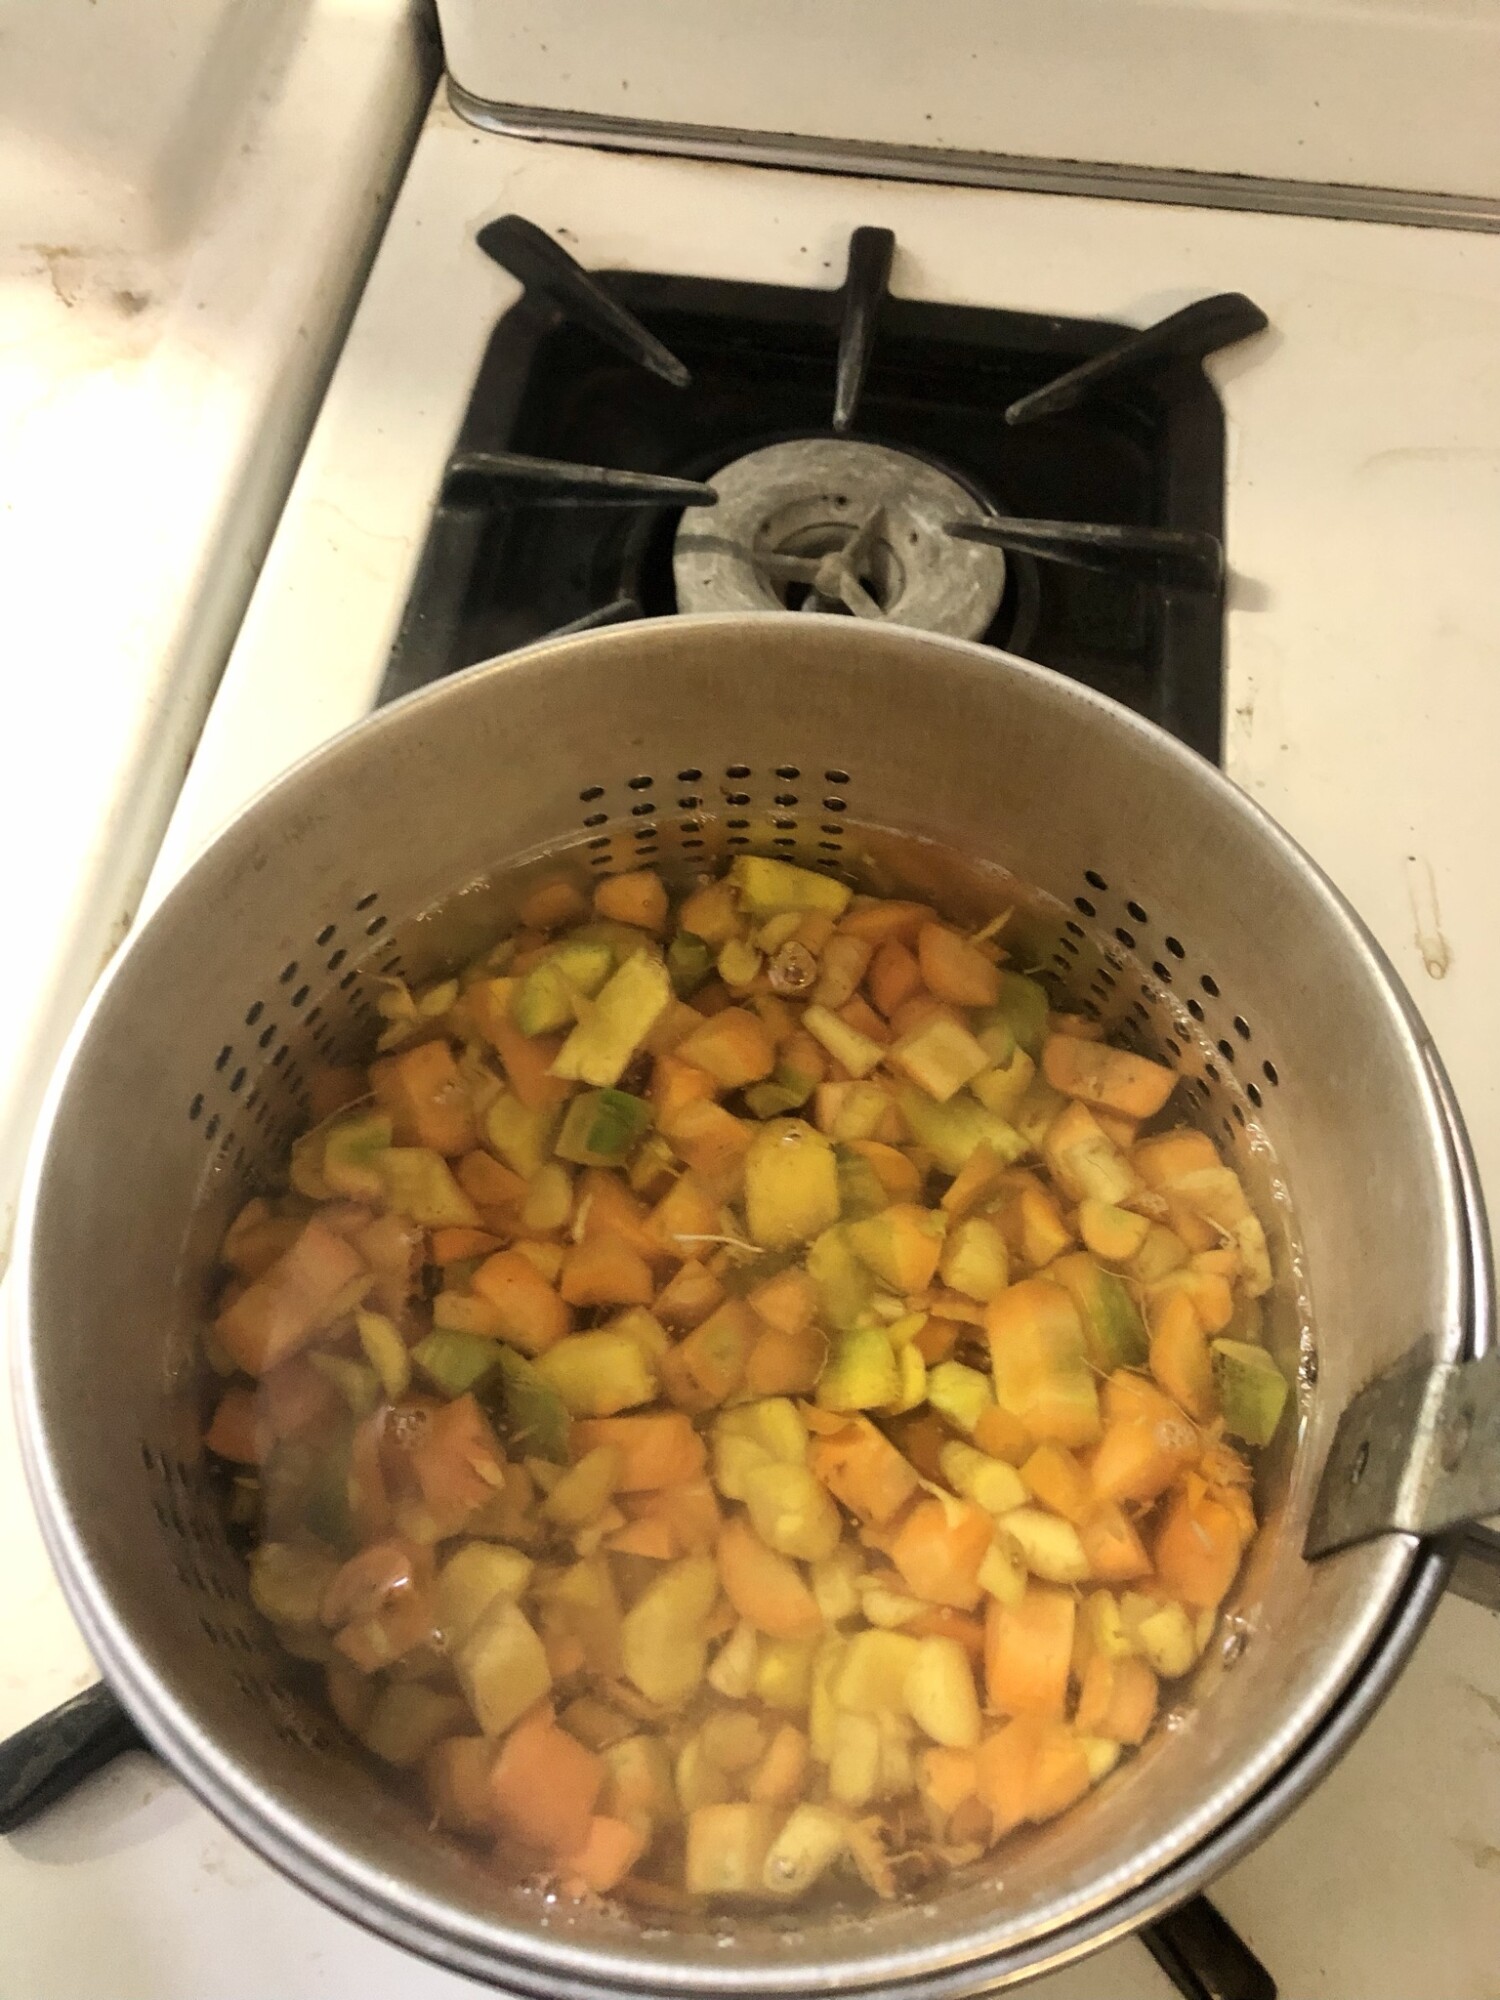
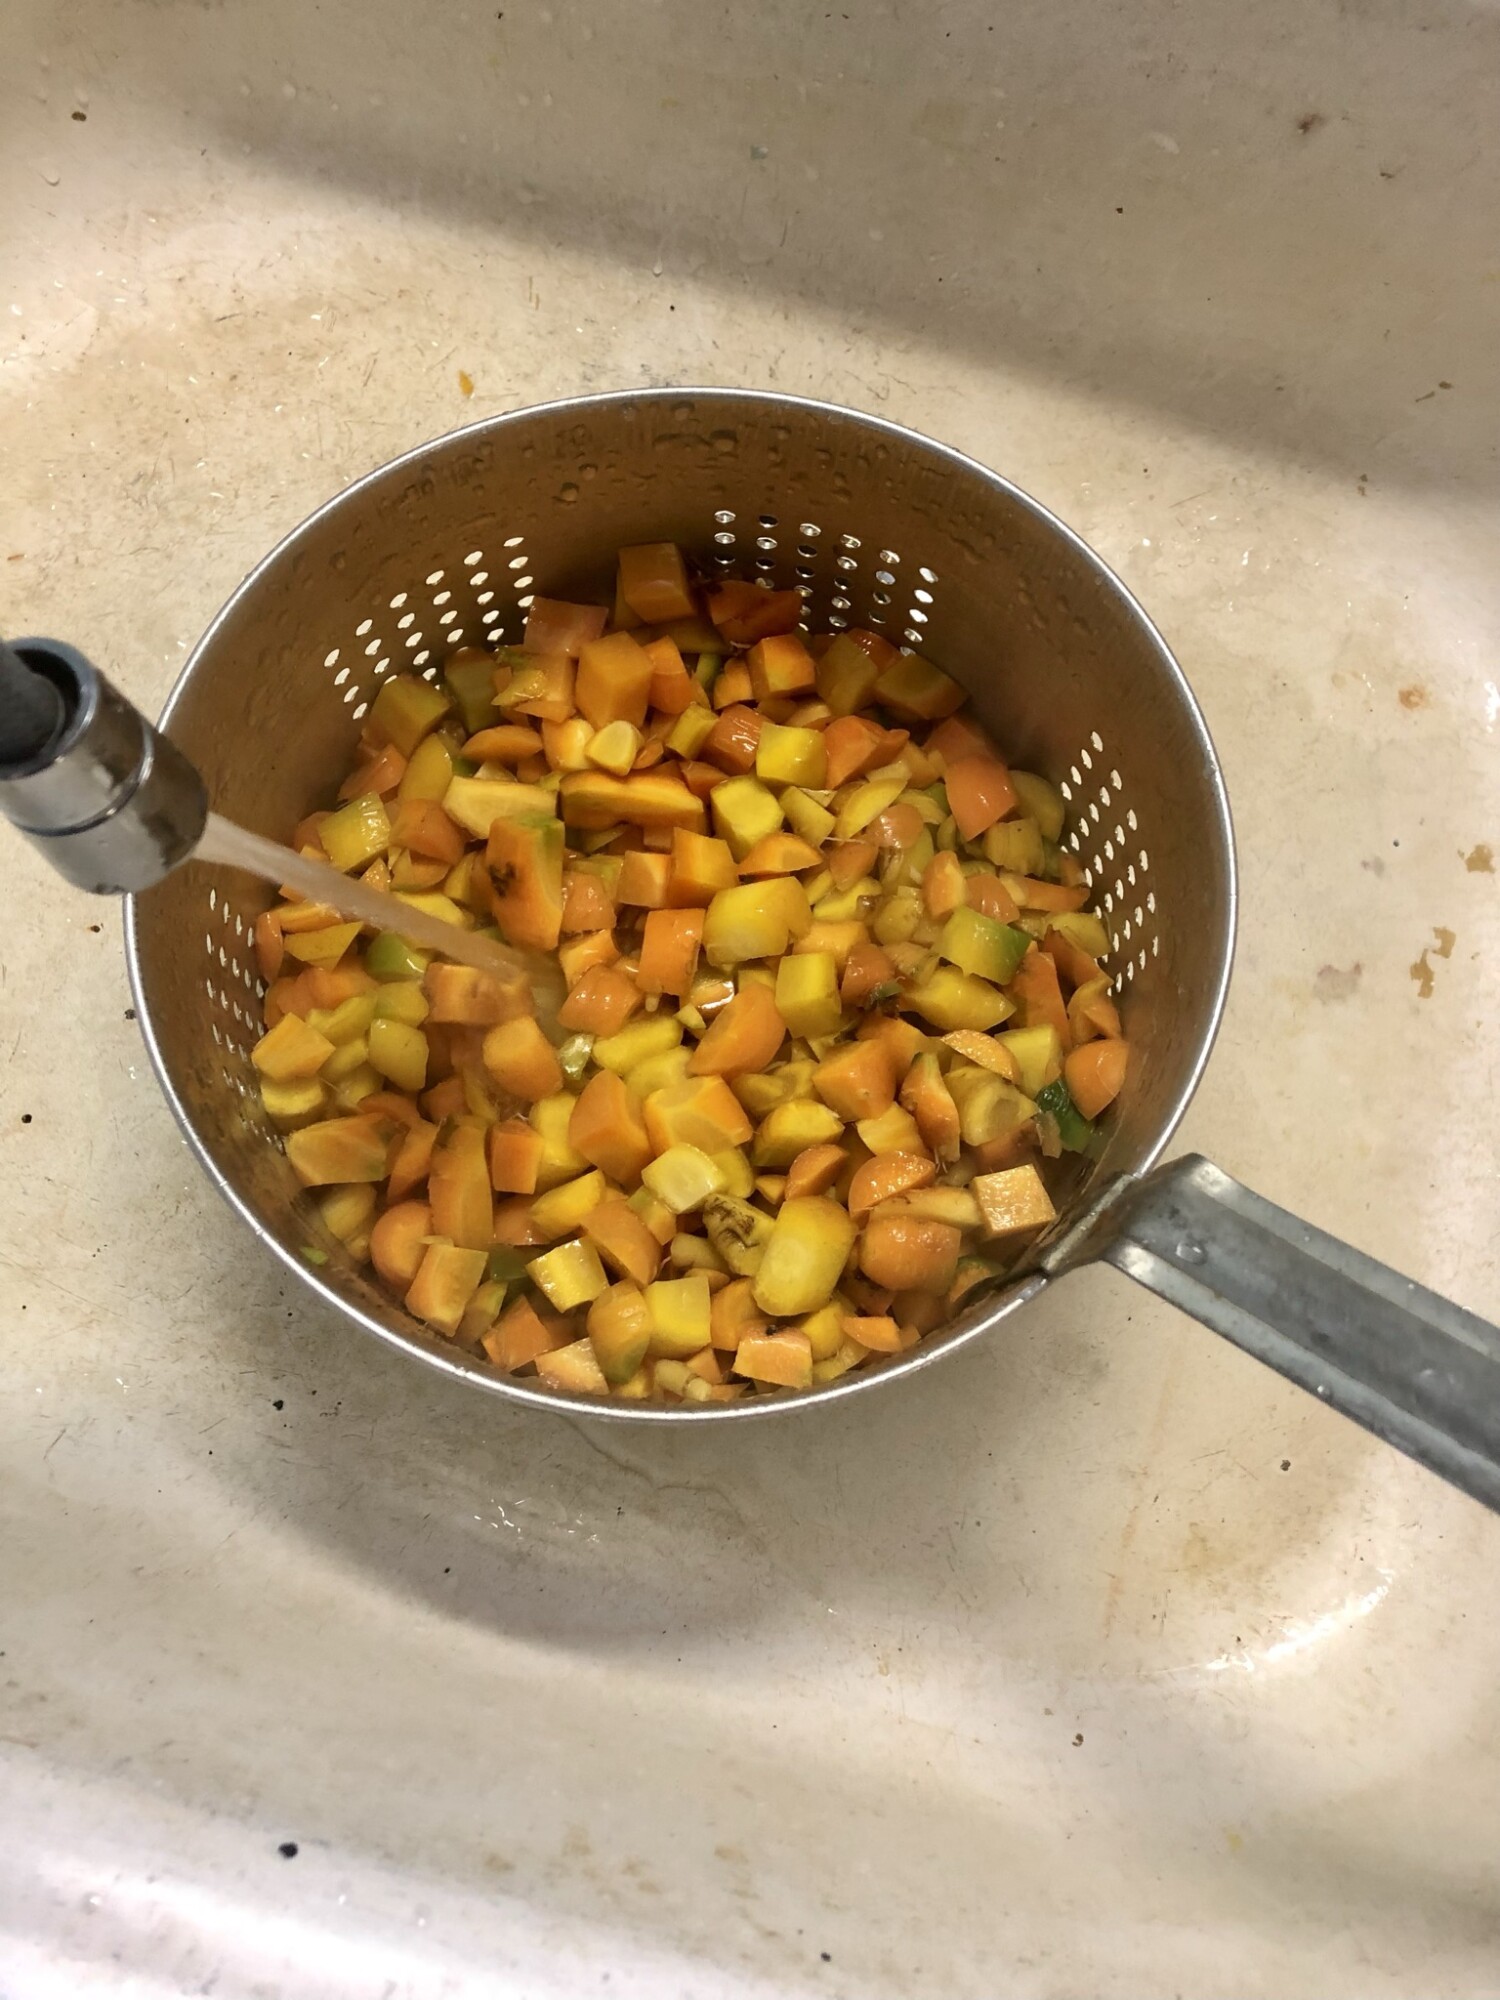
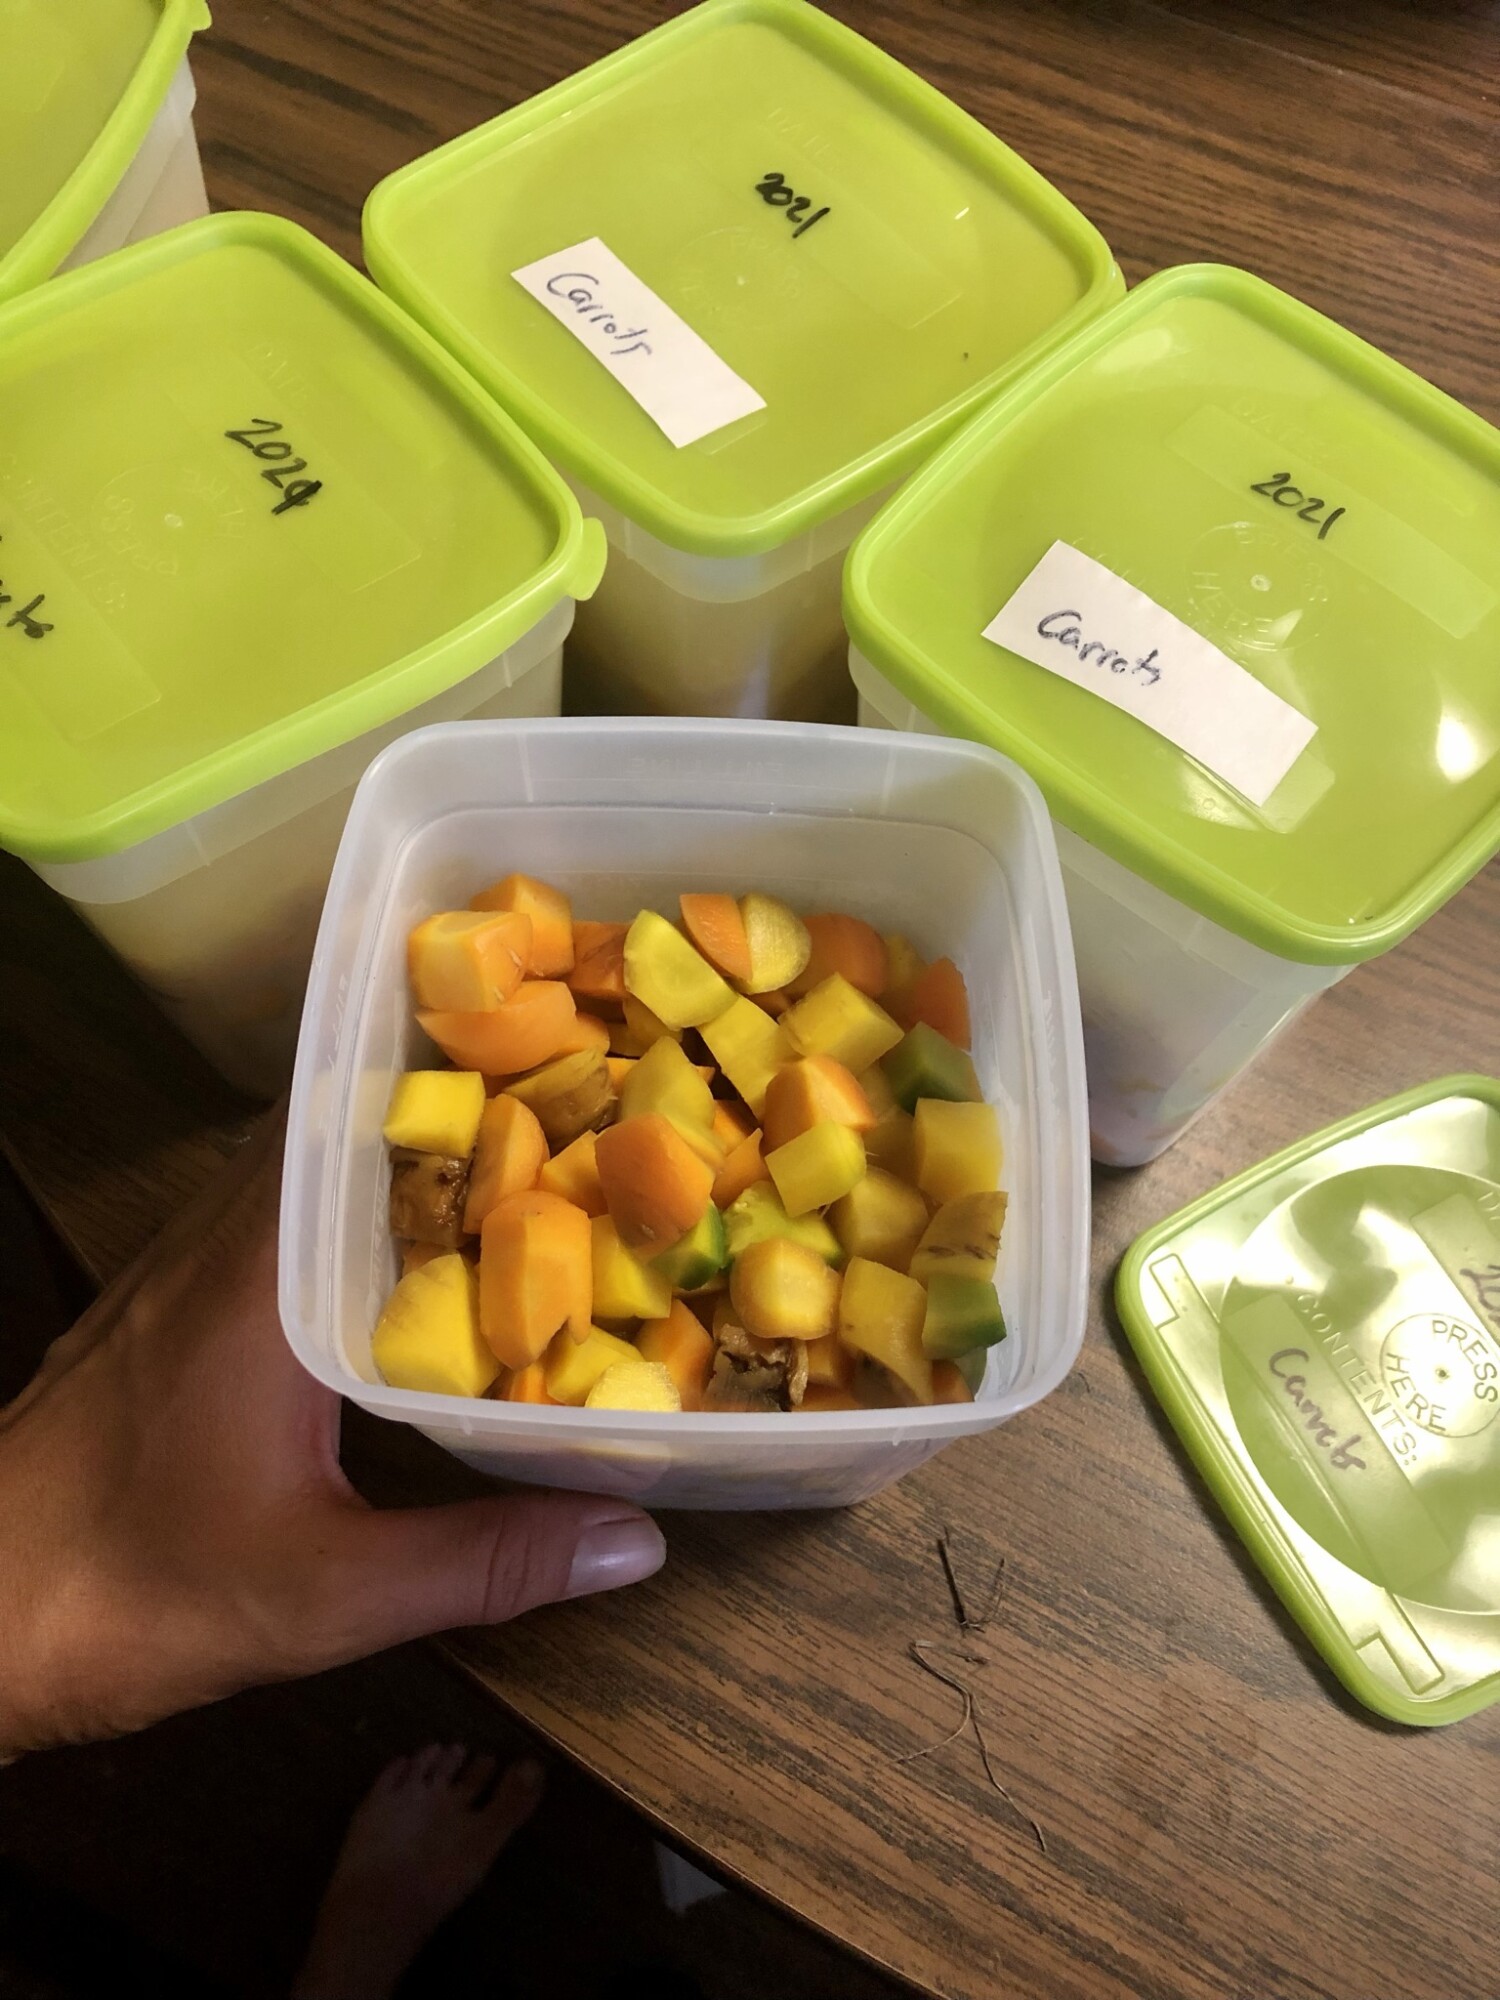
Around a month and a half I started giving them the scraps of fruit and veggies the kids didn’t finish, or left over peels from the kitchen. They also come to the call of “here Chick-Chick” because food is usually coming! As they grow into layers I will continue with about the same ration. They will be free ranging most of the day, so the grain is mostly a treat to get them to come in at night and lay eggs in the coop.
Wanting a community to lean into? Join the FREE Courageous + Purposeful Mommas group! This community is for the Mommas, mommas to be, in the midst of raising, and kids grown, looking for tips on building your family up and providing for them through natural methods. Tips include: gardening, bulk buying, caning,/preserving, livestock, homesteading, and home remedies. Your family is precious, and this group is to help you gain the knowledge and tools to keep your family well and not reliant on outside professionals. Remedies and tips are easy and simple for the busy momma, time is precious after all, including pregnancy, birth, young kids, and illness. Trust your Momma gut again! This community offers the resources + community you need to help get started on your journey and prepare for whatever future you envision.
Click here to get the stories straight to your email:
For more on wellness tips click here:
For more on homesteading on your budget click here:
For more simple DIY updates click here: