How to can corn salsa.

How to can corn salsa.
This post may contain affiliate links, which means that I may receive a commission if you make a purchase using these links, with NO additional cost to you. 

I love growing my own food. Part of growing all the food is not only eating it fresh in the summer, but preserving it for winter use. One vegetable we use a lot of is sweet corn! I love to make the sweet corn into corn salsa for use in recipes or a simple chip dip. Depending on time of year and schedules, sometimes I just freeze the corn and come back to make salsa later. For freezing corn see the blog post here. 

You will need:
Canning jars
Canning lids
Canning rings
Jar Funnel
Long spatula or knife
Big Stock pot

Sweet corn
Tomatoes
Jalapenos pepper
Poblano pepper
Red onion
Garlic
Cilantro
Cumin
Salt
Sugar
Vinegar

I usually take the recipe times 6 to fill my pots. 

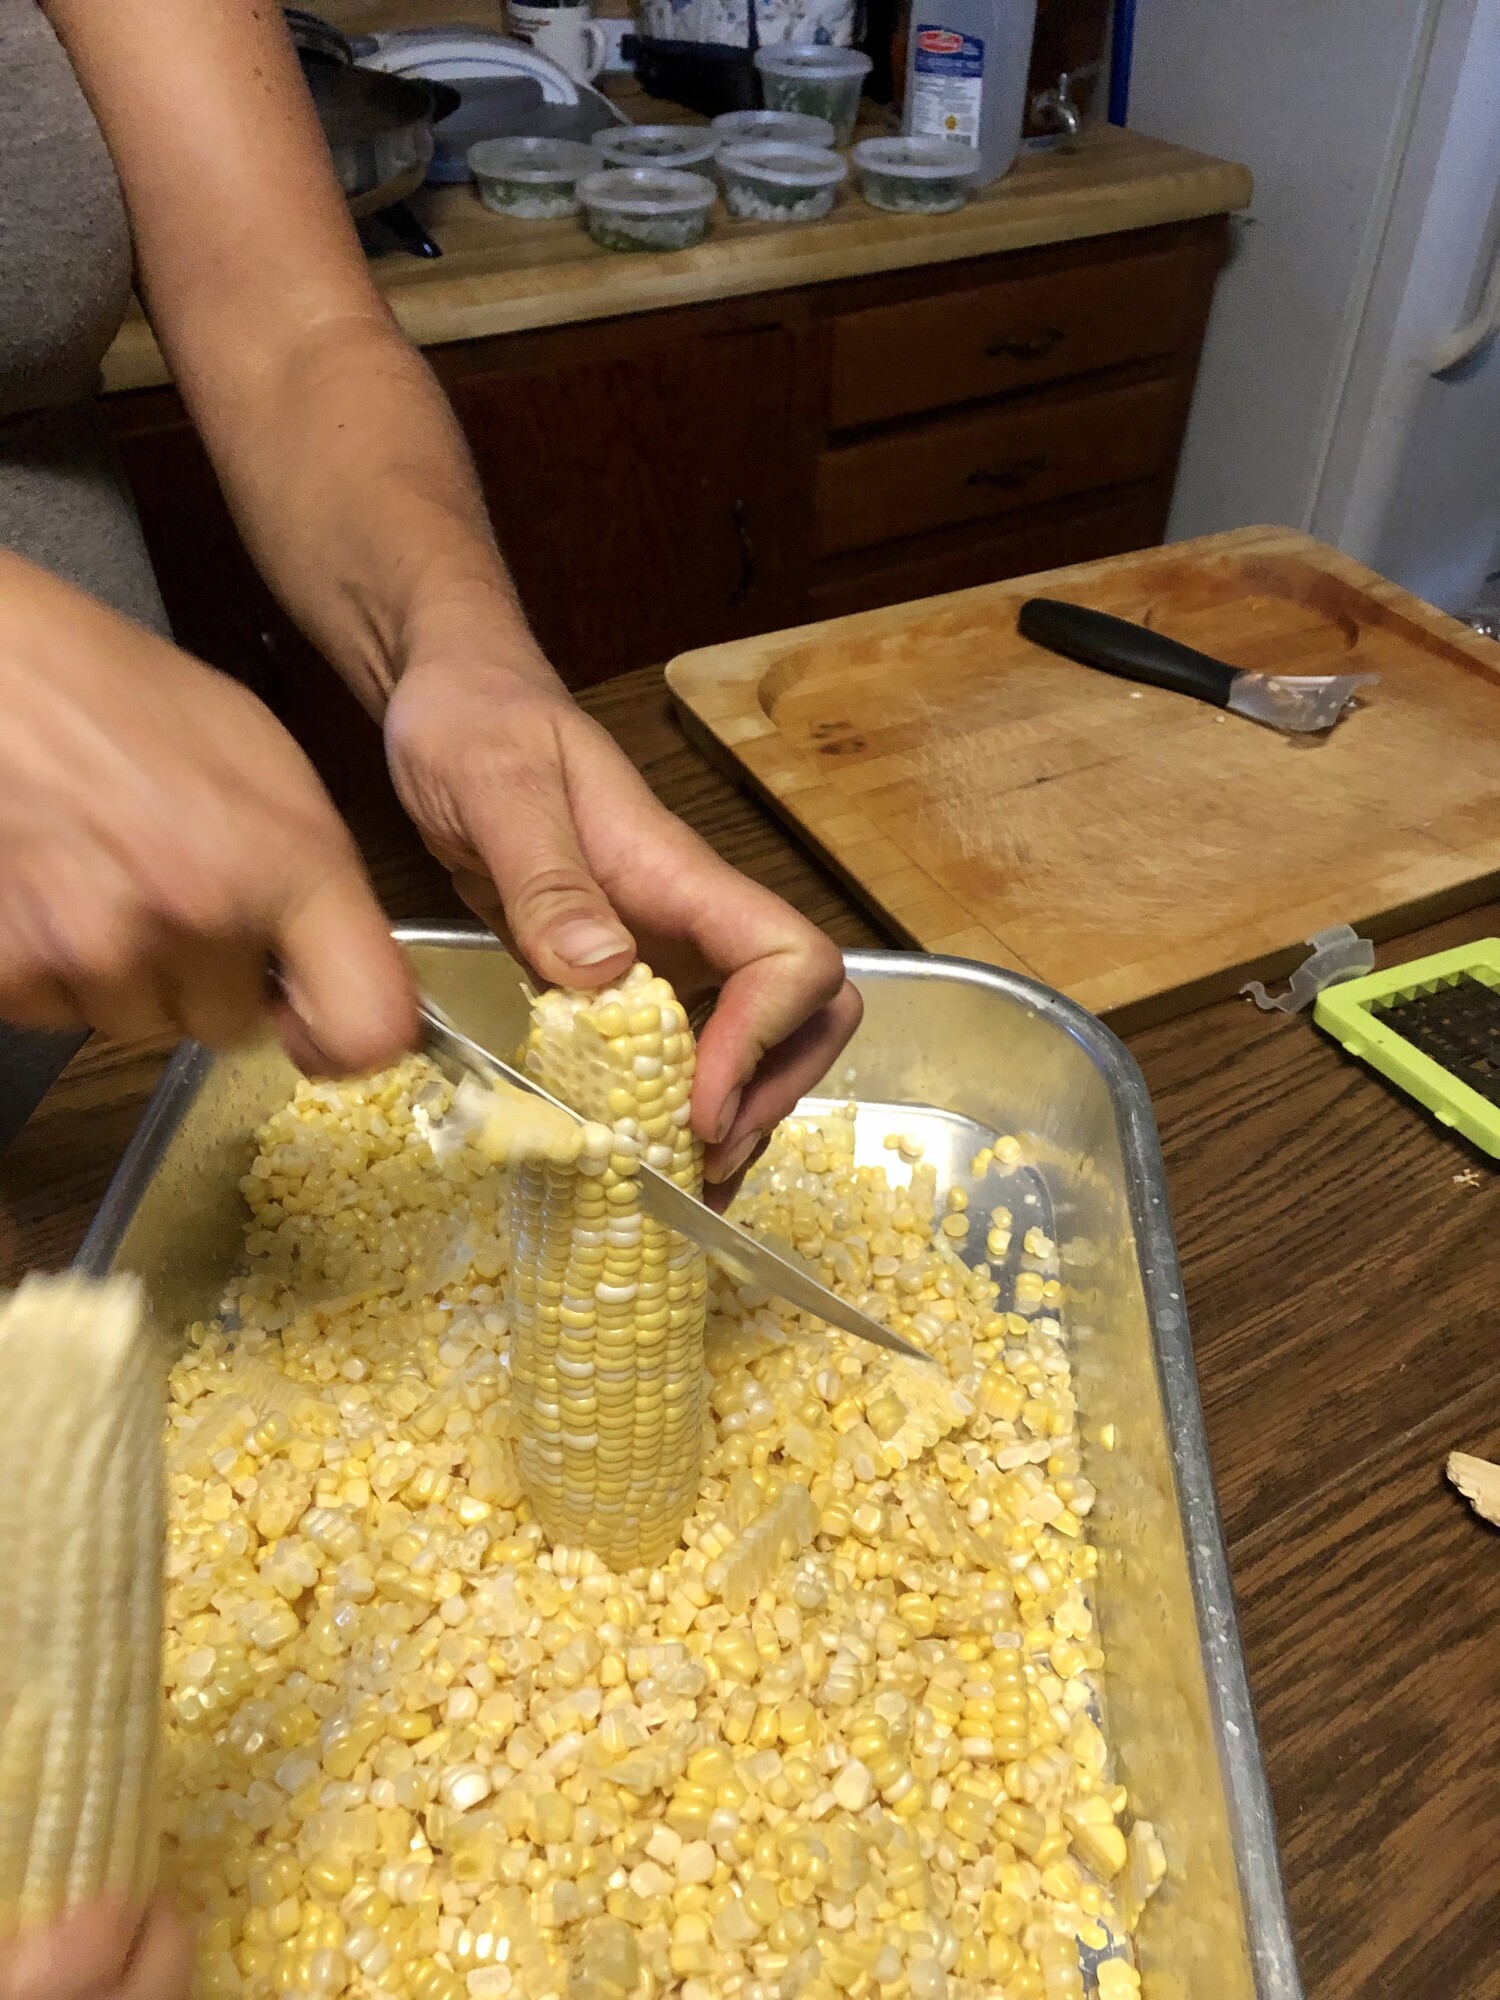
Step 1. Remove the kernels from 6 ears of corn. This is about 1 quart bag if you're using frozen corn. Place in a large stock pot.

Step 2. Chop 2 pounds (approximately 2 large tomatoes) and add to the stock pot. I like to use this handy dicer I found or a food processor to make the work faster. 
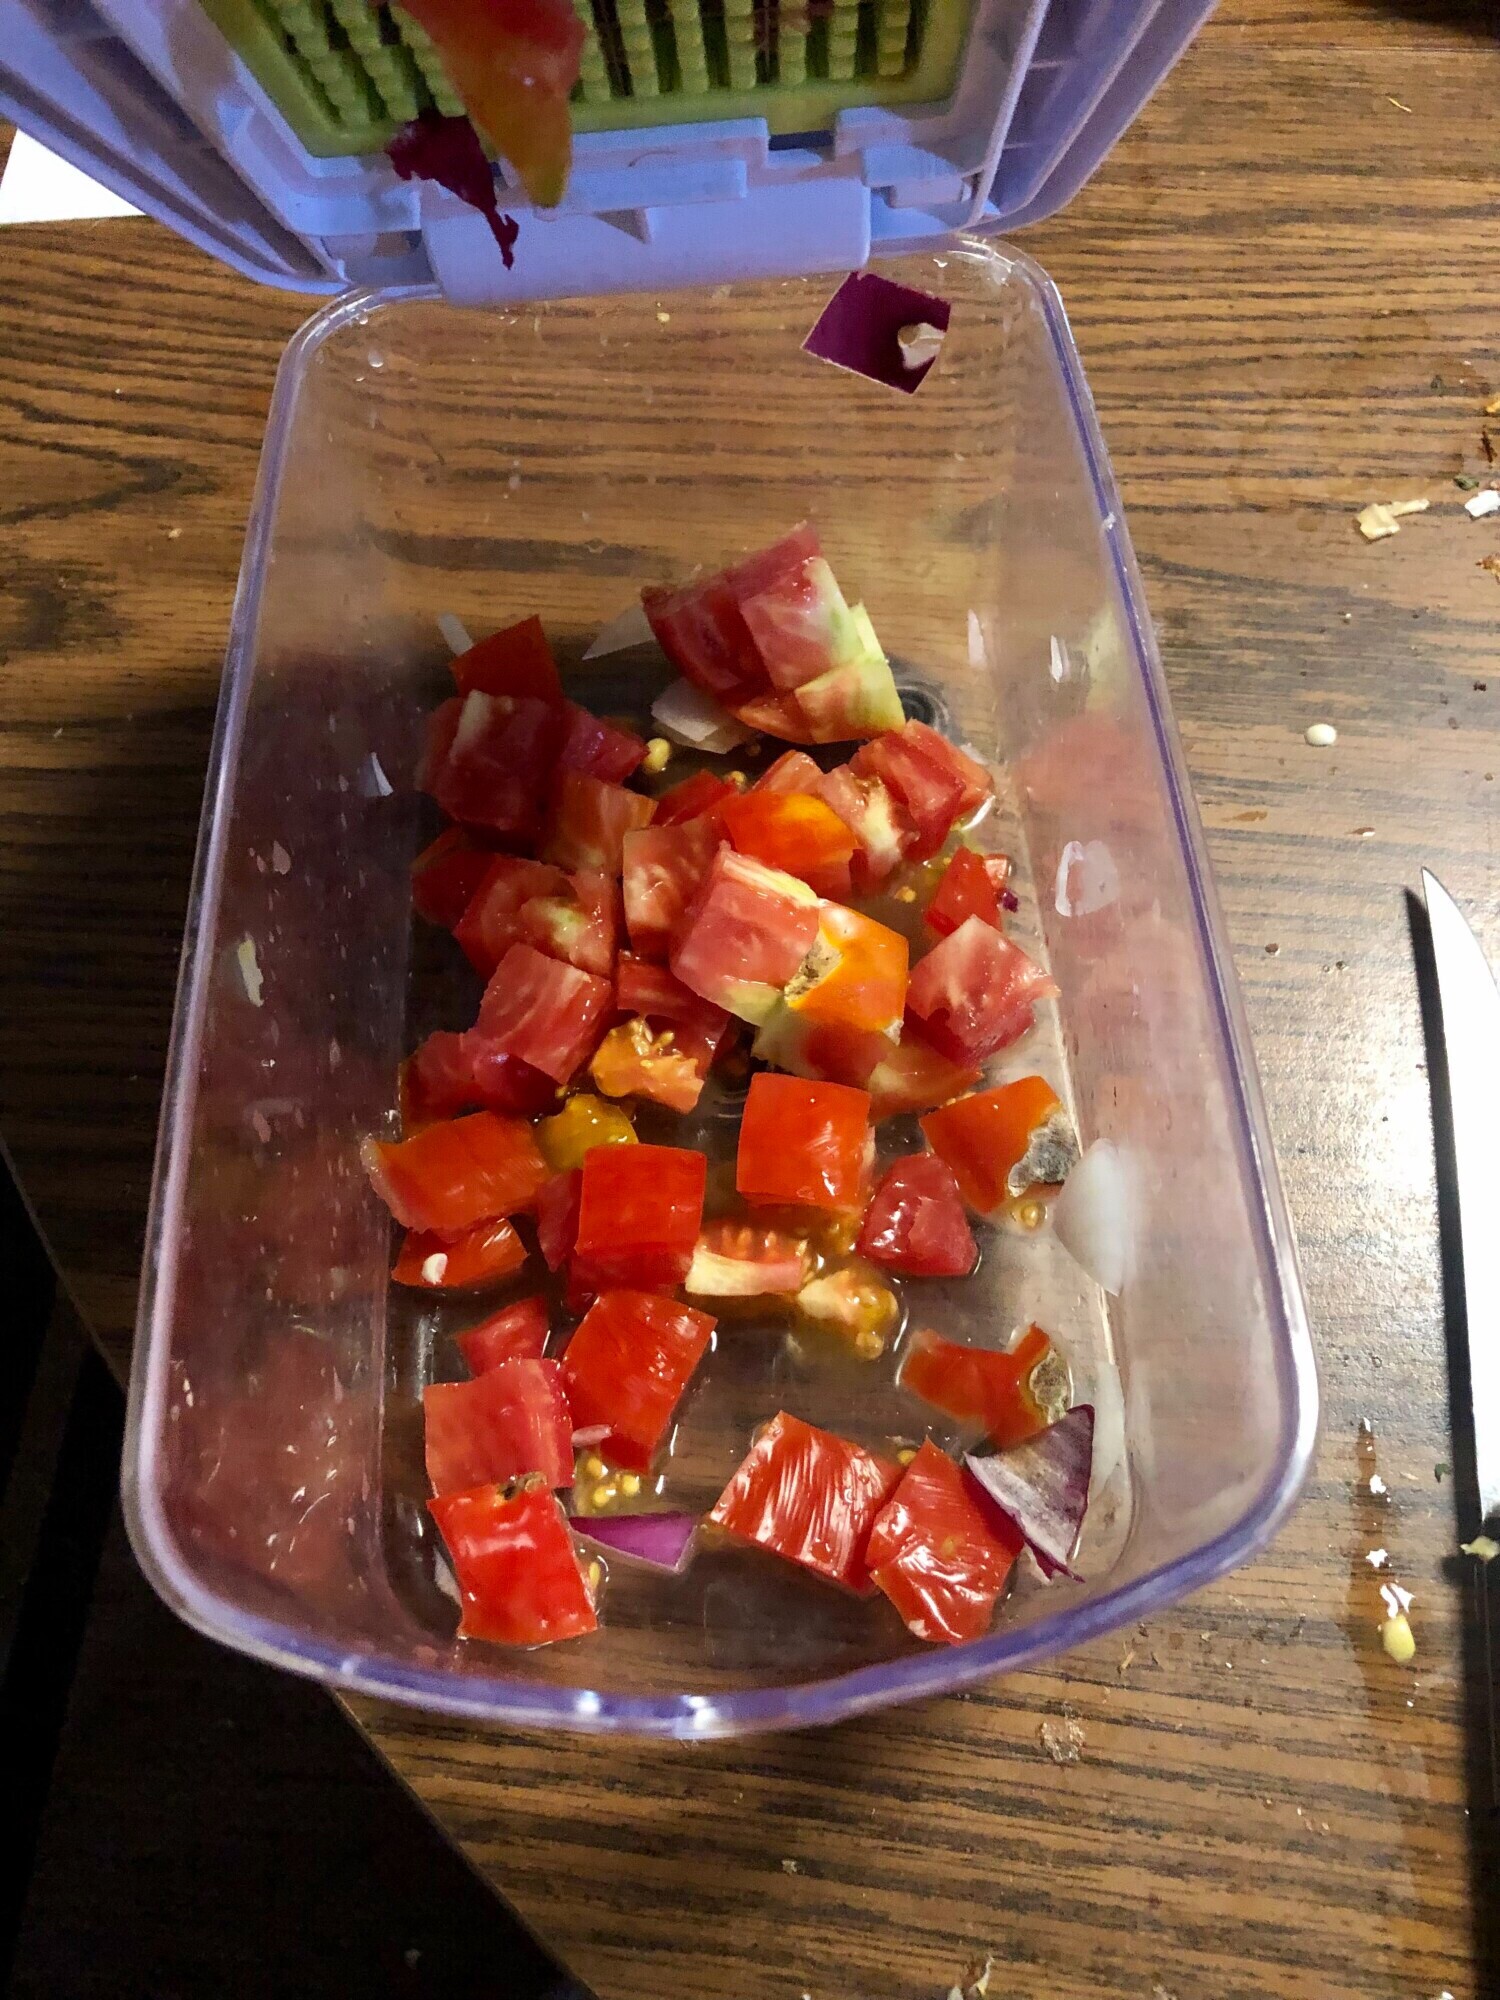

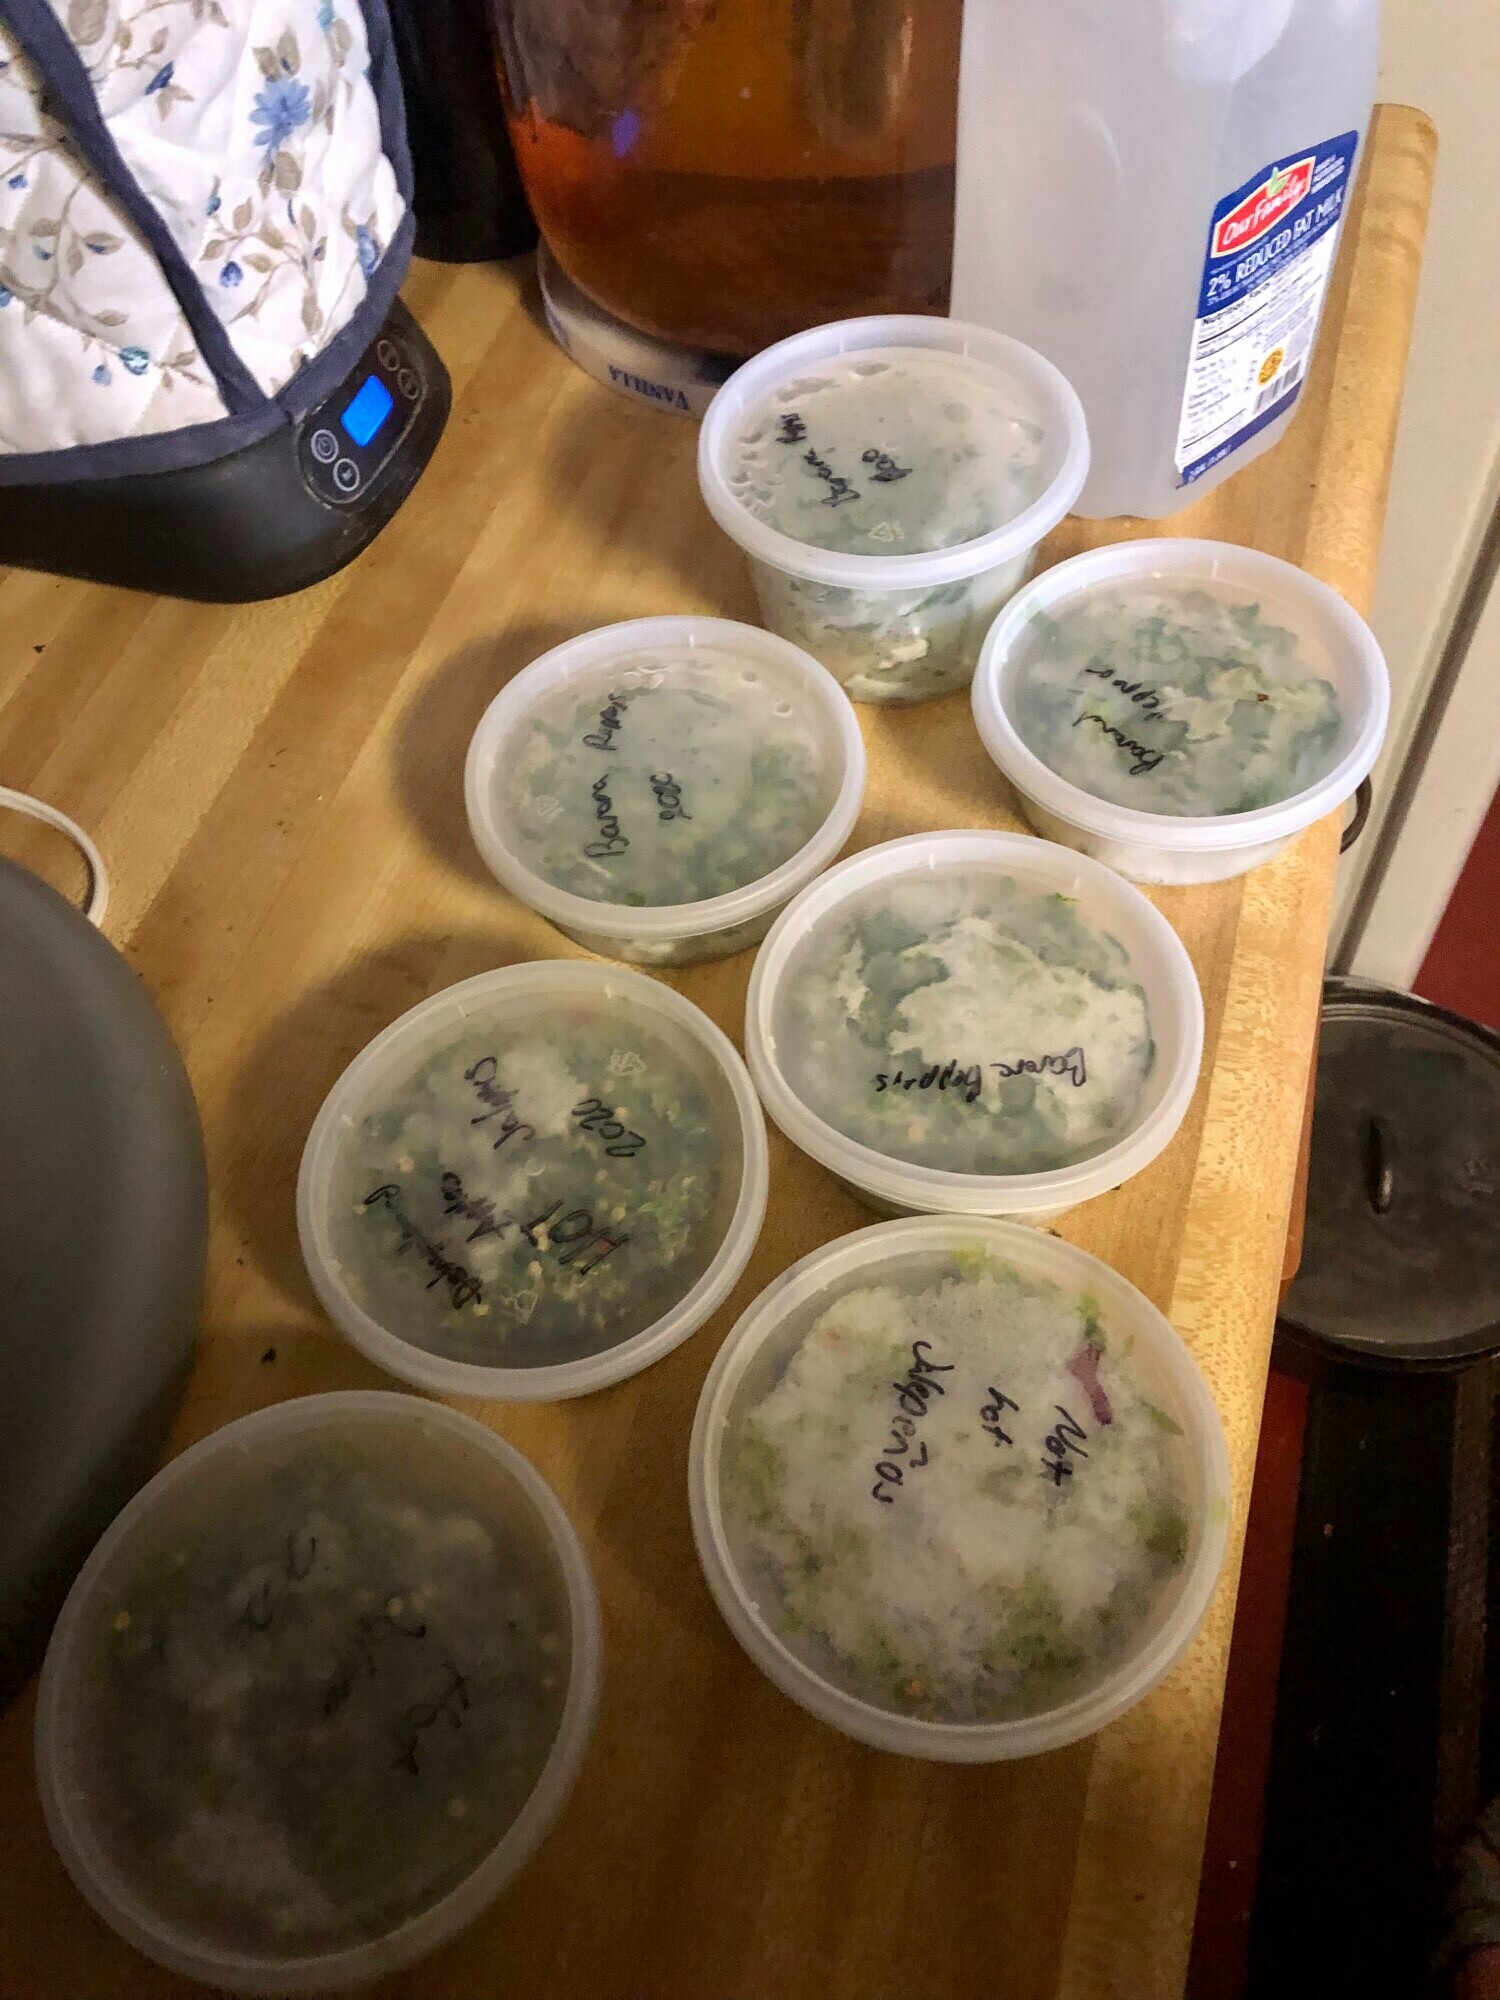
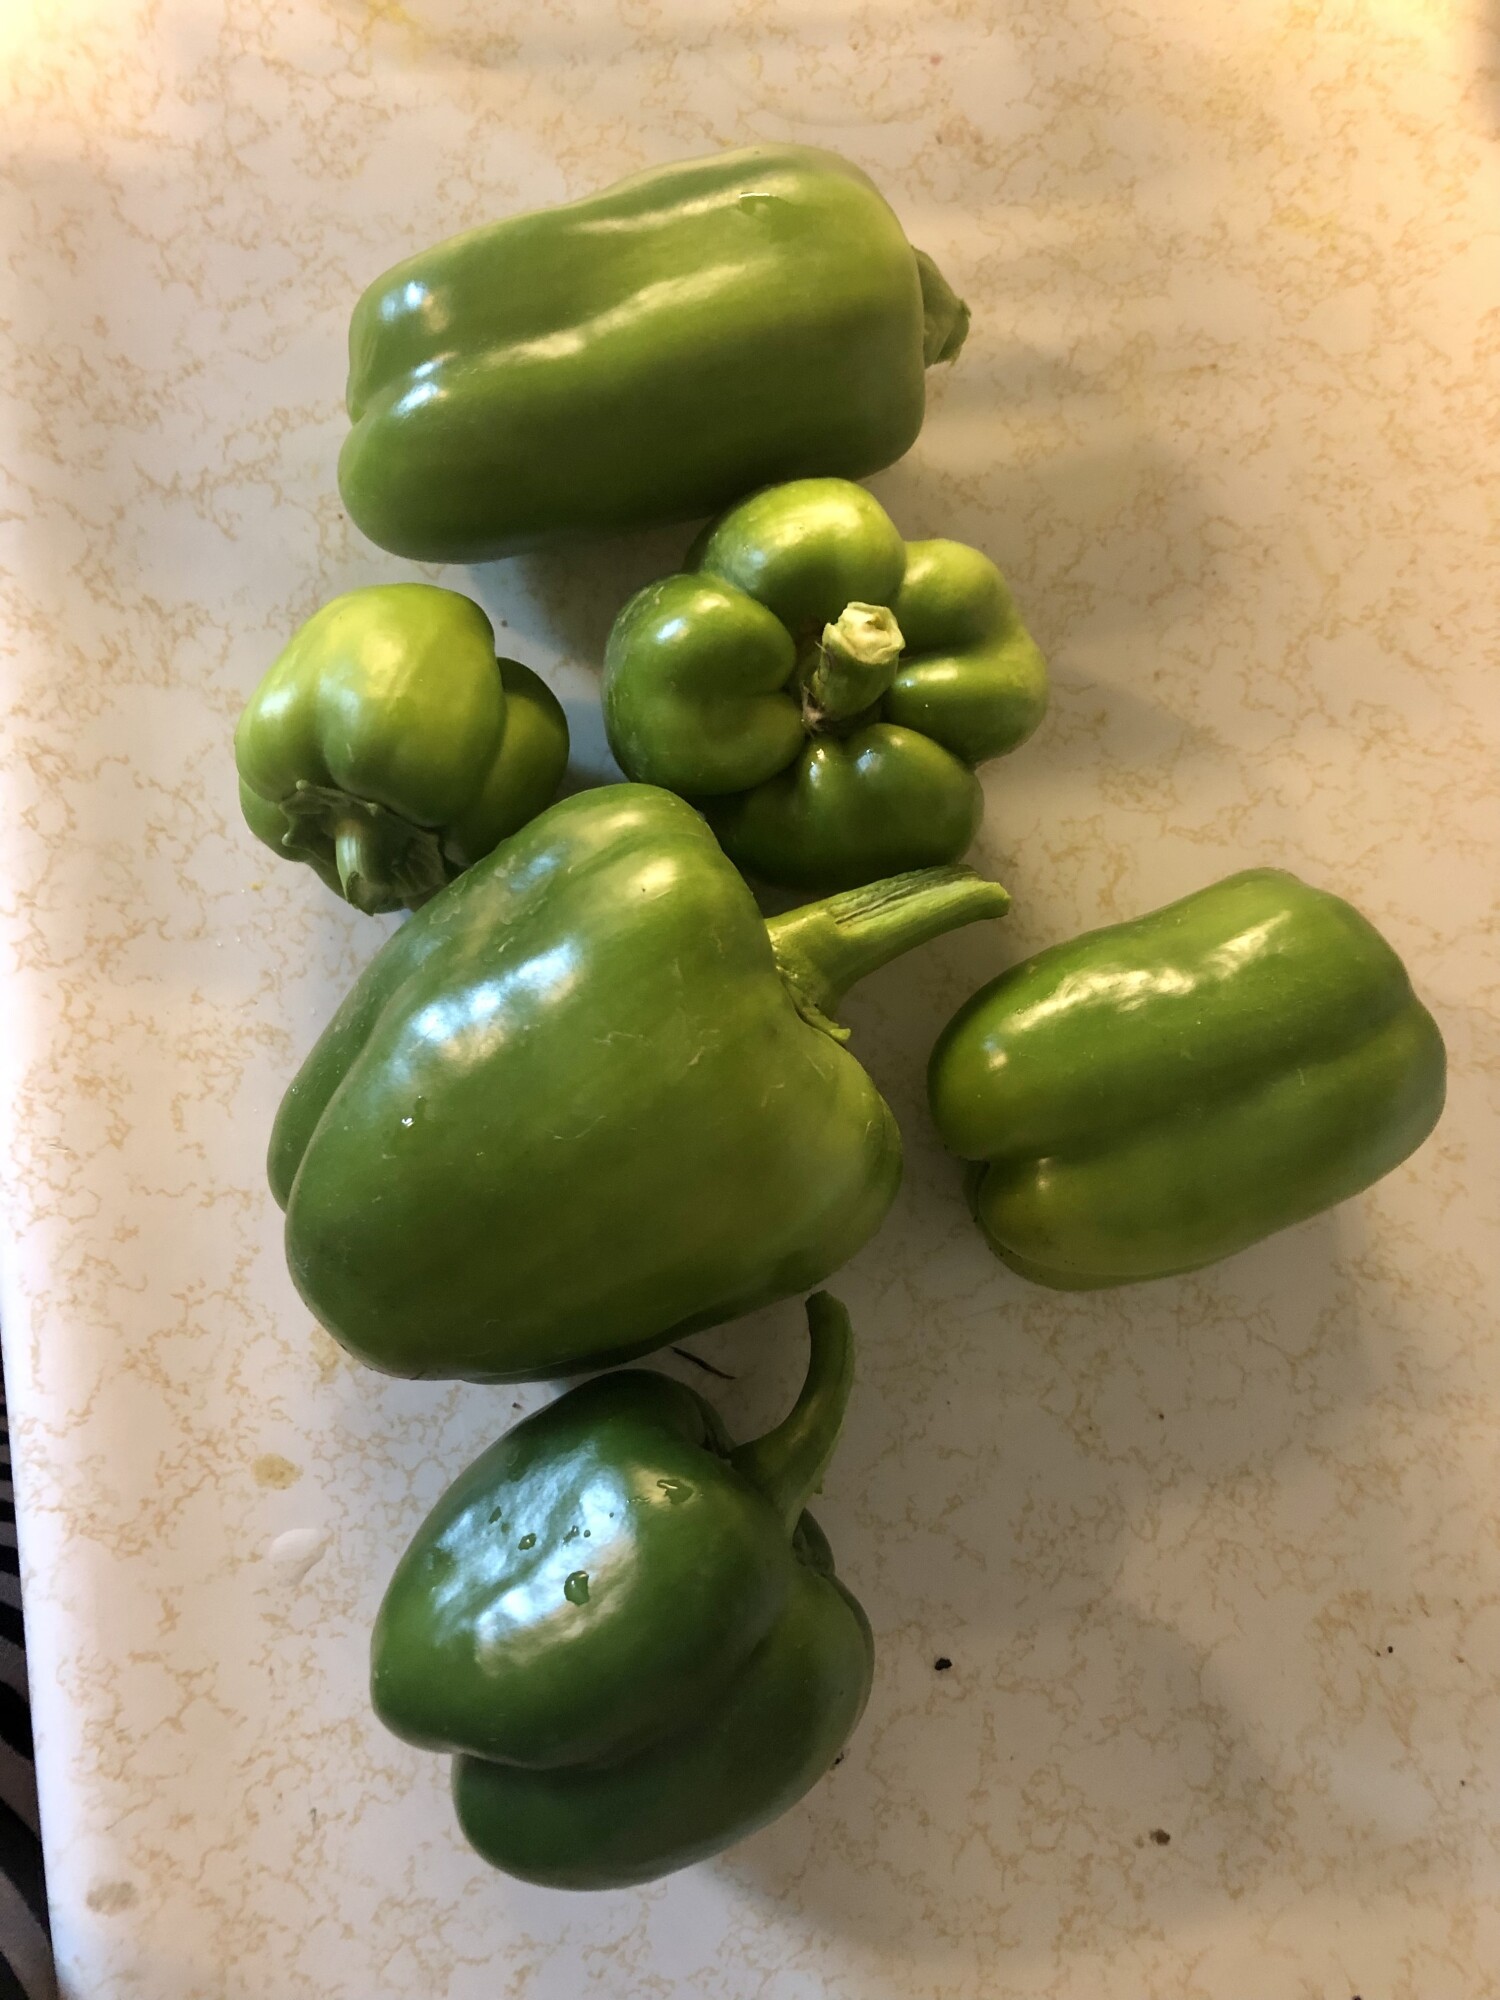
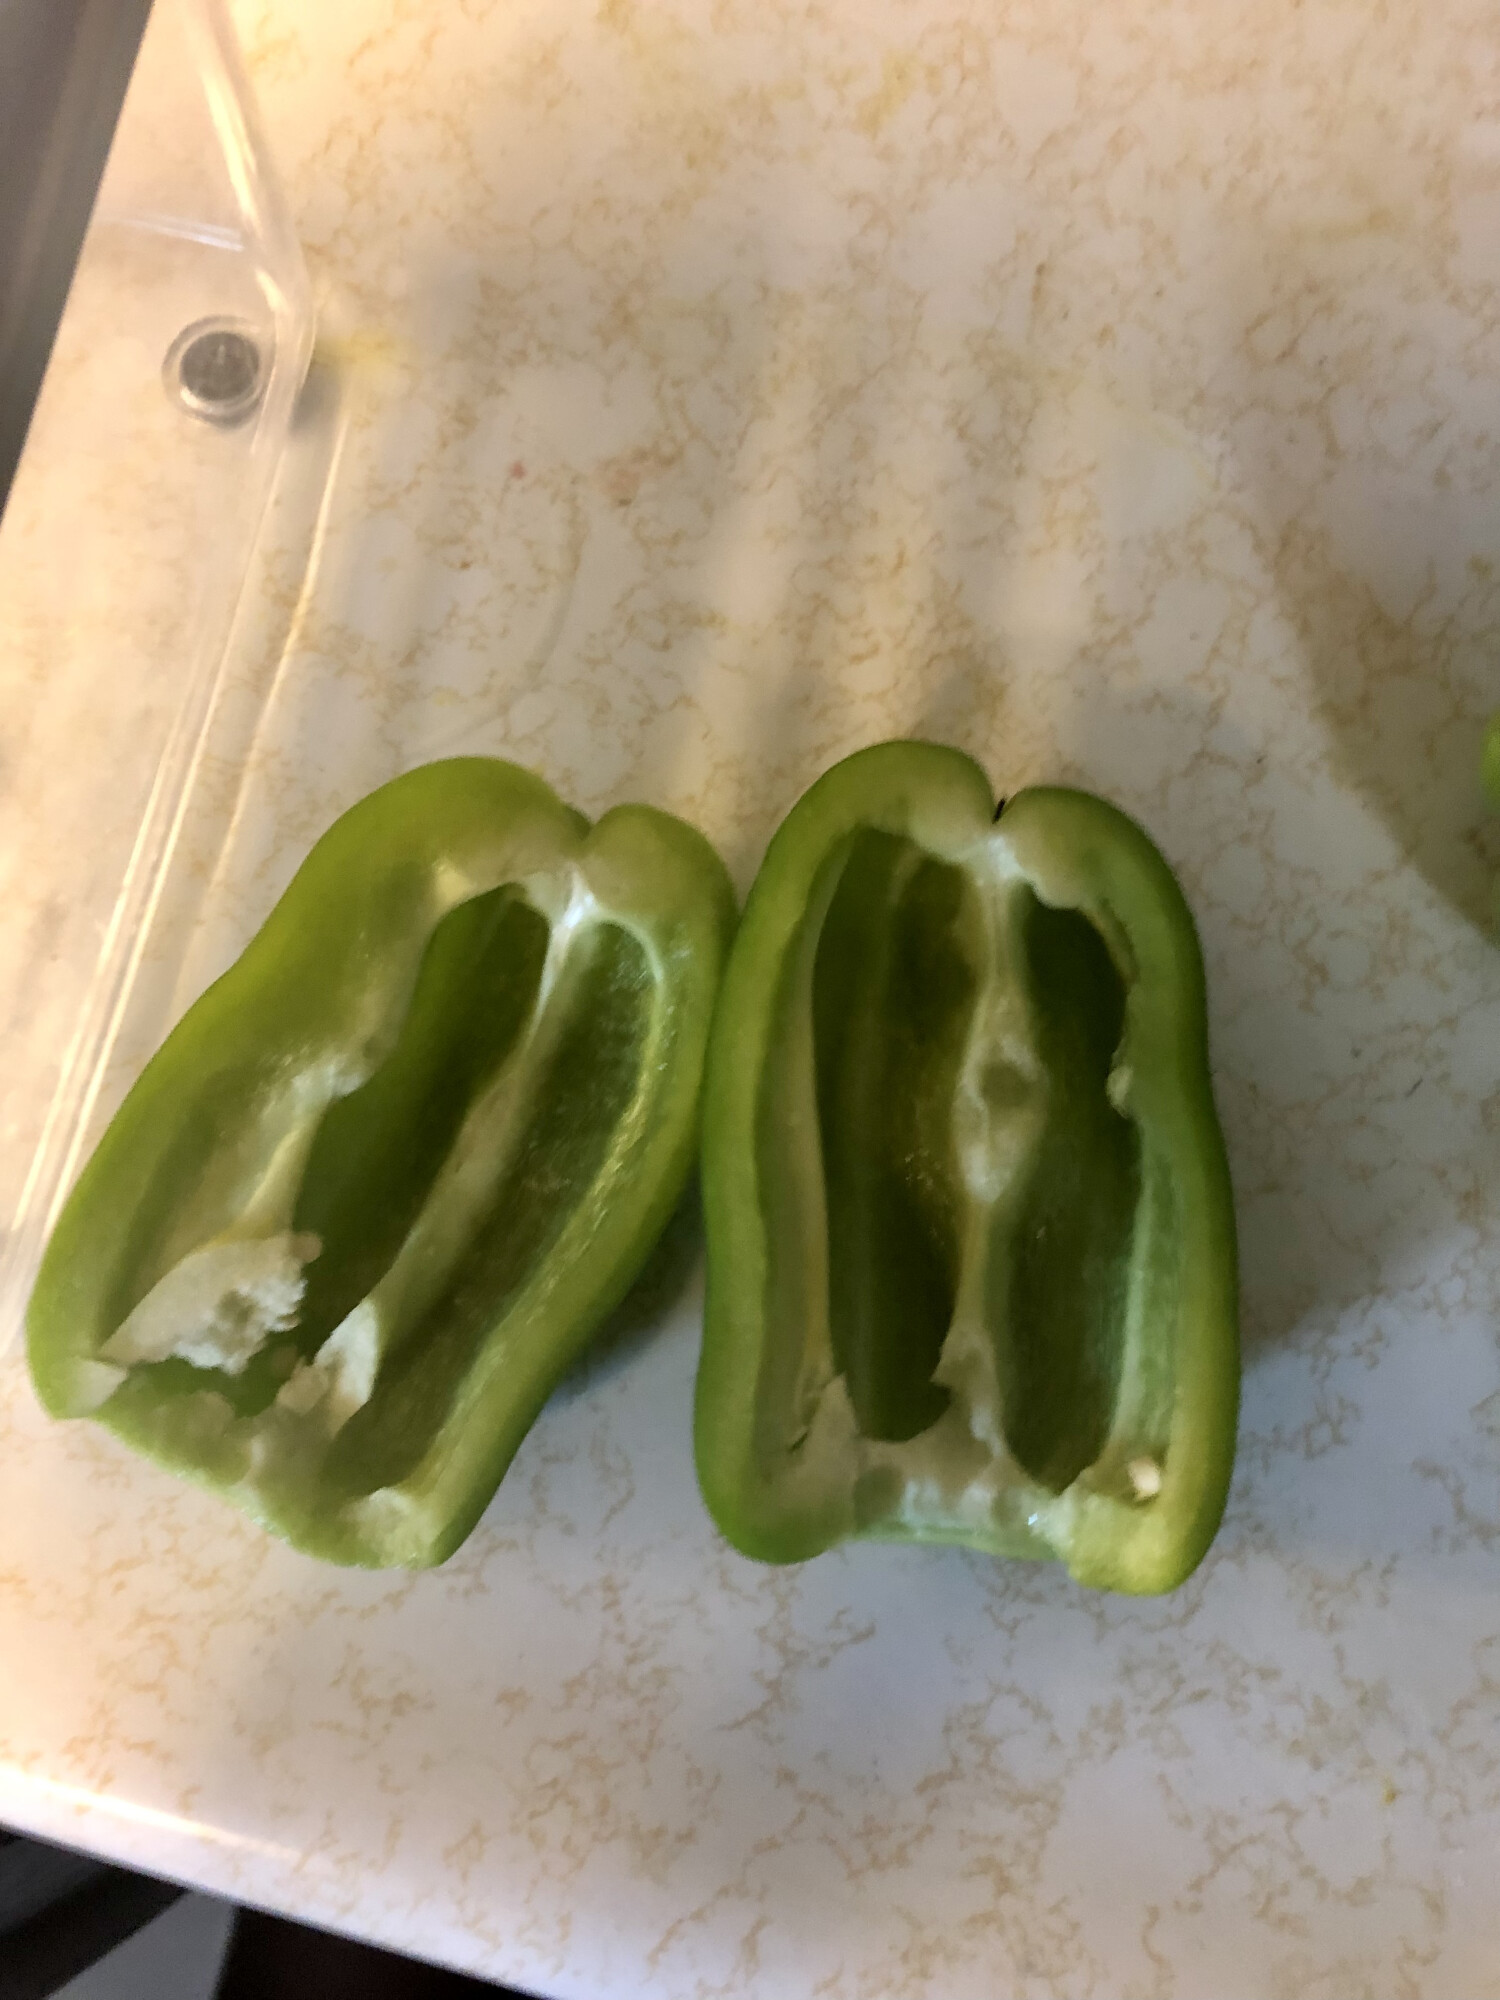
Step 3. Dice 1 jalapeno, 1 poblano pepper, and 1 red onion. Add to the stock pot. Many times I’ll chop them as I harvest and freeze them as shown. Then I can just dump the peppers in the pot as I go.


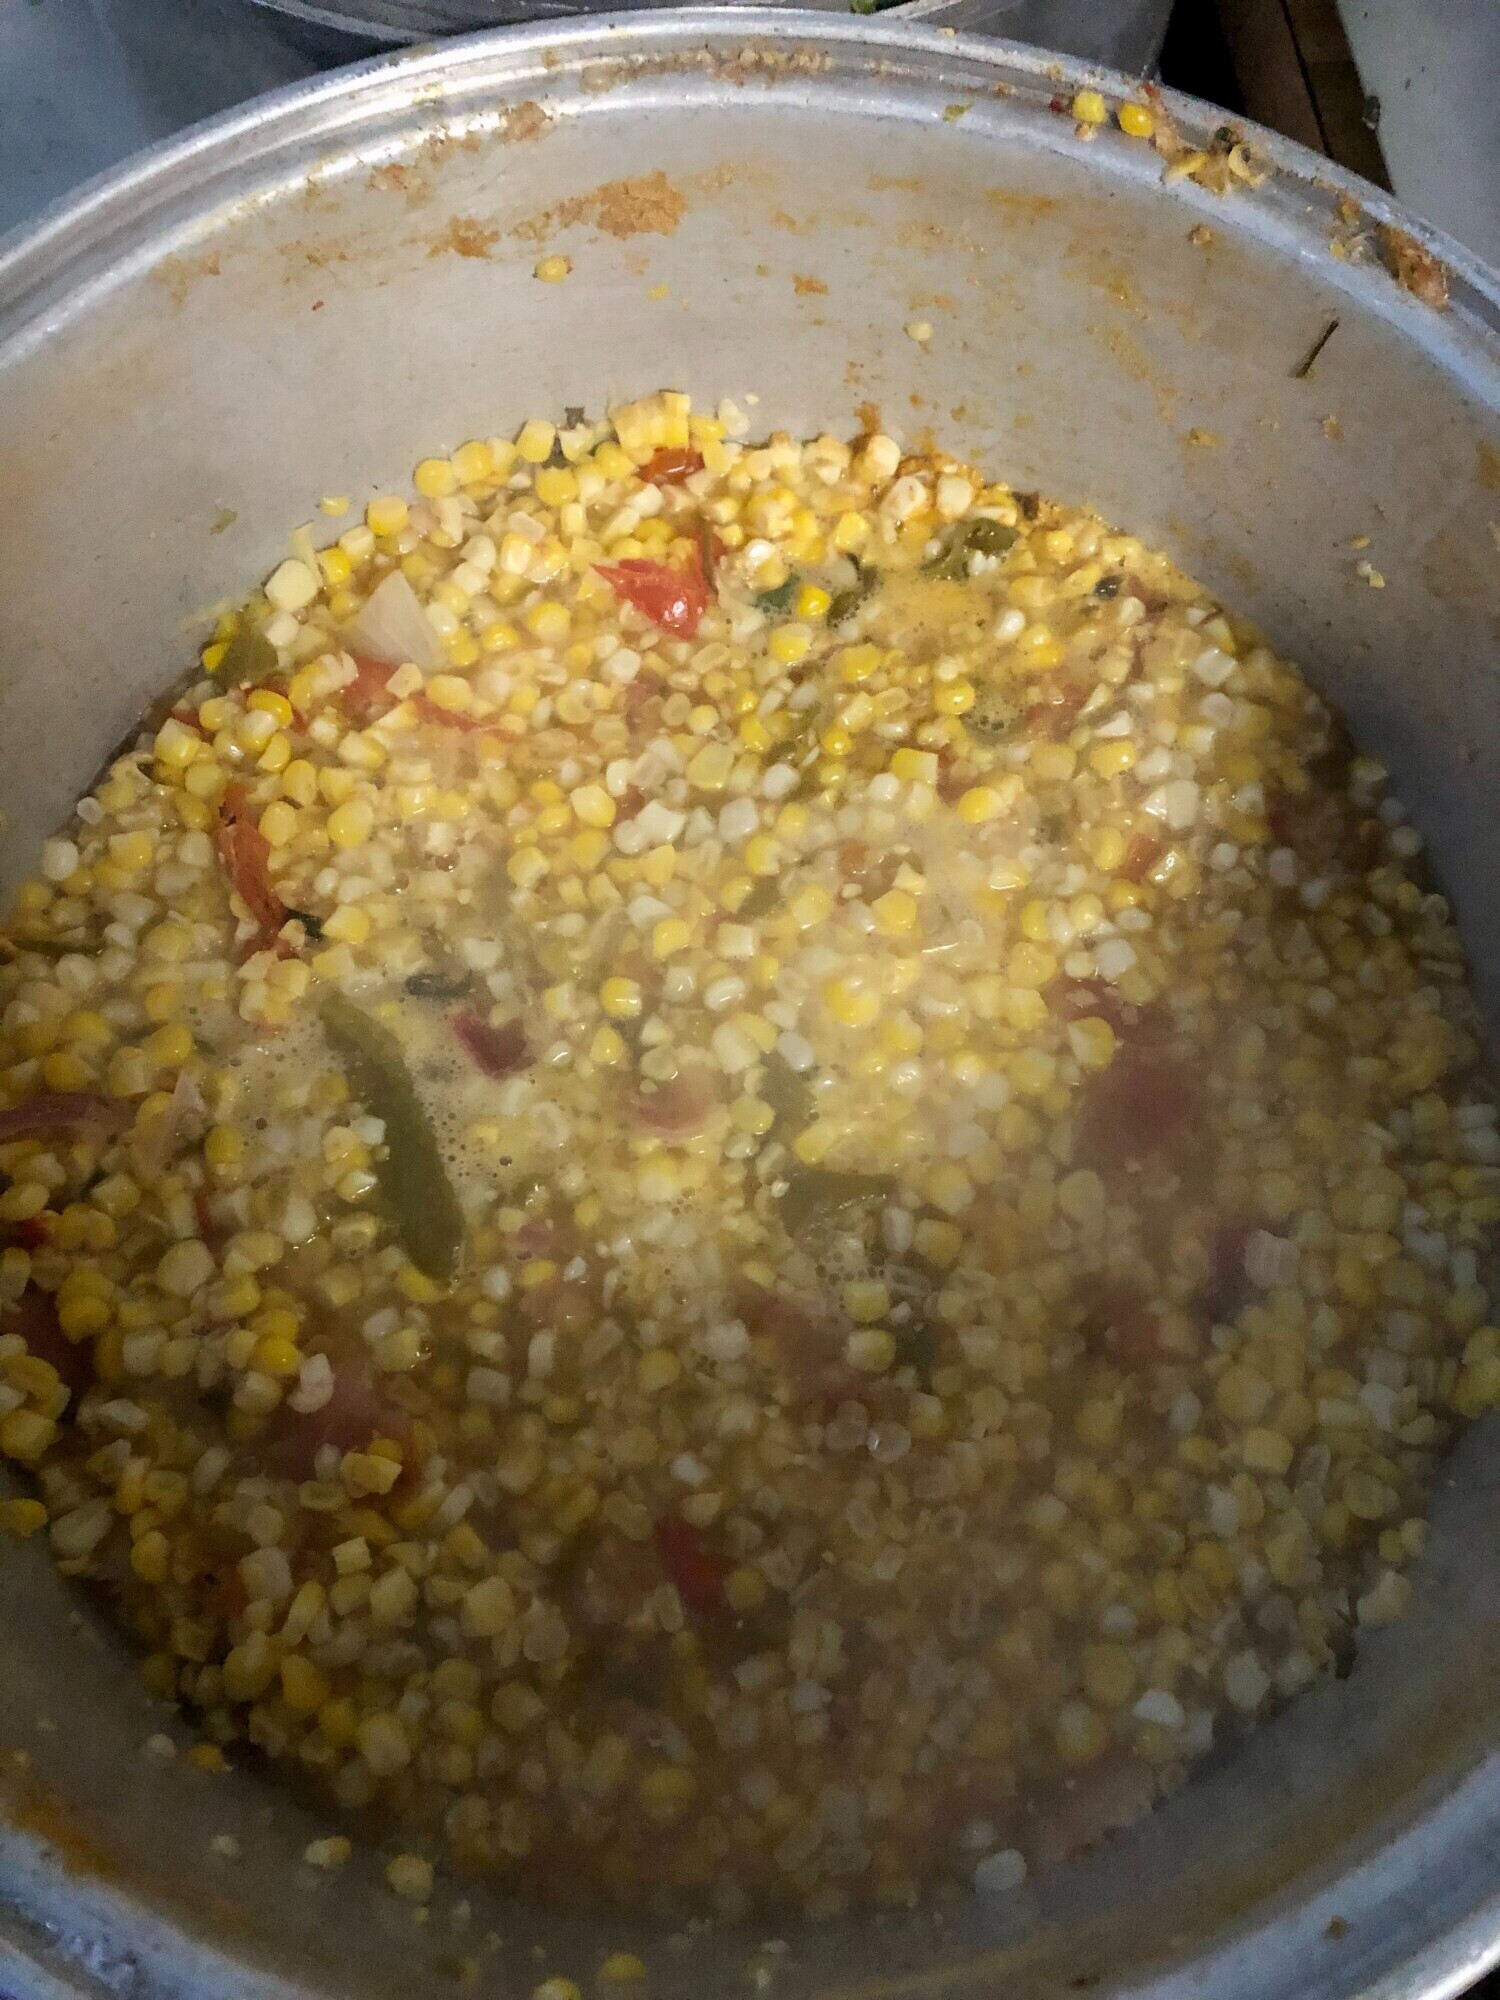
Step 4. Add 2 cloves garlic, 2t cilantro (double if using fresh), 2t cumin, 2t salt, 1 c sugar, 1 c vinegar. Add all to the stock pot.

Step 5. Bring the stock pot to boil then simmer for 15 minutes.
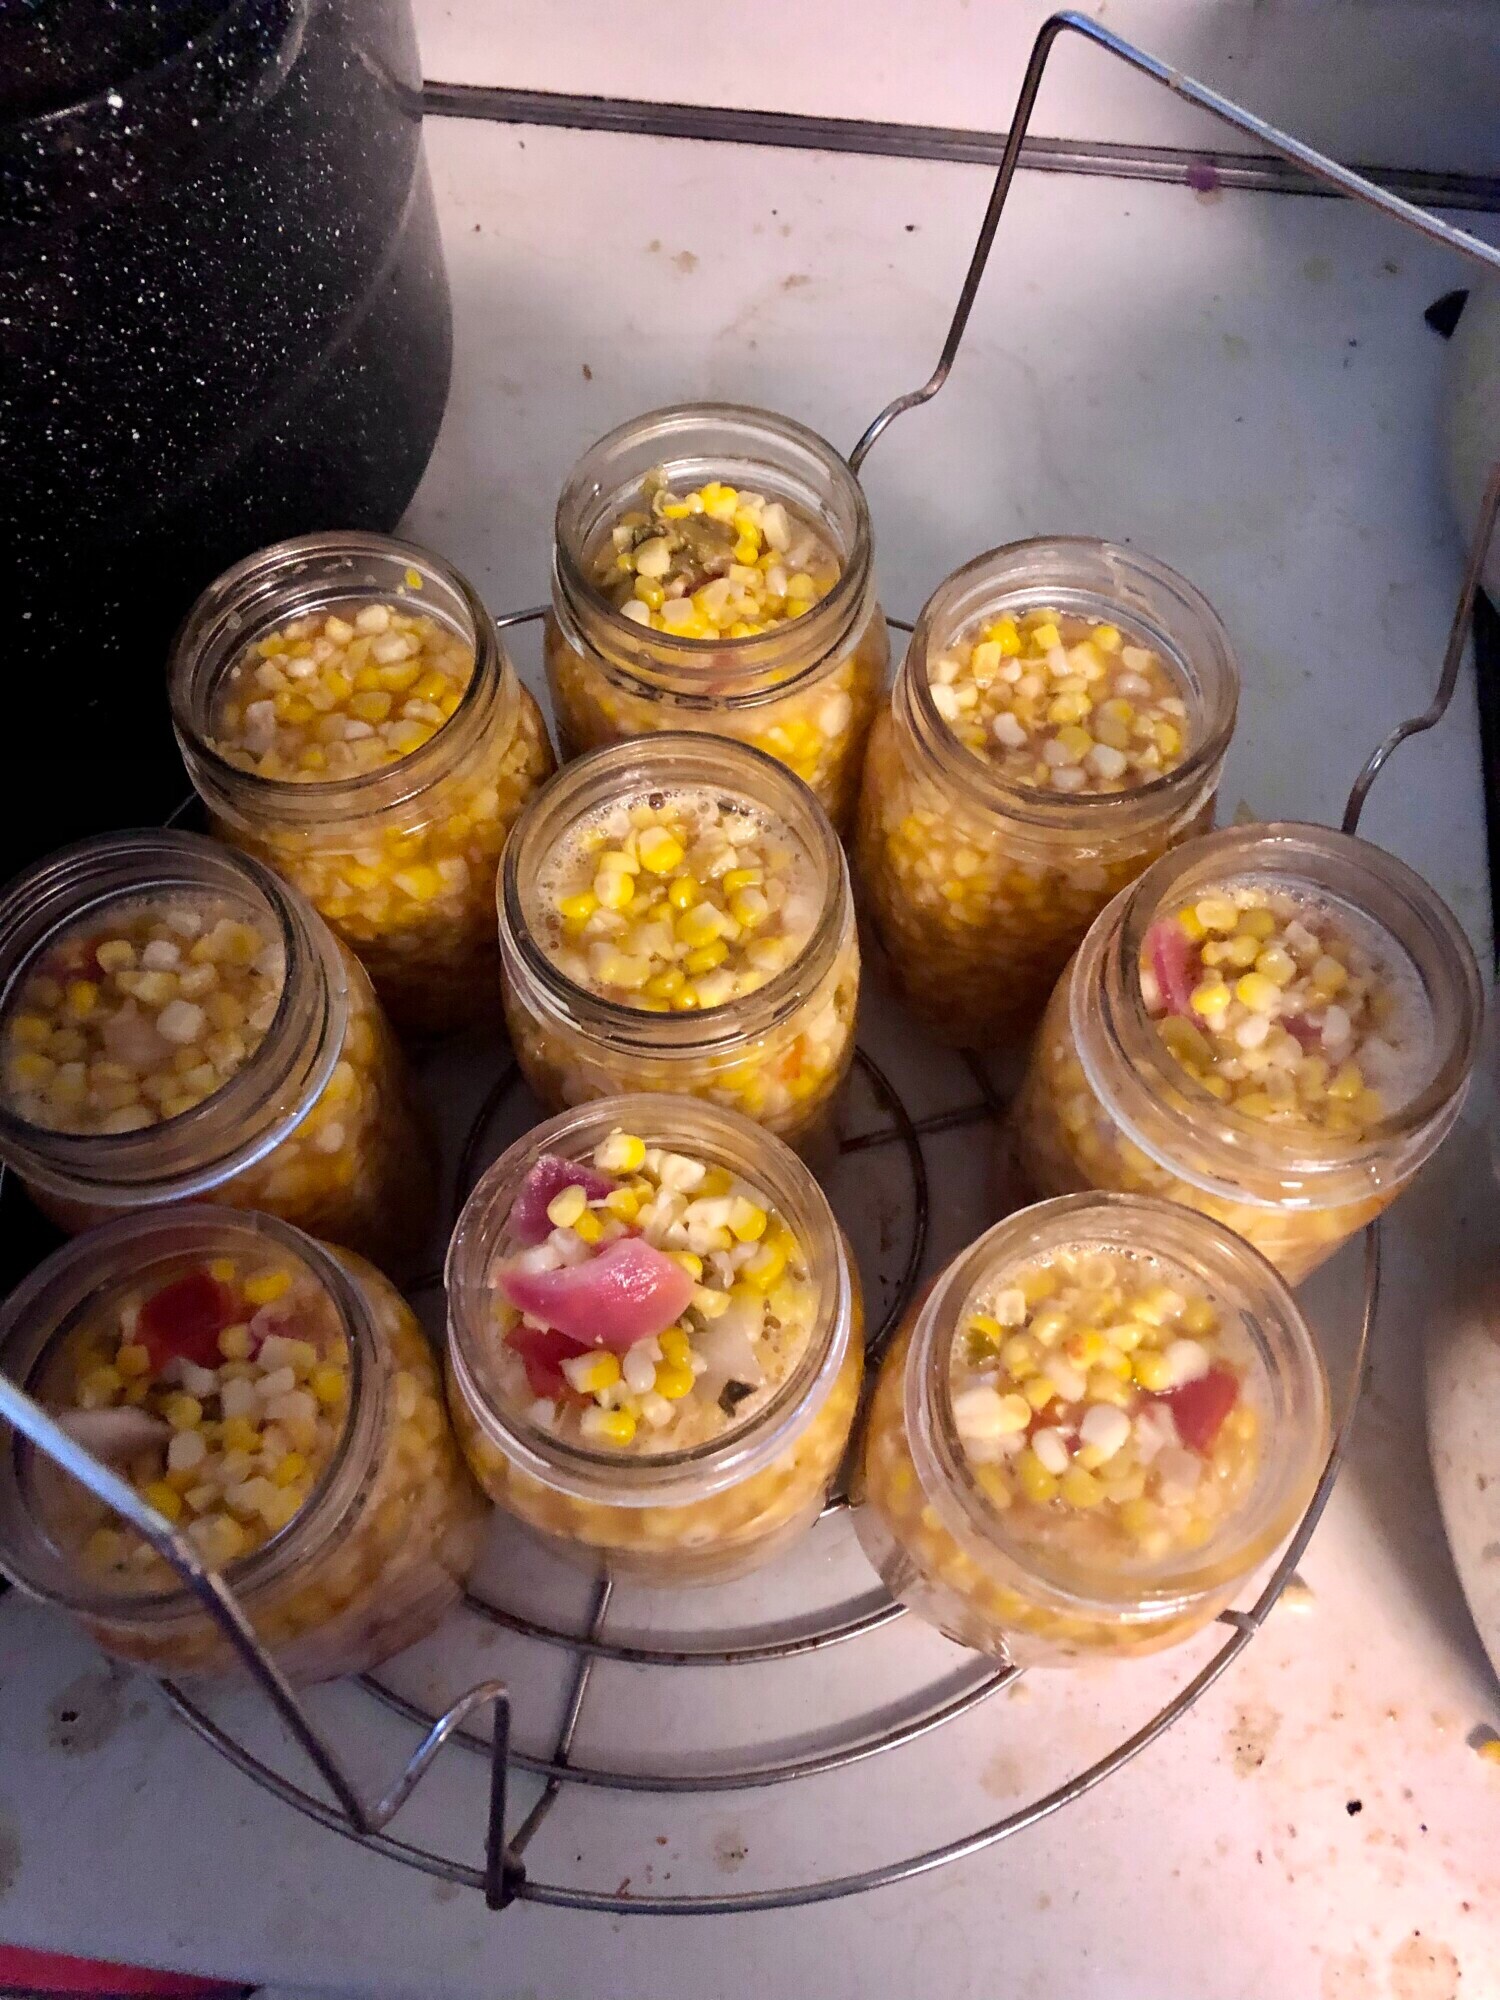
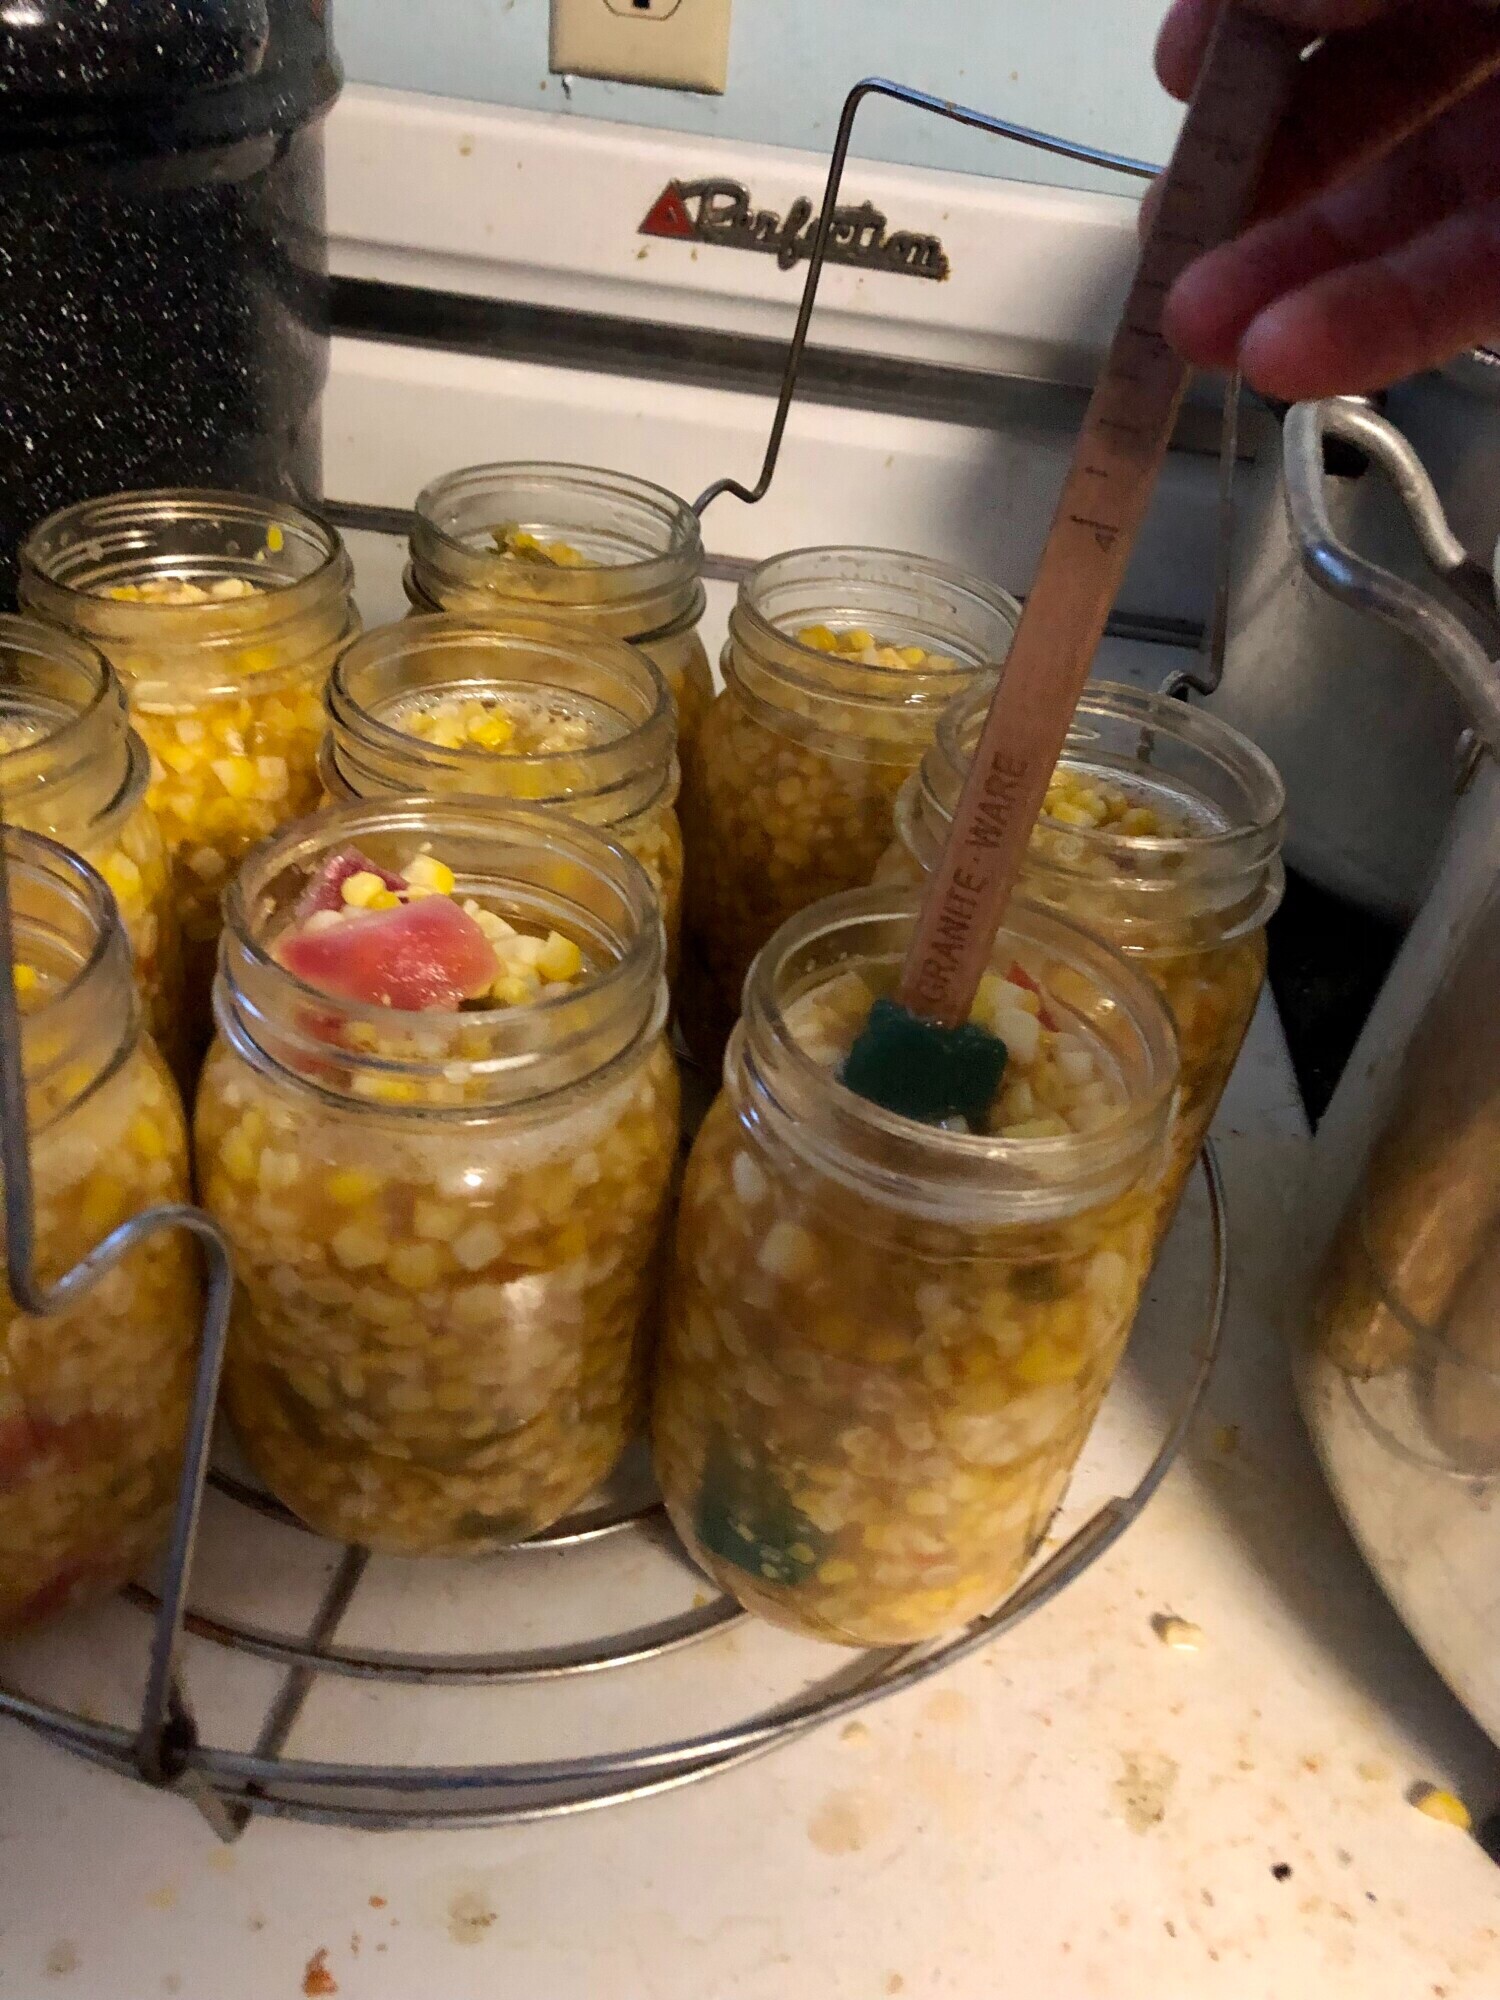
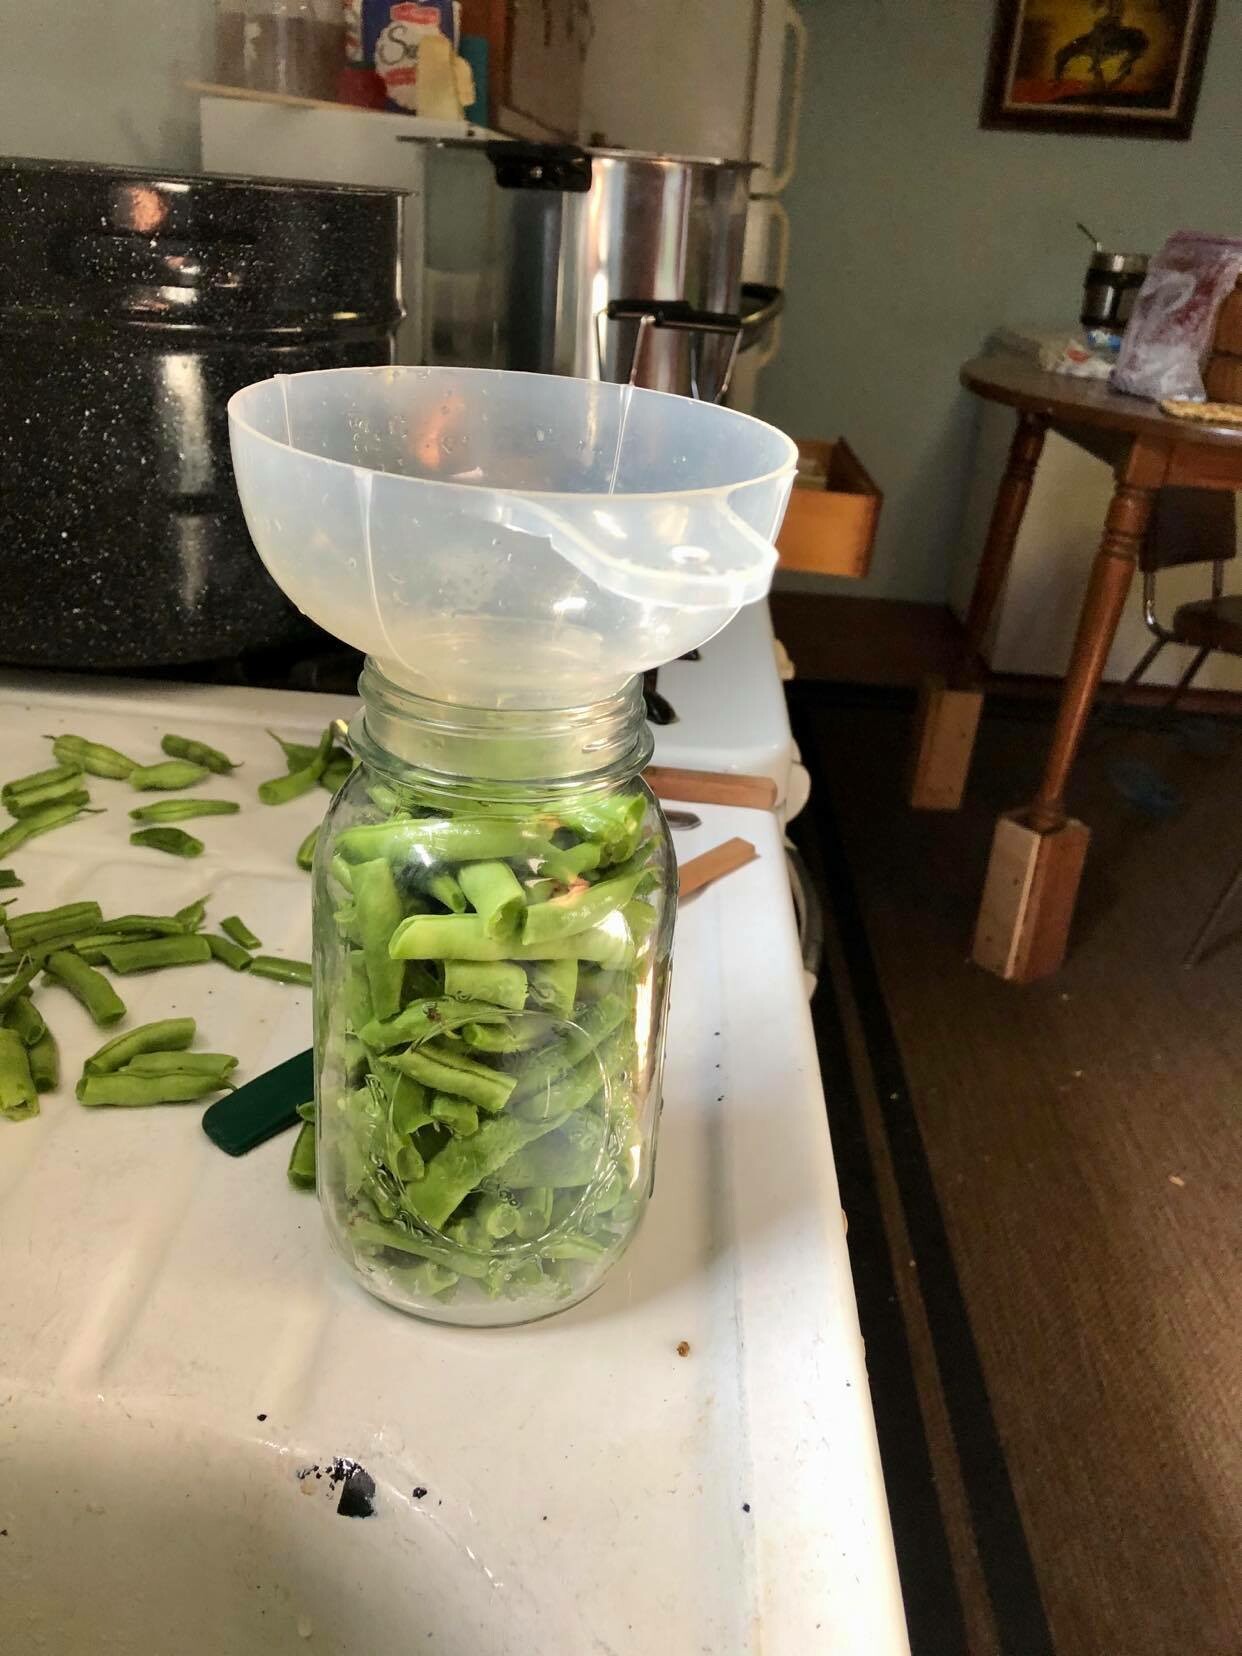
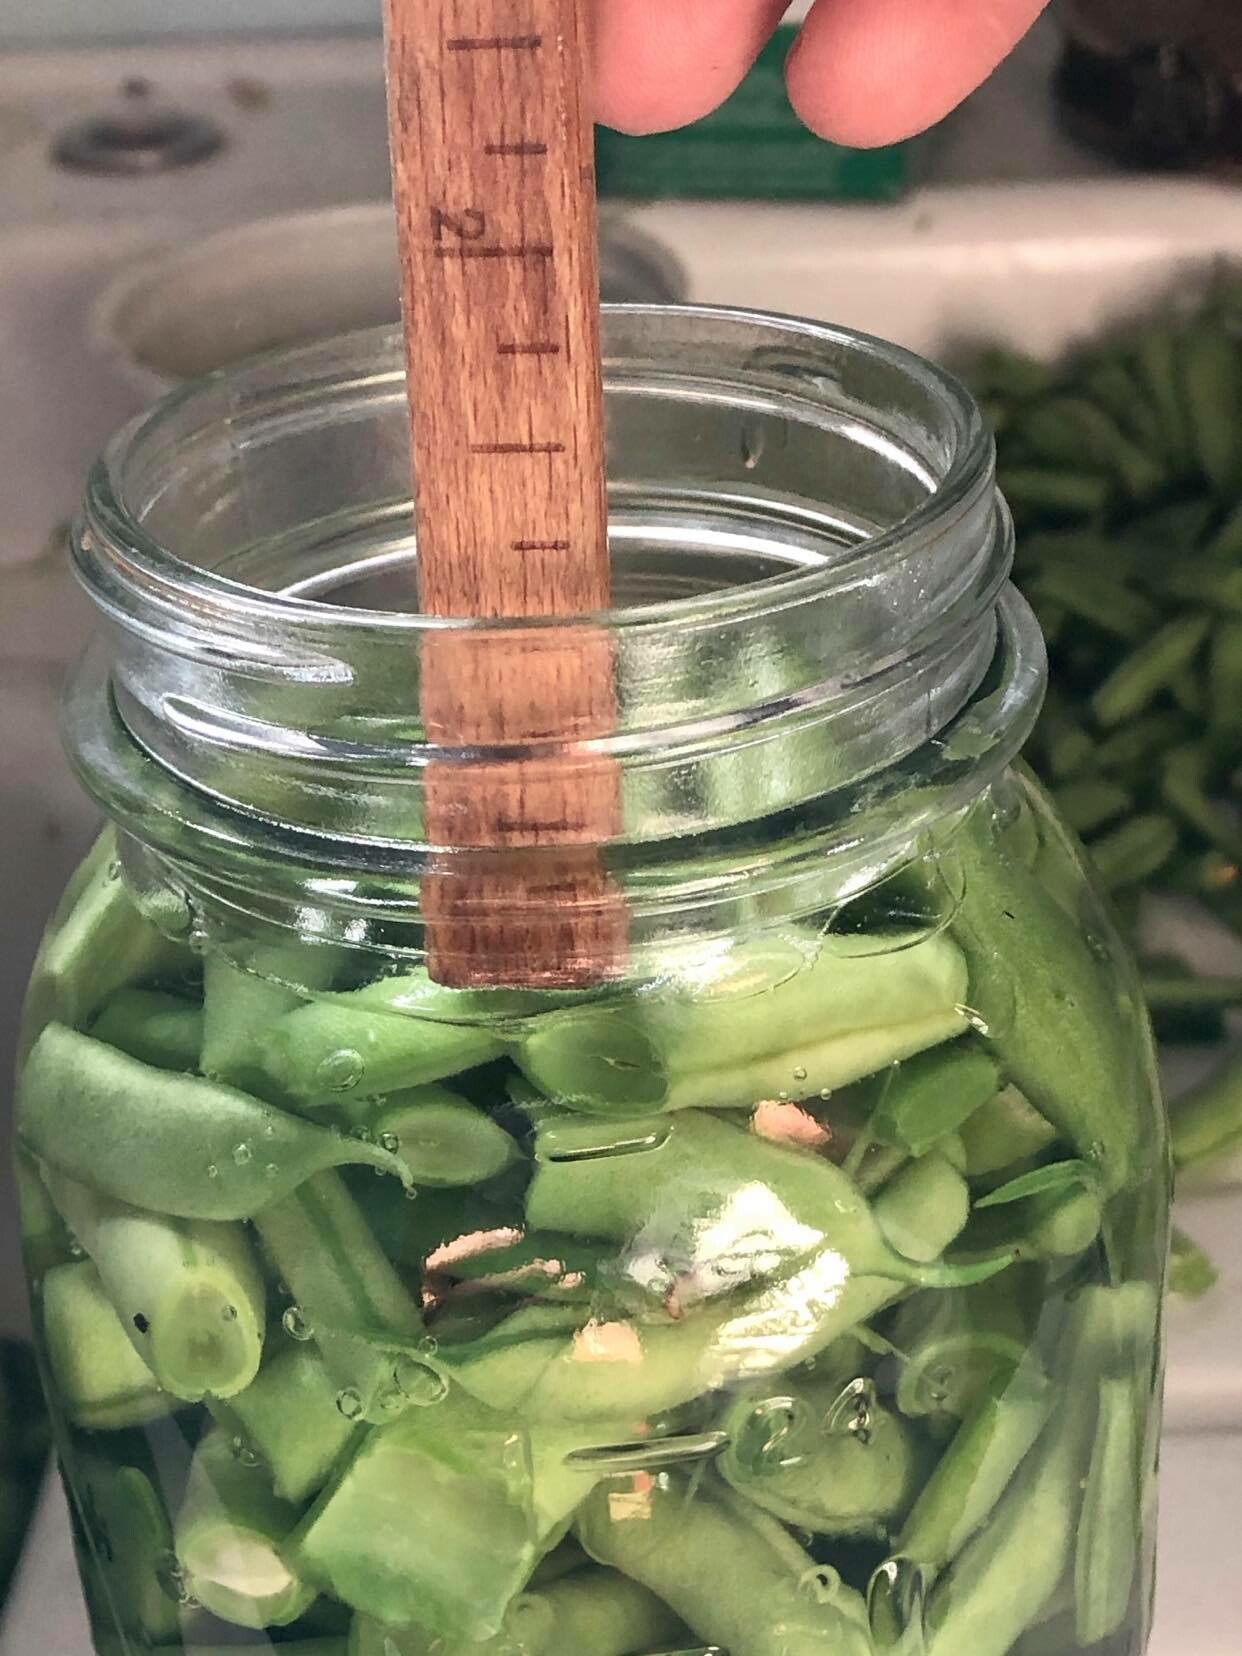
Step 6. Pack the jars leaving ½ inch head space.


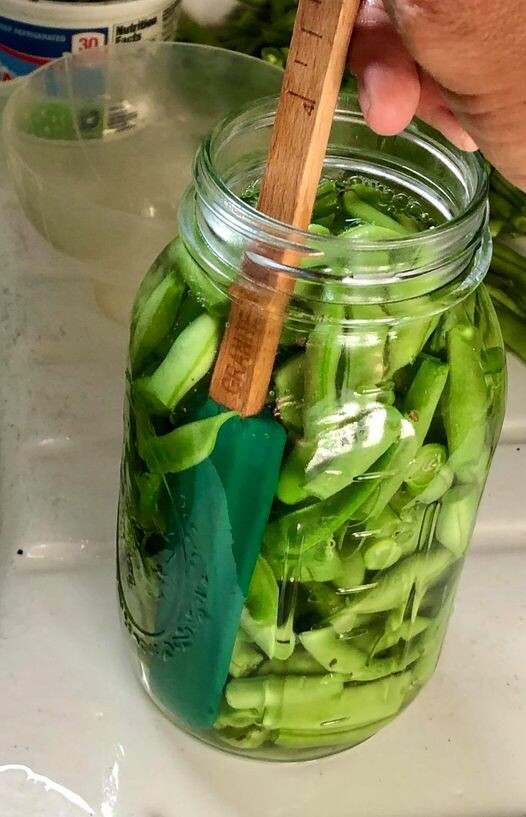
Step 7. De-Bubble. This step is very important!
Slide a long spatula along the edge of the jar 2-3 times to remove any trapped air bubbles.


If an air bubble is trapped and not removed your jar could explode in the canner.

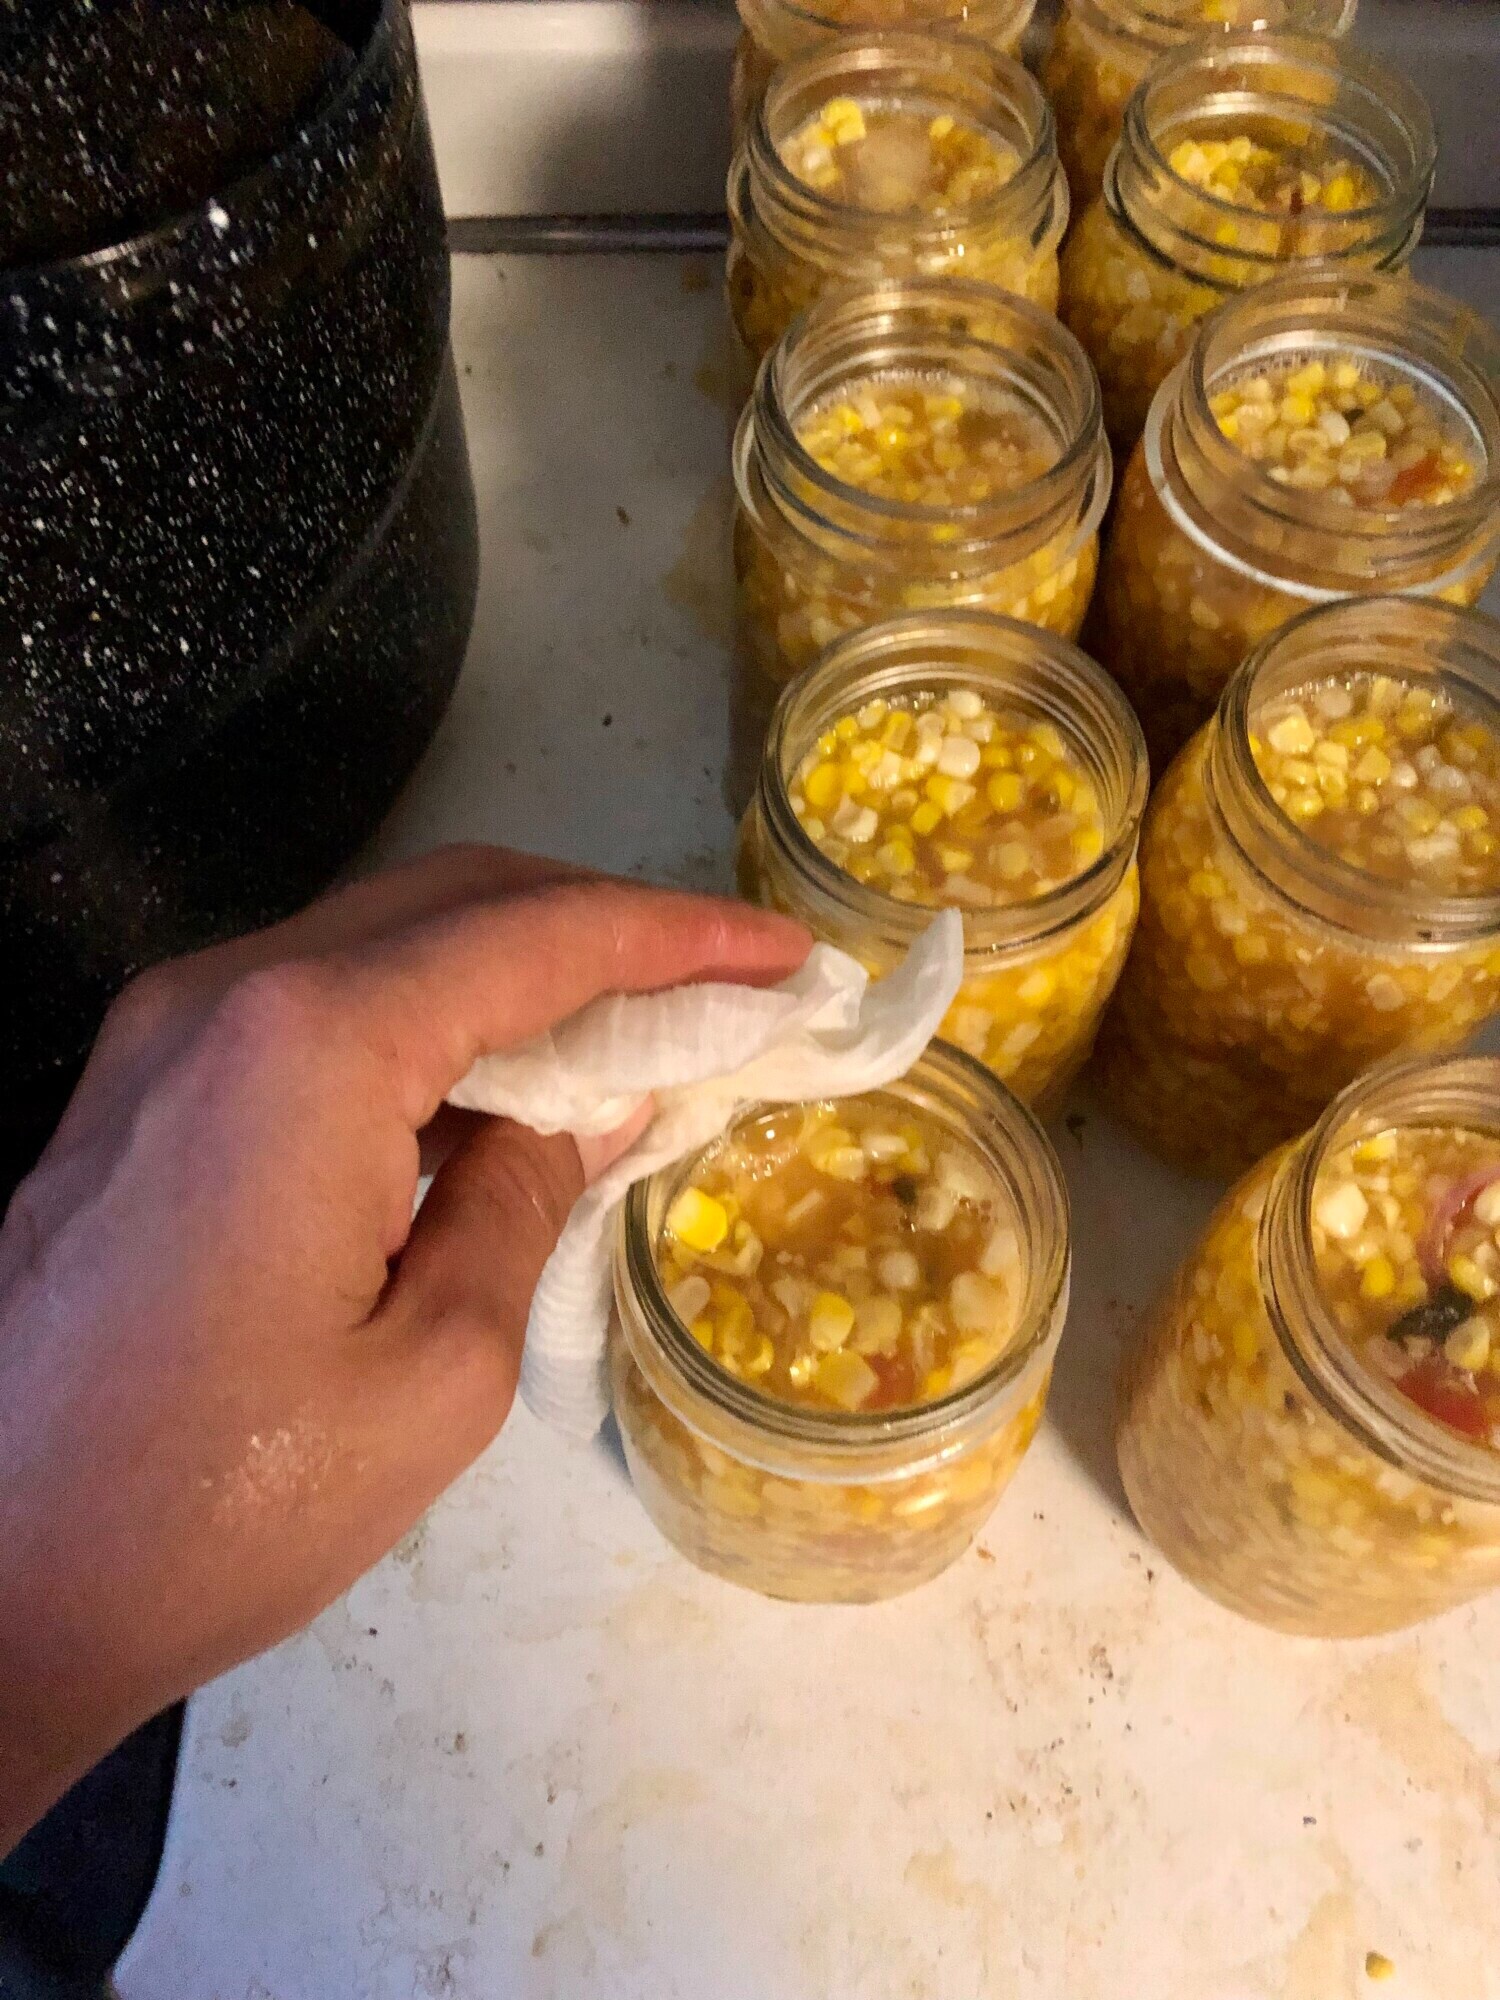
Step 8. Wipe the rims and attach lids. Rinse the, one time use, canning lids in hot water. This is new compared to older lids which you needed to boil first. Then set them on the jar and attach the rings down as tight as you can. 

If you are using reusable lids you will want to boil the seals and follow the instructions from the manufacturer. I purchased some from Tattler at www.reusablecanninglids.com


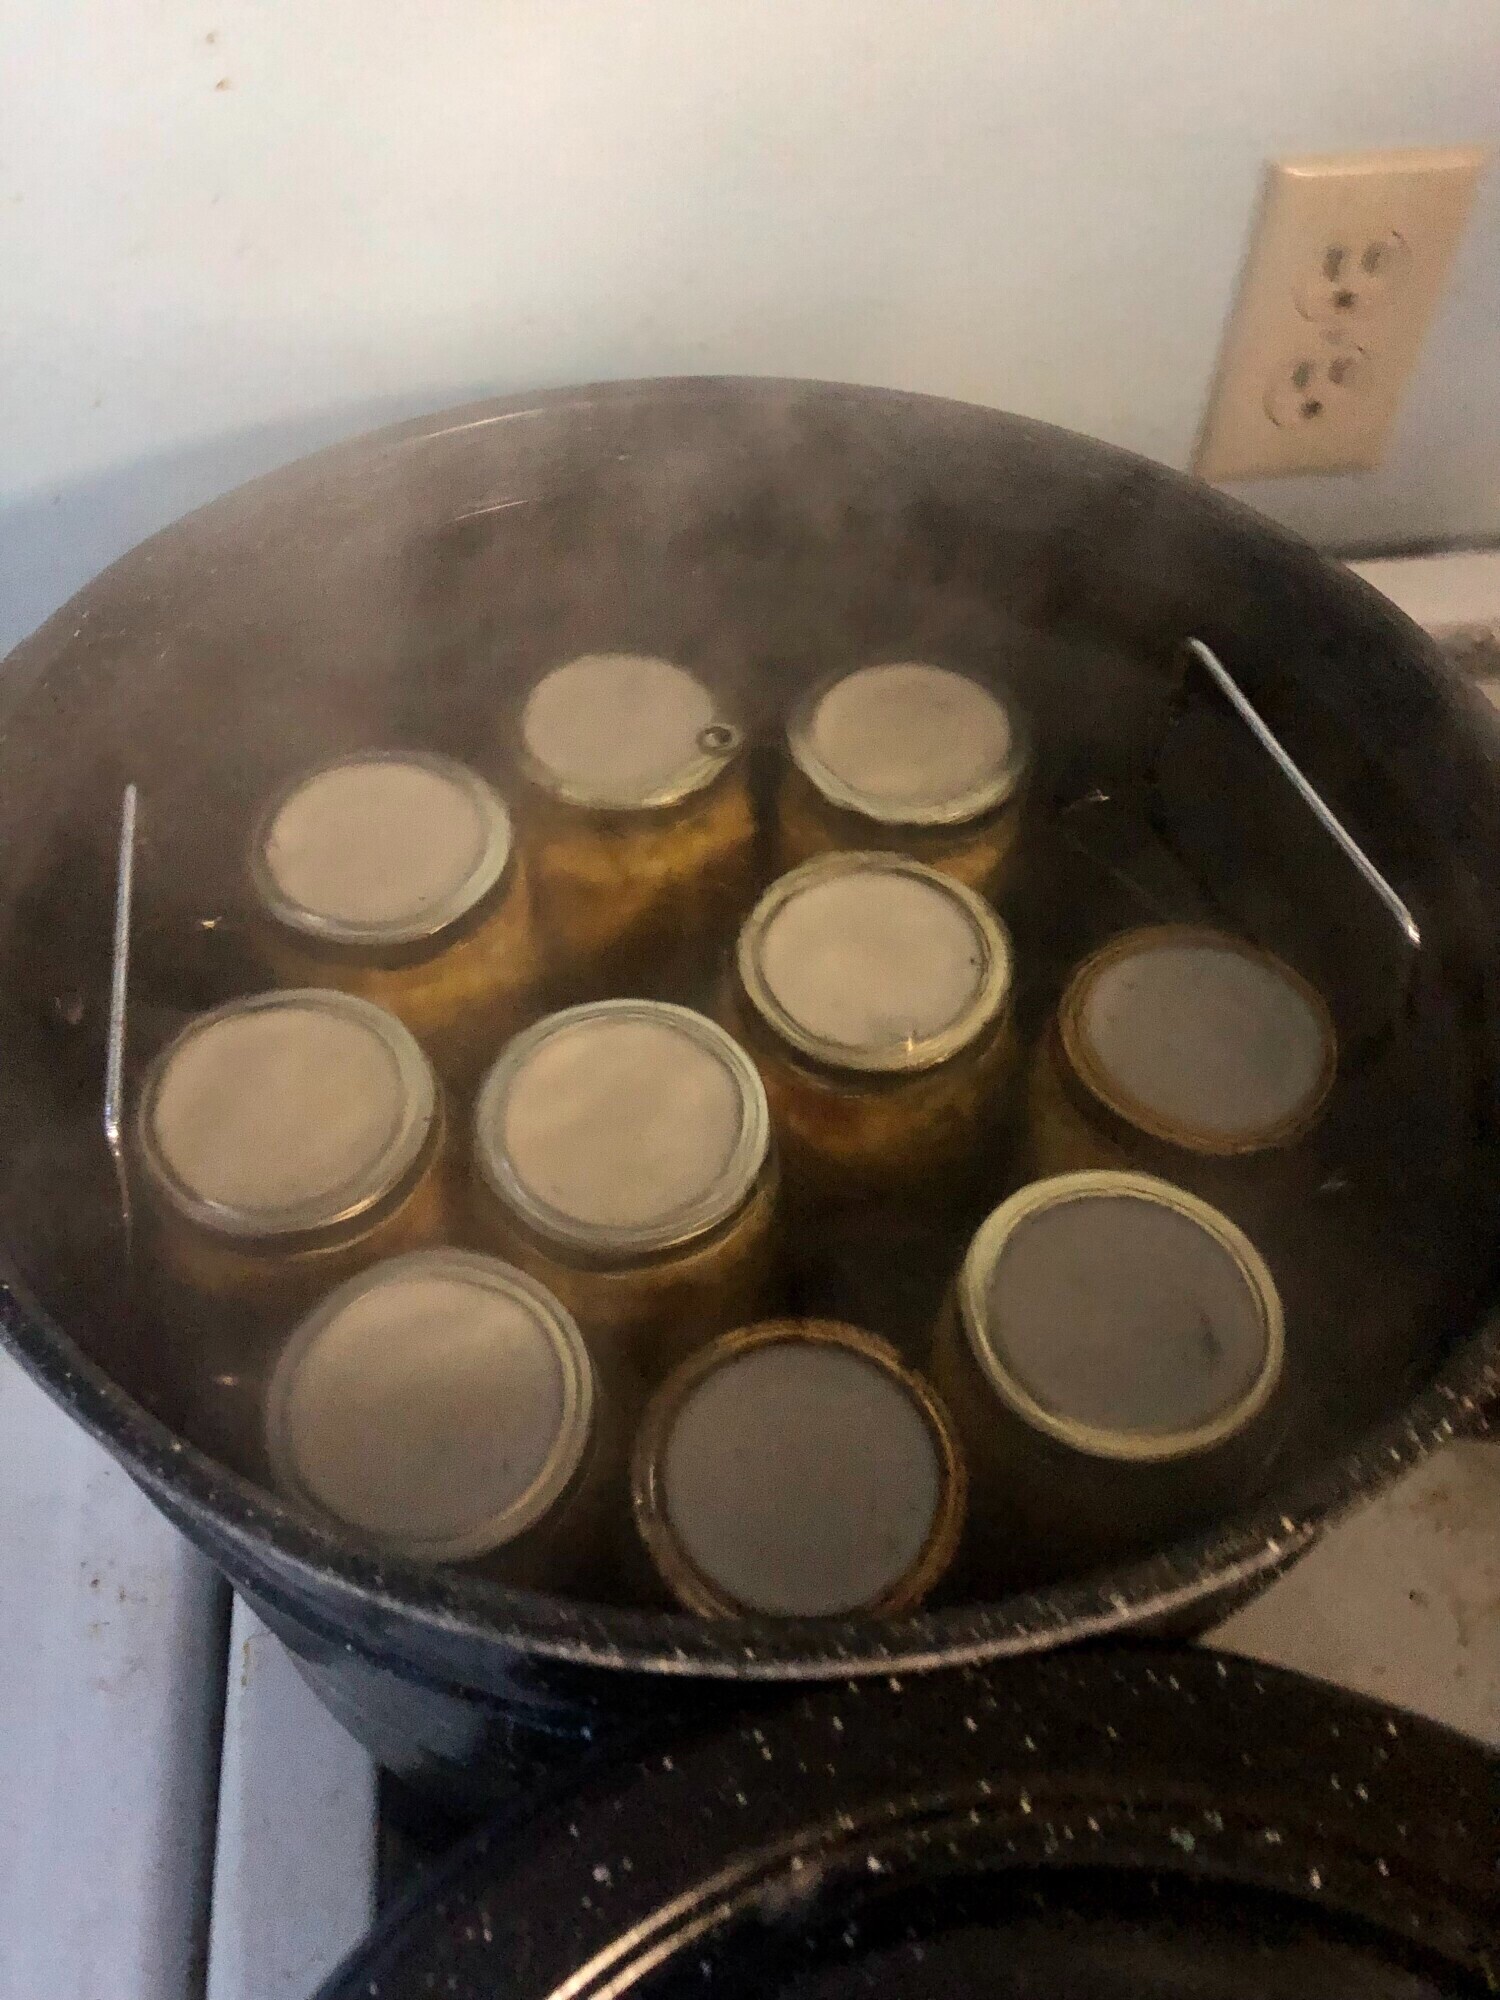
Step 9. Place jars in a hot water bath and place lid on. Bring to boil and process for 25 minutes. 

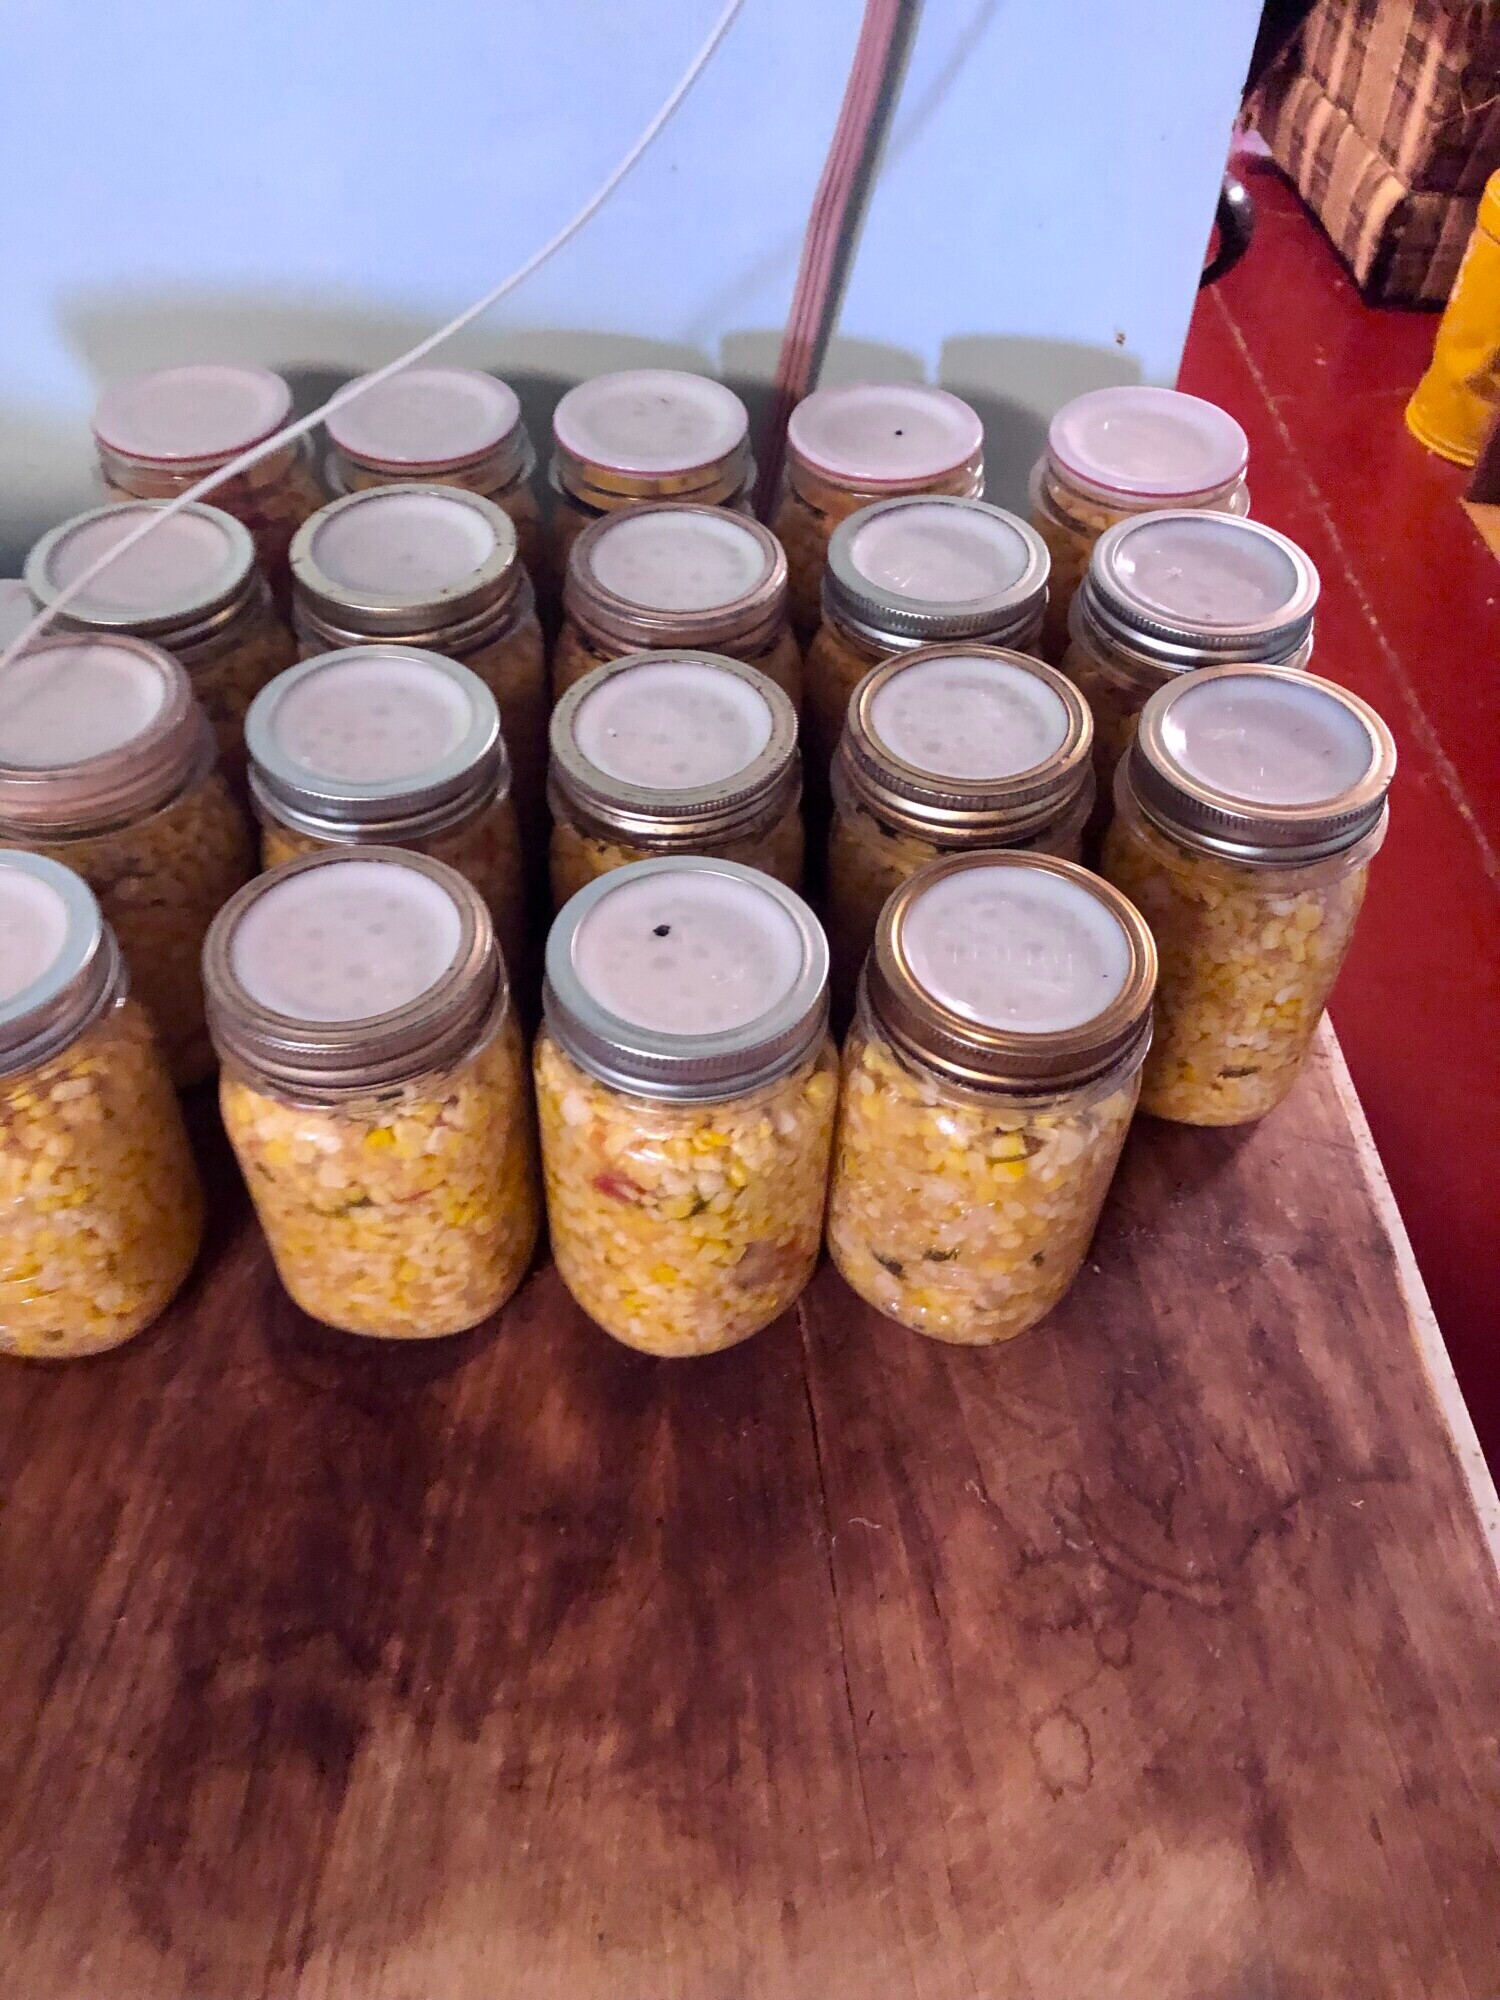
Step 10. Remove jars from the hot water bath and allow to cool completely. Check the lids to make sure the jars are sealed. Remove rings, label and store. For one time use lids, the bubble should be down and not pop up. For reusable lids, gently pick them up by the lid (it's terrifying the first few times), if the lid holds, the seal is good. 


Wanting a community to lean into? Join the FREE Courageous + Purposeful Mommas group! This community is for the Mommas, mommas to be, in the midst of raising, and kids grown, looking for tips on building your family up and providing for them through natural methods. Tips include: gardening, bulk buying, caning,/preserving, livestock, homesteading, and home remedies. Your family is precious, and this group is to help you gain the knowledge and tools to keep your family well and not reliant on outside professionals. Remedies and tips are easy and simple for the busy momma, time is precious after all, including pregnancy, birth, young kids, and illness. Trust your Momma gut again! This community offers the resources + community you need to help get started on your journey and prepare for whatever future you envision.

Join the Free Community


Click here to get the stories straight to your email:

Sign up for the Blog


For more on wellness tips click here:

Sign up for Wellness tips


For more on homesteading on your budget click here:

Sign up for Homesteading Tips


For more simple DIY updates click here:
Sign up for easy DIYs 


Freezing Corn

Freezing Corn
This post may contain affiliate links, which means that I may receive a commission if you make a purchase using these links, with NO additional cost to you. 

I love growing my own food. Part of growing all the food is not only eating it fresh in the summer, but preserving it for winter use. One vegetable we eat a lot of is corn. Freezing corn is a simple but time consuming process. The best way is to get a group of friends and family and make a party out of it, splitting the end product. 

You will need freezer bags quart or gallon works best or other freezer containers.
Large stock pot for blanching.
Cutting boards and knives

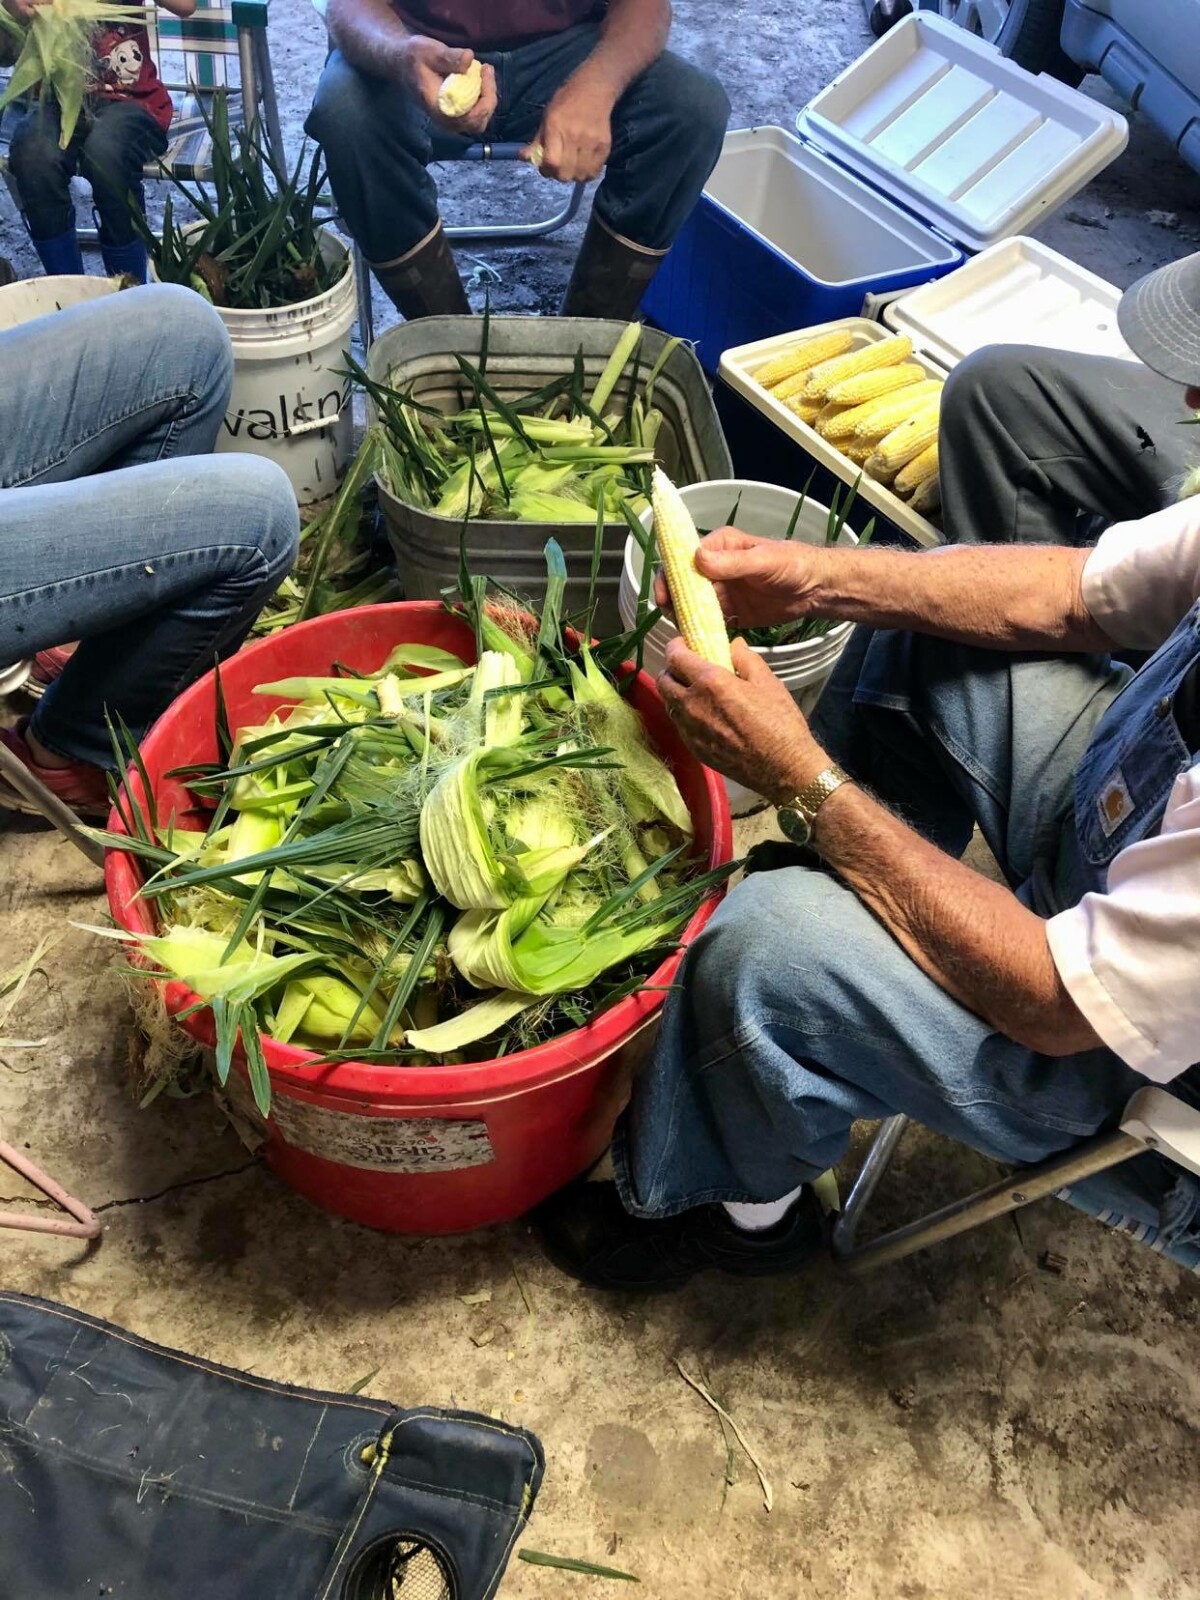
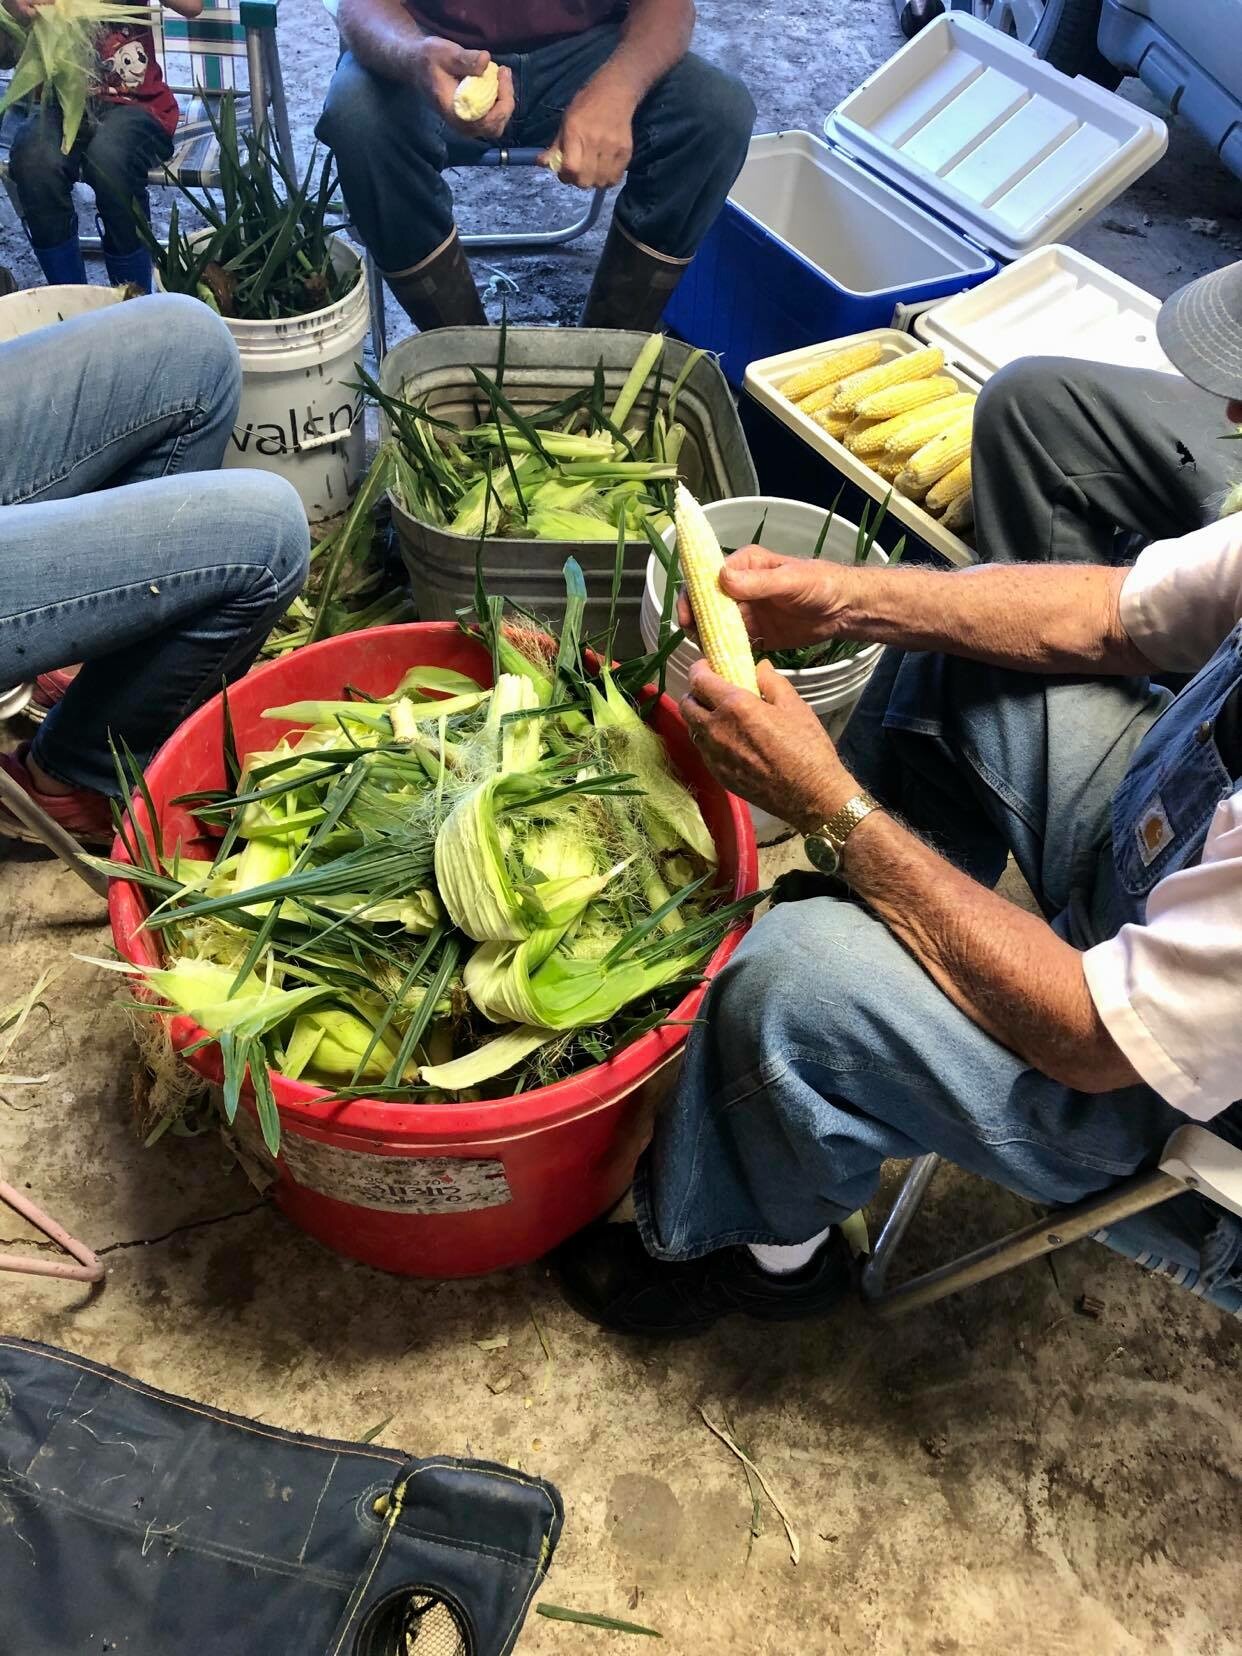
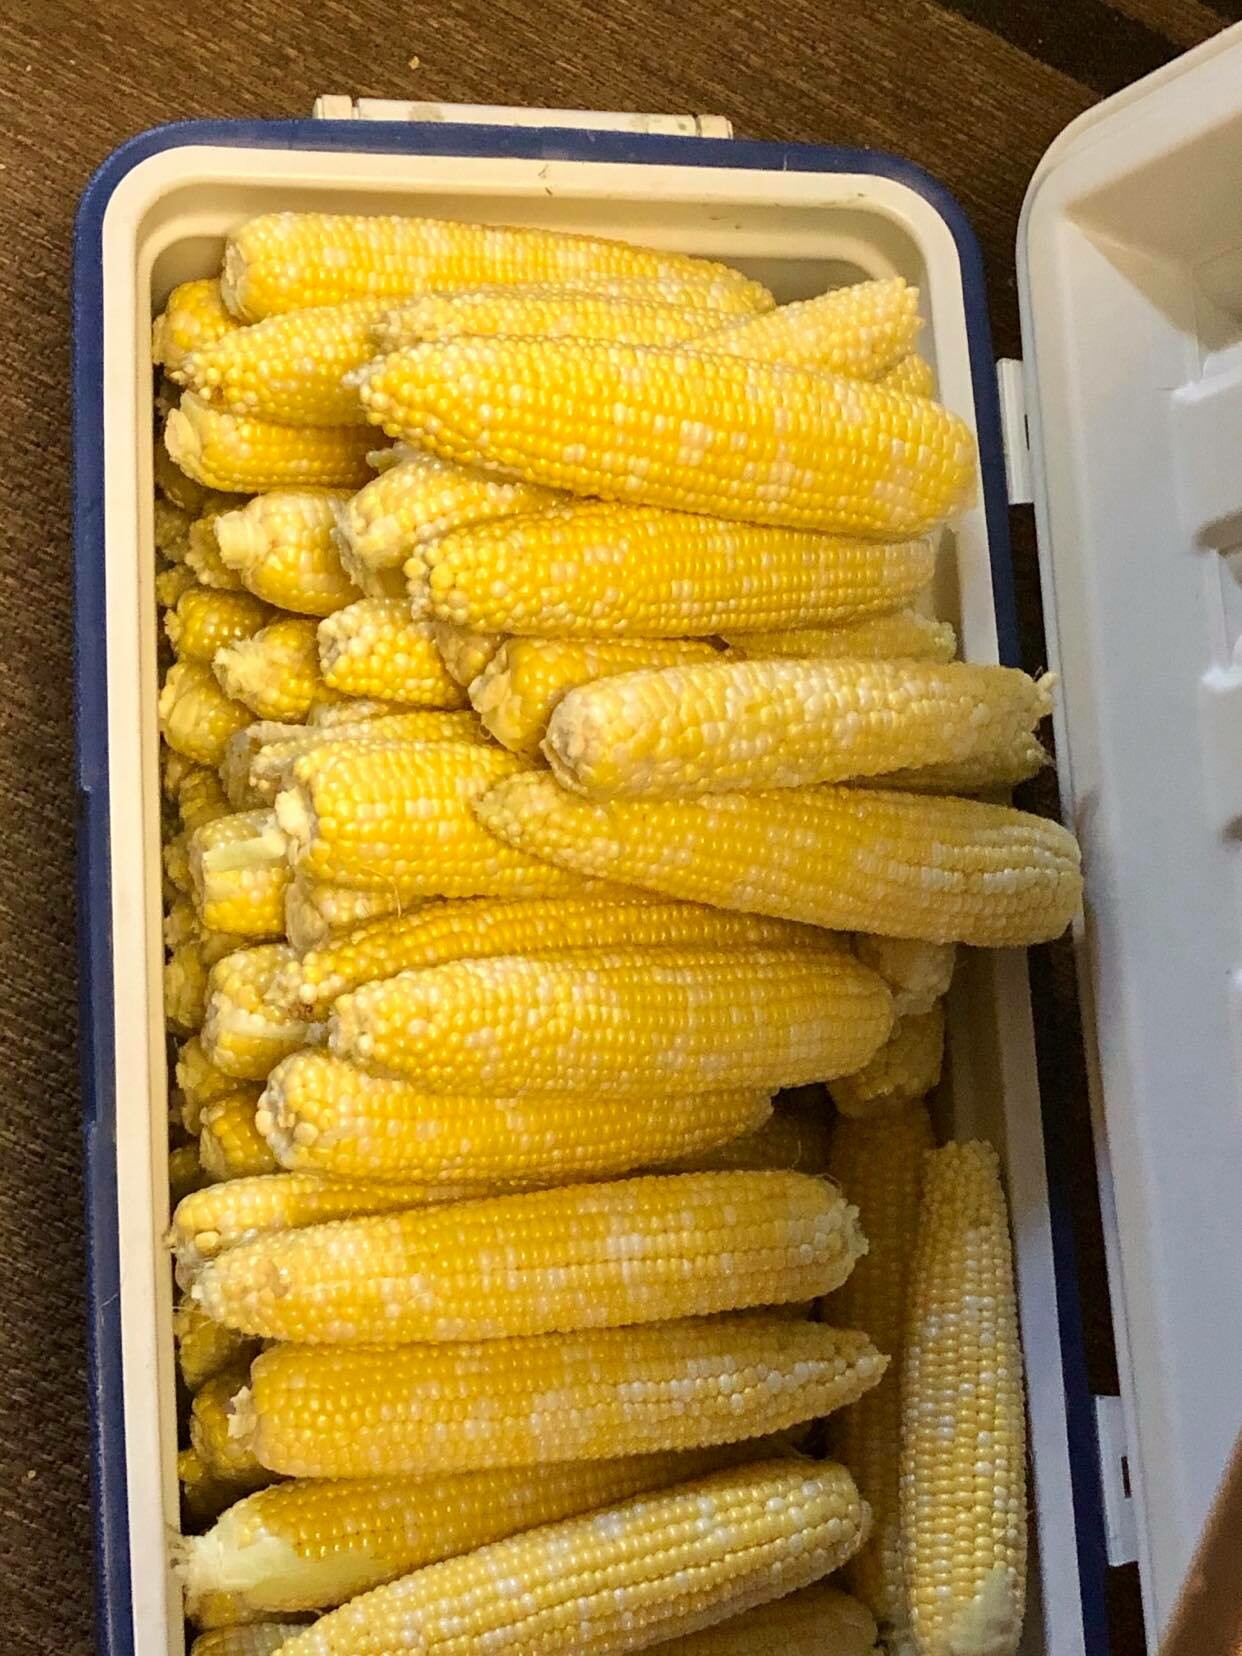
Step 1. Pick and husk the corn. By far the most time consuming task. This is hands down the best place to have a lot of people helping. Many hands make the work quicker and the stories better, and less likely for a dog to steal an ear (maybe that's just my dogs).

When selecting the ears, look for big ears, with brown silks. When you bend them, they should break from the stock easily. If they don't leave them for another time or person.

Remove all the husks and silks from the ears, and any worms or bugs. I recommend this step outside.


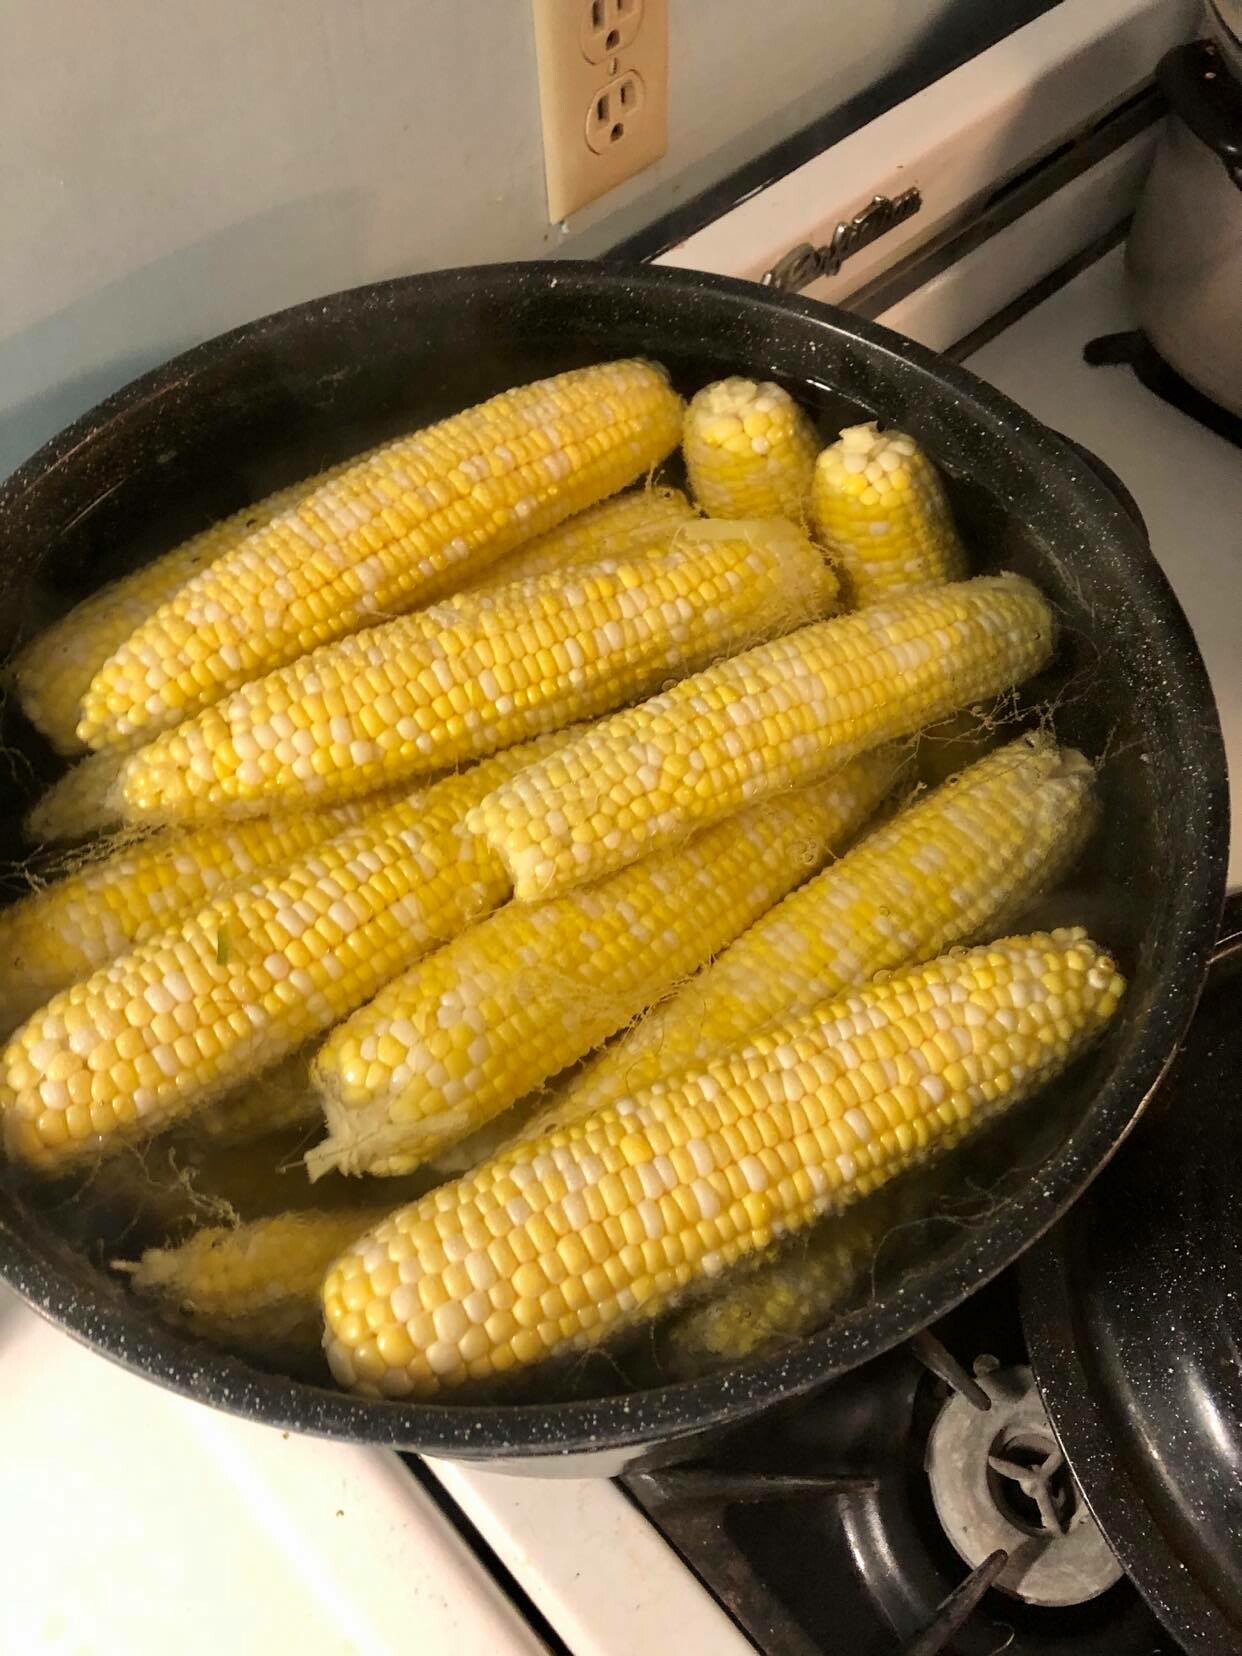
Step 2. Cook the corn. Bring the cleaned ears inside (chest coolers work great for carrying the cobs) and place them in a pot of boiling water, for 3-5 minutes. The corn will turn a bright golden yellow color when it is done.

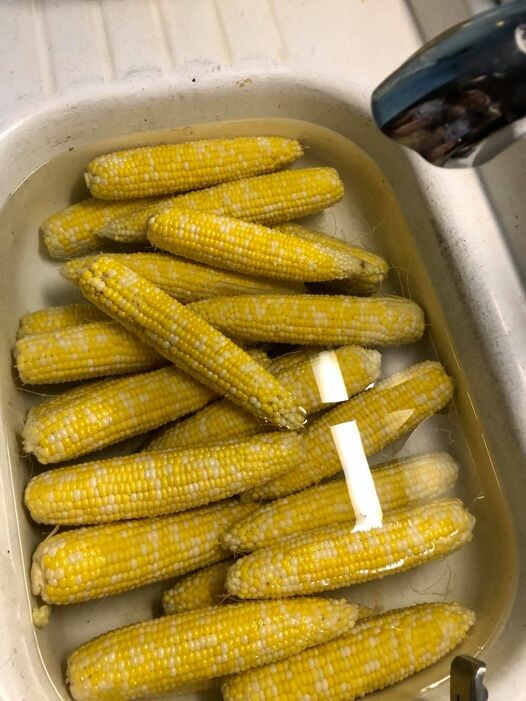
Step 3. Cool the cobs. Take the hot cobs and place them in ice cold water. I like to use my sink, with the water as cold as it will go. The idea is to stop the cooking process quickly. Step 2 & 3 combined are called blanching.
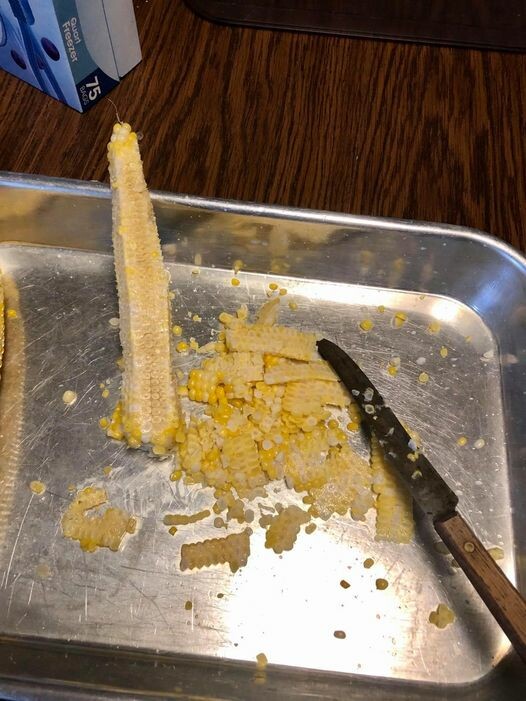
Step 4. Remove the corn from the cob. I like to use a regular knife for this step and cut into a sheet pan. My mom always used an electric knife. Cut the corn off the cob and cast the cob to a bucket. If you have chicken they will feast on this cob. Cows like to munch on them too.
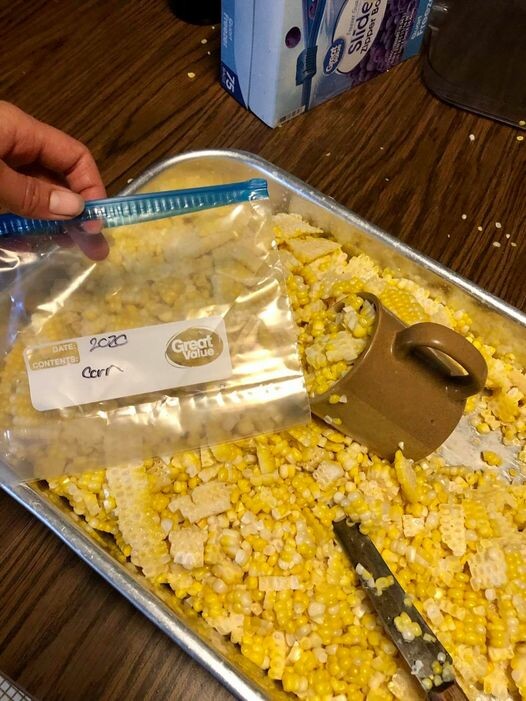
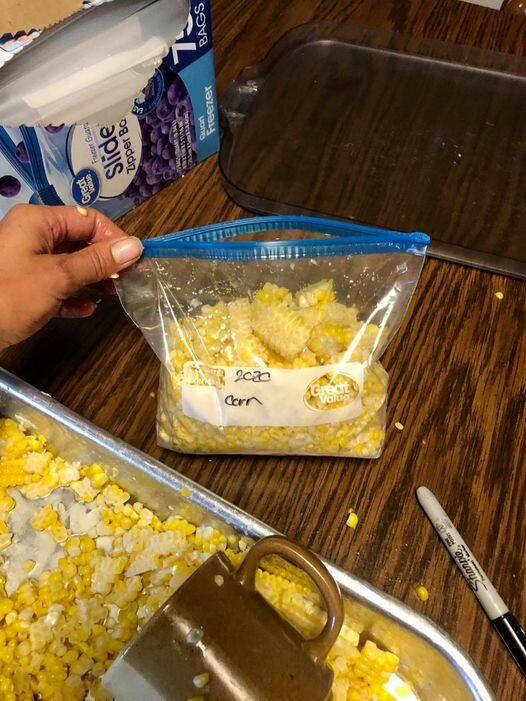
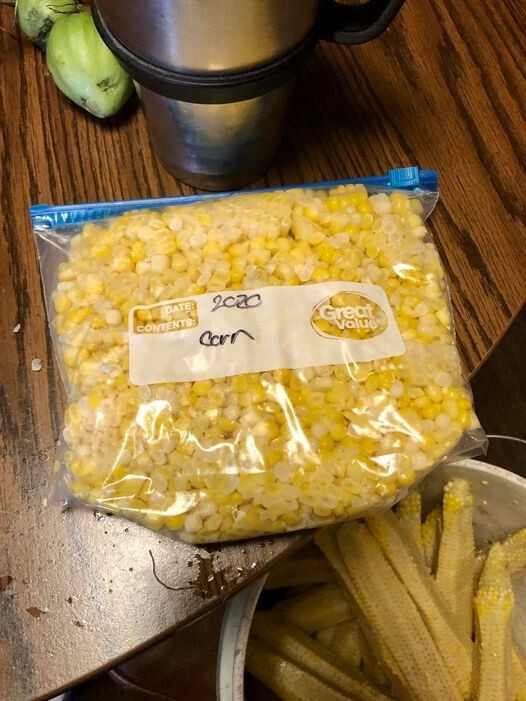
Step 5. Label and bag. Label your bags and fill them. I like to use quarts, as that is about the right size for our family. This year we did a couple gallons for family dinners (and because we ran out of quarts).
I like to use a coffee cup for the scoop/measuring tool. Fill with approximately 3 scoops and press the air out. Most bags or containers will have a fill line on them. Then flatten the bag.
Step 6. Freeze. Flatten all bags and stack them up. You can put them in the freezer right away, or wait until you have a stack then place them all in the freezer at the same time.

Wanting a community to lean into? Join the FREE Courageous + Purposeful Mommas group! This community is for the Mommas, mommas to be, in the midst of raising, and kids grown, looking for tips on building your family up and providing for them through natural methods. Tips include: gardening, bulk buying, caning,/preserving, livestock, homesteading, and home remedies. Your family is precious, and this group is to help you gain the knowledge and tools to keep your family well and not reliant on outside professionals. Remedies and tips are easy and simple for the busy momma, time is precious after all, including pregnancy, birth, young kids, and illness. Trust your Momma gut again! This community offers the resources + community you need to help get started on your journey and prepare for whatever future you envision.

Join the Free Community


Click here to get the stories straight to your email:

Sign up for the Blog


For more on wellness tips click here:

Sign up for Wellness tips


For more on homesteading on your budget click here:

Sign up for Homesteading Tips


For more simple DIY updates click here:
Sign up for easy DIYs 


Freezing Sweet and hot peppers

Freezing Sweet and hot peppers
This post may contain affiliate links, which means that I may receive a commission if you make a purchase using these links, with NO additional cost to you. 

I love growing my own food. Part of growing all the food is not only eating it fresh in the summer, but preserving it for winter use. One vegetable we eat a lot of is peppers. Freezing peppers is a simple and quick process. I grow both sweet peppers and hot peppers. I use the same process for both. 

You will need:
Freezer containers or bags. I like the freezer containers, or vacuum seal bags.
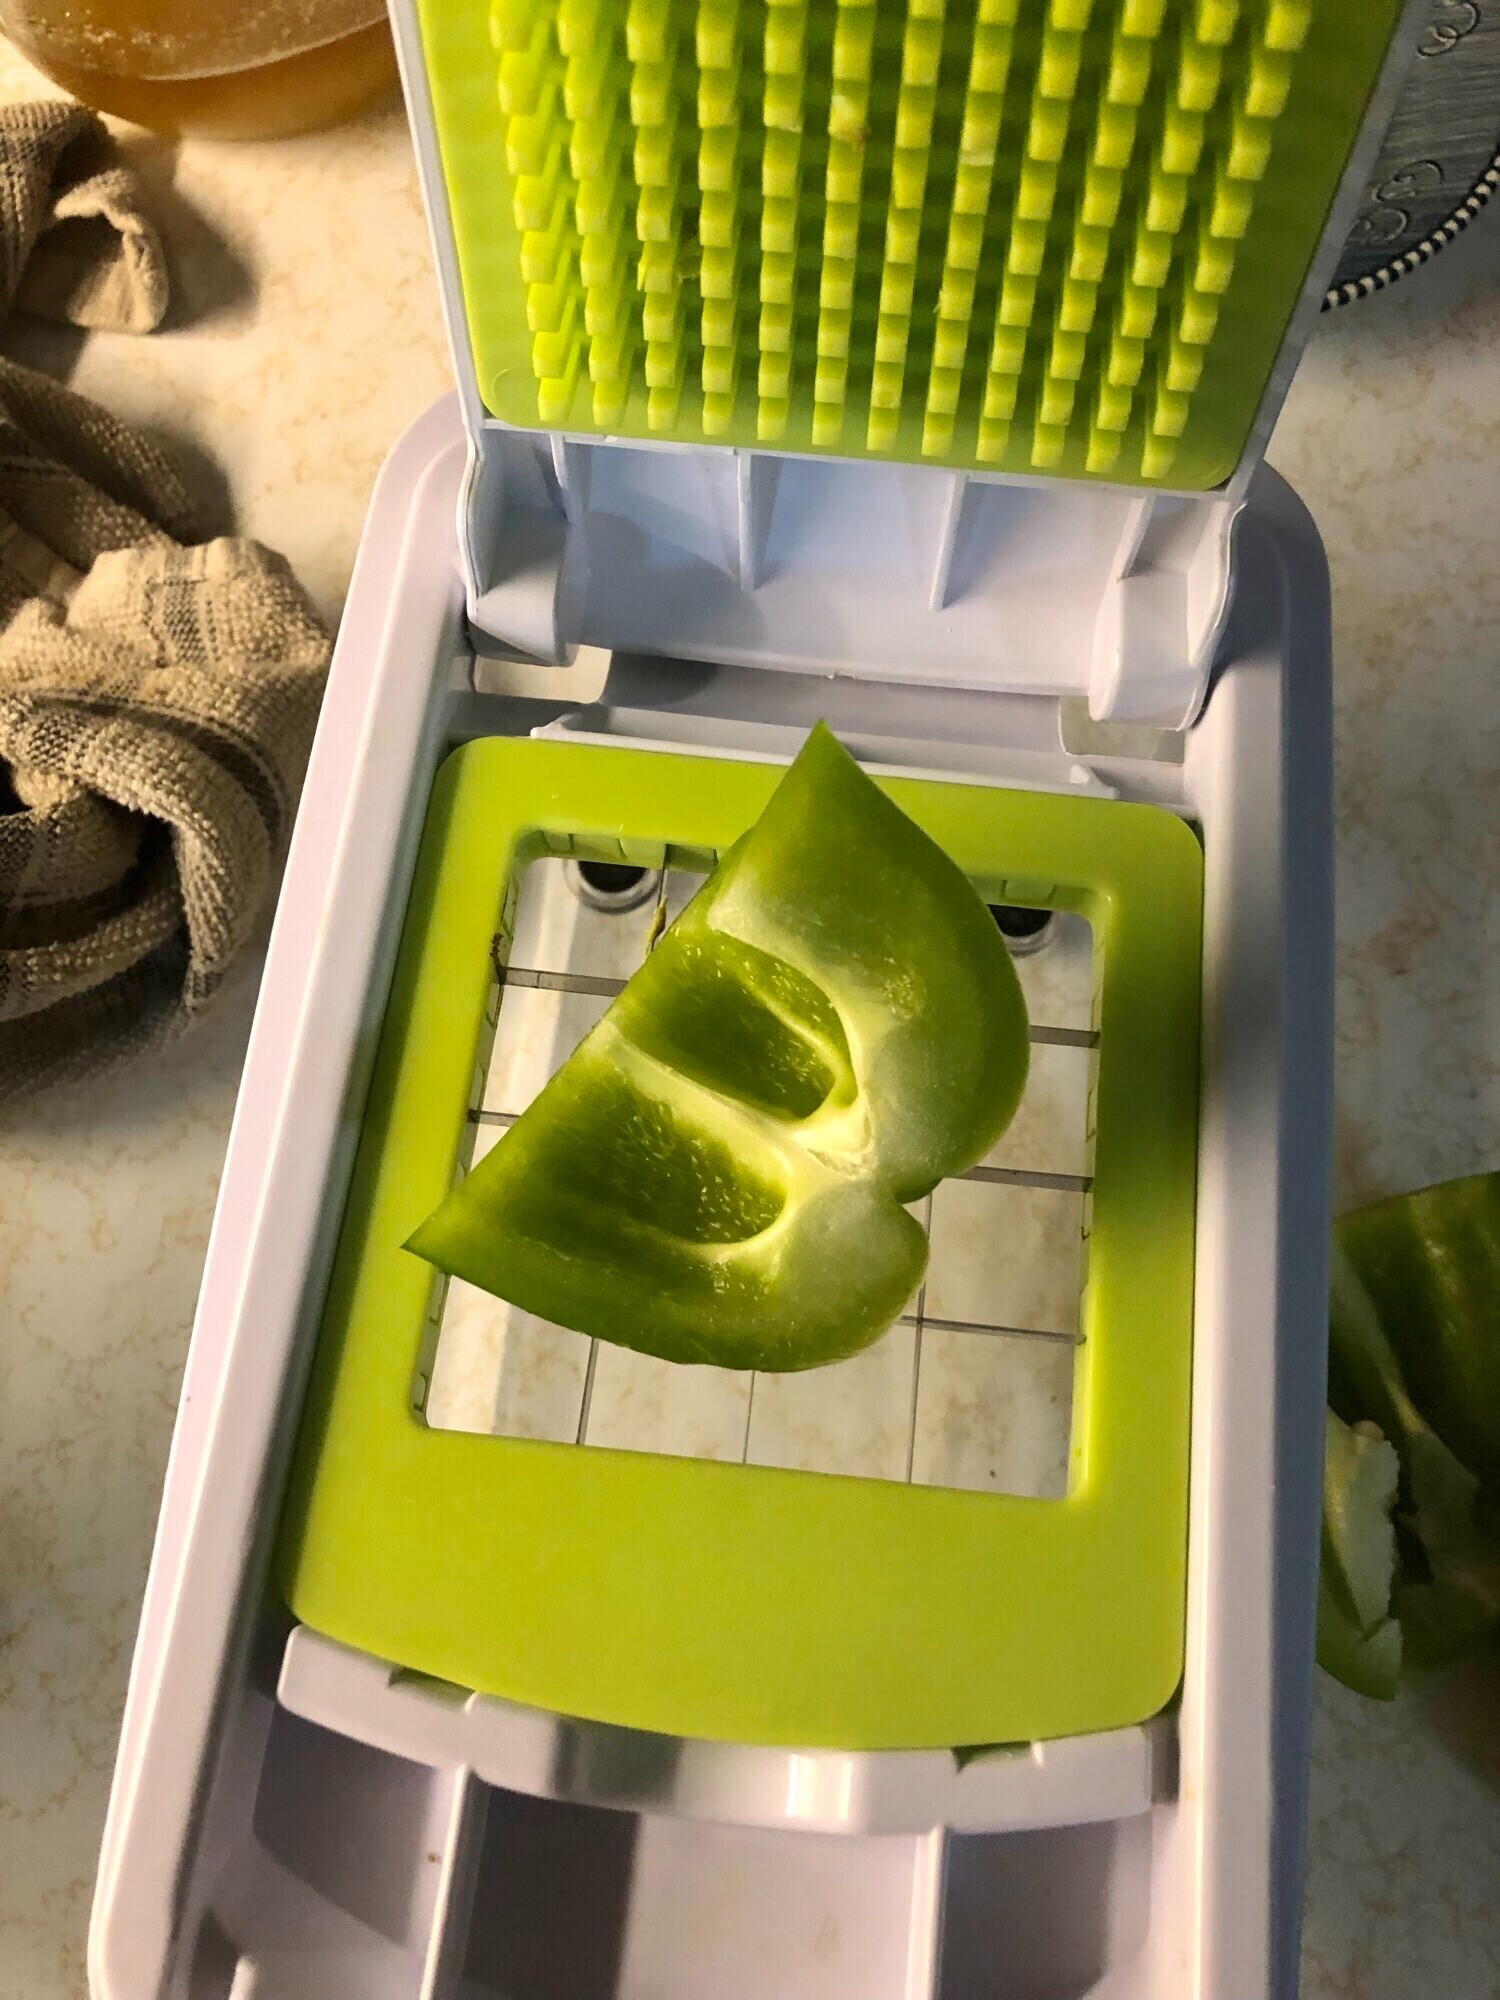
Cutting board and knife (I like my nifty chopper, it makes the cutting so much faster or a food processor 
Peppers

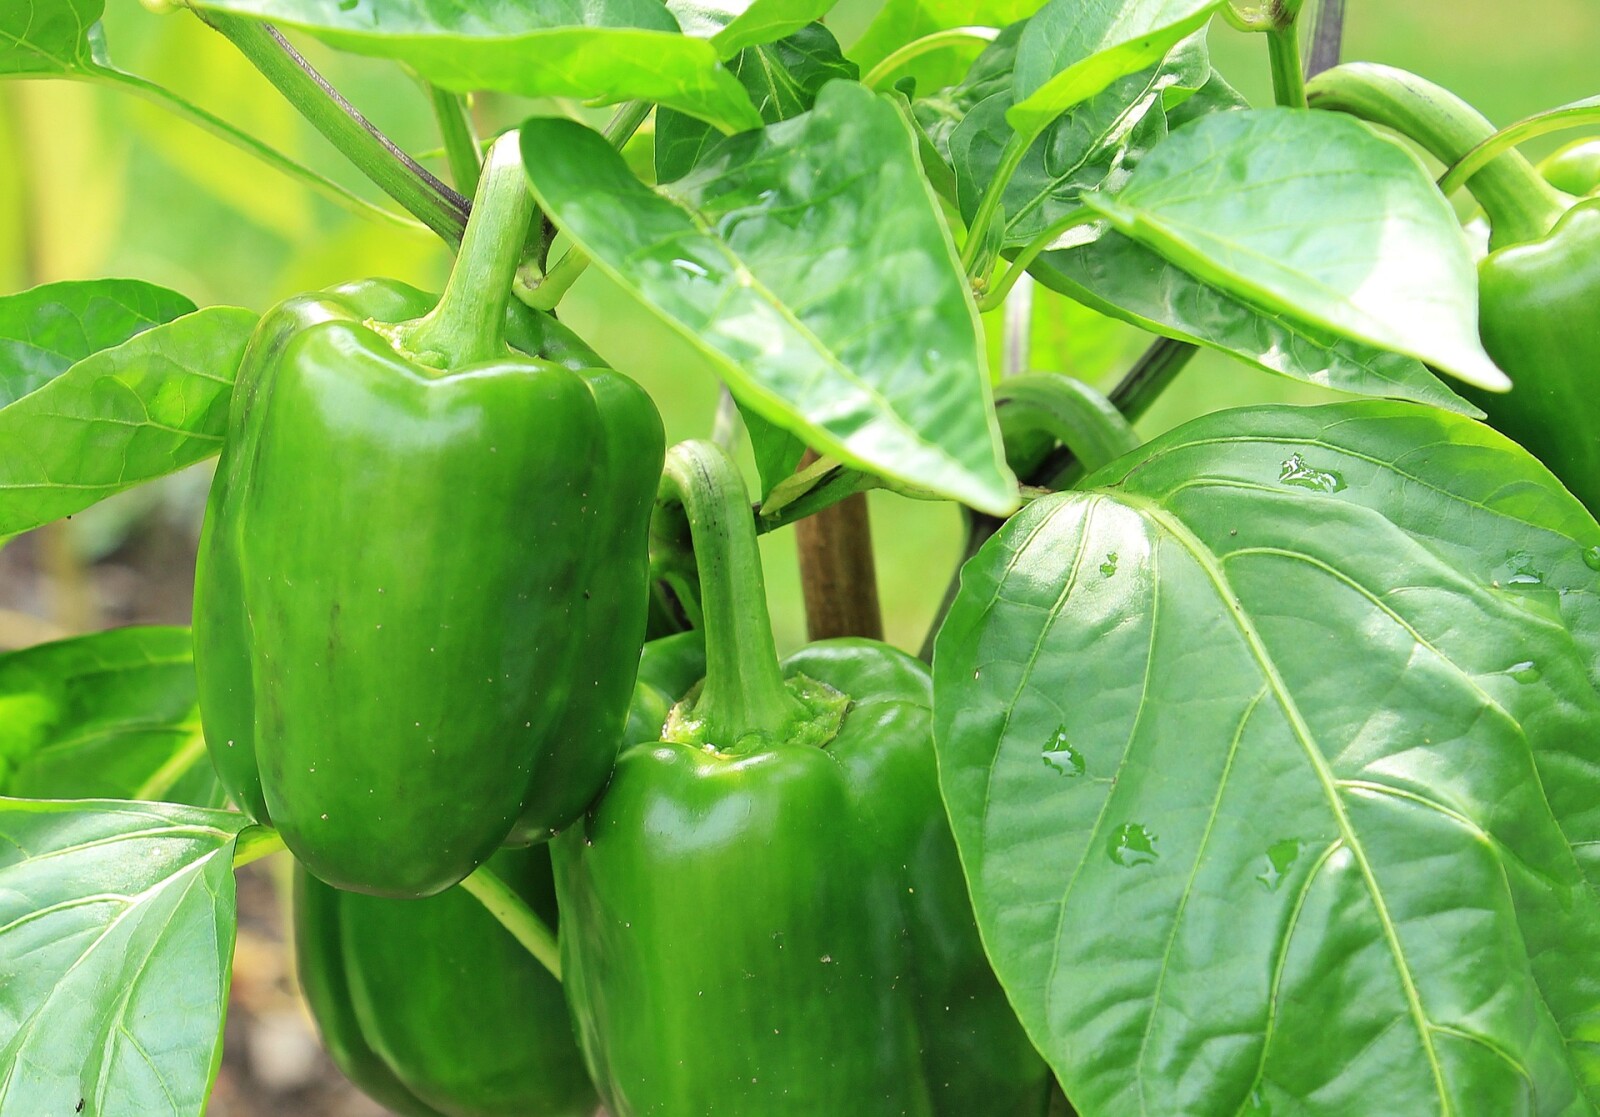
Step 1. Pick the peppers from the garden. Depending on the variety, how big or what color the peppers will be when finished. Many hot peppers will turn red. Sweet peppers have many colors, so be sure to check which kind you planted before picking. 

Step 2. Wash the peppers. I dump all the peppers into the sink and gently scrub them. 

Step 3. Slice the pepper in half and remove the stem, seeds, and any bad spots. For hot peppers I will use for canning recipes later, I leave the seeds and chop them in a food processor. 


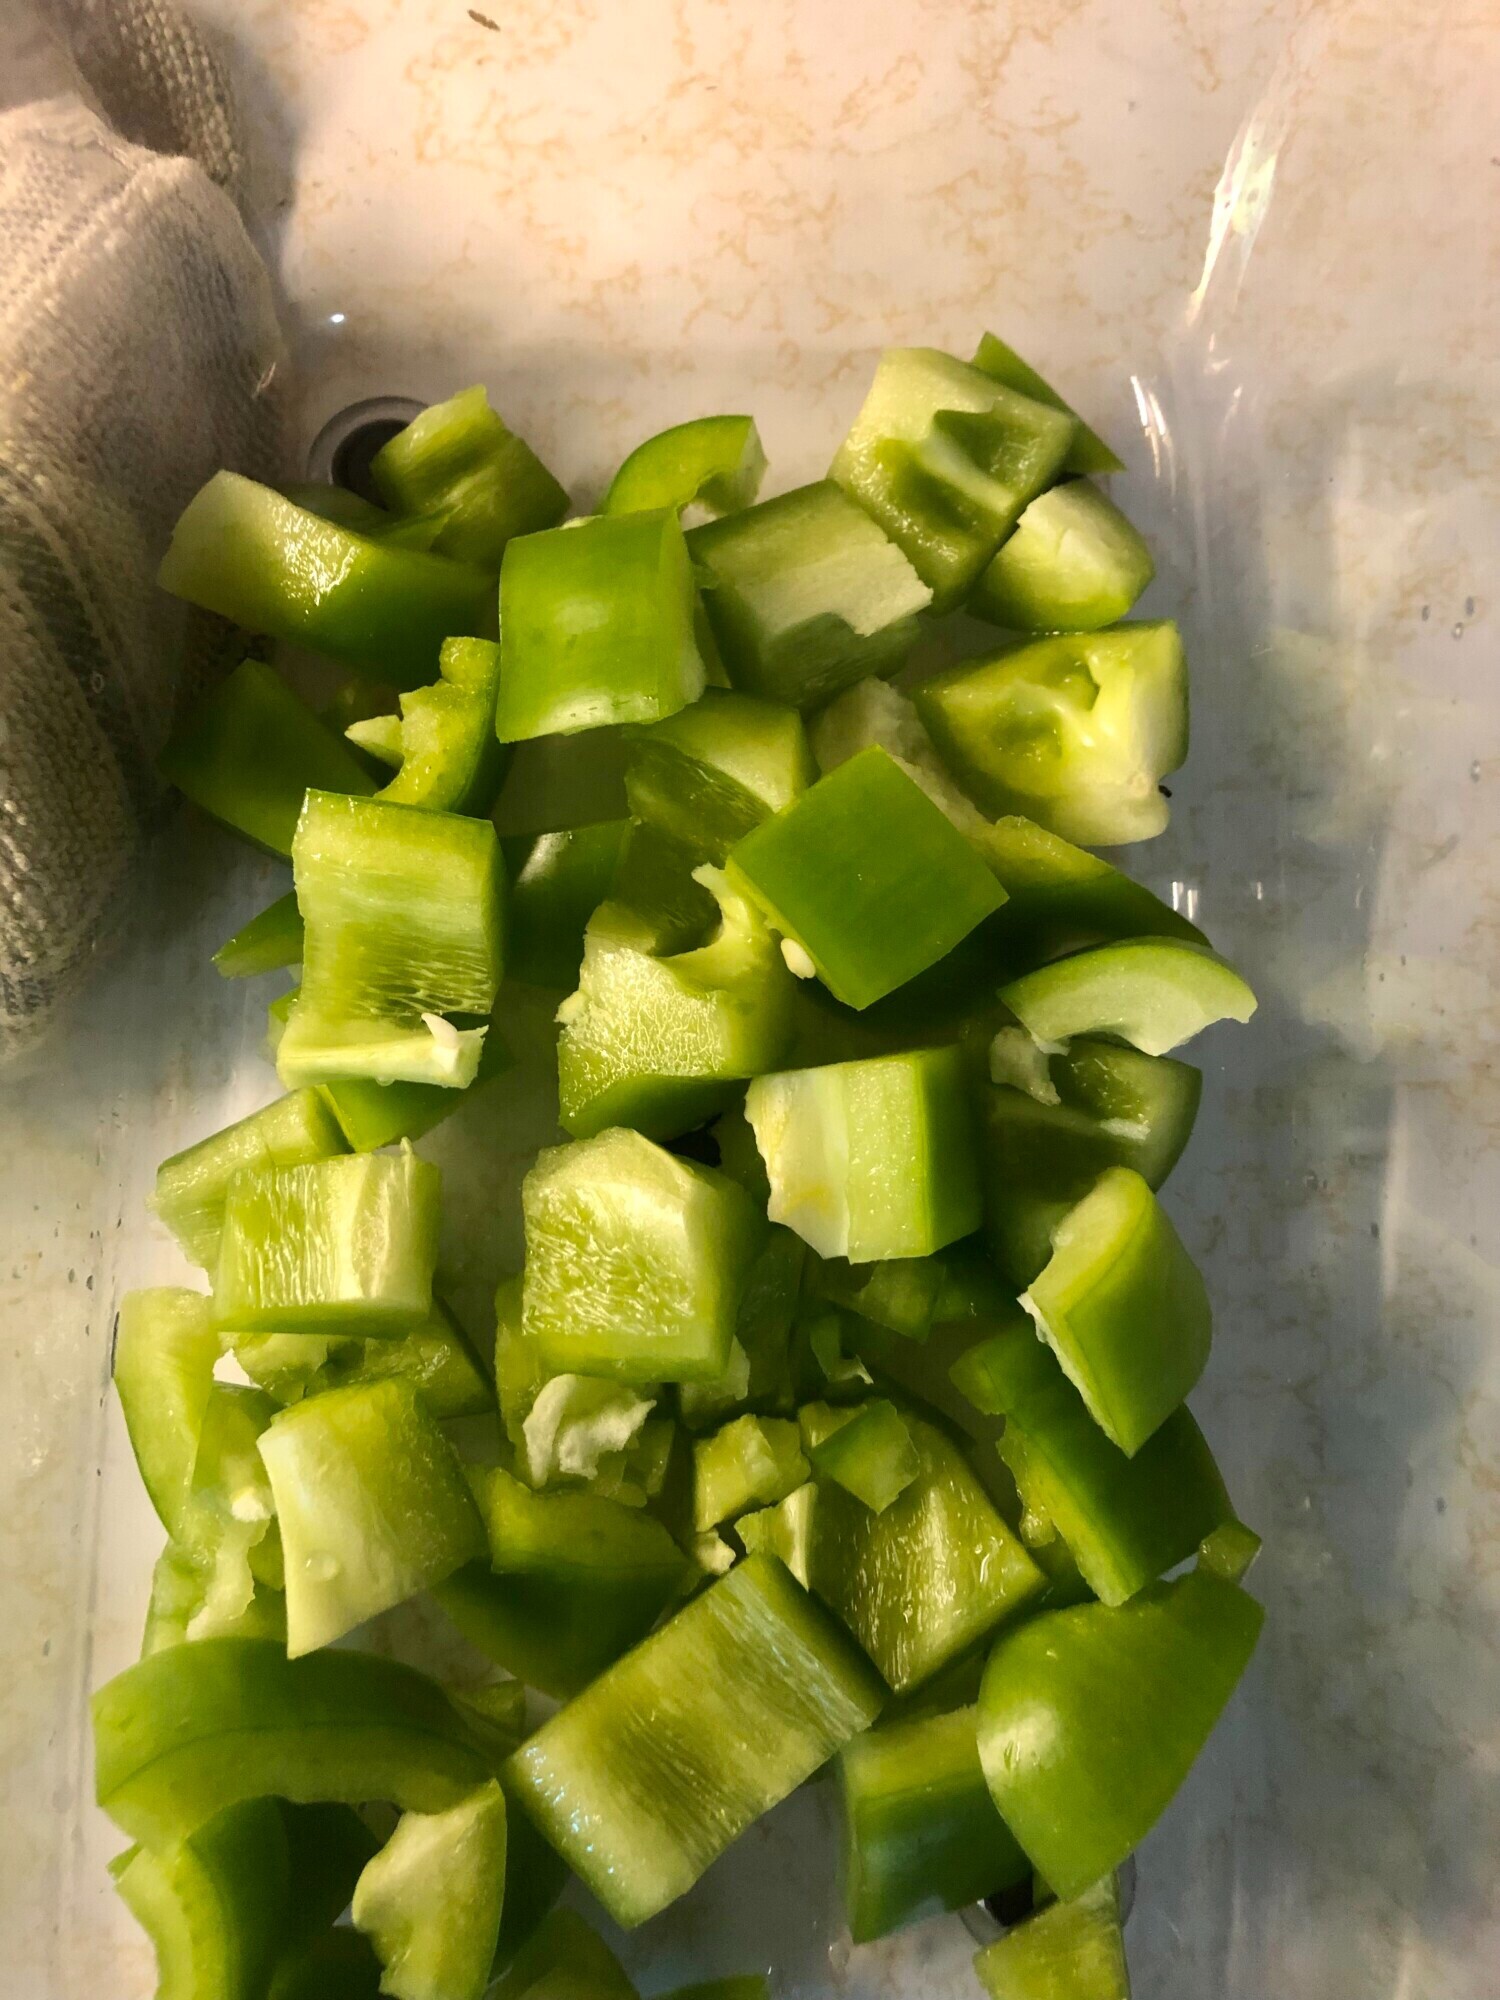
Step 4. Cut the peppers. I used to slice the peppers up with a knife, but I found this handy chopper that made the process so much faster and diced the peppers.


Step 4. Freeze the peppers. Place the peppers in freezer containers filling to the fill line. I used freezer containers last year, and plan to use vacuum bags this year. For the hot peppers, I use containers approximately the size I will need per recipe for simplicity. 

Step 5. Fill the freezer. Once you have all the peppers packed, label the containers and place them in your freezer. 


Wanting a community to lean into? Join the FREE Courageous + Purposeful Mommas group! This community is for the Mommas, mommas to be, in the midst of raising, and kids grown, looking for tips on building your family up and providing for them through natural methods. Tips include: gardening, bulk buying, caning,/preserving, livestock, homesteading, and home remedies. Your family is precious, and this group is to help you gain the knowledge and tools to keep your family well and not reliant on outside professionals. Remedies and tips are easy and simple for the busy momma, time is precious after all, including pregnancy, birth, young kids, and illness. Trust your Momma gut again! This community offers the resources + community you need to help get started on your journey and prepare for whatever future you envision.

Join the Free Community


Click here to get the stories straight to your email:

Sign up for the Blog


For more on wellness tips click here:

Sign up for Wellness tips


For more on homesteading on your budget click here:

Sign up for Homesteading Tips


For more simple DIY updates click here:
Sign up for easy DIYs 


Freezing Carrots

Freezing Carrots
This post may contain affiliate links, which means that I may receive a commission if you make a purchase using these links, with NO additional cost to you. 

I love growing my own food. Part of growing all the food is not only eating it fresh in the summer, but preserving it for winter use. One vegetable we eat a lot of is carrots. Freezing carrots is a simple and quick process. 

You will need:
Freezer containers or bags. I like the quart freezer containers, or vacuum seal bags.
Cutting board and knife (I like my nifty chopper, it makes the cutting so much faster)
Stock pot
Strainer/steamer
Carrots

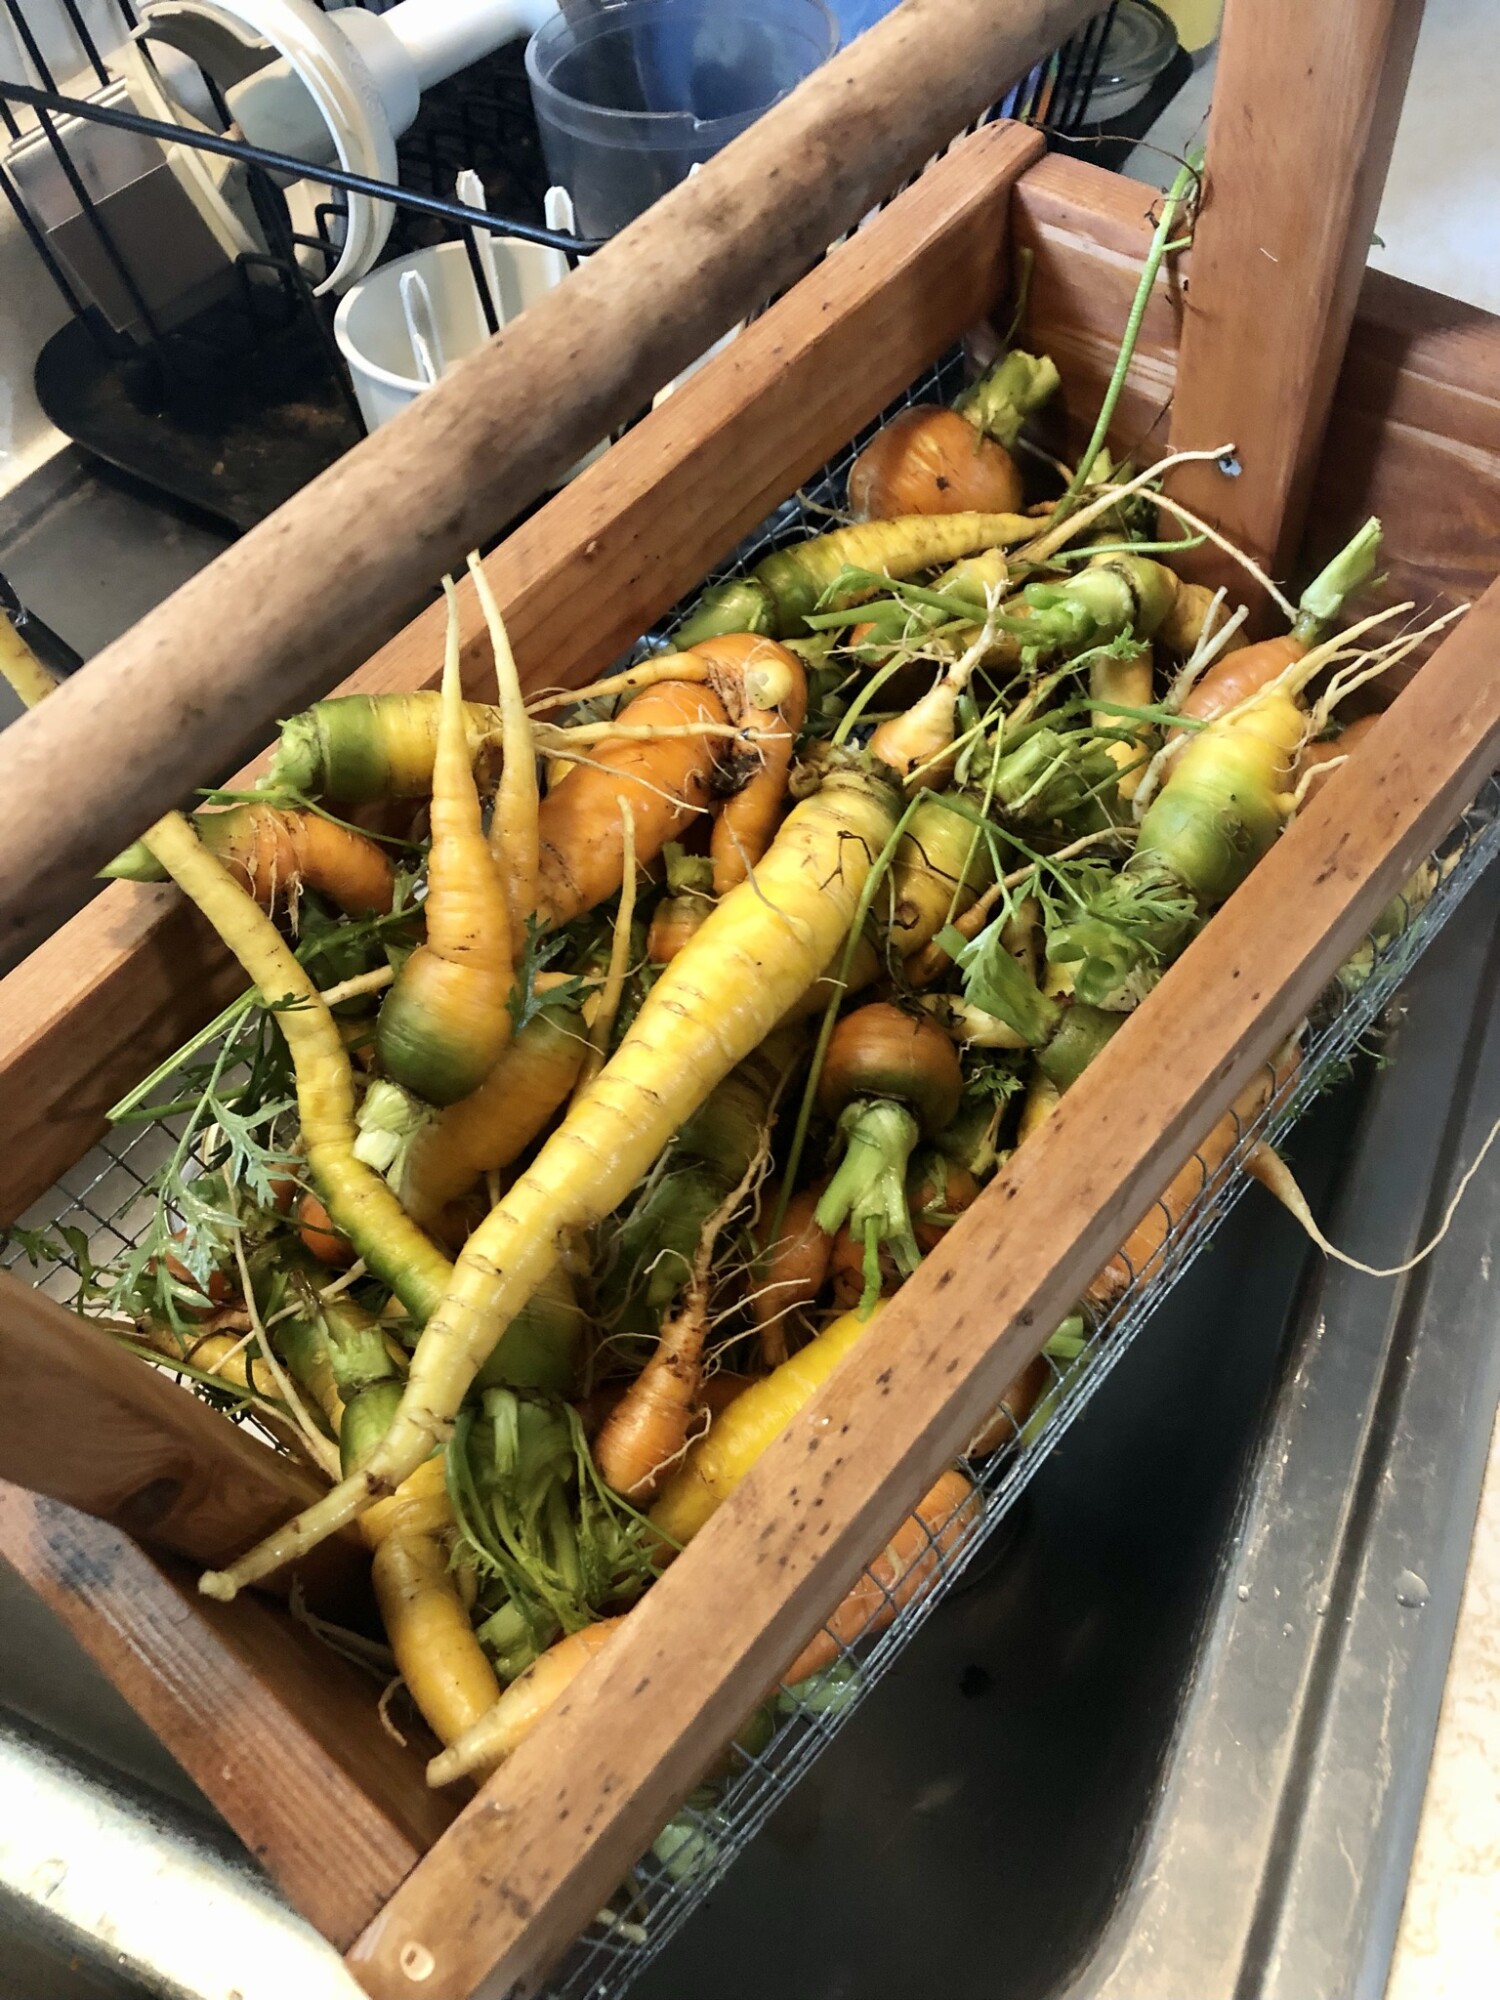
Step 1. Pick the carrots from the garden. Depending on the variety how big the carrots will be when finished. I like them a little bigger than my thumb at the top. You can gently remove the dirt from the top of the plants to see how big the carrot is before you pick them. I break the carrot top off and either leave it in the garden as mulch or feed it to the chickens. 
I like to use a basket with a wire mesh bottom so I can easily hose the carrots off outside before they come in for a final wash. 

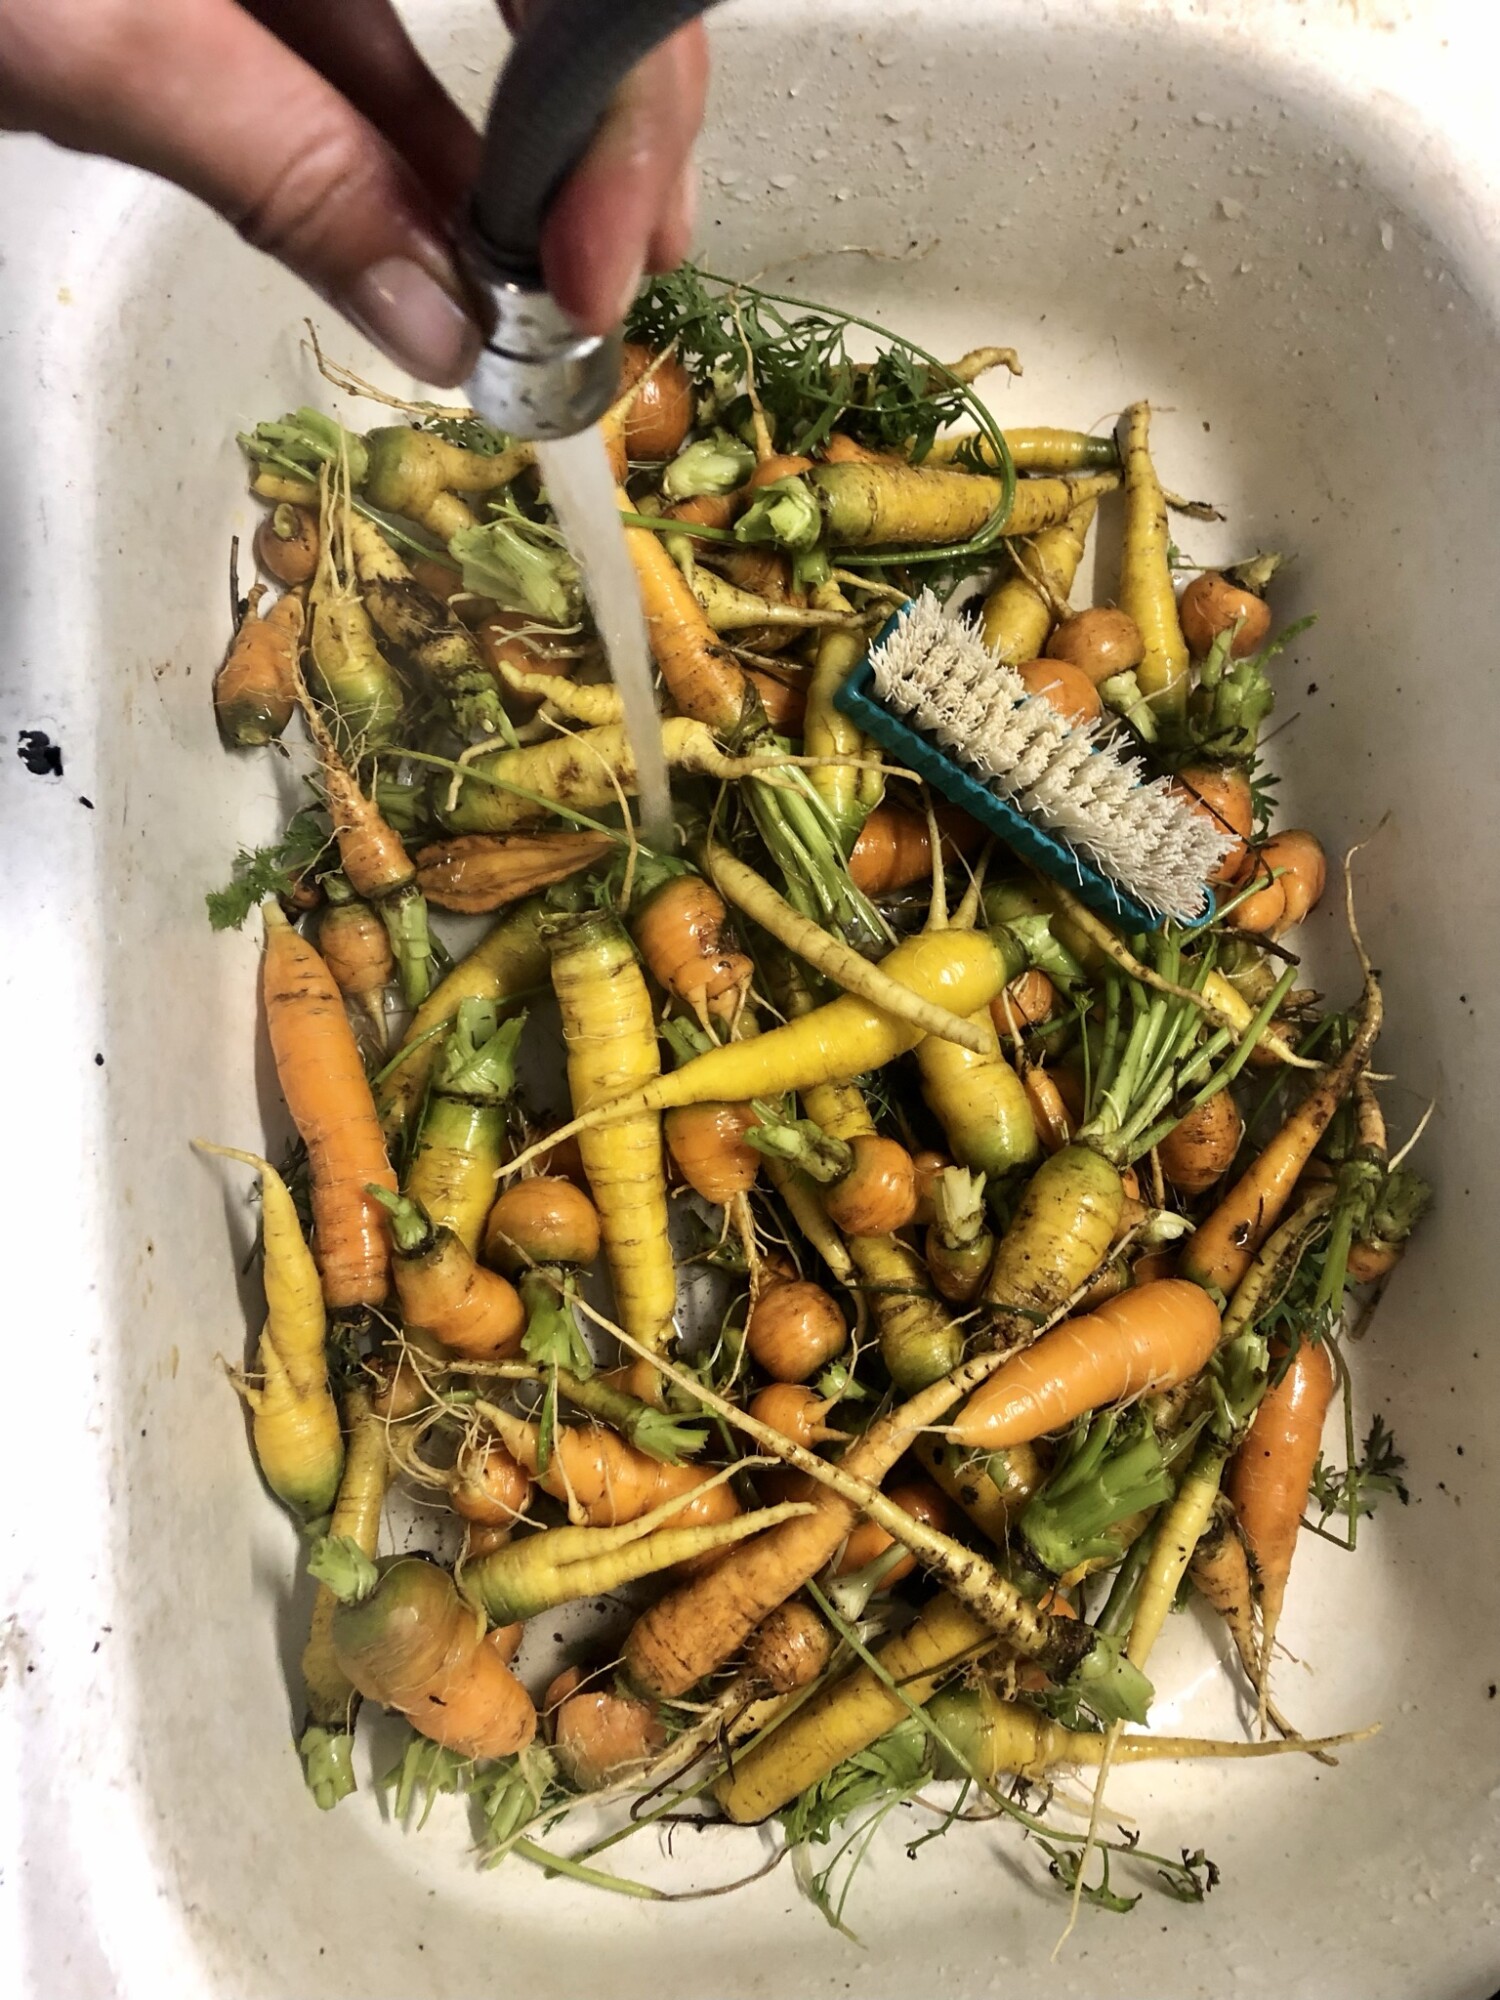
Step 2. Wash the carrots. I do a first wash outside with the garden hose. It saves a lot of the dirt coming inside. Then I dump all the carrots into the sink and scrub them. I do not peel the carrots, so I make sure they are scrubbed clean. 
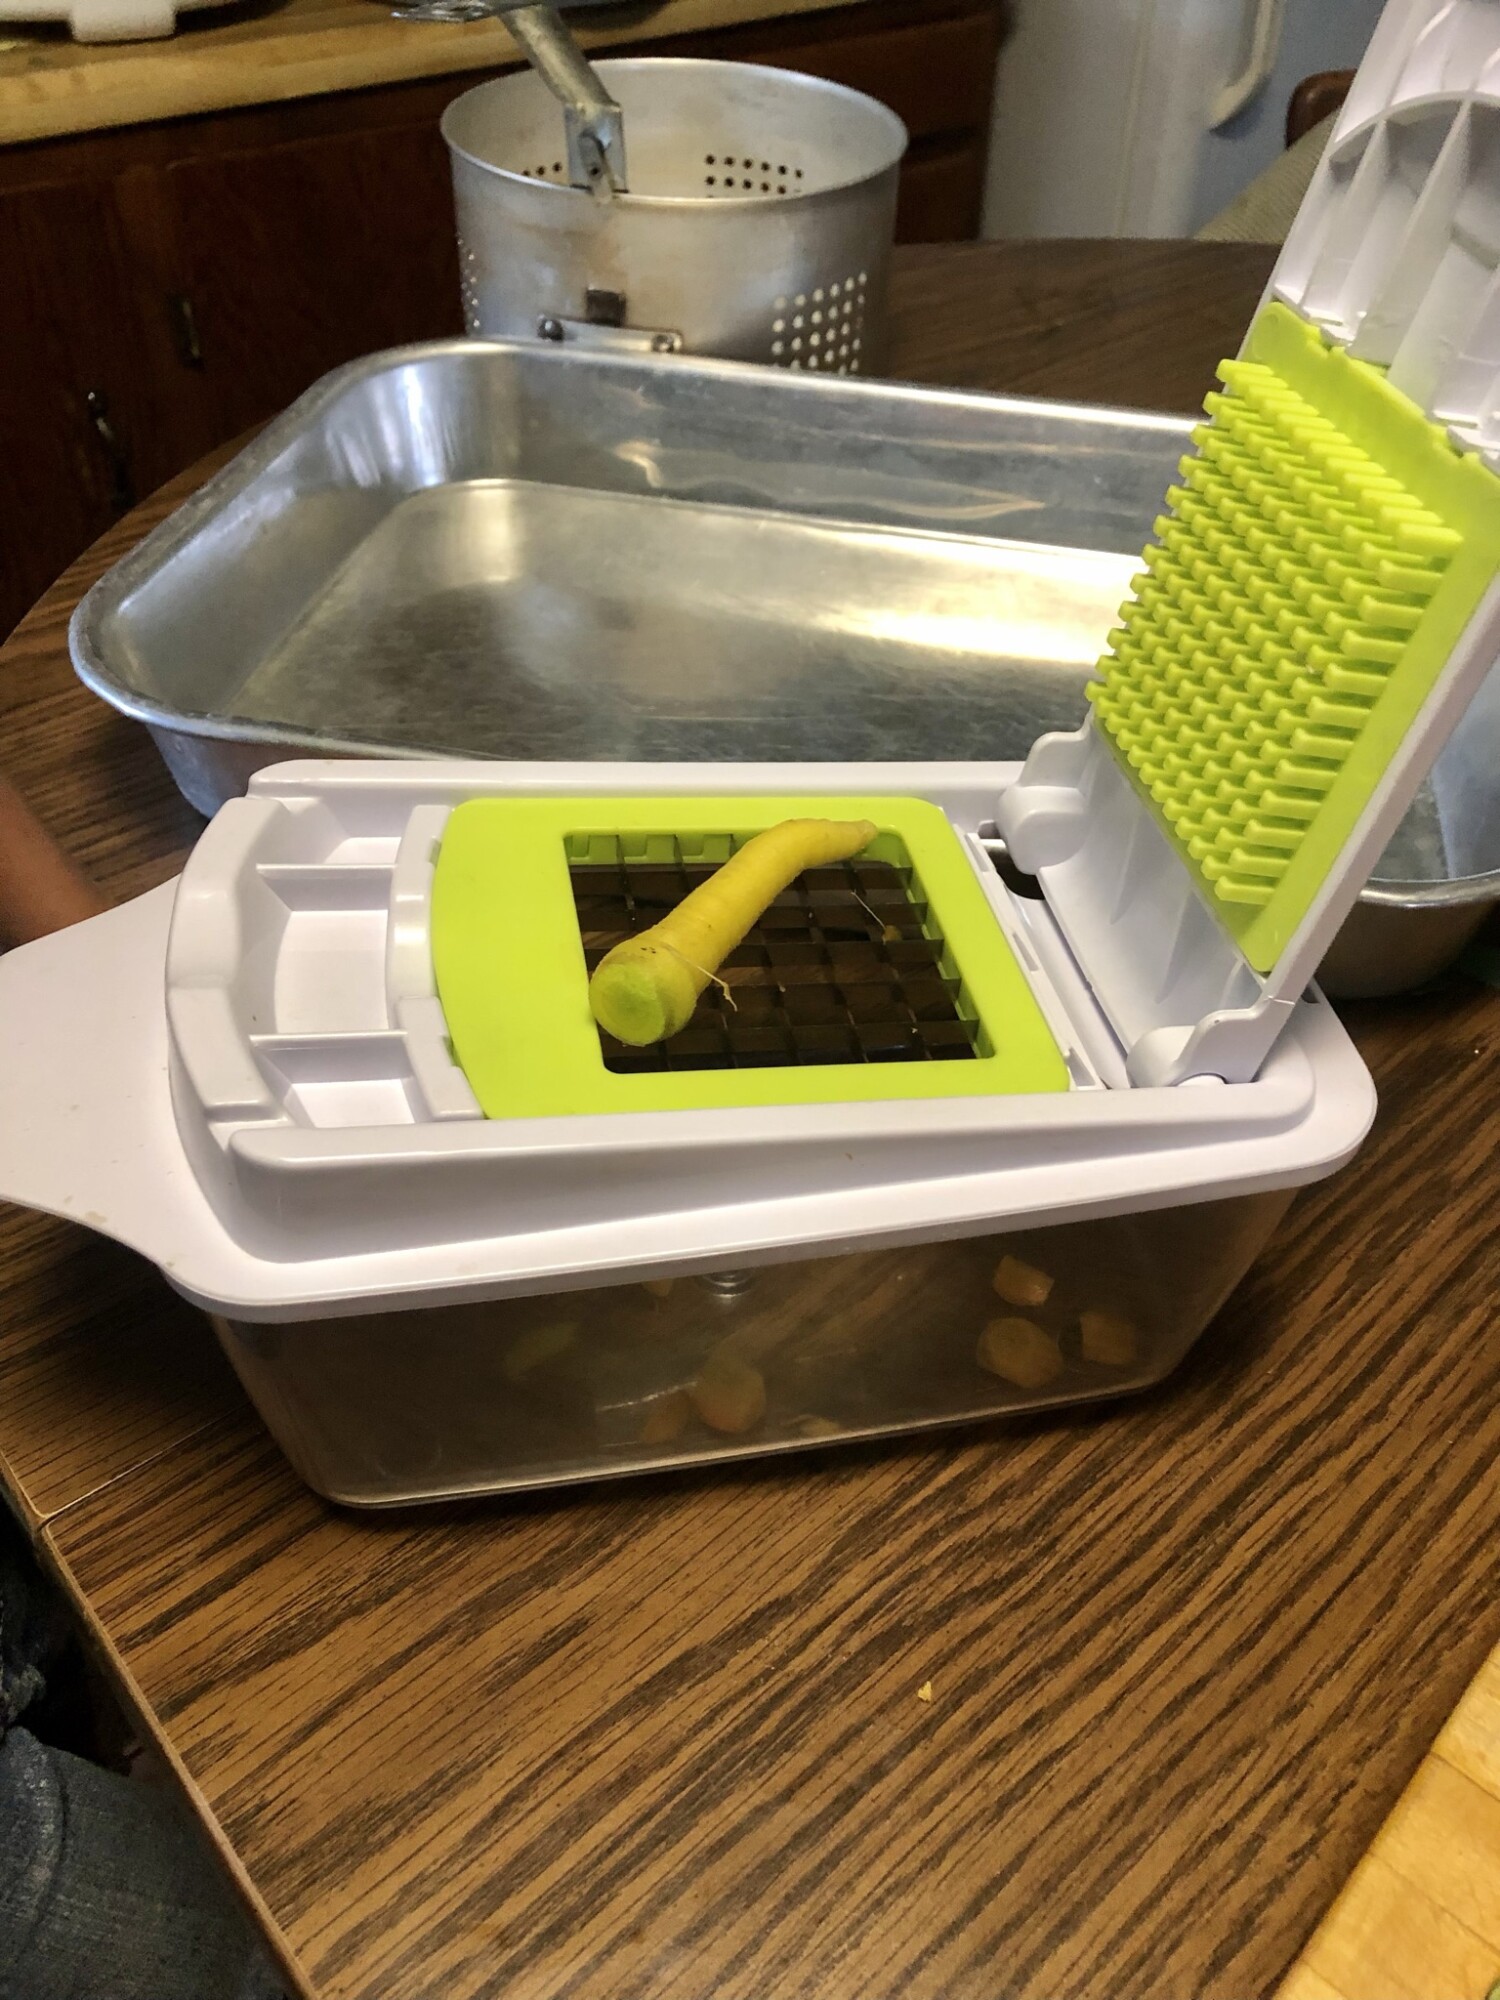
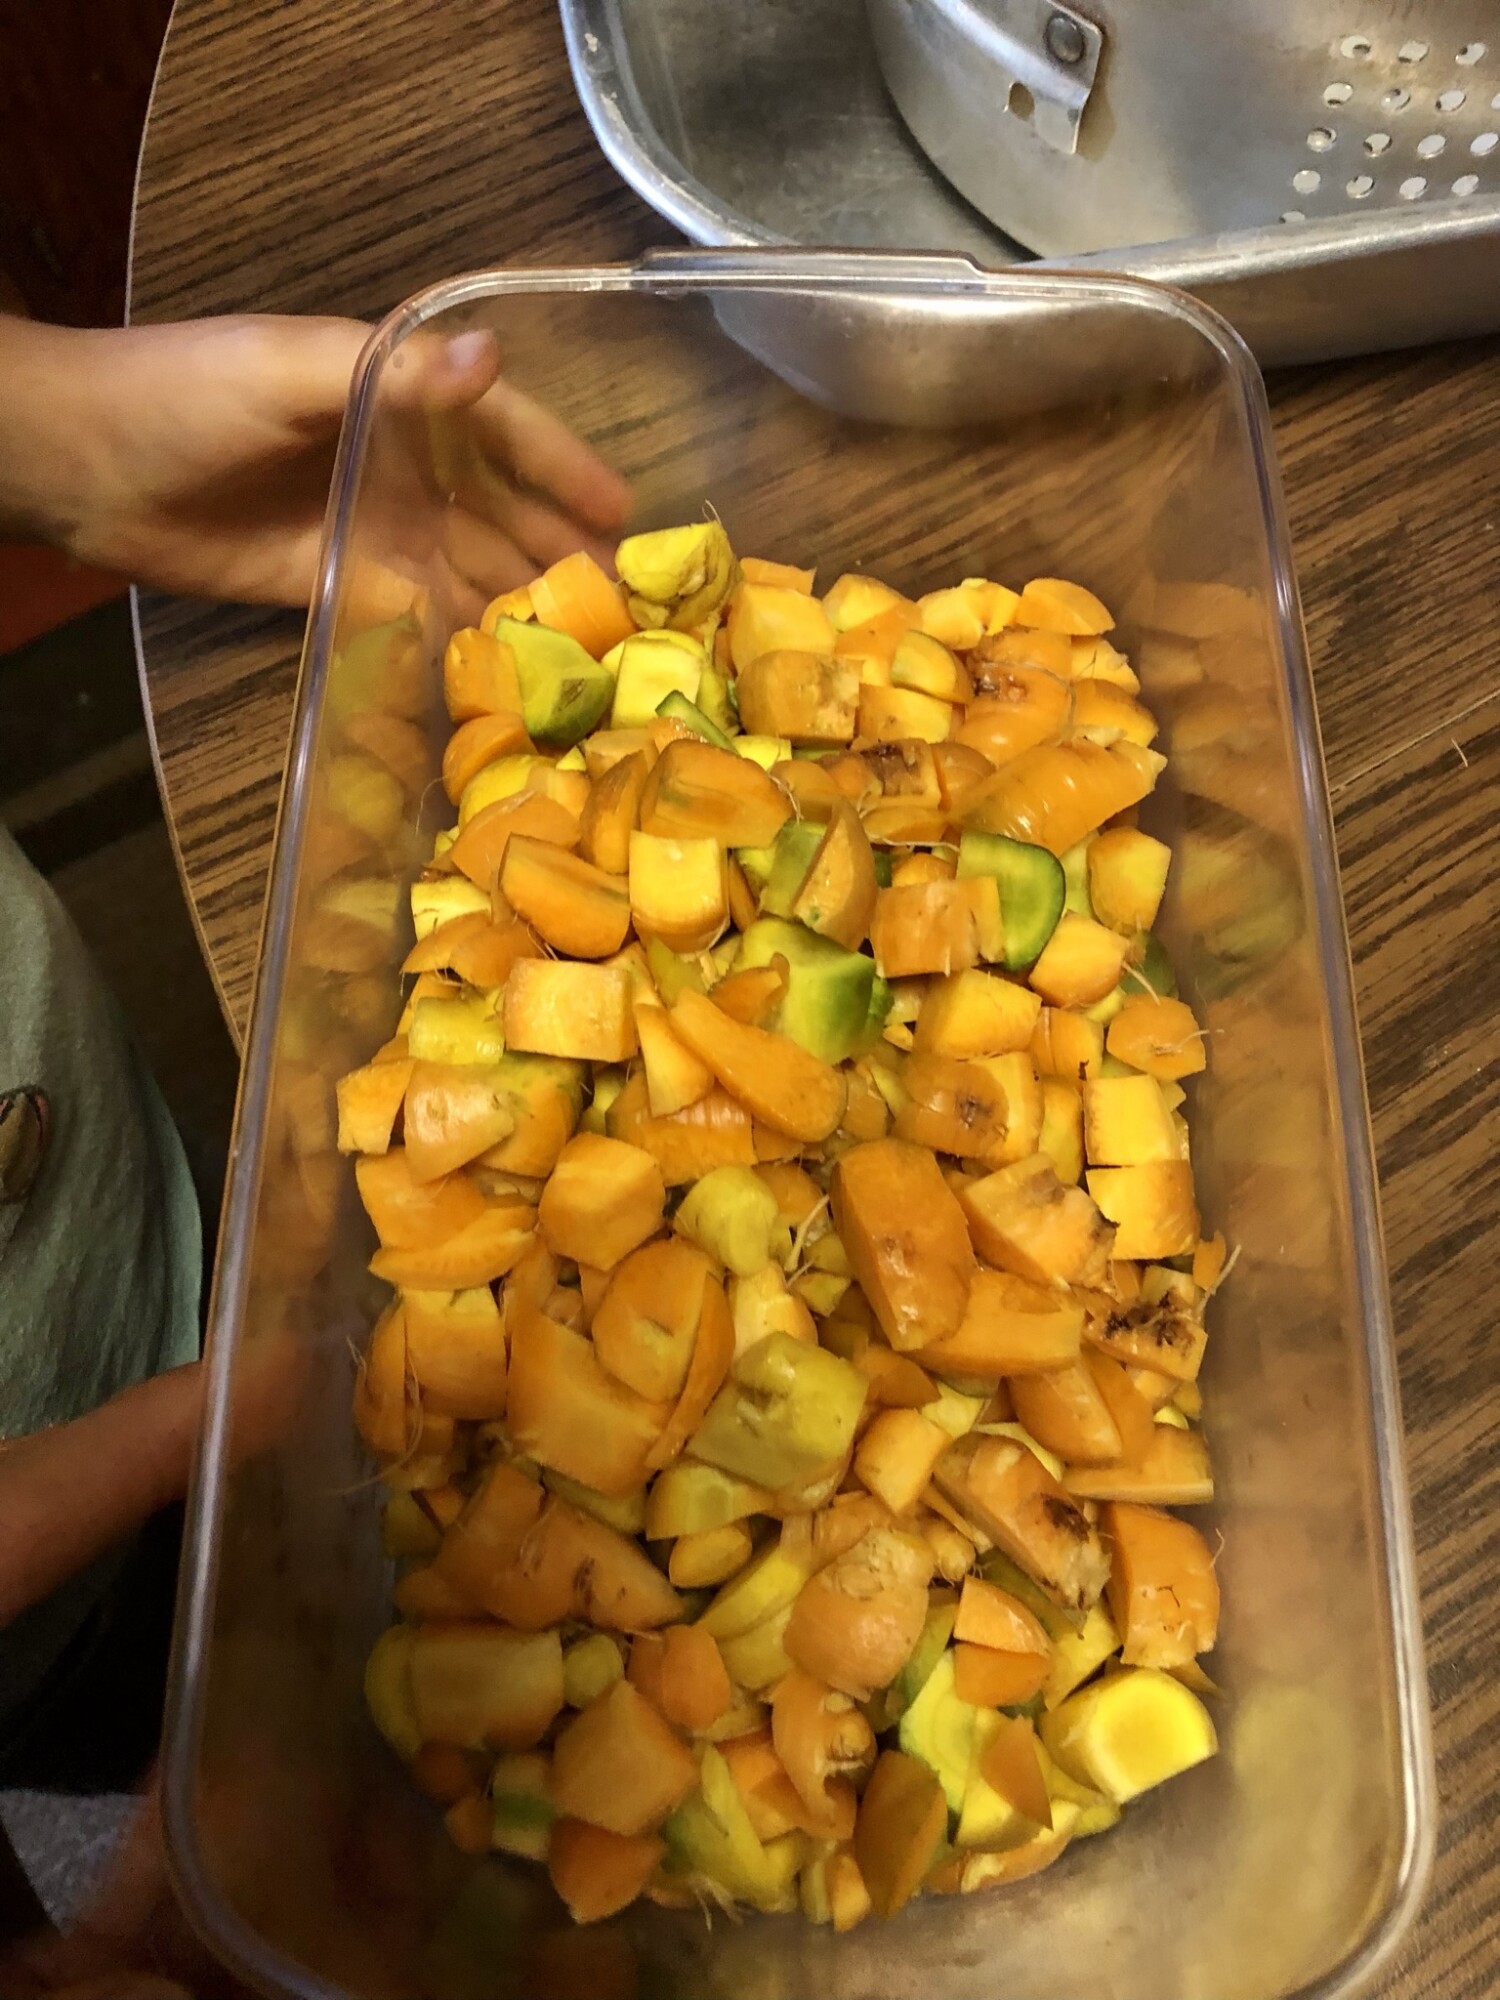
Step 3. Cut the carrots. I used to slice the carrots up with a knife, but I found this handy chopper that made the process so much faster and diced the carrots the way my kids like them. 
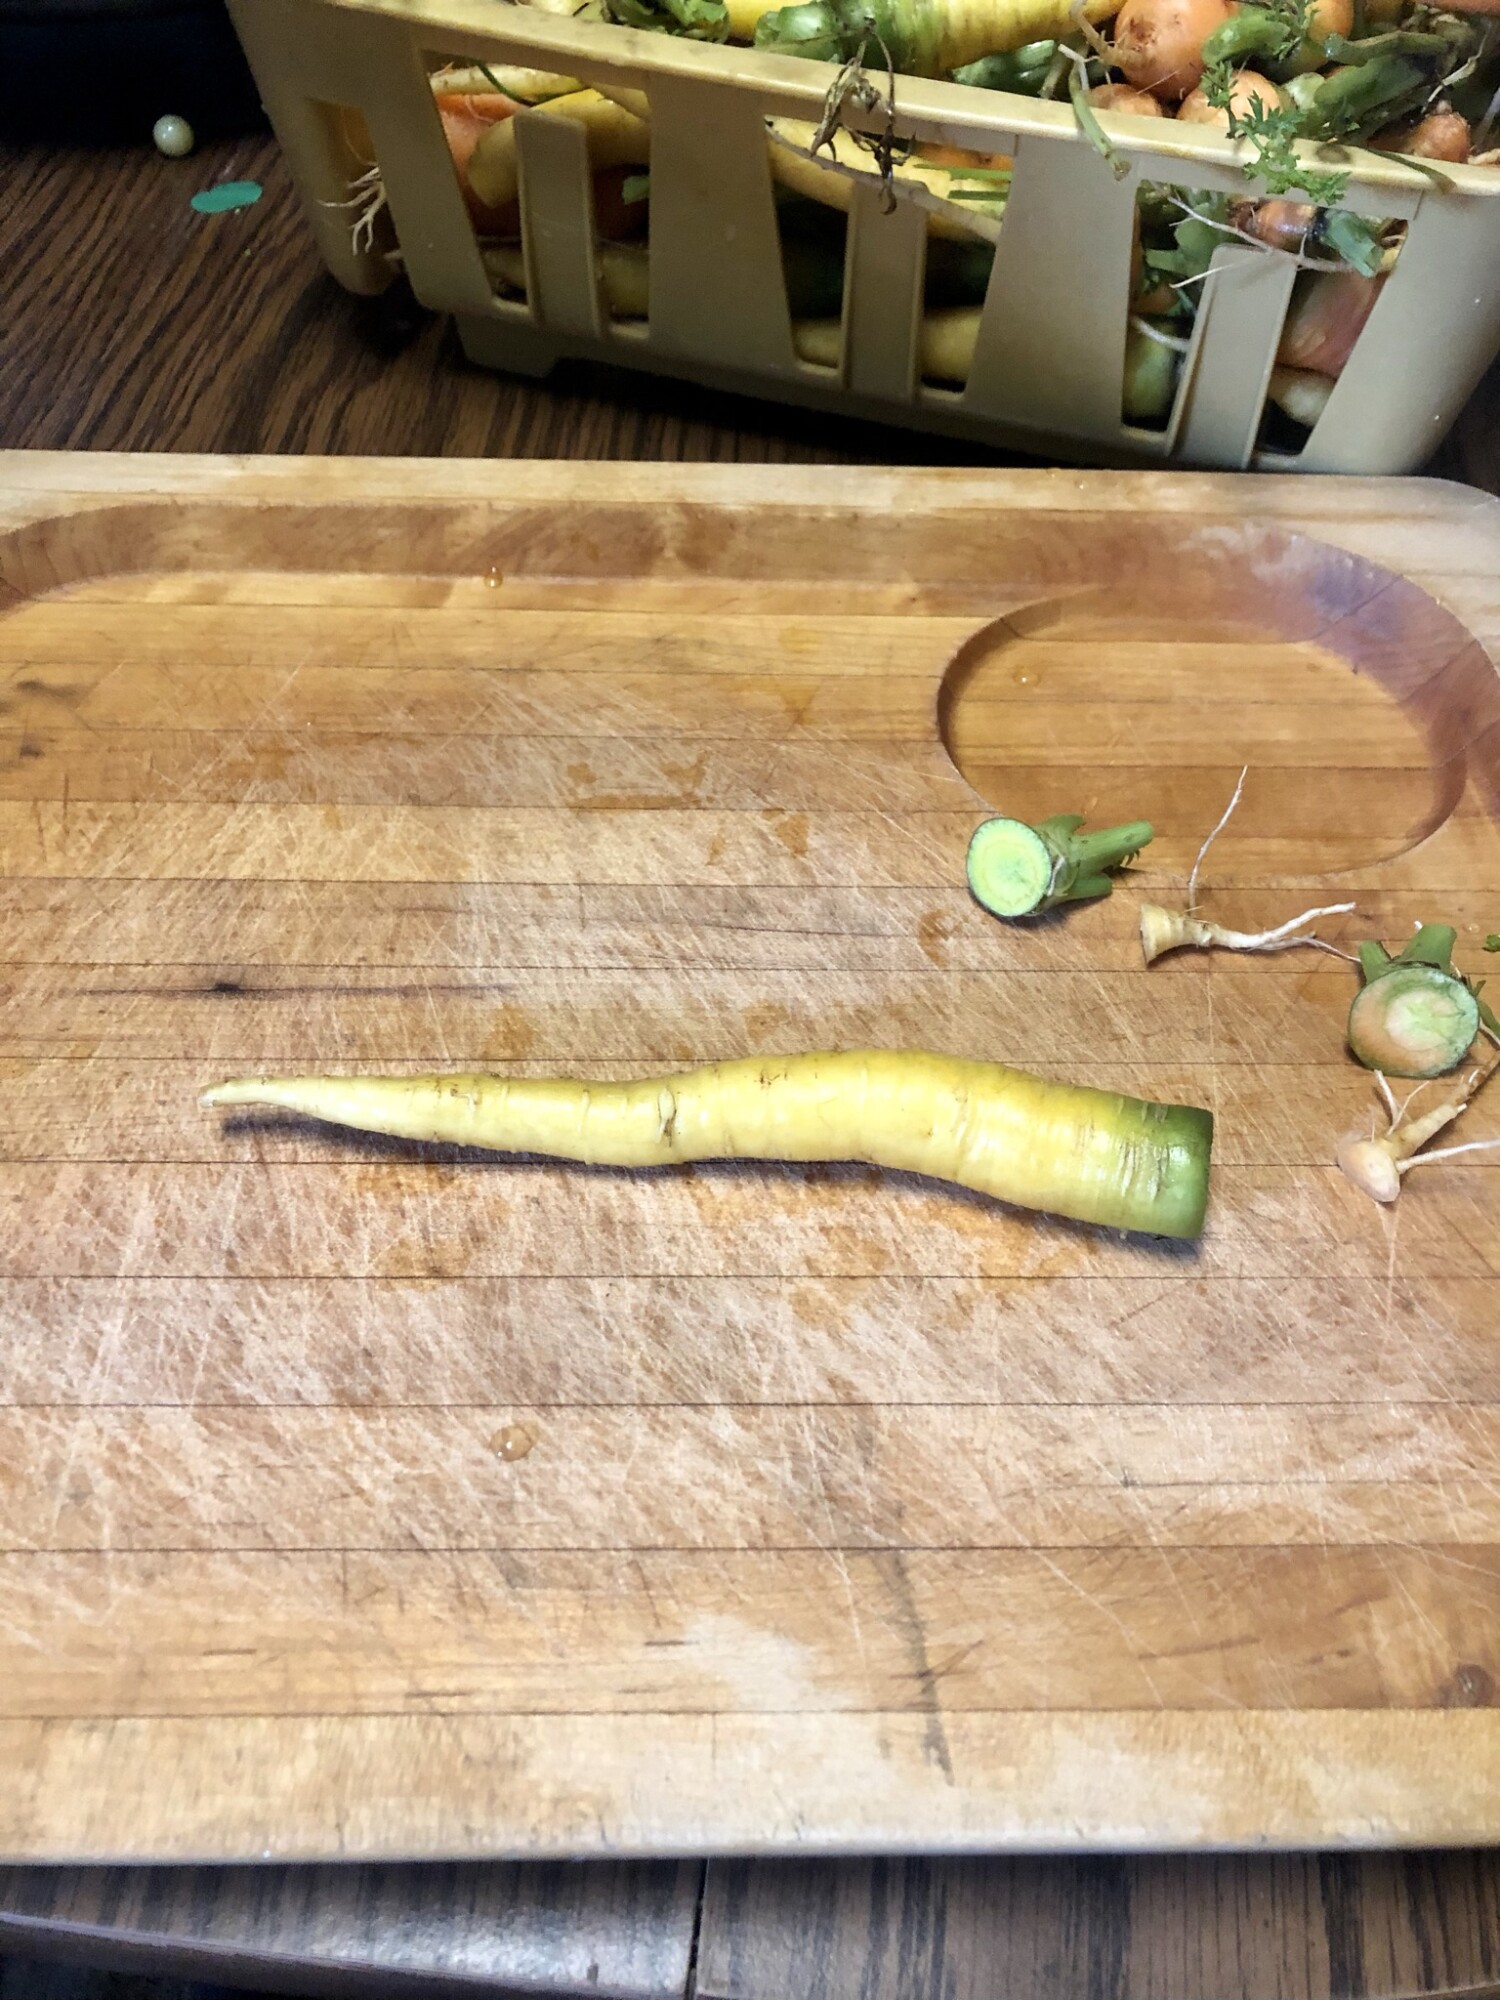
Cut the tail and top knob off, then cut to the desired size. 
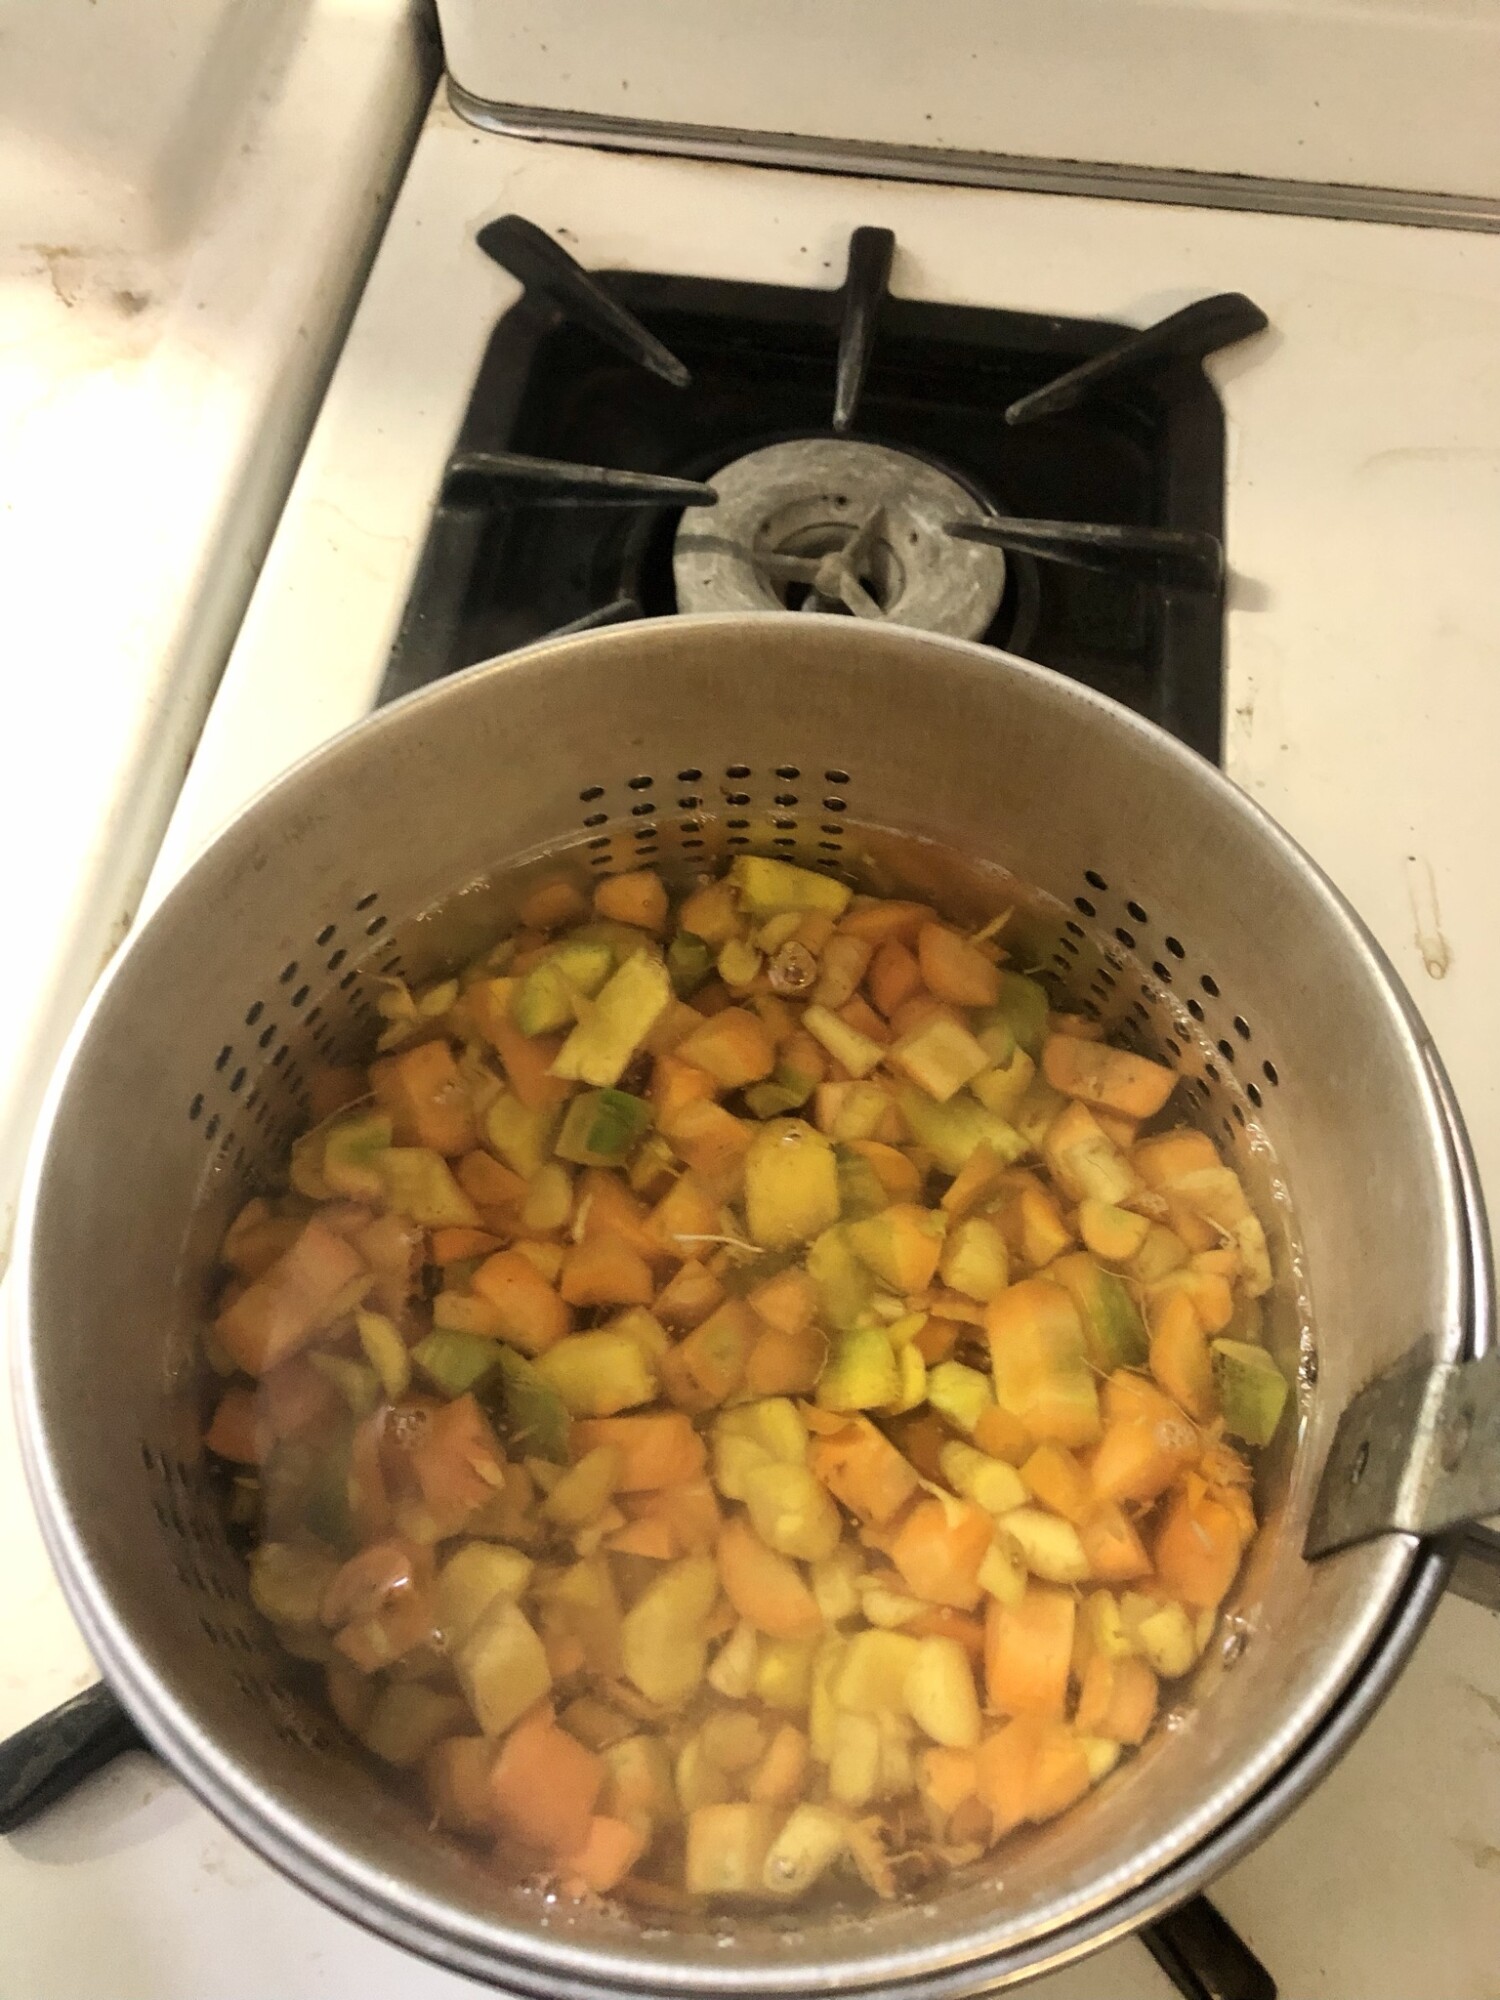
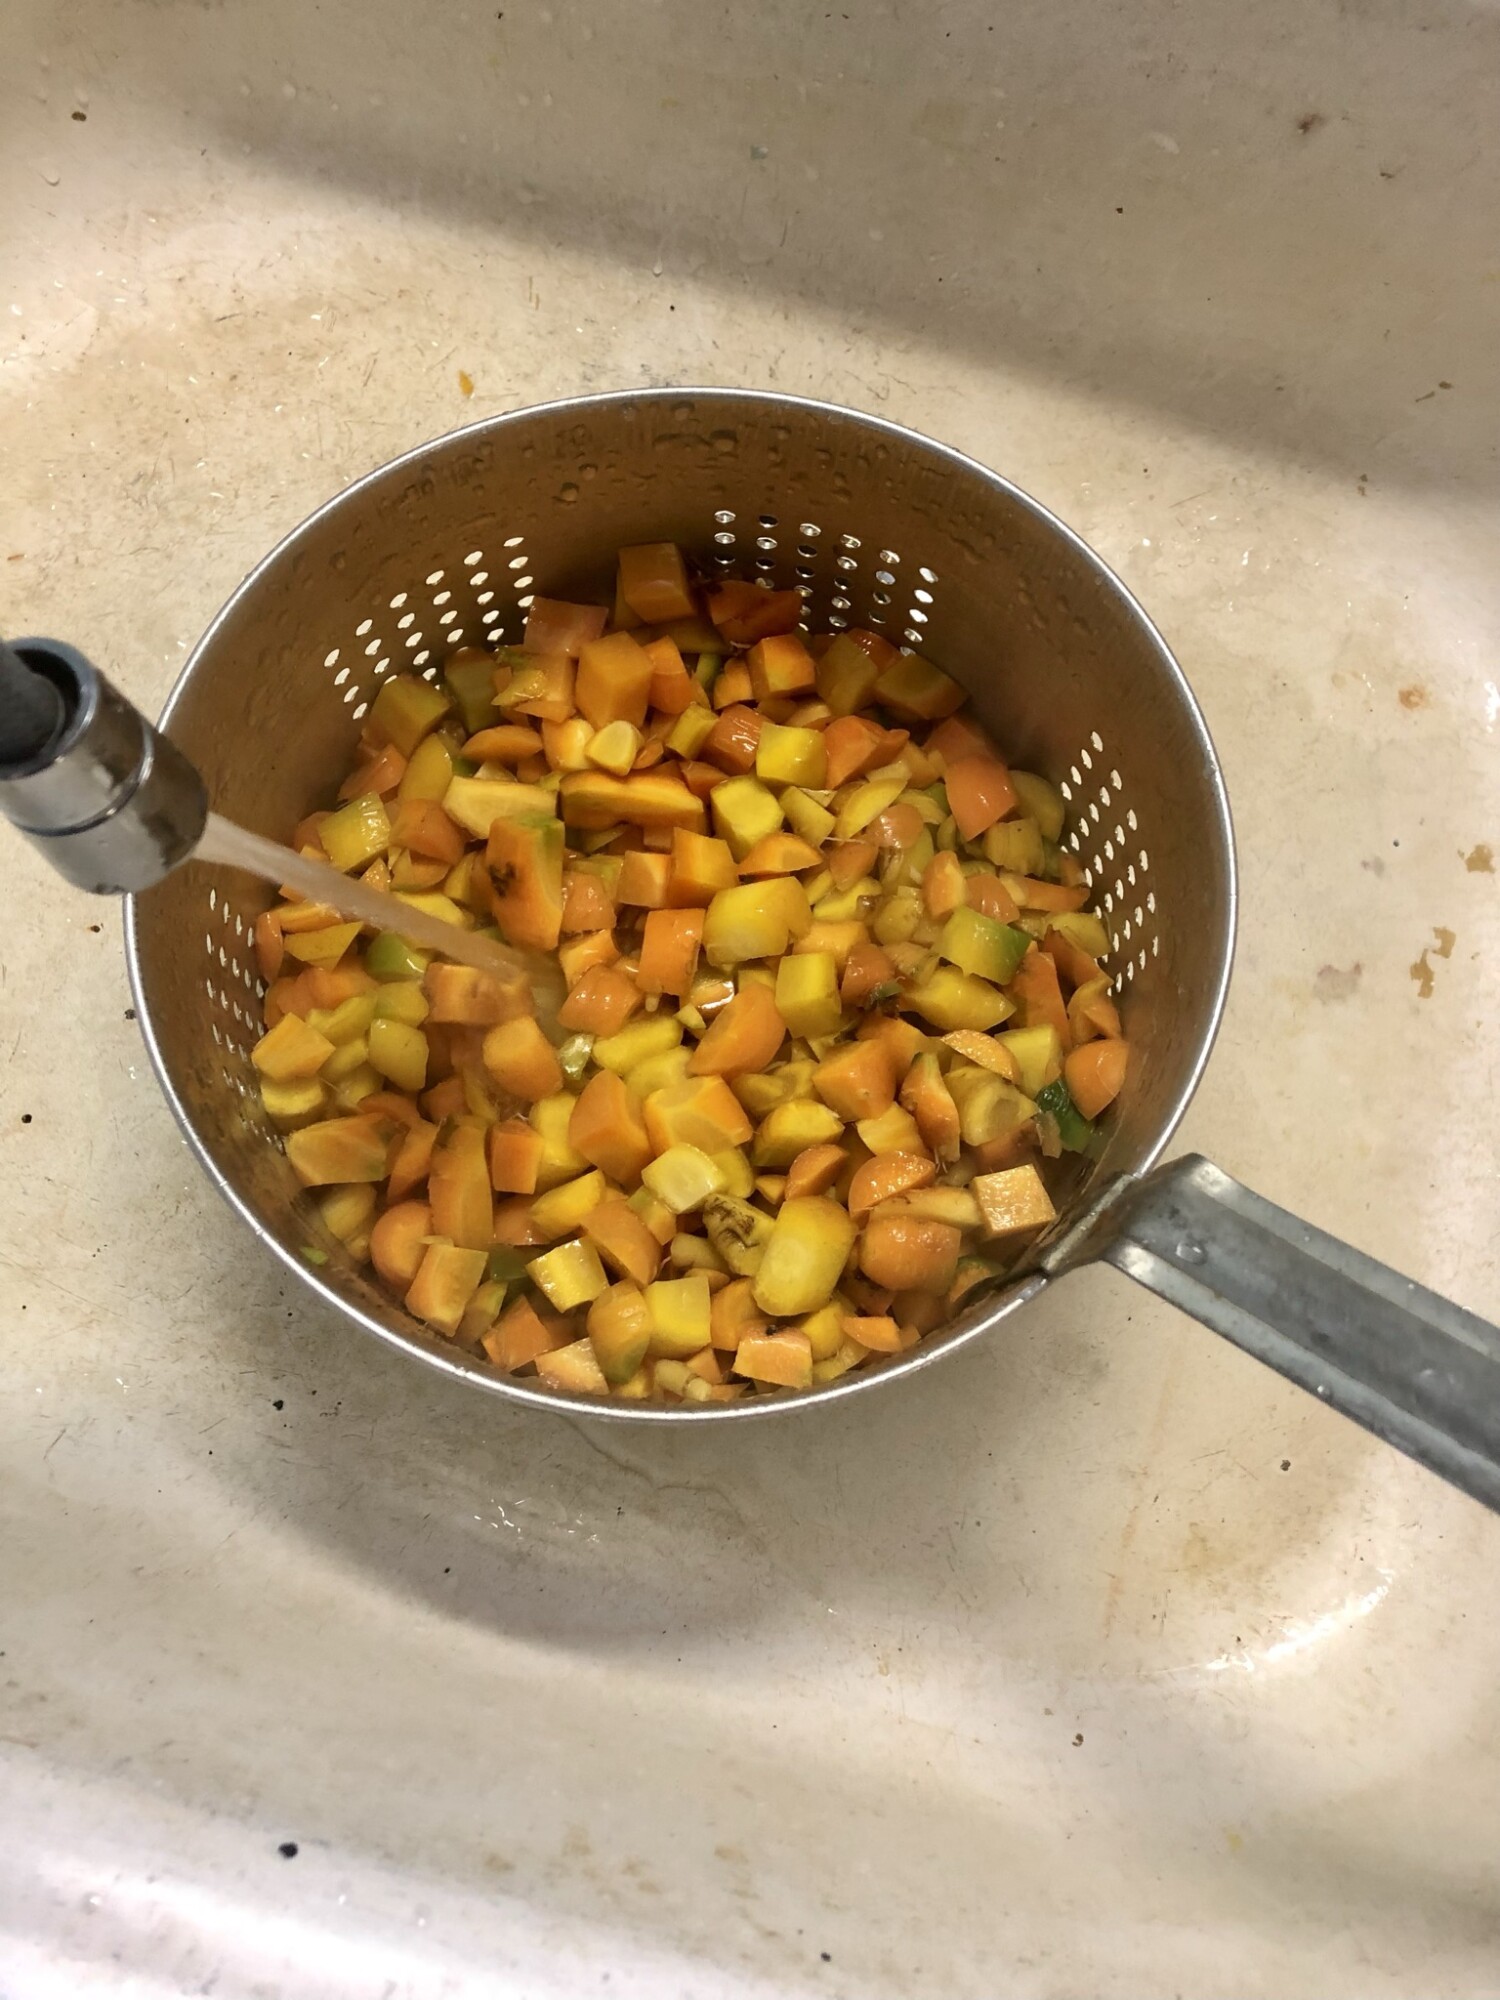
Step 4. Cook the carrots. We don’t like mushy vegetables in our house, so I cook the carrots for 3-4 minutes, then take them out. They will change color a bit while cooking which is how I determine they are done. 
Step 5. Cool them off quickly. Ice water works great for this. You want to stop the cooking process, so cooling them as fast as possible is necessary. I use my sink with ice bottles,or run the water on cold over them until cool. 
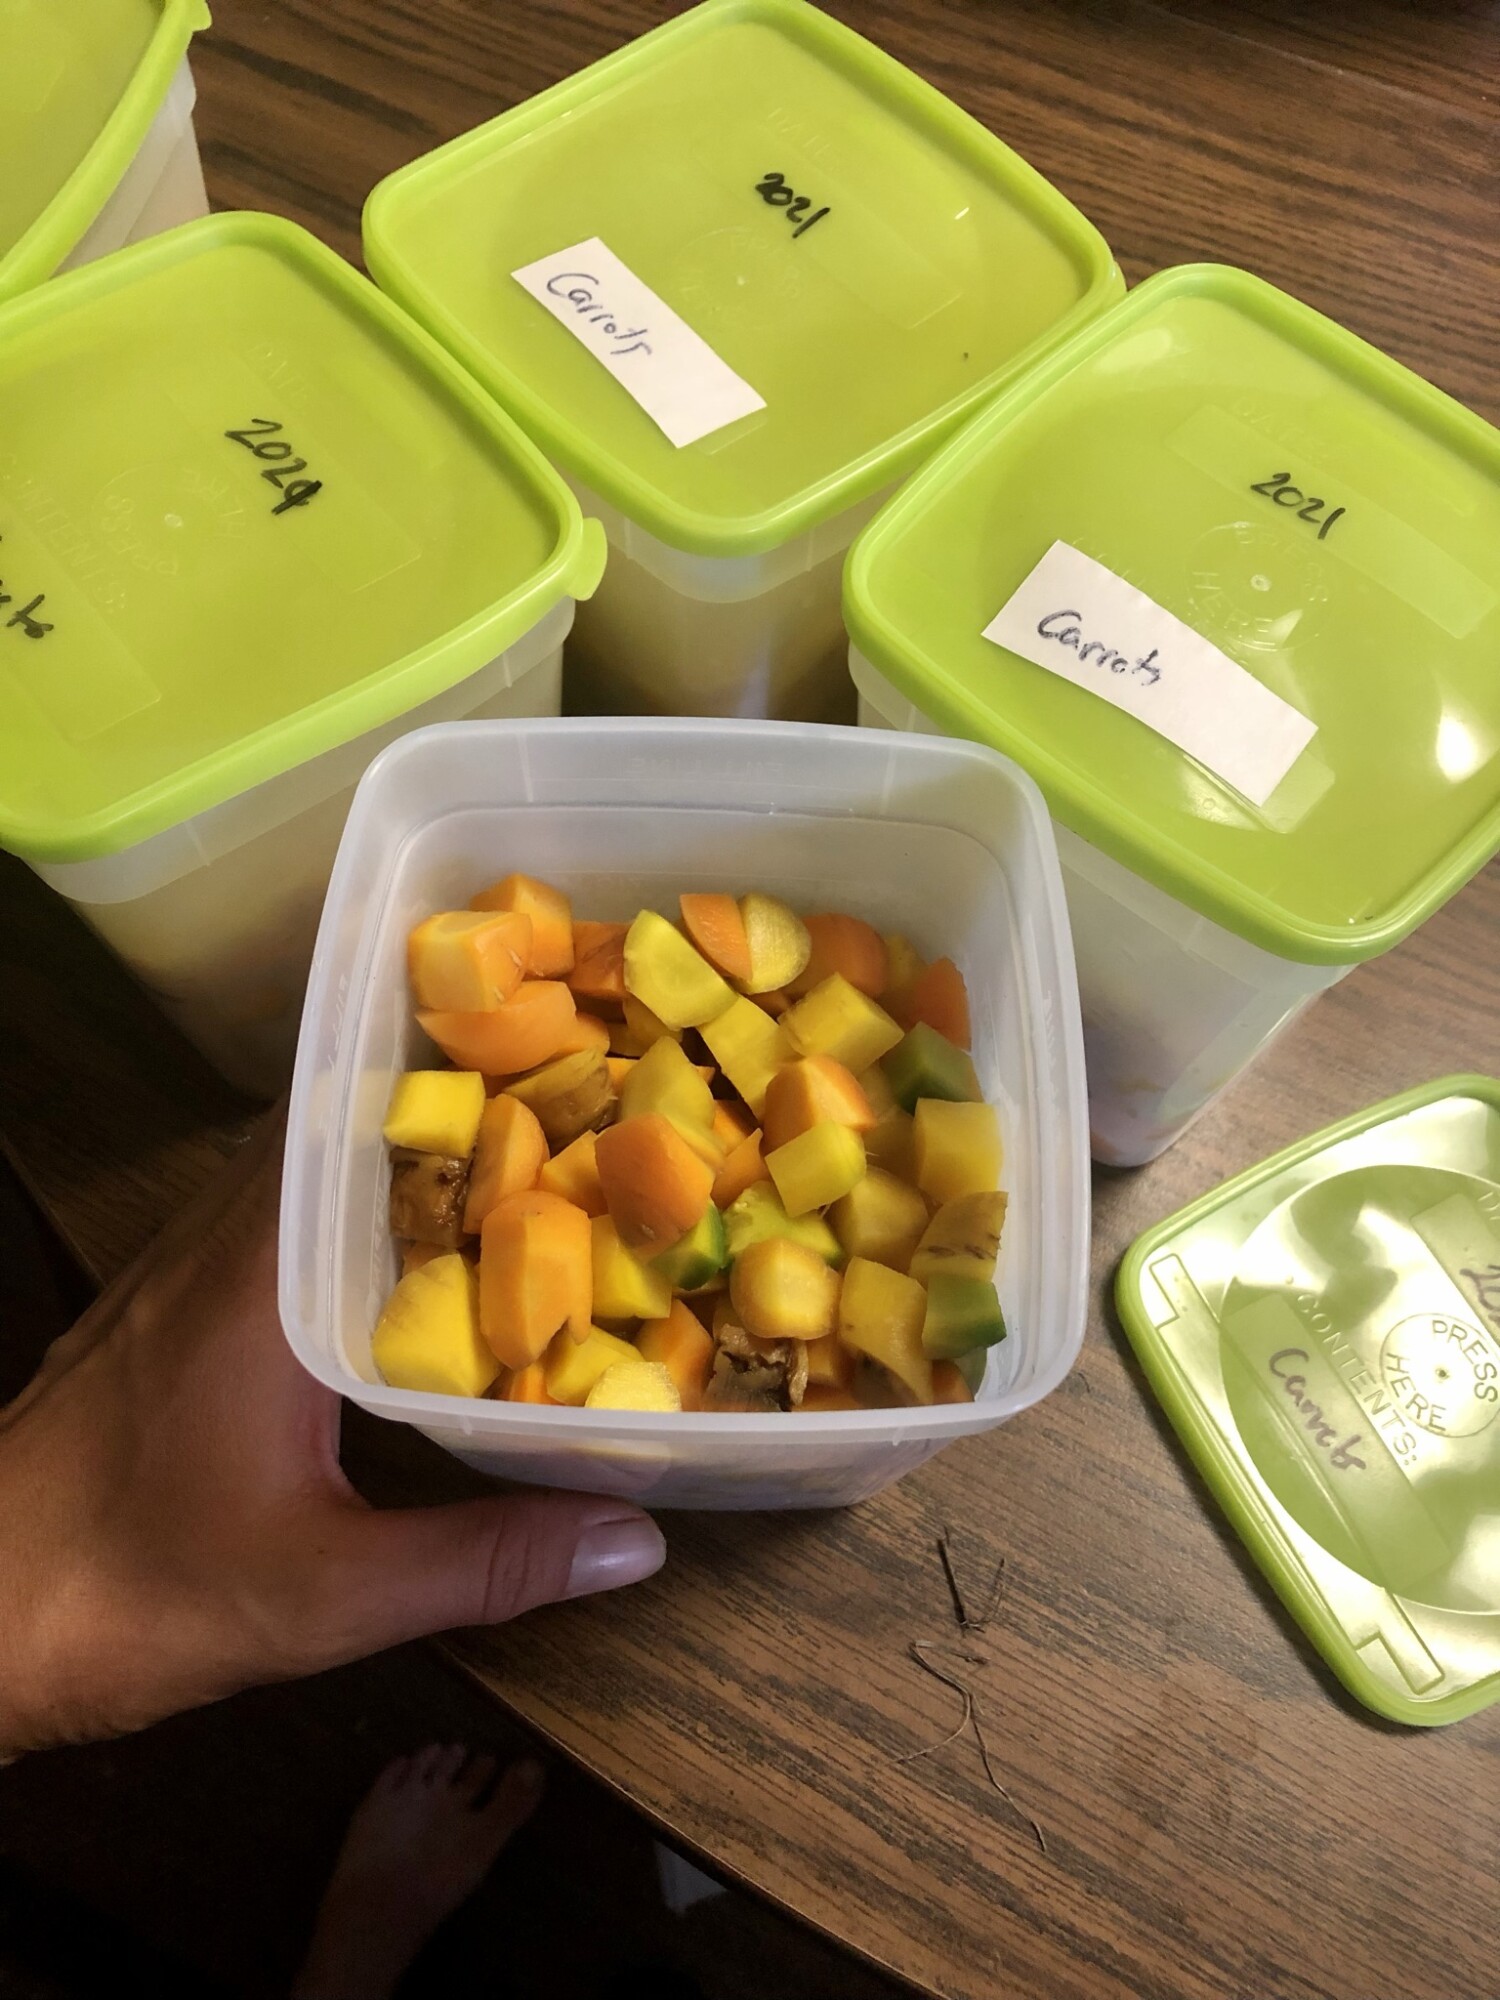
Step 6. Freeze the carrots. Place the cooled carrots in freezer containers filling to the fill line. I used freezer containers last year, and plan to try vacuum bags this year. 
Step 7. Fill the freezer. Once you have all the carrots packed, label and place them in your freezer. 

UPDATE: After breaking several choppers I started cooking the carrots first, then dicing them. This works much better and doesn't break the chopper blades. 


Wanting a community to lean into? Join the FREE Courageous + Purposeful Mommas group! This community is for the Mommas, mommas to be, in the midst of raising, and kids grown, looking for tips on building your family up and providing for them through natural methods. Tips include: gardening, bulk buying, caning,/preserving, livestock, homesteading, and home remedies. Your family is precious, and this group is to help you gain the knowledge and tools to keep your family well and not reliant on outside professionals. Remedies and tips are easy and simple for the busy momma, time is precious after all, including pregnancy, birth, young kids, and illness. Trust your Momma gut again! This community offers the resources + community you need to help get started on your journey and prepare for whatever future you envision.

Join the Free Community


Click here to get the stories straight to your email:

Sign up for the Blog


For more on wellness tips click here:

Sign up for Wellness tips


For more on homesteading on your budget click here:

Sign up for Homesteading Tips


For more simple DIY updates click here:
Sign up for easy DIYs 


How to Can Green Beans

How to Can Green Beans
This post may contain affiliate links, which means that I may receive a commission if you make a purchase using these links, with NO additional cost to you. 

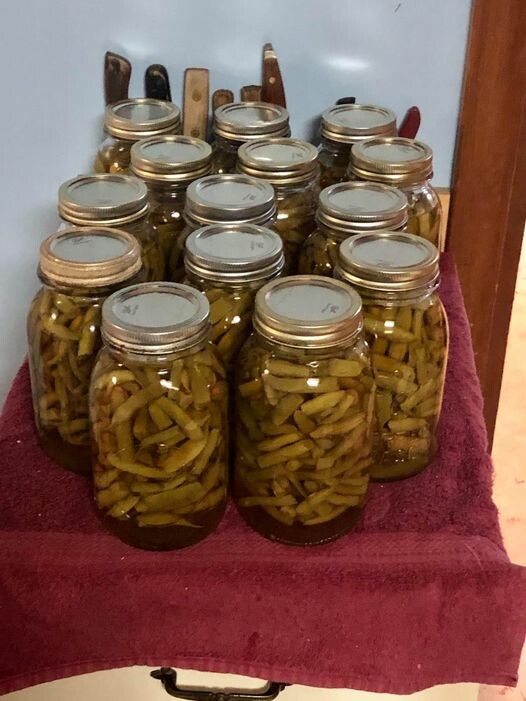
I love growing my own food. Part of growing all the food is not only eating it fresh in the summer, but preserving it for winter use. One vegetable we eat a lot of is green beans. While actual processing time takes a bit, it is a simple process. 

You will need:
Canning jars
Canning lids
Canning rings
Canning salt
Green Beans

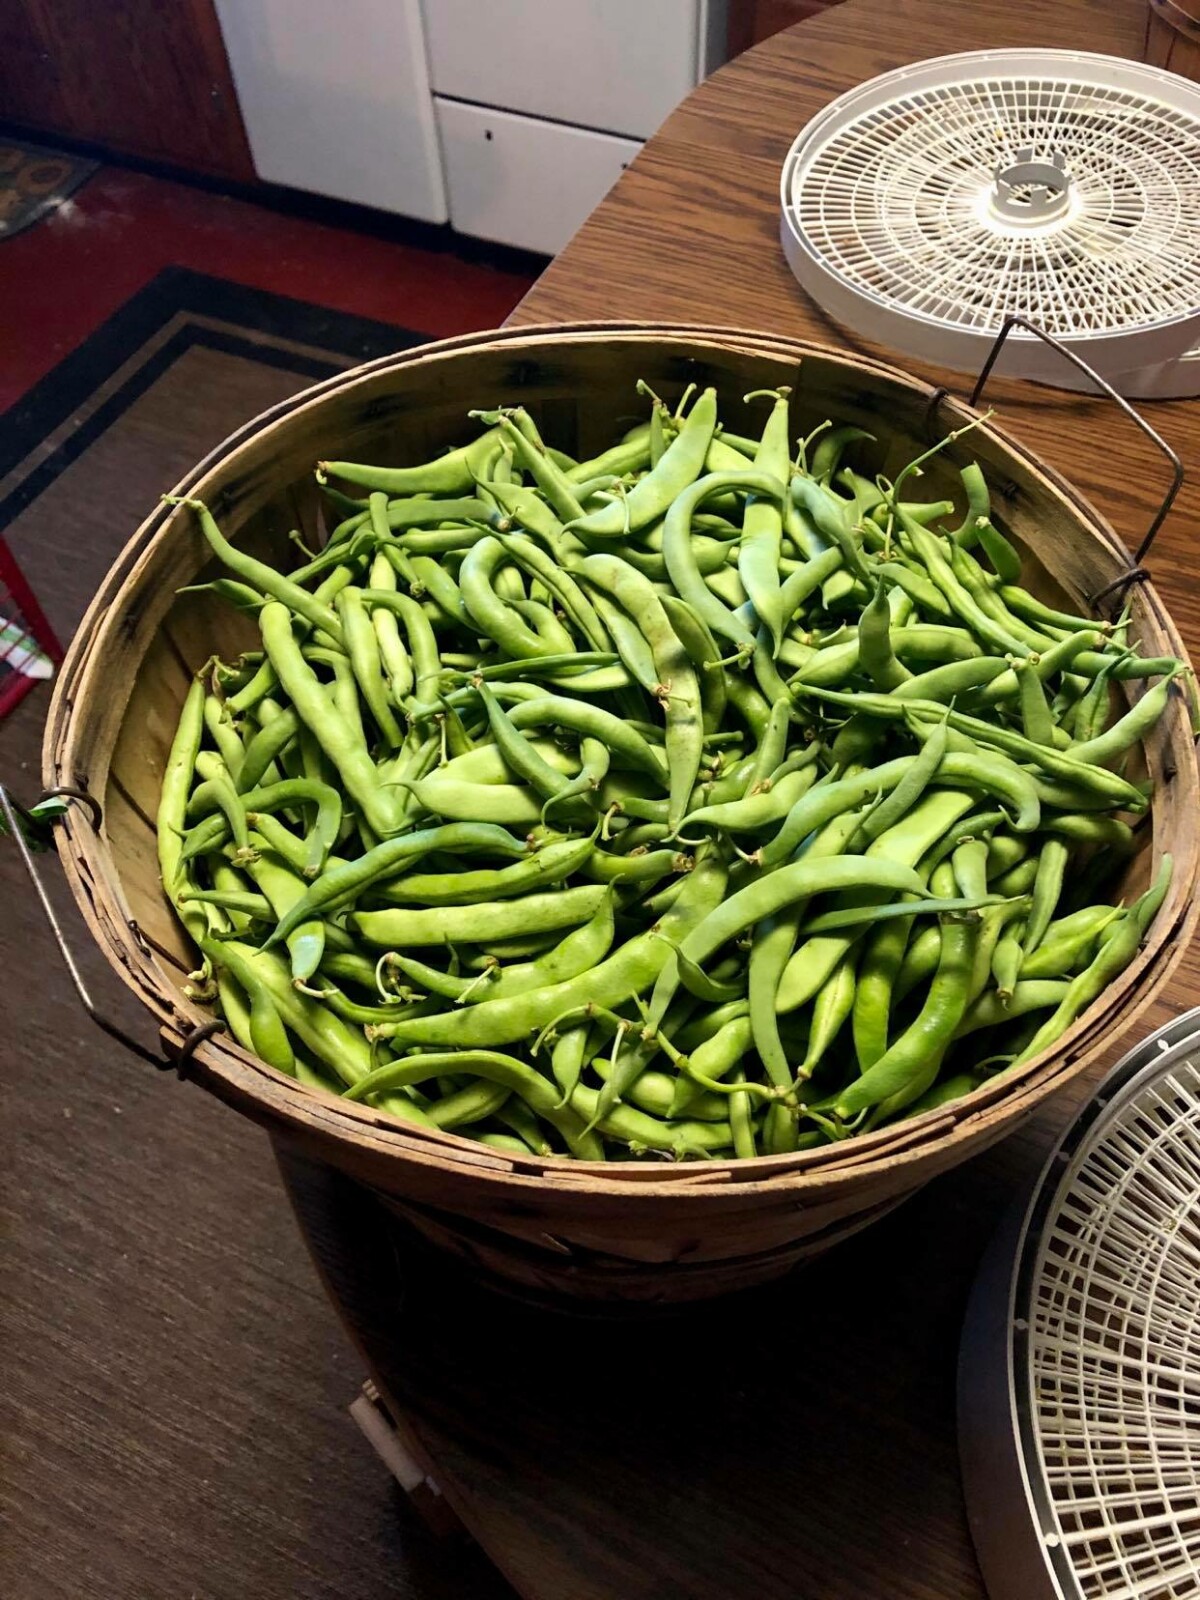
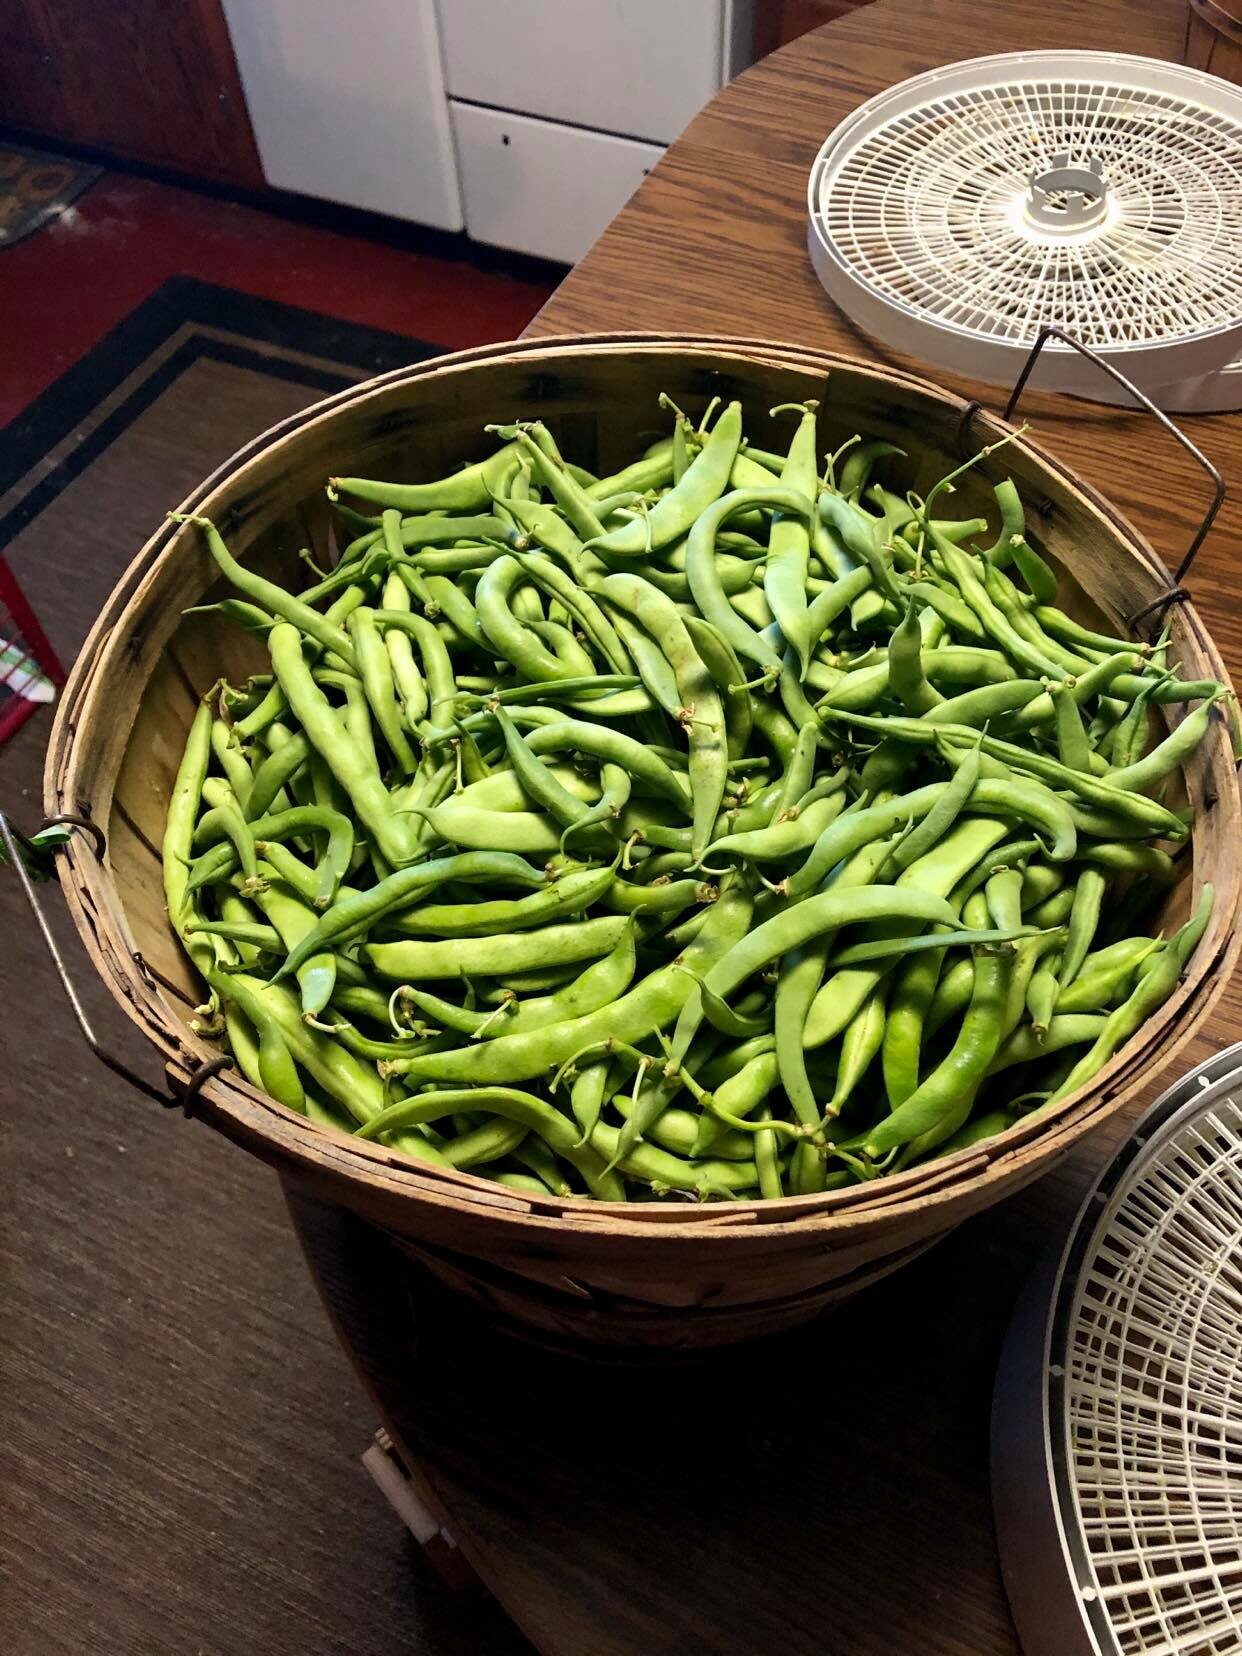
Step 1. Pick the beans from the garden when they are the approximate diameter you want, and are plump and juicy. Length really doesn't matter here, as you will be shortening them later.
If you come across some that look to have little juice and can see the seeds just leave them on the plant. At the end of the season, just when the plant is drying up, go back and pick them. You can use the seeds for next year's crop.

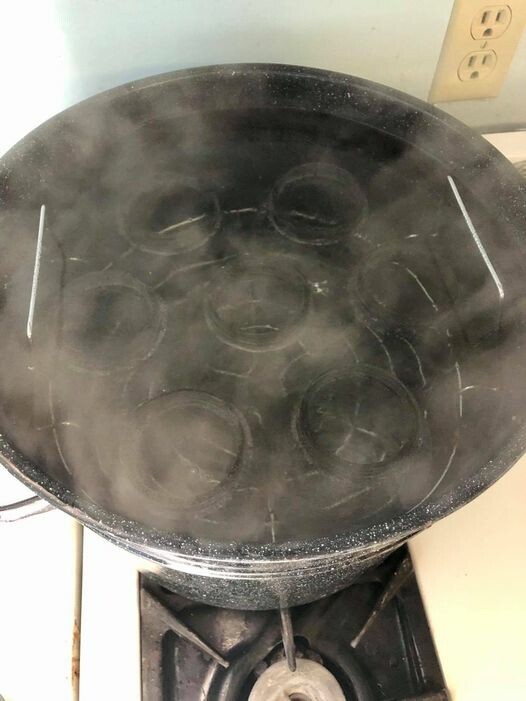
Step 2. Sterilize the jars. Get your water on and jars in and let them boil. Usually by the time I have a pile of beans big enough for all the jars, the jars are sterile and ready to pack. I also start my water on and started heating in the pressure canner at this time too so it is hot and ready for jars as soon as they are packed. Step 2 and 3 are usually happening at the same time for efficiency. 
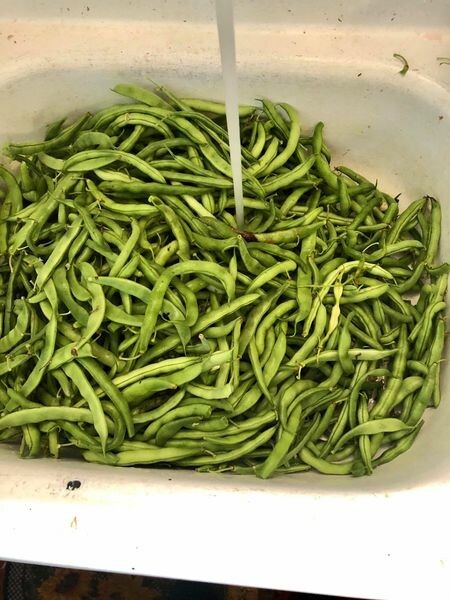
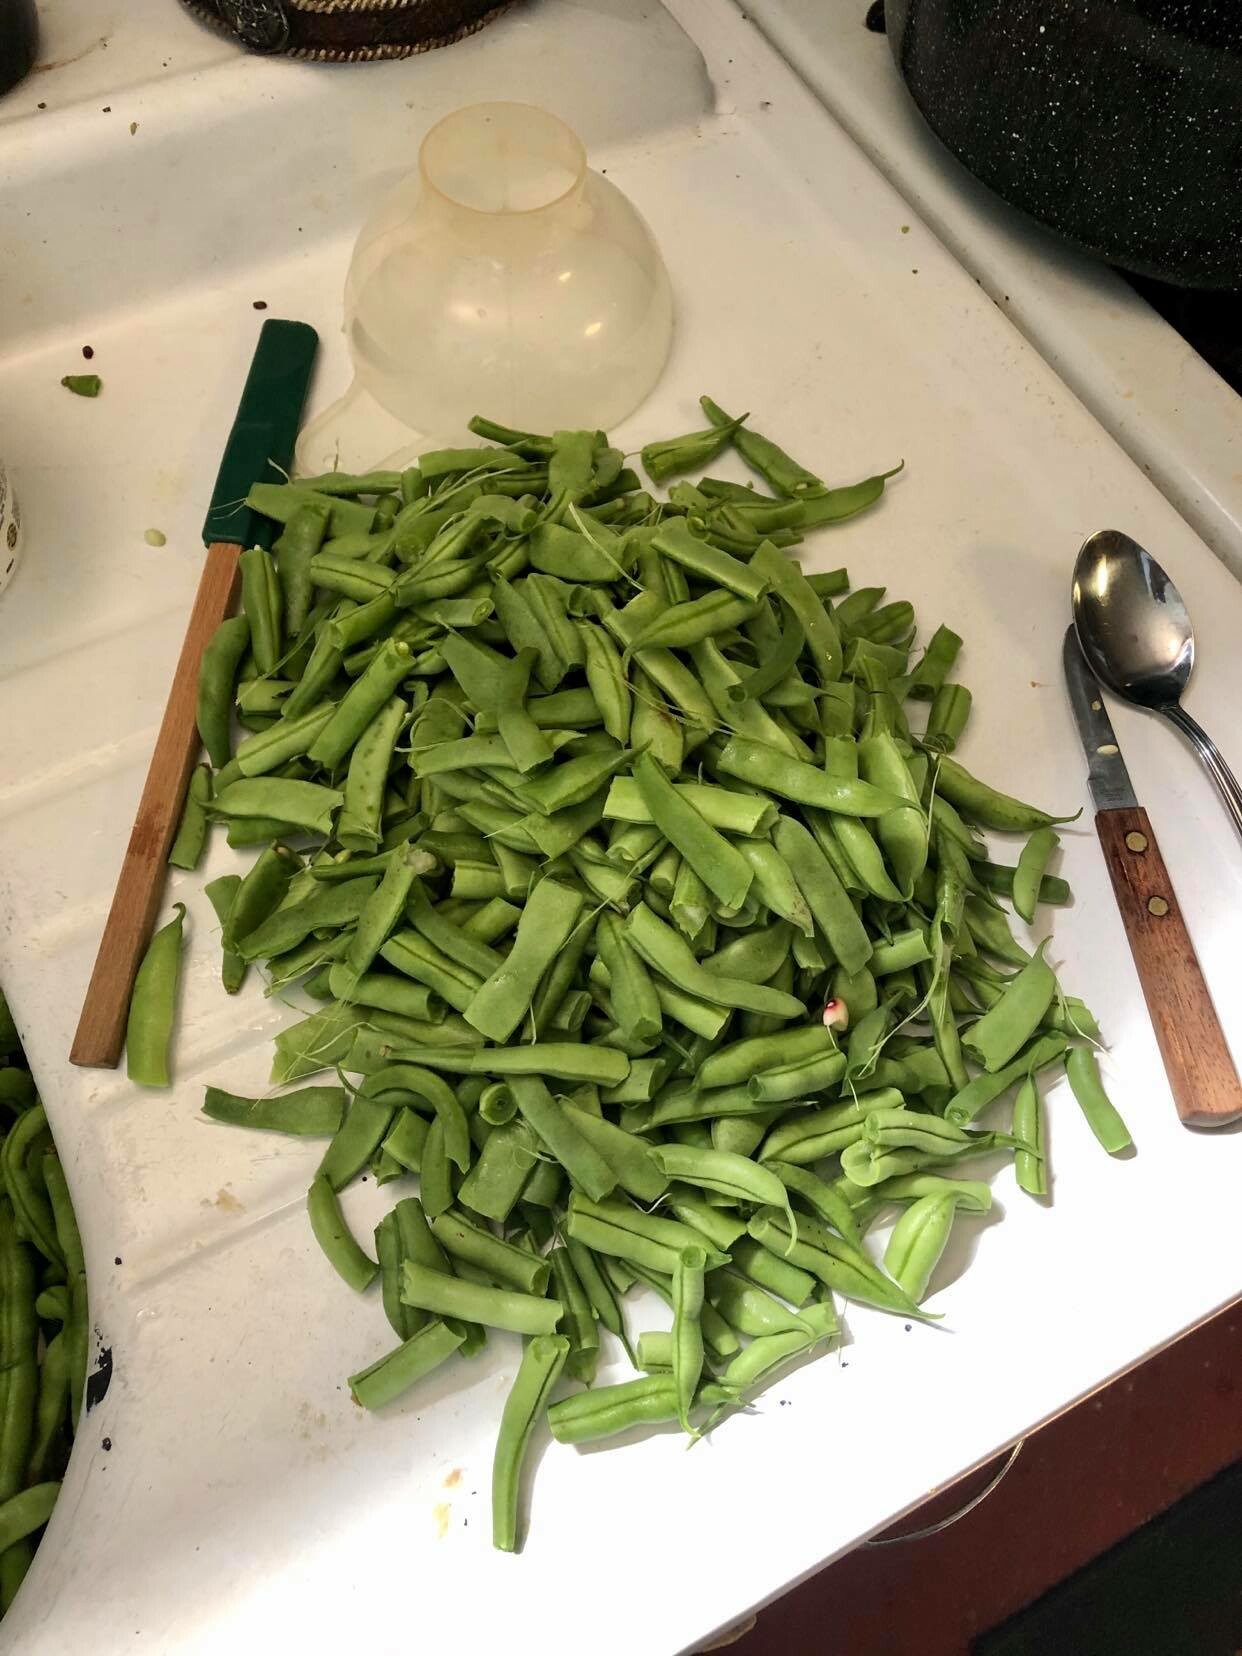
Step 3. Clean and snap the beans. I usually dump the beans in my sink, rinsing the ones that need it, and snap them onto the counter. It is beneficial if you have a lot to can, to snap them sitting down into a clean bucket or basket.
You are snapping the beans to about 1 inch pieces. To 'snap' the beans simply break them in pieces with your fingers, no knife required.
Step 4. Salt the jars. Remove the sterile jar from the water and carefully dump the water out.

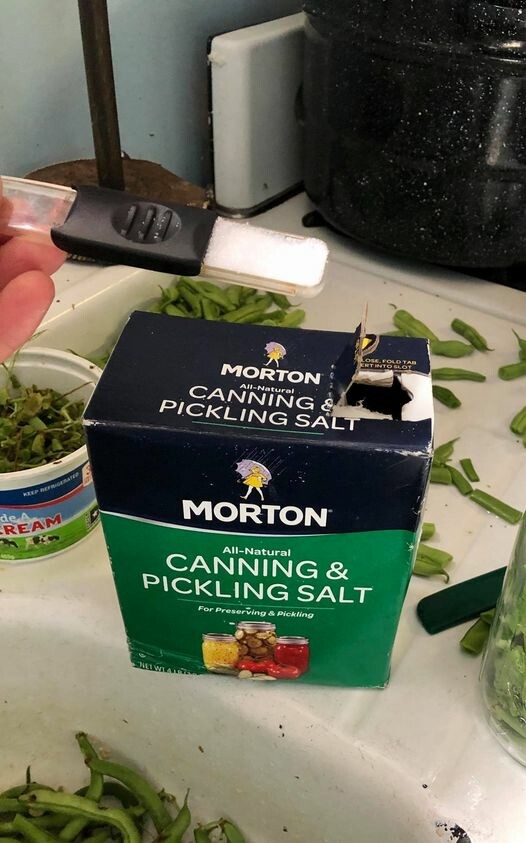
For a quart Jar you need to add 1 Tablespoon of canning salt to the jar. I put it in the bottom right away so I don't forget. Make sure it is canning salt and not table salt. There is a difference!
Step 5. Pack the beans. Pack the beans in the jar to 1 inch from the top. Then add HOT (like near boiling) water to 1 inch from the top.
Step 6. De-Bubble. This step is very important!
Slide a long spatula along the edge of the jar 2-3 times to remove any trapped air bubbles.
If an air bubble is trapped and not removed your jar could explode in the canner.

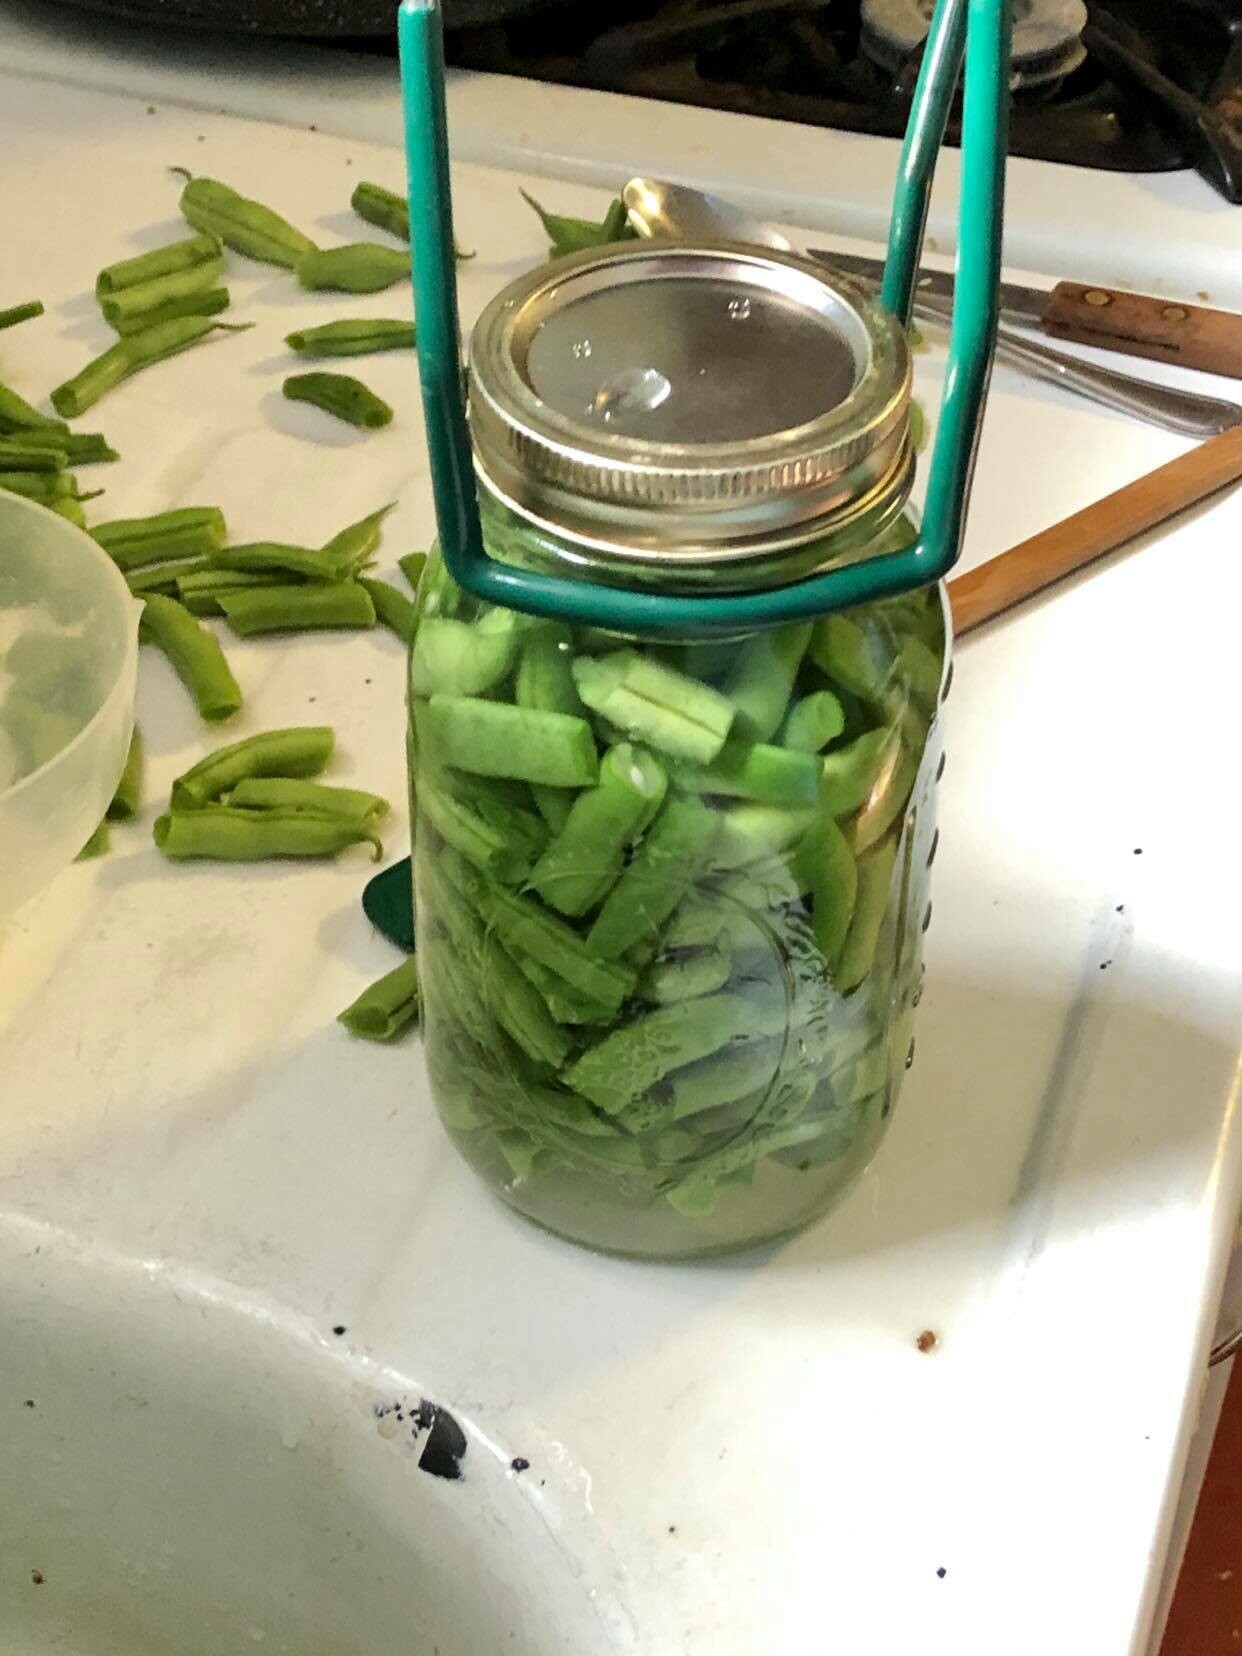
Step 7. Lids. Rinse the, one time use, canning lids in hot water. This is new compared to older lids which you needed to boil first. Then set them on the jar and attach the rings down as tight as you can. 

If you are using reusable lids you will want to boil the seals and follow the instructions from the manufacturer. I purchased some from Tattler at www.reusablecanninglids.com

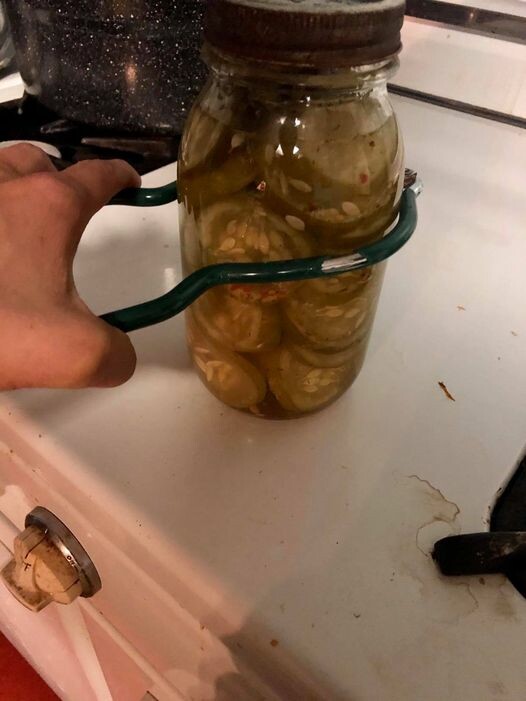
If the jar is too hot to grab you can use a lid tighter as shown to help.


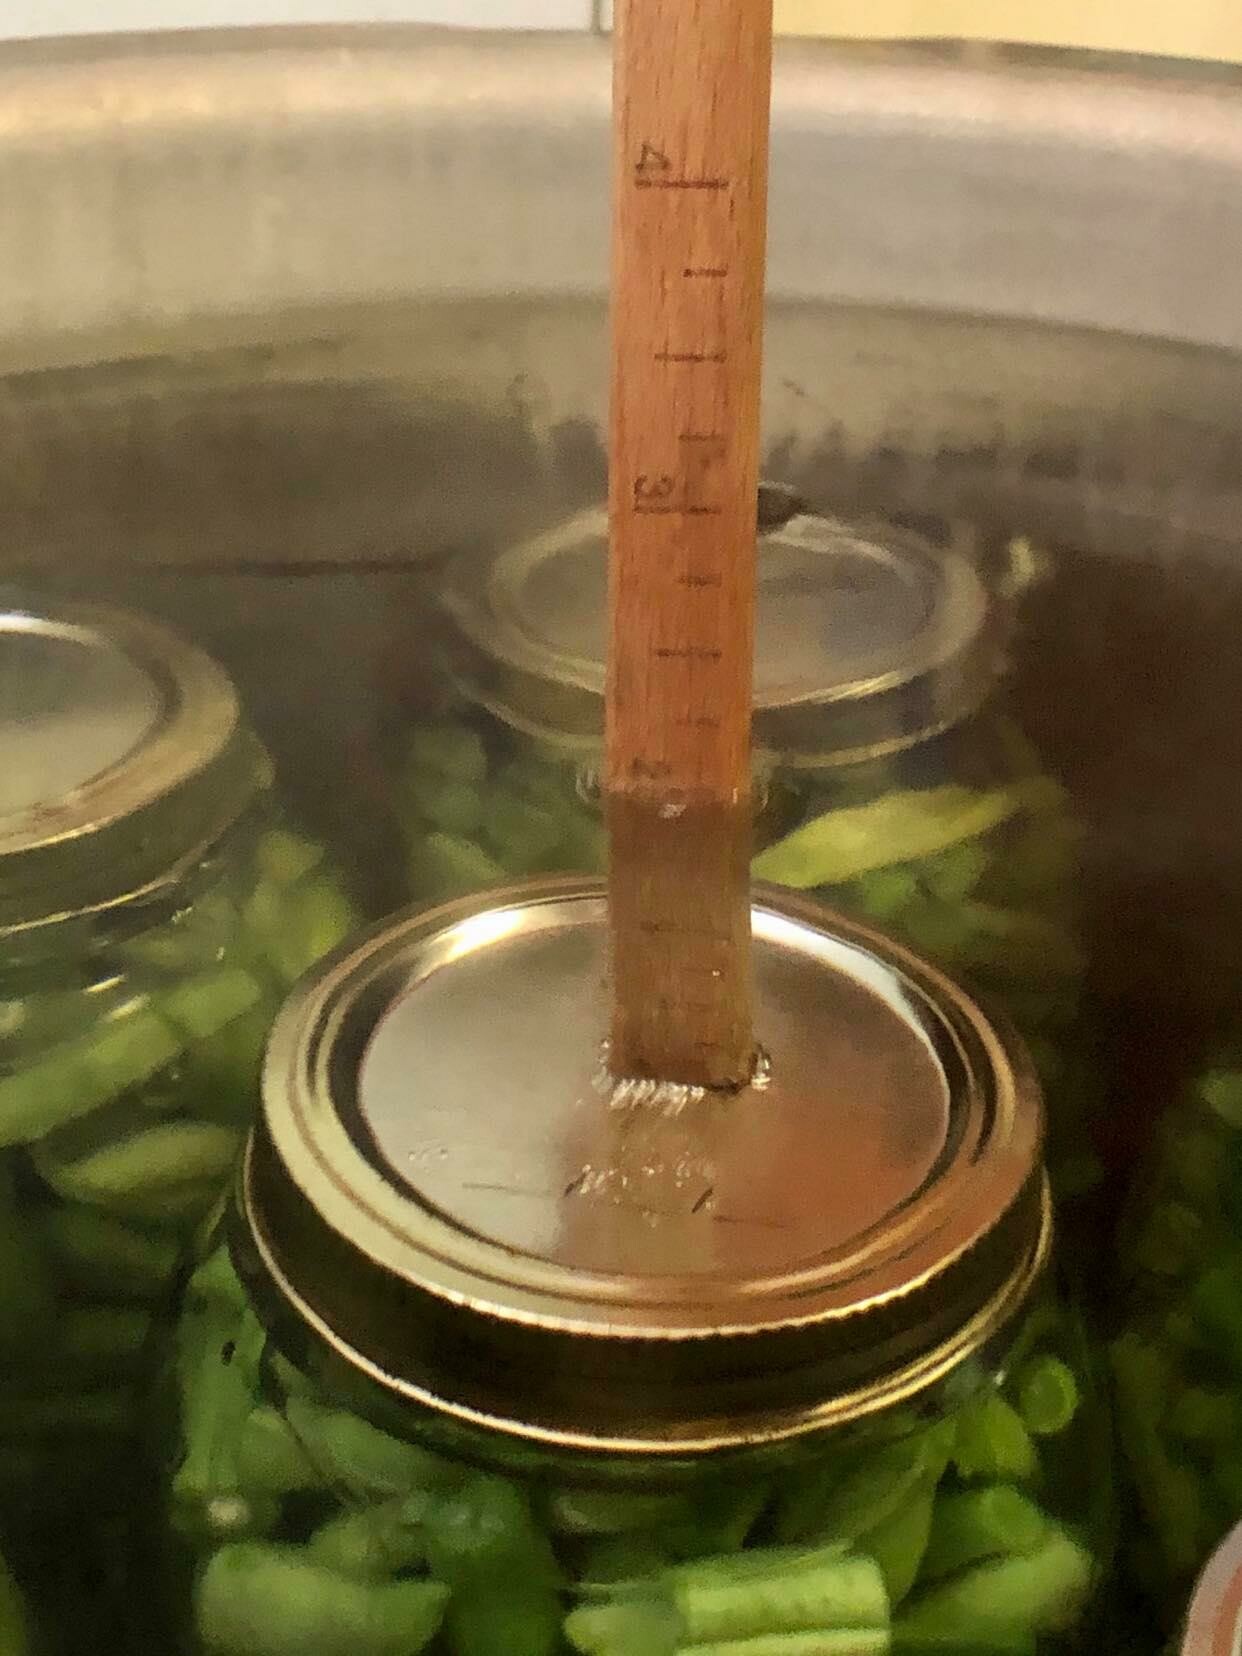
Step 8. Into the pressure canner. Using jar lifters pick the jars up and place them in the hot water in the pressure canner.
Once all the jars are in, make sure your water is 2 inches above the jar lids. 
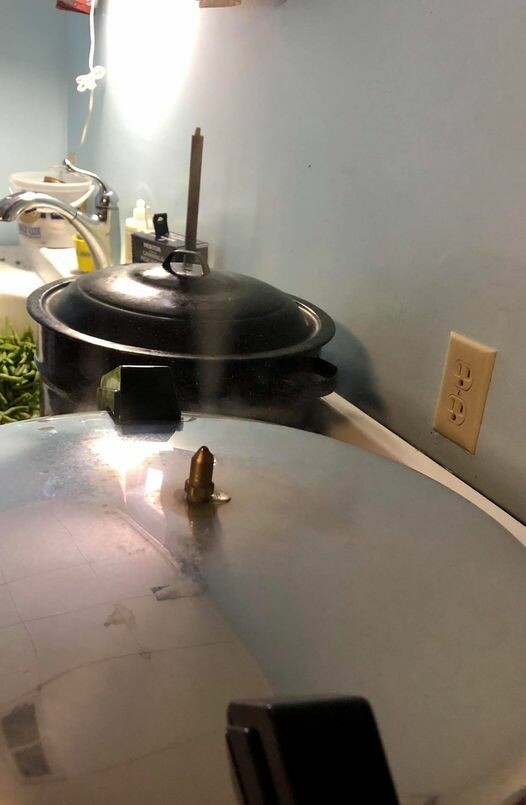
Step 9. Close the canner and wait. The hard part is done. Now the waiting.
Seal up the canner and turn your heat on high. Wait until you see steam coming from the vent as shown.
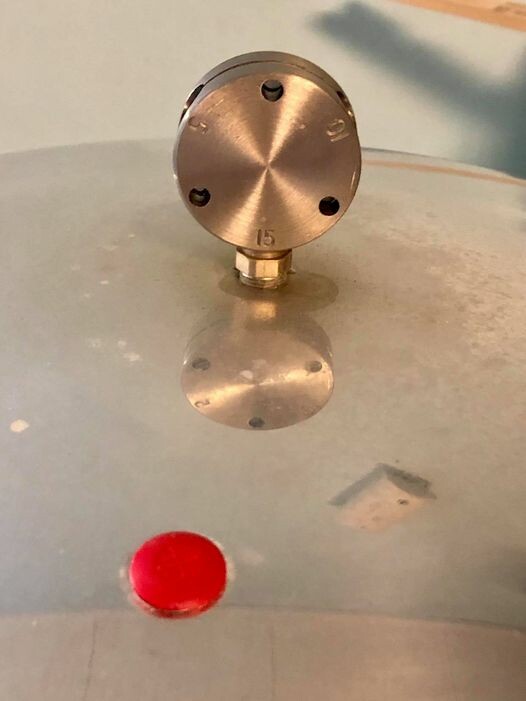
Step 10 Adjust the pressure and wait some more. Adjust the pressure to 11 pounds and wait for the canner to reach pressure. In a weighted canner you will hear it. It's loud and sounds like water is on somewhere in your house.
My weight is in 5 pound increments. Always adjust higher rather than lower. Thus mine is set at 15 instead of 10.

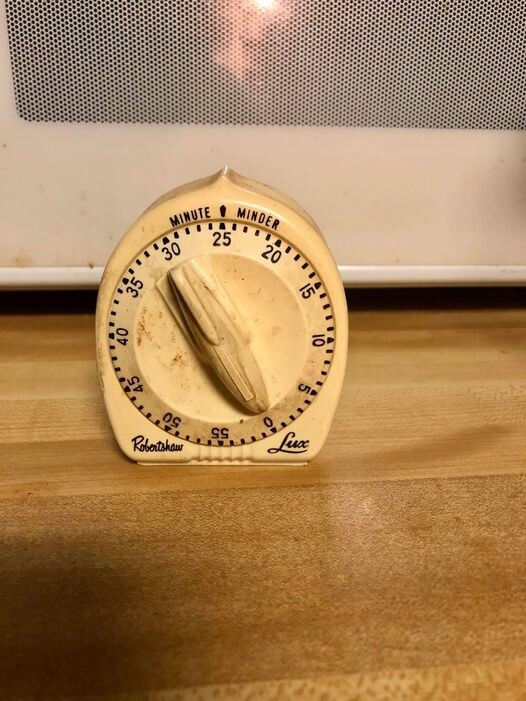
Step 11. Set the timer and wait again. Once the canner is to pressure set the timer for 25 minutes for quart jars.
After the timer goes off, turn off your heat and let the canner depressurize. You can use a hot pad and take the weight off. It will be very hot. The canner will easily open once it is depressurized. You should NOT have to force it open. 

If you have another batch to do, start packing the jars now and about the time you're done the canner will be ready to open.

Step 12. Remove the jars and let them cool. Using the jar lifters, carefully lift the jars out of the hot water and place them someplace safe to cool. I use a towel doubled up.
At this point I usually walk away until the next morning. Check the lids by pressing in the center. If a lid pops back up, it is not sealed. Easiest solution? Put it in the fridge and use it within a week. Label the jars and store them away for later use!


Wanting a community to lean into? Join the FREE Courageous + Purposeful Mommas group! This community is for the Mommas, mommas to be, in the midst of raising, and kids grown, looking for tips on building your family up and providing for them through natural methods. Tips include: gardening, bulk buying, caning,/preserving, livestock, homesteading, and home remedies. Your family is precious, and this group is to help you gain the knowledge and tools to keep your family well and not reliant on outside professionals. Remedies and tips are easy and simple for the busy momma, time is precious after all, including pregnancy, birth, young kids, and illness. Trust your Momma gut again! This community offers the resources + community you need to help get started on your journey and prepare for whatever future you envision.

Join the Free Community


Click here to get the stories straight to your email:

Sign up for the Blog


For more on wellness tips click here:

Sign up for Wellness tips


For more on homesteading on your budget click here:

Sign up for Homesteading Tips


For more simple DIY updates click here:
Sign up for easy DIYs 


What is Chicken Math?

What is Chicken Math?
This post may contain affiliate links, which means that I may receive a commission if you make a purchase using these links, with NO additional cost to you. 

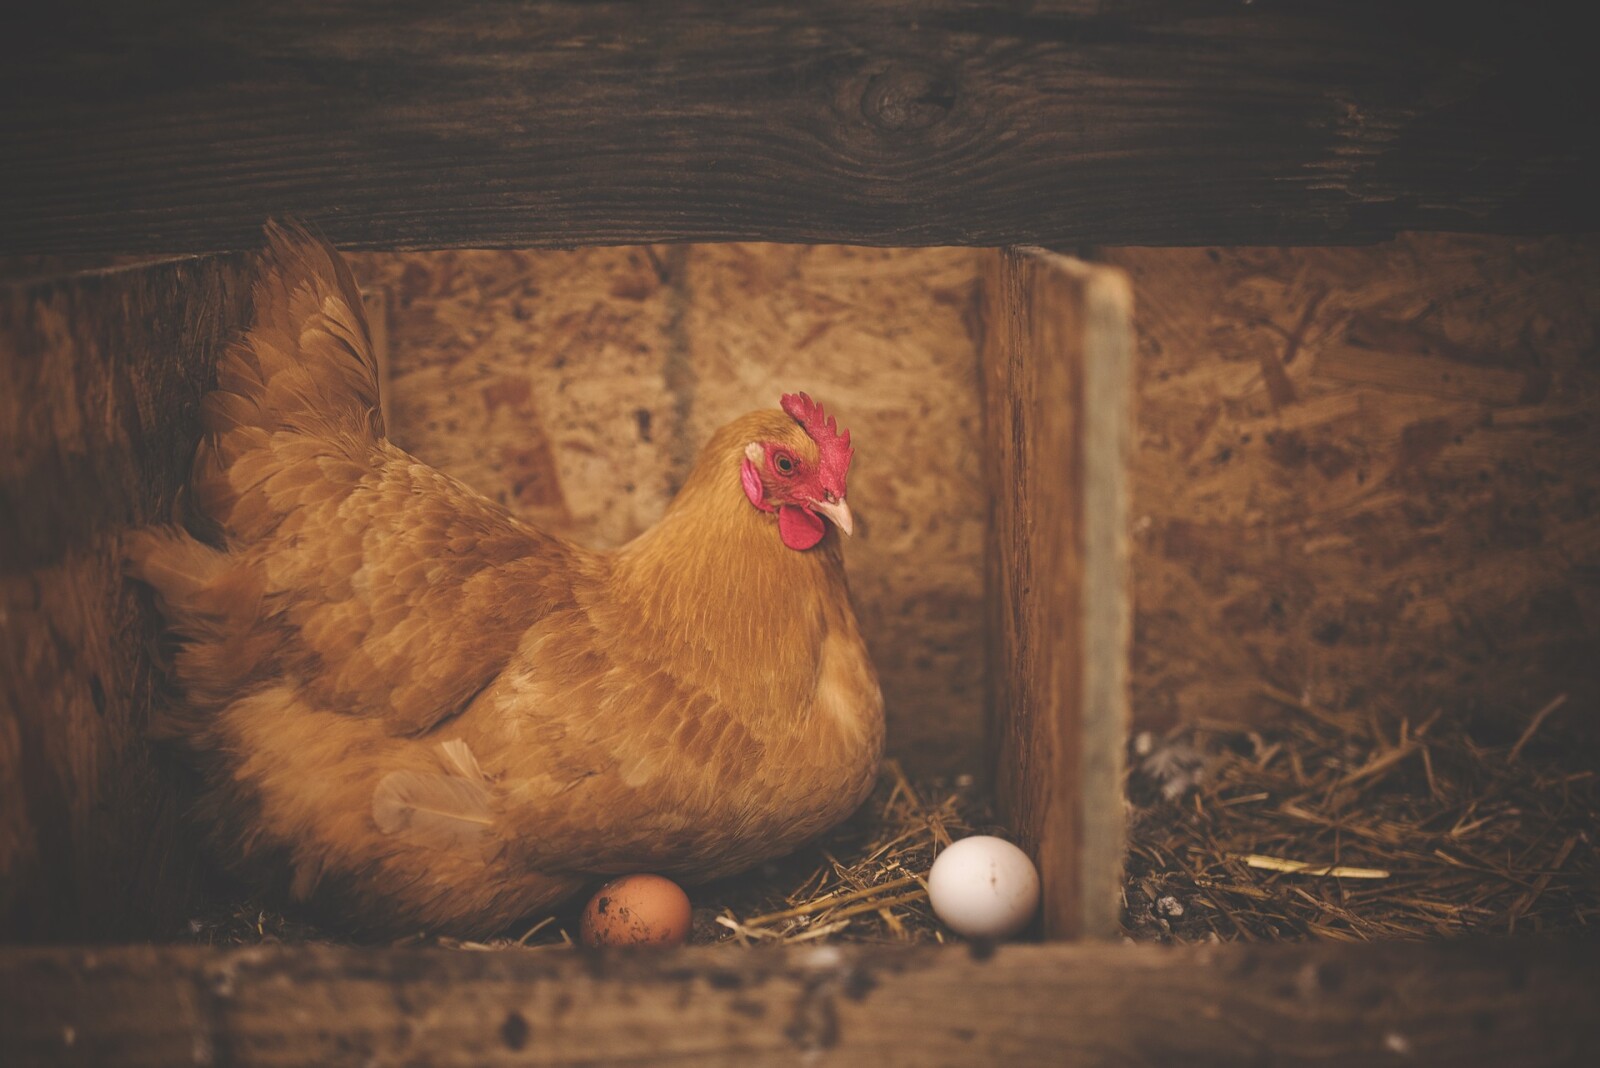
What is chicken math? According to Meyer Hatchery, “chicken math is the addition to your flock in quantities and maybe even species that are beyond what you originally planned.” A good example would be my flock.

Last year I had an amazing plan to get some birds to help with bug control. I was thinking about guineas. They are excellent for all kinds of bugs. But then I found this thing called a surprise box from Cackle Hatchery. Well 50 random birds means more bug diversification and the shipping was free and the chicks were cheaper that way! So I ordered a box. 

Then I had to wait, but my coop was already ready. So why not experiment with a few from Orchlen’s to make sure I got it figured out before the big batch comes. So we got a dozen. Then on a separate trip a month later Tractor Supply was trying to get rid of some older chicks. So we brought home 30ish chicks. Then a month later the Surprise Box of 50 arrived with various chickens and guineas!

I thought I was done for a while, my coop space was beyond full. But my husband asked about more chickens, because you know you have to keep various ages for continual production. I said I was maxed on space. Then he told me he was going to build a bigger coop! So I ordered another surprise box for this spring!

Hoping for a bit more variety of birds I set it for April delivery. I got 2 ducks and 2 turkeys with that box! Well two ducks didn’t seem like enough, so I found a local boy who had some for sale and bought 10 more from him. Then late this summer my husband saw some geese at Bomgaars and we came home with 2. 

What started as we’ll have around 20 guineas has resulted in more breeds of chickens than I can name, guineas, ducks, turkeys, and geese. Currently as we prepare to move the two flocks together into the hen house, we have around:
49 laying hens
4 roosters
12 ducks
2 turkeys
2 geese
40 young chickens

And every time I add more birds I just call it chicken math!


Wanting a community to lean into? Join the FREE Courageous + Purposeful Mommas group! This community is for the Mommas, mommas to be, in the midst of raising, and kids grown, looking for tips on building your family up and providing for them through natural methods. Tips include: gardening, bulk buying, caning,/preserving, livestock, homesteading, and home remedies. Your family is precious, and this group is to help you gain the knowledge and tools to keep your family well and not reliant on outside professionals. Remedies and tips are easy and simple for the busy momma, time is precious after all, including pregnancy, birth, young kids, and illness. Trust your Momma gut again! This community offers the resources + community you need to help get started on your journey and prepare for whatever future you envision.

Join the Free Community


Click here to get the stories straight to your email:

Sign up for the Blog


For more on wellness tips click here:

Sign up for Wellness tips


For more on homesteading on your budget click here:

Sign up for Homesteading Tips


For more simple DIY updates click here:
Sign up for easy DIYs 


How to meal prep for busy seasons in 4 easy steps

How to meal prep for busy seasons in 4 easy steps
This post may contain affiliate links, which means that I may receive a commission if you make a purchase using these links, with NO additional cost to you. 

We all have busy seasons in our life. Sometimes we can know the seasons are coming up and plan accordingly. For us every fall is busier, as it is harvest time which means late nights, early-morning‘s, and many meals in the field. This fall is looking to be even busier as we prepare to welcome another child into our family.

So how do you prepare to feed your family healthy meals when you know you’re going to be busy or unable to cook? Short answer, you meal plan and prepare meals in advance that can be thrown into the oven or crock pot easily. How do you do that?
First start months in advance. It is recommended that freezer meals are good in the freezer for up to three months. So start three months ahead. 

Second, open your cookbooks and start listing the recipes that you could easily freeze. And most casseroles can easily be frozen for later use. Crock pot meals are easy to throw together in a freezer bag then dump in the crock-pot when ready too. 

Now that you have your list as you plan your meals over the next few months simply put 1 to 2 a week from your list on your menu. When you go to make them for your family that week, simply double the recipe. One you will put in a pan to make that night, the other you will put it in a freezer pan.  I like to use the disposable 9X13 pans for our family freezer meals. 

Once the meal in the freezer pan has cooled, wrap it in  plastic, followed by foil. Label with the meal, how long to cook it, at what temperature, and when it was made. Please note if it is frozen it will take about twice as long to cook compared to if it was thawed. 

I like to make a list of my freezer meals so I don’t have to dig through the freezer as much to find the meal I’m looking for. And then we can cross off once we’ve eaten it, keeping track of what is left easier.


Wanting a community to lean into? Join the FREE Courageous + Purposeful Mommas group! This community is for the Mommas, mommas to be, in the midst of raising, and kids grown, looking for tips on building your family up and providing for them through natural methods. Tips include: gardening, bulk buying, caning,/preserving, livestock, homesteading, and home remedies. Your family is precious, and this group is to help you gain the knowledge and tools to keep your family well and not reliant on outside professionals. Remedies and tips are easy and simple for the busy momma, time is precious after all, including pregnancy, birth, young kids, and illness. Trust your Momma gut again! This community offers the resources + community you need to help get started on your journey and prepare for whatever future you envision.

Join the Free Community


Click here to get the stories straight to your email:

Sign up for the Blog


For more on wellness tips click here:

Sign up for Wellness tips


For more on homesteading on your budget click here:

Sign up for Homesteading Tips


For more simple DIY updates click here:
Sign up for easy DIYs 


How do you provide the best for your family

How do you provide the best for your family
This post may contain affiliate links, which means that I may receive a commission if you make a purchase using these links, with NO additional cost to you. 

Part of being a parent, whether that is mom or dad, is providing for your family. When kids are involved, the momma bear mentality tends to come out. Why? Because mom’s innately want what is best for their kids. They have the natural drive to protect their kids. That drive to provide the best for their kids, motivates many of their decisions. 

How does that look in our house? I am constantly researching, looking into products to make sure they are actually safe for my kids. Is that bath soap non toxic or is it potentially harming my baby? Is the food I am introducing building their body up, or causing damage to their gut? Many of these research dives have been set off by a question from a friend, an article I read, or a challenge we’ve come up against. 

I have learned to dig into a product before I buy, because the last thing I want is my kids exposed to more toxins in our home. I have hormonal challenges, I want to avoid those challenges for my kids by not flooding their body with products that disrupt their hormones. 

I have learned to carefully select foods that build their guts up, after my son was challenged with food allergies. I have learned the importance of gut health and caring for the gut first to prevent illness and disease. I have learned how I store my food can contaminate it and decrease its nutritional value. 

The regulatory agencies and big companies don’t necessarily have our health in mind when they market products. As a consumer, you have to dig in an analyze ingredients of products, then make the decision if that product is actually safe. Fun fact, In Europe, more than 1,300 chemicals are banned from use in lotions, soaps, toothpaste, cosmetics, and other personal care products. Contrast that to in the United States where just 11 are banned.  Why the difference! Because the regulatory agencies function on different principles. 

I want to provide the best I can for my family. What do you want?


Wanting a community to lean into? Join the FREE Courageous + Purposeful Mommas group! This community is for the Mommas, mommas to be, in the midst of raising, and kids grown, looking for tips on building your family up and providing for them through natural methods. Tips include: gardening, bulk buying, caning,/preserving, livestock, homesteading, and home remedies. Your family is precious, and this group is to help you gain the knowledge and tools to keep your family well and not reliant on outside professionals. Remedies and tips are easy and simple for the busy momma, time is precious after all, including pregnancy, birth, young kids, and illness. Trust your Momma gut again! This community offers the resources + community you need to help get started on your journey and prepare for whatever future you envision.

Join the Free Community


Click here to get the stories straight to your email:

Sign up for the Blog


For more on wellness tips click here:

Sign up for Wellness tips


For more on homesteading on your budget click here:

Sign up for Homesteading Tips


For more simple DIY updates click here:
Sign up for easy DIYs 


Using fear for opportunity

Using fear for opportunity

This post may contain affiliate links, which means that I may receive a commission if you make a purchase using these links, with NO additional cost to you. 


What is a fear you carry deep inside? One that not many may know about, but affects many of your everyday decisions? Me? That somehow there won’t be enough, and my family will be left short. 


Why does this affect my decisions? Because the last thing I want is for my family to be short somehow. Short of food, finances, or simply time. 


So what do I do? First, I try to not let the fear overtake me. I acknowledge that it is there, and then remind myself of all the ways God has continued to provide for us in the past. My heart calms, and I can clearly think towards my next step. I then thank God for His provision and ask that He continue to remind me when that fear comes up again. 


This fear has also been a motivator for me. When I started staying home, our income was drastically cut. While we would no longer be paying for daycare or as much in gas, we now had to pay our own insurance and the grocery bill would be increasing. How were we going to offset the cost?


I looked around. We already lived on an acreage. I had gardened some in the past, and was getting pretty good at it. Why not take it to the next level and have the garden provide as much of our food as we could! 


And so it began, in more earnest. I planted more of what I knew we would consume and less of the extra stuff. I learned how to preserve our food supply for the winter. I also started learning how to grow more of the vegetables my family liked, so we weren’t buying as much at the store. 


The garden is still expanding and growing. I use the winter to learn more about the next vegetable or fruit I want to grow. I take notes and perfect the methods for our farm. I’m playing with double cropping and starting a permaculture orchard now. 


What started as a fear of not being able to buy enough groceries, has turned into a huge garden with the potential to meet 80% (currently around 50%) of our family’s veggie and fruit needs when it is all mature. All this from not giving into the fear, but stepping back and looking for the opportunity in the fear. 


Wanting a community to lean into? Join the FREE Courageous + Purposeful Mommas group! This community is for the Mommas, mommas to be, in the midst of raising, and kids grown, looking for tips on building your family up and providing for them through natural methods. Tips include: gardening, bulk buying, caning,/preserving, livestock, homesteading, and home remedies. Your family is precious, and this group is to help you gain the knowledge and tools to keep your family well and not reliant on outside professionals. Remedies and tips are easy and simple for the busy momma, time is precious after all, including pregnancy, birth, young kids, and illness. Trust your Momma gut again! This community offers the resources + community you need to help get started on your journey and prepare for whatever future you envision.

Join the Free Community


Click here to get the stories straight to your email:

Sign up for the Blog


For more on wellness tips click here:

Sign up for Wellness tips


For more on homesteading on your budget click here:

Sign up for Homesteading Tips


For more simple DIY updates click here:
Sign up for easy DIYs 


What makes old horses so valuable?

What makes old horses so valuable?

This post may contain affiliate links, which means that I may receive a commission if you make a purchase using these links, with NO additional cost to you. 


There is something about old horses that is just too good. Maybe it is that they have seen most things and are unfazed by the noise and commotion of life. Or maybe that they have earned their living and are now peacefully enjoying retirement. But what makes them such great horses?!?


Old horses have usually had at least one carrier before they are considered too old and retire, but their life doesn’t stop there. They may have been a ranch horse working long days, or a rodeo horse used to all the noise. Maybe a professional show horse used to hauling and the arena. Maybe they were just the family trail horse who has seen more miles than could be counted. 


It is an old horse's past experiences and work that make them so good, especially for beginner riders. They know most of what is up and will take care of their rider as the rider learns. This is the trait that makes them invaluable. 


We’ve had two early 20s horses with our family for quite some time. The one showed his age very early. Hank, being an old ranch horse, not much physed him. My husband used him for a few years working and moving cattle, but his age caught up, and he could no longer keep up with cows that broke away. He retired to being the kids' horse. They are merely beginning to ride, but he would pack them along on the ride like it was nothing. You had better believe it was hard to say good-bye this summer when the time came.


The other has had a much easier work life. He has always been a family horse and mainly just trail rode. When I bought Mojo almost 10 years ago he already had a laid back personality, but what not the best trained. I worked with him and found that he wasn’t just laid back, but smart enough to play dumb to get out of work! I literally threw everything I could think of at him that might scare him and he quickly came to expect the weird and out of normal. Why did I do that? Because my vision for him was to be a therapy horse and I needed him bomb proof. He was the beloved mount for many special needs riders while I was teaching lessons. Now he’s my children's favorite. 


See older horses may be set in their ways, but when they have good ground manners and experience, they are the perfect teacher for a novice rider.  


Wanting a community to lean into? Join the FREE Courageous + Purposeful Mommas group! This community is for the Mommas, mommas to be, in the midst of raising, and kids grown, looking for tips on building your family up and providing for them through natural methods. Tips include: gardening, bulk buying, caning,/preserving, livestock, homesteading, and home remedies. Your family is precious, and this group is to help you gain the knowledge and tools to keep your family well and not reliant on outside professionals. Remedies and tips are easy and simple for the busy momma, time is precious after all, including pregnancy, birth, young kids, and illness. Trust your Momma gut again! This community offers the resources + community you need to help get started on your journey and prepare for whatever future you envision.

Join the Free Community


Click here to get the stories straight to your email:

Sign up for the Blog


For more on wellness tips click here:

Sign up for Wellness tips


For more on homesteading on your budget click here:

Sign up for Homesteading Tips


For more simple DIY updates click here:
Sign up for easy DIYs 


Read Older Updates Read Newer Updates